
- Tytuł: Jaded
- Data wydania:
- Wywoływacz:
- Wydawca:
Information about Jaded is still incomplete. Pomóż nam wypełnić szczegóły gry za pomocą tego formularz kontaktowy.
This is the guide on how to earn all the Amethists in the game. Już, it’s not a completed guide, but I will continue to update it until it will have all 36.
Seminarium
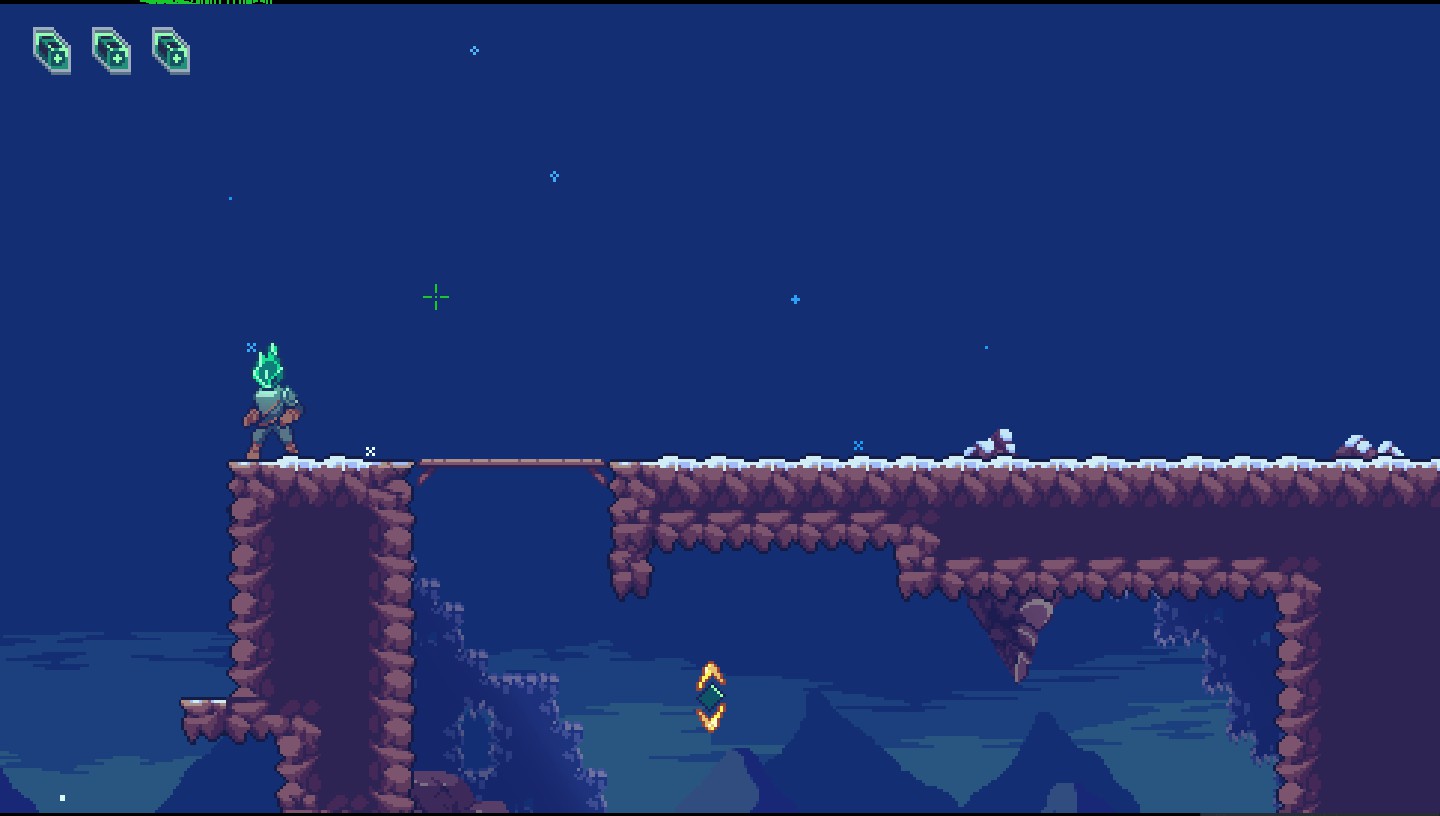
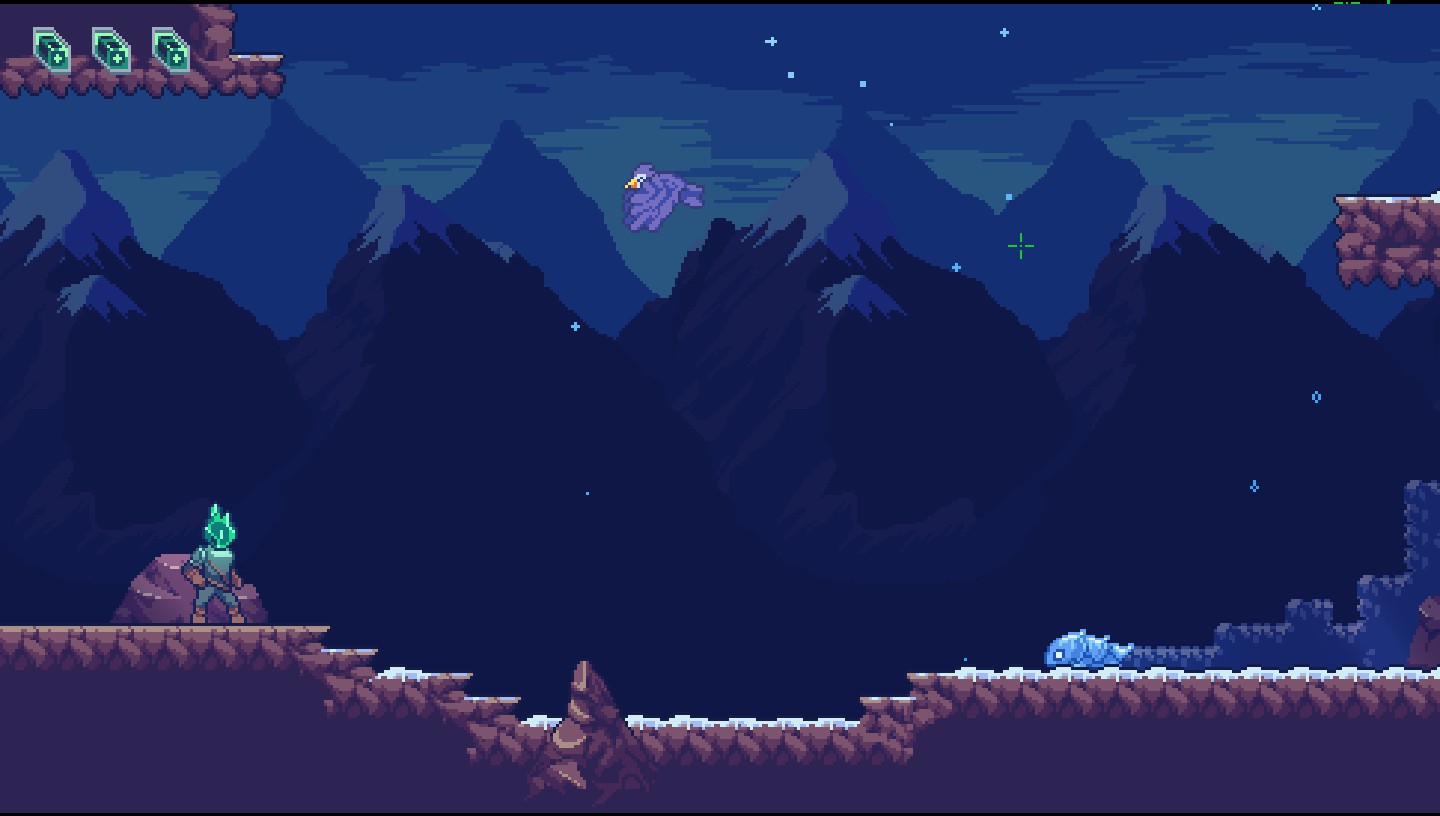
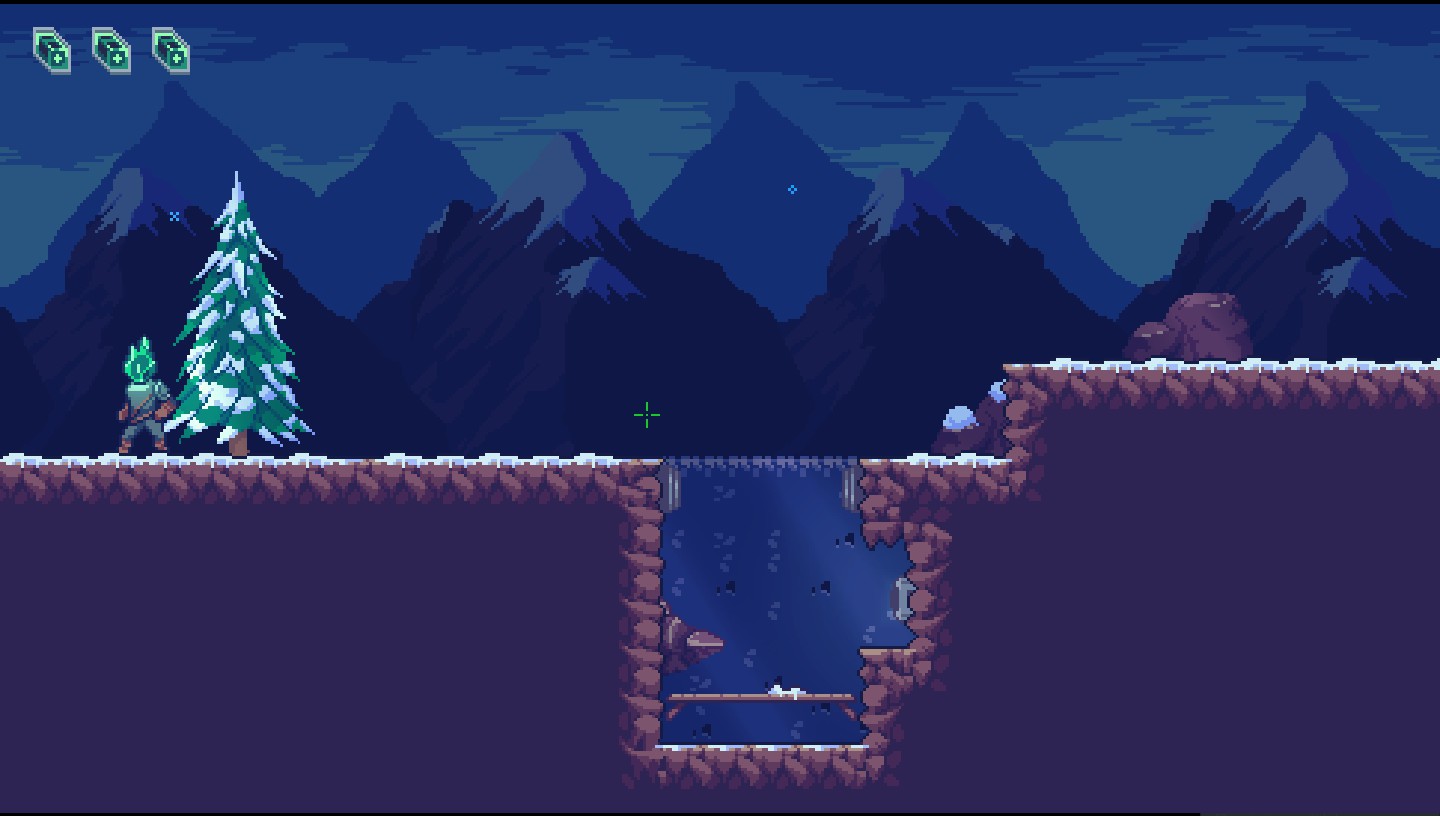
The first one Amethist is at the tutorial level. It can be easily spotted, so I’ll leave a photo and we will go on.

Poziom 1: Foothills
There are no amethists in beetween checkpoint 1 I 2, so they appear after checkpoint 2.
Checkpoint 2
Drugi
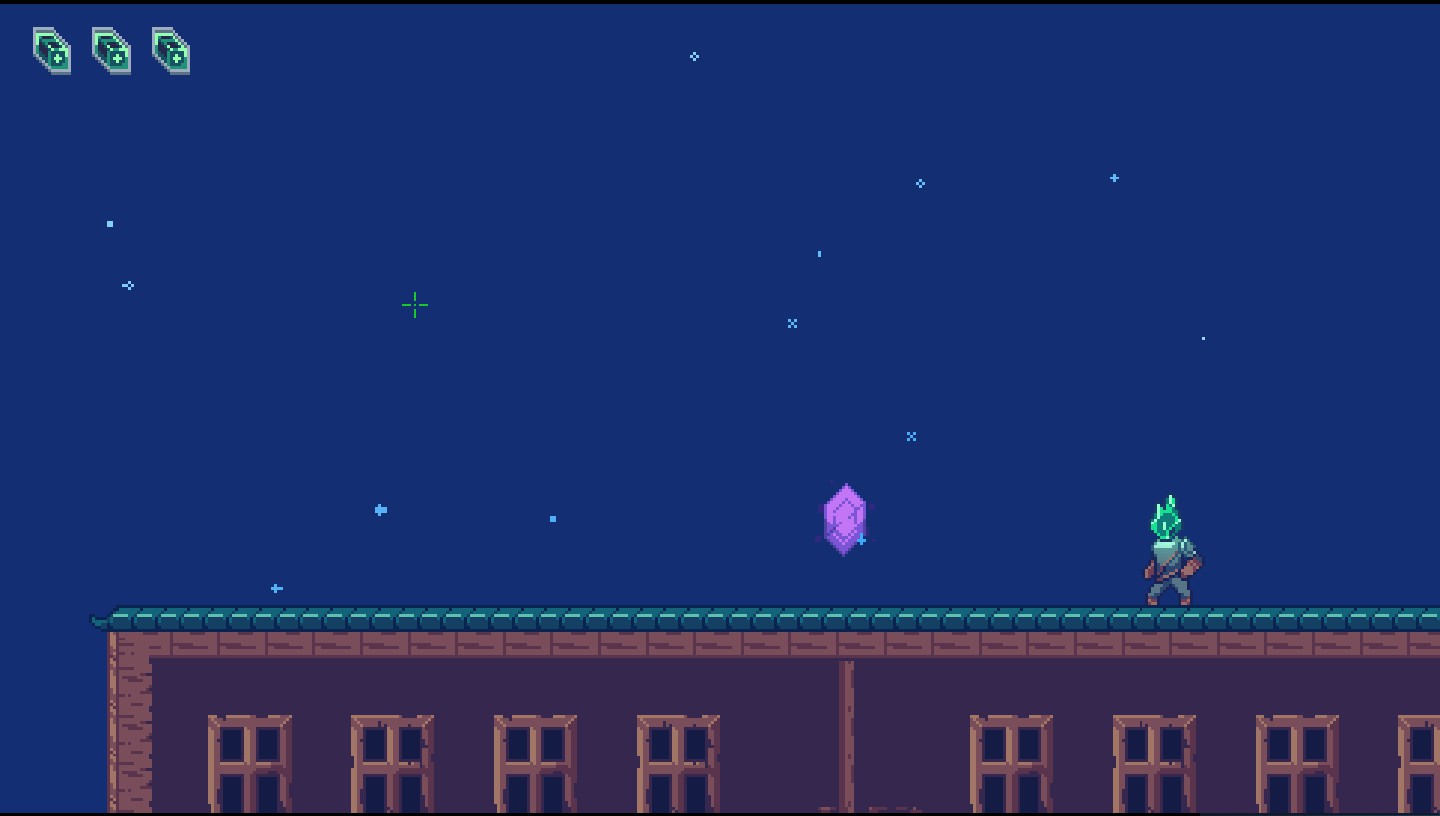
The second amethist is in the second room after checkpoint 2.


The third
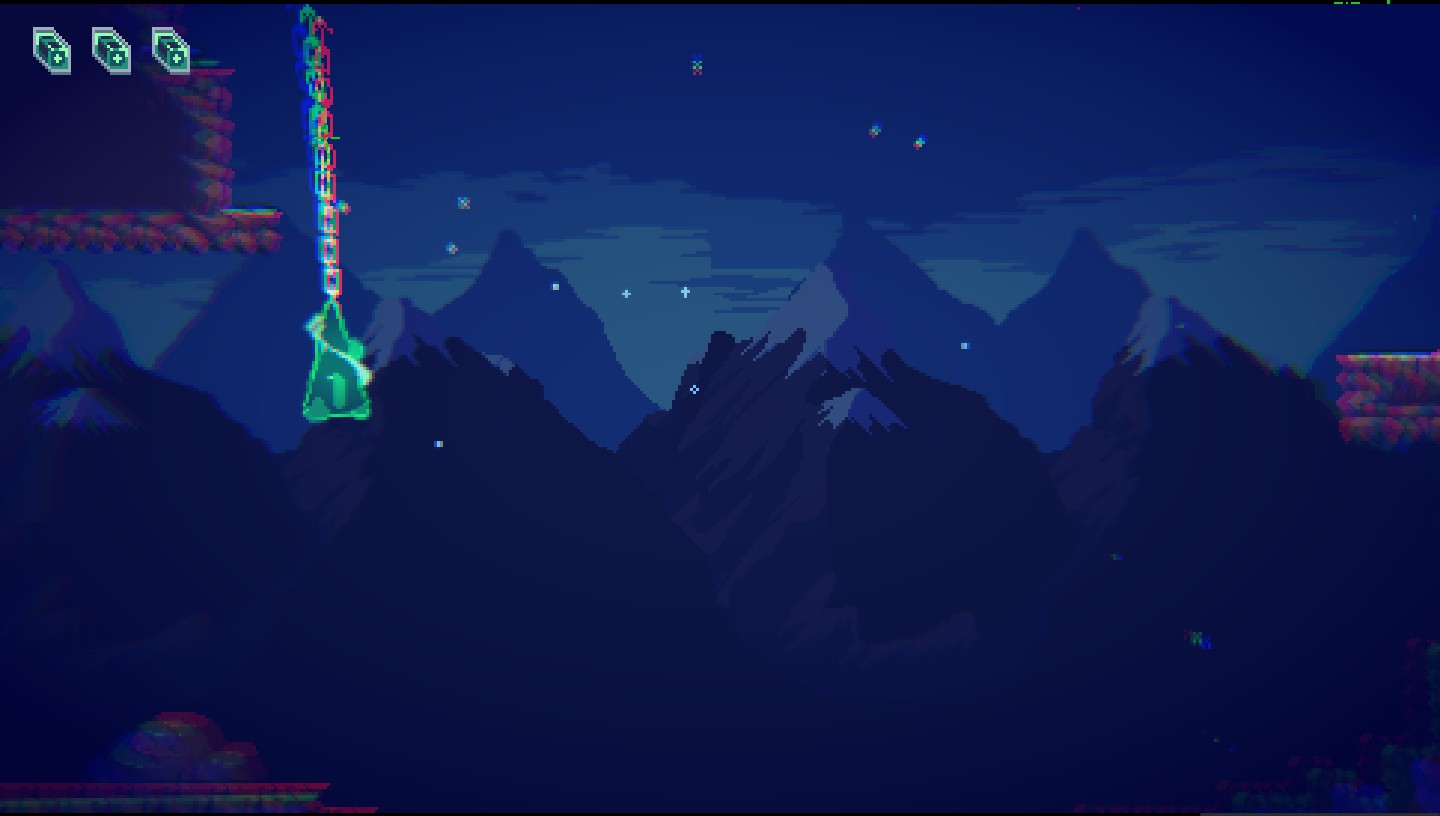
The third is in the next room after the second one. After killing the bird, under the entrence to the next room, there is a hidden place.
The fourth
In two rooms after, before the entrance.
Checkpoint 3
The fifth
The next room after the checkpoint room needs attentiveness to see a hidden spot above spawn.
Go left and u will find next amethist.

The house
After the house u can go either up or right.
The sixth
If you go right, u will instantly find an amethist.
Then u can go up and return take missed one.
The 7th
Same house, climb up.

You will find one more.
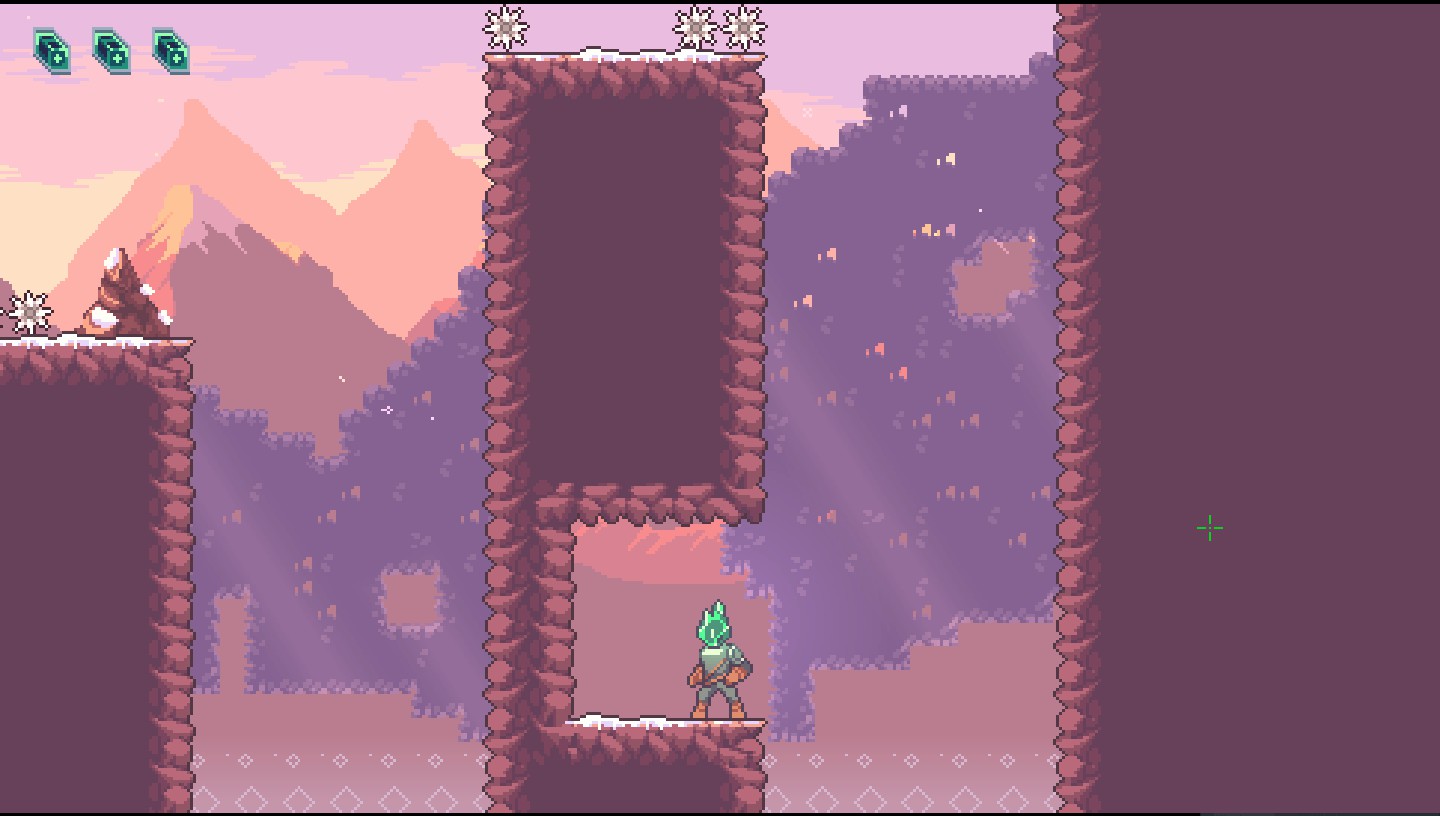
Checkpoint 3
8th
After you reached this room, idź w lewo.


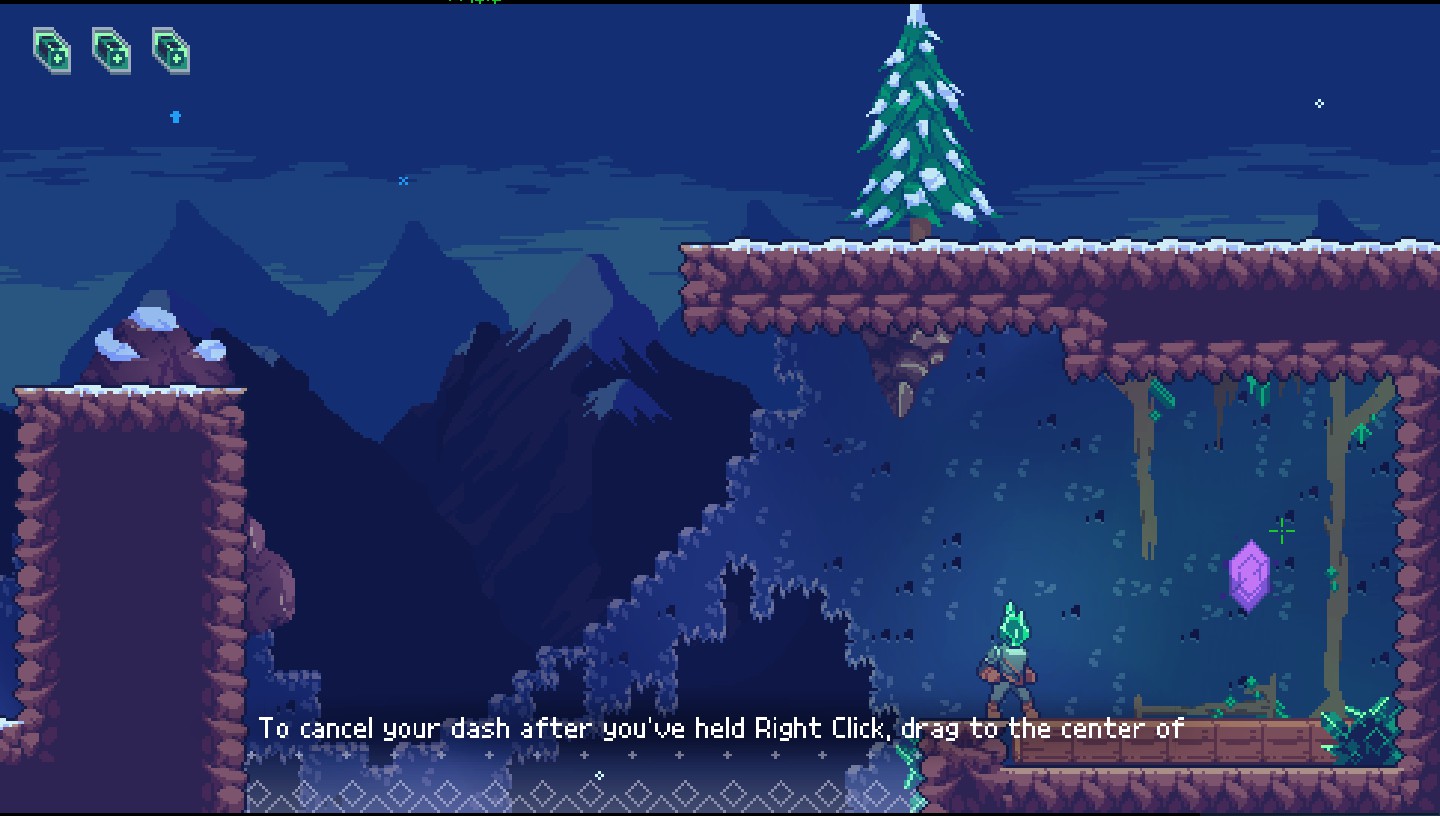
Then climp up. Przestrzeń, hand on the left wall, rightclick to the right wall, click space again.

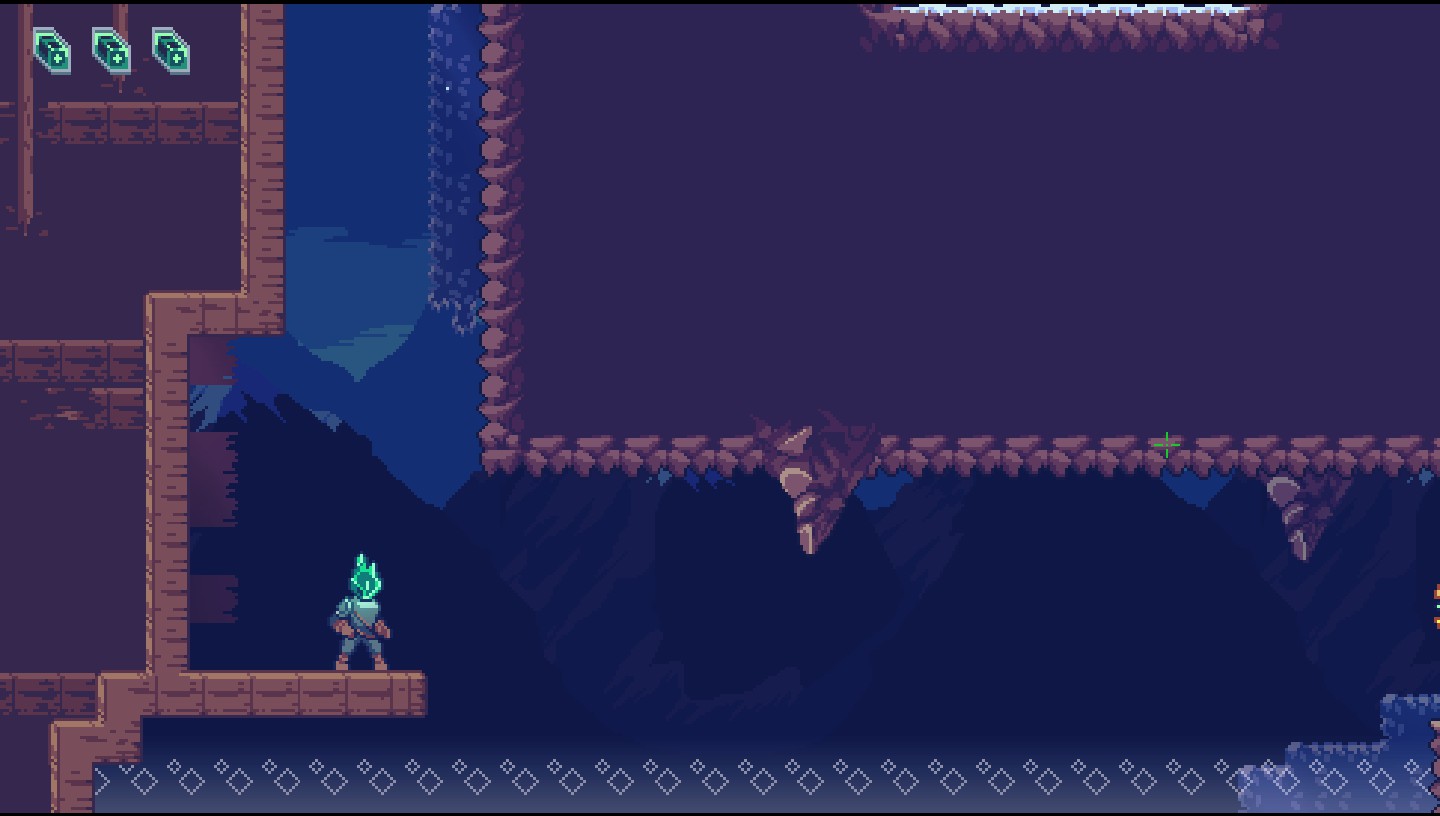
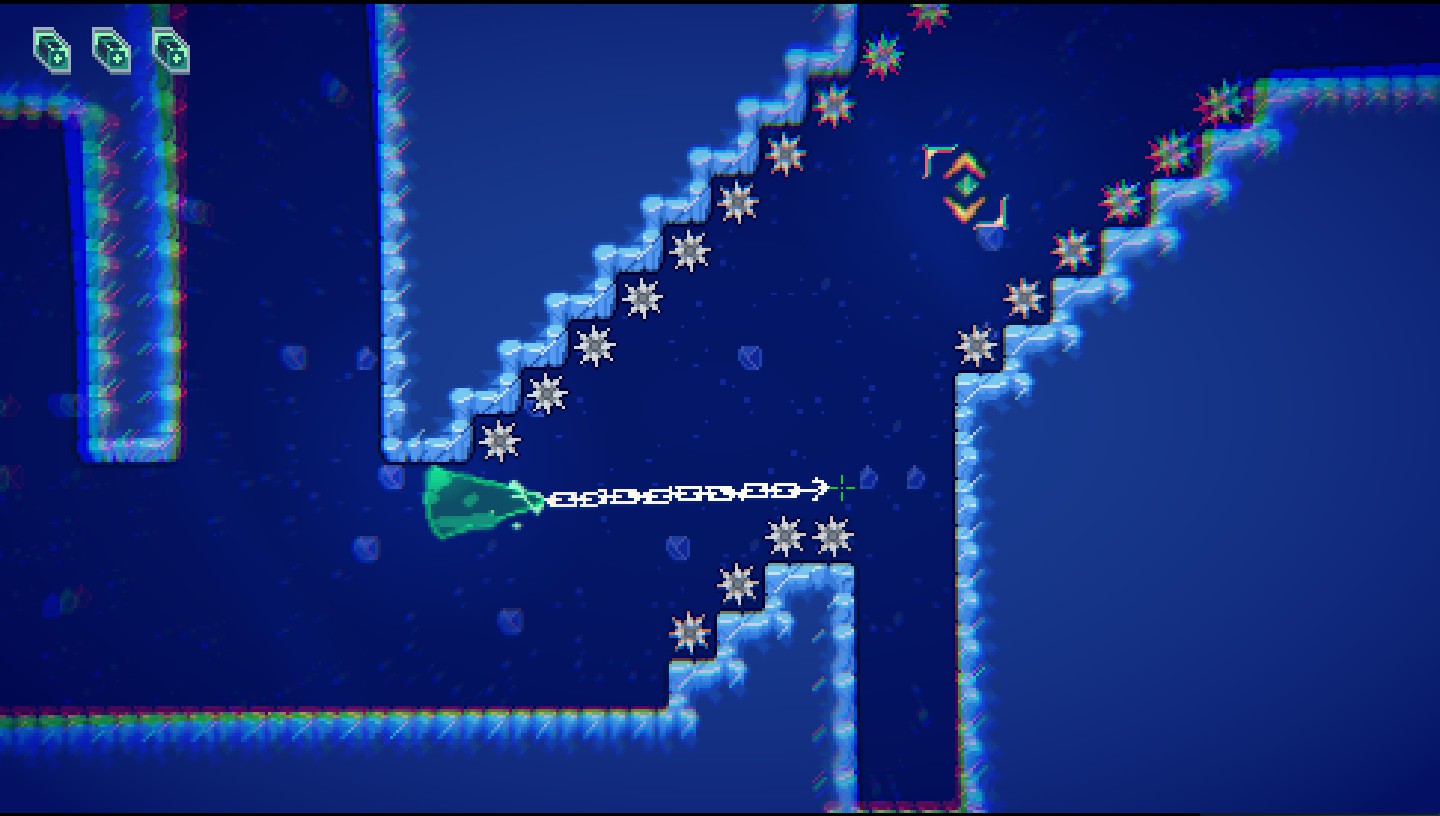
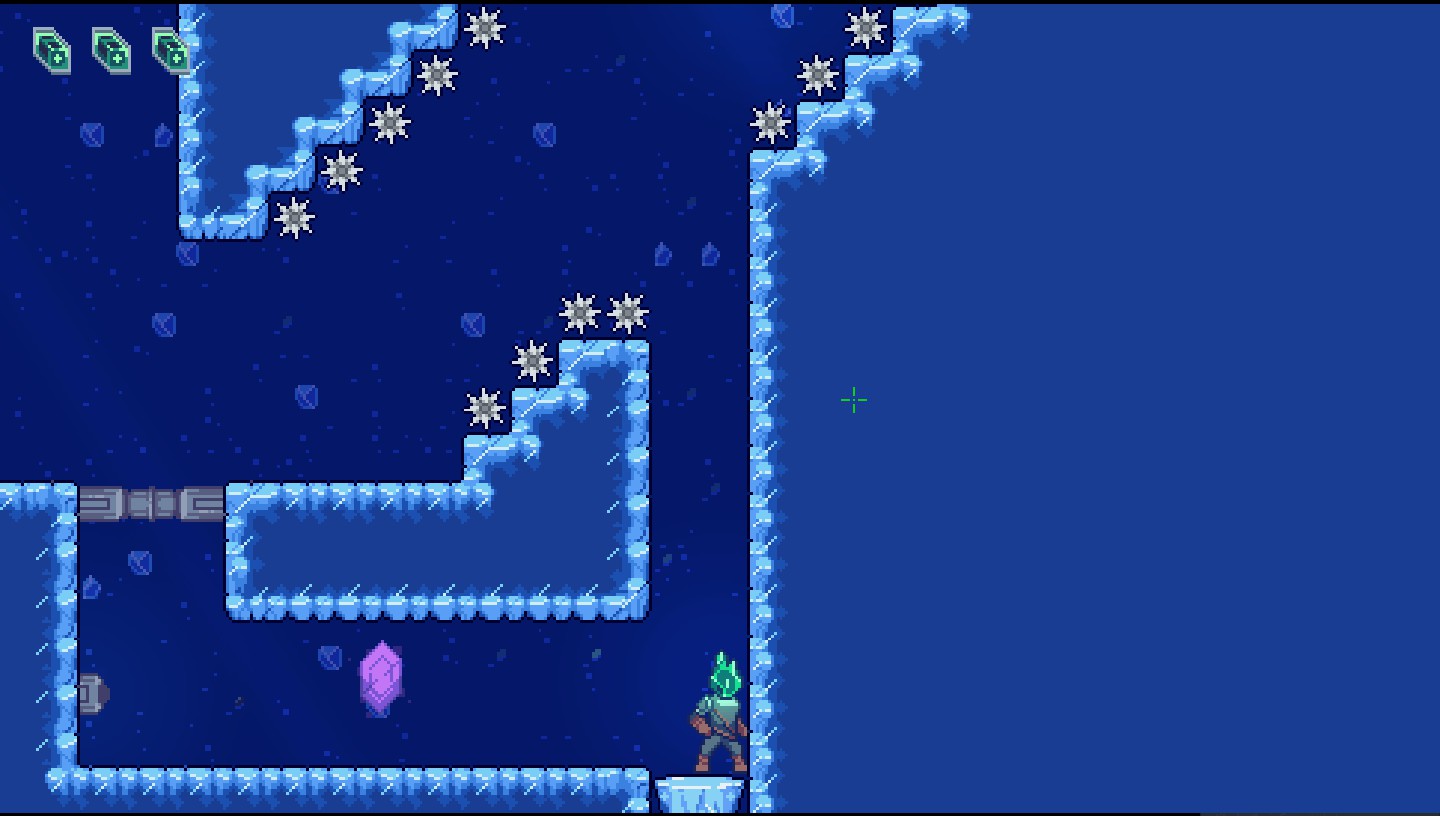
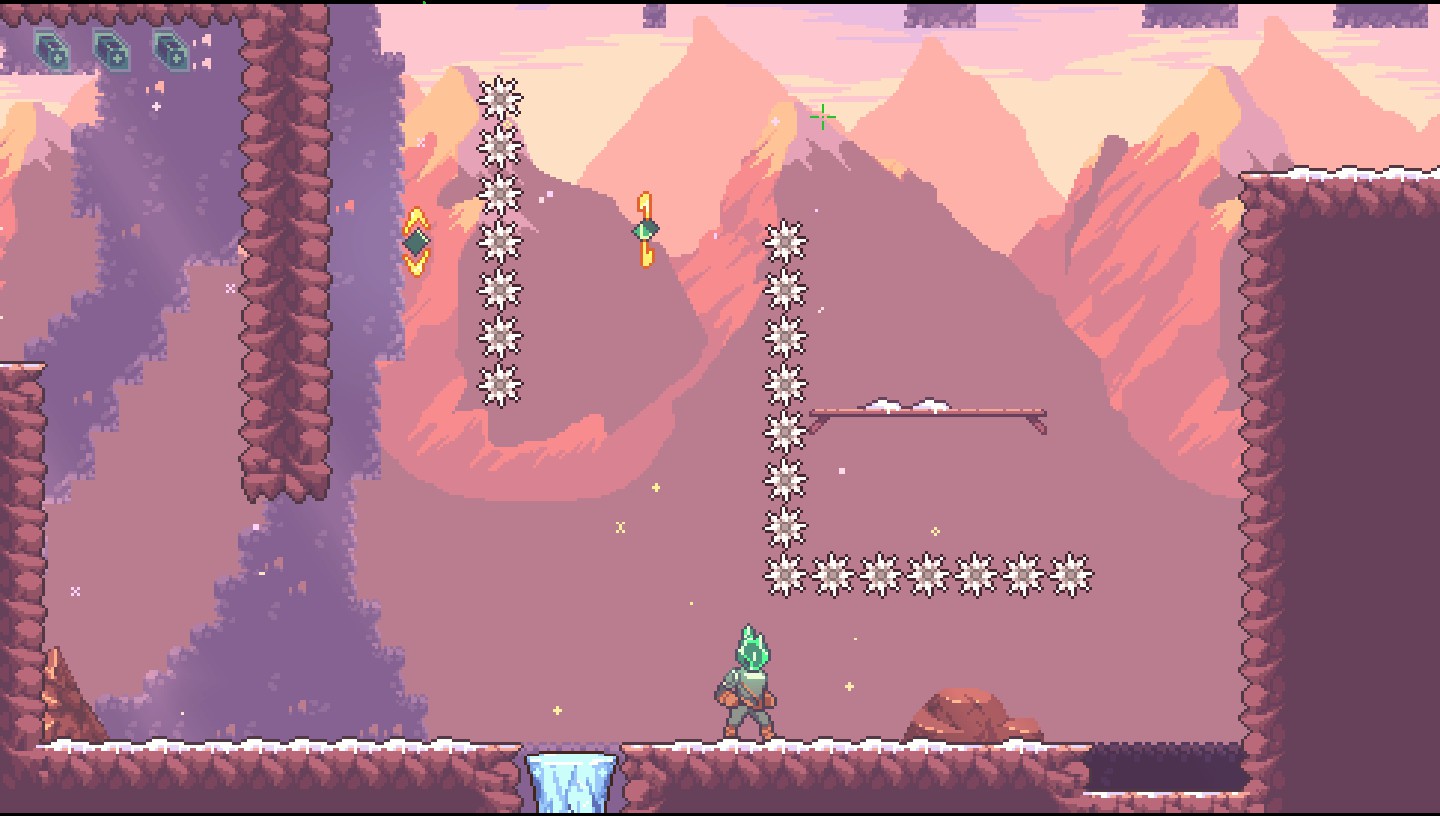
Poziom 1: Ice cave
Checkpoint 1
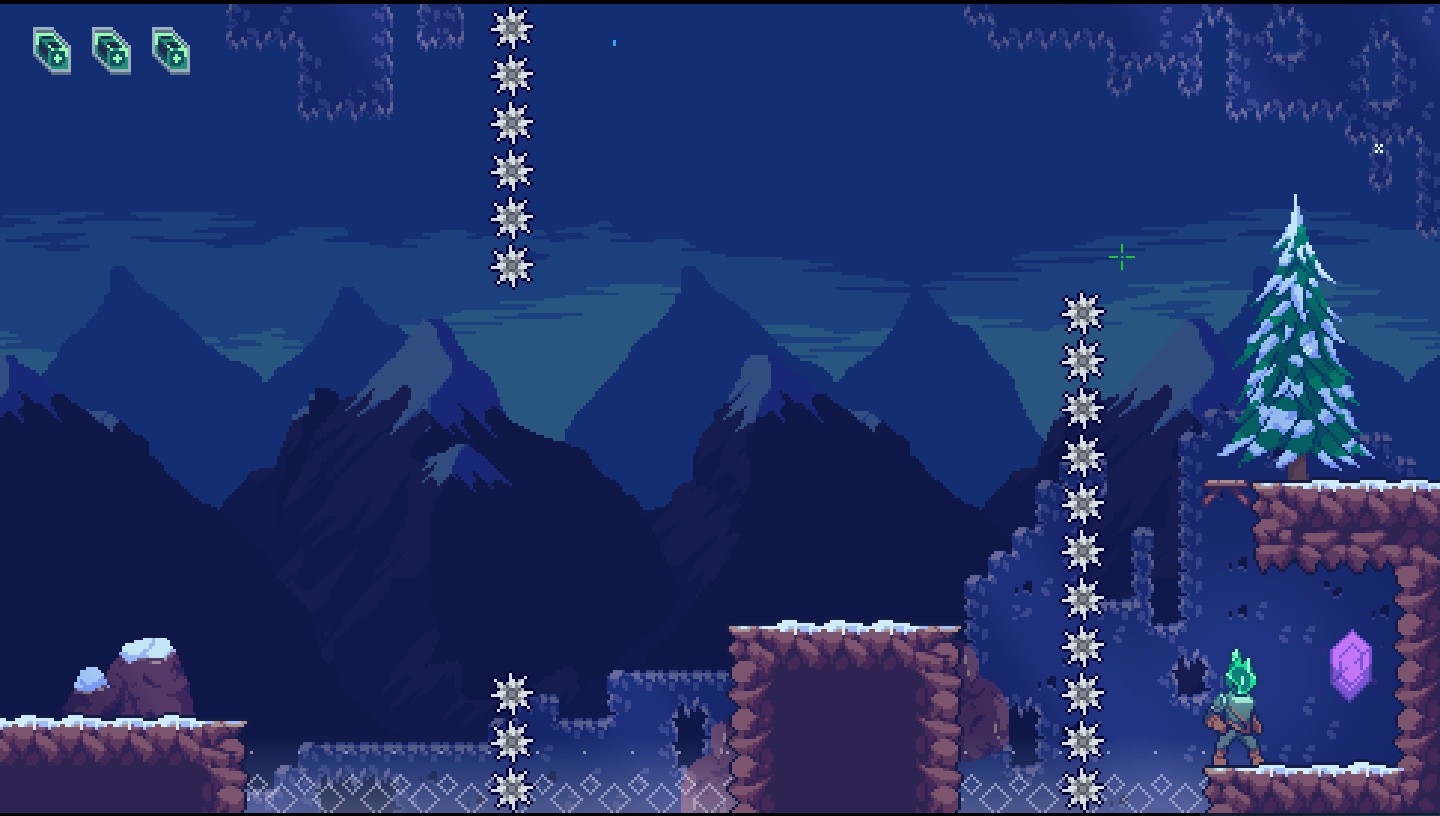
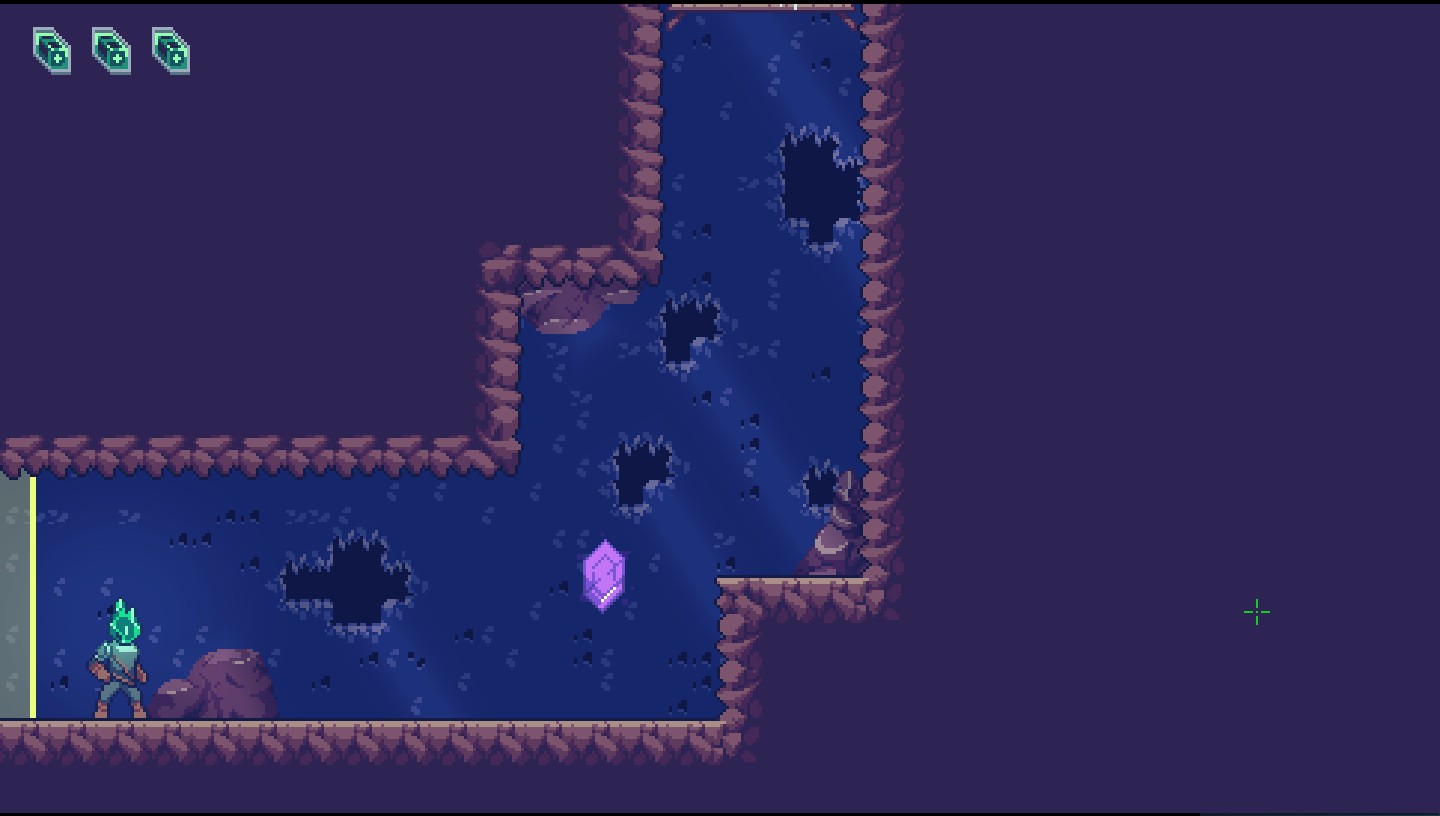
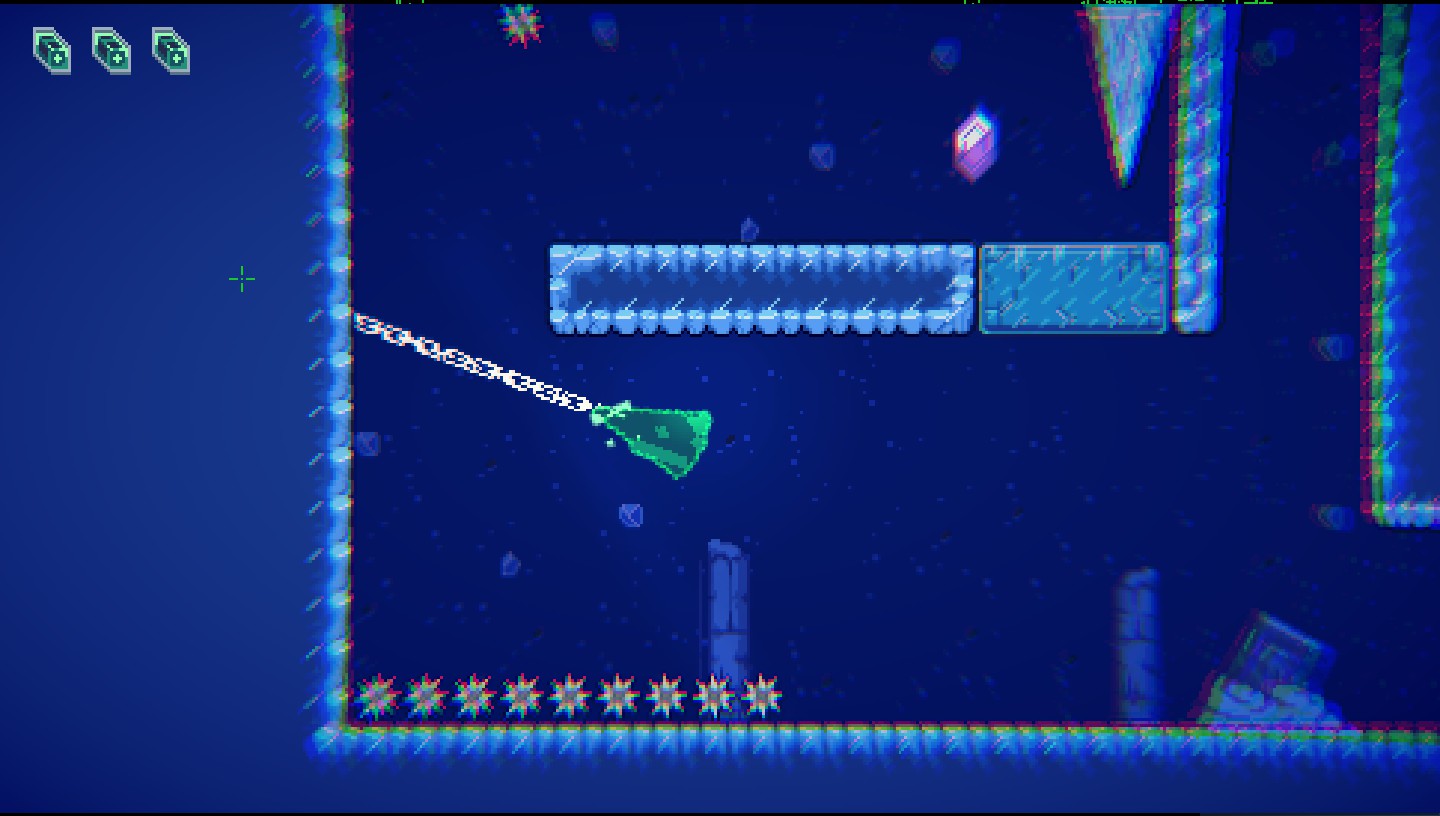
Amethist #9
Easily found, hardly earned. Right click to the wall, hand and press space to that area.

Amethist #10
Several rooms after, on the left of the main way. Right click to earn.

Checkpoint 3
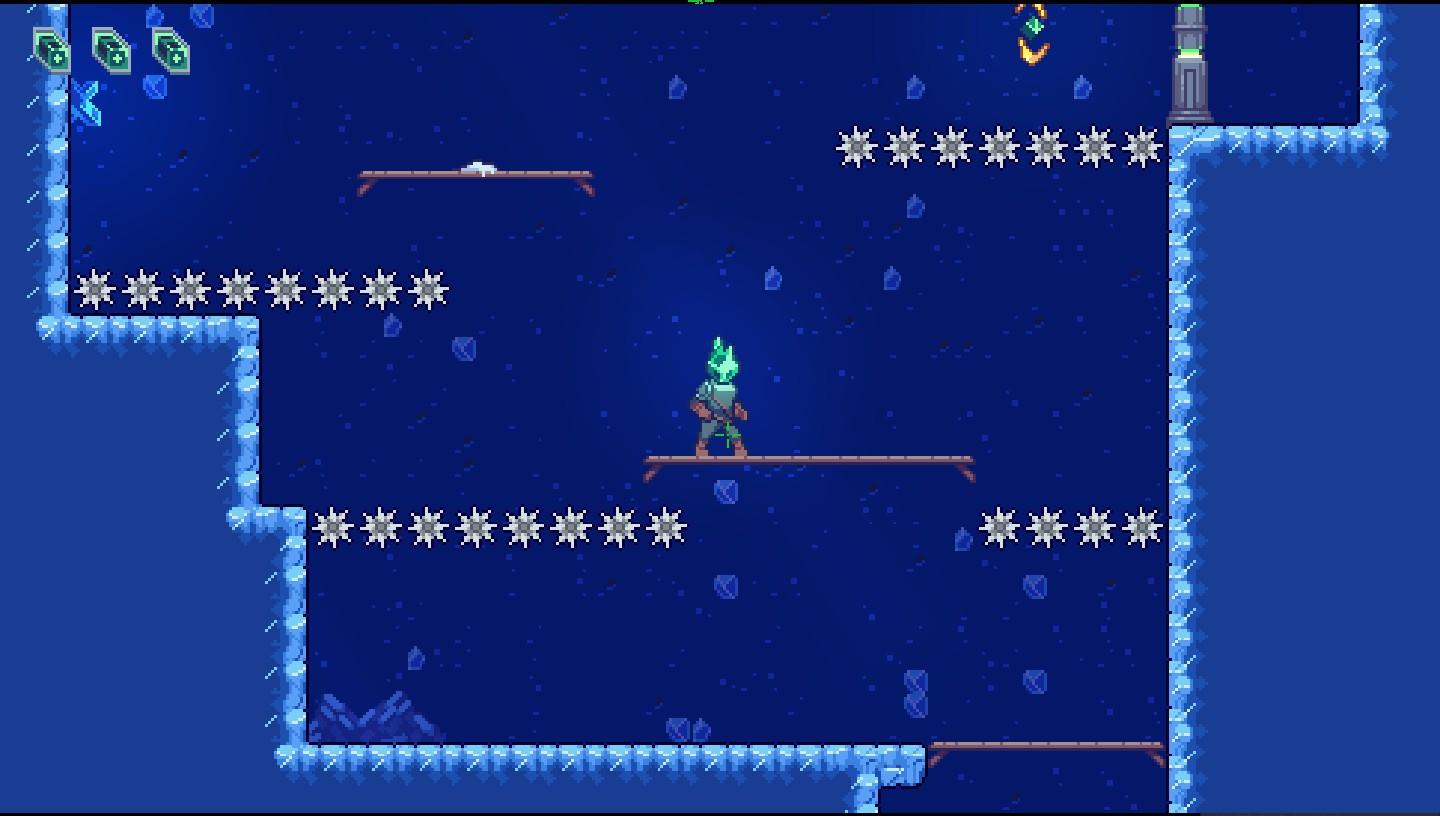
11th
This room after clearing will have a way under.

Jump savely, rightclick and u reached it.
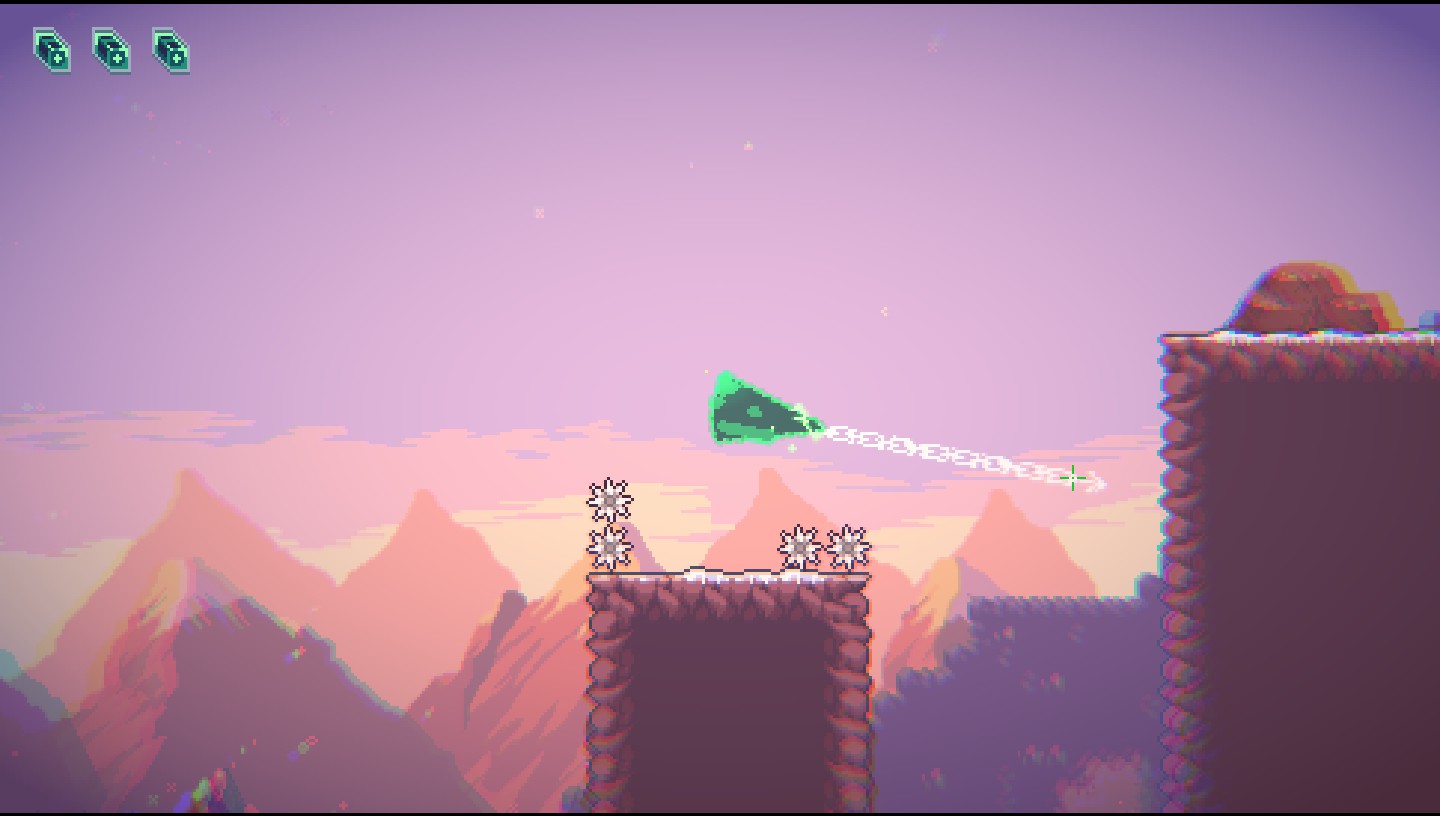
Poziom 1: Ascent
Checkpoint 1
12th
Pokój 3, just after ice boss. Jumping on the second of the ground pieces, u will be too high to see the hidden amethyst.
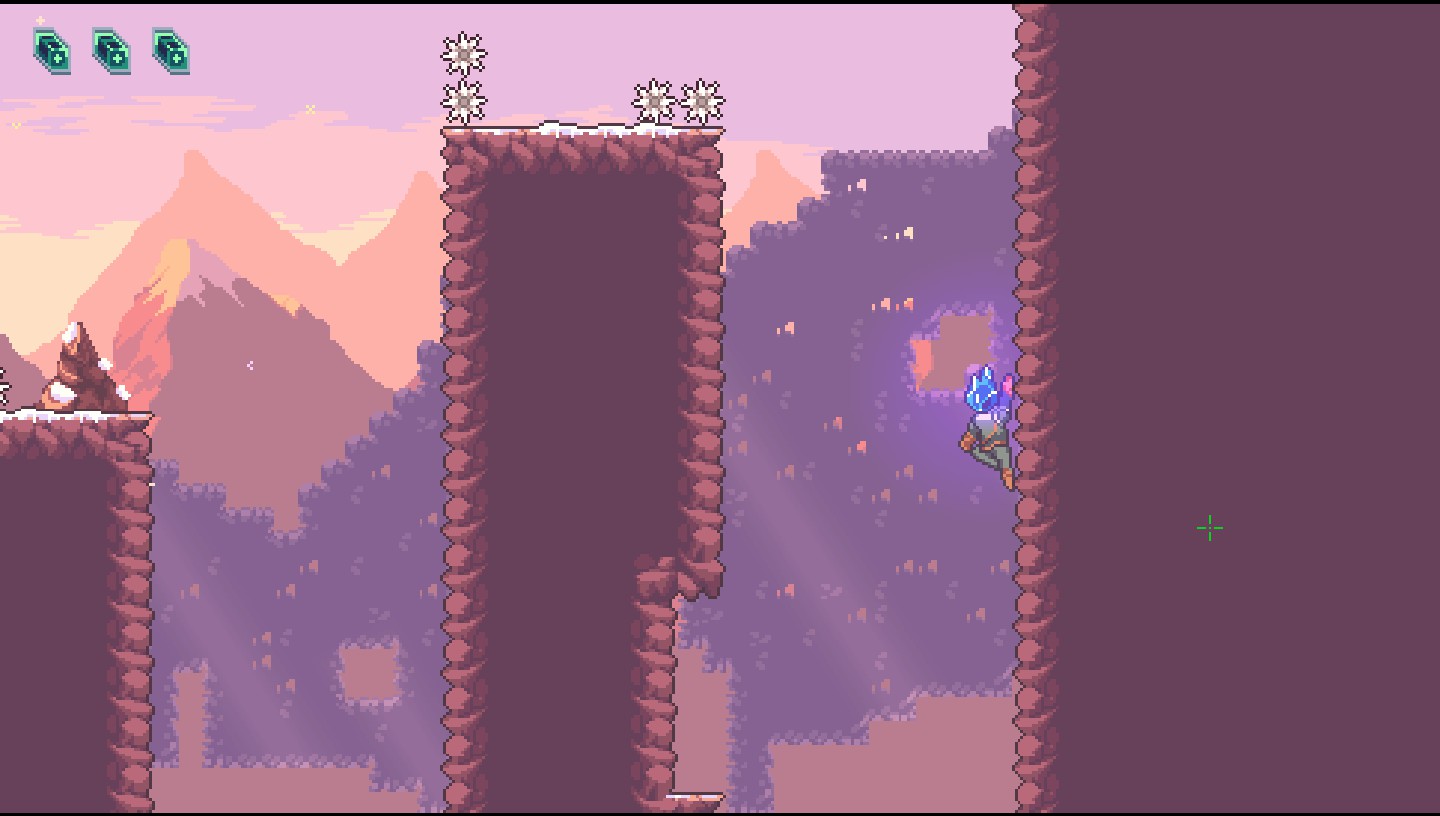
Kliknij prawym przyciskiem myszy, hand on the right, wait and climb down, catch right timing and u found it.
13th
Two rooms after that, after clearing the room, u can see a hidden way beneath. Nothing special. Take it and go on.

To wszystko, co dzisiaj udostępniamy w tym celu Jaded przewodnik. Ten przewodnik został pierwotnie stworzony i napisany przez Regret. Na wypadek, gdybyśmy nie zaktualizowali tego przewodnika, możesz znaleźć najnowszą aktualizację, postępując zgodnie z tym połączyć.