
If you’re playing Helldivers 2 and aiming to rack up super samples, medale, kredyty, and XP, ten przewodnik jest dla Ciebie. It’s designed to optimize your runs and streamline your gaming experience. Inaczej “rolnictwo” przewodnicy, which can be inefficient and lack overall value, we focus on strategies, broń, and mission approaches that will benefit you in the long run, especially as you tackle higher difficulties. We’ll cover the best stratagems and weapons, along with mission tactics to efficiently gather samples and complete objectives. Dodatkowo, we’ll delve into hidden mechanics such as the ping system, mission selection nuances, i więcej.
Krok 1: Choosing Your Planet
Choosing the right planet is crucial for maximizing rewards in Helldivers 2. Jednakże, the ideal planet can vary depending on the current state of the game’s story and the progression of the community. Keep in mind that what works best may not always be ideal due to these factors.
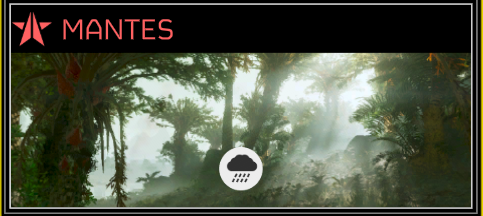
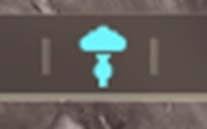
When selecting a planet, pay attention to the modifiers associated with it, represented by icons like clouds with rain or snow. It’s essential to avoid planets with adverse modifiers as much as possible. Opt for planets with clear visibility, as this enhances your ability to spot side objectives, locate the super sample rock, and evade patrols. Na przykład, Crimsica is a prime example of a planet conducive to obtaining super samples.

Once you’ve identified the planet, carefully assess its modifiers.

Knowing the debuffs you’ll face beforehand is crucial for effective preparation. This becomes especially important at higher difficulties where challenges are inevitable. Na przykład, modifiers like stratagem scrambling, which randomizes the stratagems you call, or increased cooldowns for orbitals and weapons, can significantly impact your gameplay. Adjust your loadout accordingly to mitigate these challenges and enhance your chances of success.
Day and Night Missions
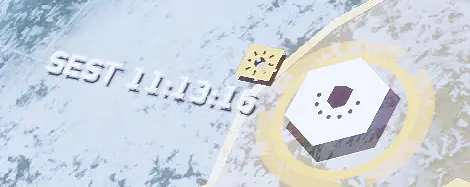
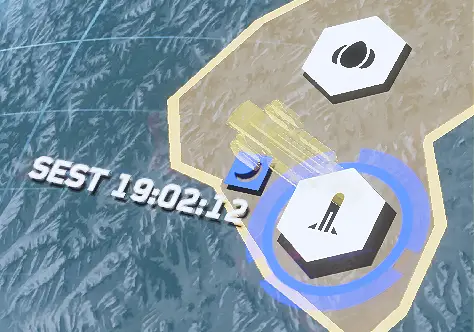
You can choose a mission set during the day or at night by simply rotating the map to your preferred location. Look for an icon indicating whether it’s day or night.
Krok 2: Stratagem Build Making
W celach informacyjnych, you can use the Stratagems Tier List I created that is ranked from recommended to not recommended. Please remember that these stratagems are currently ranked based on the Helldive Difficulty 9, which is used against Terminids.
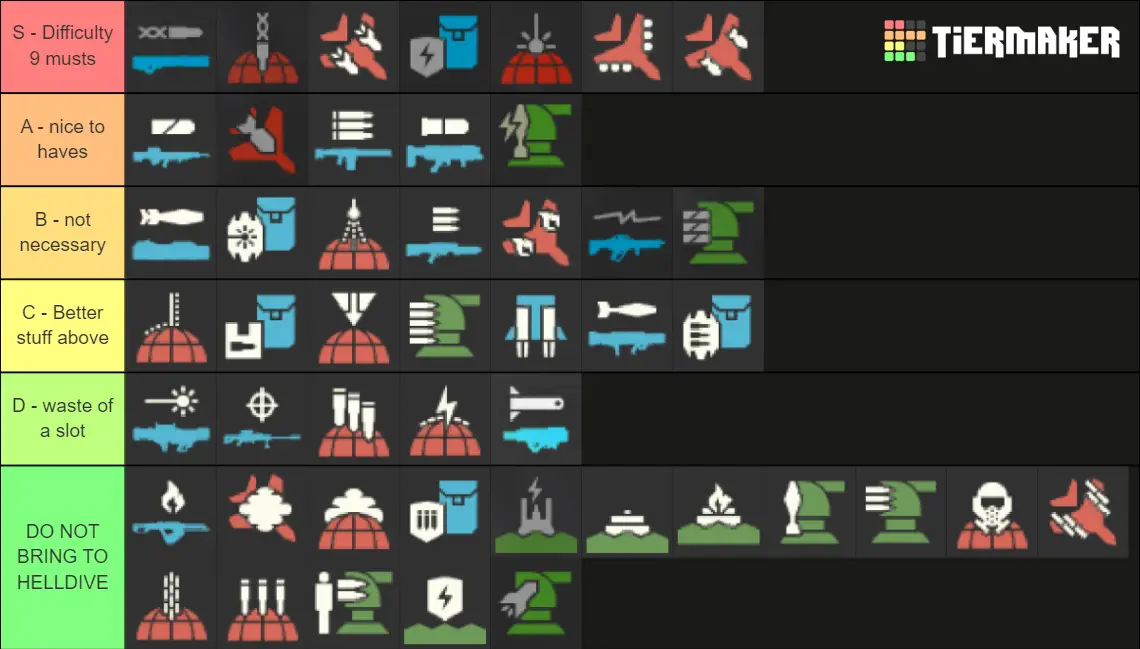
W porządku, let’s break down the details for better clarity.
Po pierwsze, the advice provided here is tailored for missions rated 7 lub wyższy. While these strategies can still work in lower missions, they’re particularly effective in more challenging scenarios due to the current game dynamics.
One crucial point to note is the diminishing usefulness of turrets, especially in helldive Terminid missions. While these defensive structures may seem appealing, they struggle to hold up against the onslaught of tougher enemies.
Although all turret types have their merits, they tend to crumble quickly under the pressure of relentless enemy waves. Zwłaszcza, the mortar turret poses a significant risk of friendly fire, often targeting the nearest enemy and inadvertently harming teammates. W rezultacie, it’s advisable to entrust turret deployment to automated allies like robots, where their utility shines brighter.
Support Weapons
When dealing with tough foes like Chargers and Bile Titans, nothing beats the Railgun. It packs 20 shots and can penetrate armor easily, especially against medium-sized bugs. Just remember to watch out when holding “R” too long, as it’ll explode if you do.
The Reconciles have their drawbacks. They take ages to reload, especially when you’re swarmed, and they occupy a backpack slot, limiting your or your teammate’s gear options. Z drugiej strony, the auto-cannon is a versatile support weapon. It can seal breaches, destroy spore spewers from a distance, and boasts a hefty magazine. Jasne, reloading takes time, but it’s worth it for the assistance it provides. As for the spear, it’s too slow to lock on and not practical in chaotic fights.
Why choose Eagles? Dobrze, orbital debuffs are prevalent, and waiting for cooldowns on orbital lasers or railcannons can be a pain. The Eagle 110mm rocket pods offer three shots before needing a reload, and they target the largest threats, making them incredibly effective. They’re often underestimated but can clear waves effortlessly, especially when combined with Airstrikes and Cluster Bombs. Remember to rearm during downtime to maximize your Eagle rounds, as the timer is quite lengthy.
Podstawowy
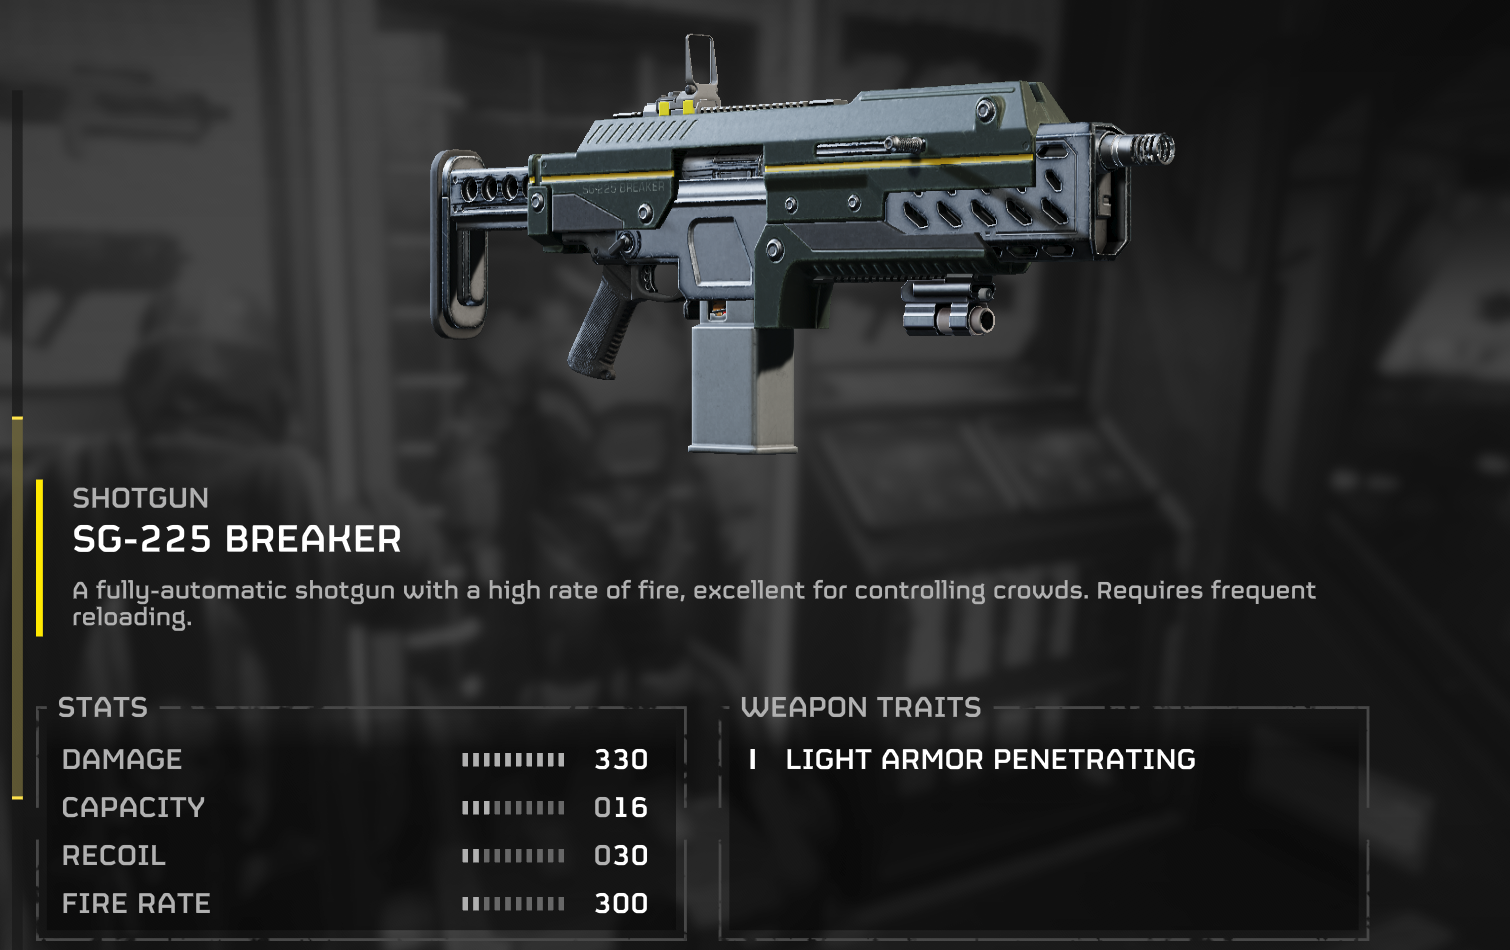
If you’re focusing on armor penetration, stick with the Breaker Shotgun for your primary. It’s the most reliable option until other guns get buffed.
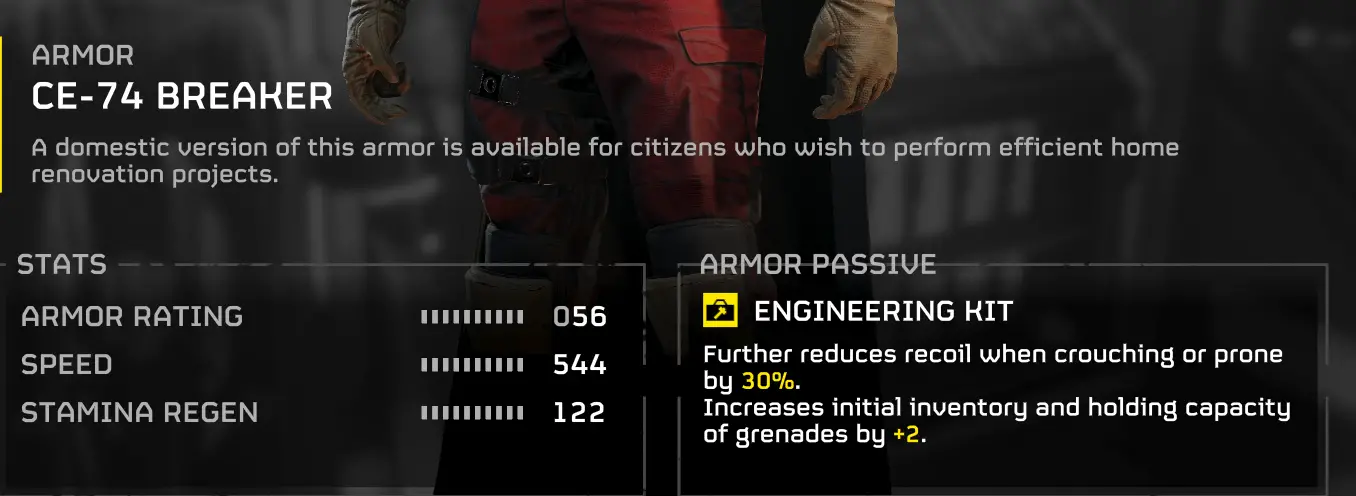
For armor, go light due to current issues with armor values. Consider passive options like Grenades, Stims, or Democracy Protects.


When assembling your loadout, ensure your team communicates to avoid duplication. Balance between ARMOUR PEN and MOB CLEAR is crucial.
For ARMOUR PEN focus:
- Light armor with mentioned passives
- Podstawowy: Breaker Shotgun
- Sidearm: Default pistol or machine pistol Stratagems:
- Railgun (essential)
- Shield backpack (essential) Optional Choices:
- 110mm Rocket Pods
- Orbital Railcannon
- Orbital Laser
- Eagle Airstrike
For MOB CLEAR focus:
- Light armor with mentioned passives
- Podstawowy: Breaker Shotgun
- Sidearm: Default pistol or machine pistol Stratagems:
- Grenade launcher (stronger with a supply backpack)
- Shield backpack
- Auto cannon (self-reload)
- Machine gun (medium enemy resilience)
- Eagle Cluster Bombs
- Orbital Air burst
- Orbital Laser
Krok 3: Completing the Mission
When dropping into action, avoid hot drops at all costs. They drain reinforcements and waste time. Prioritize landing on high ground with enough space to drop your gear. This draws patrols toward you, allowing you to eliminate threats before any bug breaches occur.
Establish Leadership
Appoint a team leader, whether it’s the host or the most knowledgeable player. Clear leadership ensures a focused objective, leading to fewer patrols, breaches, and faster mission completion. Avoid splitting up, but if necessary, implement a buddy system with groups of at least two. Stick together, especially when starting out.
Utilize Pinging
Helldivers 2 features a unique ping system that reveals objectives to everyone when used. Ping potential targets like artillery or radar dishes to maximize XP, gather samples, earn medals, and manage mission difficulty effectively.
A well-placed map ping can even reveal unseen threats.
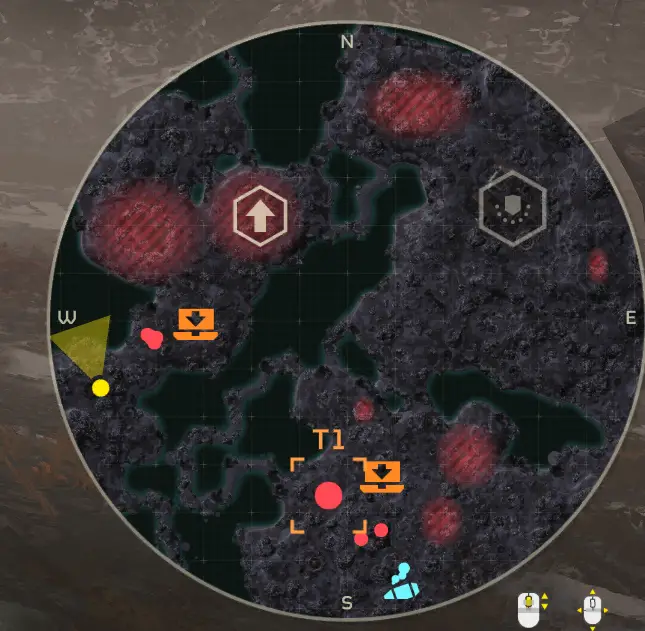
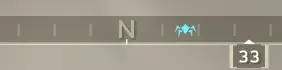
Look for the box icon around the pinged object, which should display as “T1” in orange on your compass. If unsure about your pinged target, refer to your compass for clarification. Na przykład, a spore spewer will be indicated on the compass.

Mission Critical Objectives
These side missions are crucial for preventing overwhelming swarms or missing out on valuable super samples.
Stalker Lair

Encountering stalkers signals imminent danger. These elusive foes pose a significant threat and can derail your mission if left unchecked. Aby je zlokalizować, observe their direction of approach. If they’re coming from the north, na przykład, head in that direction. Stalker lairs are unmarked, so you must get close enough to reveal a “?” on your screen or rely on the chat box for proximity notifications.
Once you reach the lair, expect to find 1-2 holes to neutralize with grenades or a precisely placed Eagle Airstrike. This halts spawning, leaving only remaining stalkers on the map. Utilize map pings to detect them accurately.
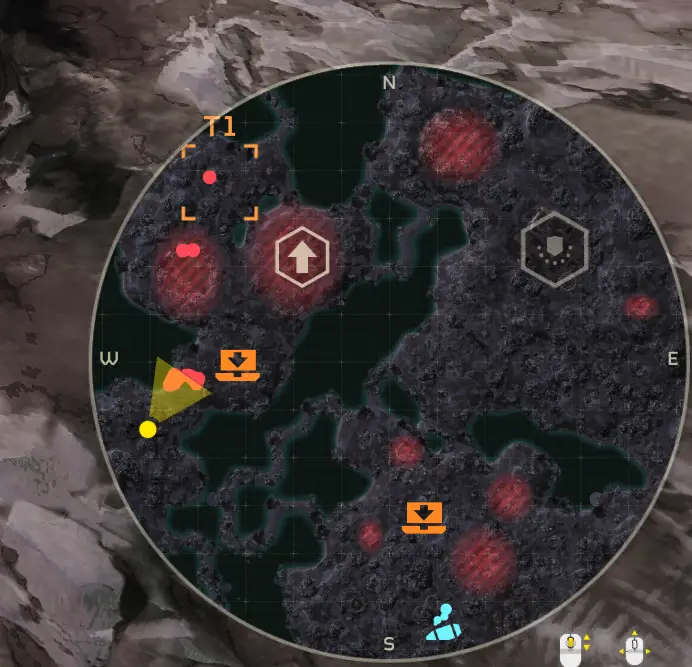
Here is what the Compass view looks like:
Spore Spewers
Easily mistaken for weather effects, spore spewers are swiftly dealt with from a distance. Look for tree-like structures with a glowing effect and eliminate them with two shots from the auto-cannon. Clearing them disperses the fog, revealing common and rare samples underneath.

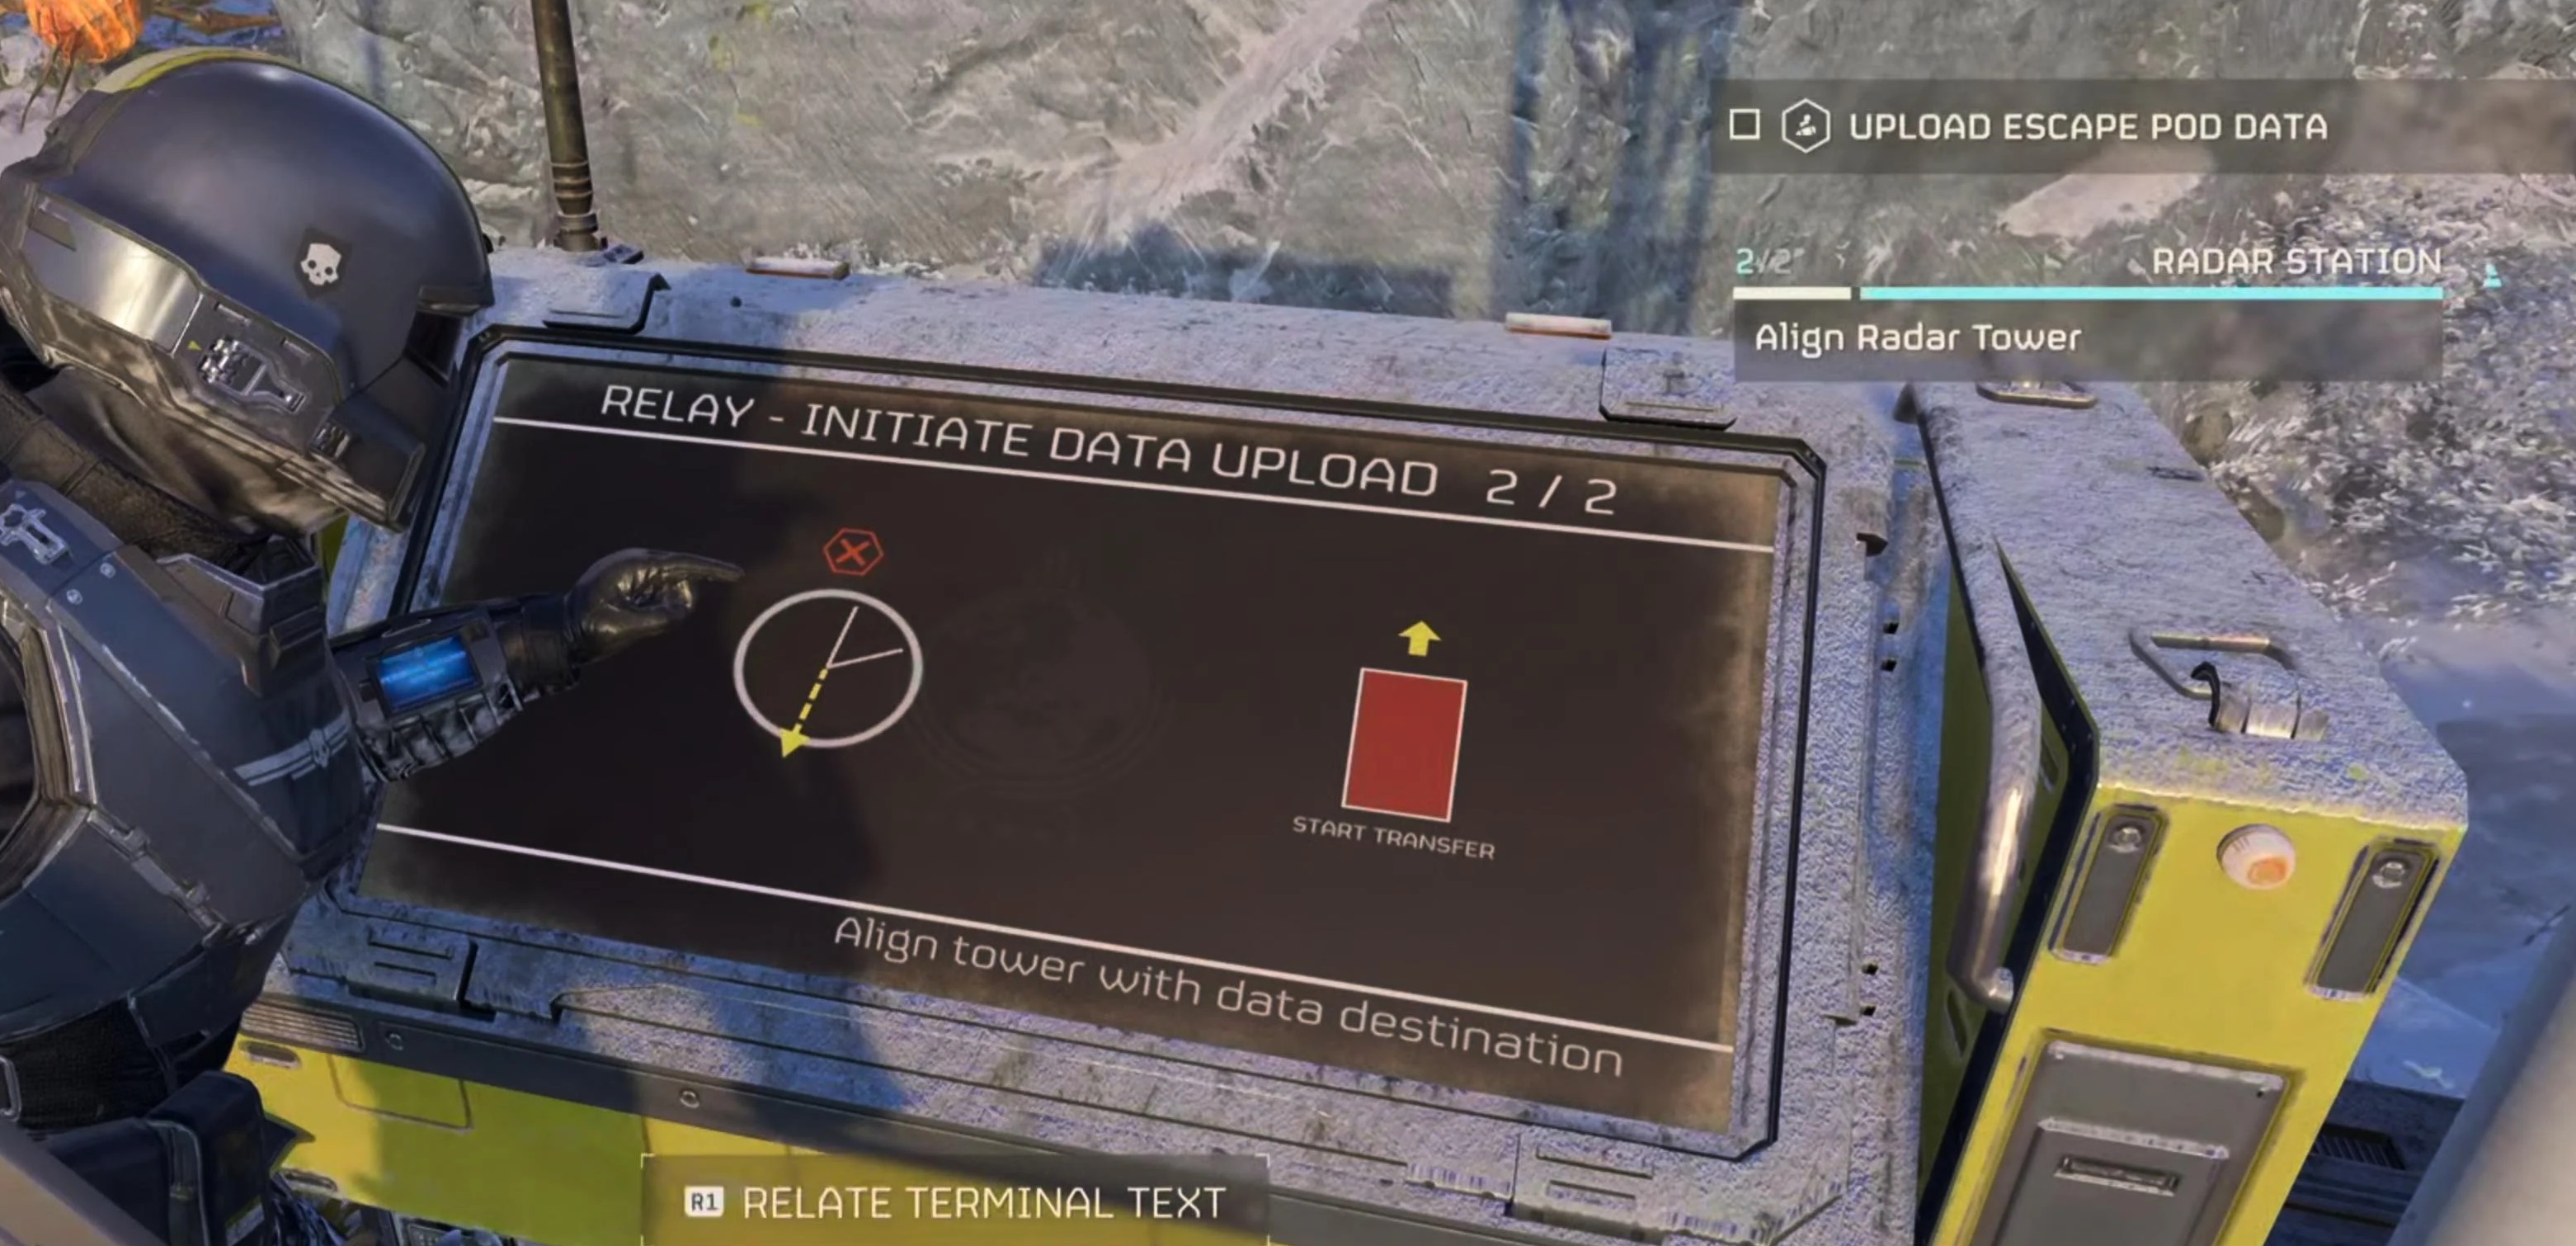
Radar Station
This task is super important because it helps you uncover everything on the map. From enemy hideouts to cool spots, this is your ticket to success in planning your journey and finding all the cool stuff.
You can totally handle this solo. I know I said “Stay together” earlier, but sometimes you just can’t, especially with all the chaos or if you’re stuck with not-so-great teammates who don’t communicate. That can really slow things down.
Here’s how you do it: Pierwszy, just tap the terminal to turn it on. Seems obvious, but if you’ve got enemies hot on your trail, just quickly activate it. Follow the instructions until you reach the part about Aligning the Satellite. If you’ve got time, figure out the quickest way to turn it. W przeciwnym razie, no biggie, just start aligning. Turn it carefully in one direction and listen closely. You should hear a beep from the terminal when it’s aligned, then you can activate it. Łatwe, groszowe!
SEAF Artillery (Bonusowa wskazówka)
Tips for the Optional Objective:
- Loading the gun is crucial, and it’s best to communicate about which rounds you’re putting in. They’ll fire in the order you load them, so coordination is key.
- Want to speed things up? Spam that “mi” button while carrying rounds. You might also notice that if you time your presses right, you can walk past a shell and still pick it up.
- When choosing rounds, steer clear of non-lethal ones. Keep an eye out for the big hitters like mini nukes and high explosives. They’re super handy against large swarms and tough enemies. Since it’s luck-based, sometimes you won’t have all the good stuff. W takim razie, designate someone to handle loading while others drop the shells, ensuring the best ones go in first.
Zasoby
One of the most crucial aspects of your mission, besides the main objective, is grasping how resources function.
Many folks seem to misunderstand this system: all resources are shared among everyone. Więc, if you extract with samples, everyone benefits. Even if one person collects everything and they make it out, everyone still gets a share, regardless of their individual efforts.
As for medals and super credits, they’re deposited into your account the moment you pick them up, and they’re distributed to everyone else too. You can easily check this by hitting “ESC” and glancing at the top right corner, where your medals and super credits are displayed.
Samples:
The primary reason for undertaking a Helldive mission is to gather supers. Aby je zlokalizować, keep an eye out for a distinctive rock. Not just any rock will do; it’ll stand out. That’s why we opt for missions with better visibility or get the Radar up. These supers won’t be confirmed by pings, so you’ll need to go to the source to be sure. All super samples spawn around this particular rock, so ensure you collect them all. Pressing “PATKA” will reveal the count at the top right corner.

Best Method for Sample Retrieval:
Once you’ve gathered the super samples, Masz dwie możliwości. Stick with the team, ensuring your survival or have someone else pick up after you. Alternatywnie, head straight to the extraction point and drop the samples there. Aby to zrobić, press and hold “X” on the keyboard, then select to drop your samples. This prevents them from being lost in the chaos. Następnie, if all else fails, the last person alive can still extract the samples.

Krok 4: Co dalej?
Priority Upgrades:
Let’s keep it simple: Eagles and Orbital should be your main focus for upgrades.
Here are the maximum resource limits:
- Wspólny: 500
- Rzadki: 250
- Supers: do ustalenia
Requisition points: 50,000
Make sure not to max out or overspend. Many of the 2-3 upgrades demand a hefty amount of resources, including supers. Więc, spend wisely, even if it means waiting to achieve the maximum upgrade.
To wszystko, co dzisiaj udostępniamy w tym celu Helldivers 2 przewodnik. Ten przewodnik został pierwotnie stworzony i napisany przez Towelie. Na wypadek, gdybyśmy nie zaktualizowali tego przewodnika, możesz znaleźć najnowszą aktualizację, postępując zgodnie z tym połączyć.