- Tytuł: GARAGE: Bad Trip
- Data wydania:
- Wywoływacz:
- Wydawca:
Information about GARAGE: Bad Trip is still incomplete. Pomóż nam wypełnić szczegóły gry za pomocą tego formularz kontaktowy.
A guide on how to get all the achievements in ‘GARAGE: Bad Trip’ in one playthrough.
- All achievements can be obtained on easy difficulty. Challenges have their own difficulty which cannot be changed.
- Tam są 3 collectable achievements.
- Apart from the Challenge achievements, the rest can be obtained in one playthrough. Level select is available if you miss any achievements.
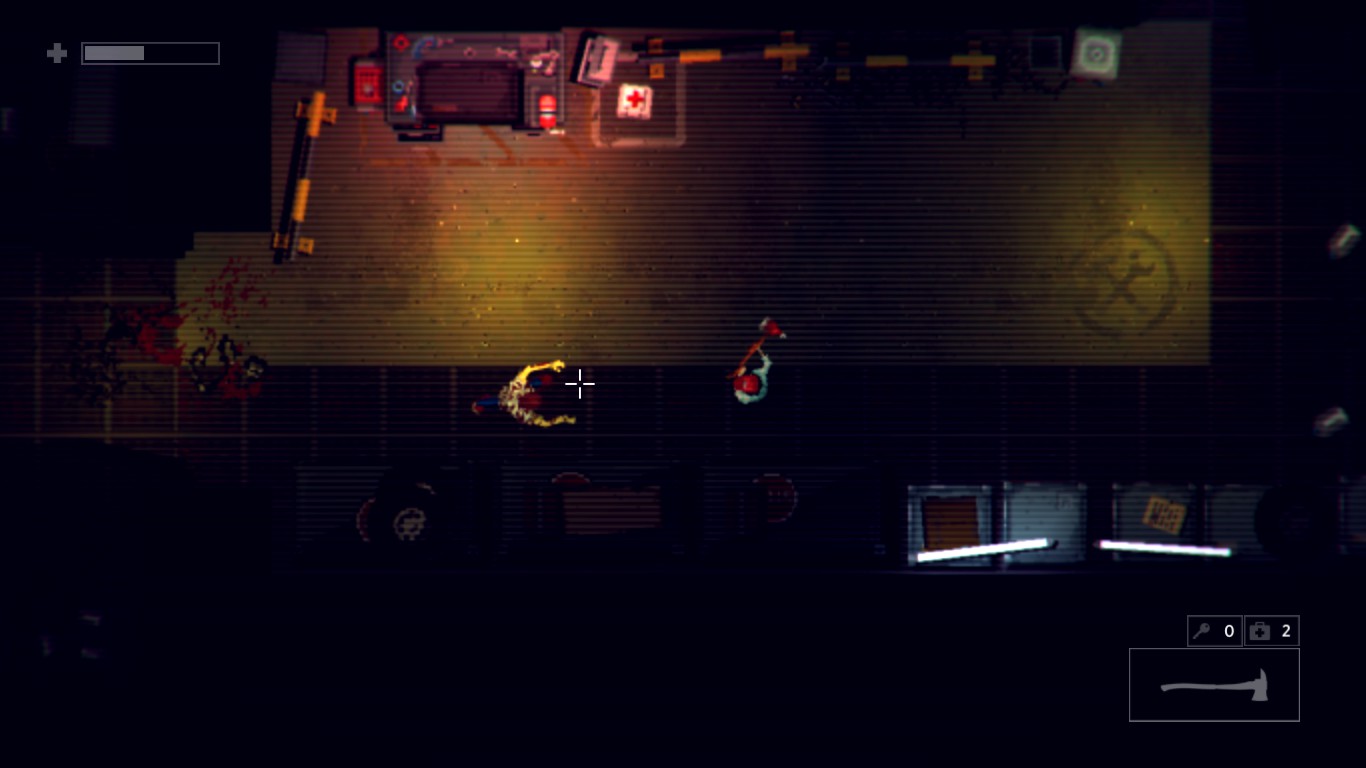
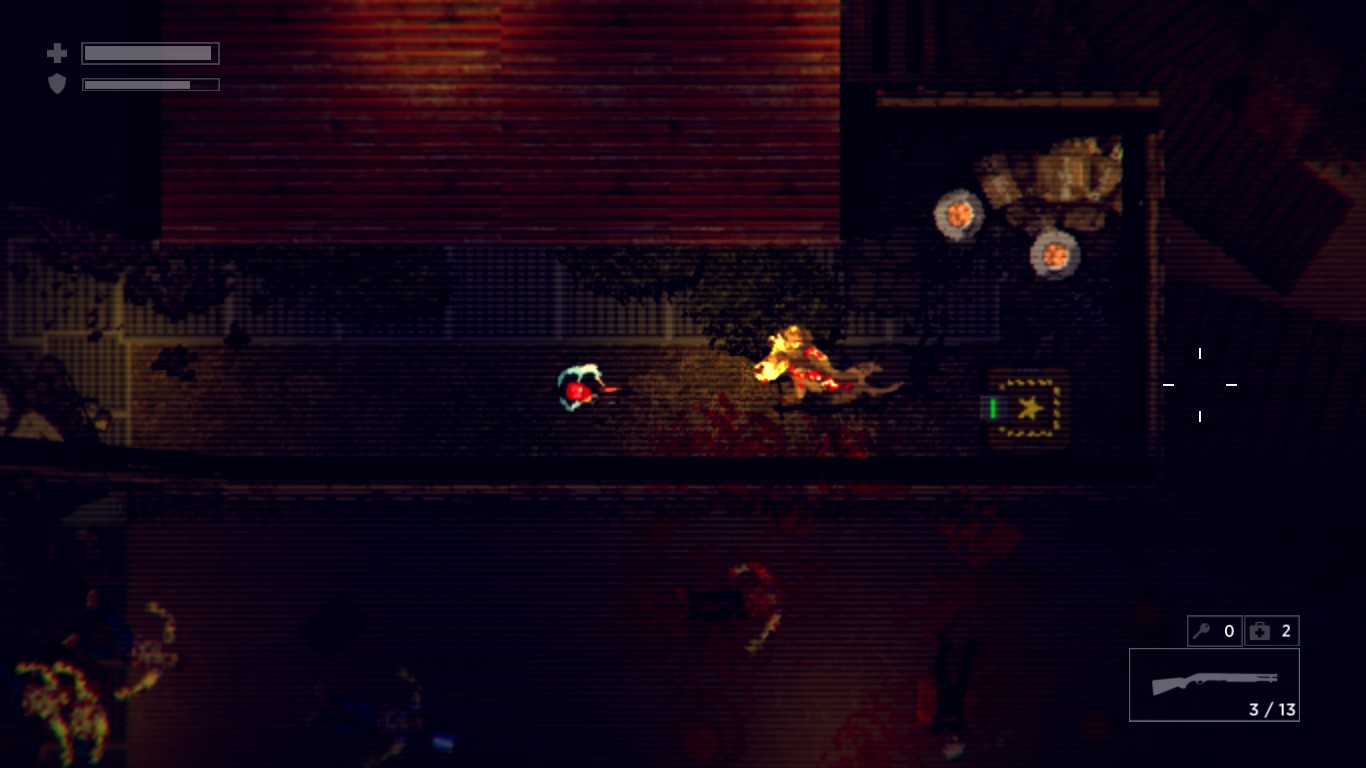
- Punches and Axe are rather ineffective against small rats. Use kicks or guns.
- The Axe has a charge attack that can one hit kill most enemies. Hold attack button and upon releasing you can do a charge attack. It also propels you forward, which is useful for closing distance towards armed enemies. Necessary for completing Axe-man challenge.
- If you are stuck on how to proceed in Chapter 8.1 and keep dying here’s what you should do Do not exit the cell. There are two weak spots in the walls. One conceals the phone and another leads to the adjacent cell where you can find the plan to proceed through the chapter safely. After moving the bed, punch the wall where the debris is.

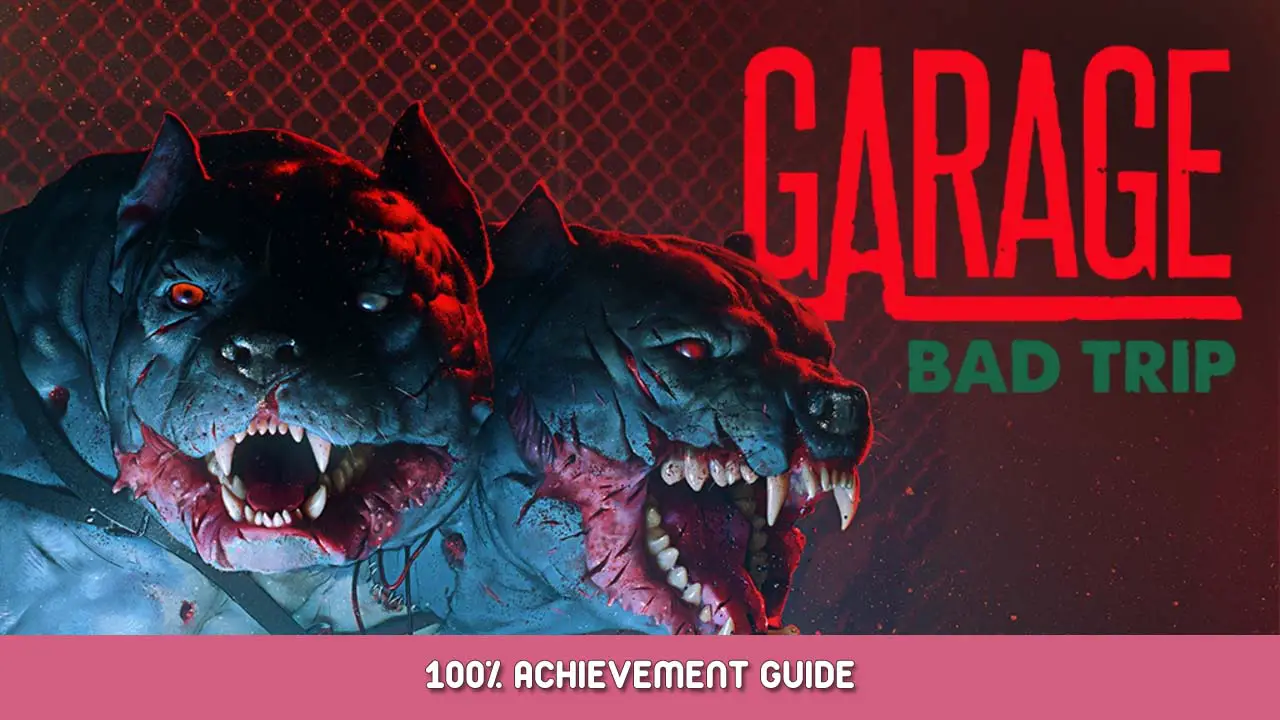
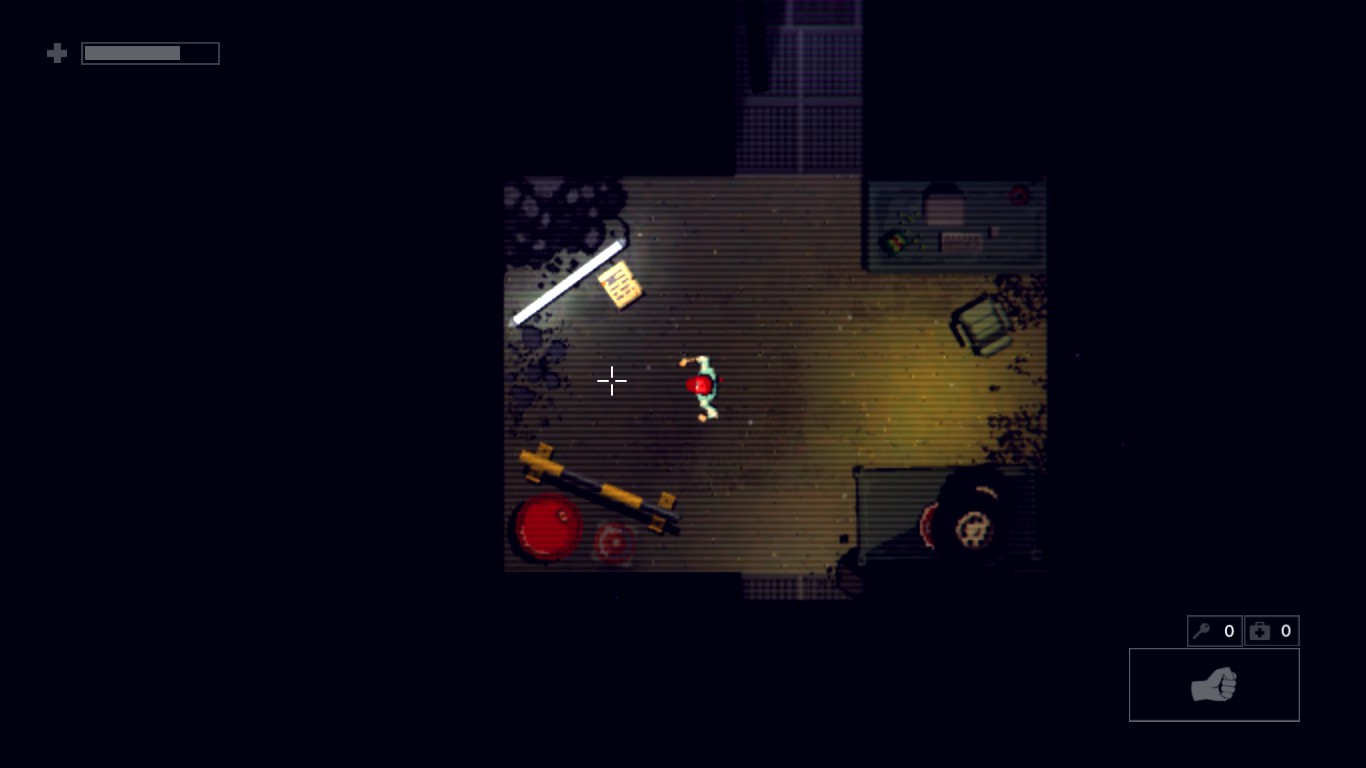
Find a secret passage
The game has many hidden areas which can be accessed by breaking through a wall. The first secret area you can access is just after you start the game. In the first room you enter after starting the game, the left wall can be broken. Punch the wall to break it and get the achievements. Secret areas in other levels can be found by looking for debris near the wall.
*

Rozbić 15 vending machines
Almost every chapter has one or more vending machines. Smashing them up, gives food items which replenish health. They are quite easy to find as they glow white and have an electric hum. Rozbić 15 vending machines to get the achievement. Vending machines are plentiful in the game and you can find 15 machines by the time you reach chapter 6.
*

Kill your first cadaver
The first zombie you encounter is in chapter 2. Kill it with your fist to get the achievement.

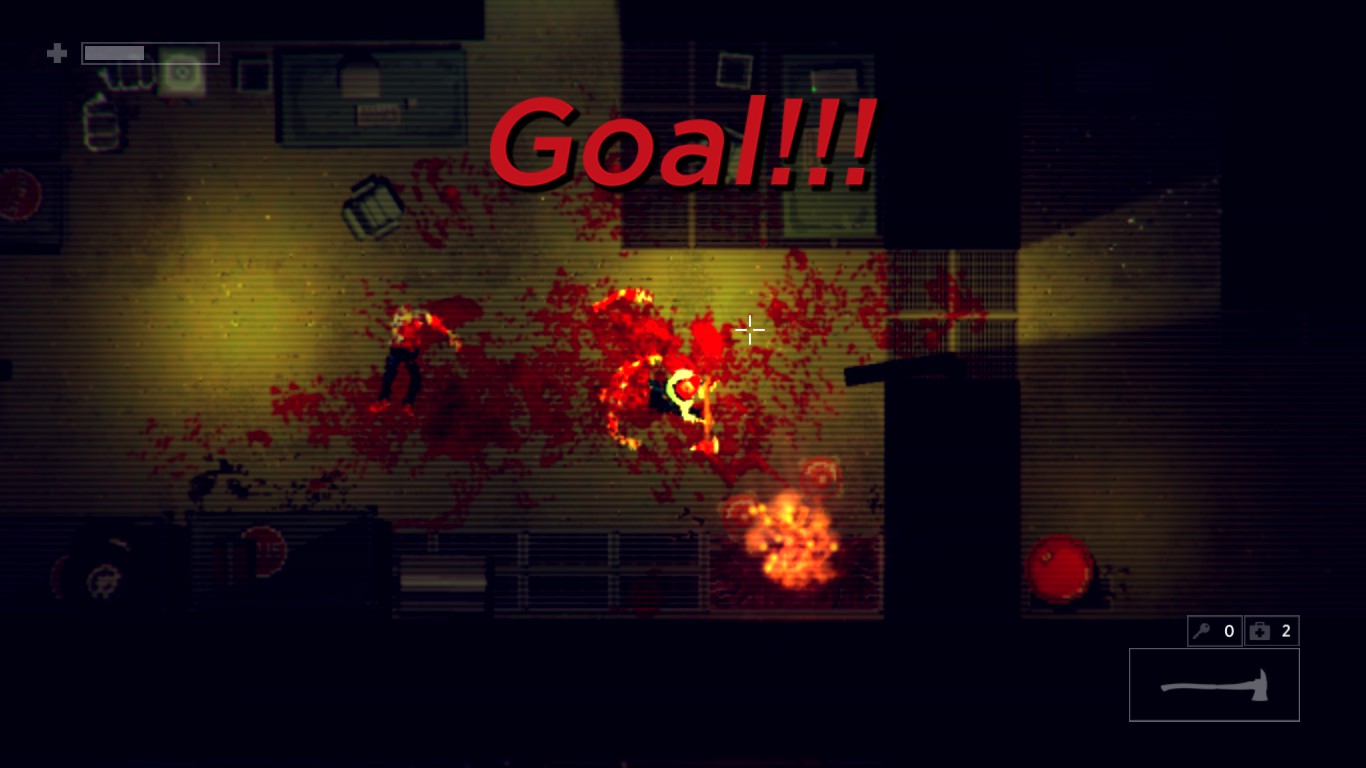
Score a goal with your head
You can unlock this in chapter 3. You can find purple pits in some levels. Pushing or kicking objects into the pit would show ‘GOAL’ on the screen. After crafting the Axe, break the chain on the double doors. DO NOT kill the zombie coming towards you. Lure it towards the room with the purple pit and kill it with the axe. Nudge the severed head towards the pit. You’ll get the achievement when the head falls into the pit.
*

Watch a TV show
Starting from chapter 3, there are TV’s scattered all throughout the game. Some are functional and have shows running and some are broken. For this achievement you have to find and watch the shows on 9 of the TV’s.
Zackyispaulhas a simple and to the point guide for all the TV locations. Some TV’s are near enemies, thus they can be destroyed accidently. If you can’t find a TV at it’s location as mentioned in guide, restart checkpoint and try again.
*

Brać “heavenly” pills
Can be unlocked in chapter 4. Continue through the chapter until you reach a room with a sparkling note on a table. Przeczytaj notatkę, which will allow you to pick up the unknown pills on the next table. Upon picking up the pills you’ll get the achievement.

*

Open the shelf in the desk
Starting from chapter 5.2 you can find desks with drawers in them. Continue through chapter 5.2 until you reach the room with a TV in the middle of the room. There is a desk nearby. Open the drawer to get the achievement. Drawers contain useful supplies so don’t forget to check any that you find.
*

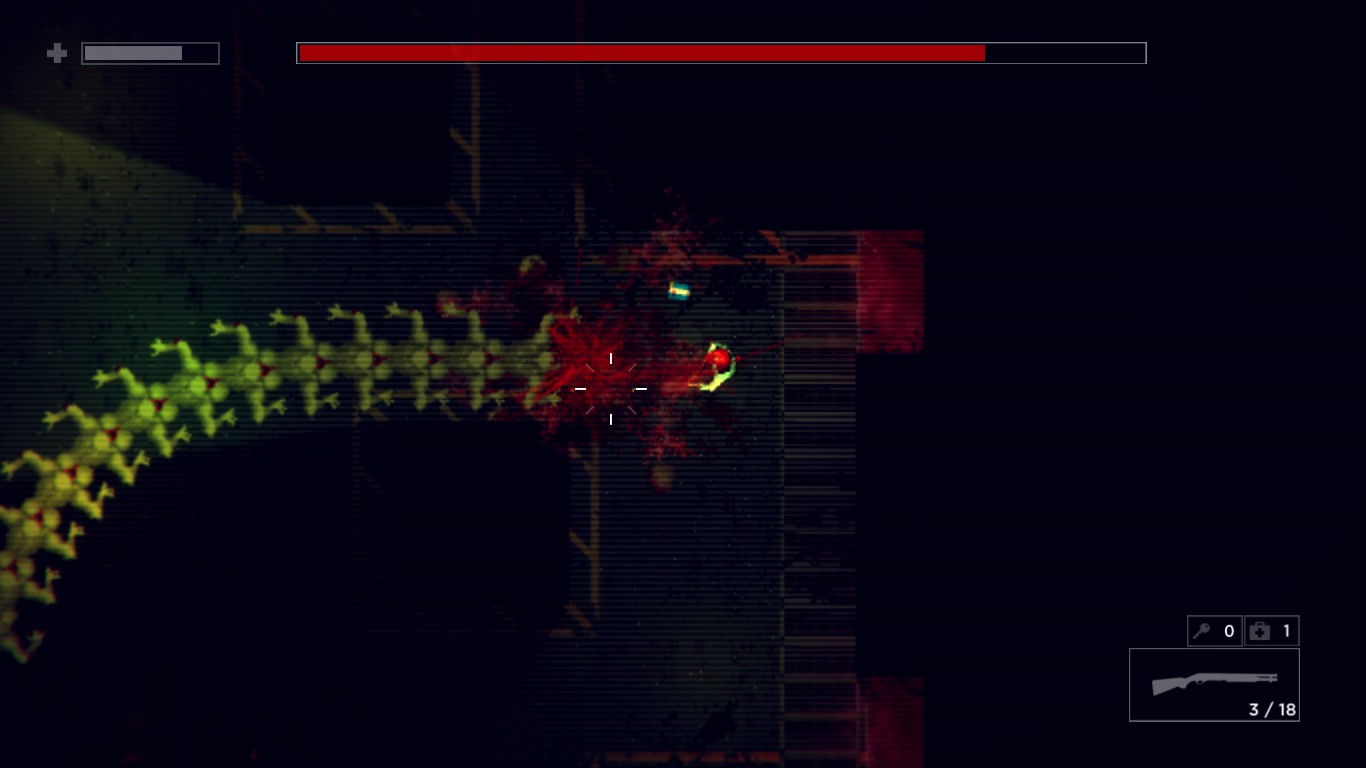
Kill the centipede
First Boss fight in the game. The Centipede only takes damage when you fire on the leading segment. Firing on the sides is a waste of ammo. Keep moving and shooting at its front segment. After taking some damage it moves towards the purple pits and spawns zombies. After taking down 2/3rd of its health, the centipede will break apart into separate units. Keep moving and killing each unit one by one. After killing the last one, dostaniesz osiągnięcie.
*

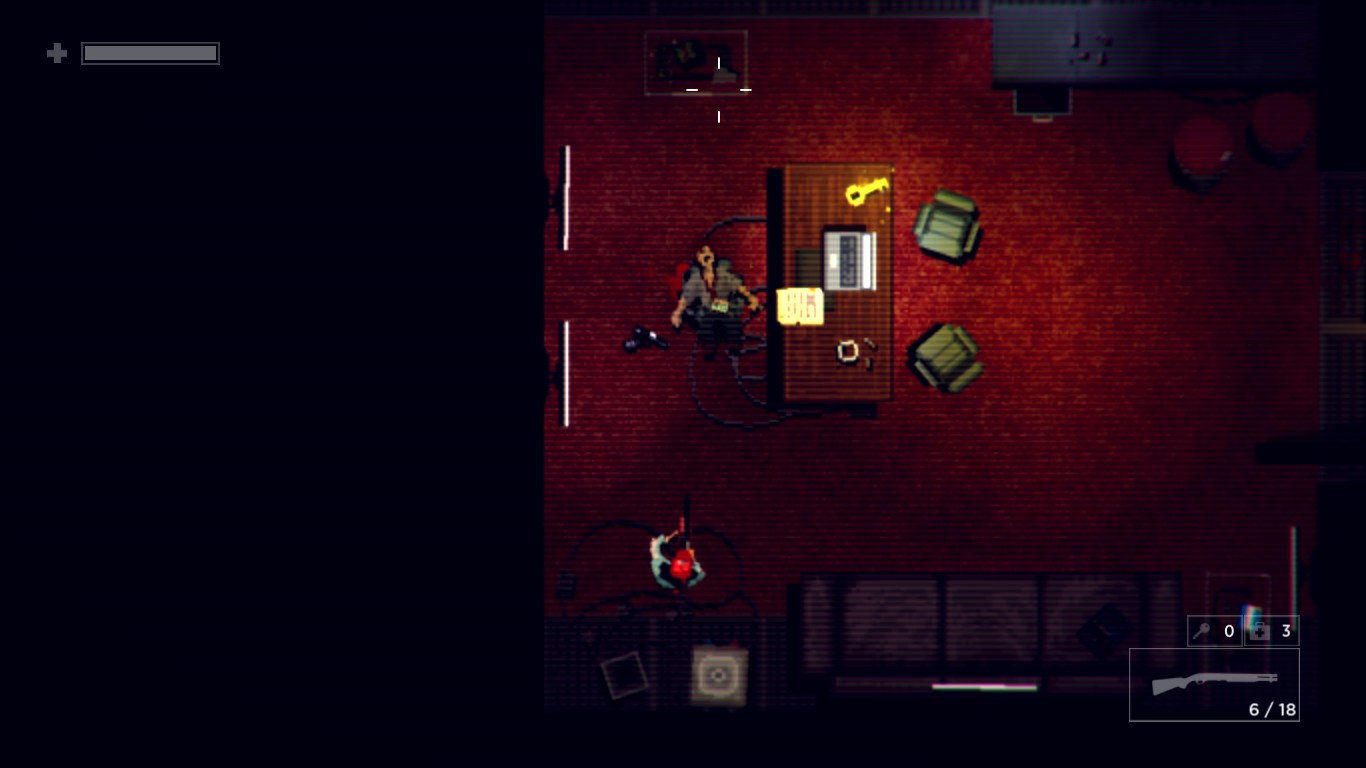
Dispose of the old boss
This achievement is unlocked in chapter 6.1. Continue through the chapter until you reach the section with the bombed train. After killing all enemies near the train, continue ahead and you’ll reach an office room with a corpse on the chair and a key on the table. You have to shoot the corpse and destroy it to get the achievement.
*

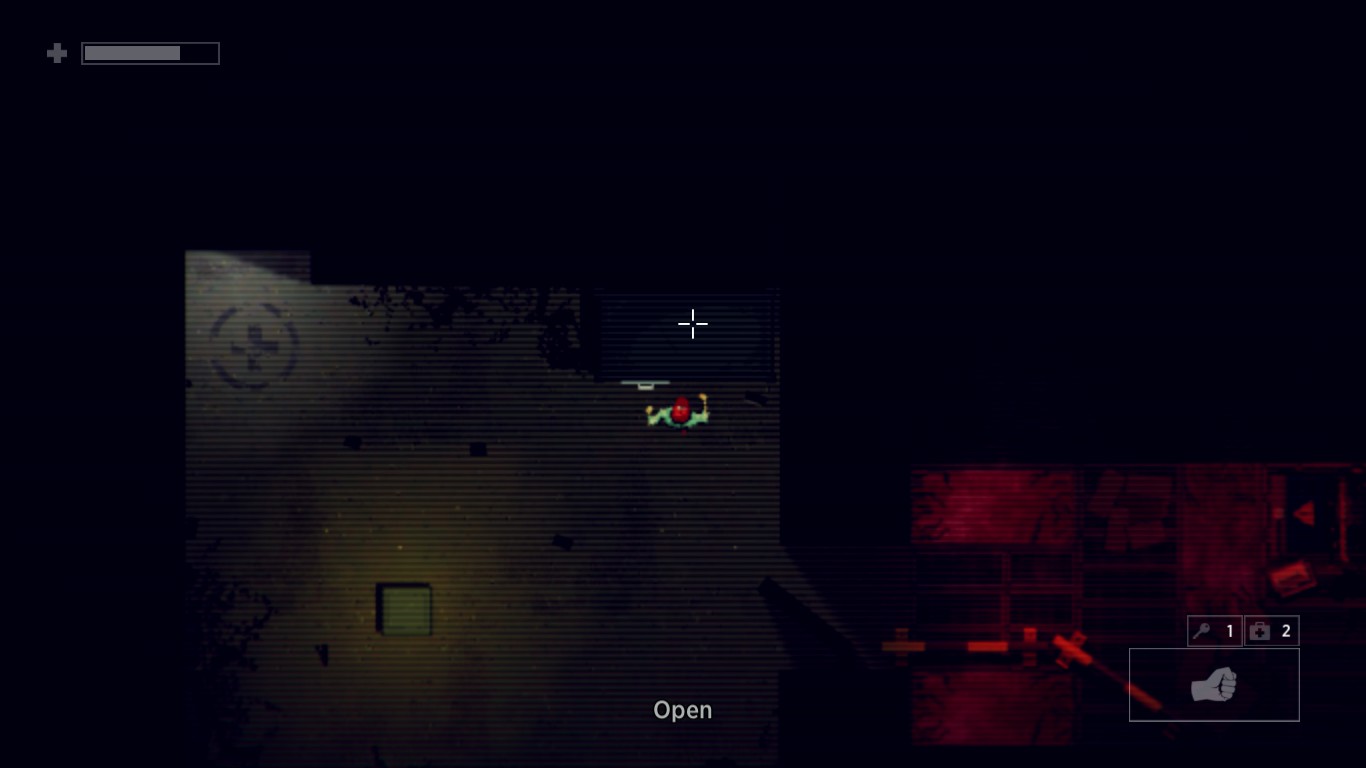
Find a condom
This achievement is also unlocked in chapter 6.1. After taking the key from the office with the corpse, keep moving through the chapter until you find a Vending machine which looks different from the rest. This vending machine glows pink/purple. Hit the machine and it will drops some condoms. Pick up a condom and you’ll get the achievement.

Unlock a combination lock
Starting from chapter 6.1, you can find locked safes in certain chapters. You only need to unlock one safe to get this achievement. The Archivist achievement requires opening at least 4 safes, so you’ll get it anyway. Refer to the ‘Archivist’ section for codes.

Find all the parts of Demikhovsky’s diary
Tam są 10 locked safes in the game, 4 of which contain parts of Demikhovskys diary. The chapters where you can find the safes with diary fragments are Chapters 6.2, 9, 11.2 I 12.1. Zbierz wszystko 4 to unlock this achievement. Refer to the ‘Archivist’ section for a table with code and location for every safe in the game.

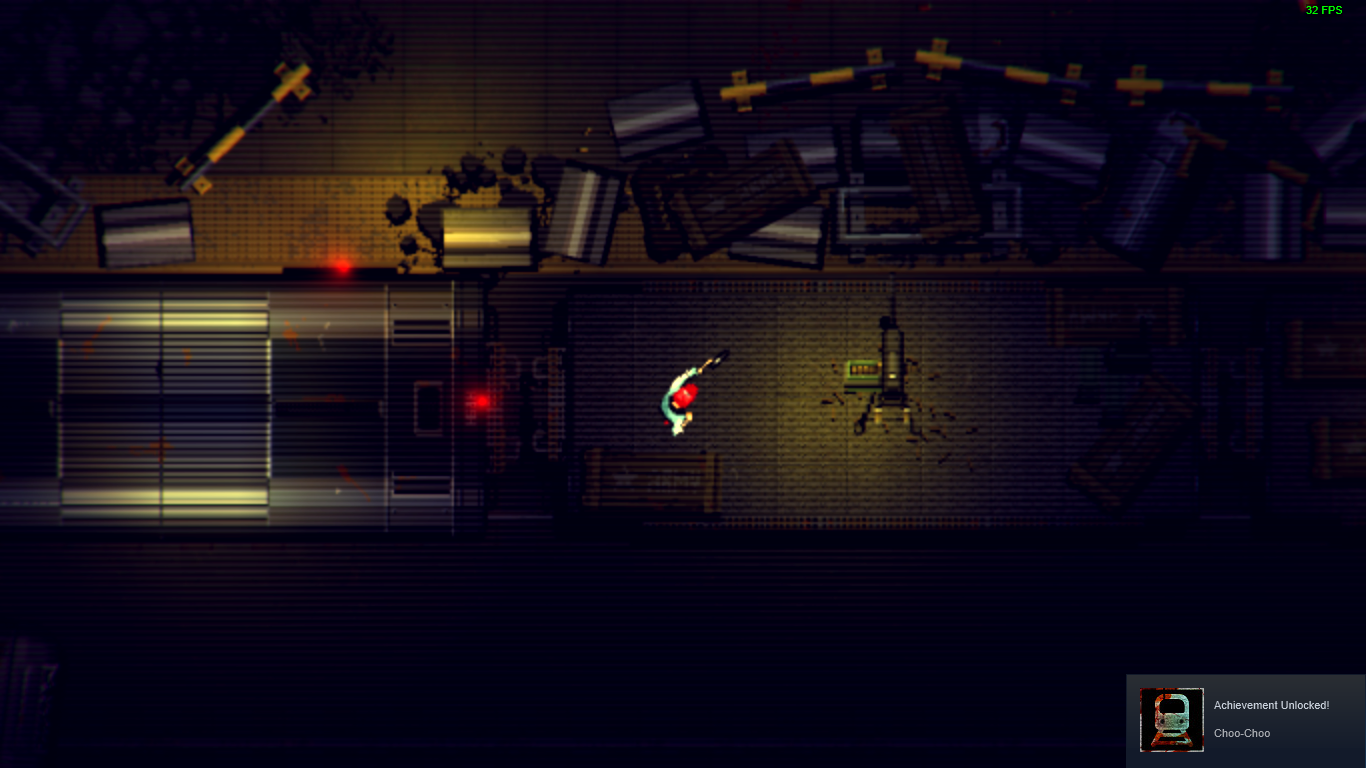
Ride the train
You’ll get this achievement in chapter 6.2 when you ride the train. It can’t be missed.
*

Pick up soap in the shower room
You can unlock this achievement in Chapter 8.1. While searching for parts for the makeshift gun, find a shower room near a vending machine. In the shower room, there is a soap on the floor. Pick it up to get the achievement.
*

Kill Dreadnought
Second boss fight. Dreadnought is in the center of the room surrounded by cars and barricades. You can use those as cover from his fire. The barricades get destroyed after taking some damage but the cars seem to be indestructible. Take advantage of that and use them as cover. Dreadnought fires his turret at you and during later stages rockets as well. Keep running in circles and firing at him. After taking some damage he charges in your direction, but you can either dodge or hide behind cars. If he ends up near barrels, then shoot those to damage him some more. Take care not to kill yourself from explosions. Keep dodging and taking potshots at him, until his health is reduced to zero. You’ll get the achievement upon his death.

Kill Demikhovsky
Final boss fight. The actual boss is rather easy, but the map keeps spawning enemy mobs which move slowly but drop plenty of ammo. Demikhovsky in his tentacle monster form is in the center of the room. The tentacles do a lot of damage so keep your distance. Kill enemies and destroy tentacles if you need room to move. At the edges of the room, tam są 7 tanks containing centipede units.
First thing to do is to move in anticlockwise direction and destroy the tanks one at a time, killing the centipede unit that is released. Kill zombies to replenish ammo. Rest of the fight would be much easier without getting interrupted by centipede units as they are faster than zombies. When you reach the last tanks on the left side of the room, two headed dogs would also spawn from the wall. Be careful as they can kill you very fast.
When all the tanks are destroyed collect any supplies and ammo needed and move back to the right side of the room. This would prevent two headed dogs from spawning. In my experience they only spawn when you are on the left side of the room. Teraz, keep shooting Demikhovsky and occasionally controlling the mobs. When nearly half his health is gone he will summon the mini boss. Kill the mini boss and continue whittling down Demikhovskys health. You’ll get the achievement after his death.

Przejdź grę
Last achievement in the story. After defeating Demikhovsky, continue onwards and complete the last few sections. At the end you’ll get this achievement.
Tam są 4 types of challenges with 7 levels each, that can be unlocked after defeating Dreadnought. Challenges have their own difficulty which cannot be adjusted, so if you played through the story on easy, then you’ll find some of the enemies are harder to kill. Completing them depends on your skill. Most of the levels can be completed with some trial and error.

Complete the Labyrinth Challenge
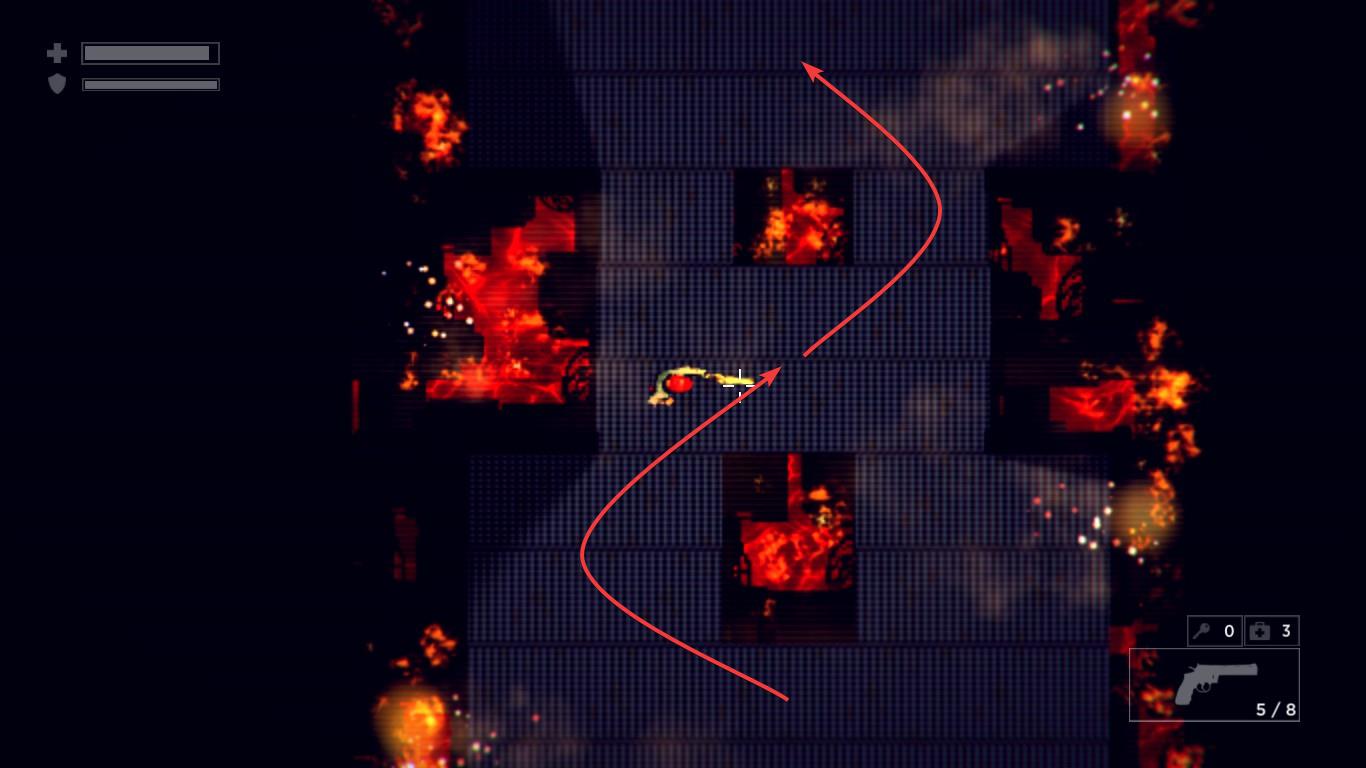
The Labyrinth challenge is similar to the game of Pac-man. You have to move through a maze like room and activate switches.Killing all the enemies is not required, focus on activating switches. Activating all the switches will unlock the exit, through which you can leave. You have access to shotgun and AK rifle.Food pickups can be found on the ground and Ammo pickups are scattered throughout the map, but they give reduced amount of ammo (1 shotgun shell per pickup). A centipede unit is spawned every couple of seconds and on dying gives a medkit. Later levels will have two headed dogs and zombies as well.
Move fast and don’t waste time. The more time you spend on the level, the more centipede units you have to deal with. Ammo is limited and you have to pick it up from the floor. Try not miss any shots. Don’t take too long or you won’t have enough ammo to survive till the end of the level. If you can dodge enemies and reach the exit, zrób to. Two headed dogs can kill in under a second, so kill them asap. Some of the corridors have dead ends and you can get pinned by enemies there.

Complete the Axe-man Challenge
Axe-man challenge was the most fun challenge for me. You have access to only the Axe weapon and healing items. Every level is filled with armed enemies. Some enemies are staionary and others will move to your location if they see you. Using the charge attack with the Axe is necessary to complete this challenge. Use the charge attack to lunge at enemies and close the distance. Use stealth as much as possible. Hide behind cover and attack one target at a time. Keys are required to open the exit door most of the time. Some enemies hide around corners or doors to ambush you and they can even spawn after you have cleared the area.

Complete the Skirmish Challenge
Skirmish challenge is similar to Axe-man challenge, but you have access to any guns you can find in the level. Most exit doors require unlocking with keys. Plenty of explosive barrels in some levels, which make dispatching groups of enemies easy.

Complete the Arena Challenge
Arena challenge is as the name suggests, when you fight in the arena against mostly monster enemies and sometimes armed enemies. You have access to any weapons in the level. Weapons can be found in boxes. Prioritise harder enemies like two headed dogs and mini boss. Exit opens after you kill all the enemies. Some exit doors require key to open.
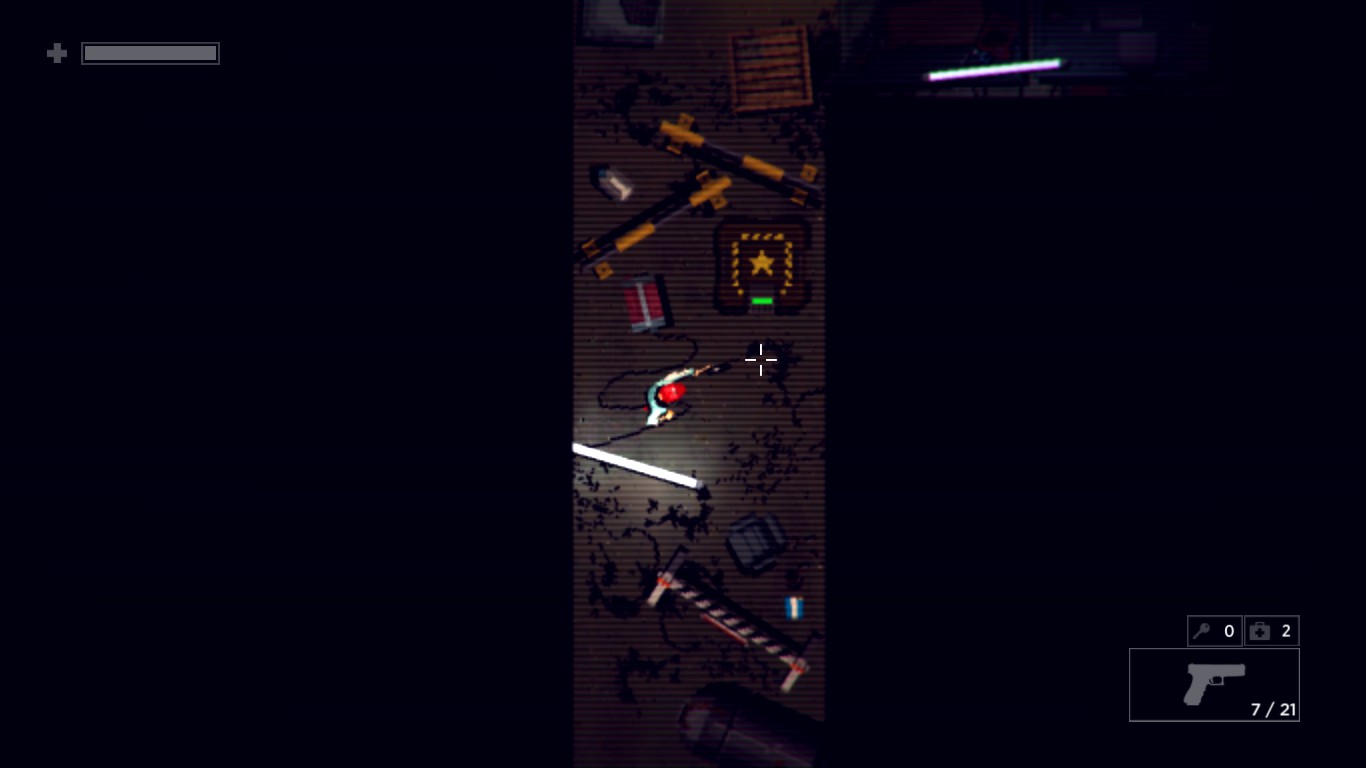
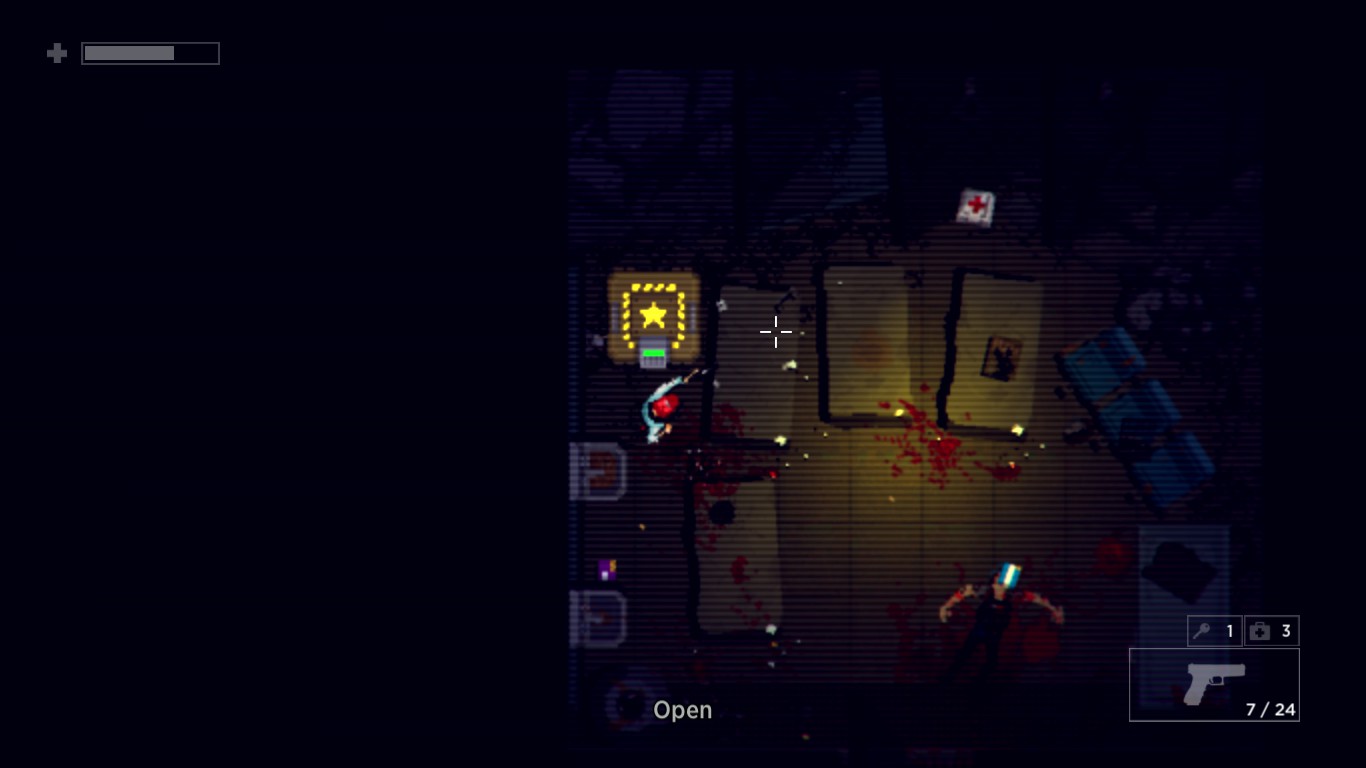
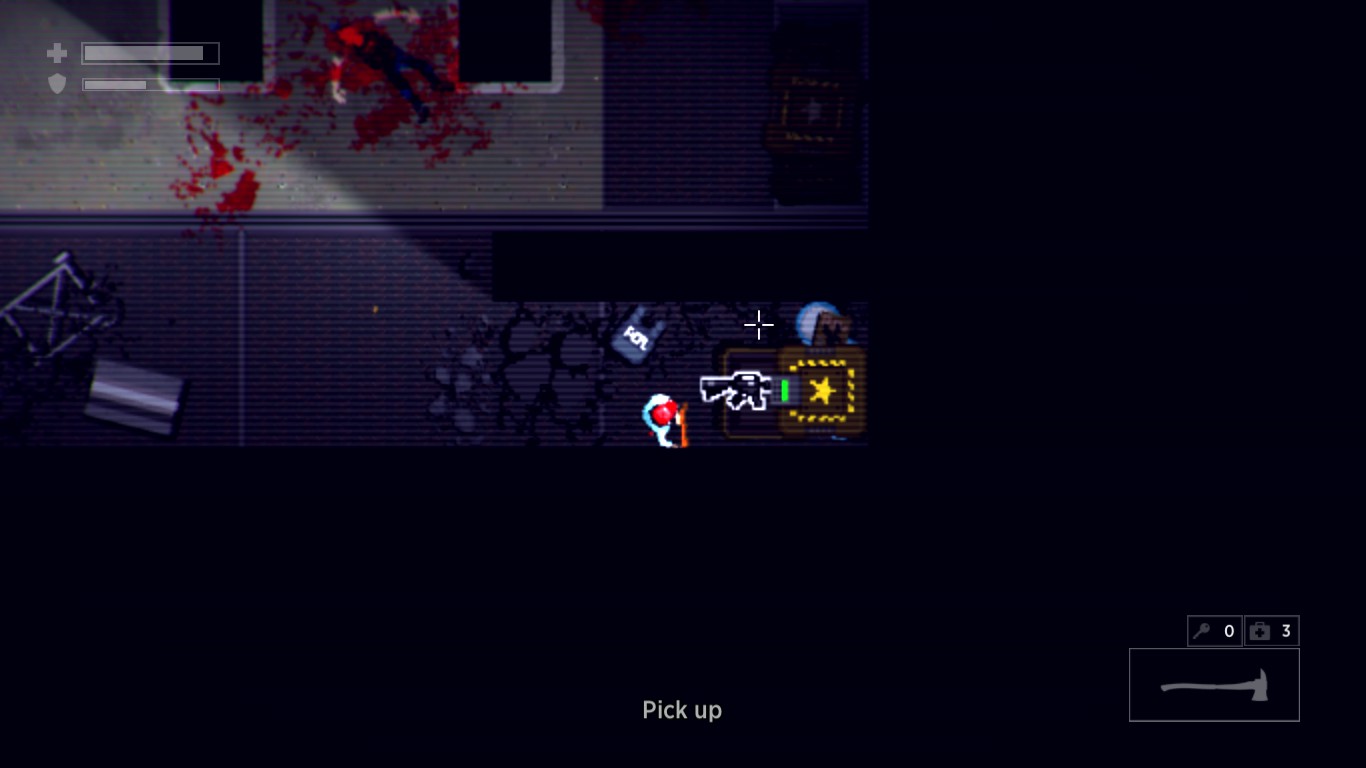
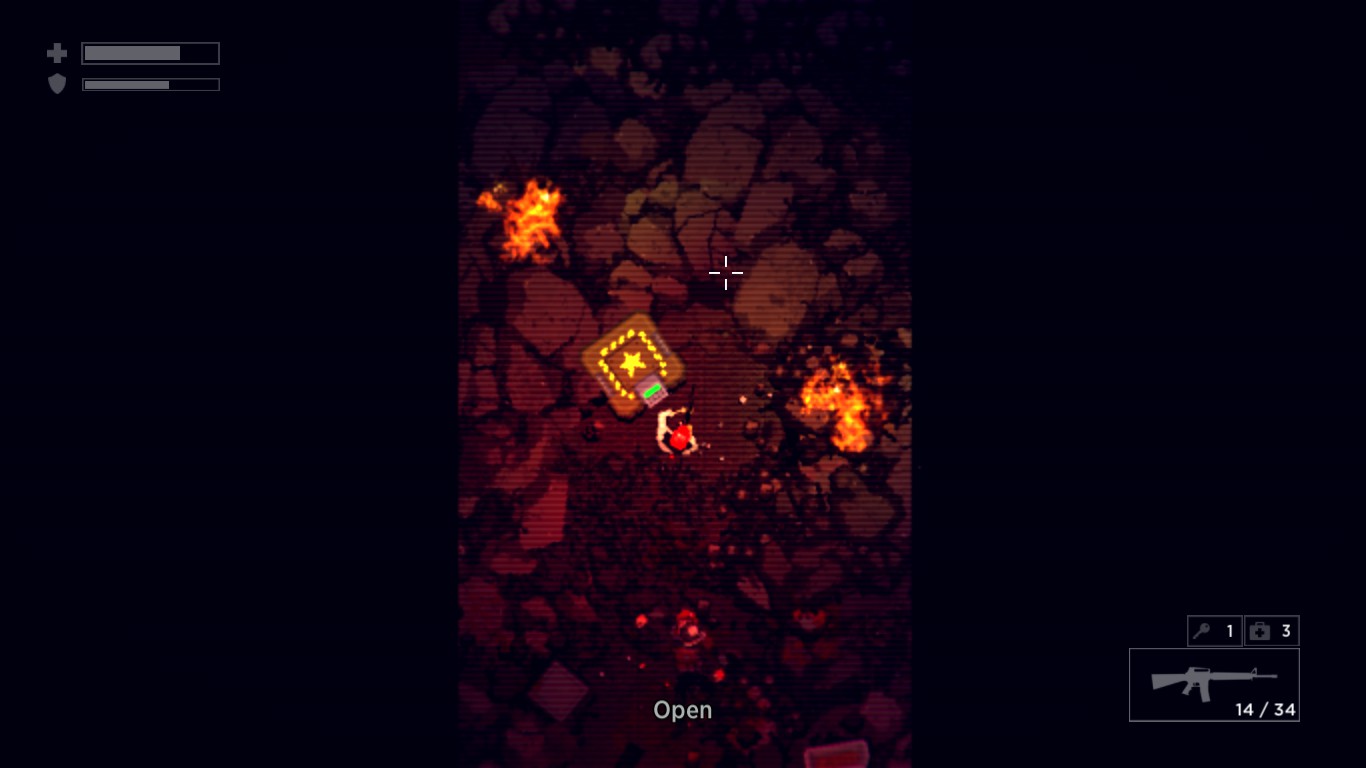
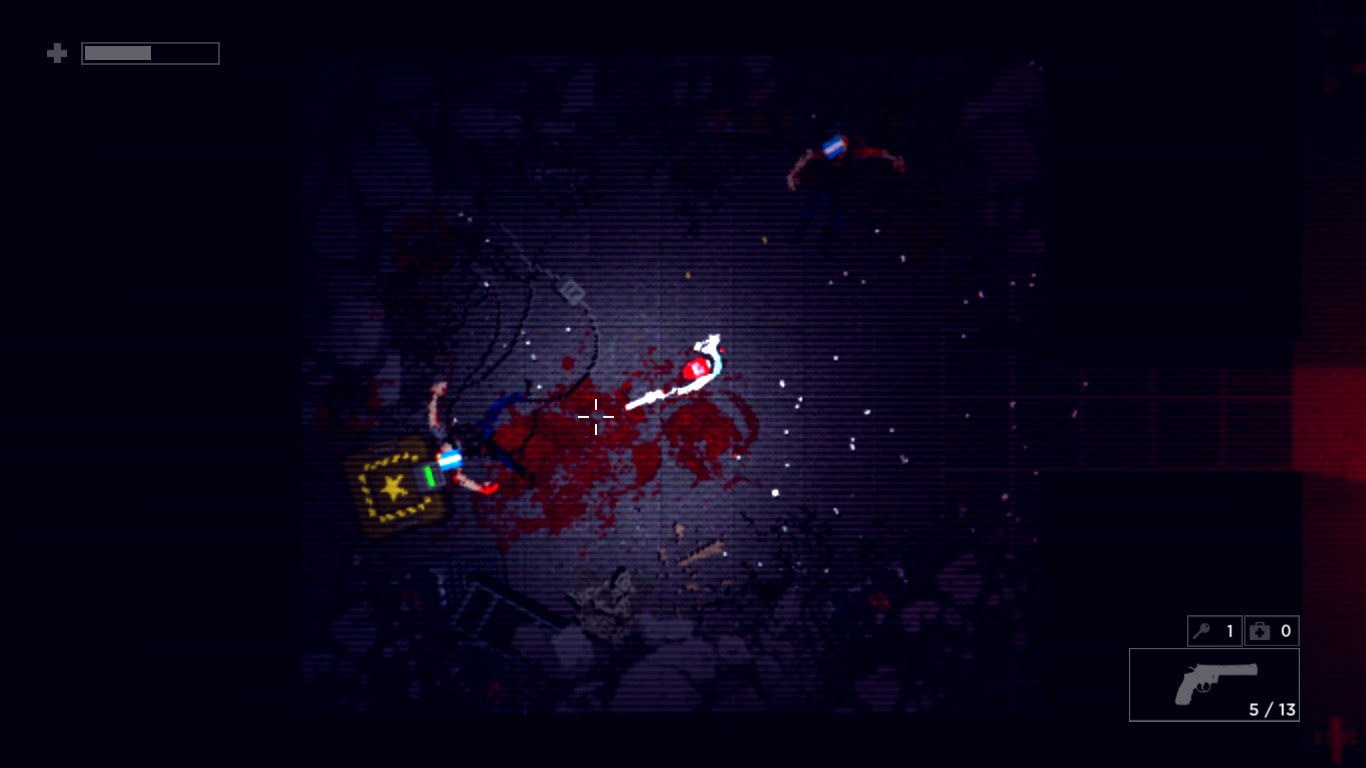
Tam są 10 locked safes in the game and can be found starting from the first one in Chapter 6.1. There are other safes as well, but they can’t be interacted with. Correct safes have bright yellow star and a keypad with green coloured screen. The 4 safes necessary for the ‘Archivist’ achievement are marked as important in the table. Even though only 4 safes are required for 100%, most of the other safes give ammo and early access to weapons. The codes for the safes were obtained from the Steam discussions for the game and the codes were found by players DCSTU, Rathraq I Deleanor
 [/previewimg]
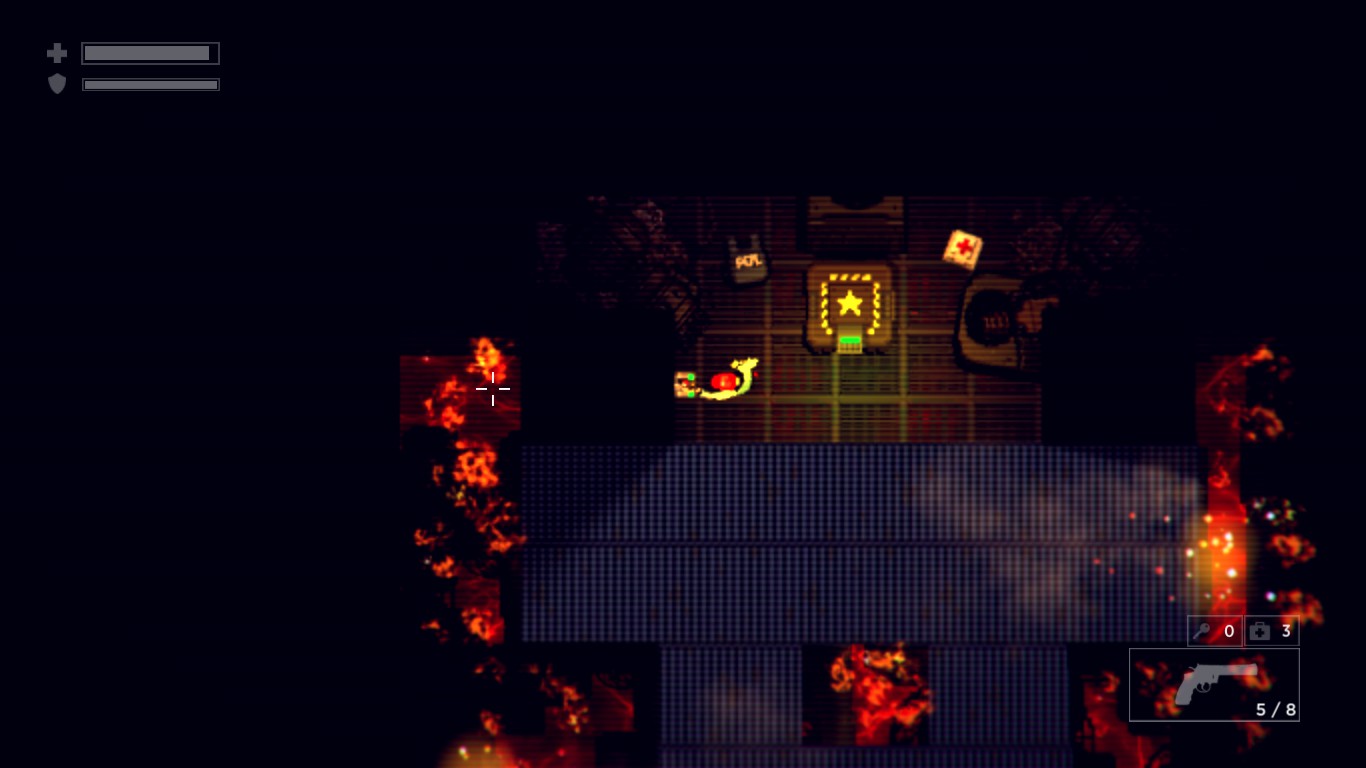
To wszystko, co dzisiaj udostępniamy w tym celu GARAGE: Bad Trip przewodnik. Ten przewodnik został pierwotnie stworzony i napisany przez torpeo. Na wypadek, gdybyśmy nie zaktualizowali tego przewodnika, możesz znaleźć najnowszą aktualizację, postępując zgodnie z tym połączyć.