W tym przewodniku dowiesz się, jak odblokować wszystko DreadOut: Keepers of The Dark osiągnięcia. The game has 10 achievements in total. Two of them can be missed, and one is quite specific. The remaining achievements are all related to the progression or story of the game.
Osiągnięcia związane z fabułą

Pukanie’ na Bramach Niebios
Open the hidden big door

There’s a Light in the End of the Tunnels
Finish the lost chapter
W grze, your main goal is to banish ghosts so that you can eventually enter a large door at the end. The achievement labeled as “ukryty” might be because it’s concealed in darkness. The second achievement is earned by completing the epilogue of the game.


Beginner Banisher
Banish 1st Keeper

Halfway to Sanity
Banish 4 Strażnicy

I Spit on Their Graves
Banish 8 Strażnicy

Enjoy The Silence
Banish all Keepers
Specific

Astral Showreel
View All Linda’s Past Projections in Limbo
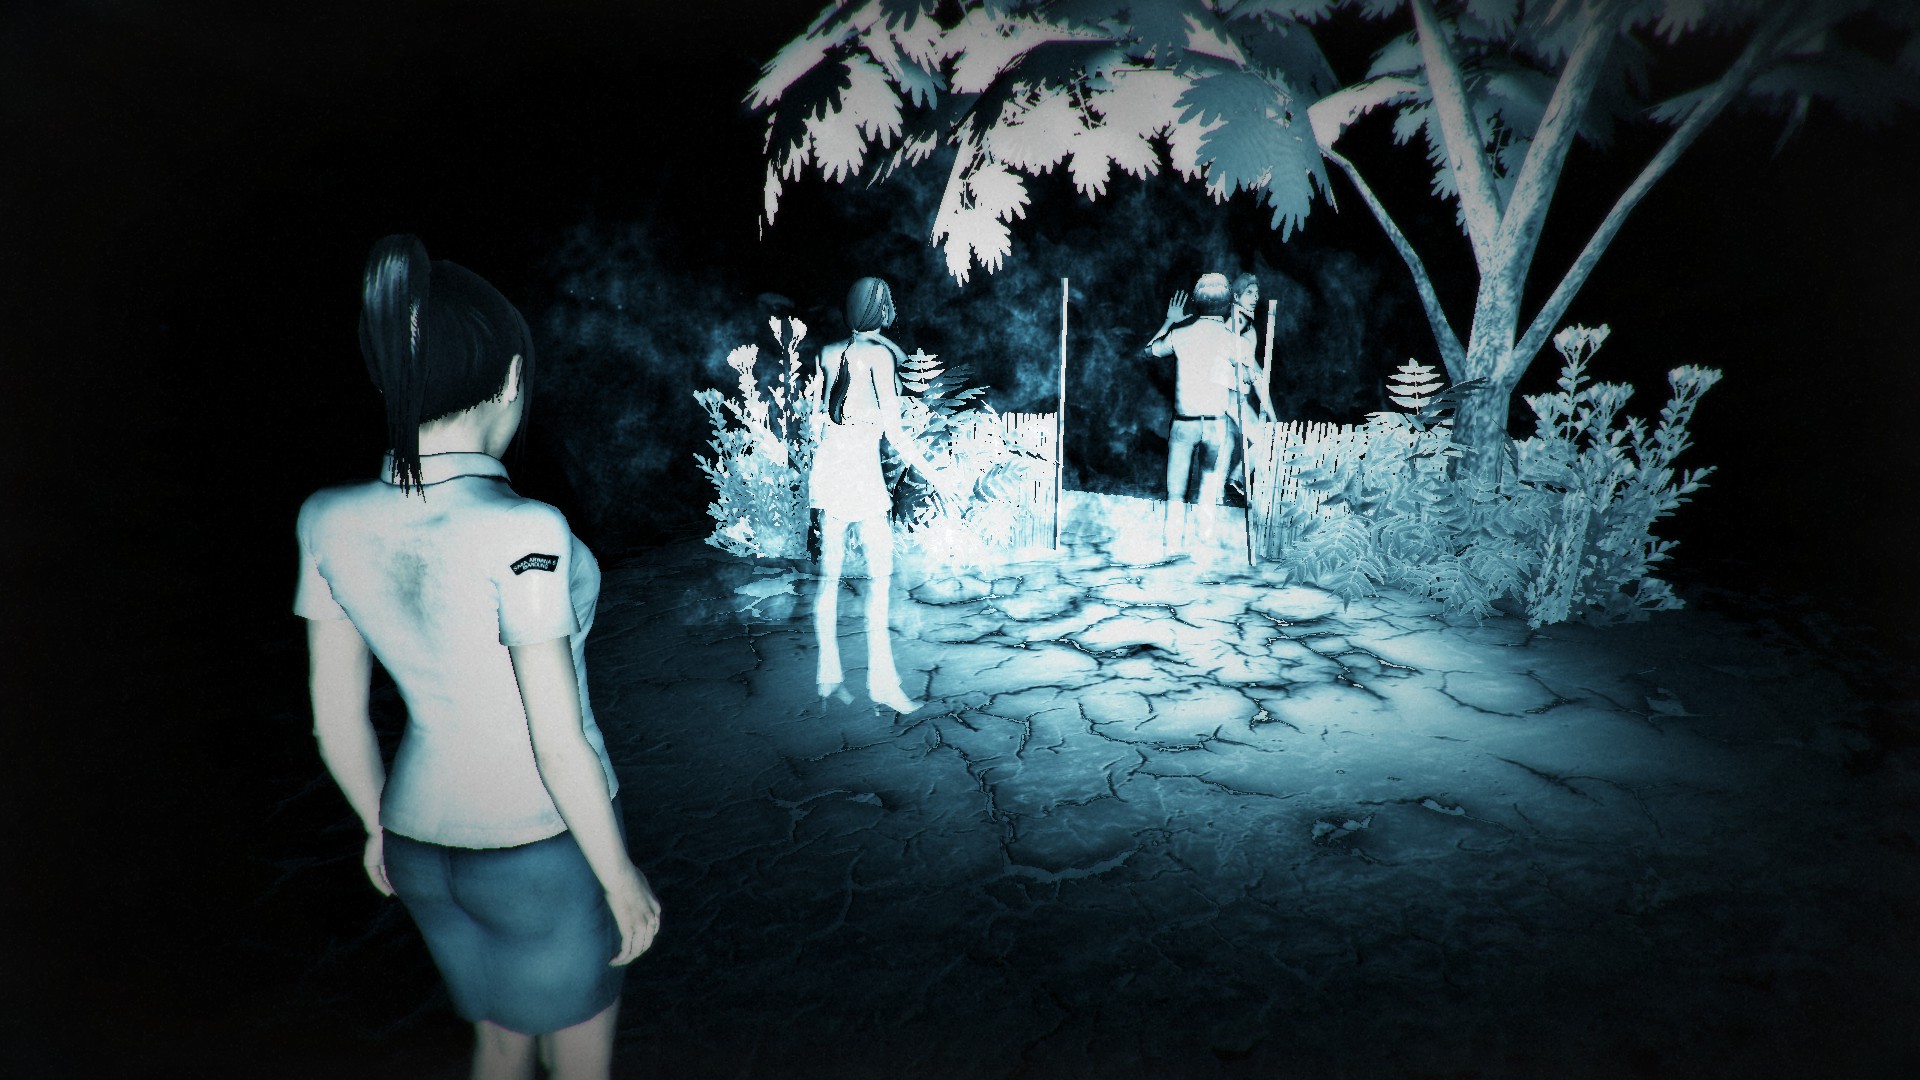
To unlock the “Astral Showreel” osiągnięcie, when the game starts or after you die, don’t head towards the light. Zamiast, turn around and follow the small light orbs. They will provide a brief recap of the first game.

After revealing a memory, pause and stay still to activate Linda’s memories. Repeat this process for all the orbs to earn the achievement. Keep in mind that this achievement can be buggy, so you may need to interact with the orbs more than once if the achievement doesn’t trigger initially.

Cards Unlocked
Play KOTD for 2 godziny
Osiągnięcia możliwe do pominięcia

Pinned Down
Defeat ‘Susuk Lady’ z 10 ‘Susuk Needles’ lub mniej

Strzelec wyborowy
Defeat ‘Ceramic Woman’ without damaging her decoys
One of the achievements requires defeating a boss with 10 or fewer needles. The fewer needles you have, the weaker the boss becomes. If you followed the order of the doors (101, 102, itp.) and collected everything from them, you should have precisely 10 needles when you complete 105.
The bosses are situated in door 106, z “Susuk Lady” upstairs and “Ceramic Woman” na dole. It’s advisable to tackle Susuk first so that you can freely explore without the risk of accidentally picking up a needle. Refer to their respective sections for more details.
Pinned Down
Defeat ‘Susuk Lady’ z 10 ‘Susuk Needles’ lub mniej
You’ll find the Susuk Lady on the upper floor of the school in door 106. To reach the upper floor from the starting point, head down the northwest hallway and keep going until you reach the stairs. If you’ve already defeated the Ceramic Woman, the scenario might appear slightly different, as the mannequin in front of a flyer won’t be pointing towards the Ceramic Woman. Since our goal is to confront the Susuk Lady, climb the stairs and proceed forward to your right.
After you go through the first door, you’ll see a lady wearing a red dress. She’s looking into a mirror and talking to herself. This lady is known as the Susuk Lady. Wait until she stops talking or when you notice static in the camera, then take a shot of her. Potem, get ready for the boss fight. Make sure to pursue her actively until she is defeated, as taking too long might allow her to recover.

Strzelec wyborowy
Defeat ‘Ceramic Woman’ without damaging her decoys
You’ll find the Ceramic Woman on the lower floor of the school, specifically through door 106. From the spawn point, head northwest in the hallway until you reach the stairs. Look for a mannequin in front of a flyer, indicating the location of the Ceramic Woman.
Once you enter the room where the Ceramic Woman is, take a shot of her with only her in the frame. After capturing the initial photo, she’ll start running around and hiding among other mannequins. Identify her by the dark spots on her face, siła robocza, and torso. Be cautious as there are decoys that are entirely white. When snapping a pic, make sure she’s alone in the frame to avoid accidentally capturing a decoy, which could lead to failing the achievement.

To wszystko, co dzisiaj udostępniamy w tym celu DreadOut: Keepers of The Dark przewodnik. Ten przewodnik został pierwotnie stworzony i napisany przez Renka. Na wypadek, gdybyśmy nie zaktualizowali tego przewodnika, możesz znaleźć najnowszą aktualizację, postępując zgodnie z tym połączyć.