- Tytuł: Battle Of Tarlis
- Data wydania:
- Wywoływacz:
- Wydawca:
Information about Battle Of Tarlis is still incomplete. Pomóż nam wypełnić szczegóły gry za pomocą tego formularz kontaktowy.
It has come to my attention that there is no maximum level cap within this game. This realization has sparked my curiosity: How can I efficiently complete maps in record time while maximizing my experience points (XP) Zyski? Ponadto, is it possible to further enhance my character’s strength even when all attributes have reached their maximum values?
I’ve managed to uncover some strategies and insights to address these questions. Shall we compile a comprehensive guide based on my findings?
Introduction and Basic Concepts
To expedite the leveling process when your character has already reached level 50 Lub 60+, it’s essential to follow these strategies. Prior to reaching this point, your focus should primarily be on completing all campaigns to unlock achievements and gain levels.
Here are some fundamental principles to keep in mind:
- Attribute Allocation: Every time you level up, you gain a single attribute point that you can allocate to any attribute of your choice, up to a maximum value of 99.
- Flexible Attribute Management: You have the freedom to add and remove attribute points at any time, regardless of the map or scenario you’re in within the campaigns. (Please note that the rules regarding multiplayer may vary in this regard.)
- Difficulty Tier Consideration: The “Difficulty Tier” plays a crucial role in optimizing the balance between effort and reward. It directly influences the strength of monsters, their health, damage output, XP rewards, and the amount of gold they drop. It might also impact the minimum level or the level of items dropped, although this aspect isn’t entirely confirmed yet.
- XP Acquisition: XP is awarded each time you defeat a monster, but there are some nuances to this:
- If you defeat a monster that grants 100 XP and you only needed 50 XP to level up, you will level up, Ale pozostałe 50 XP won’t carry over to the next level.
- When you defeat two or more monsters simultaneously and level up as a result of one of those kills, the XP from the other monsters won’t contribute to your progress for the next level, essentially meaning you defeated those additional monsters for 0 XP.
Please bear in mind that these nuances are relevant as of the date of writing this guide (Wrzesień 13, 2023), but they may be subject to change in future updates if the developer considers them to be bugs.
Organizować coś
To make the most of this guide, it’s recommended that you have reached at least level 50 Lub 60 and have unlocked the Canyon campaign. While a more detailed guide on attribute allocation will be developed in the future, let’s concentrate on the following attributes for now:
- HEALTH: 5/99
- ARMOR: 0/99
- LIFE REGEN: 20/99
- MOVEMENT SPEED: 0/99
- CRITICAL DAMAGE: 5/99
- CRITICAL CHANCE: 10/99
- ATTACK SPEED: REMAINING/99
- CAST SPEED: 0/99
Up until around level 200, maintain your HEALTH at around 5 Do 10 points and allocate the remaining points into CRITICAL CHANCE until it reaches 50/99 (this will result in frequent critical hits). Potem, shift your focus towards CRITICAL DAMAGE and ATTACK SPEED.
CRITICAL DAMAGE and ATTACK SPEED are undeniably the most effective attributes for quickly dispatching groups of monsters and reducing the time it takes to eliminate them. The goal is to target a single monster at a time, but with fast attacks and increased damage from higher CRITICAL DAMAGE attributes, you’ll speed through the map in no time.
Następnie, consider investing some points in LIFE REGEN and MOVEMENT SPEED. This will enable you to move swiftly between groups of enemies and regenerate health more rapidly.
Feel free to adapt this build to your preferences. This is merely a beginner’s build to get you started. If you find yourself taking too much damage from the mobs and waiting too long between engagements, you can allocate more points into LIFE REGEN or HEALTH to better suit your playstyle.
This strategy of rushing through maps applies primarily to the Canyon campaign due to its substantial mob density and straightforward layout, which allows you to maximize travel time between spawns and health regeneration.
Zasadniczo, you want to boost the DT just a few dozen more than your own level up until level 100 czy coś takiego, more or less.
Potem, you should concentrate on increasing the DT to a point where you can level up with just one monster without taking too much damage. As I write this tutorial at level 500, I complete runs with 1500–1700 DT without any issues or wastage of time.
How to Earn and Spend Your Gold
Zasadniczo, you should steer clear of thieves and gamblers right away. They provide more expensive products that will soon be replaced, thus shopping there is a waste of money.
You should swap out your weapons and armor with the usual npcs, Weaponeer and Armourer, around every 20 poziomy.
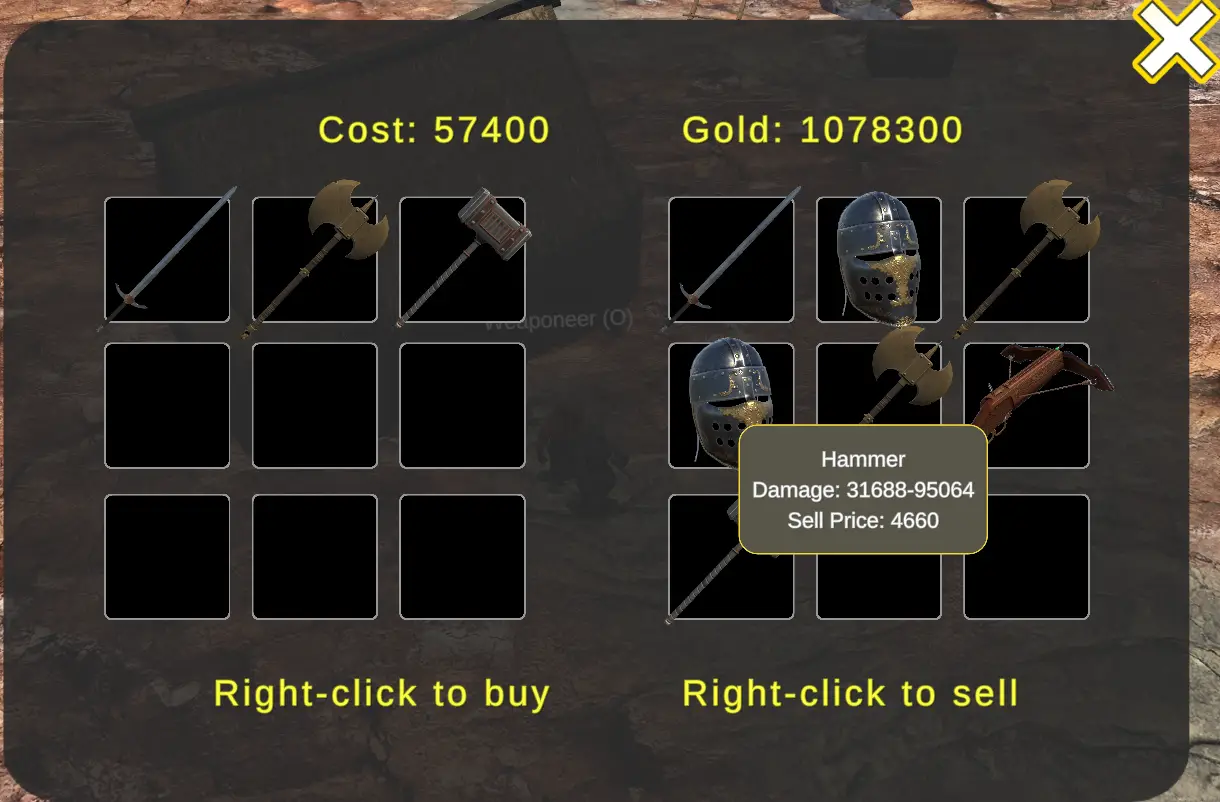
When you find yourself short on funds and unable to afford an entirely new equipment set, prioritize investing in your weapon and, możliwie, one piece of armor. It’s crucial to bear in mind that equipment prices increase with your character’s level, with each level increment adding 100 gold to the cost.
Dodatkowo, take into account that every Difficulty Tier (DT) has a direct impact on the amount of gold dropped from various sources, including structures like chests and walls, as well as from defeating mobs. This relationship can be expressed using the following formula:
Gold Dropped = DT * 10
Where DT represents the Difficulty Tier. This understanding is vital when it comes to managing your equipment upgrades because a significant portion of your income will stem from the gold dropped during gameplay, rather than relying solely on selling items.
To maximize your income, make sure to pick up every item that is dropped, even if your inventory is full. You can easily manage this by pressing the “A” key to sell all items and then returning to pick up the dropped item. The selling value of items can be calculated using this formula:
Selling Value = 10 * Item Level
Na przykład, poziom 1 item will sell for 10 złoto, while a level 300 item will fetch 3000 gold when sold. This knowledge will help you make the most of your resources and keep your character well-equipped as you progress through the game.
The Runs
To transform, approach the nearest group and hit T. This will significantly enhance your movement speed and damage, making the runs much faster and safer. Use your shield (X) if you are taking too much damage.
If the fights are taking too much of your HP, wait until the cooldowns and health regeneration and switch to the next group.
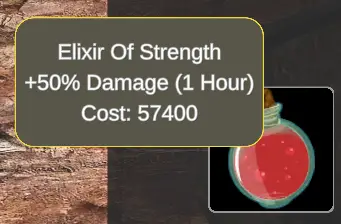
Strength elixirs from the Alchemist NPC can also be used in this situation.
Pamiętać: To kill a mob and gain a full level from it, you should raise the DT only slightly. If the DT level is too low and you must kill numerous enemies to advance one level, or if the DT level is too high and your character cannot effectively deal with the enemies, it is negative and not optimal.
It’s time to reset the run and tweak the DT after you start getting fewer than one full level every mob.
To wszystko, co dzisiaj udostępniamy w tym celu Battle Of Tarlis przewodnik. Ten przewodnik został pierwotnie stworzony i napisany przez Shapoka. Na wypadek, gdybyśmy nie zaktualizowali tego przewodnika, możesz znaleźć najnowszą aktualizację, postępując zgodnie z tym połączyć.