- Tytuł: Afterimage
- Data wydania:
- Wywoływacz:
- Wydawca:
Information about Afterimage is still incomplete. Pomóż nam wypełnić szczegóły gry za pomocą tego formularz kontaktowy.
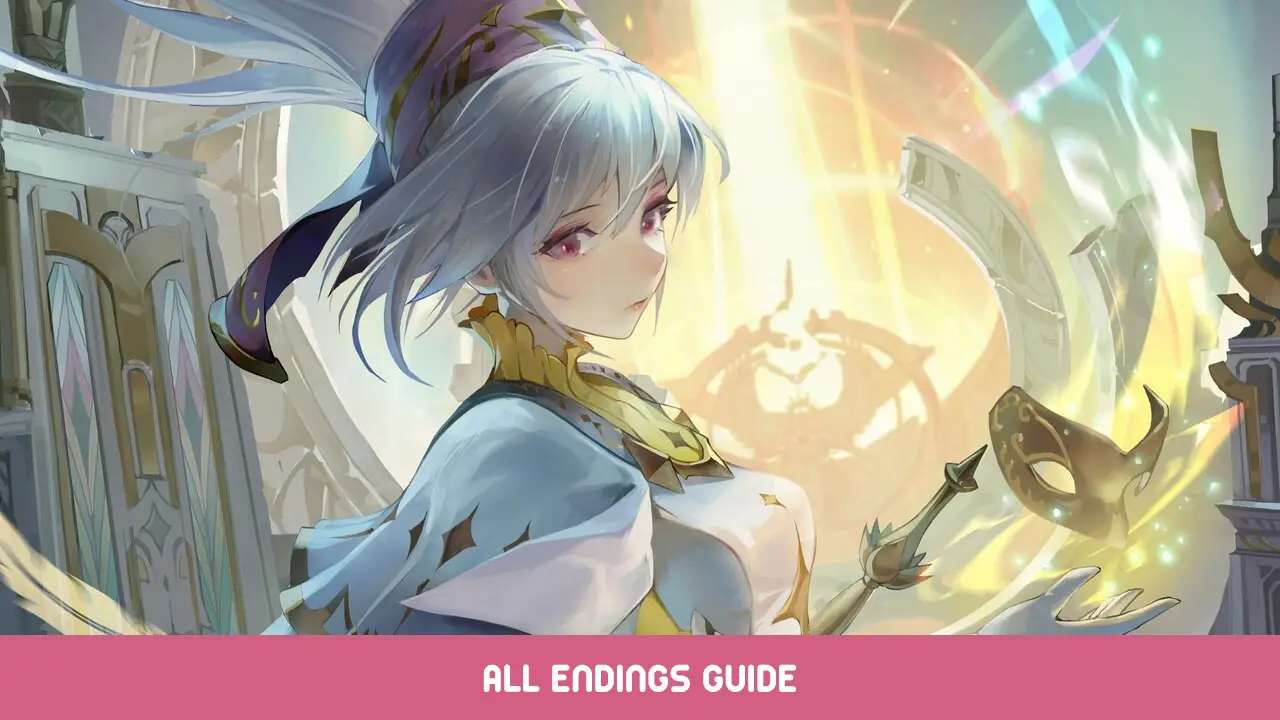
All endings of Afterimage.
The Homecoming

“Where is my mind?”
PREREQUISITES
Nie dotyczy
STEPS
[1] Arrive at Sunken Sanctum.
[2] Find Key to God’s Hall.
[3] Use the key to unlock the path to God’s Hall.
[4] Keep going until you reach a device that you can interact with.
[5] Wybierz “Investigate this ancient device.” opcja.
[6] Defeat Guider, the Shadow Moon.
The Cradle

“Down in a hall and I don’t know if I can be saved.”
PREREQUISITES
[1] Own co najmniej 1 memory shard.
STEPS
[1] Arrive at Sunken Sanctum.
[2] Find Key to God’s Hall.
[3] Use the key to unlock the path to God’s Hall.
[4] Keep going until you reach a device that you can interact with.
[5] Choose either of the “Put in ONE Memory Shard.” Lub “Put in TWO Memory Shards.” opcje.
[6] Defeat Guider, the Shadow Moon.
The Essential

“Along the Tablet, seared by fate.”
PREREQUISITES
[1] Own Wszystko 3 memory shards.
STEPS
[1] Arrive at Sunken Sanctum.
[2] Find Key to God’s Hall.
[3] Use the key to unlock the path to God’s Hall.
[4] Keep going until you reach a device that you can interact with.
[5] Choose either of the “Put in THREE Memory Shards.” opcja.
[6] Defeat Guider, the Shadow Moon.
[7] Defeat Renee.
The Withering

“…the hardest part of this is leaving you.”
PREREQUISITES
[1] Defeat both Pyro Goliaths. (Agus in Scorchwhere, Aqil in Field of Pyro)
[2] Przynajmniej własne 8 different Primeval Glyph’s.
STEPS
[1] Move onto Field of Pyro, there is a hidden area right to the Aqil’s boss area, in this room you can interact with an egg.
[2] Wybierz “Let’s begin, Ifree.” opcja.
The Hope

“This fire is out of control…”
PREREQUISITES
[1] Defeat both Pyro Goliaths. (Agus in Scorchwhere, Aqil in Field of Pyro)
STEPS
[1] Move onto Field of Pyro, there is a hidden area right to the Aqil’s boss area, in this room you can interact with an egg.
[2] Wybierz “Invade.” opcja.
[3] Hit the egg until Ifree turns hostile.
[4] Defeat Ifree.
The Journey

“We’re out on the road again.”
PREREQUISITES
[1] Defeat both Pyro Goliaths. (Agus in Scorchwhere, Aqil in Field of Pyro)
[2] Przynajmniej własne 8 different Primeval Glyph’s.
STEPS
[1] Move onto Field of Pyro, there is a hidden area right to the Aqil’s boss area, in this room you can interact with an egg.
[2] Wybierz “Invade.” opcja.
[3] Hit the egg until Ifree tells you to stop (when you start hitting, he will have two sets of dialogues, third dialogue will cause him to turn hostile, you should stop hitting the egg after second set of dialogue.)
[4] Quit the area by either using a Resting Potion or exiting to the main menu.
[5] Re-enter the hidden area with the egg.
The Waiting

“Engardin is doomed and there’s nothing I can do.”
PREREQUISITES
[1] Have NG+ unlocked. (to unlock NG+, you need to get both Essential & Withering/Journey endings, NG+ consists of short 10 chapters where you play as a different character.)
STEPS
[1] Play NG+ until the end of Chapter 10.
[2] Pod koniec rozdziału 10 you will face Eseus, the Transcendent.
[3] Defeat Eseus, the Transcendent.
The World Flower

“Shine on, you crazy flower.”
PREREQUISITES
[1] Zasięg “The Waiting” zakończenie.
[2] Own Sword of the Lake (Find all Stream Crystals and interact with the sword next to the left of Heart of Veins teleporter Confluence.)
[3] Own Halo of Genesis (Reach a certain character level, which is believed to be 80, then talk to giant tortoise at Forest Foregone, then interact with the object next to the yellow echo on top of it.)
[4] Own Nuo’s Mask Afterimage (You need to do step 1, 2, 3 & 4 Pierwszy. For Nuo’s Mask you need all 5 mask fragments, you will obtain it via talking to Hydro Goliath at Field of Hydro with all 5 mask fragments in your inventory.)
STEPS
[1] Go to Albedo Tower and enter a portal that wasn’t available before to reach Nigredo Tower. (The same portal you entered in NG+ to progress through Chapter 10.)
[2] Invade and Defeat Karin, the Occult Prime.
[3] Interact with 42’s body, you won’t be able to enter her soulfield.
[4] Go talk to Owl at Holy Grounds.
[5] Do prerequisite 4.
[6] Now you can interact with 42’s body and enter her soulfield.
[7] Defeat Eseus, the Eternal
[8] Defeat Eseus, the Transcendent, Jak 42.
[9] Defeat Eseus, the Eternal again.
The Dream

“Sweet dreams… are made of this?”
PREREQUISITES
[1] Have NG+ unlocked. (to unlock NG+, you need to get both Essential & Withering/Journey endings, NG+ consists of short 10 chapters where you play as a different character.)
STEPS
[1] Enter Chapter 10 from NG+, instead of invading Karin, go to left and interact with Mirror to seek Otmeus’ aid.
[2] Wybierz “Tak….” opcja.
[3] Defeat the Unstoppable Devil.
The Wall

“Red phone or blue phone?”
PREREQUISITES
[1] Own Key of Se. (Talk to Se, the fairy at Halcyon Veins’s Cave of Lure, after finding all Shenlong Glyph’s.)
STEPS
[1] At the dock of Silent Coast (far east of the area), there is a boat, hit the boat’s lantern to turn off the light.
[2] Now boat will ride into a purple mist, once mist starts showing up, wait around 5 protokół.
[3] Hit boat’s row again.
[4] Now boat will ride into a different place, where you will find Se.
[5] Interact with the telephone inside the cabin to the left of the area.
To wszystko, co dzisiaj udostępniamy w tym celu Afterimage przewodnik. Ten przewodnik został pierwotnie stworzony i napisany przez YOASOBI. Na wypadek, gdybyśmy nie zaktualizowali tego przewodnika, możesz znaleźć najnowszą aktualizację, postępując zgodnie z tym połączyć.