- Title: Oneiros
- Release Date:
- Developer:
- Publisher:
Information about Oneiros is still incomplete. Please help us fill the details of the game using this contact form.
This guide contains full walkthrough of the game with explanations of how to get all the achievments.
Introduction
My walkthrough doesn’t show where you can get non-story achievments. To see how to obtain them, check other parts of the guide. Games achievmens are the achievments, for which you need to play a game.
I recommend to create an extra save file at the beginning of each chapter (except the first one) in order to be able to access them quickly. I provide shortcuts to the achievments, so you won’t have to replay the chapter to access them.
Chapter I Walkthrough
Turn right and click on the door. Turn right again and click on a slightly opened door (second from the left). Go inside and click on the toilet. Pick up the key.

Go back and use the key on the exit door. Go forward, then turn left and go forward until you reach a closed door.
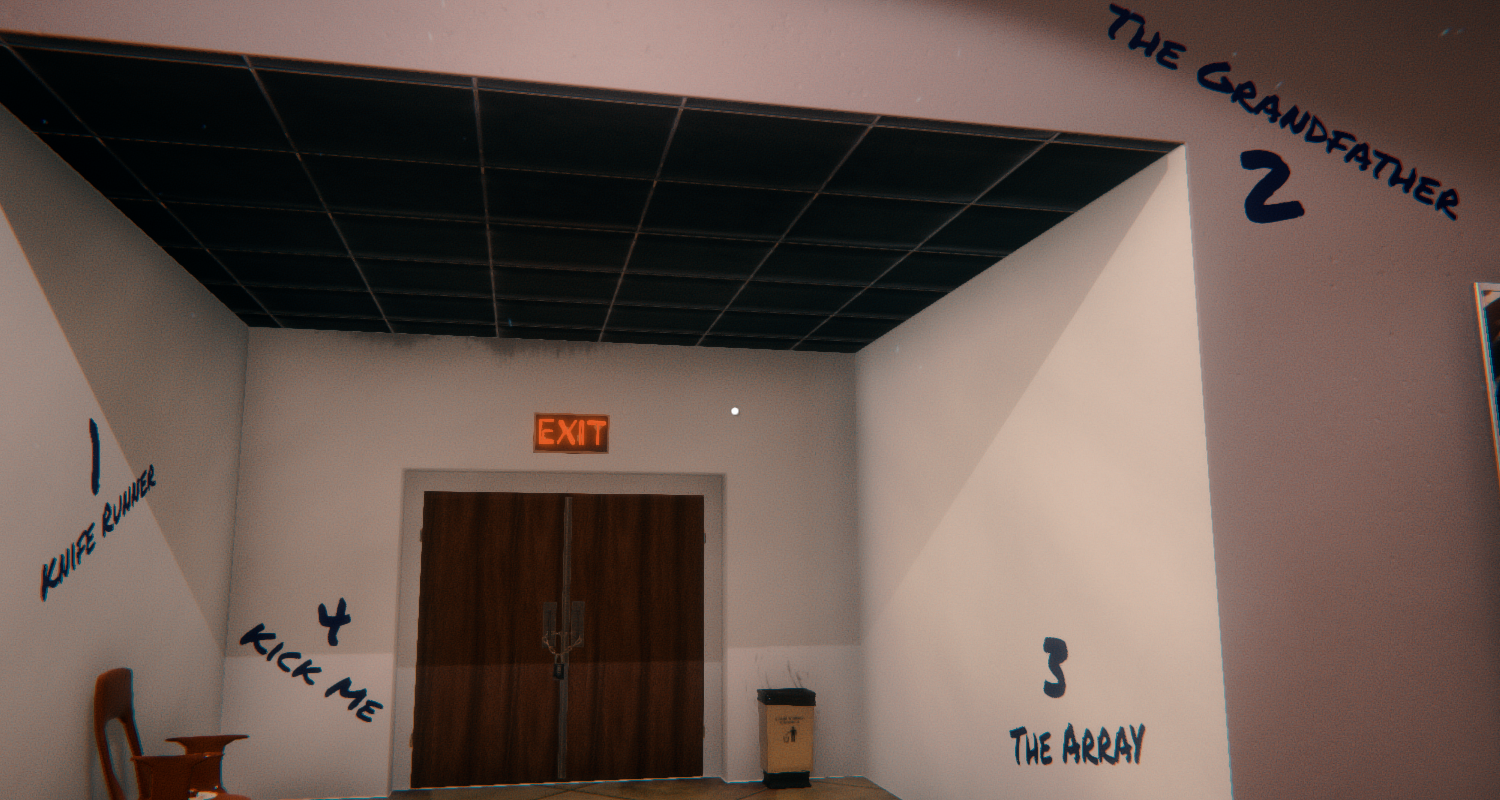
Look at the writings on the walls. Turn left and approach a ticket office. Look at the screens on top of it.
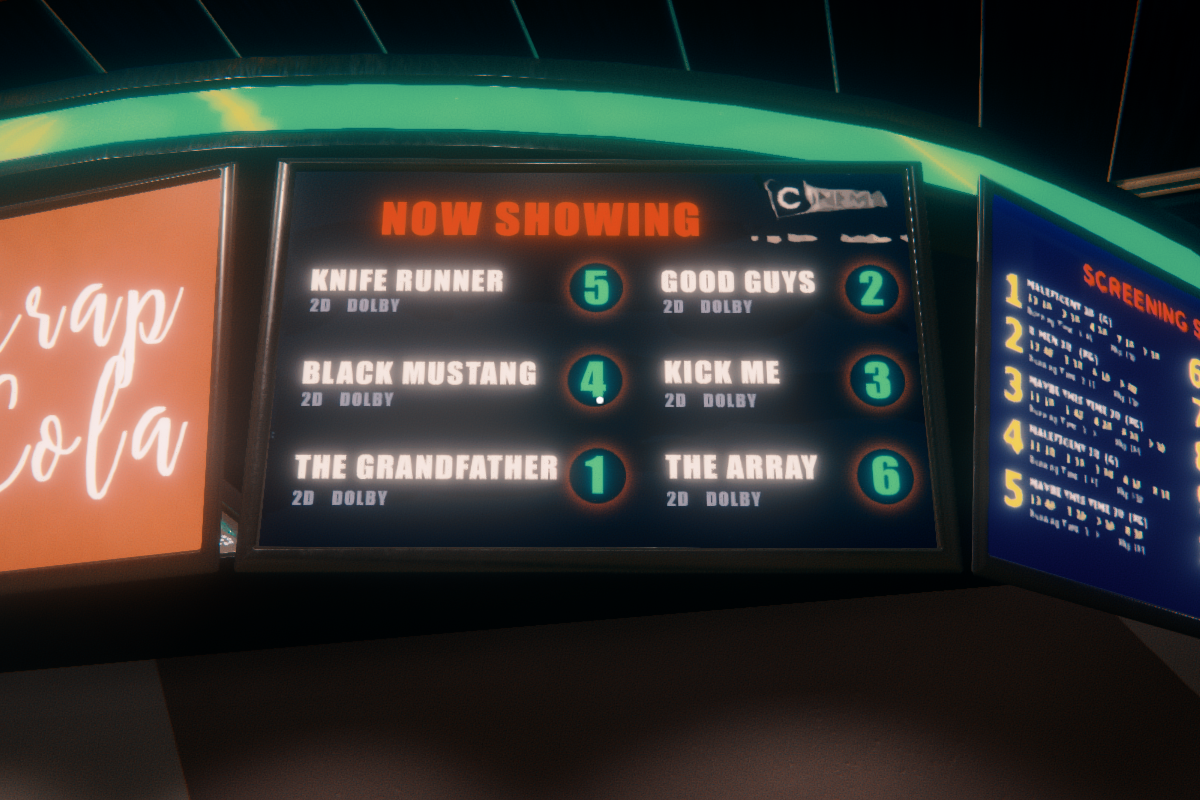
Now you have all the clues you need to open the door. The code is
5163.
Go forward until you enter a room with a lever. Interact with it. A door will appear in front of you. You can find a key to this door at the back of the lever.
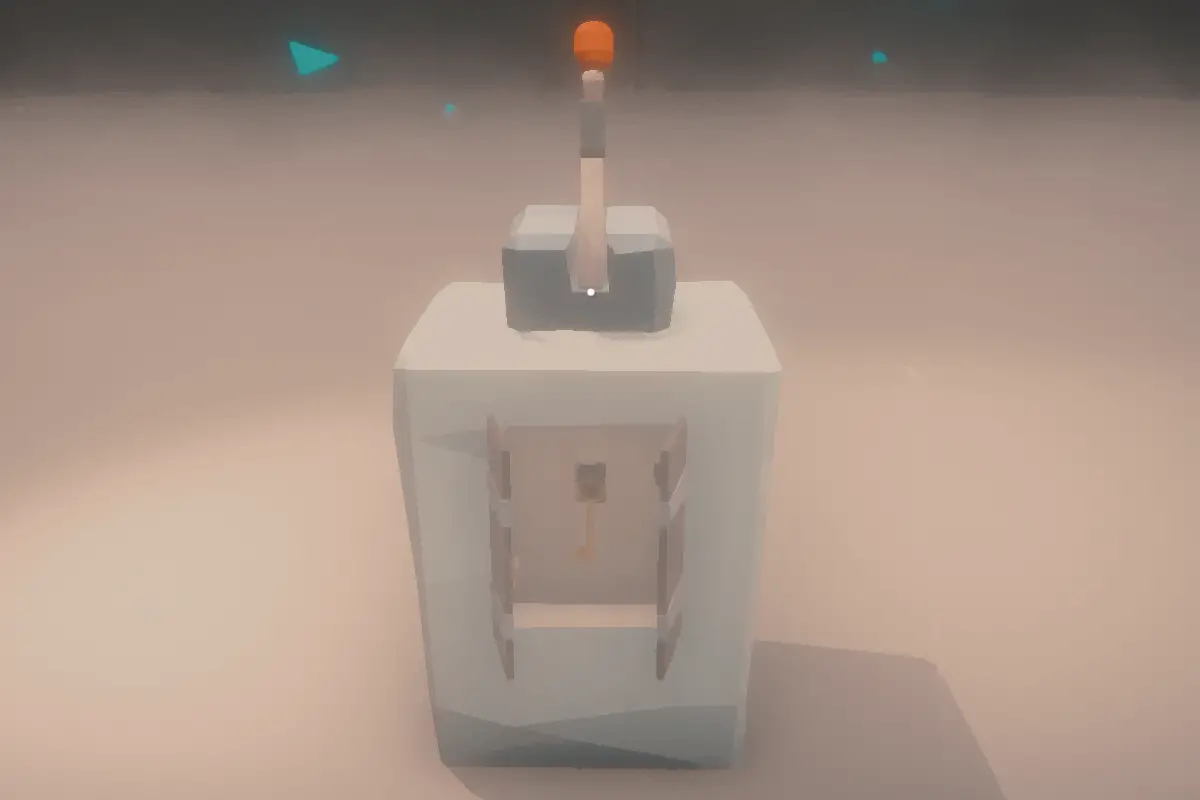
Pick up the key and use it on the door. Go forward. This is where this chapter ends.
Chapter II Walkthrough
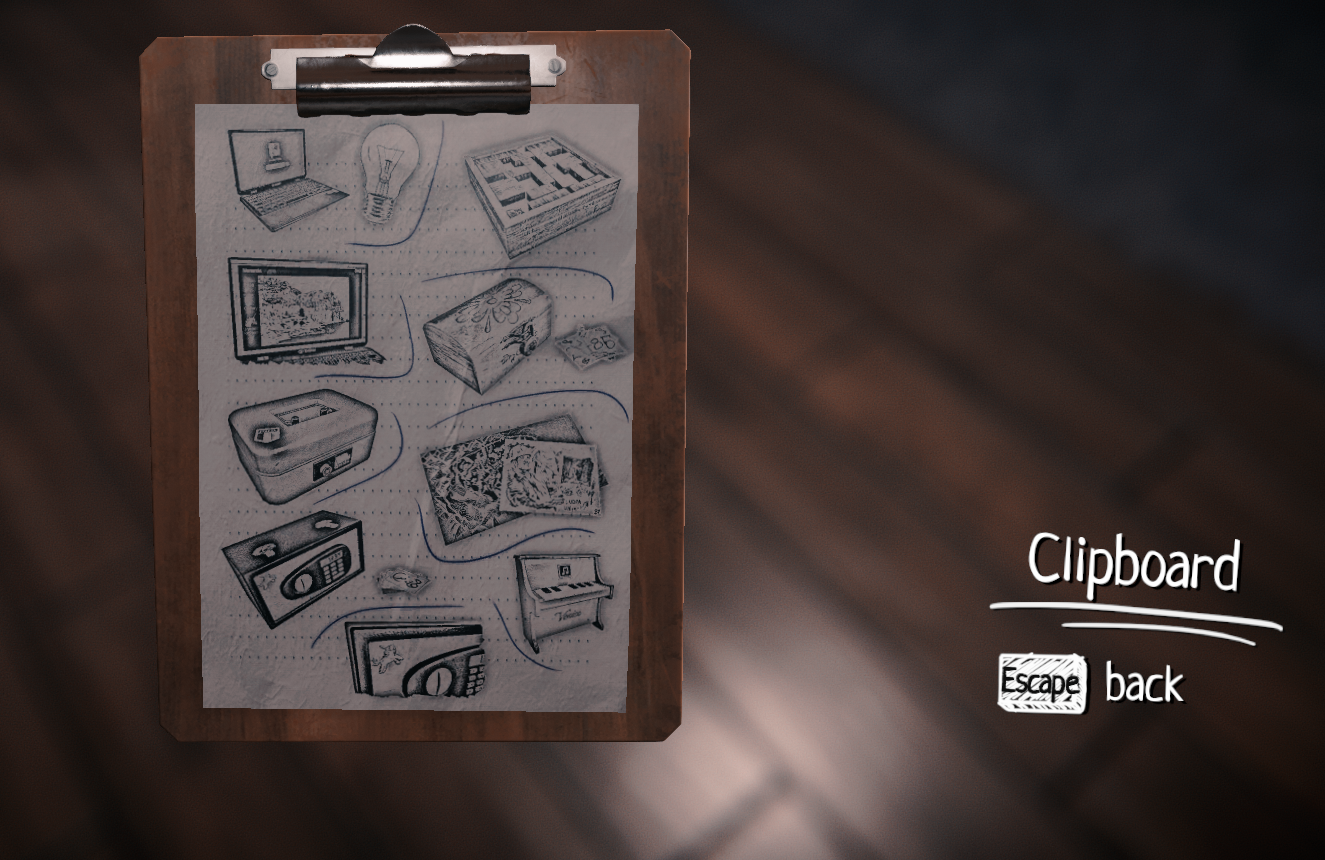
Pick up the clipboard from the floor. On it you can see some clues that can help you progress through the chapter.
Go to the left side of the bed. Click on the metal box. Open the right wardrobe door. Inside you will find a block game. Pick it up. Use it.
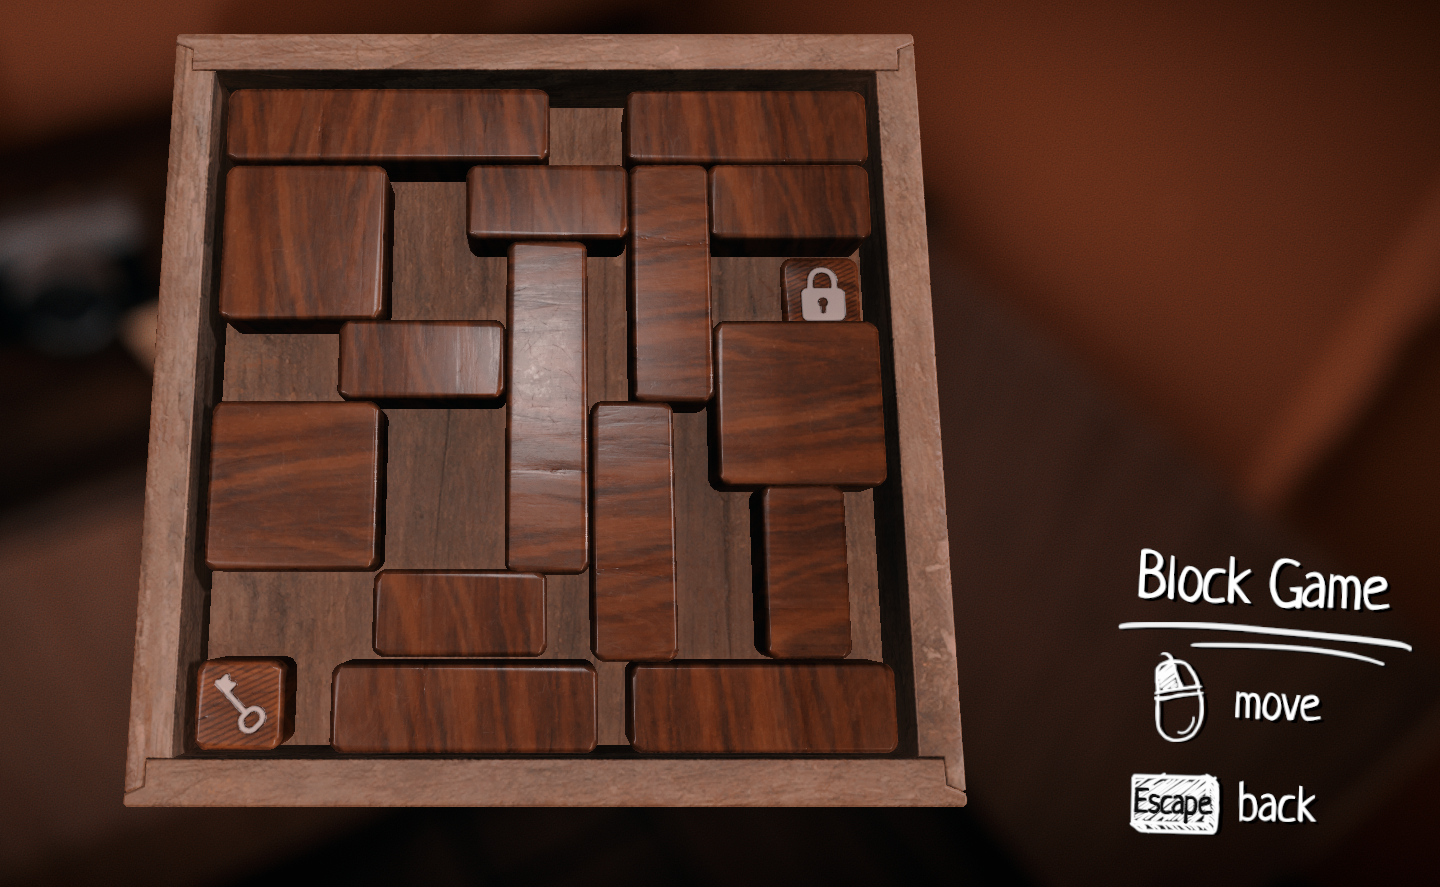
You need to move the blocks in order to put a block with a key on a panel with a lock. After solving this puzzle you will find a torn piece of paper inside.
Go towards the exit door and use the light switch (on the right). Go to the right side of the bed and turn off the bedside lamp. Now you will be able to see the writing on the wall under the bottom shelf. Approach the table and click on the laptop. The password is:
unicorn.
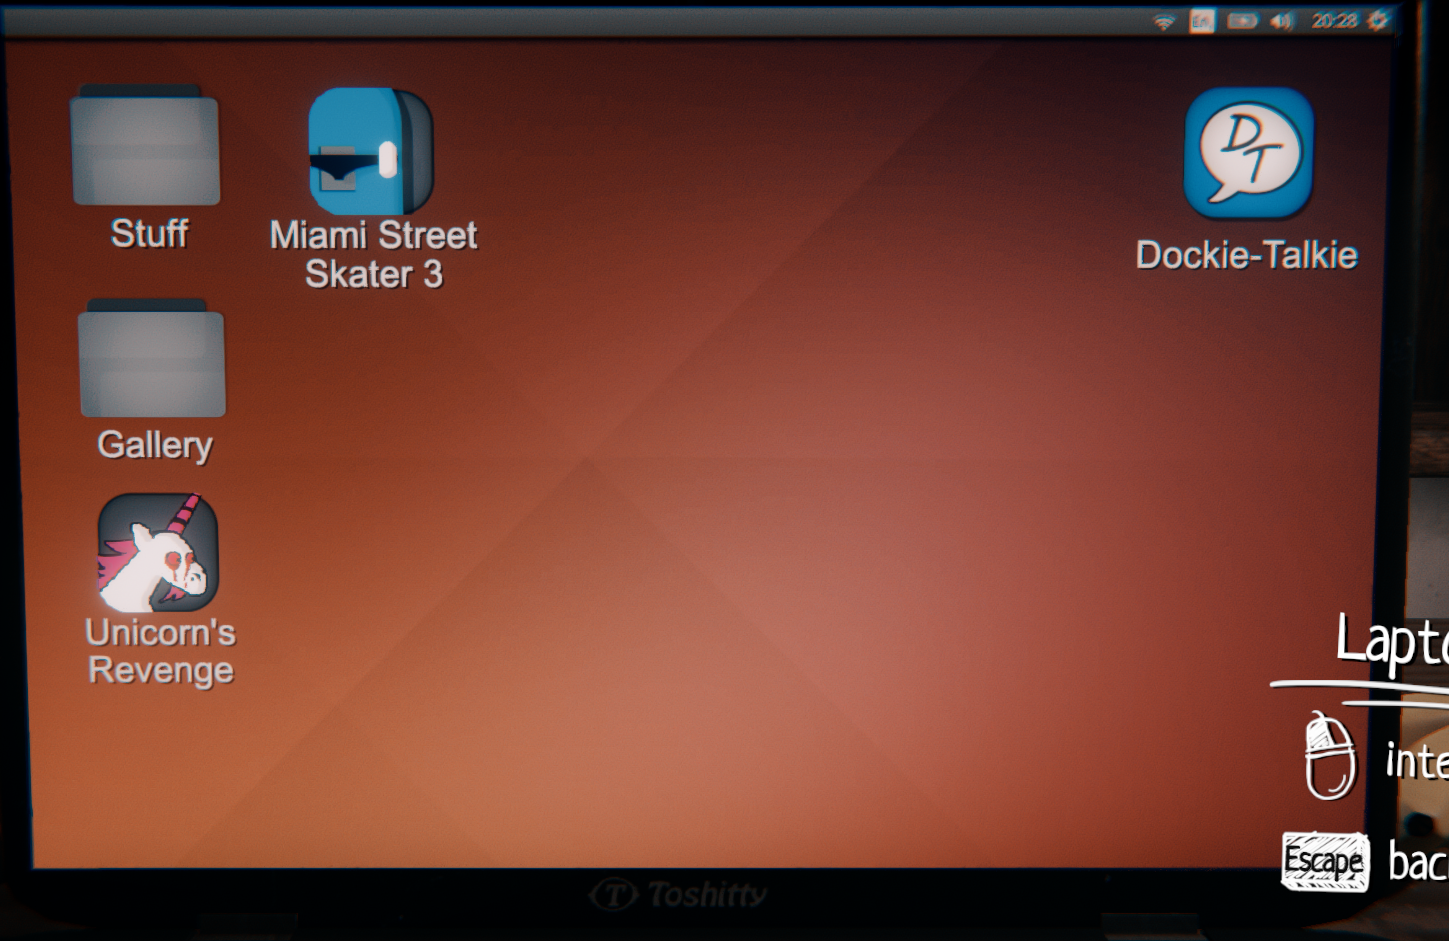
Click on the Gallery folder and look at the photographs. One of them has a clue for the lock on the metal box. Go to the box and open it. The code is:
107. You will find another torn piece of paper inside.
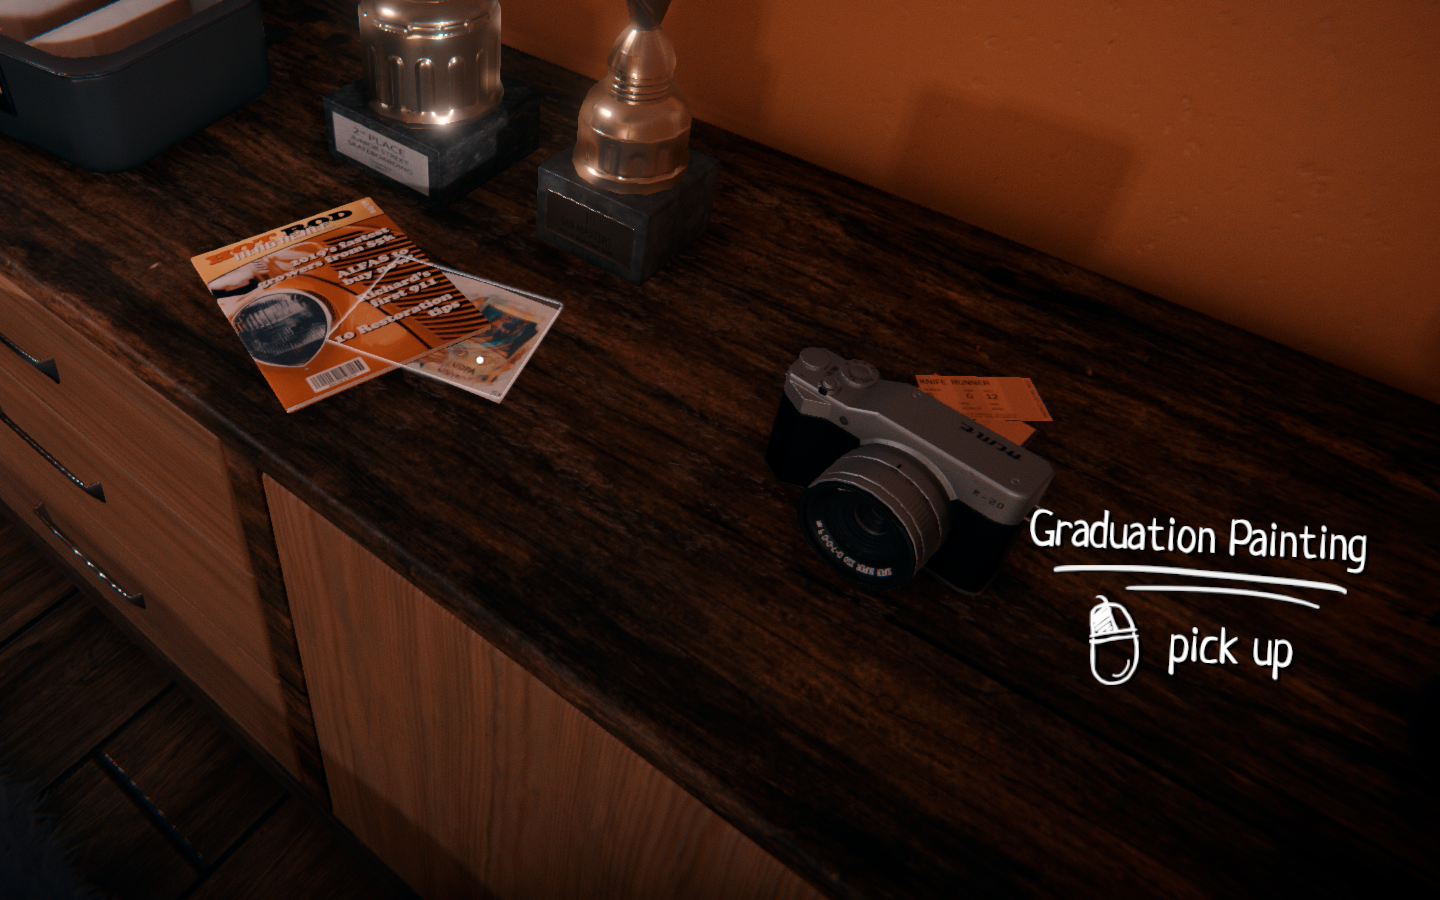
To the right of the box you can find a painting. Click on it.
Find an exit from the room and go forward. Turn right the first time possible. You will encounter a memory. Go forward, a corridor will make a turn to the right. Continue walking for a bit and turn right the first time possible. Then turn left and go forward. You will encounter another memory.
A corridor will make a turn to the left. Walk for a bit and turn left the first time possible. Go forward, the corridor will make a turn to the right. Go forward, then turn left. The corridor will make a turn to the right and then a turn to the left. You should end up on the crossroads with two gears lying on the ground.
Pick the left one (medium red gear) up. Go to the left, then to the right. Pick up another medium red gear and a medium green gear a bit further.
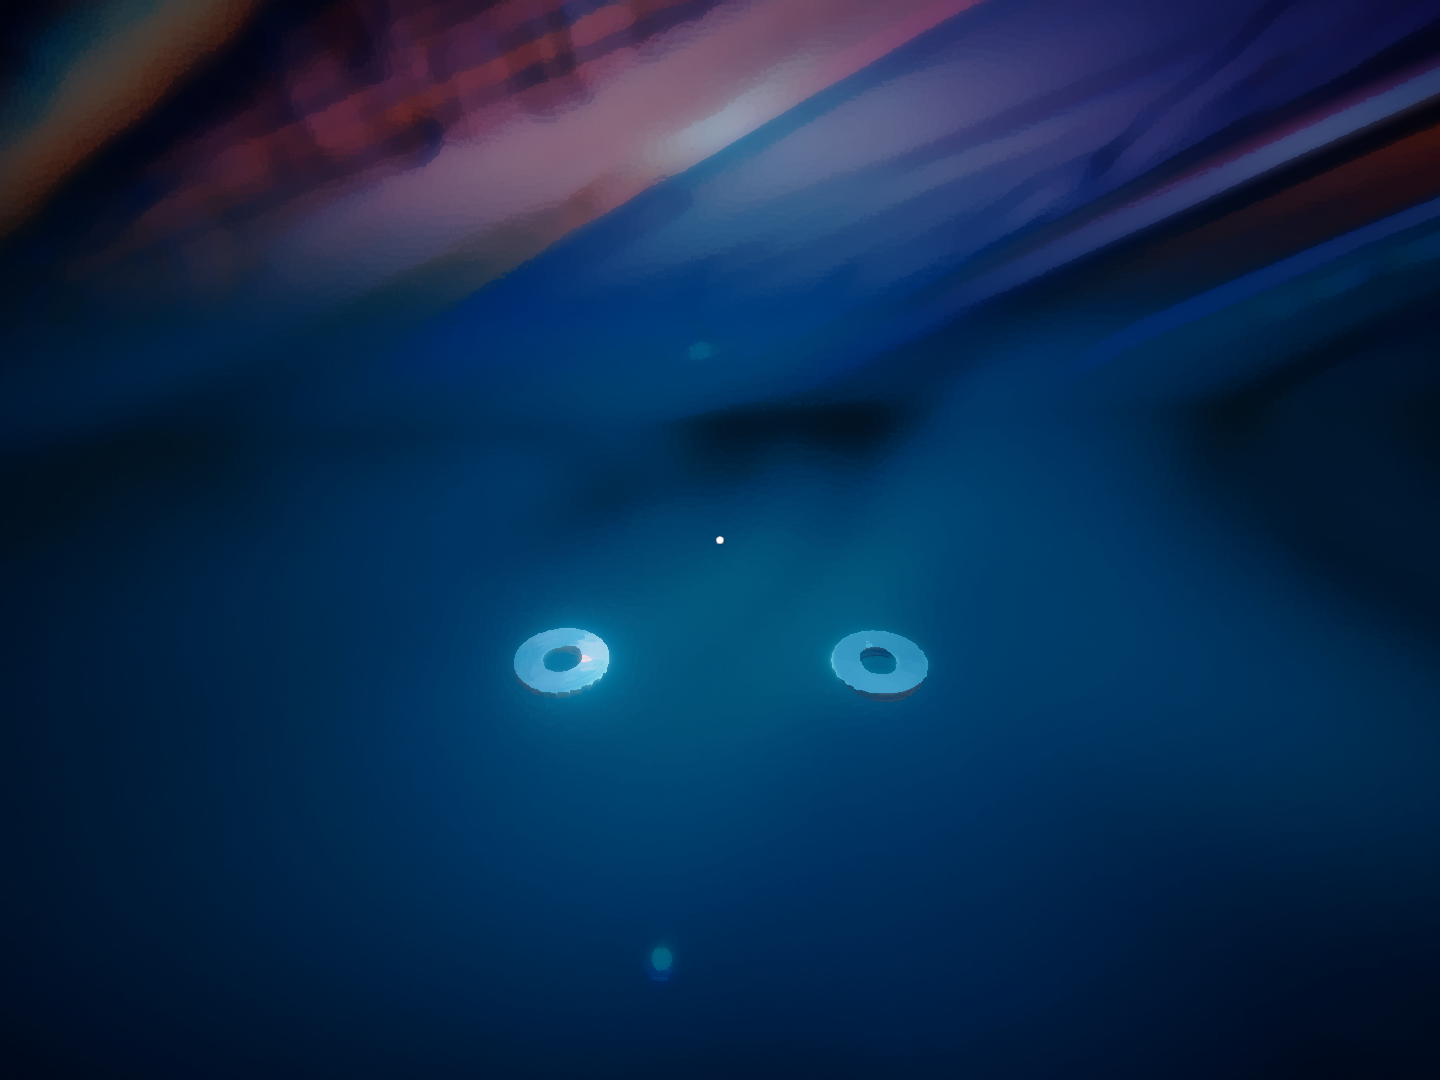
Go back, turn to the left and go forward. You will encounter a memory and find two connected boxes. Pick up a small blue gear, that is lying on the ground inbetween these boxes. Go left a bit and pick up a large blue gear from the ground. Go to the left box. Open the door and take a medium green gear.
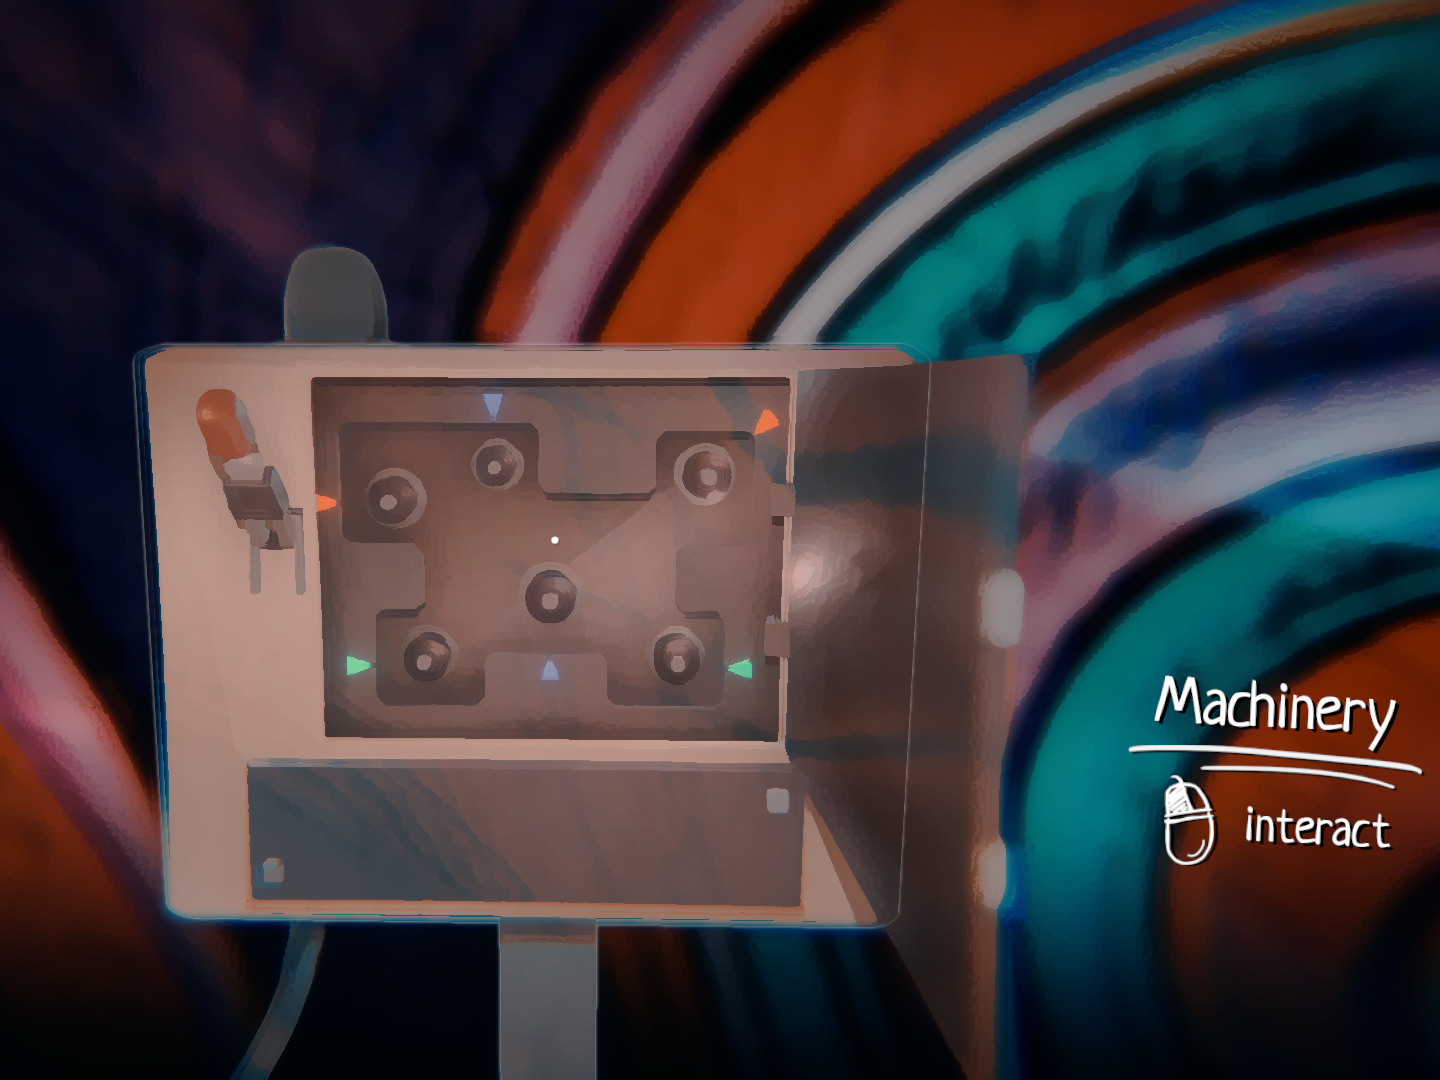
Now you need to put the gears onto their places. After placing a gear make sure that the arrow on it points at the arrow near it. I recommend doing it in this order:
both green gears, big blue gear, both red gears, small right gear. After placing all the gears, pull a lever on the left. Approach the right box and click on the button. Pick up a key.
From here go to the right then turn right. The corridor will turn to the left. Walk for a bit and turn left the first time possible. The corridor will turn to the right and then to the left. You will encounter another memory. Go forward and soon you will see a door. Use the key on it.
Pick up a torn piece of paper. Go towards the cork board and place all three pieces on it. This is a combination to the lock box. You can find this box to the right of the bed on the bottom shelf.
Enter the combination (
27-12-35) into the lock. Press the mouse button and don’t let it go, until you enter all the numbers. If the lock didn’t open, rotate it a bit more until you hear a clicking sound. After that you can try again.
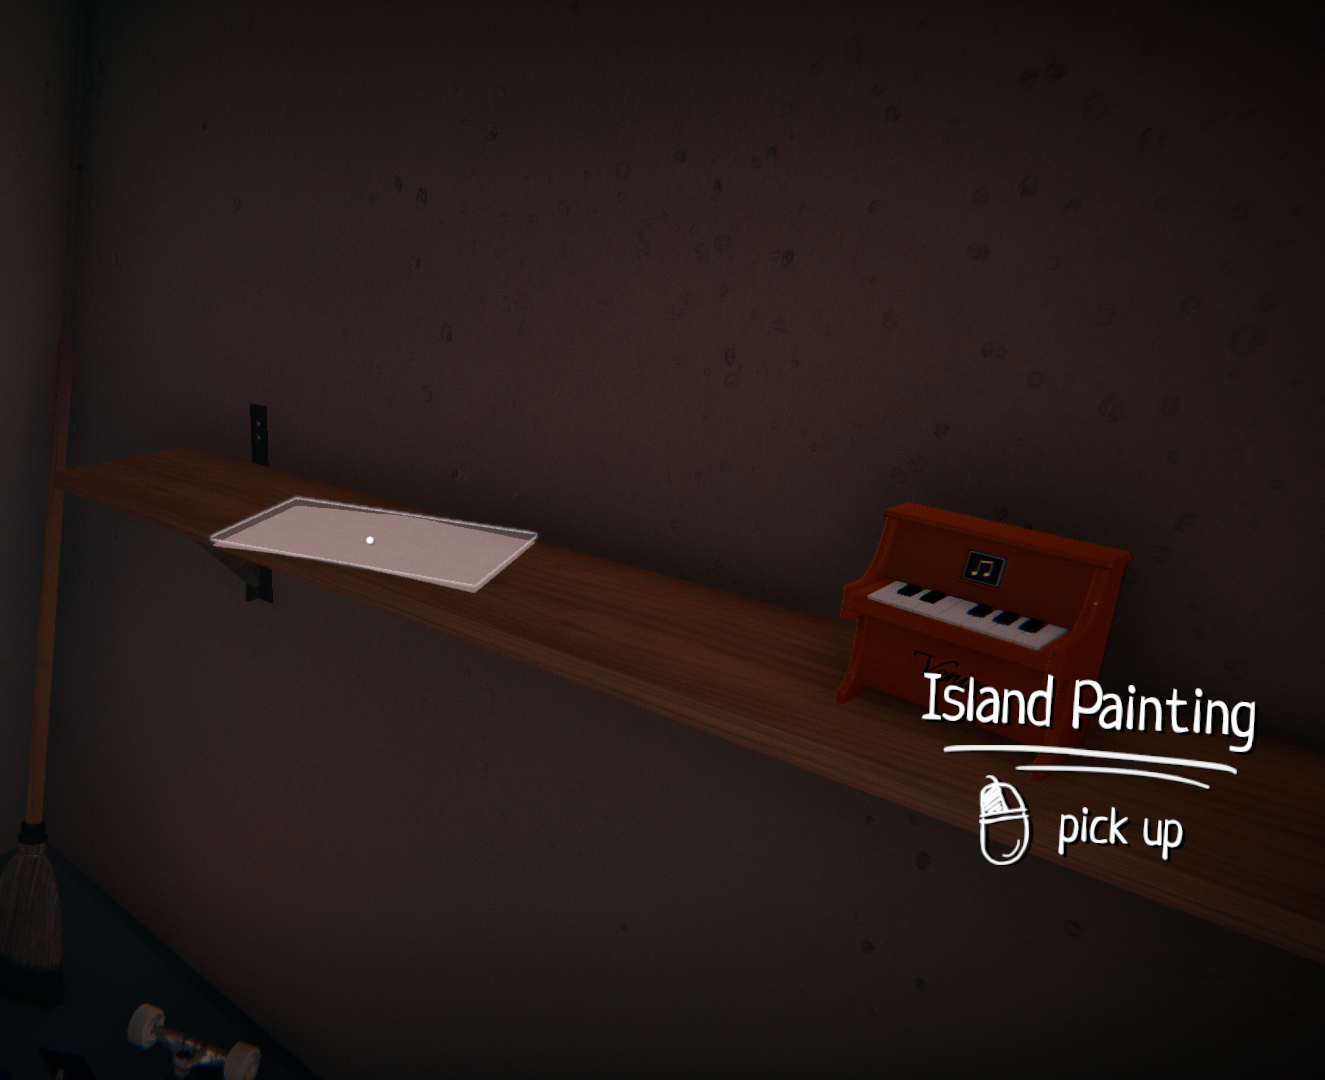
Inside the box you can find a key. Use it on the storage door. On the right shelf you can find a painting. Click on it.
The first part of this sequence is pretty linear. Go forward, use the trigger and go forward. You will encounter a memory. Go to the end of the road and fall down on a platform. Use the trigger. You will fall on a wall that is dividing two triggers. Use the trigger on the right.

Go down by the black platform. On the left you will see a moving platform. Use it to get to the next trigger. Jump on some more moving platforms and use the trugger. Pull the lever. Pull the next lever. A platform will start going down. You need to pull the lever and get on this platform before it goes too far up. Approach two levers.
You need to pull the left lever, wait until the closest platform approaches you, then pull it again. After that quickly jump on the first platform, then on the second and on the third. The third platform wil take you to the road, that ends in a big room.
Use the trigger in the left corner. Turn left and go forward until you find a lever. Pull it. Turn around and go forward until you find another lever. Pull it. Now you need to pull the first lever and go through an opened passage (a bit back and to the right). Go forward and use the trigger. Pull the lever. A big cube will go up, revealig a trigger. Click on it. Go all the way forward, then right. Click on the trigger. Pull the lever, go upstairs and to the platform below. Use the trigger. Find an exit from this room.
Follow the road. Step on a black platform, then pull the lever. This platform will take you to an island. Jump from the platform, approach three levers and pull all of them. Go forward until you see two levers. Pull both of them. Go back a bit, turn left and towards two other levers.
First, you need to pull the left lever. Go to the black stairs (on the left) and jump on a platform to get a key. Go back to the levers. Pull the right one. Wait for the stairs to stop moving. Pull both levers and go onto the stairs. Jump on the platform with the door when the stairs approach it. Use the key on the door.
Pick up colored paper. Move the skateboard and pick up another colored paper. Go to the storage and pick up mini piano from the shelf.
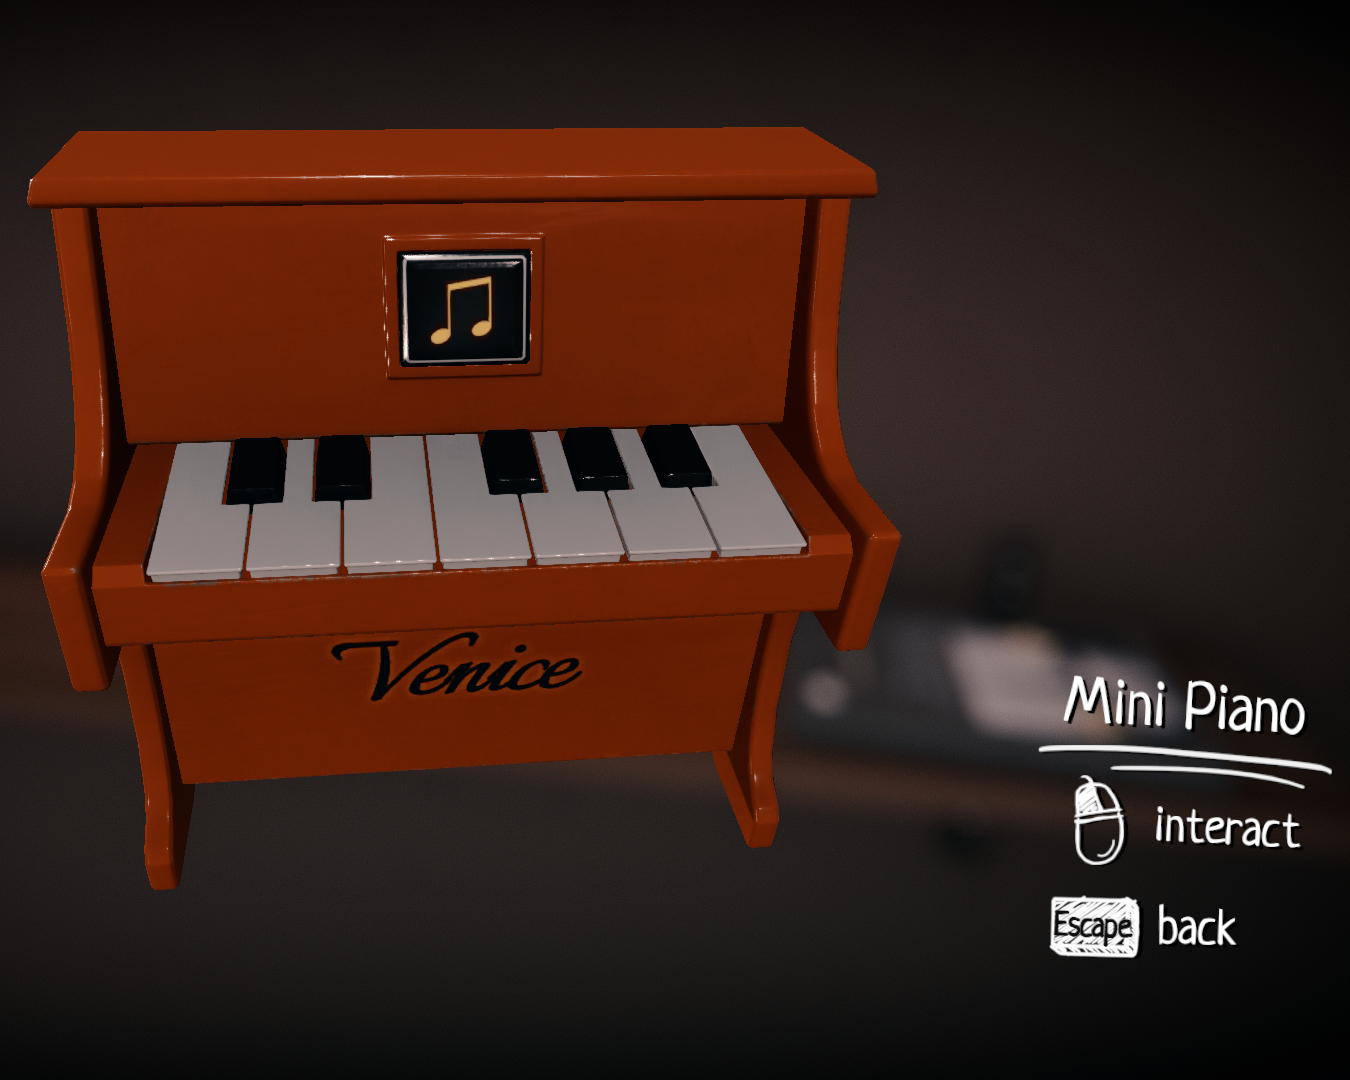
Click on a square button, and it will play some misic. You need to press the same keys. If you number the keys from the left to the right, here is how you press them:
6-6-3-3-6-6-3-3-3-4-4-4-5-4-3. Pick up colored paper. Go back to the room.
On the left side of the table there is a memo card. Pick it up. Go to the wardrobe and open the area on the right. Move away the cap and pick up colored paper. Go to the cork board. Place four colored papers and the memo card on it. Go to the laptop, click on the Stuff folder and then on the only file in it. Enter the password (
birthday). Now you have all the clues you need in order to open the safe in the storage.
Go to the safe and enter the code. The code is:
8137. Click on the big button and pick up key. Use the key on the room doors. Go through. This is where the chapter ends.
Chapter III Walkthrough
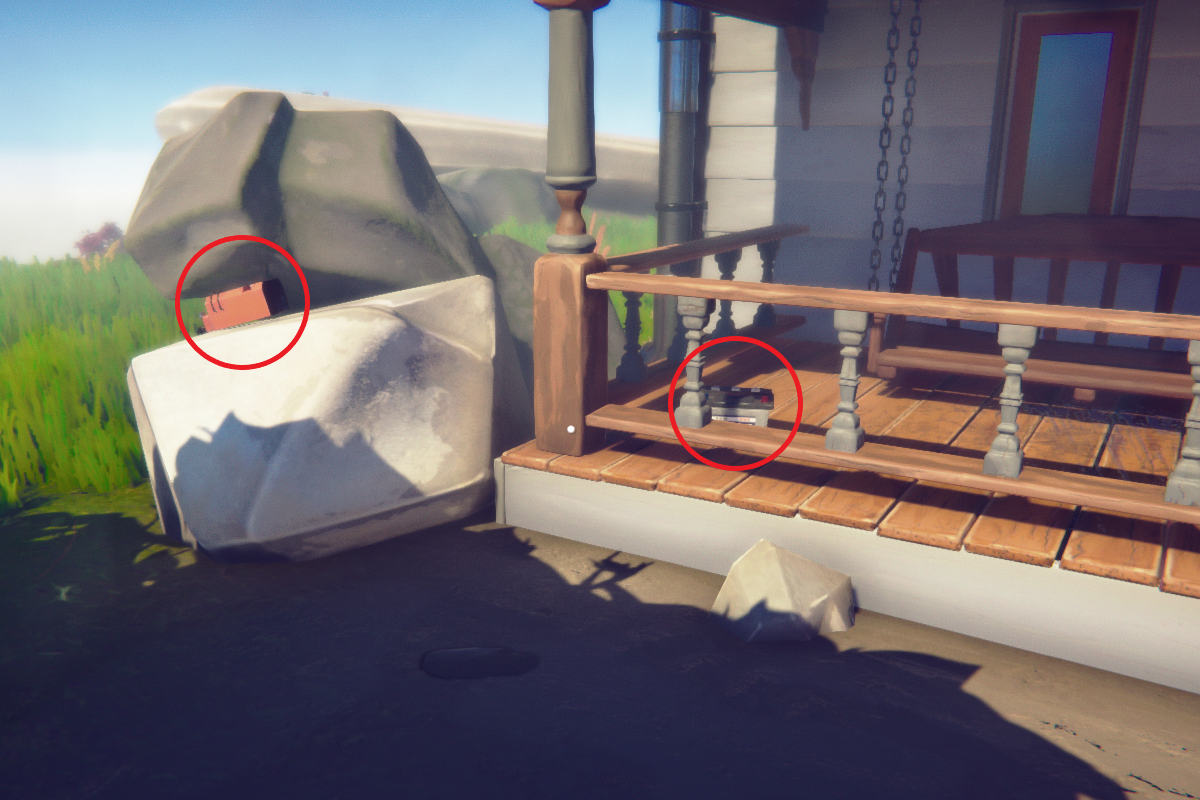
Turn to the house. In the mailbox you can find a key. To the left you can find a control unit and a battery.
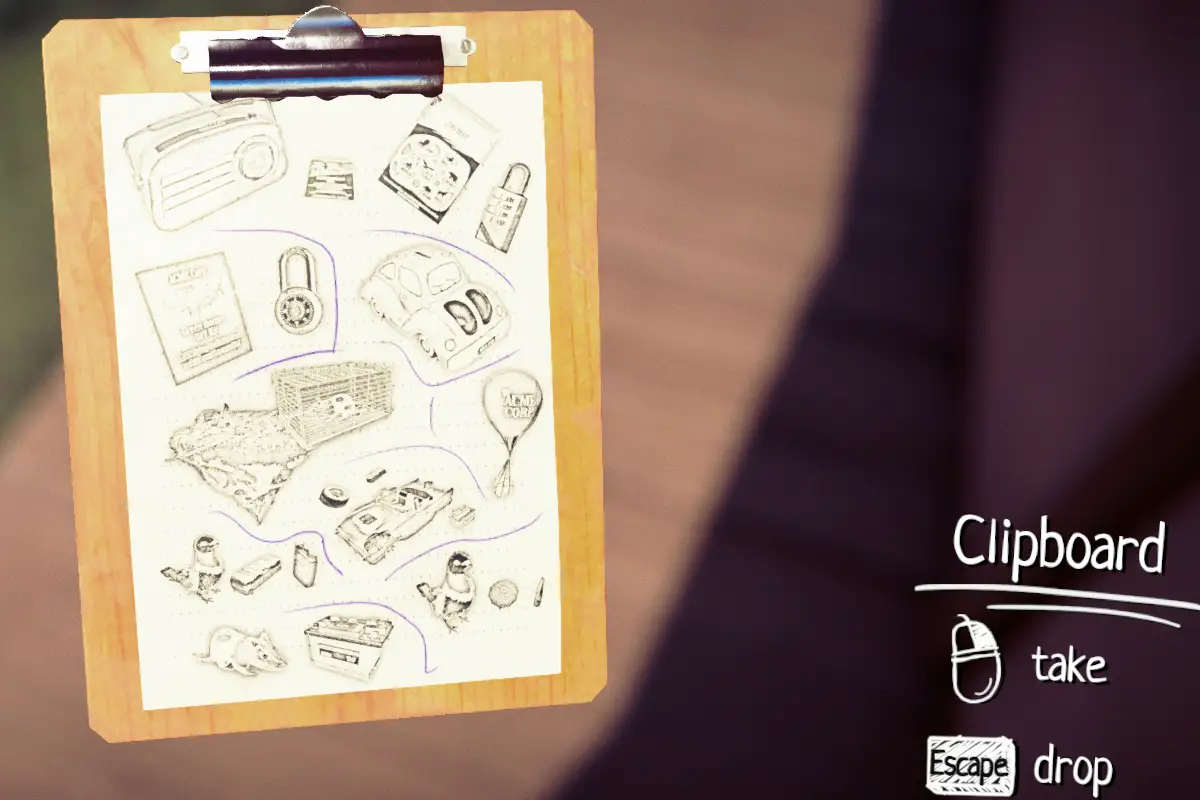
Go to the workshop. There is a clipboard lying on the floor to the left from the door.
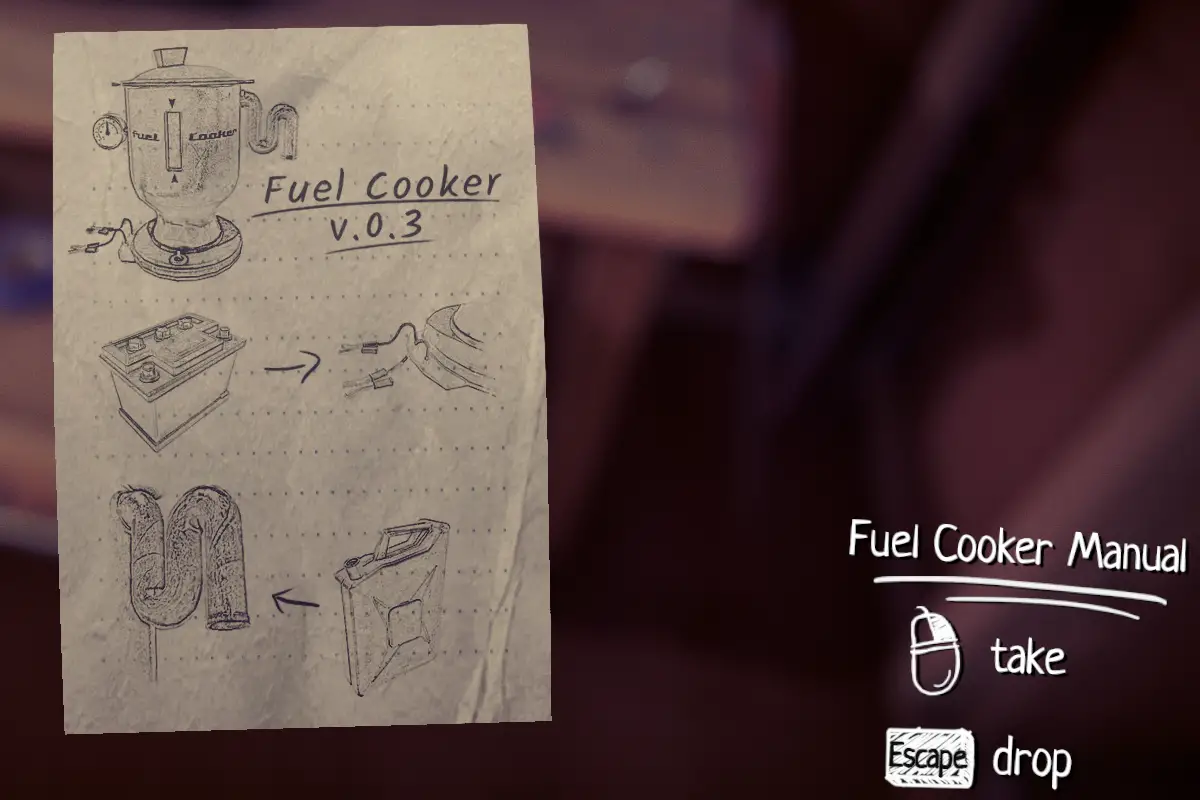
Open the workshop door. To the right there are three drawers. Pick up fuel cooker manual from the top drawer.

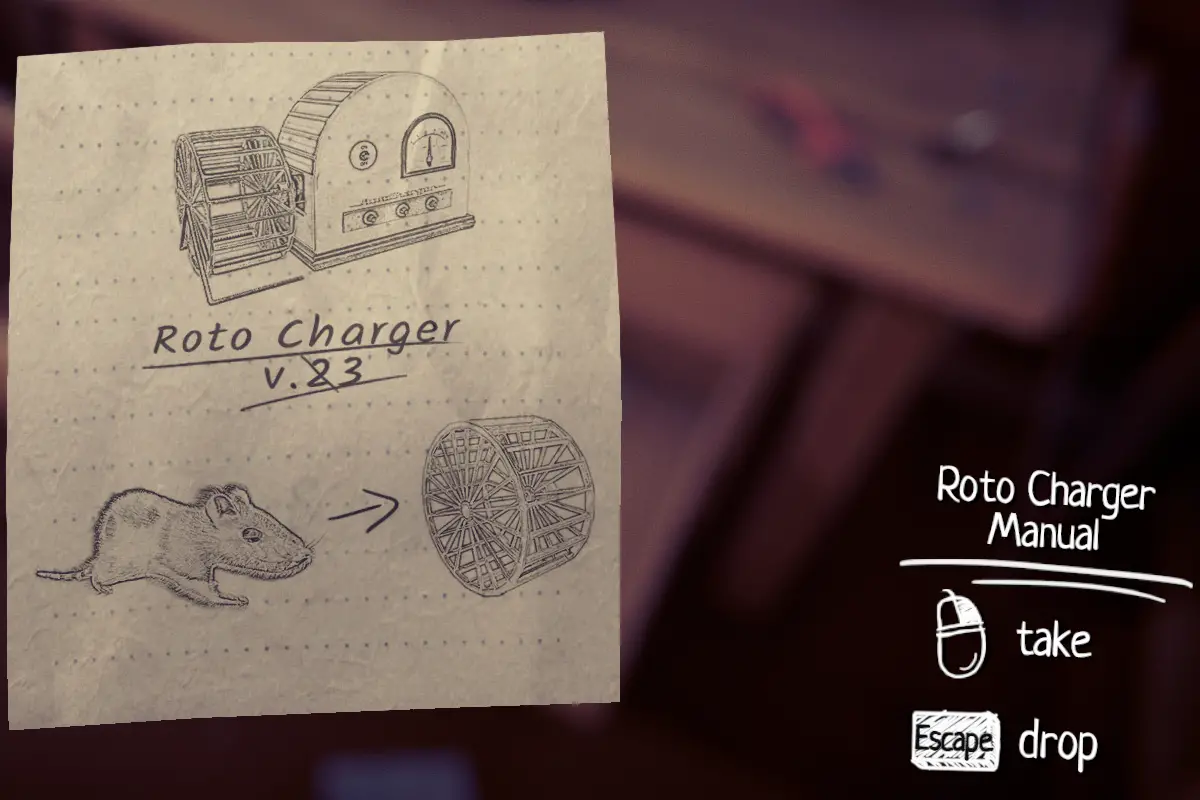
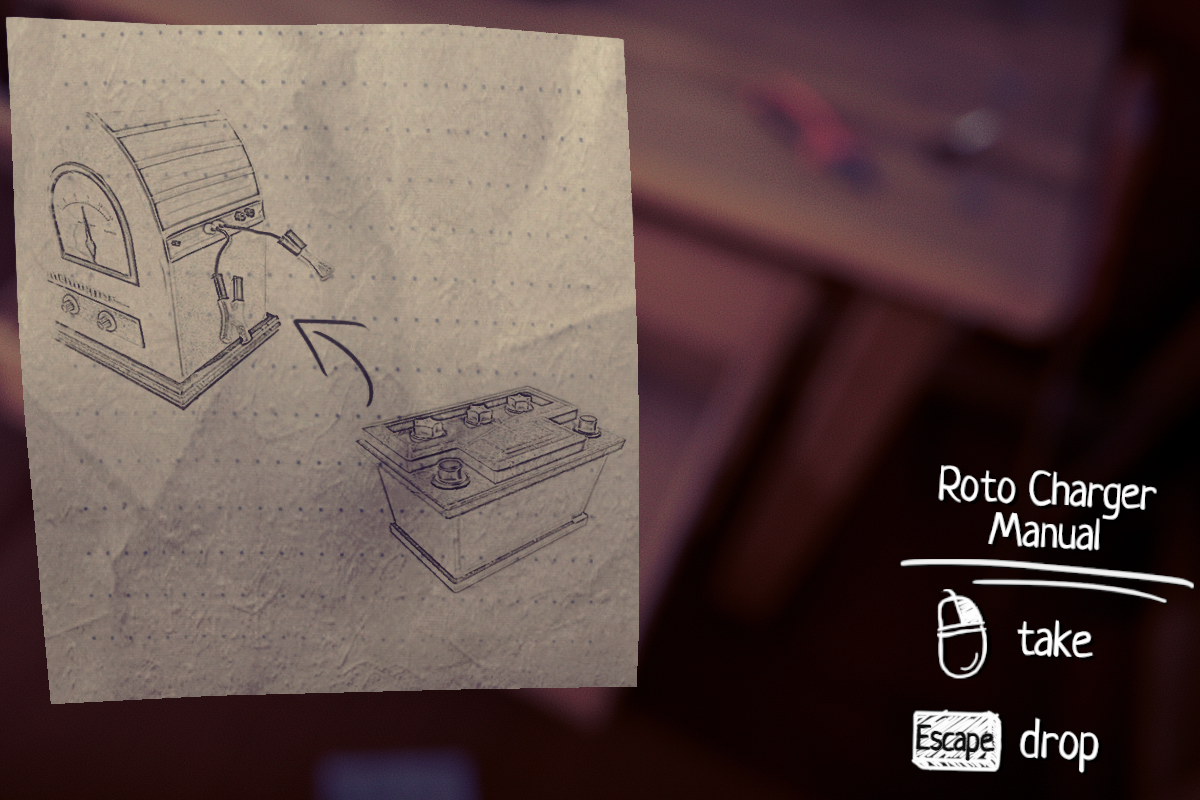
Pick up fuel tank cap and roto charger manual from the middle drawer.
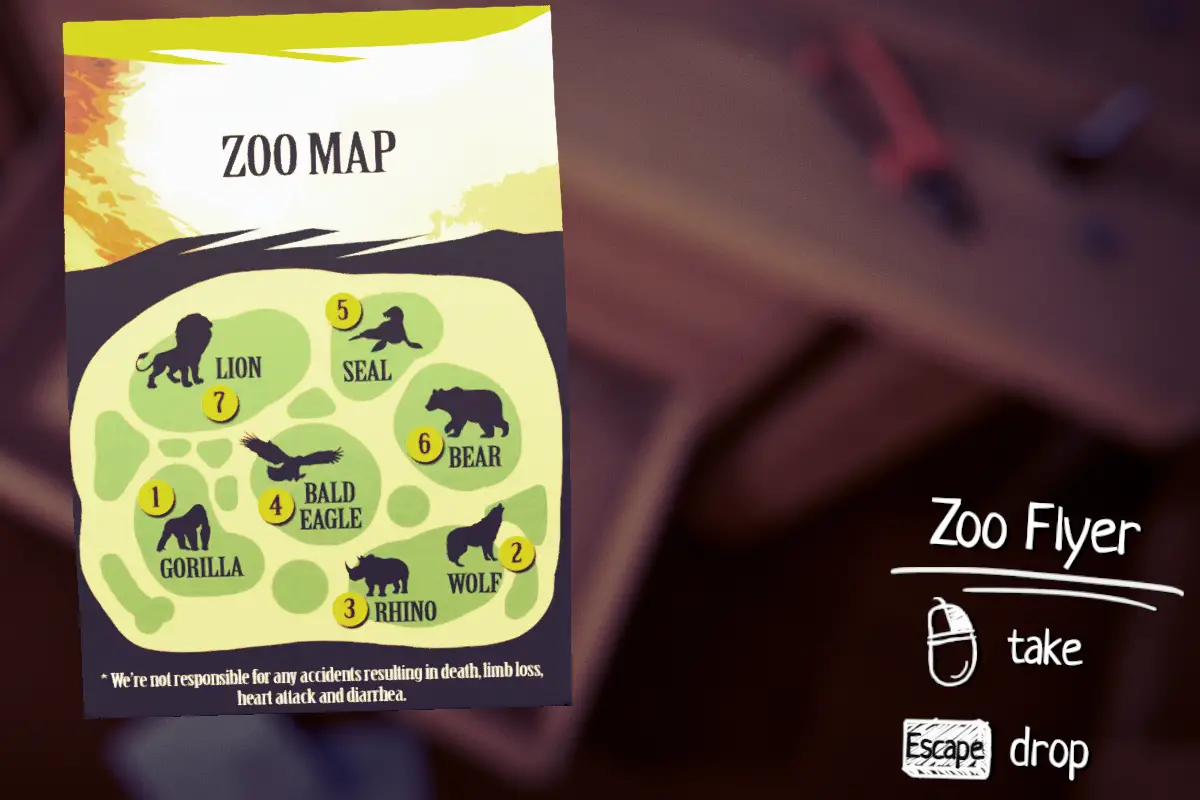
Pick up short fuel pipe and zoo flyer from the bottom drawer.
Go a bit firther, pick up electrical cables and nail, interact with old notepad.
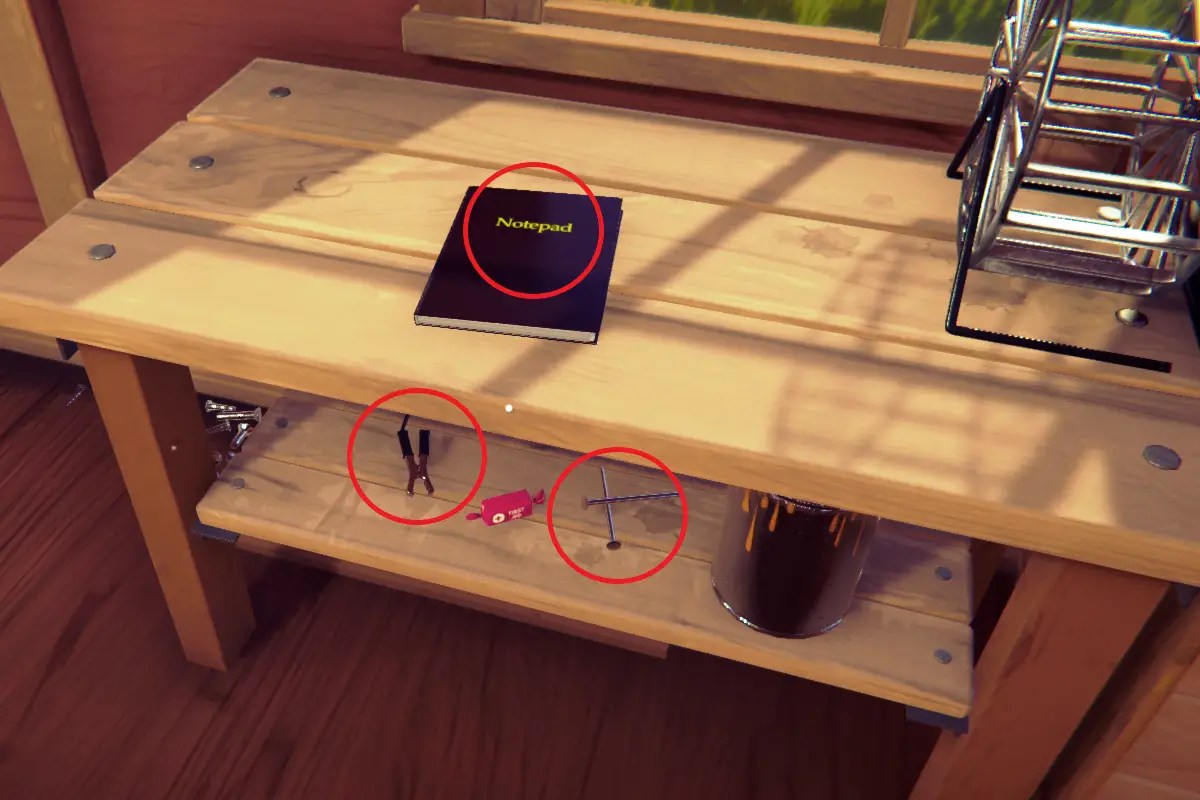
On the left you can see a shelf. Pick hammer from it and look at a sheet of paper. Go to the top left corner of the workshop and pick up empty fuel can. Interact with the old radio. Press the button on top and put the red arrow inbetween 98 and 103. Listen to the commercial. Go to the table on the left and pick up steel wheel from the floor.
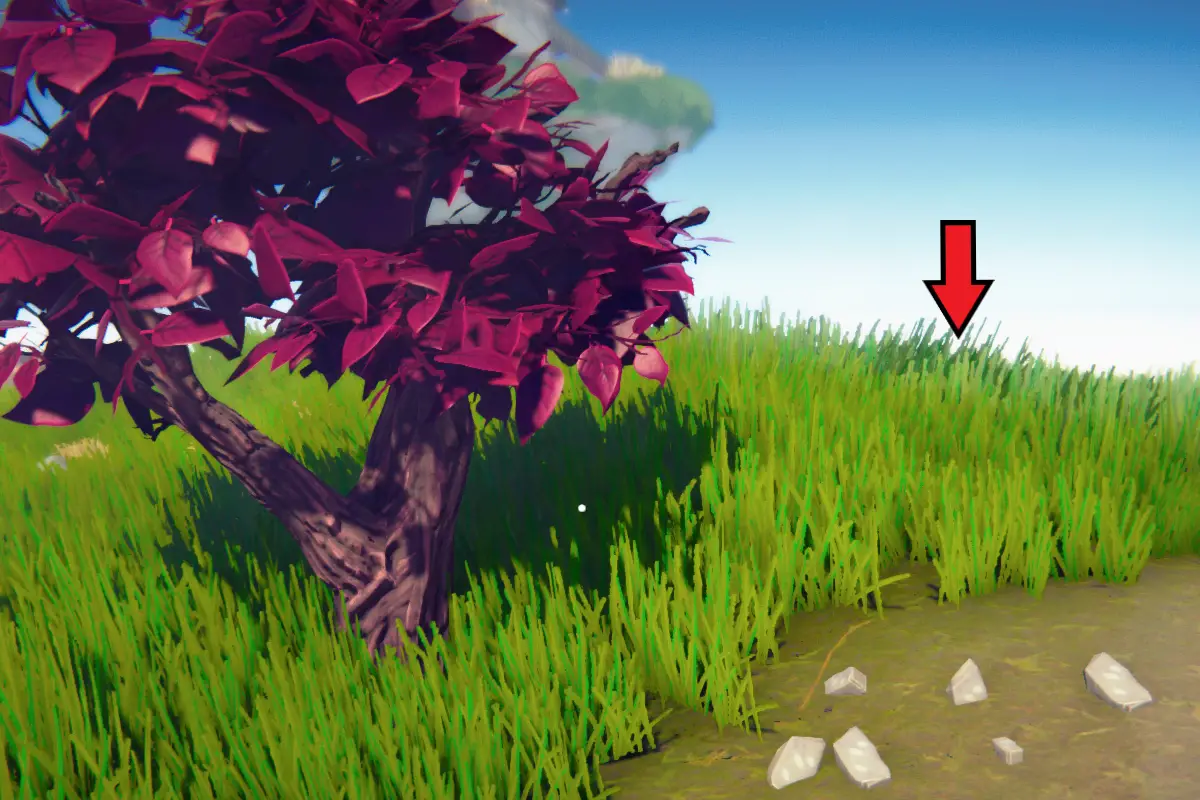
Go out of the shop go to the left (if facing towards it) wall. Under the wokrshop you can find left wing. Position yourself facing away from the wall and go towards a tree in the distance. A bit to the right of the tree you can find right engine in the grass.
After picking it up, turn to your left and go towards a bridge. Stop near sunflowers, pick up wood plank on the right and continue walking. To the left of the bridge there is a big stone, where you can pick up propellor.
Go on a bridge. Approach the gap and interact with it. Use wood plank, nail and hammer. Continue going forward. After leaving the brigde, turn left. You can find right wing in the grass a bit further.
Go back to the bridge and look to the right. There is a memory glowing in the distance. Approach it. Pick up rat cage.

Go back to the main island and approach the back of the house. Look at the cellar entrance. You already have all the clues you need to open the lock, so put in the code (
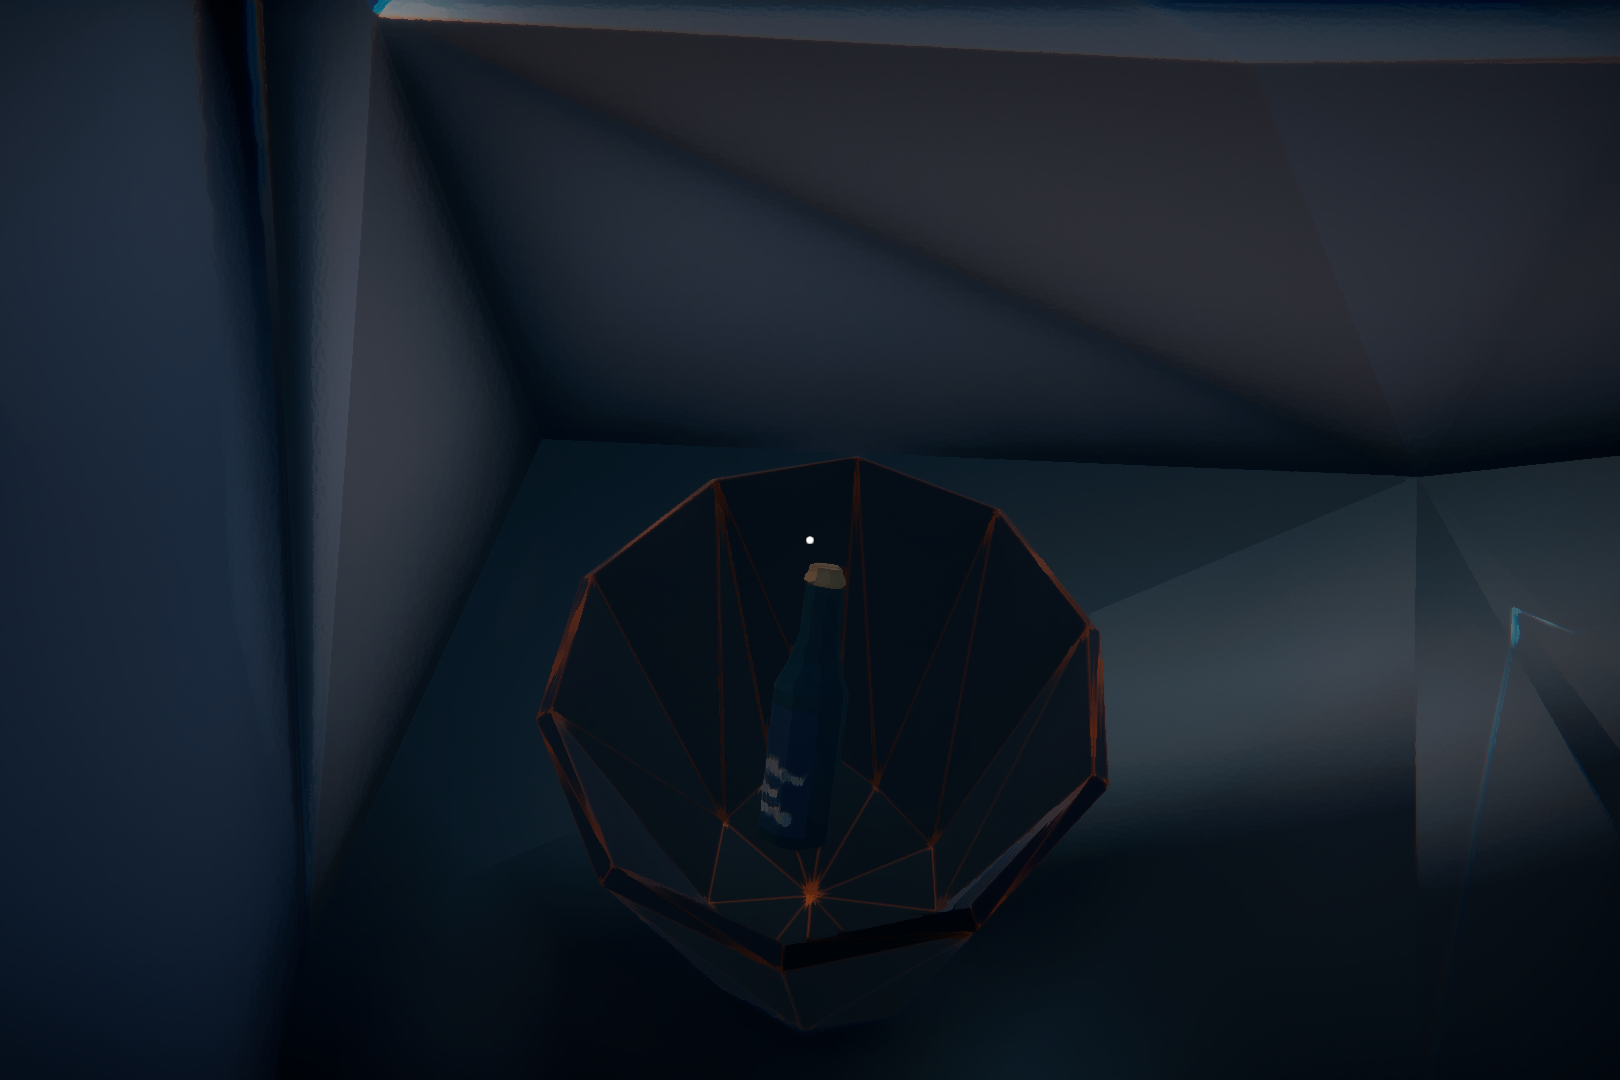
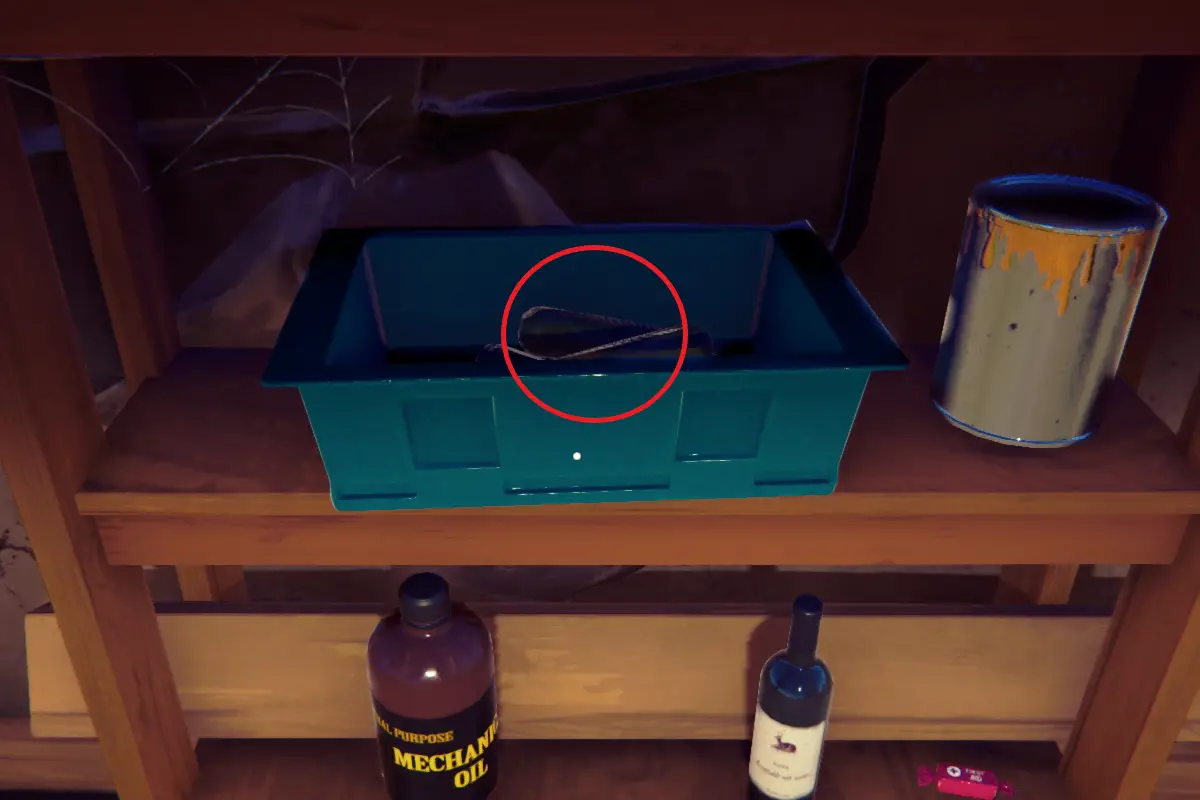
4762). Go inside. Pick up ACME flyer, left engine, two bottels of vodka, slingshot and long fuel pipe.
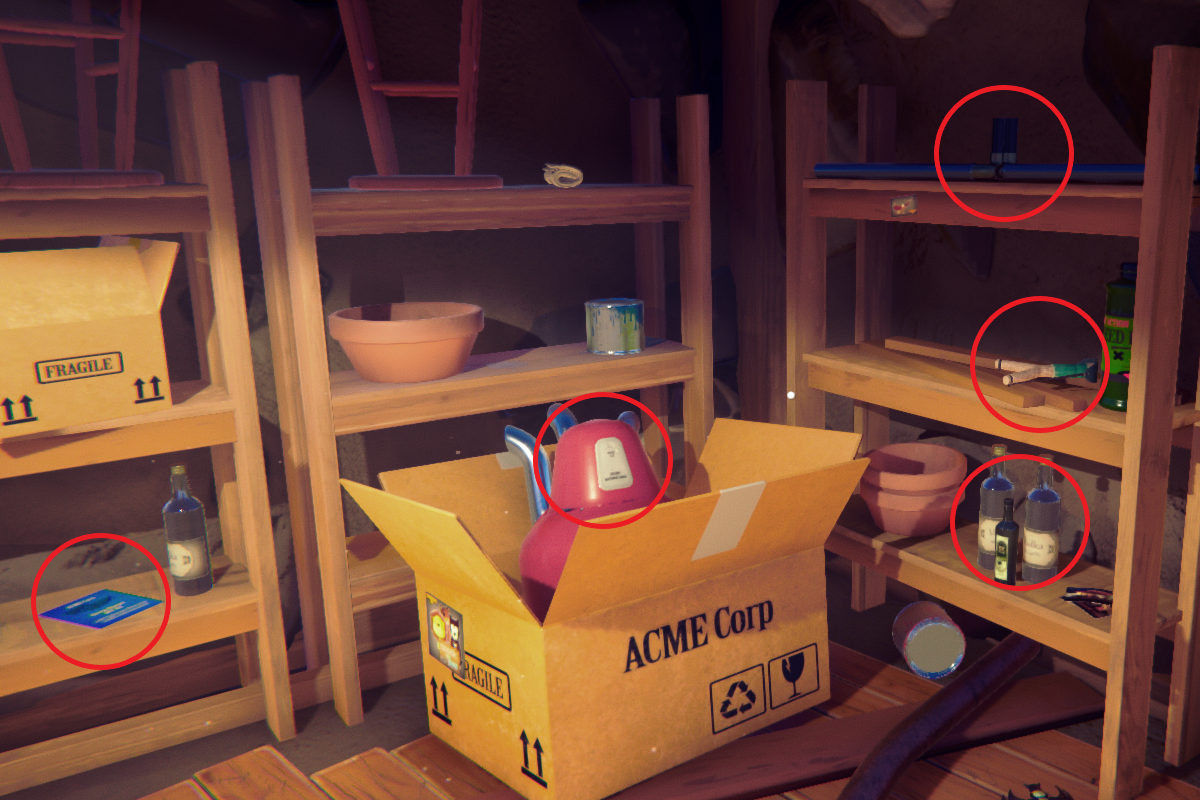
Turn around. Pick up propellor, wheel and rat poop.
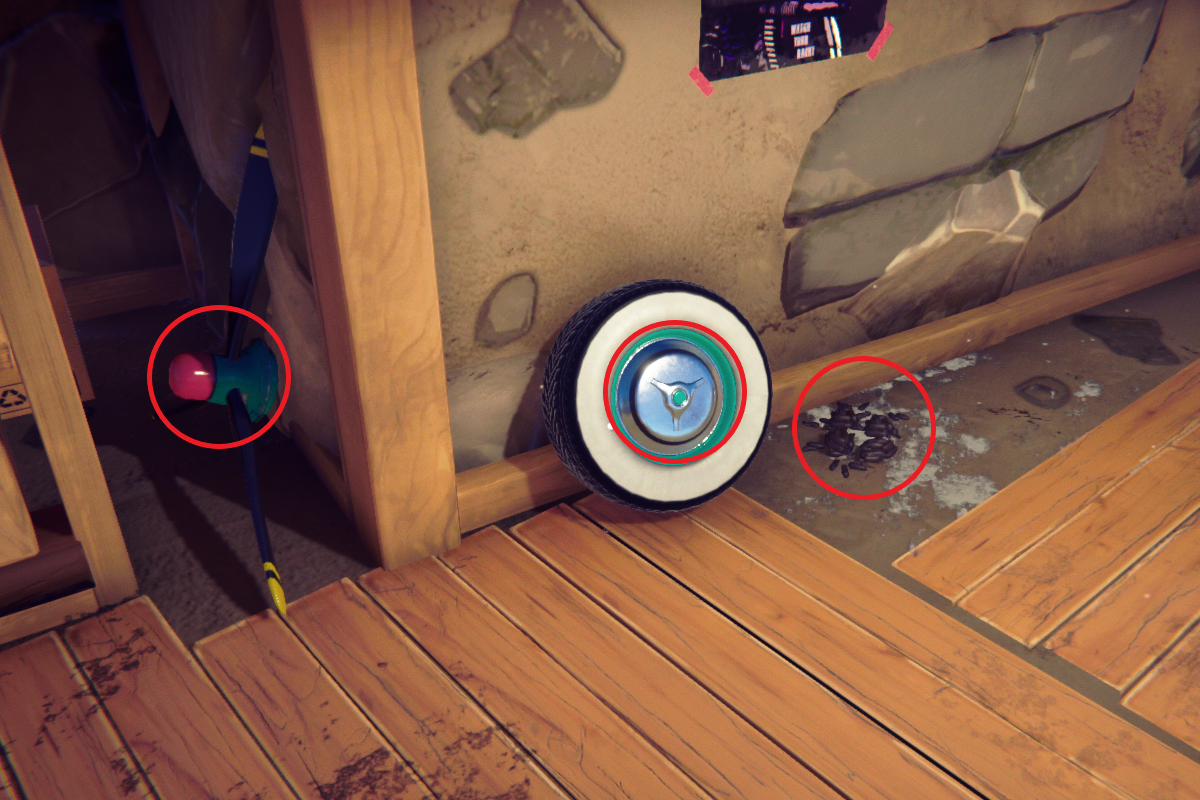
Interact with the rats and use rat cage on them. Behind them on the middle shelf pick up corn from a box. There is a yellow car under the shelves on the right. Pick in up and drop. Take a key.

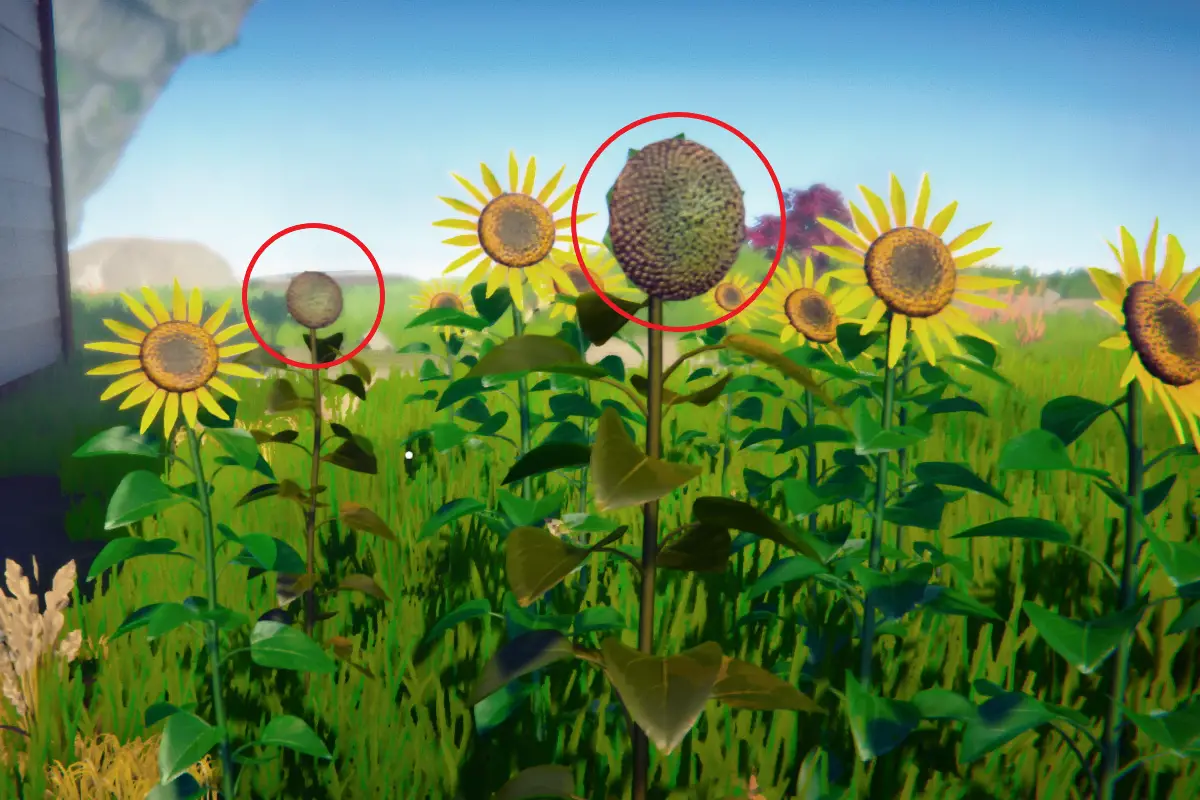
Go outside. To the left on the sunflowers you can find axe. Pick it up. Look at the house. There is a balloon stuck on the top. Click on it and use slingshot. Interact with wooden crate and use axe. Pick up steering wheel. Turn away from the box and approach the sunflowers. Pick up sunflower.
Go to the bird on the tree. Listen to the dialogue, interact with it again. Give bird snack to it, then vodka. Interact with it again and give it corn. Pick up fuel tank and fermented corn from the ground. Go to the workshop.
Click on the roto charger. Put rat into the wheel and put battery on the right side. Turn on the charger. You need to wait until the battery fully charges.
Pick up the battery and interact with the fuel cooker. Put battery on the left and empty fuel can on the right. Use vodka and fermented corn on the top of the cooker. Turn it on. When the bar turn red, use rat poop on the top of the cooker. Pick up full fuel can. Pick up battery. Go to the roto charger and charge the battery again. Pick it up.
Click on the old notepad. The first page shows you which items you still need to put into the car. The second page shows where these items are supposed to be placed.
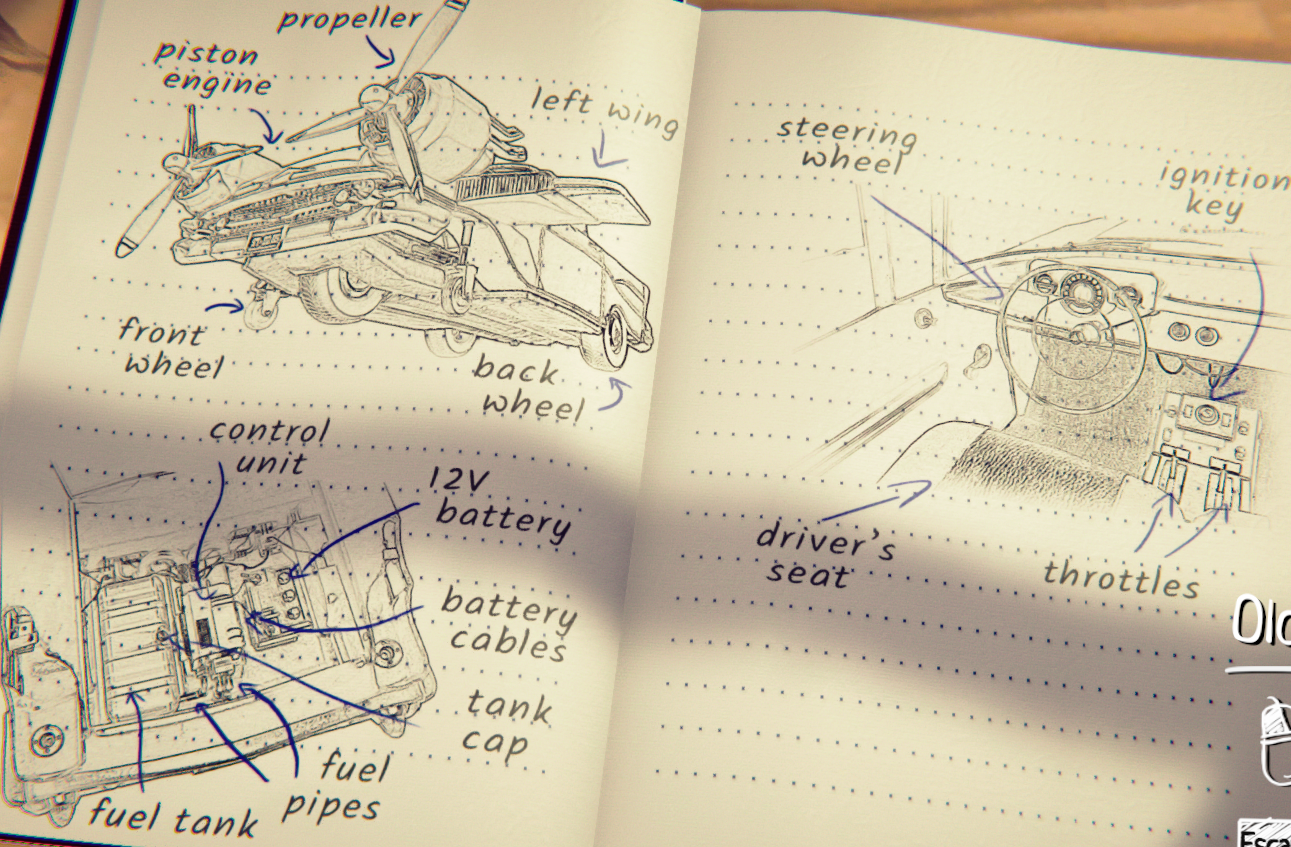
After placing fuel tank don’t forget to full it with fuel and close it with a cap. The second wheel is in the trunk of the car. Before putting in the key, you need to open the door. Look at the ACME flyer.

You can find a combination (
19-5-28) on it. Put the combination into the door lock. Press the mouse button and don’t let it go, until you enter all the numbers. If the lock didn’t open, rotate it a bit more until you hear a clicking sound. After that you can try again.
Interact with the driver’s seat and put in the key. This is where the chapter ends.
Chapter IV Walkthrough
Go outside of the room. Enter the bathroom on the left. Open the third door from the left. Pick up money.

Go outside the bathroom and forward. Pick up money neat the benches.
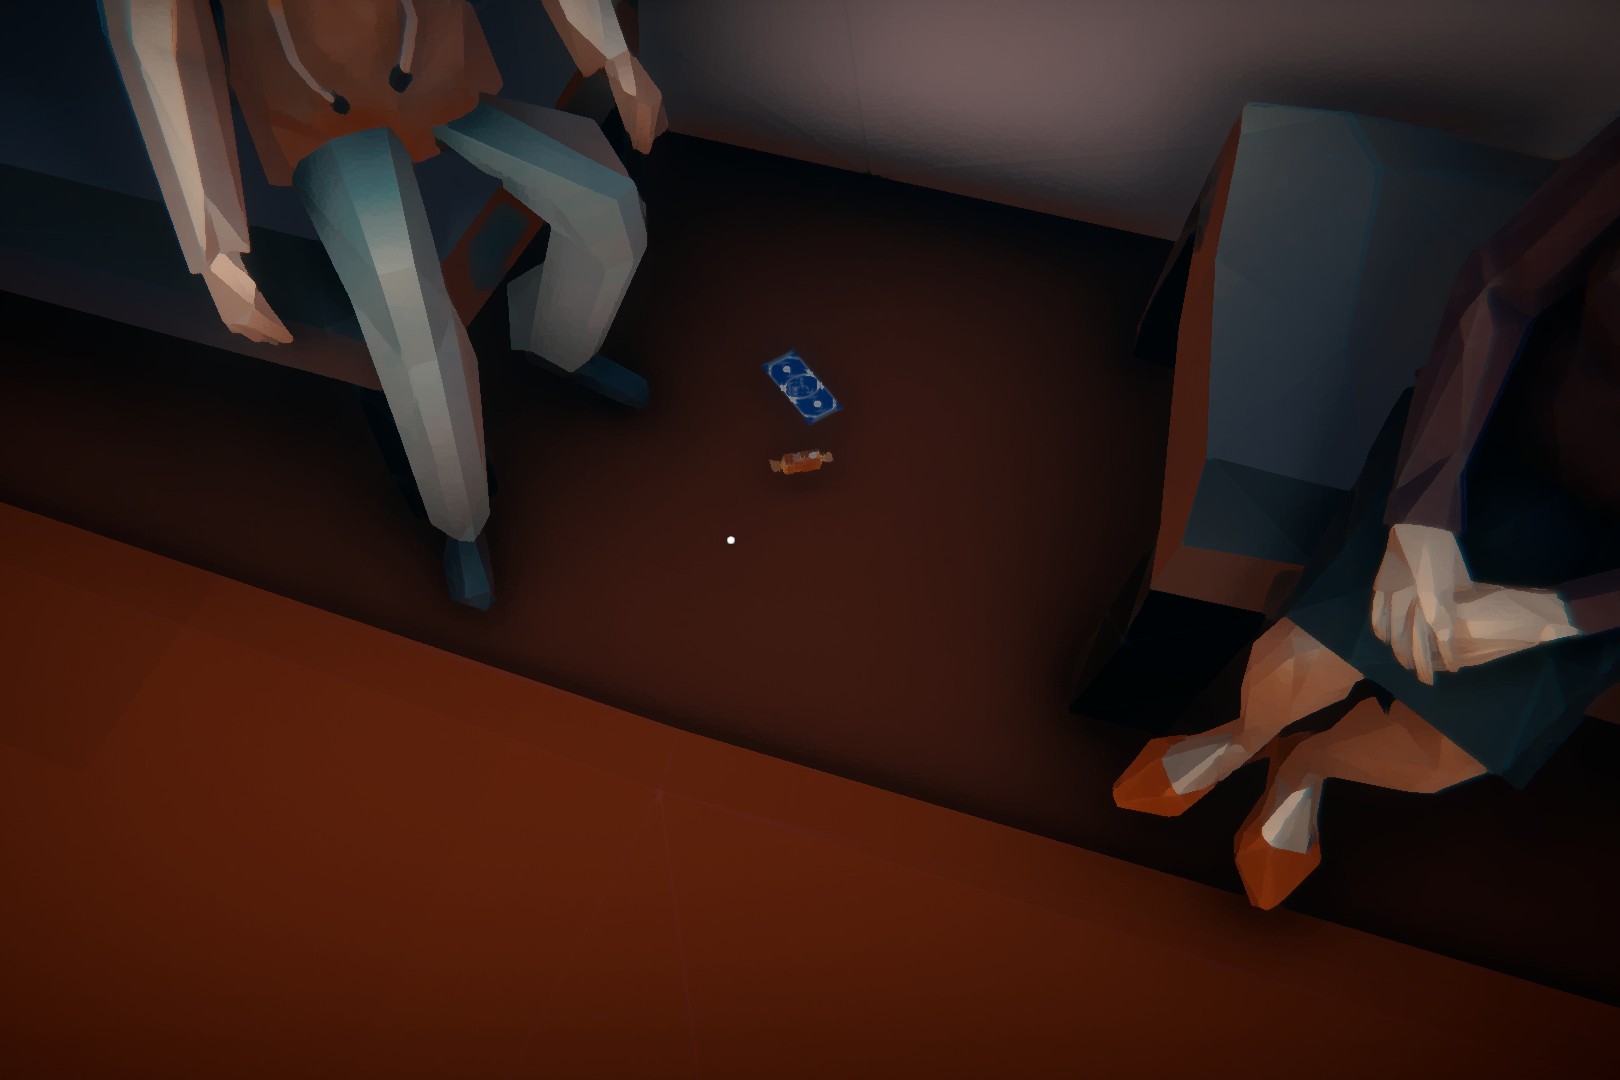
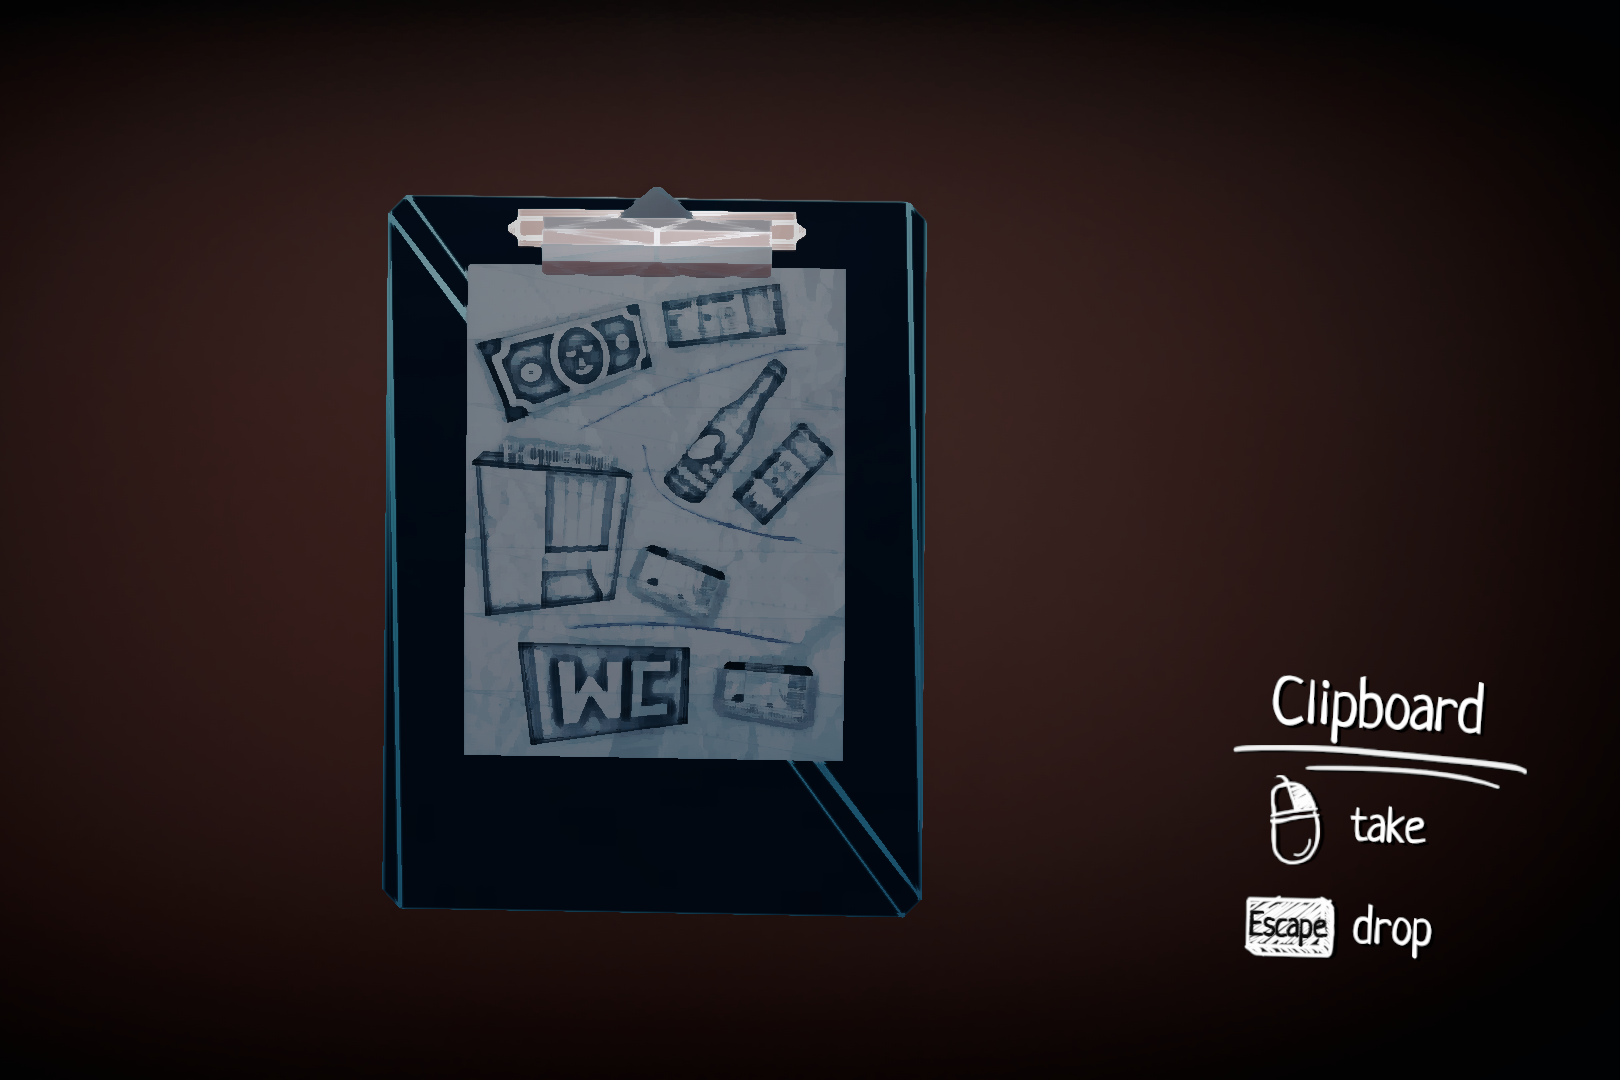
Turn around and go towards the big hall. At the end of the corridor pick up clipboard from the floor.
Go forward to the exit. Turn left and go to the ER. Talk to the woman. Turn around and go to the bathroom. Talk to the boy. Go to the ticket office. Look at the screens on the top to see which movie is shown in room one. Talk to the cashier (second from the right) and purchase a ticket to this movie.

Go to room one. Pick up lemonade from a trash can.
Go to the bathroom in the hall and give the kid lemonade. Go inside and pick up ID card.

Go inside the photobooth.
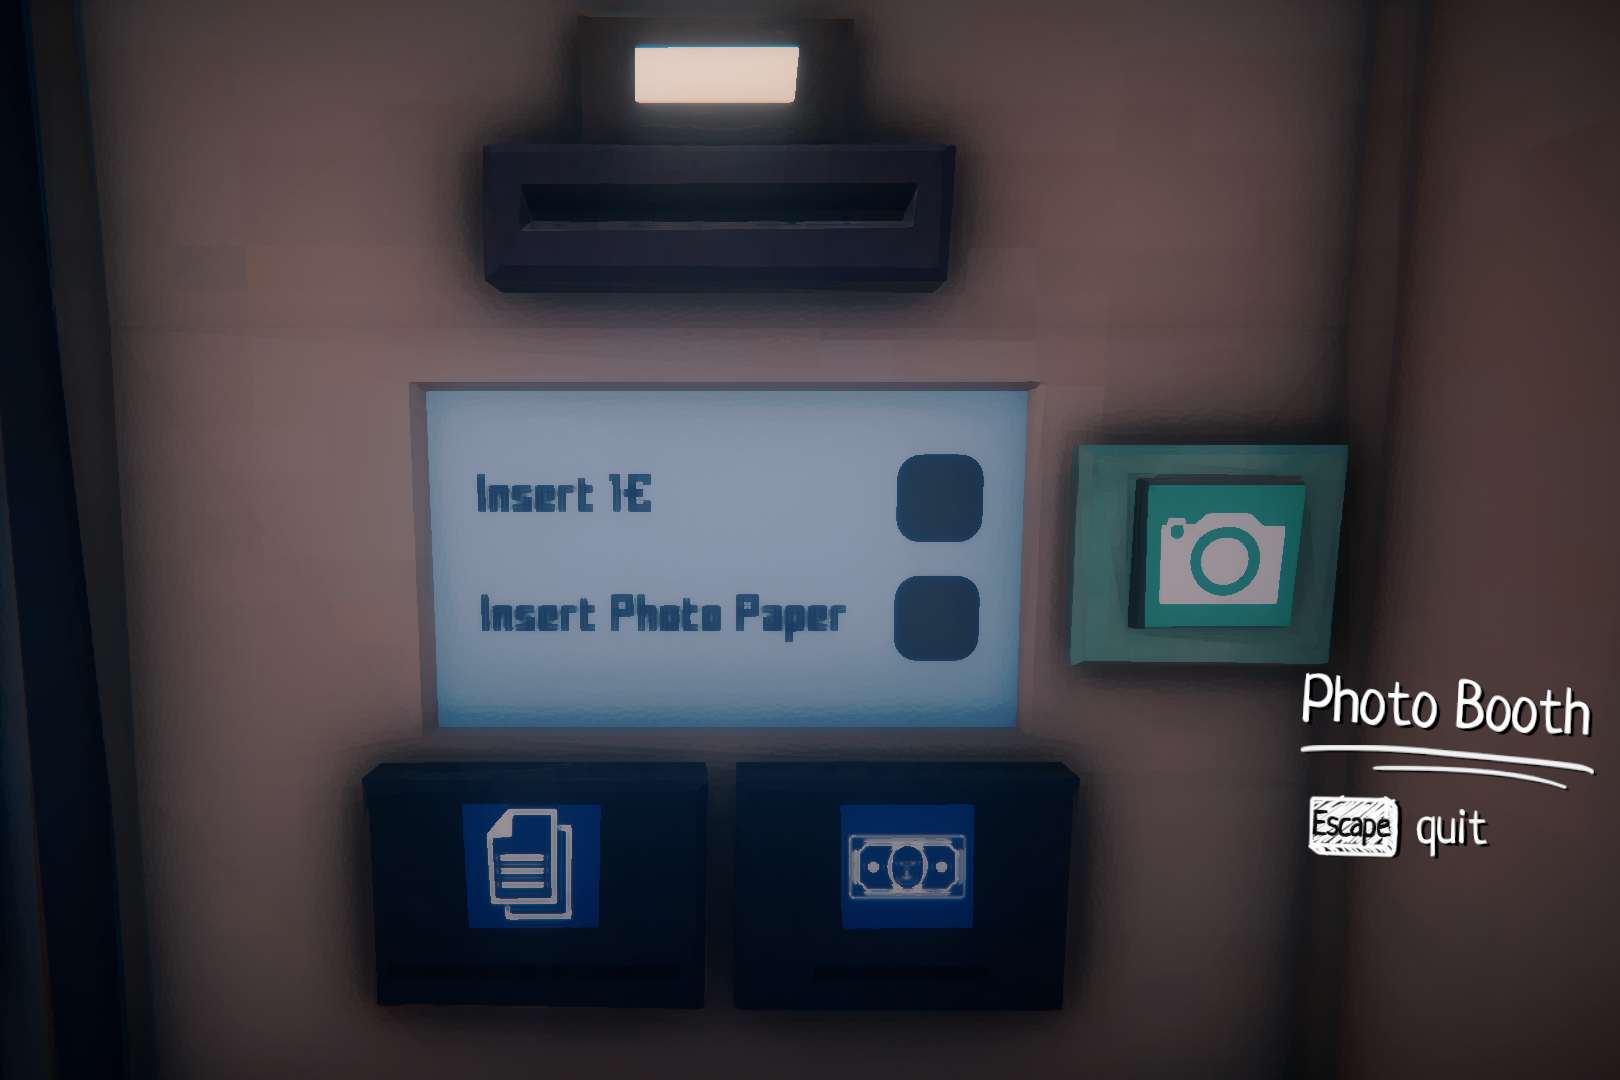
Insert ID card on the left and money on the right. Press the green button. Pick up ID card from the floor. Go to the ER and show ID card to the nurse.
Go through the corridor. Enter a couple of doors. This is how the game ends.
Story Achievments


Master of Anatomy & Compulsive Gamer


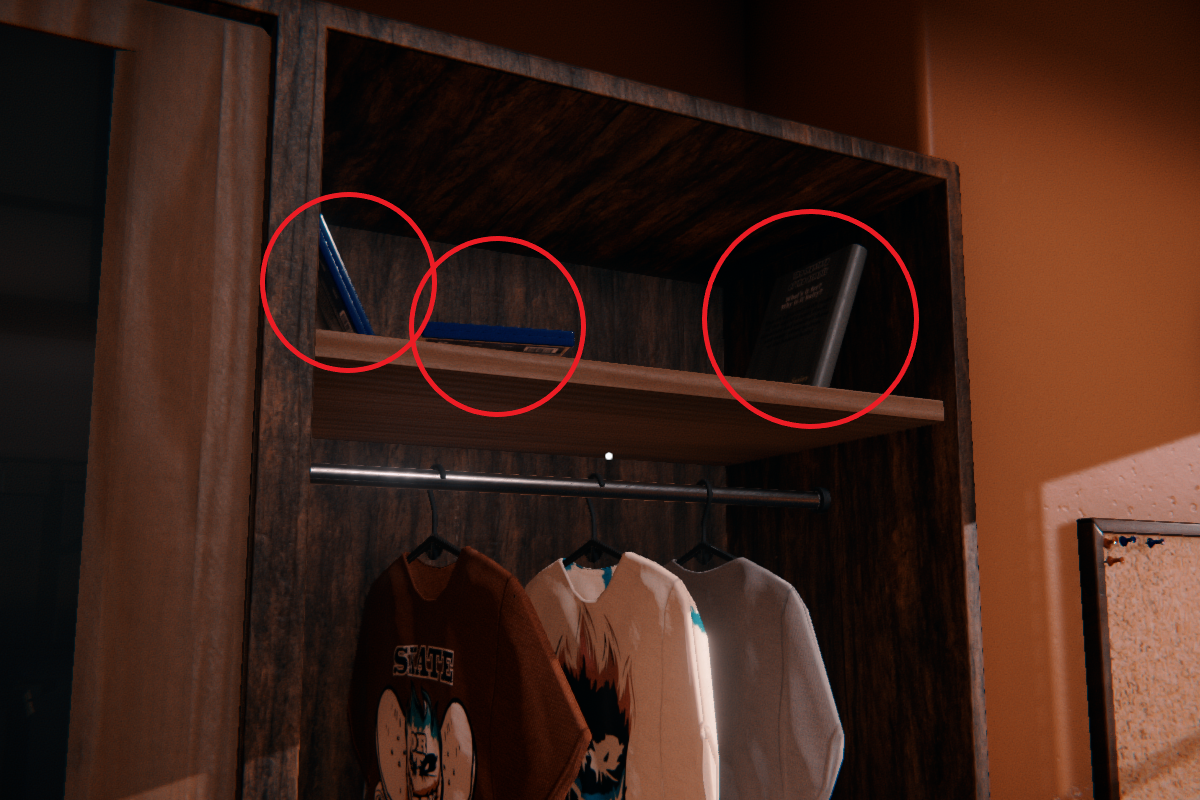
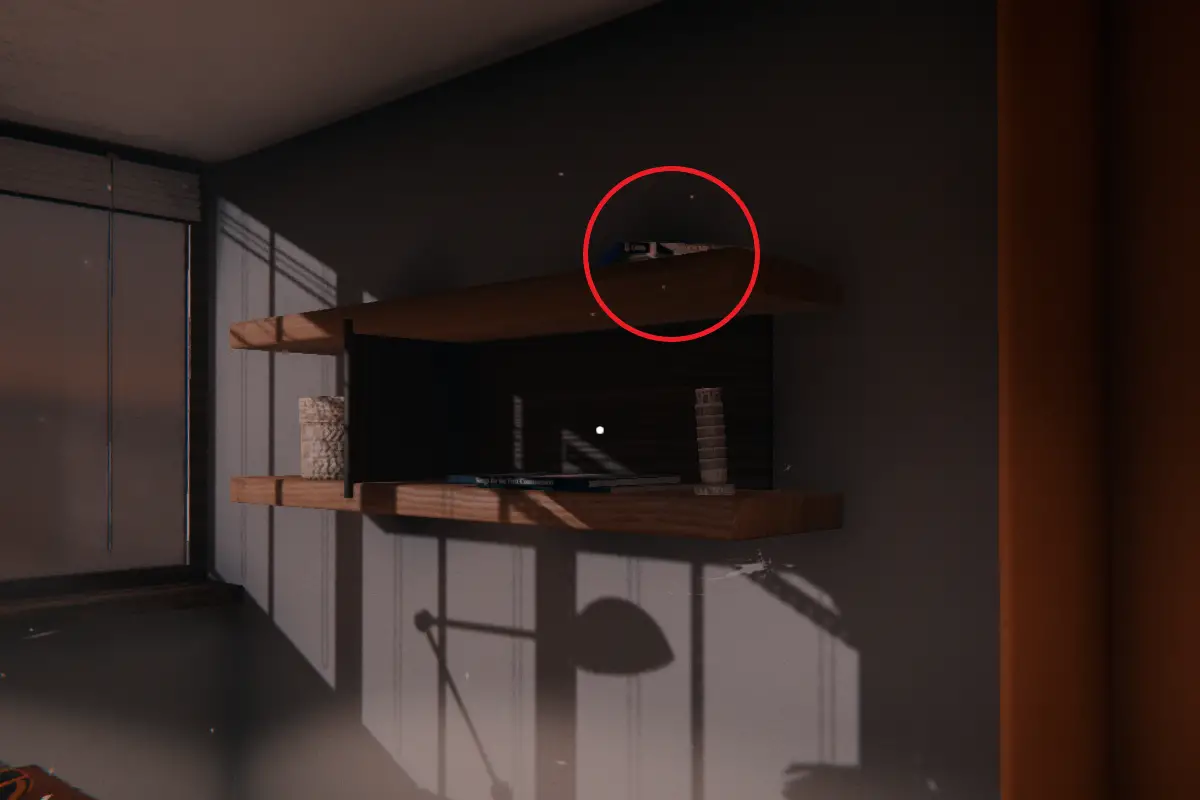
Approach the wardrobe. On a top shelf you can find one anatomy book and two gameboxes.
Go to the right side of the bed. You can find two gameboxes there.

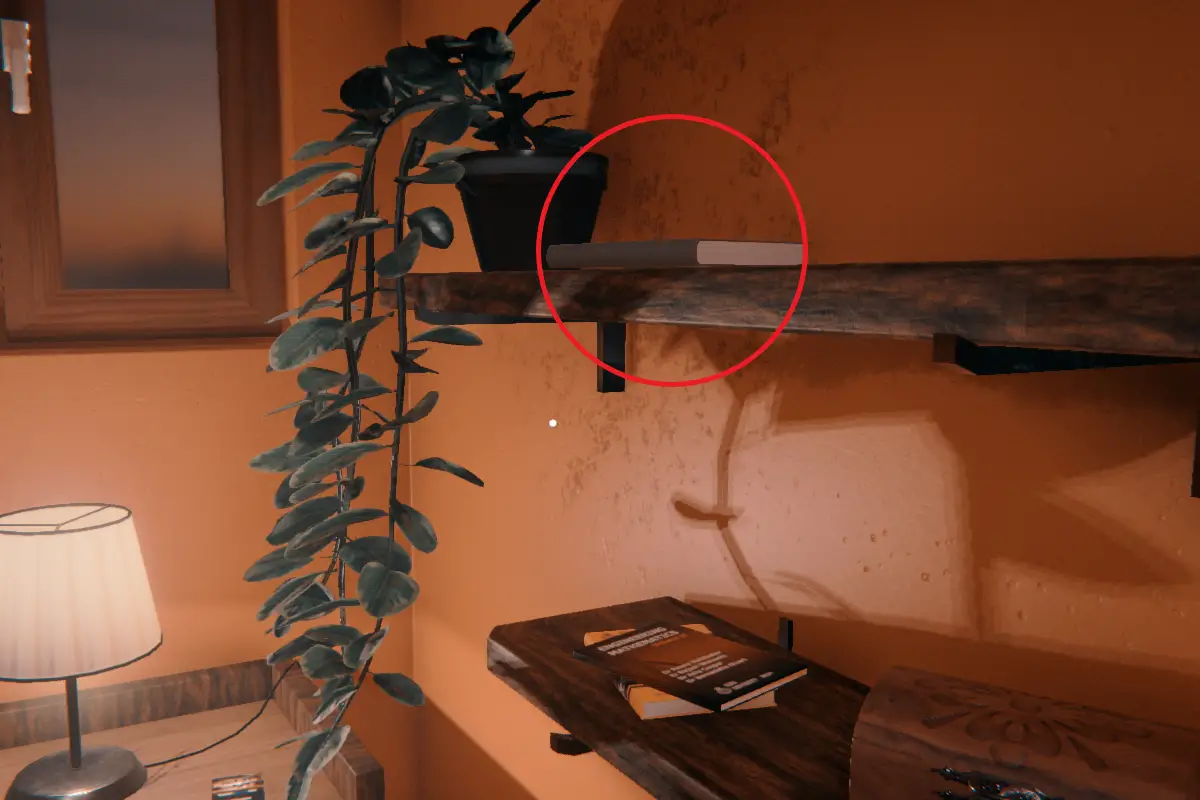
Now look to your right. On the top shelf there is an anatomy book.
Another gamebox is located in the top drawer on the left side of the bed.

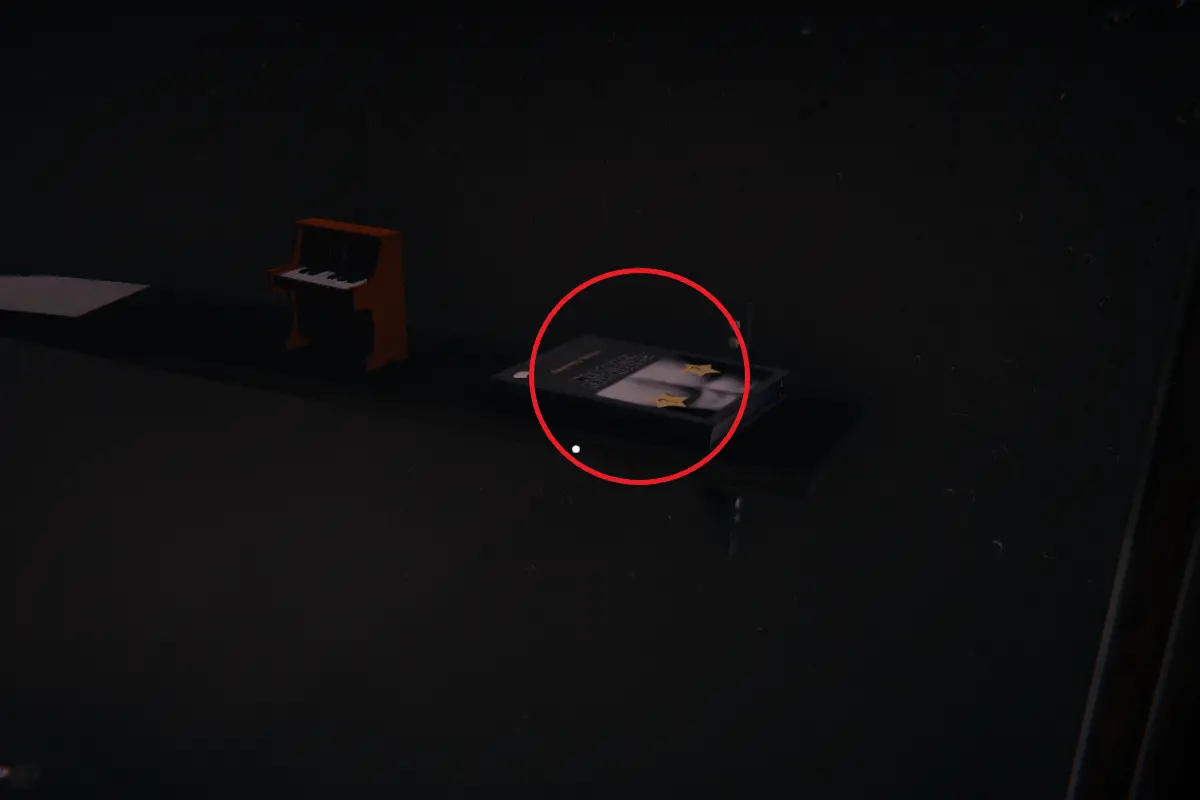
Final gamebox is located on the top shelf on the right side of the table.
Final anatomy book is located in the storage, that is locked. The key to this door is in a lock box (bottom shelf to the right of the bed). The combination to the lock is
27-12-35. You can find a book on the shelf on the right.
Gaming Achievments

You can find the game Unicorn’s Revenge on the laptop (password:
unicorn) in chapter two. It’s a platformer, in which you need to shoot enemies with the rainbow.
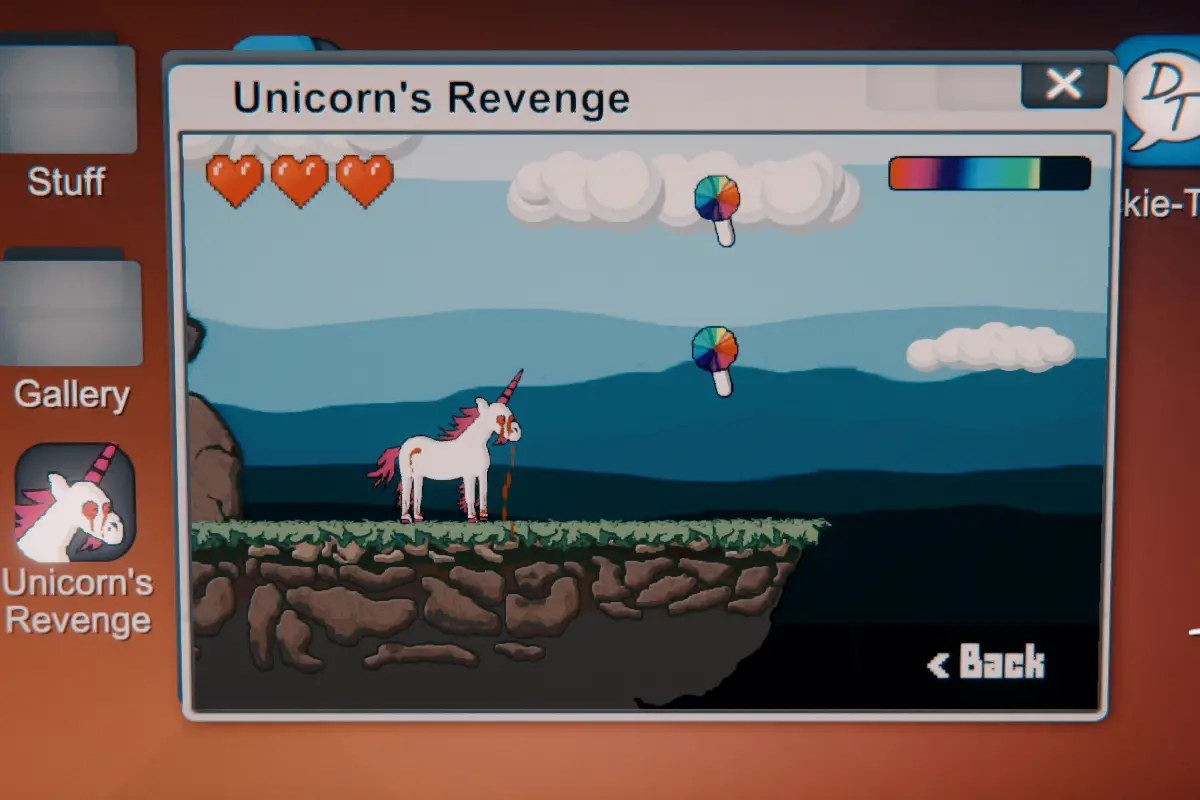
The bar on the upper right corner on the screen shows how much rainbow you have. Candies refill your rainbow. Finish the game in order to get the achievment.

You can find this game on the laptop (password:
unicorn) in chapter two. You need to score over 5000 points in Miami Street Skater 3. Perform tricks and collect coins to get extra points.

Press space to jump and shift to do a trick. Apparently, there are other buttons that work, but I couldn’t make them work and only used these two. Make sure to not hold shift when you are on the ground.
Each coin gives a 1000 points so collecting them is important. I got really lucky and had three coins in a row, so I got the achievment pretty quickly.

You can find this game in the big hall near the photobooth in chapter four.
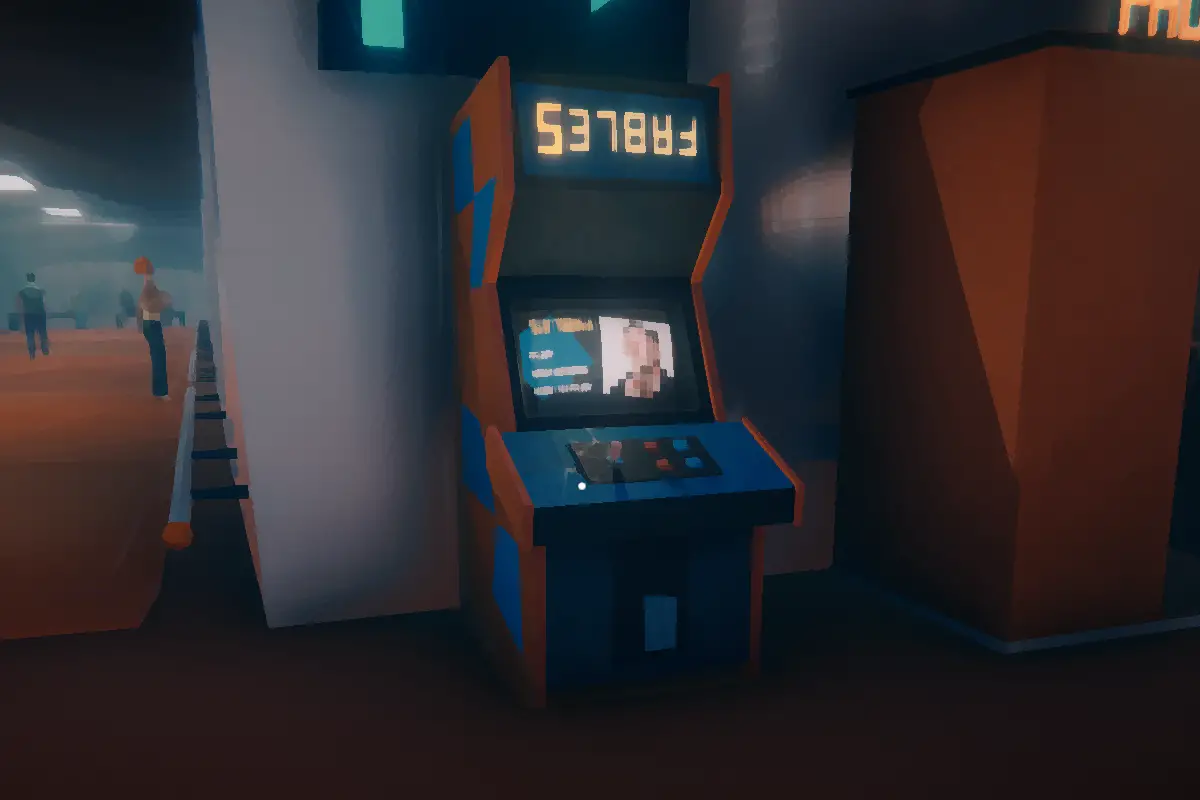
Use left mouse button to destroy panels, use right mouse button to rotate the object. Finish the game in order to get the achievment.
Other Achievments

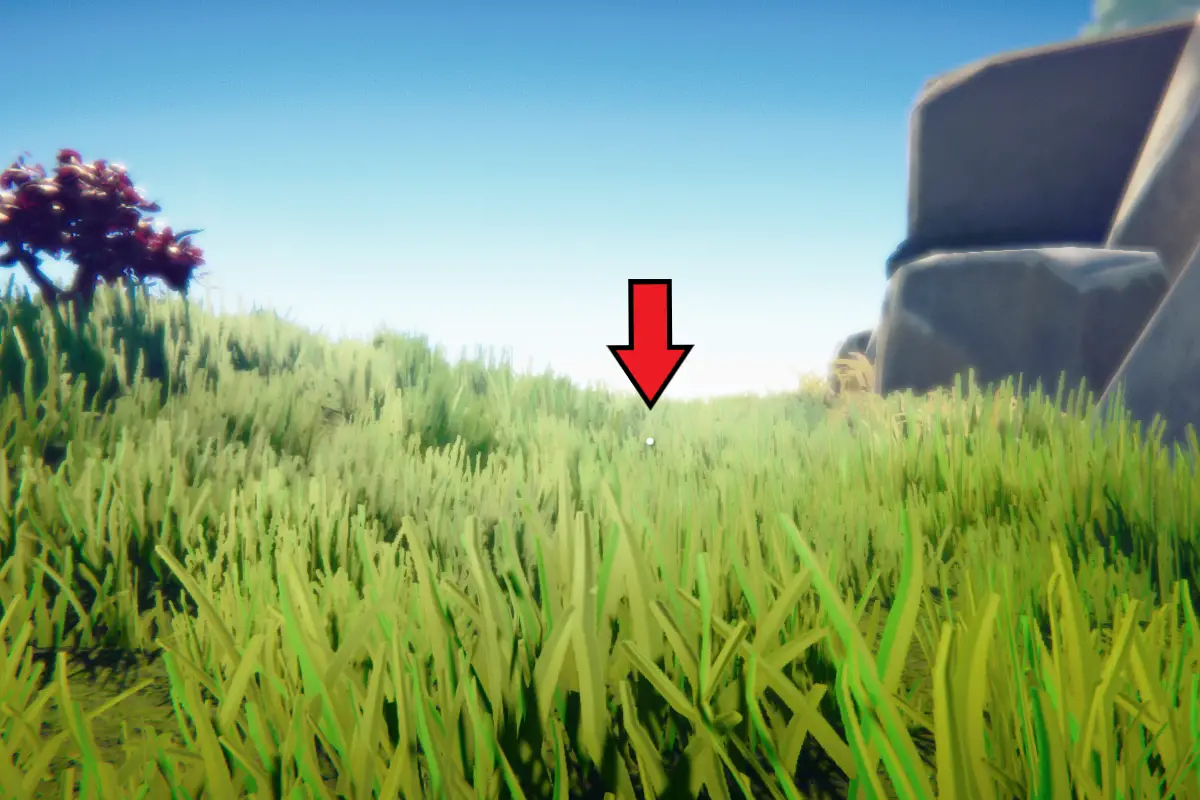
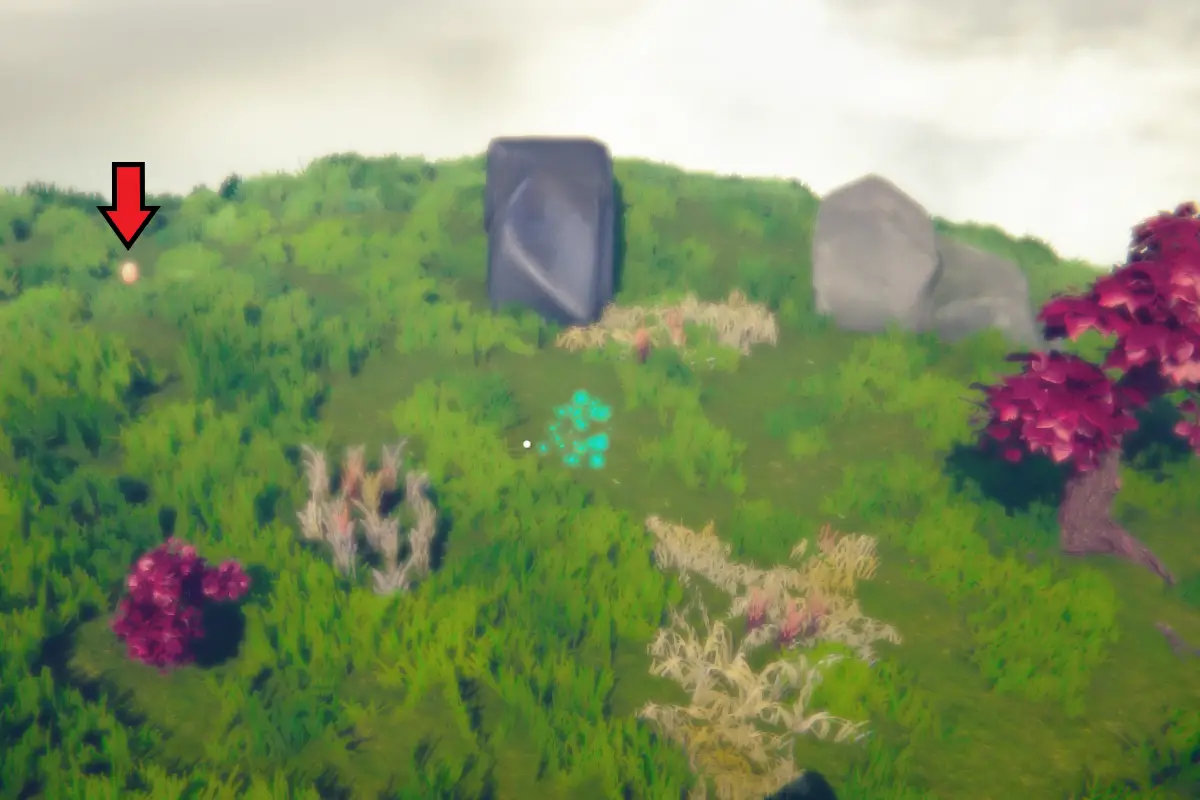
Go to the other island. Approach a big dark stone to the right (there are a memory and a rat cage nearby). Postion yourself facing the stone, turn left and go forward. You will find an egg in the grass. Pick it up.

In the workshop you can find a clock near the entrance. Every hour (at xx:00) a bird will fly from it. You need to click on it to get the achievment. You you miss it, you will have to wait an hour to try again. Literal houh, since the time on the clock is the same as on your PC.

You can save the game there and return later or just walk around waiting for the right time. Changing time on your PC won’t help.

You need to feed all the snacks you can find to the bird.
Near the house you can find two sunflowers.
In the cellar (code
4762) you can find three corns.
Keep feeding the bird until you get the achievment.

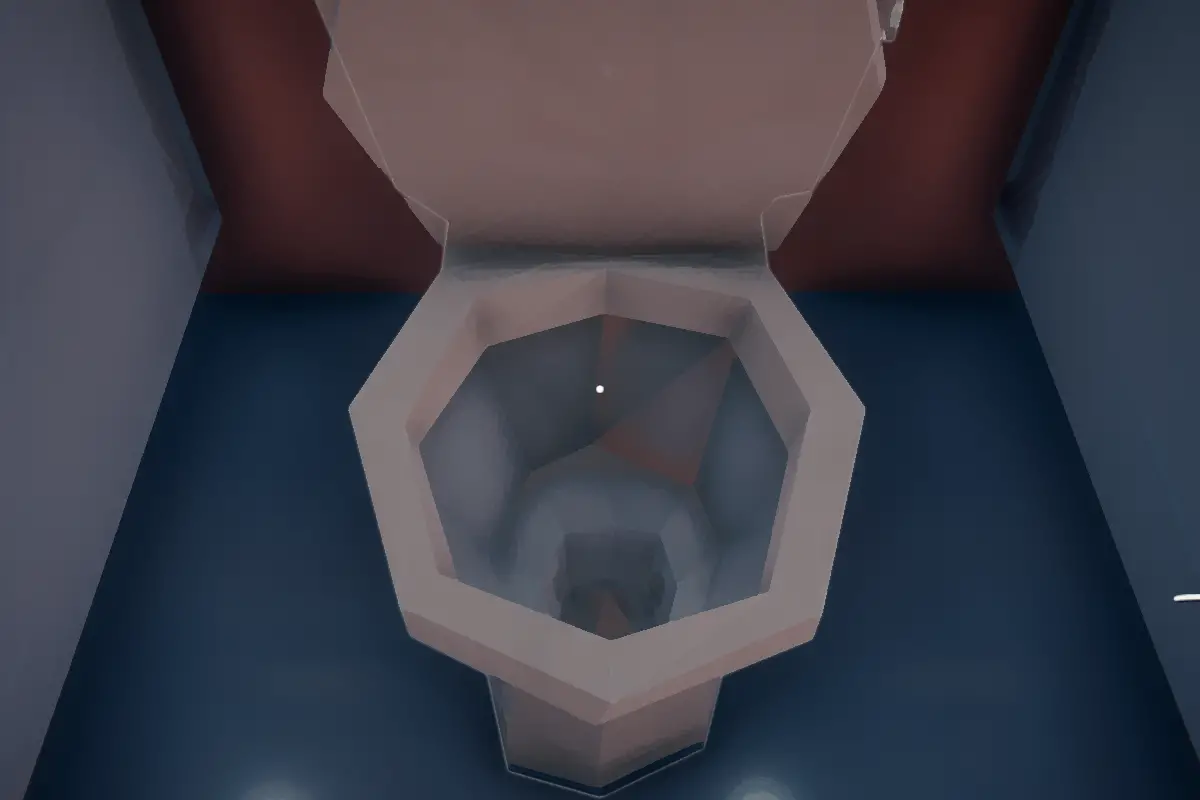
Go inside any bathroom and click on the toilet. You can only do it in chapter four.

You need to see all the movies in chapter four. Go to the cashier and purchase all six tickets. You will need 32 euros to do that.
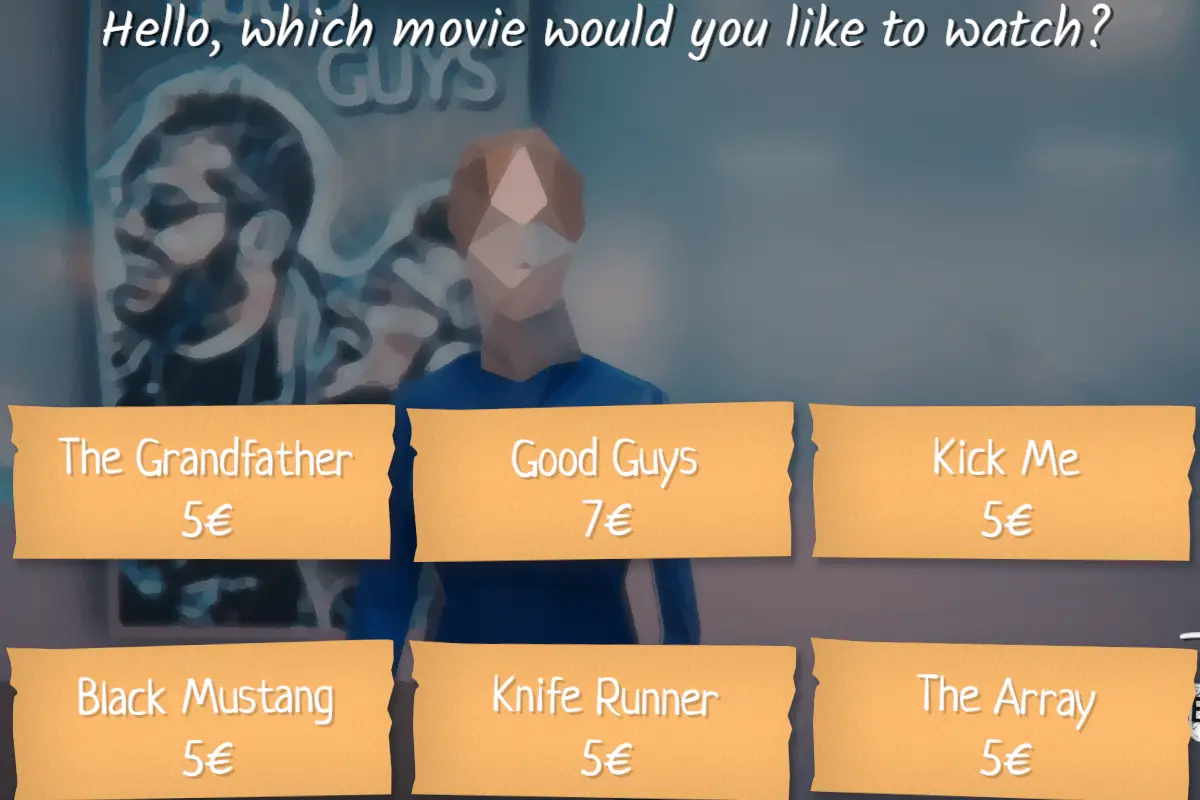
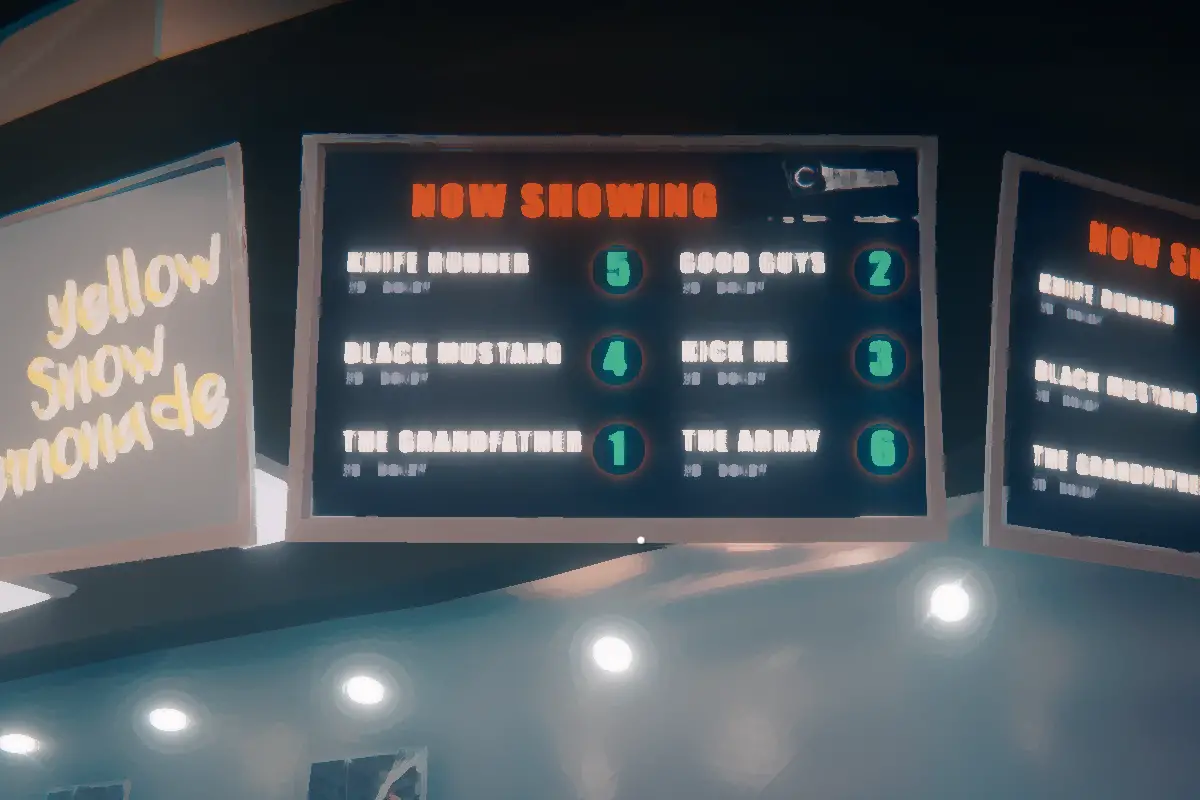
Look at the screens to see which movie is shown in which room. Visit each room. You don’t have to actually watch these movies. Simply walk in, approach the screen and go to the next room.
Final Words
Thank you for reading my guide. I hope you’ve found it helpful.
That's everything we are sharing today for this Oneiros guide. This guide was originally created and written by SadSensei. In case we fail to update this guide, you can find the latest update by following this link.