In deze gids, we’re going to discuss the fundamentals of moose, how to manage their herds, stacking, and ways to put them to work! By understanding and applying these techniques, you can increase your chances of spawning a massive pile of diamonds. Just remember, all Great Ones spawns rely on pure chance (random number generator!). This implies that the spawns occur randomly and cannot be influenced manually, even with a high number of kills.
Moose Basics
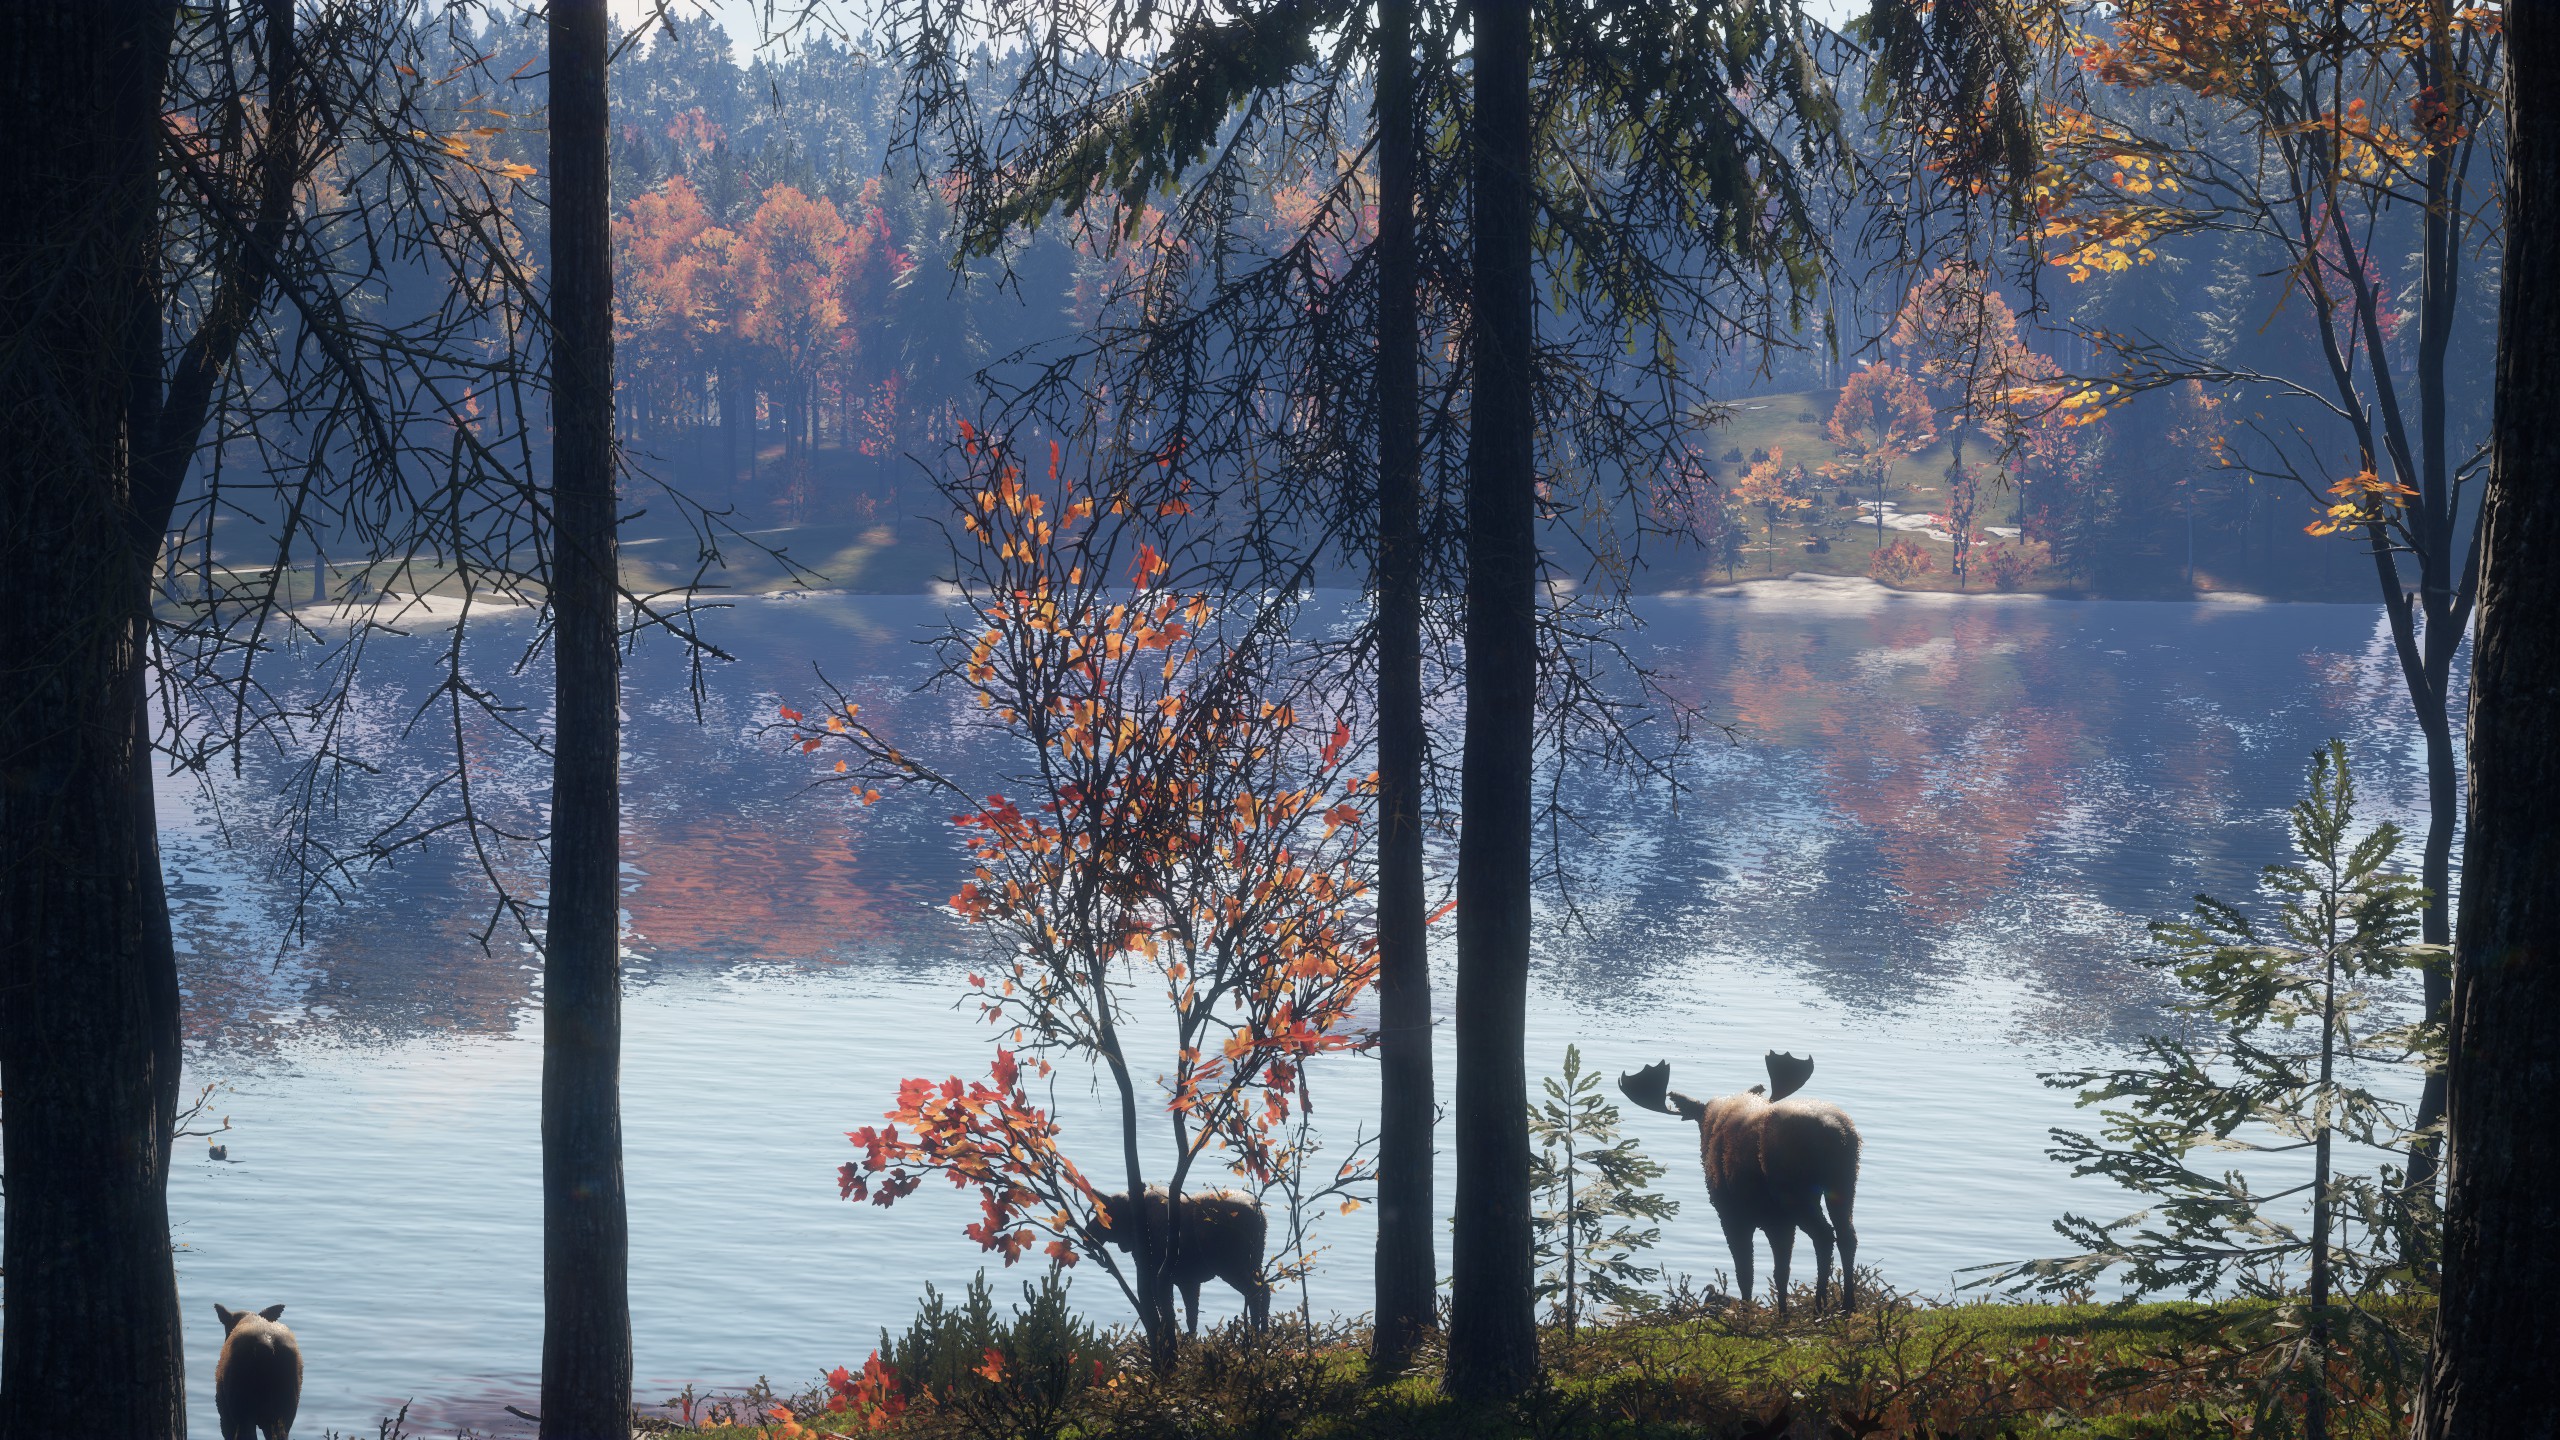
If you don’t know much about moose but have a soft spot for them, here’s a simple rundown of moose basics. (Feel free to skip this part if you’re already a moose expert.)
TROPHY RATING AND LEVELS
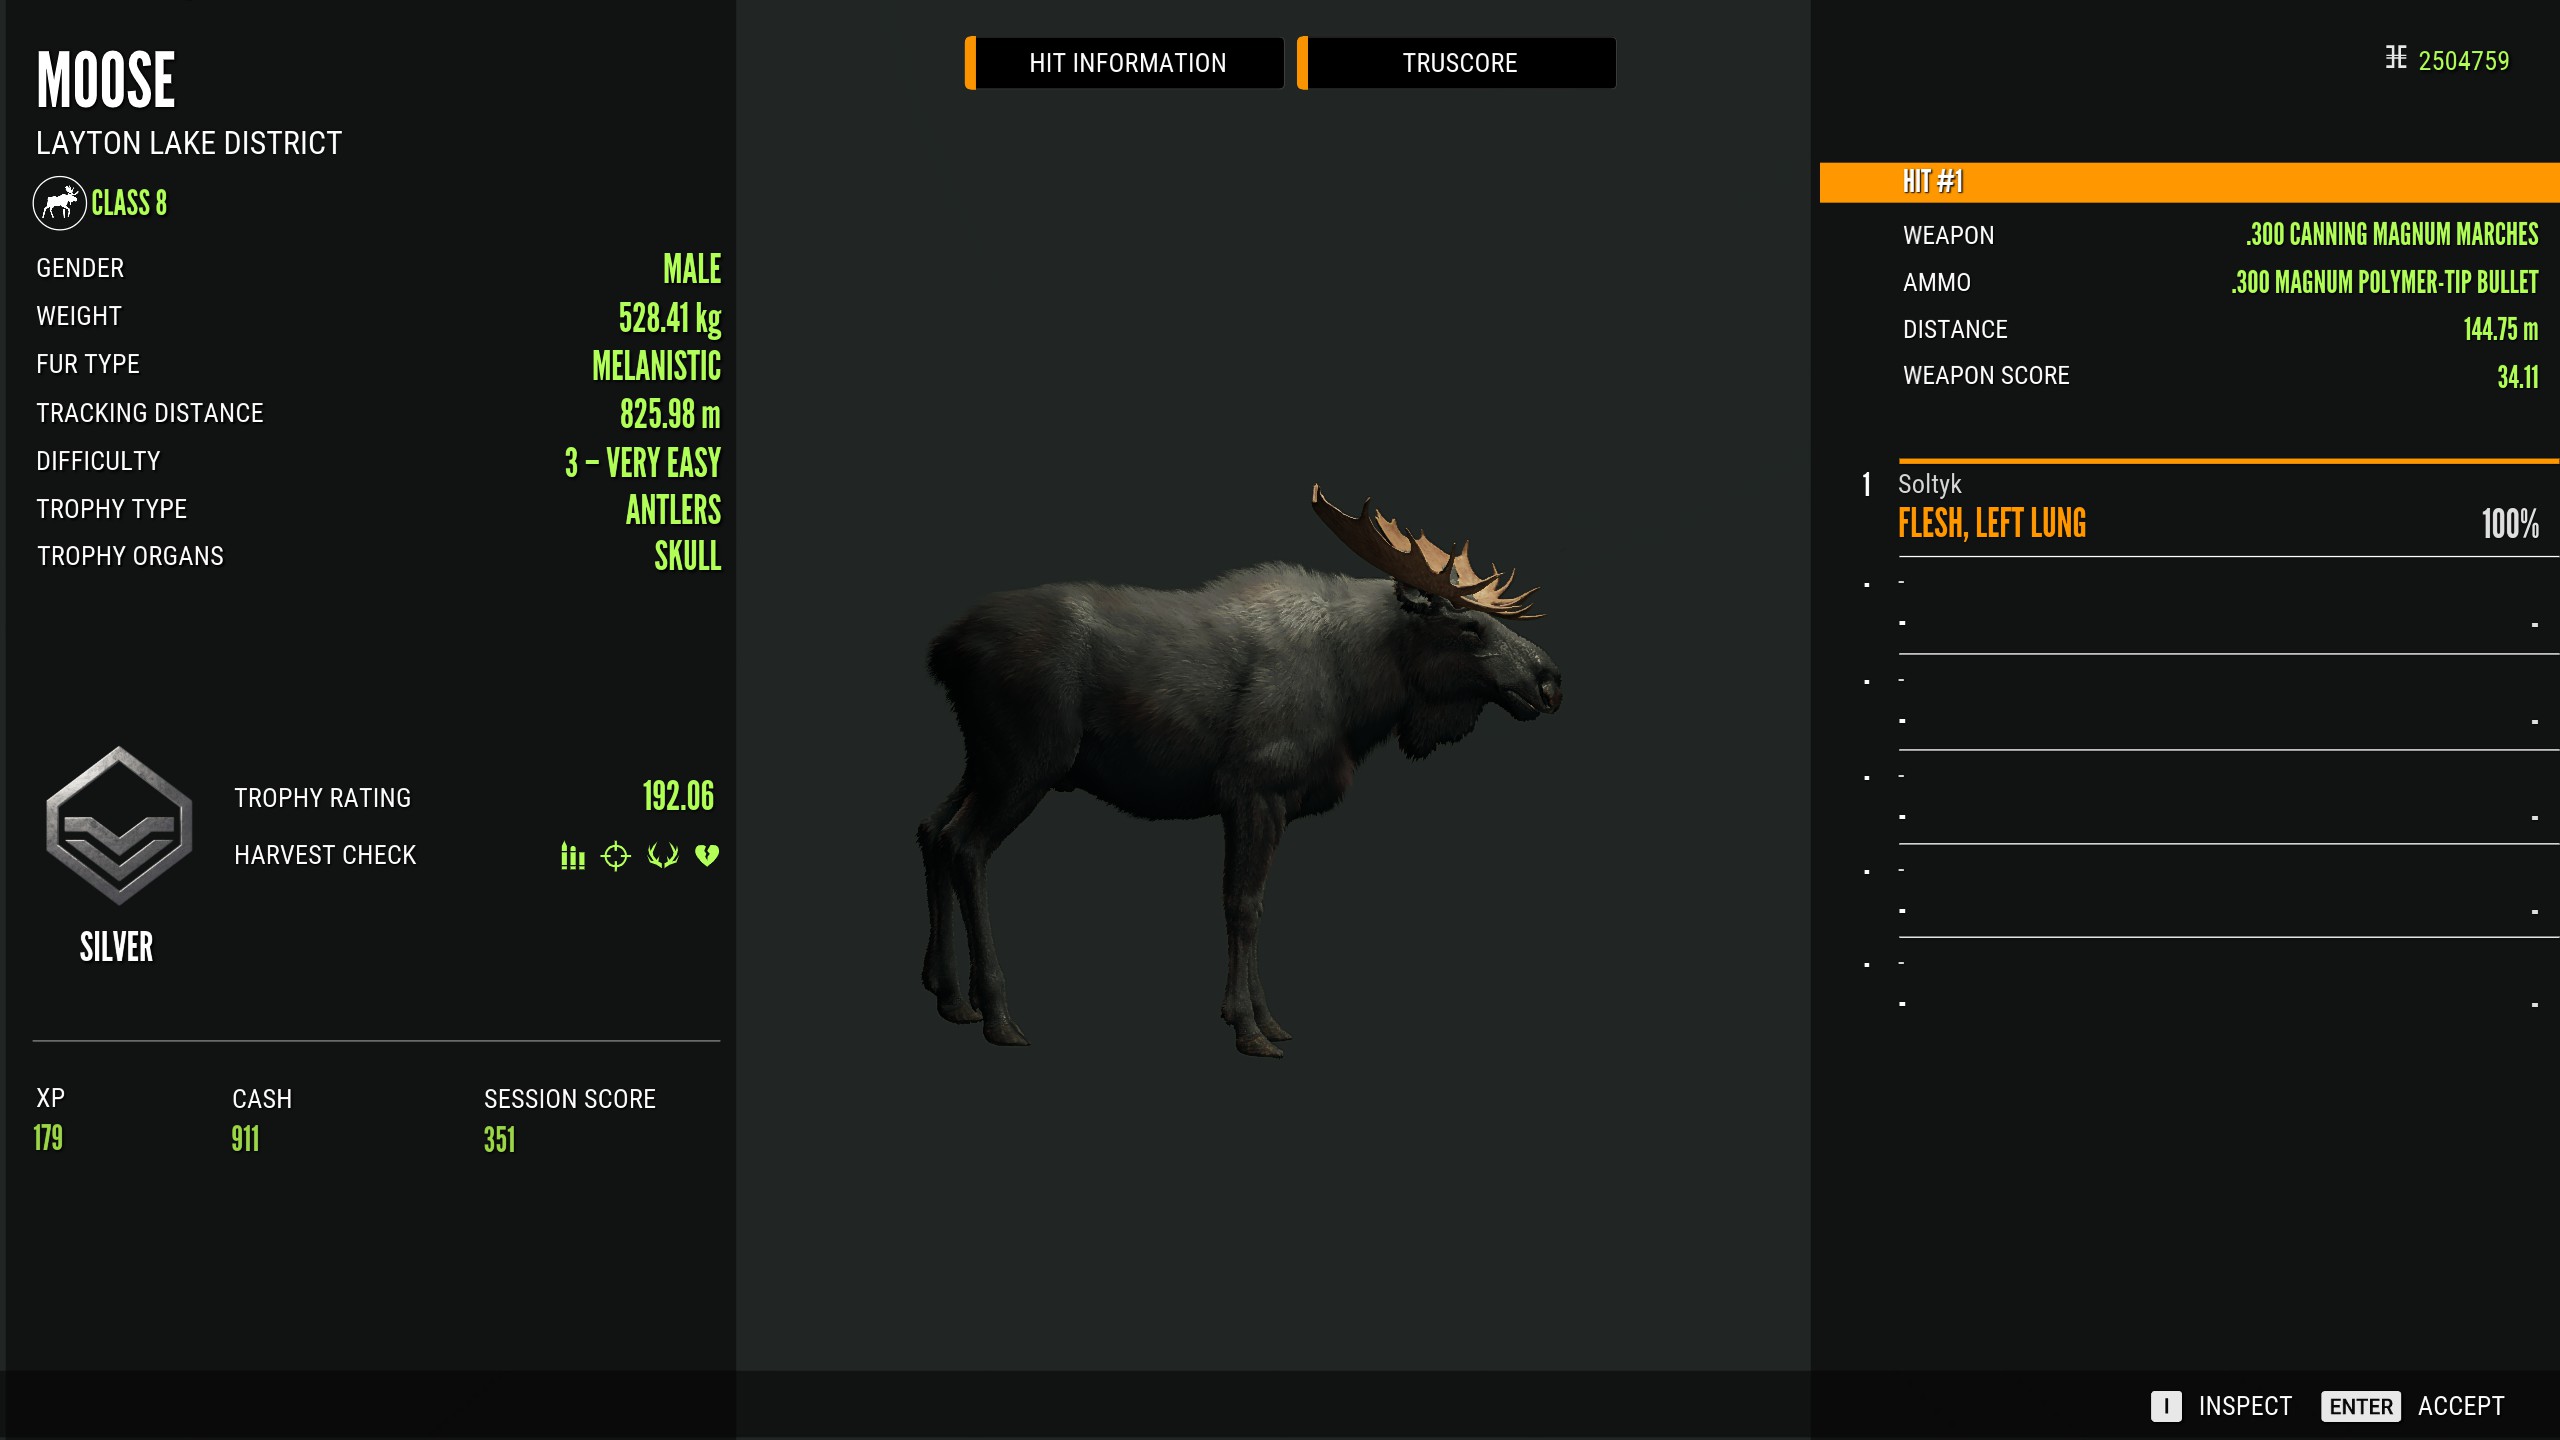
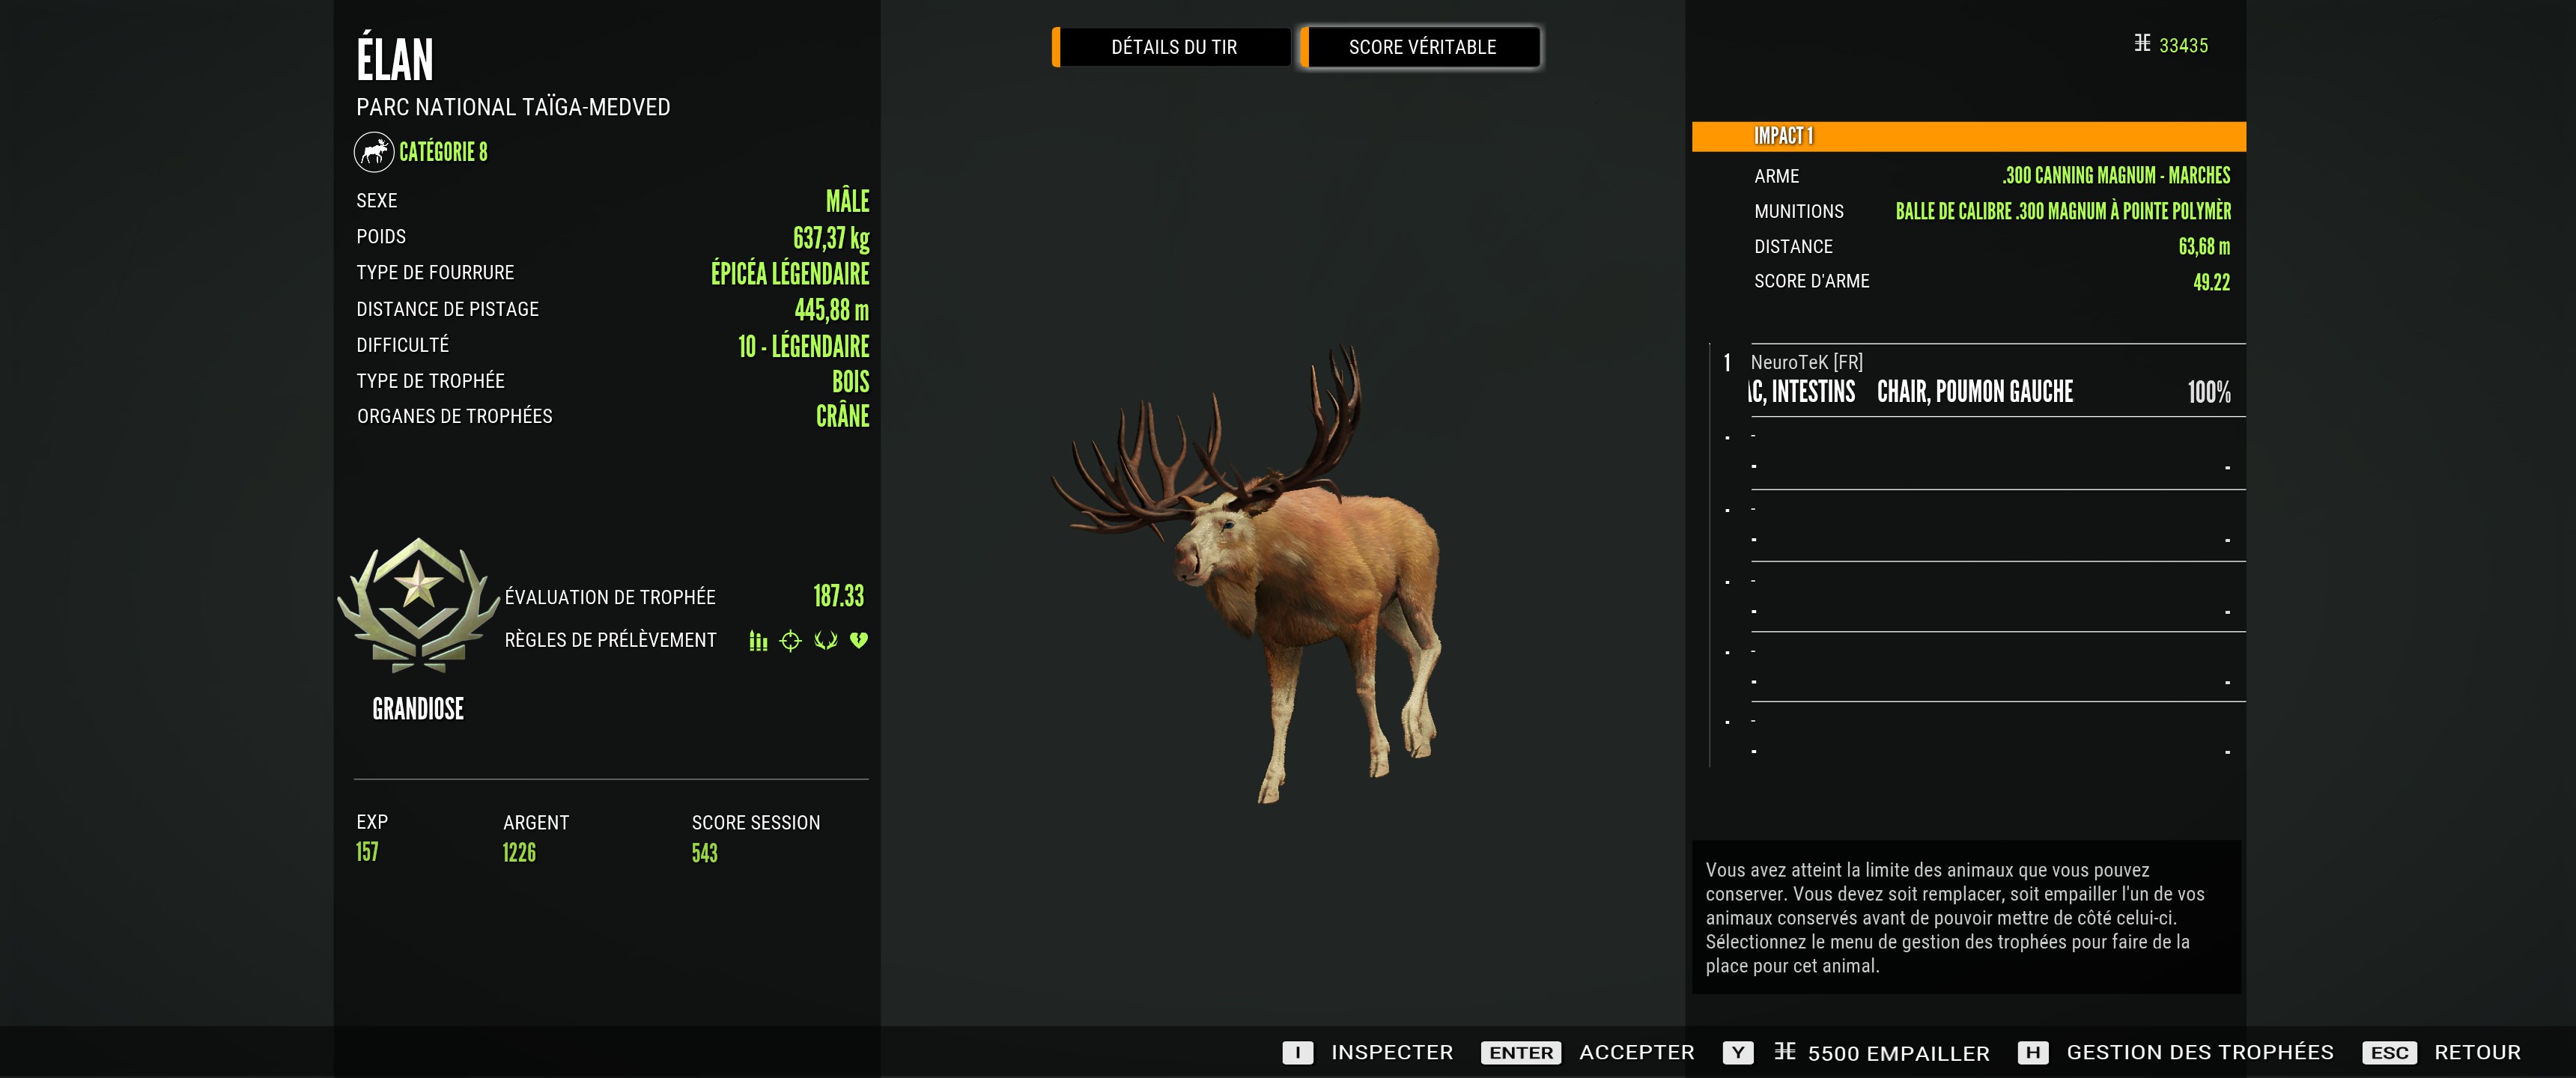
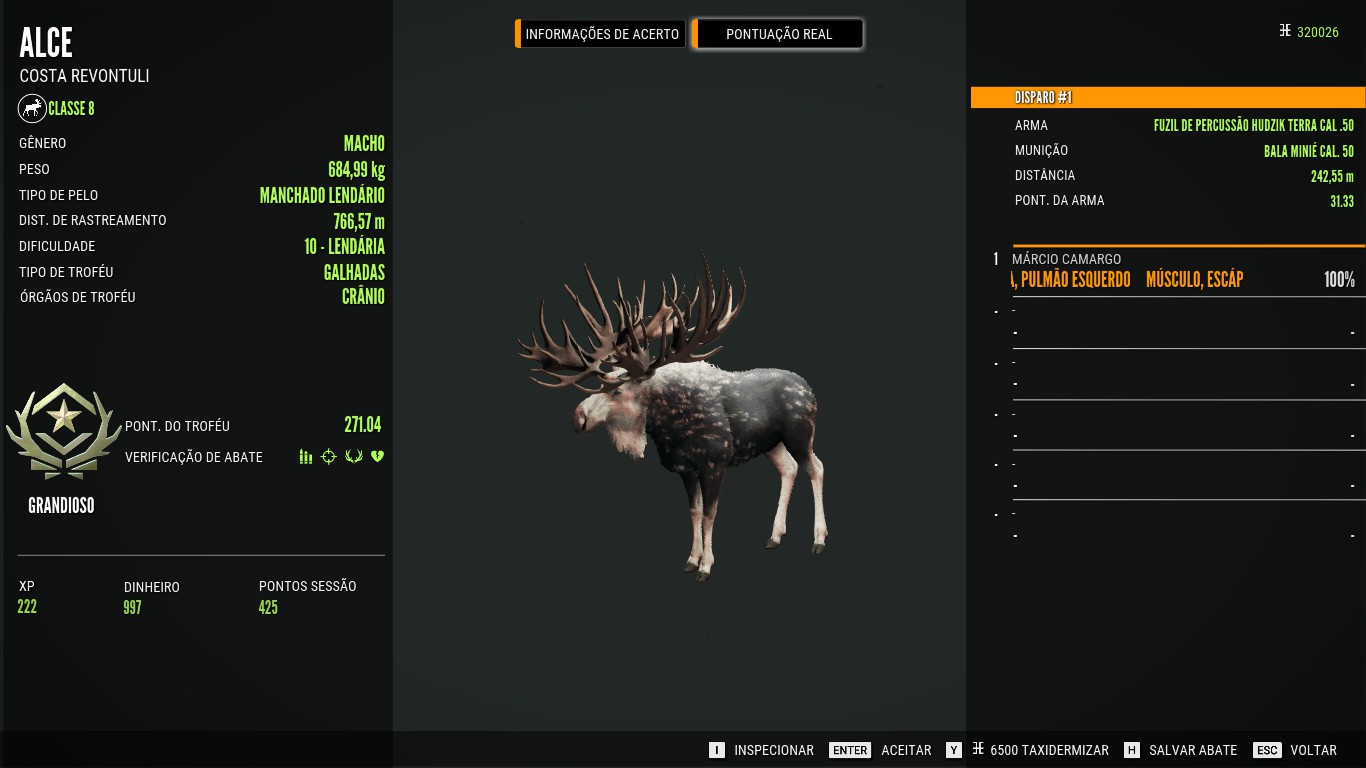
Every animal has a trophy rating that needs to reach a certain level for a high score. The ratings include none, silver, goud, diamond, and Great One. There are specific numbers that show how high your animal’s rating is and what you need to achieve for a good score. Here are the trophy ratings for moose:
- Beoordeling 86.2 equals Silver
- Beoordeling 194 equals Gold
- Beoordeling 274.9 equals Diamond
It’s worth noting that Great One trophy ratings are actually lower than diamond scores because they measure the antler’s palm size, and the Great Ones don’t have large palms like other diamonds. Echter, their score will always be Great One, unless you miss.
To boost your moose’s rating, you first need to find a good-looking moose and fulfill all the trophy requirements. In deze gids, we won’t go into those requirements, but we’ll show you the different levels/sizes of moose and provide pictures to give you an idea of what to expect at each level.
LEVEL 1 – TRIVIAL
LEVEL 2 – MINOR
LEVEL 3 – VERY EASY
LEVEL 4 – EASY
N.v.t
LEVEL 5 – MEDIUM
You might have noticed that it jumps from level 6 naar 9 and then directly to level 10, signifying a Great One score. (Please note that Commons cannot spawn on level 10 FABLED moose; this picture is from a time when common Great Ones were still around before they were removed.)
LEVEL 10 – FABLED
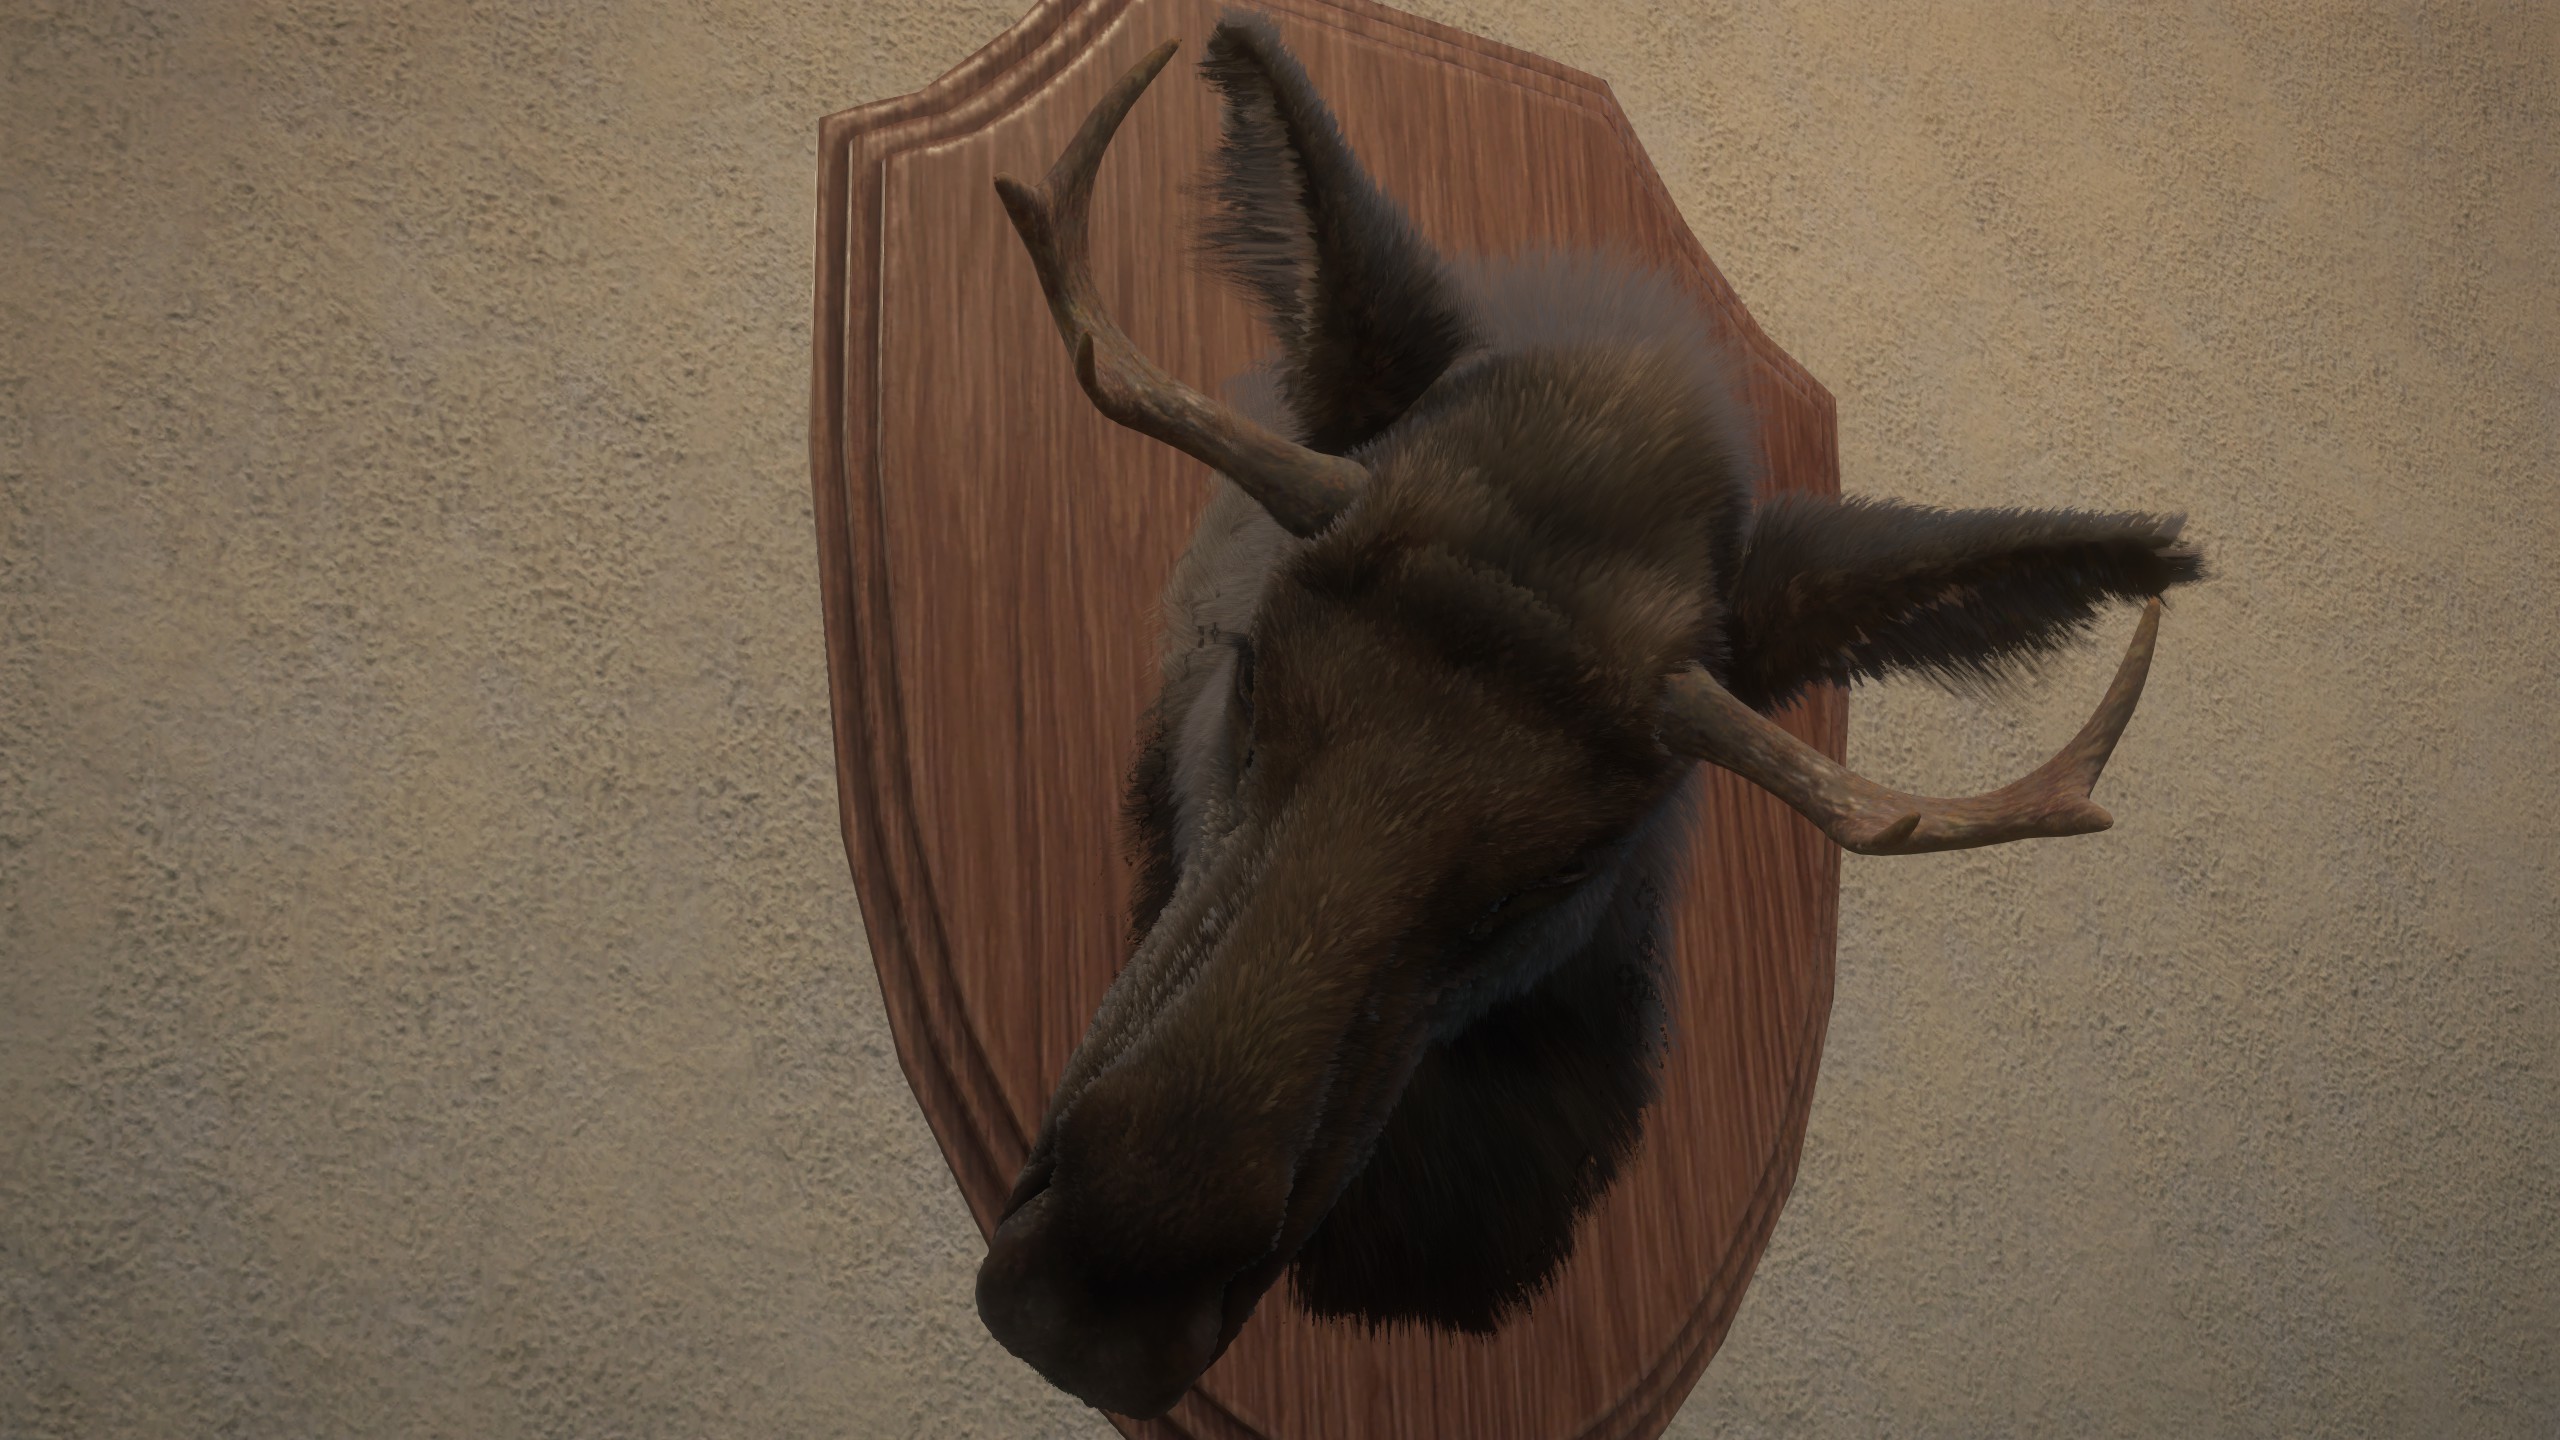
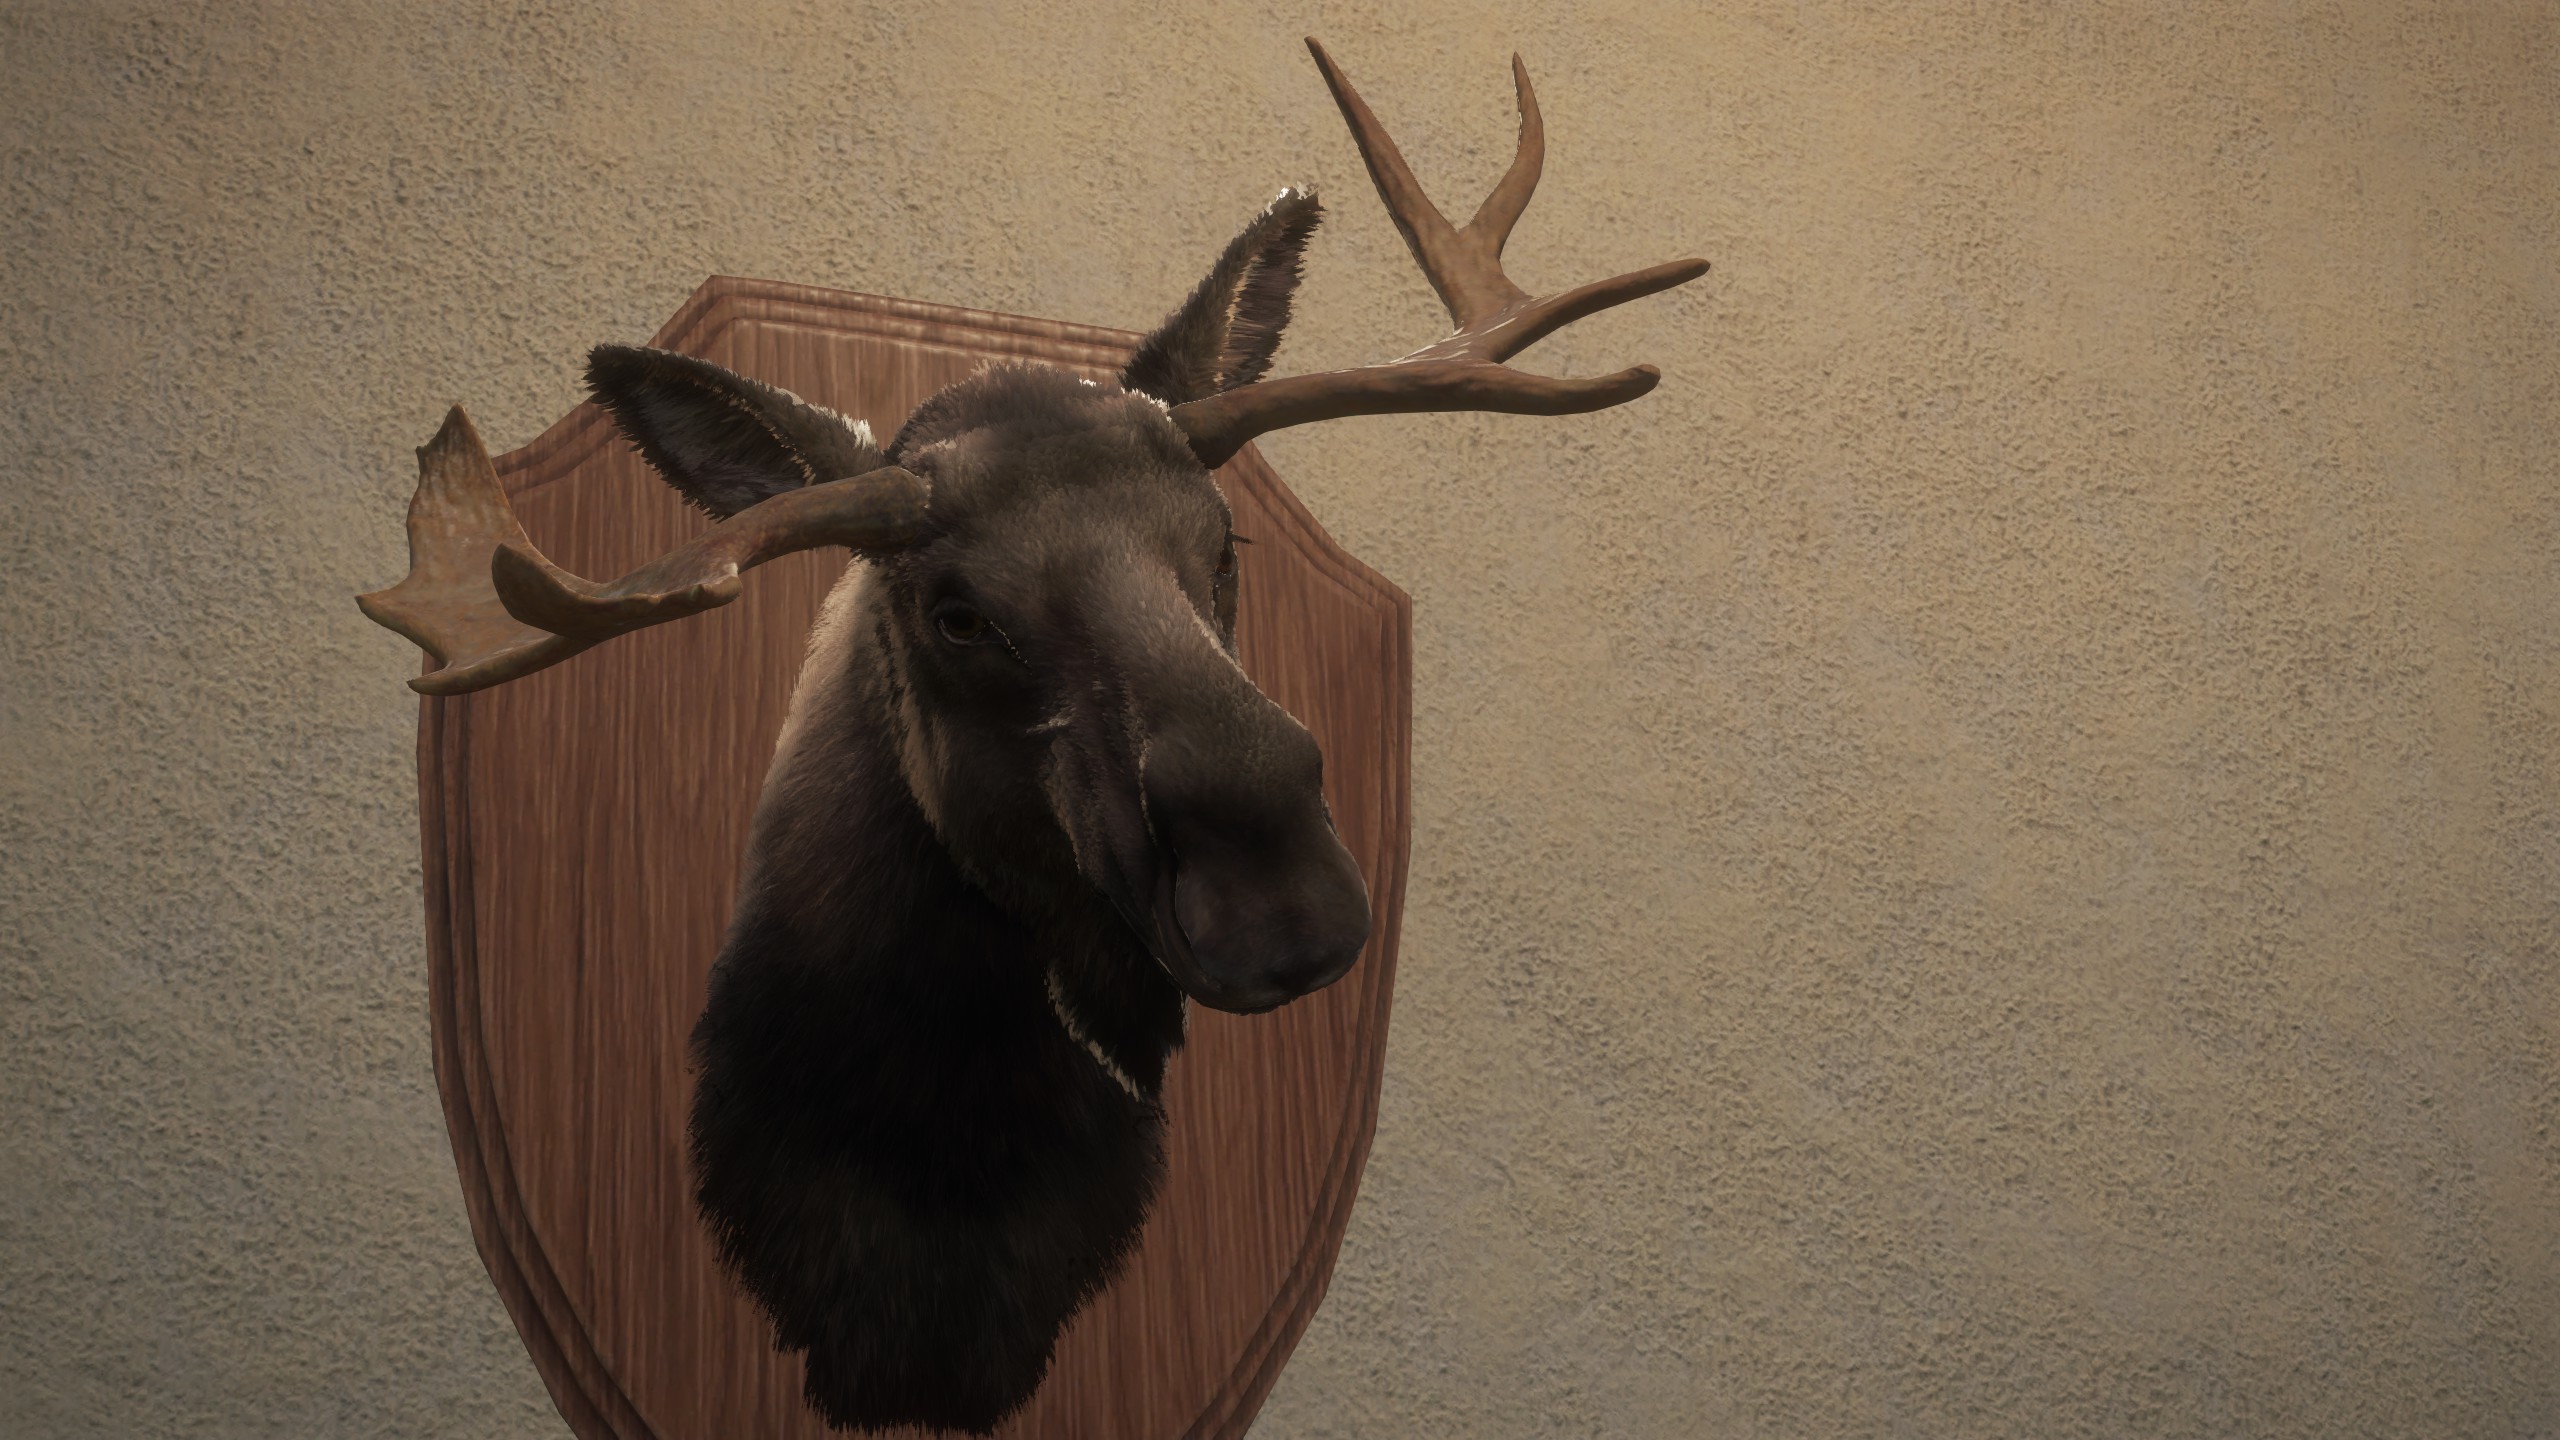
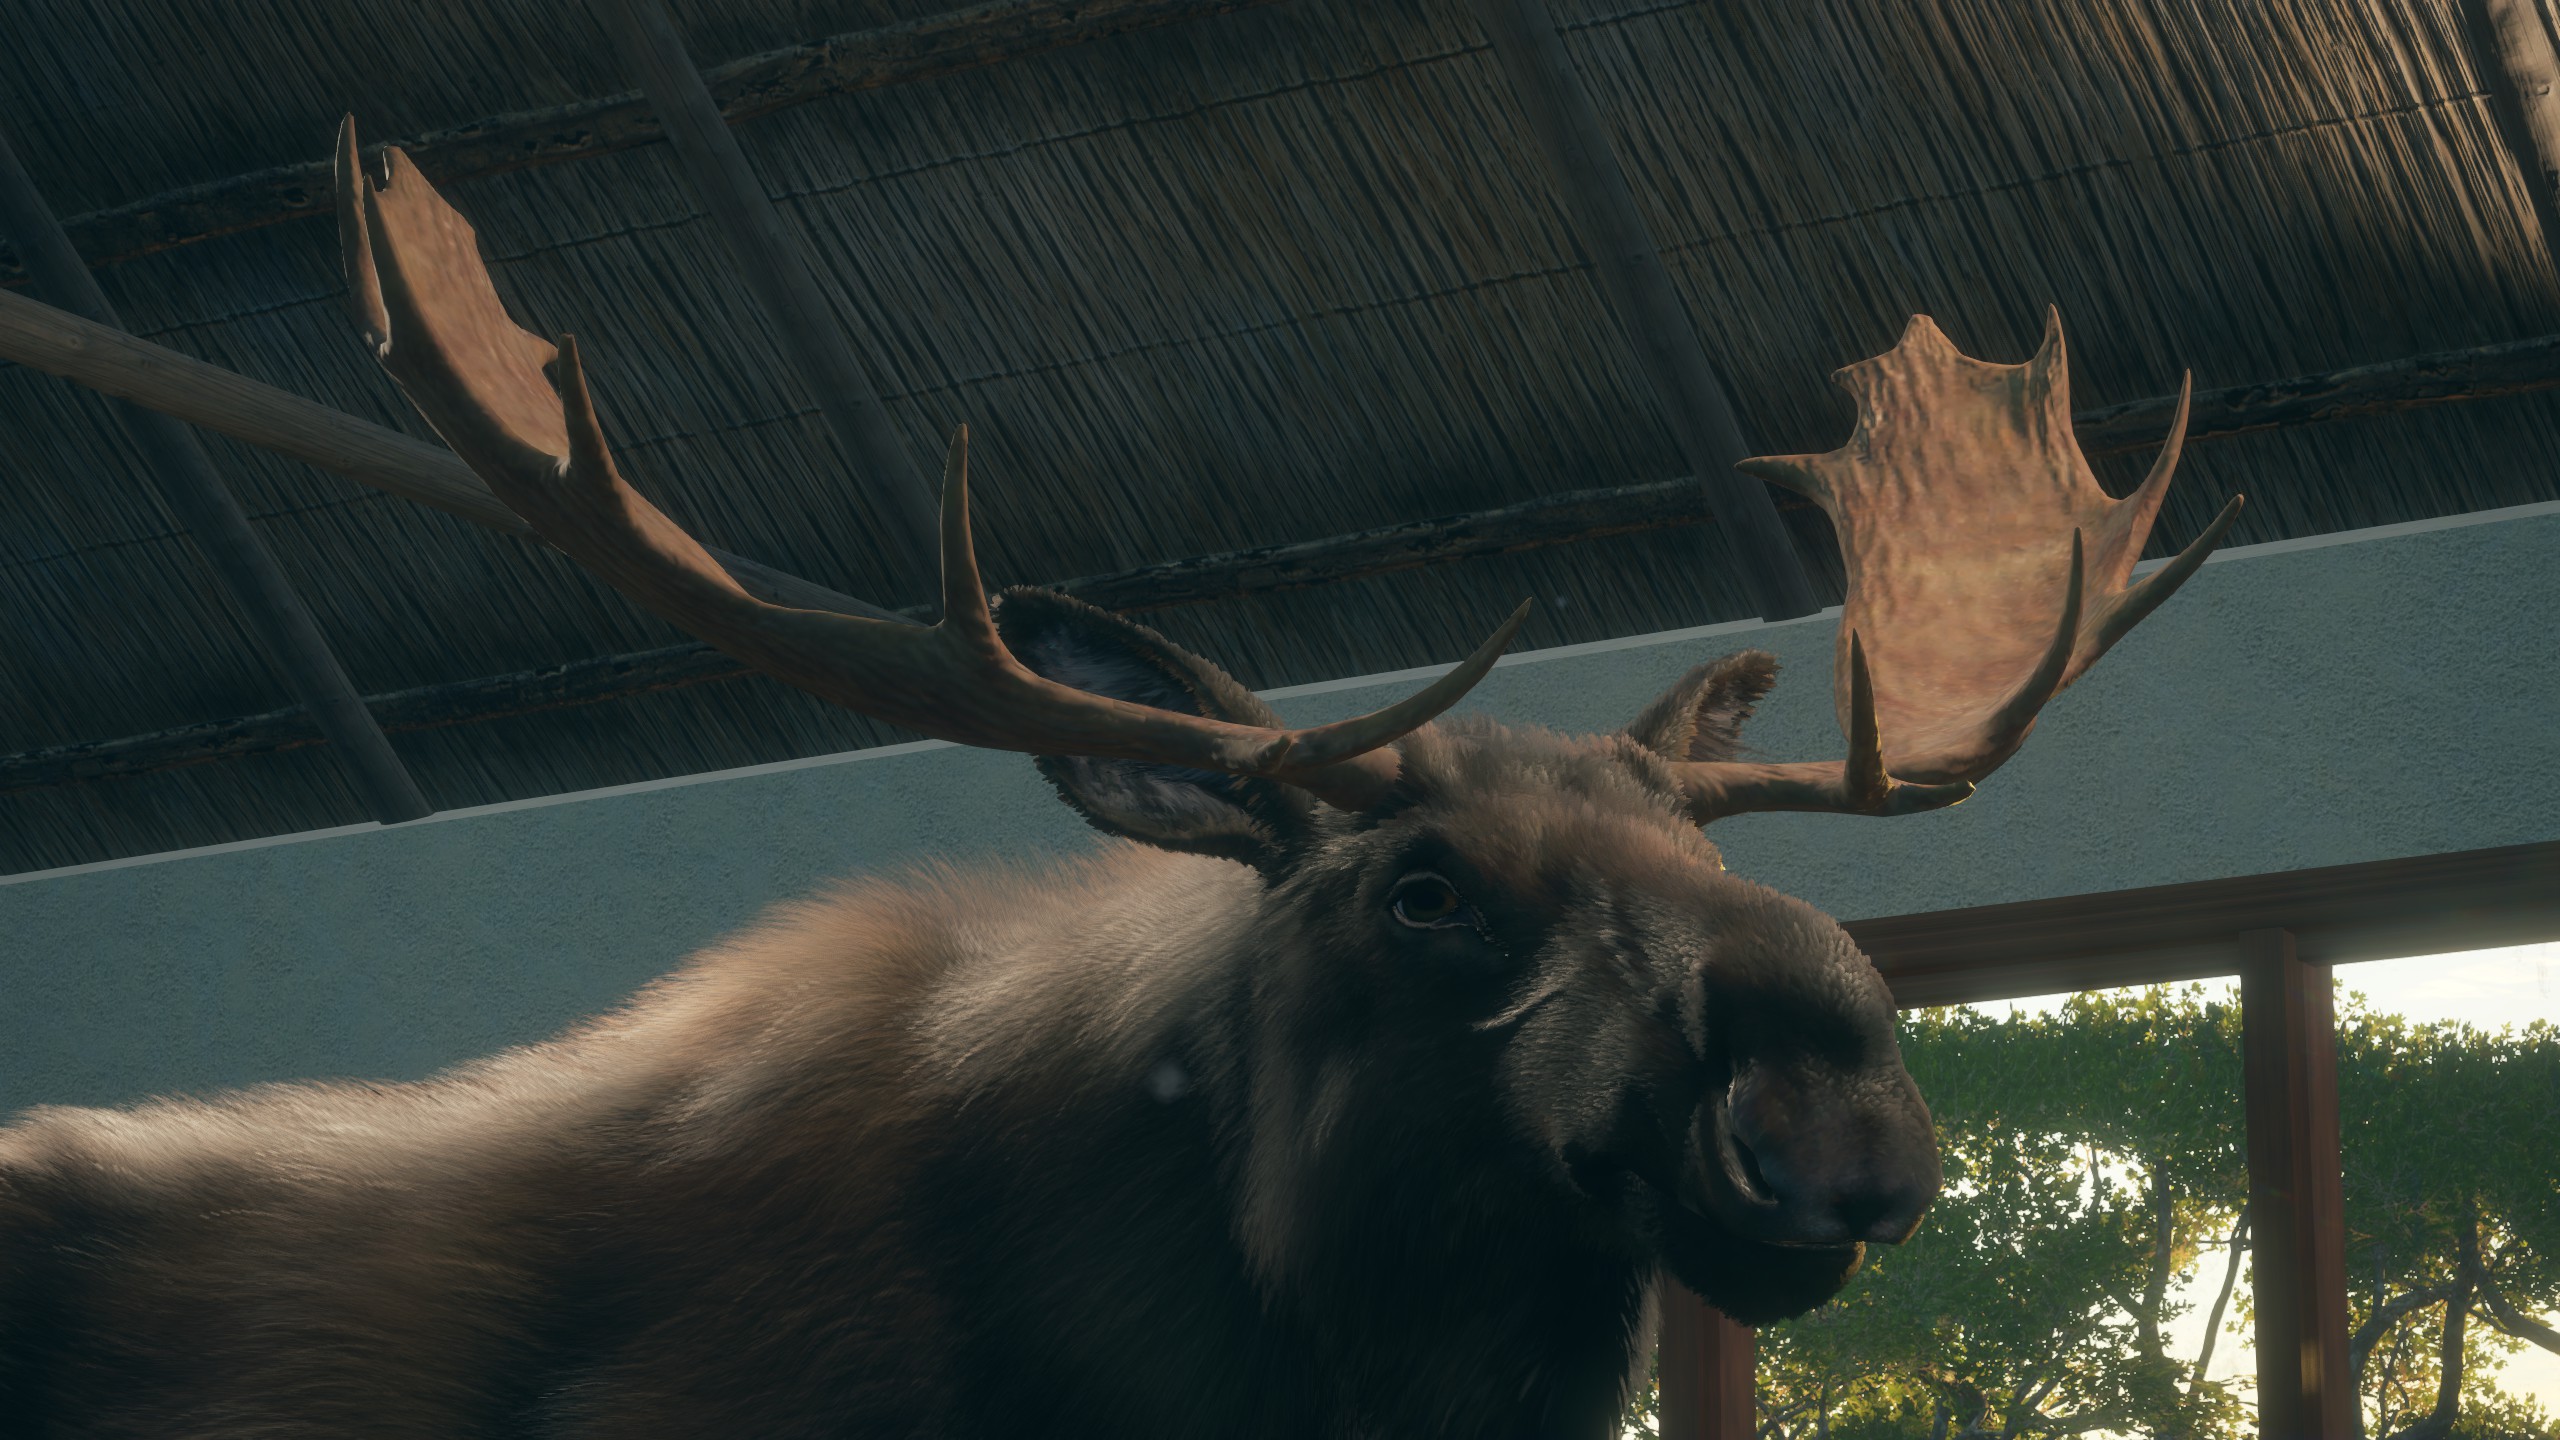
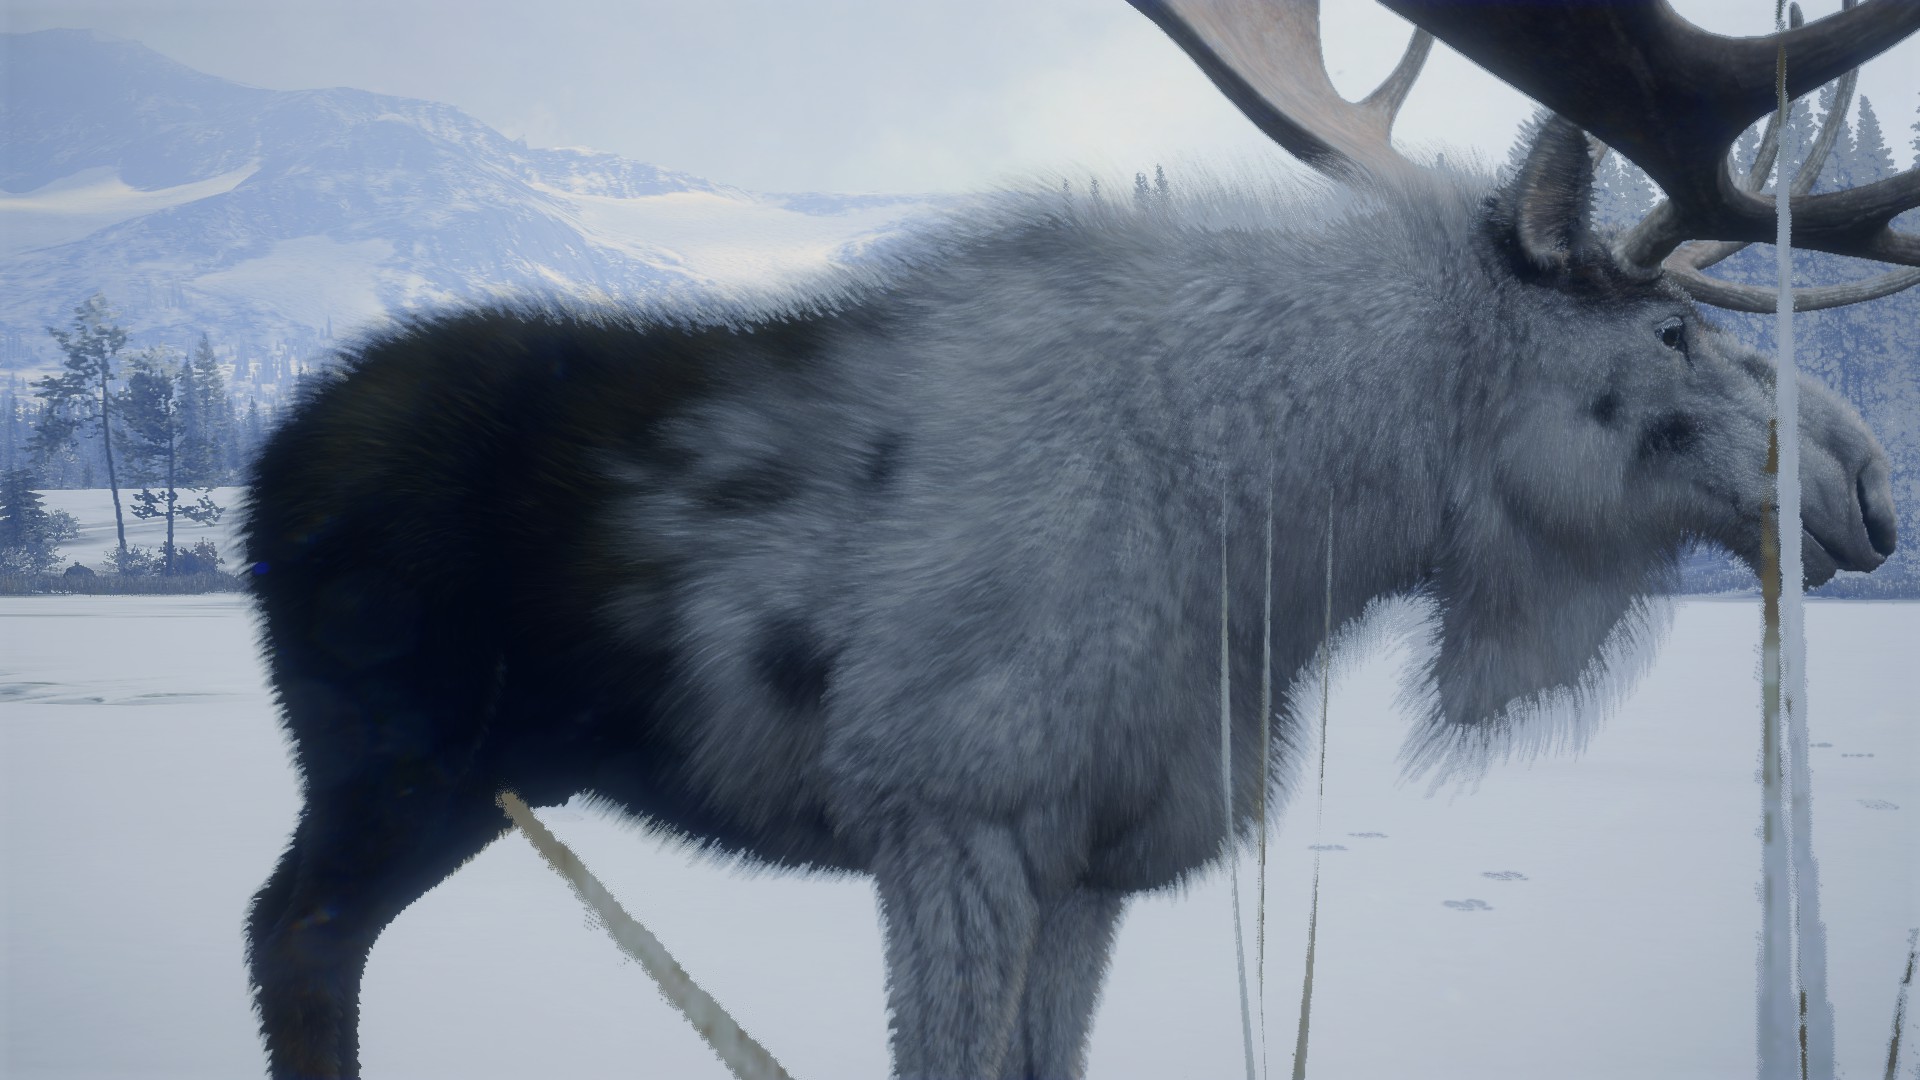
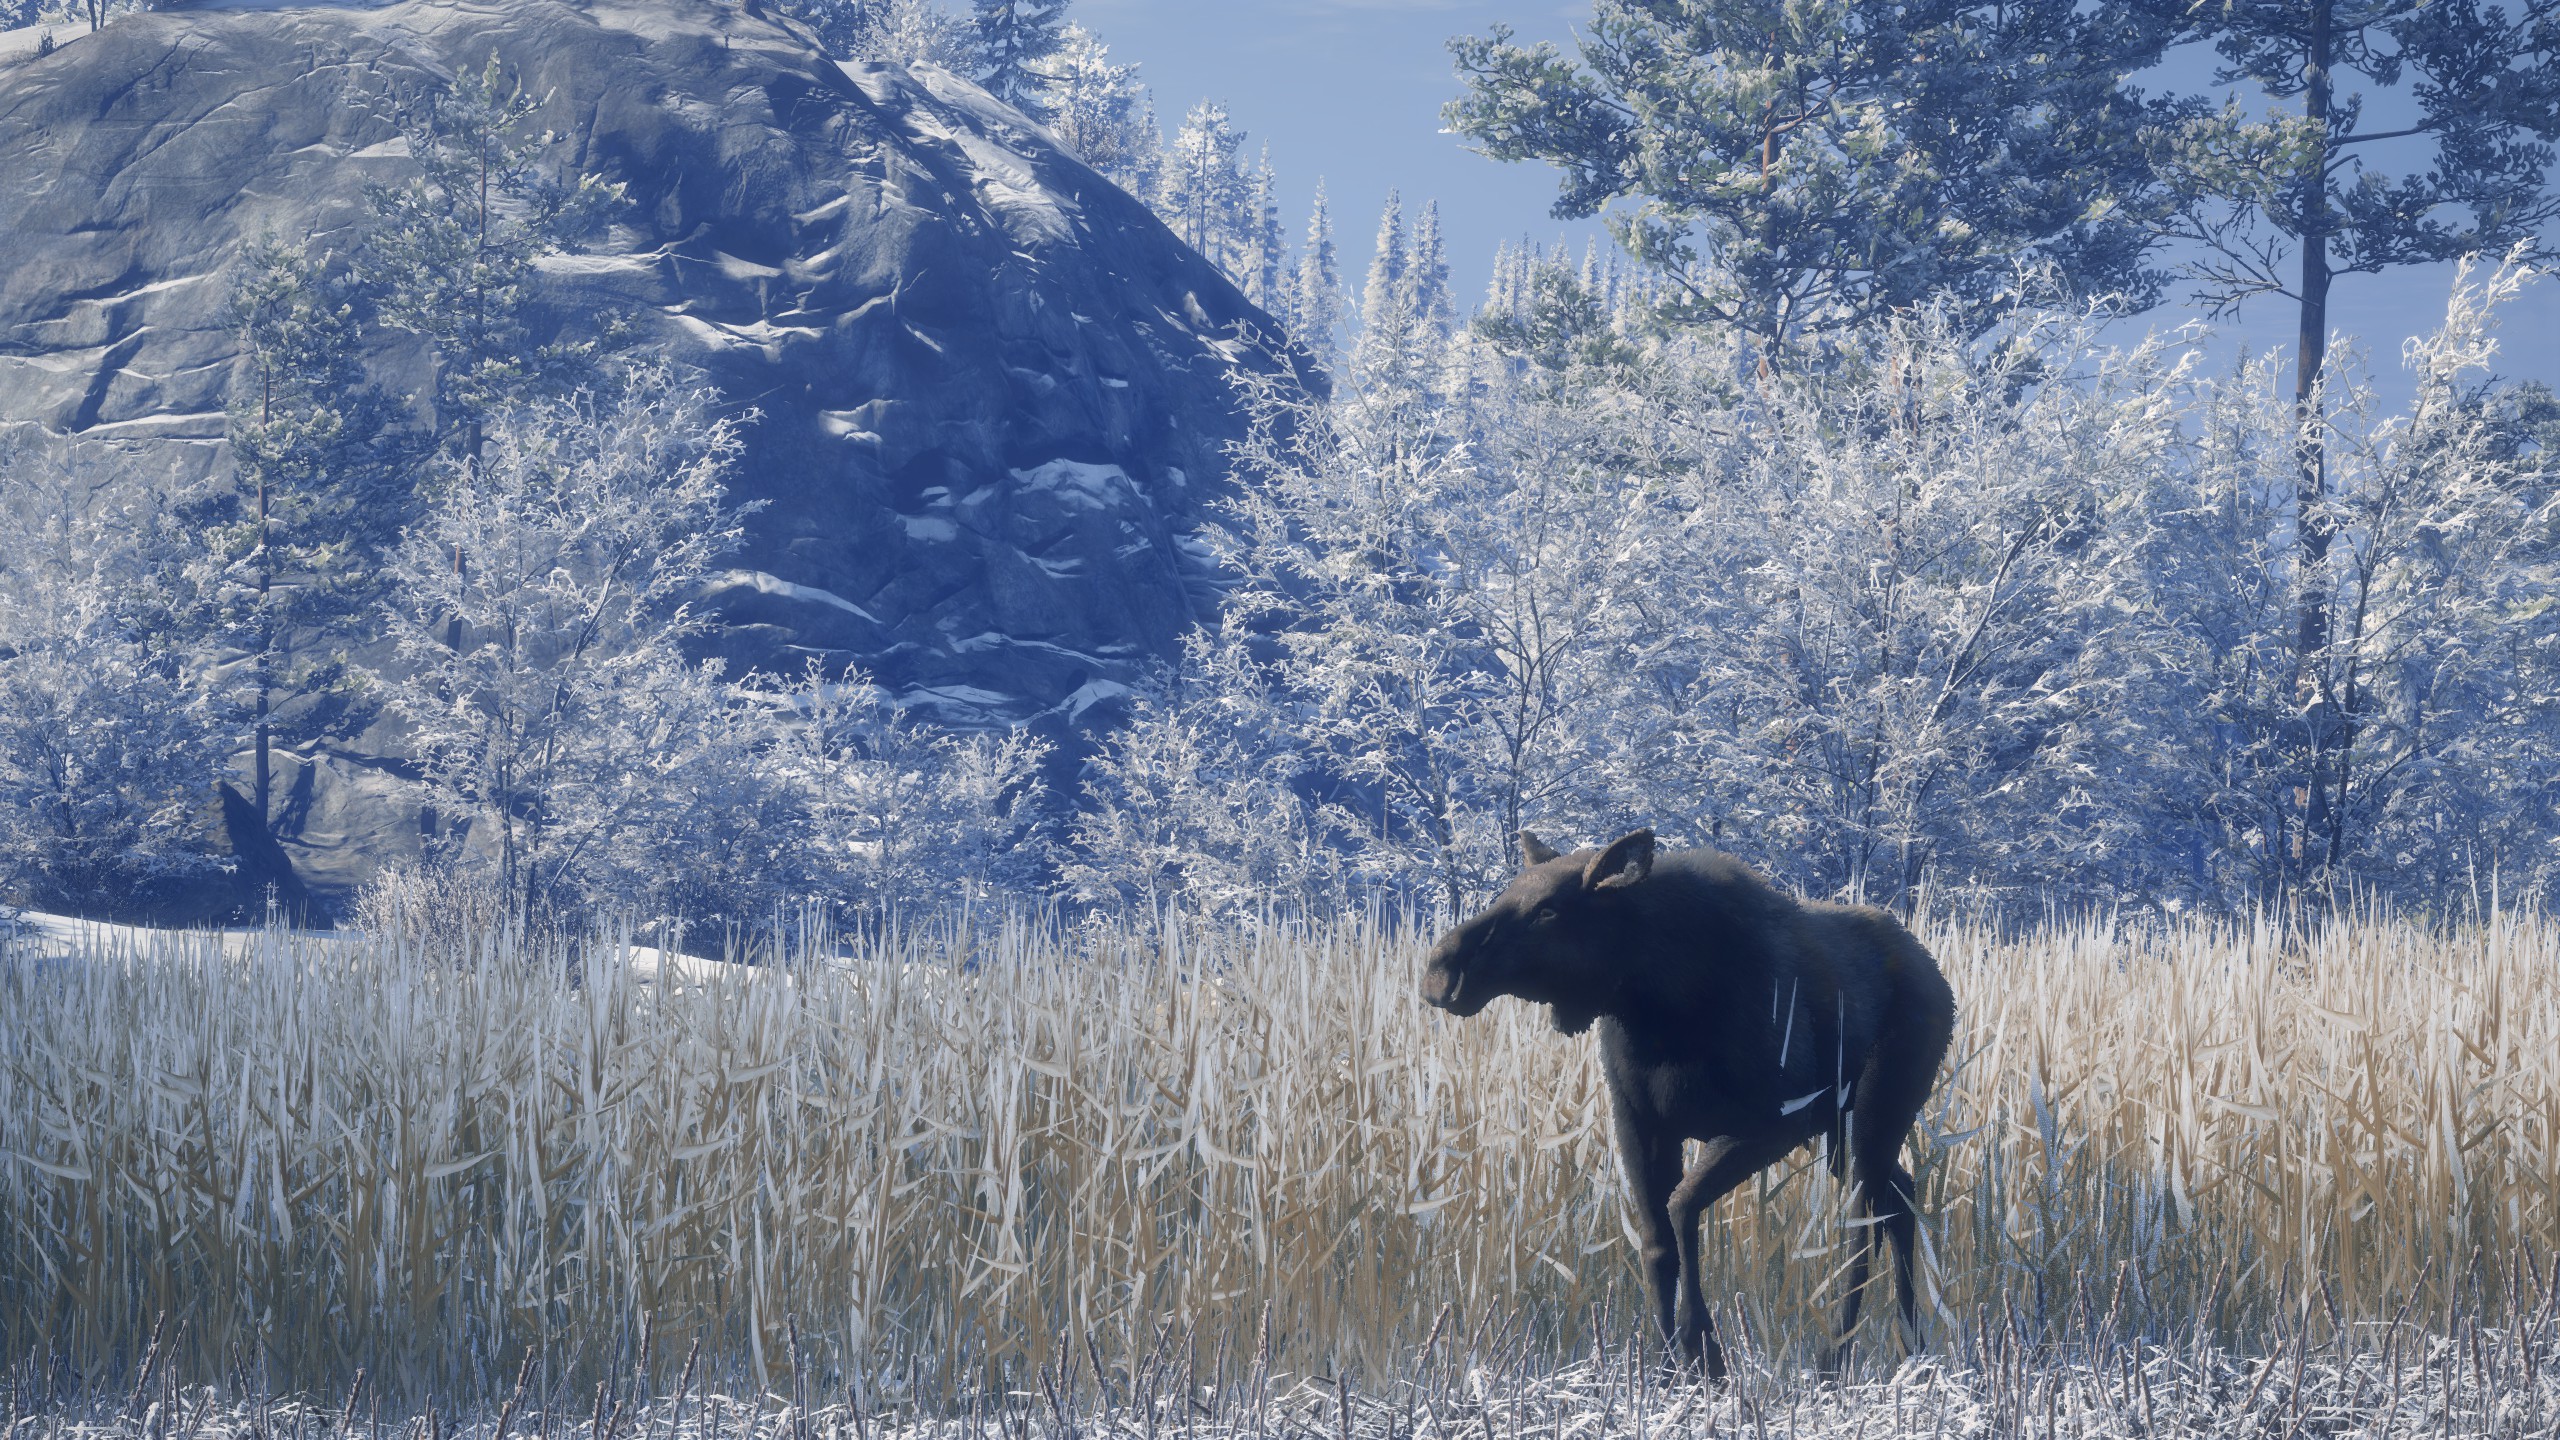
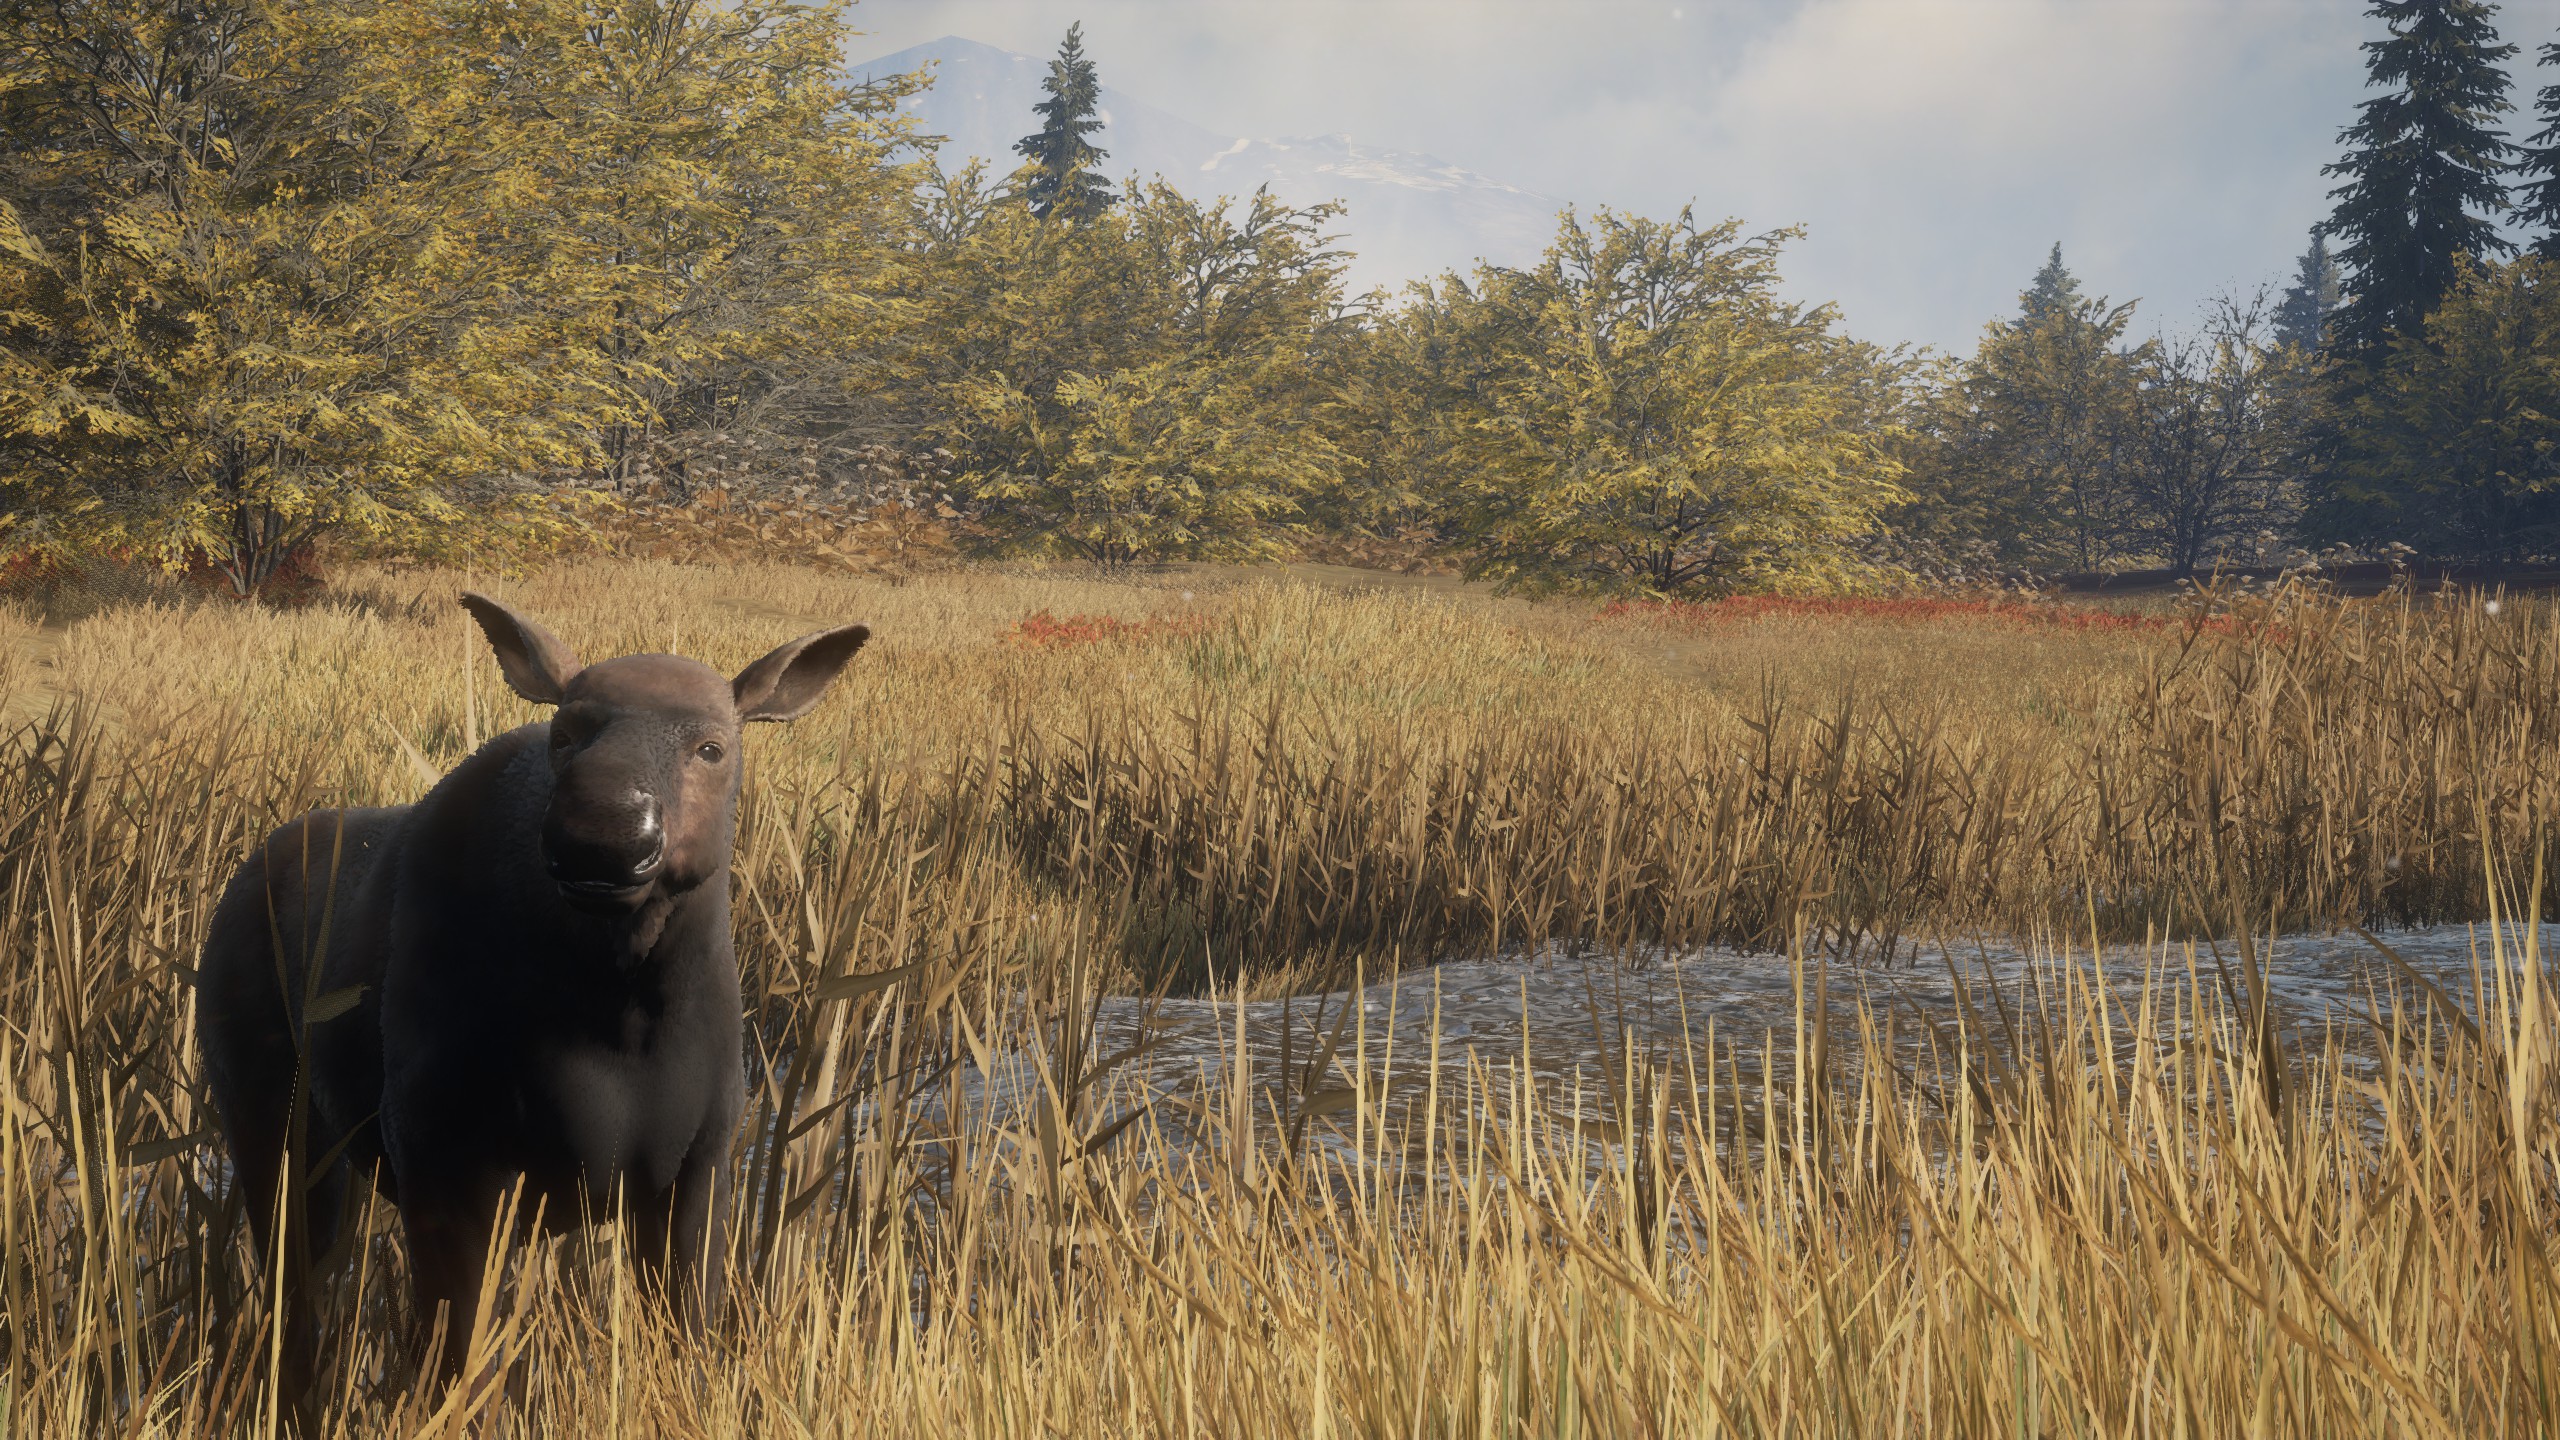
FUR TYPES
Moose come in various fur types, and while there are many common ones, we won’t go into detail about them. It’s essential to learn to recognize these fur types, making it easier to spot them in the game, particularly the rare dark melanistic moose. Here’s a breakdown of the rarity levels of fur types.
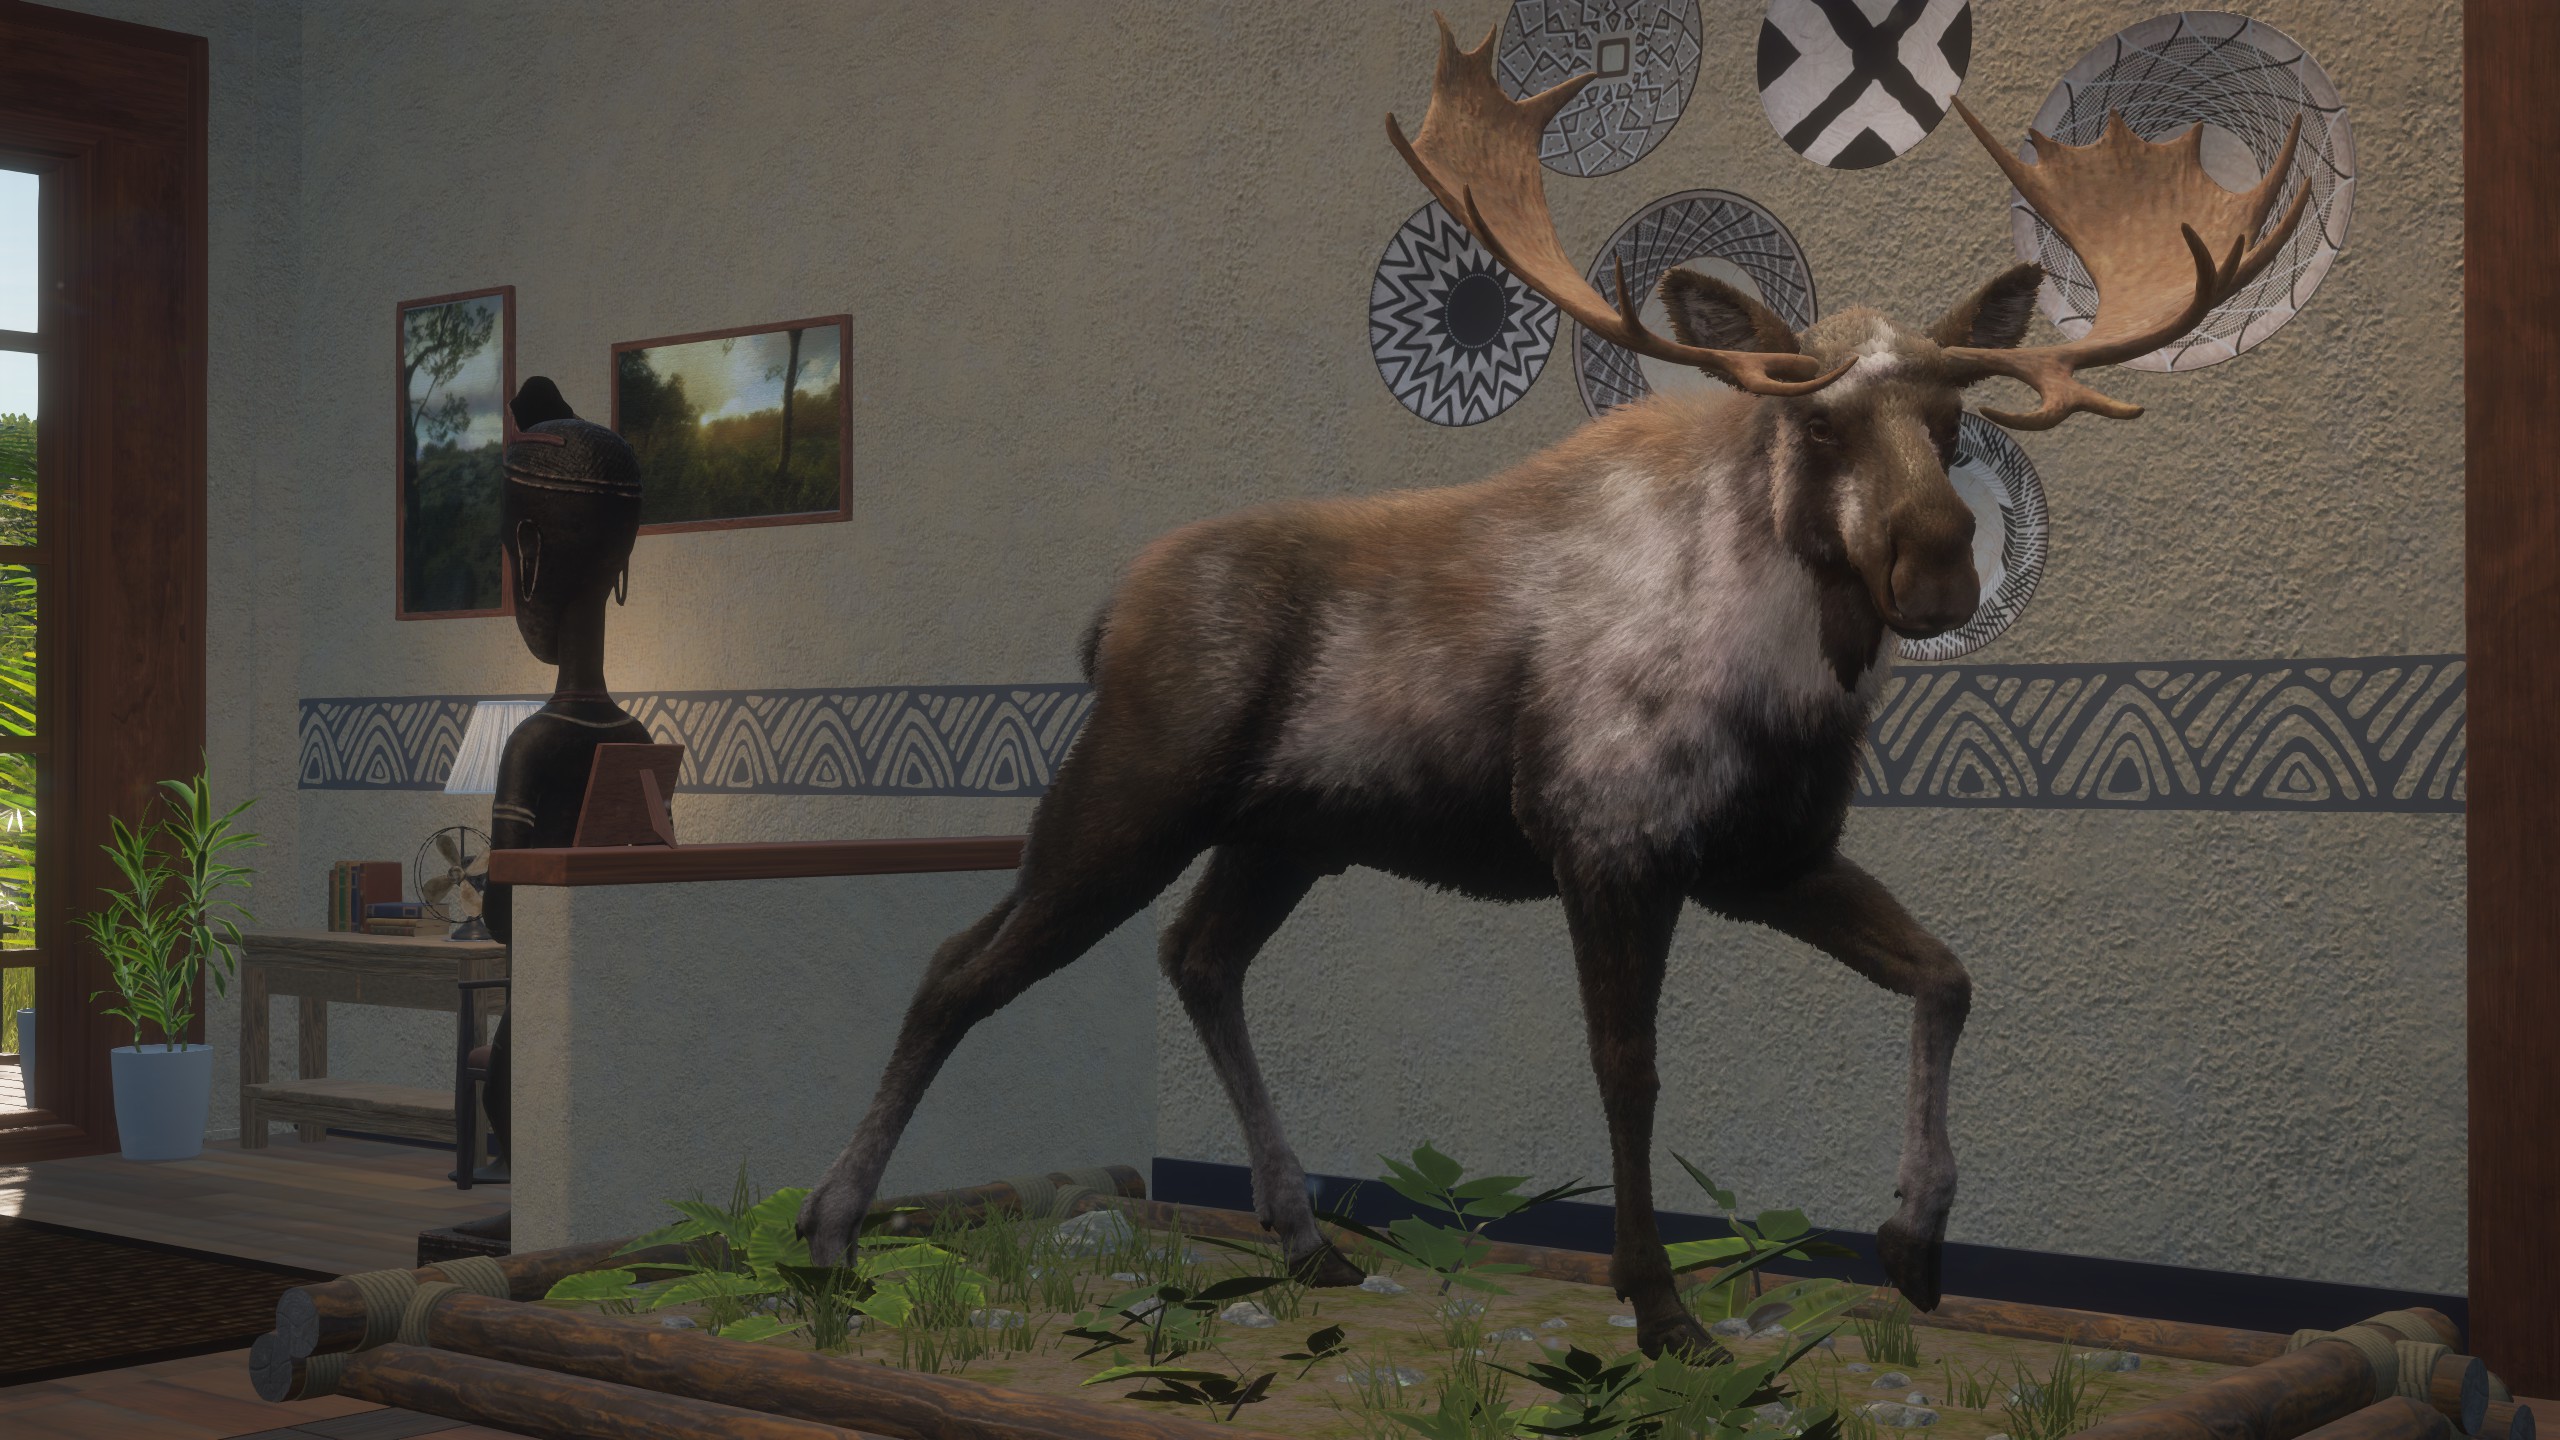
Gewoon
- Bruin
- Light Brown
- Dark Brown
- Bruinen
Zeldzaam
- Piebald
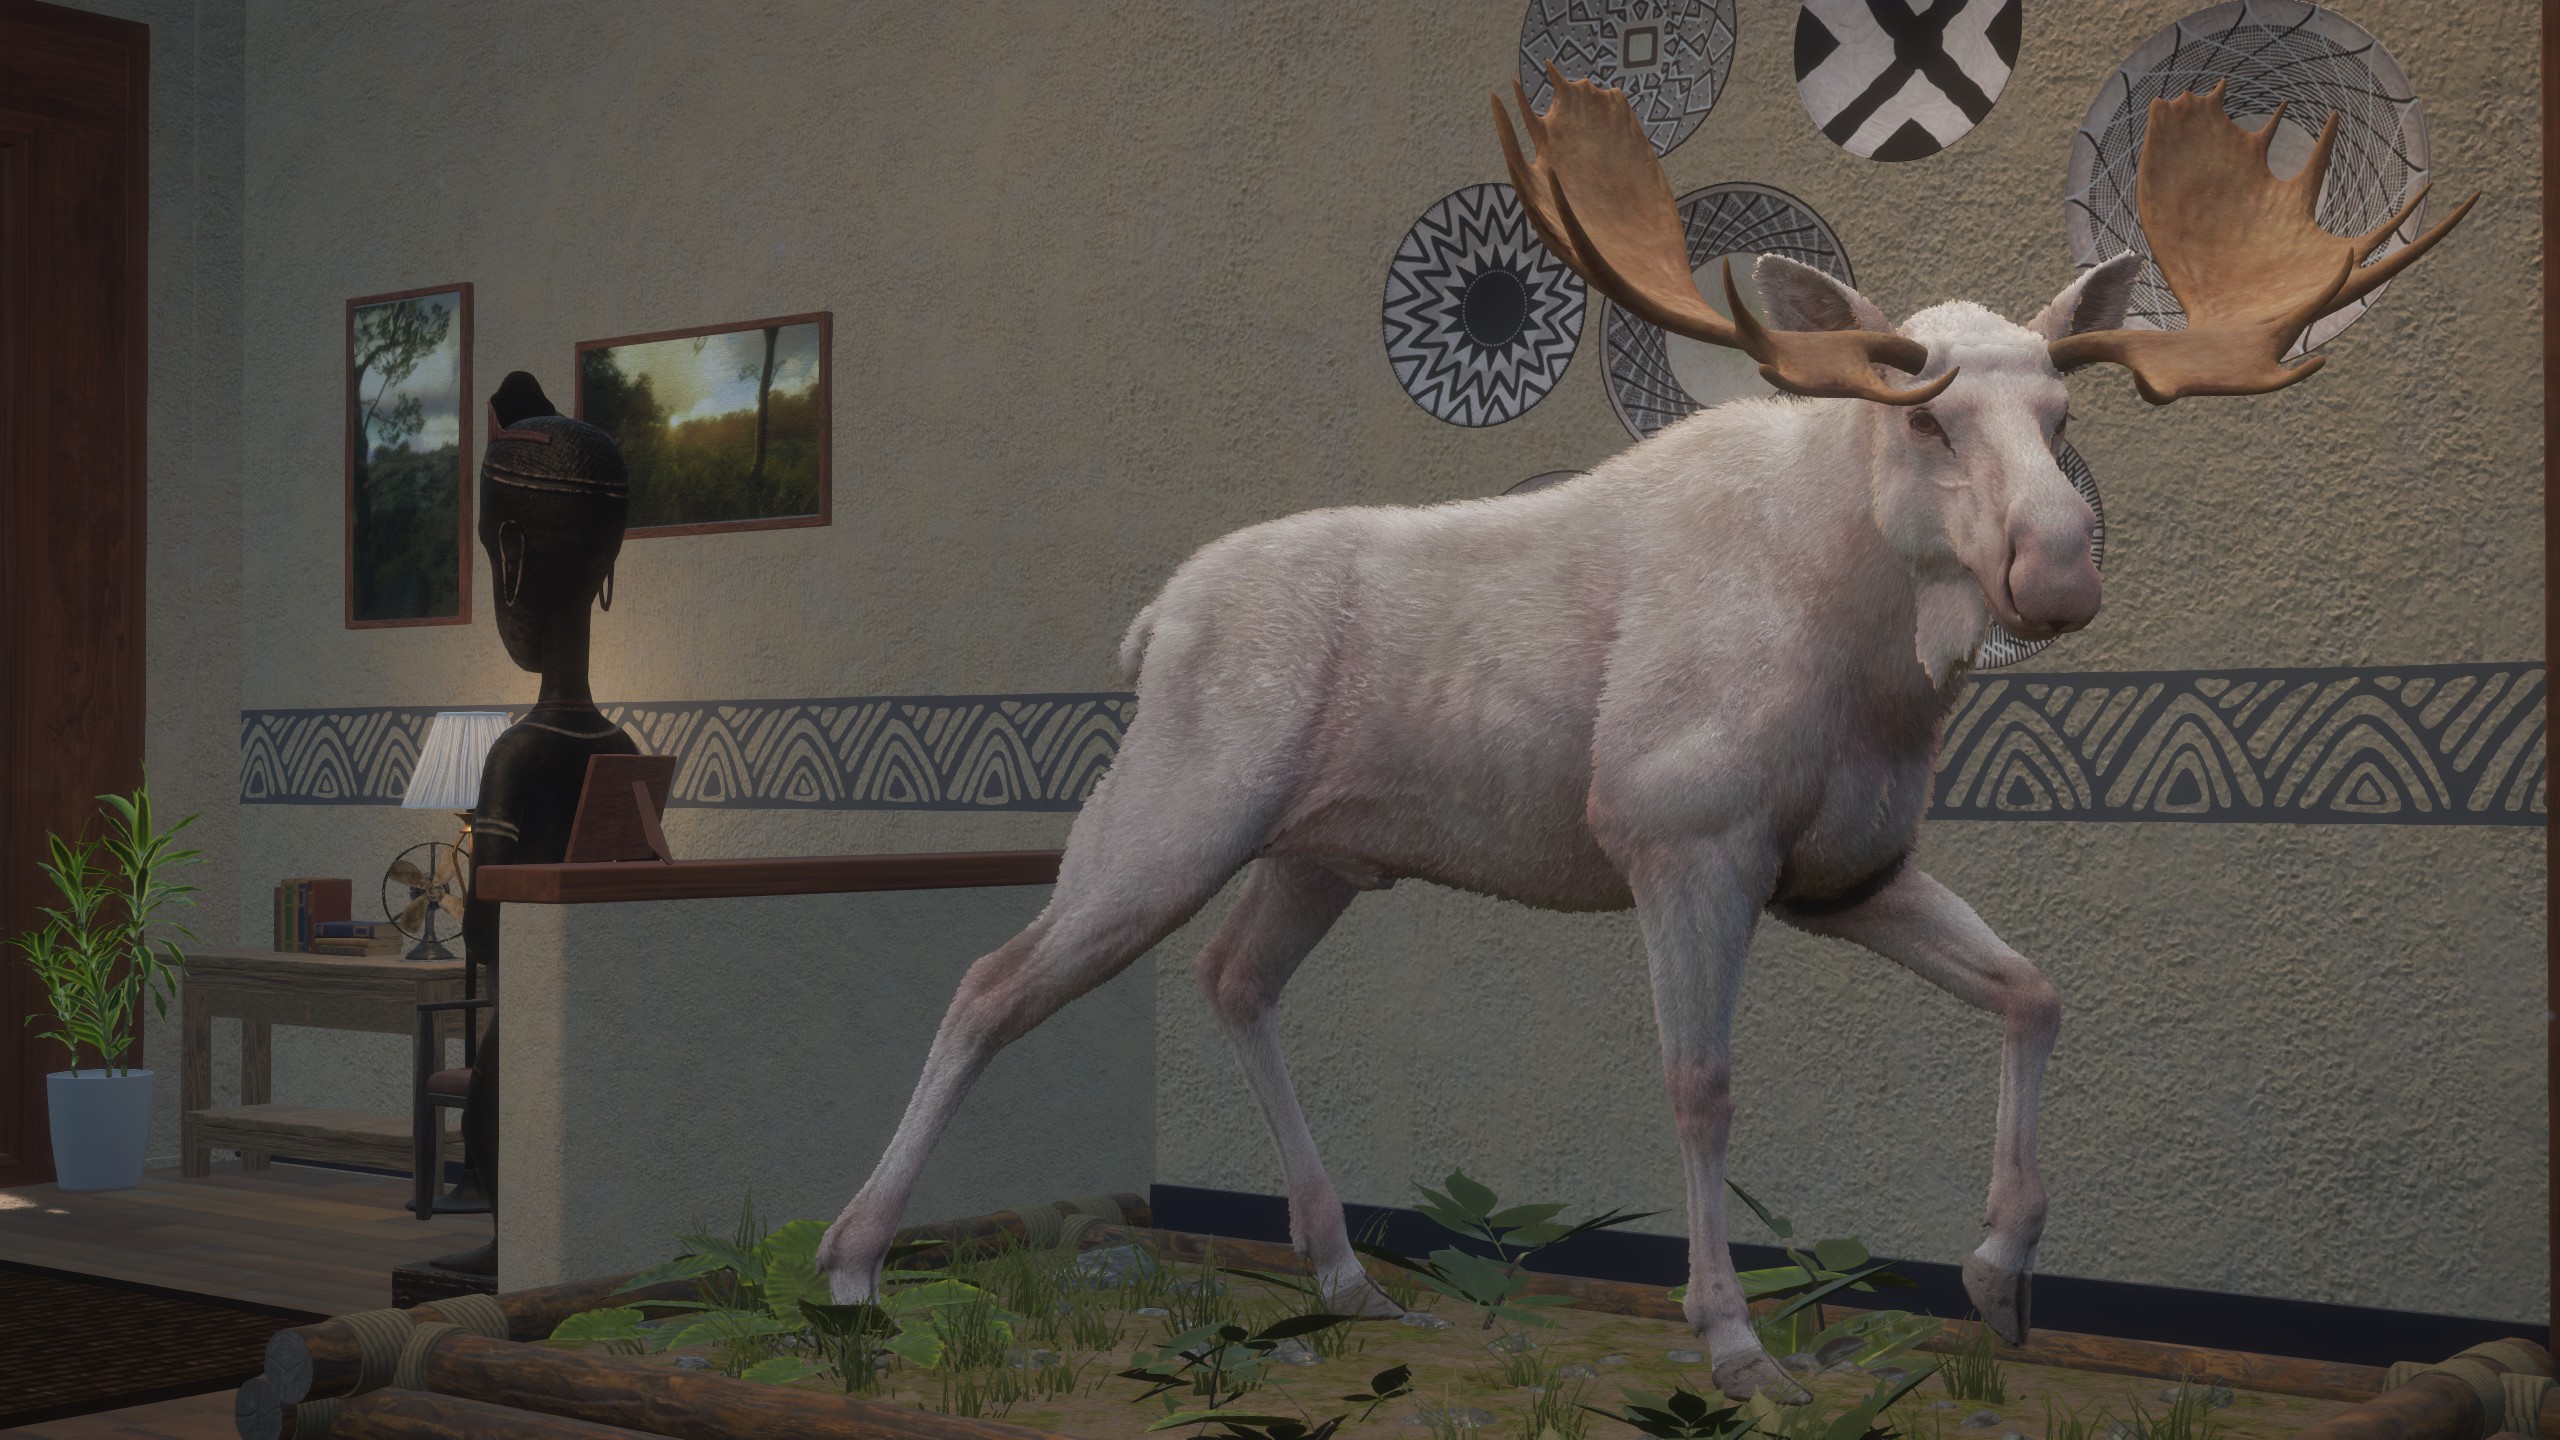
- Albino
Very Rare
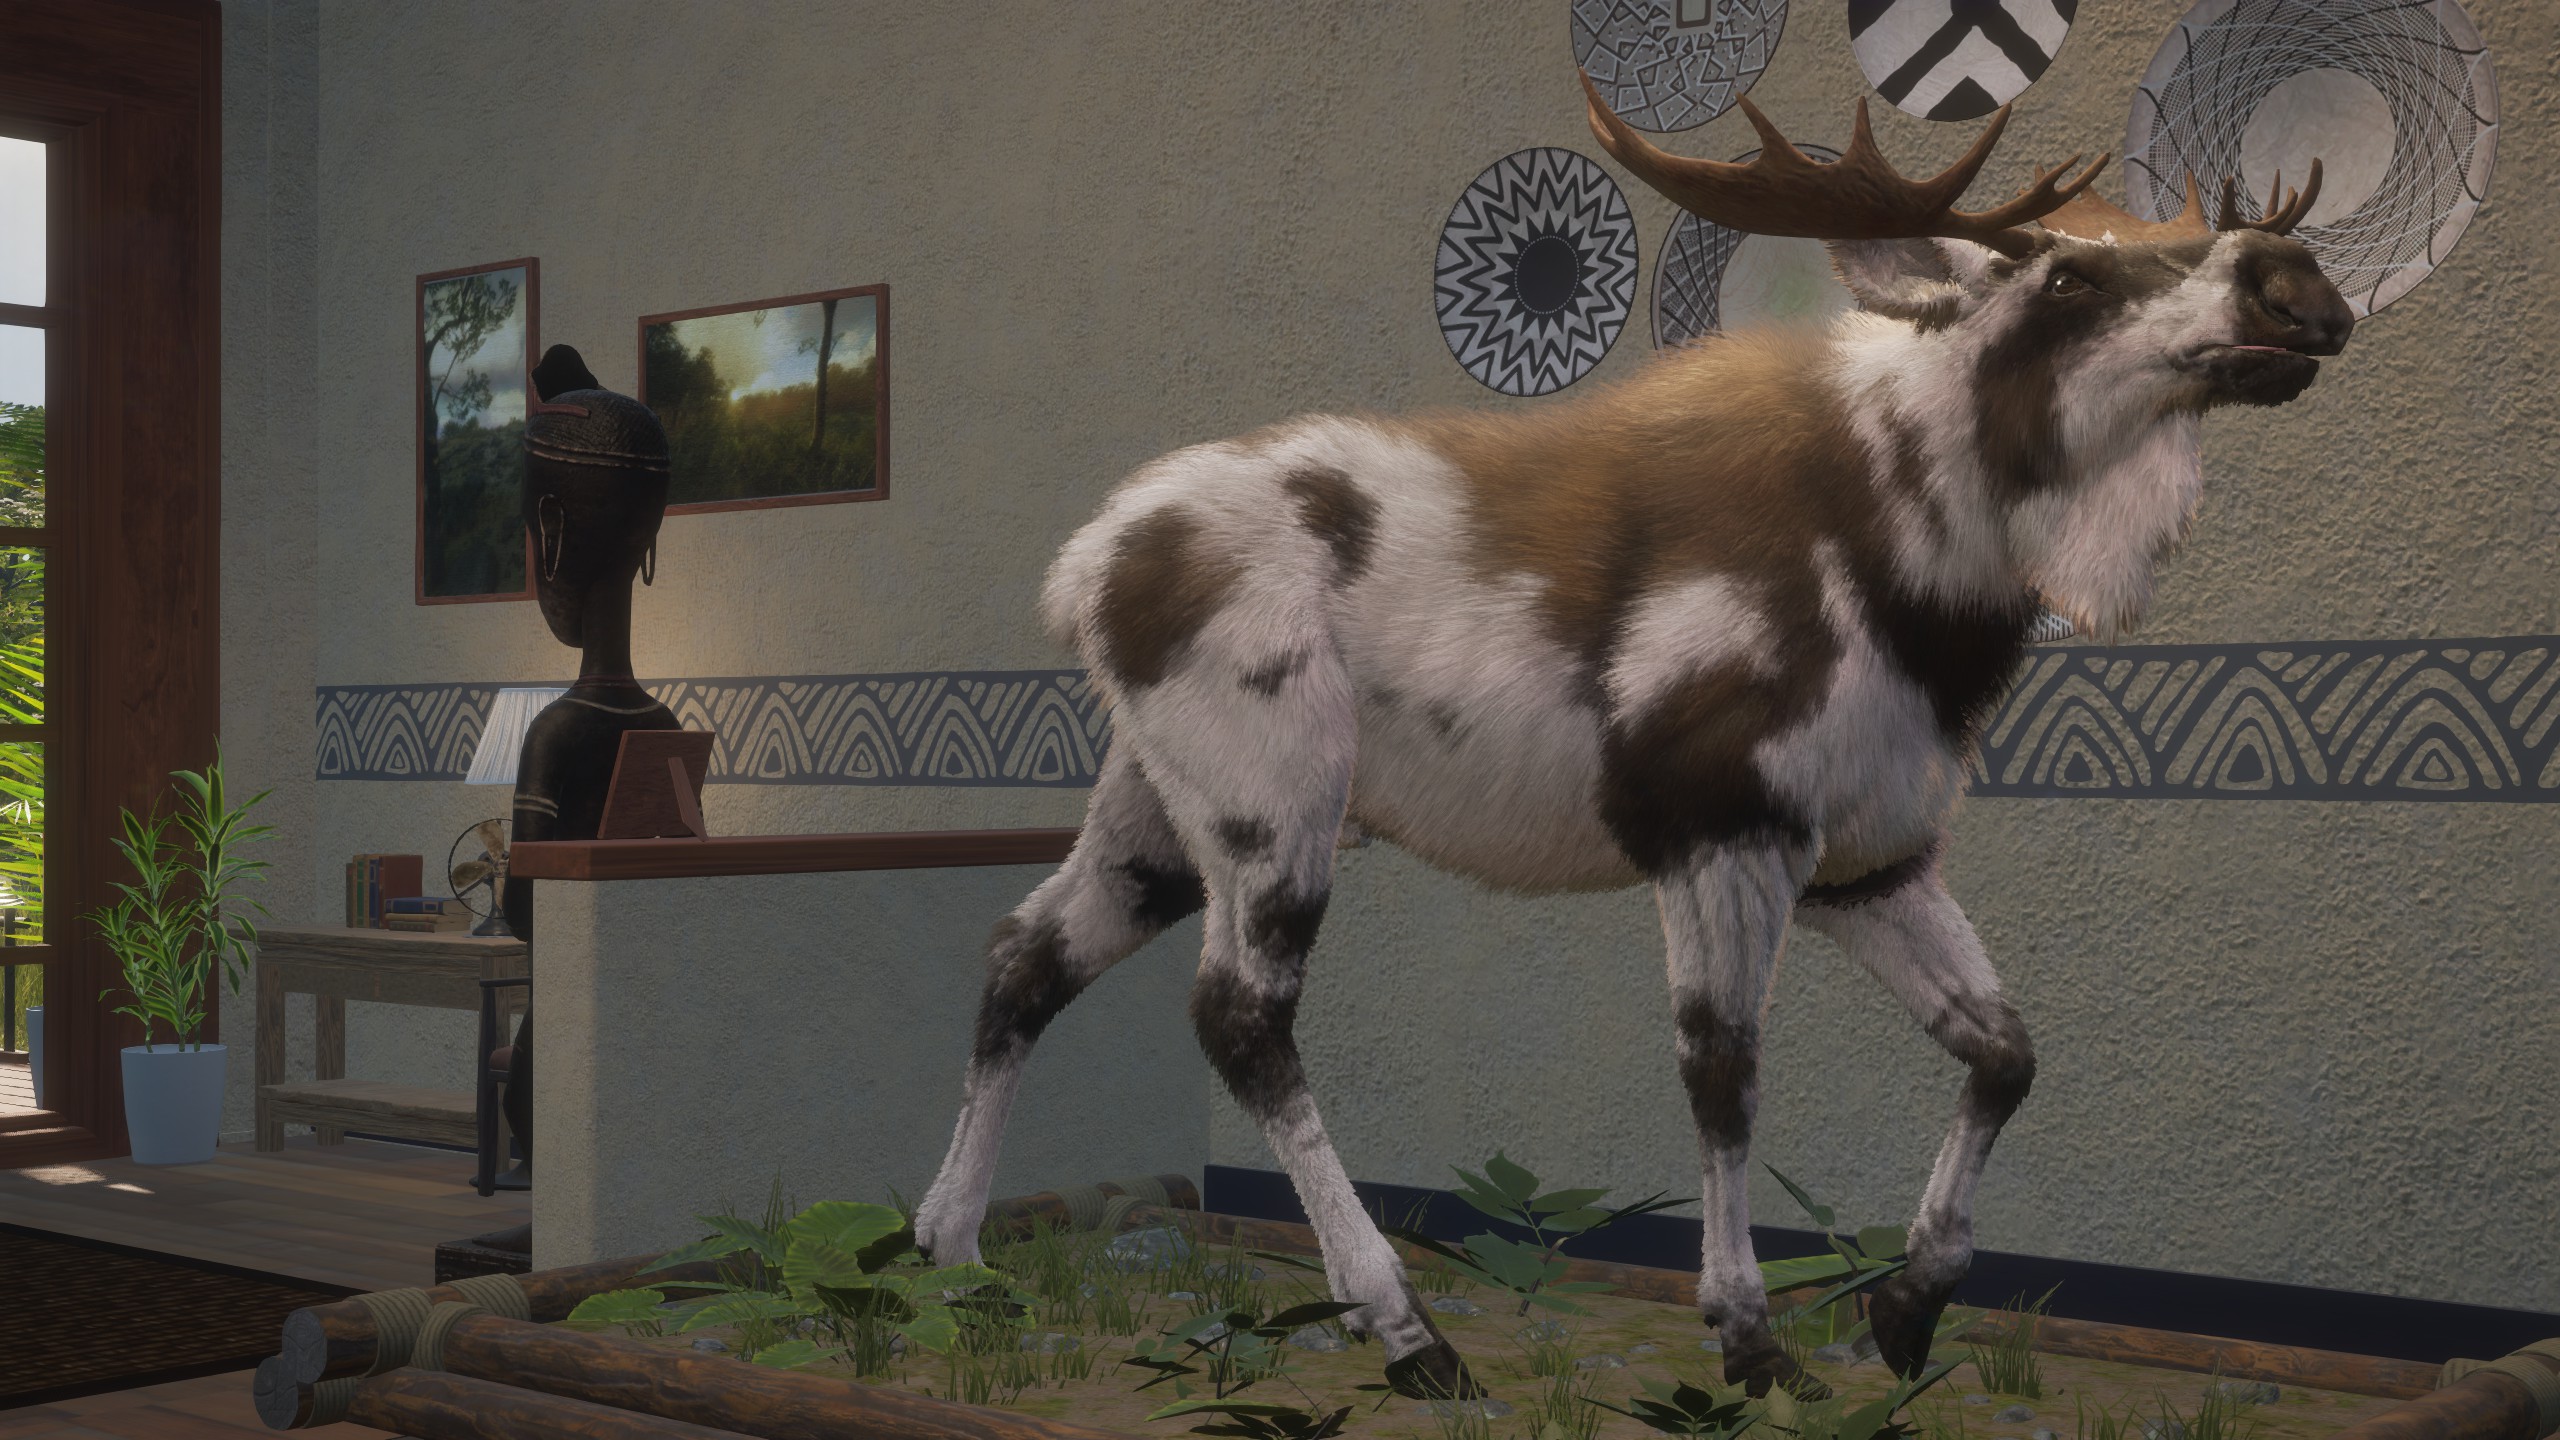
- Melanistic
Missions Only (Te Awaroa)
- Mocha
Here are some pictures showing the differences between the fur types.
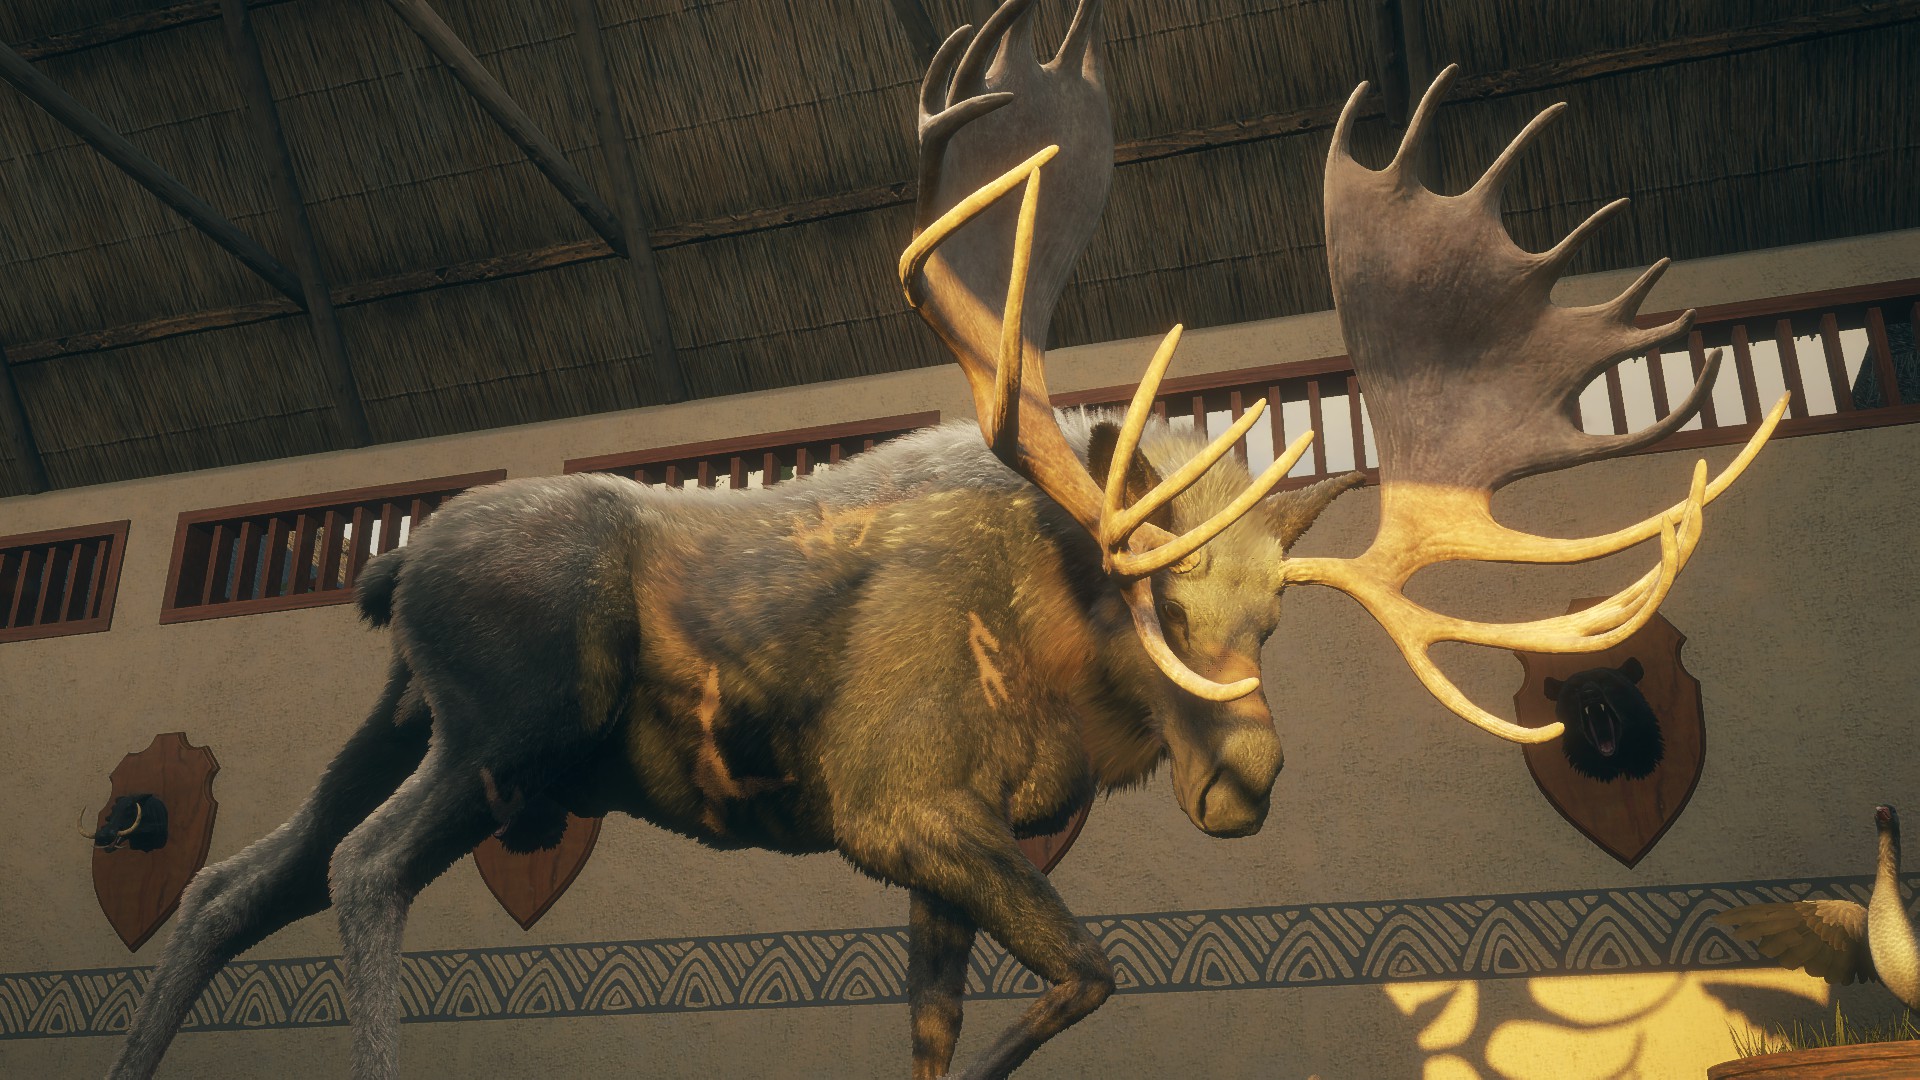
COMMON – Een groot, niveau 4 common coat moose.
PIEBALD – An average-sized level 3 piebald bull.
ALBINO – An average-sized level 4 albino moose.
MELANISTIC
MOCHA (Found in the Te Awaroa missions) – A large and unique Mocha-furred moose.
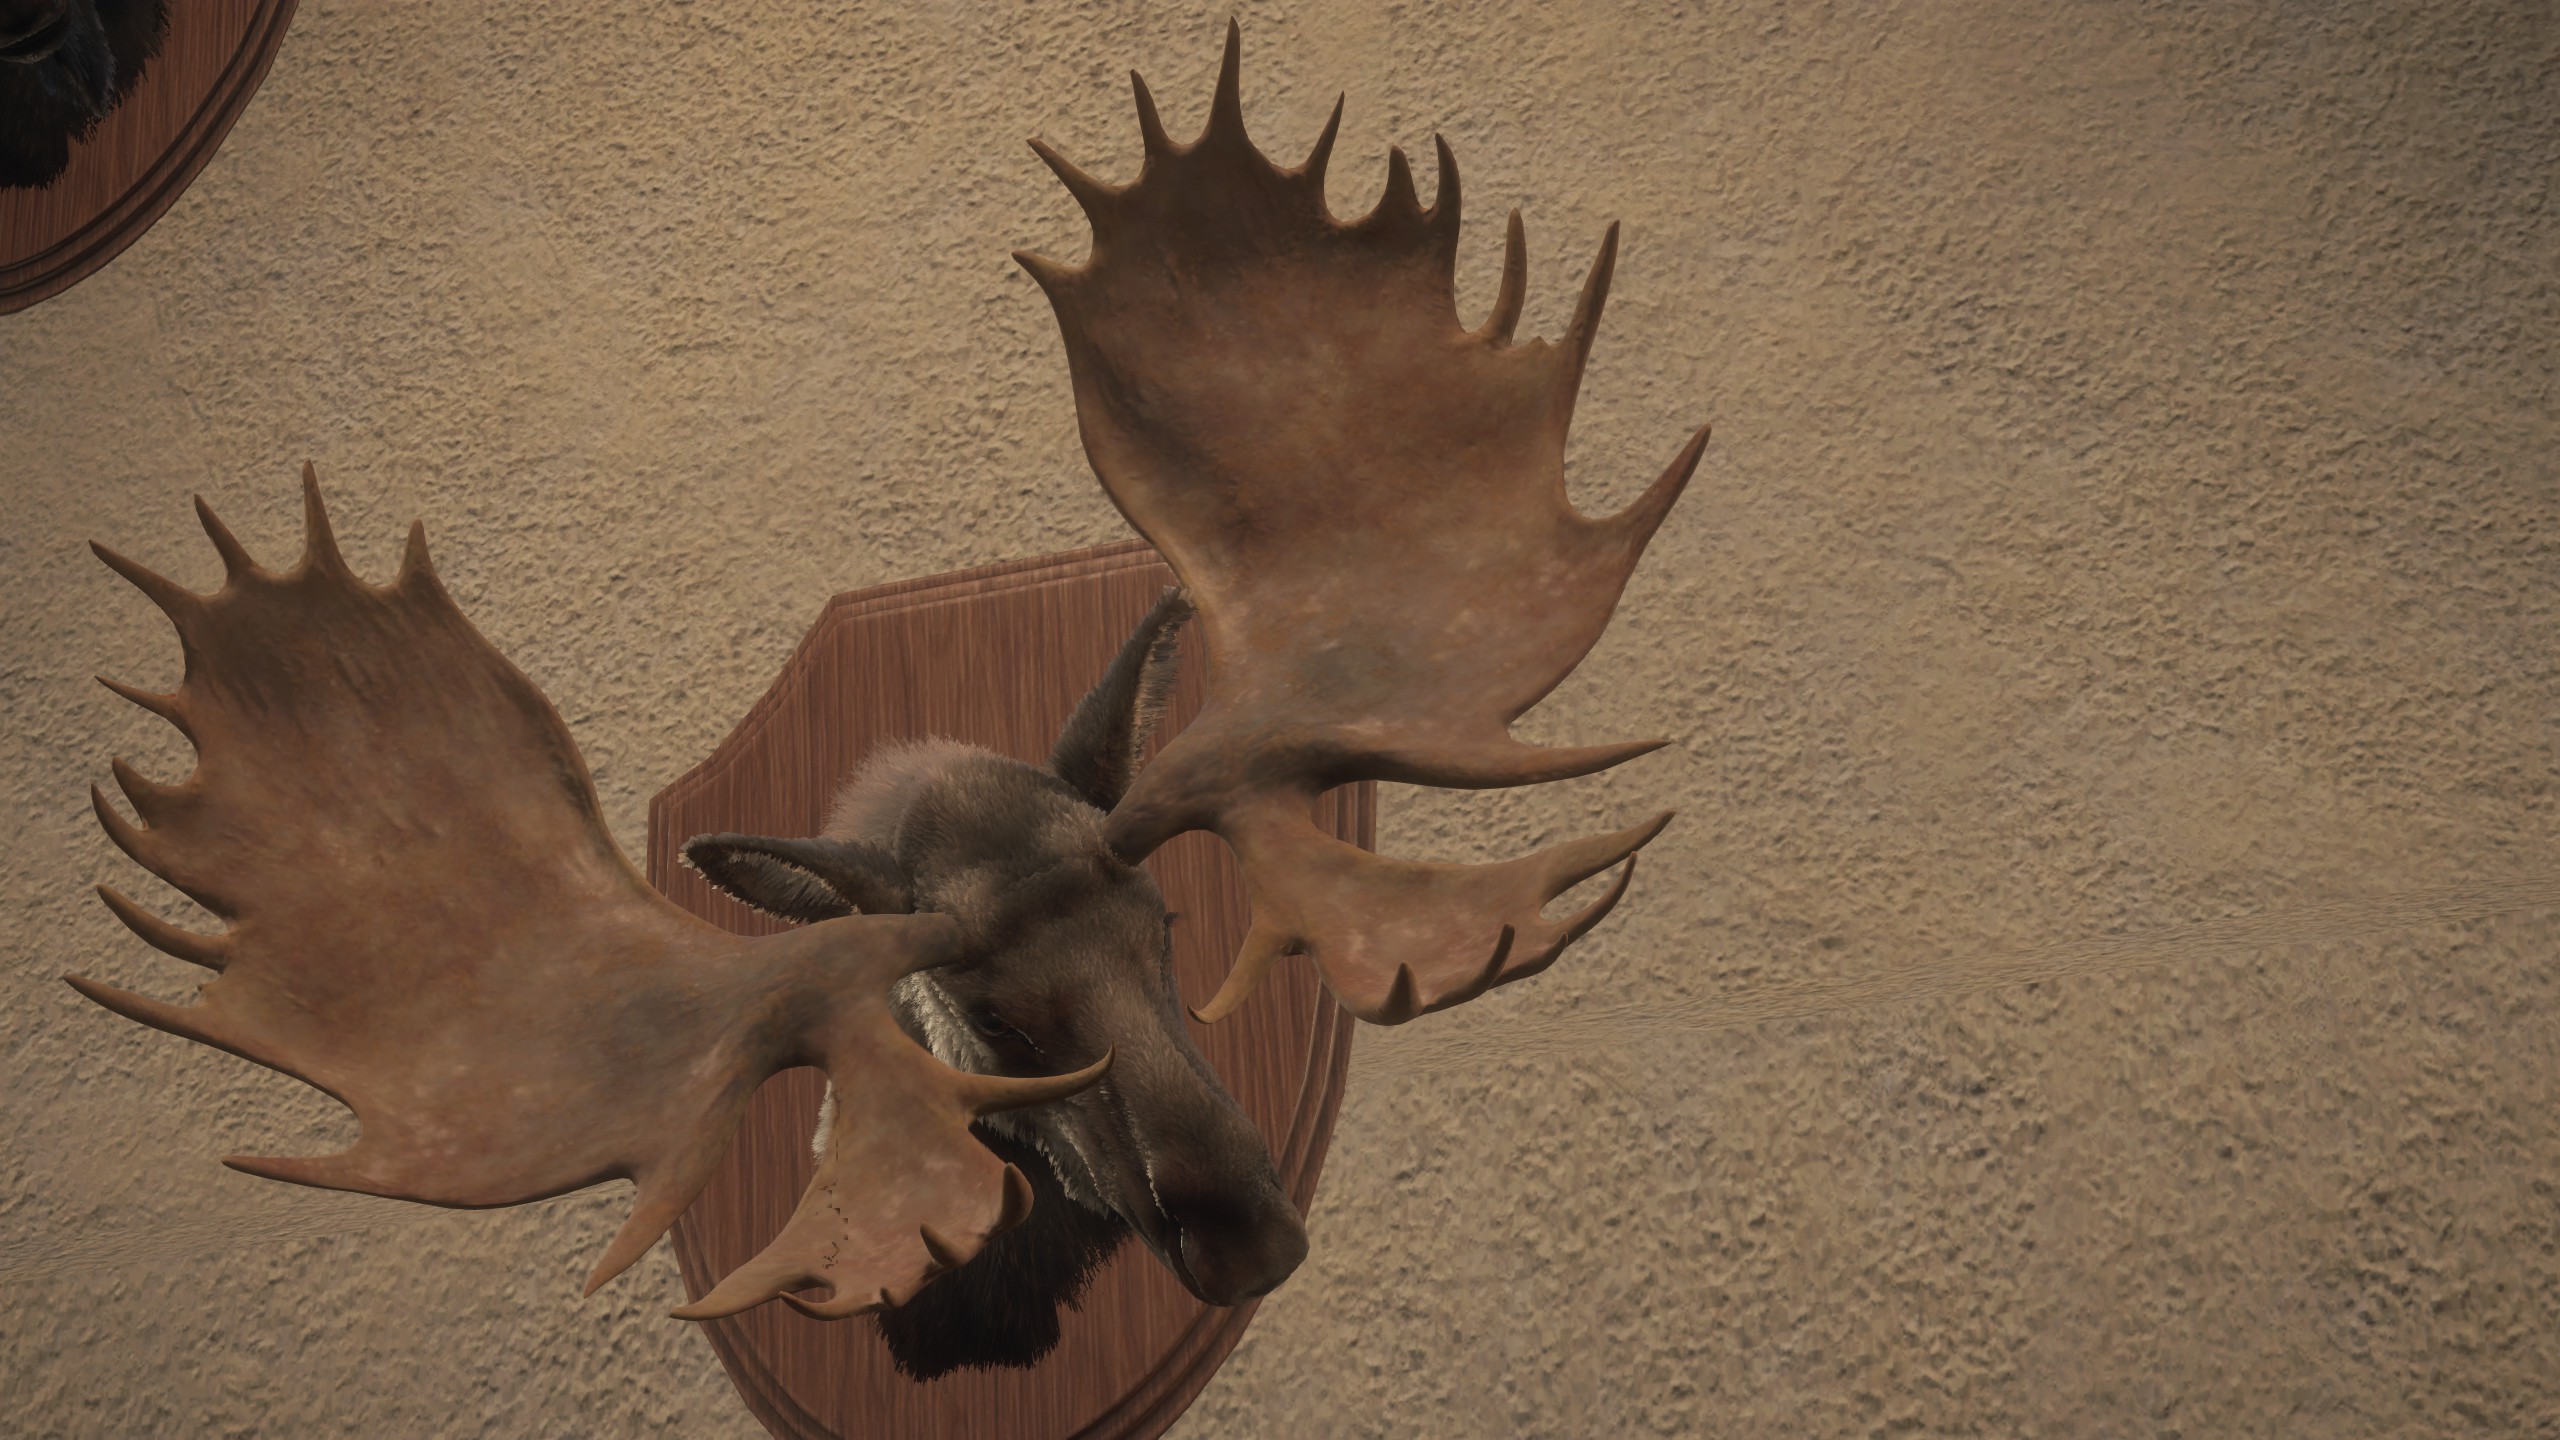
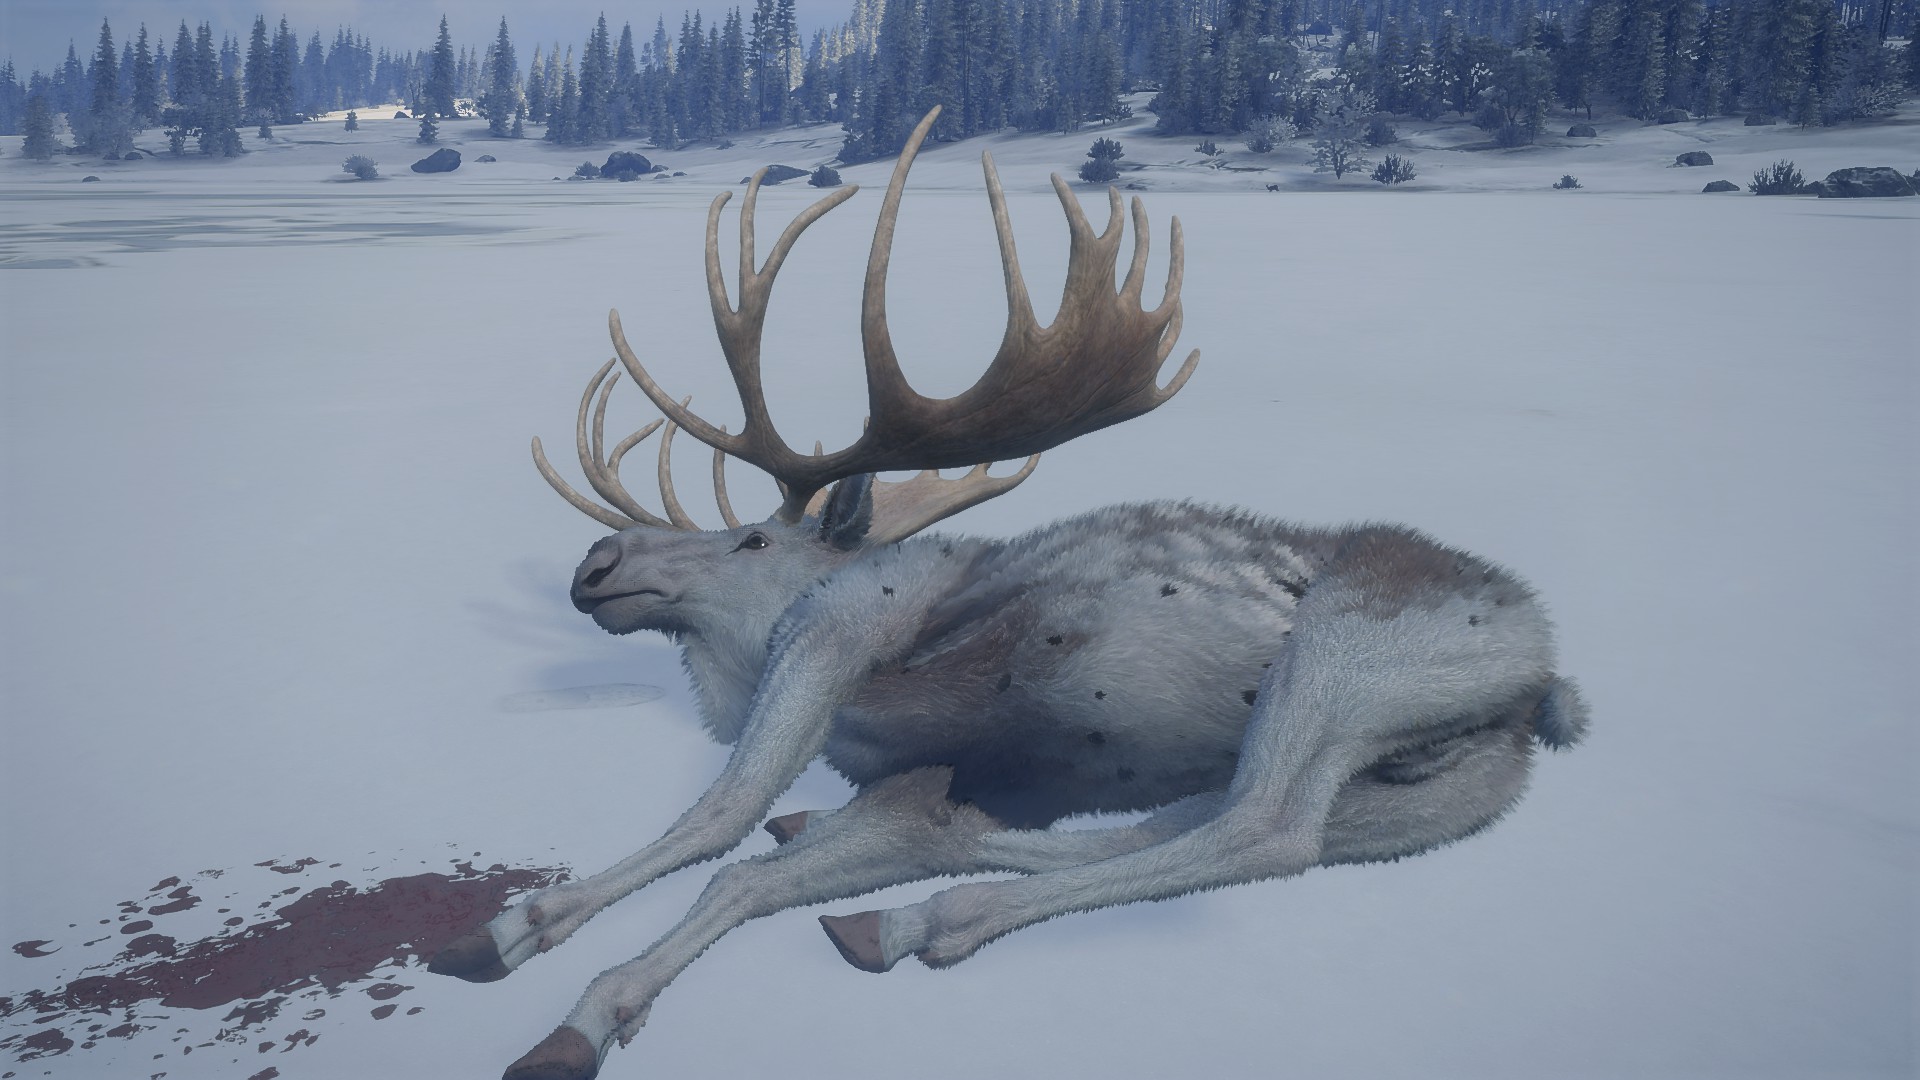
Great One moose come in a variety of unique fur types, including piebald, albino, and melanistic. Here are all the variations besides the usual rare types:
- Fabled Ashen
- Fabled Spruce
- Fabled Oak
- Fabled Birch
- Fabled Two-Tone
- Fabled Speckled
It’s important to note that all Great One fur types have an equal chance of spawning, with none being rarer than another. This principle also applies to the rack combinations.
Here are some pictures displaying the different Great One fur types:
FABLED ASHEN
FABLED SPRUCE
FABLED OAK
FABLED BIRCH
FABLED TWO-TONE
FABLED SPECKLED
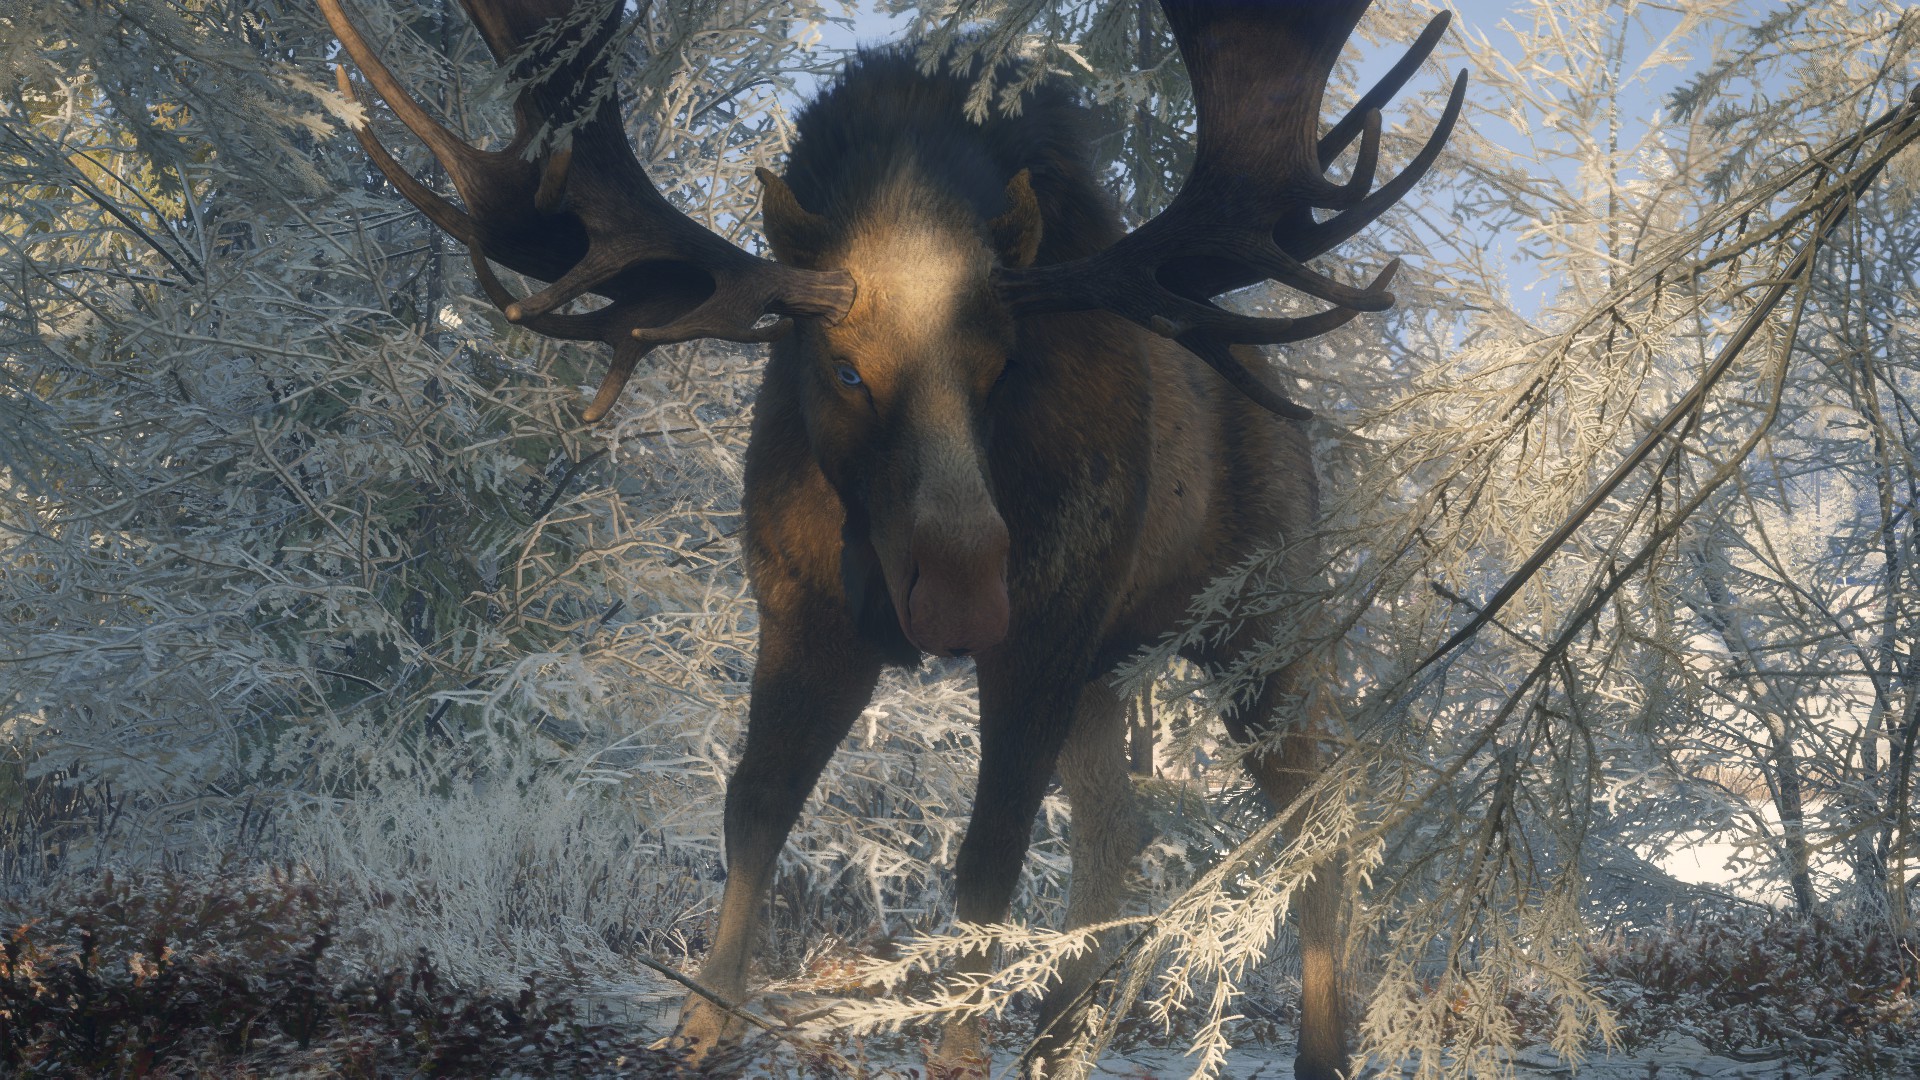
Great One moose boast a unique array of antler variations exclusive to these magnificent creatures, including four distinct rack types. Echter, this guide won’t dive into the specifics of these antler types.
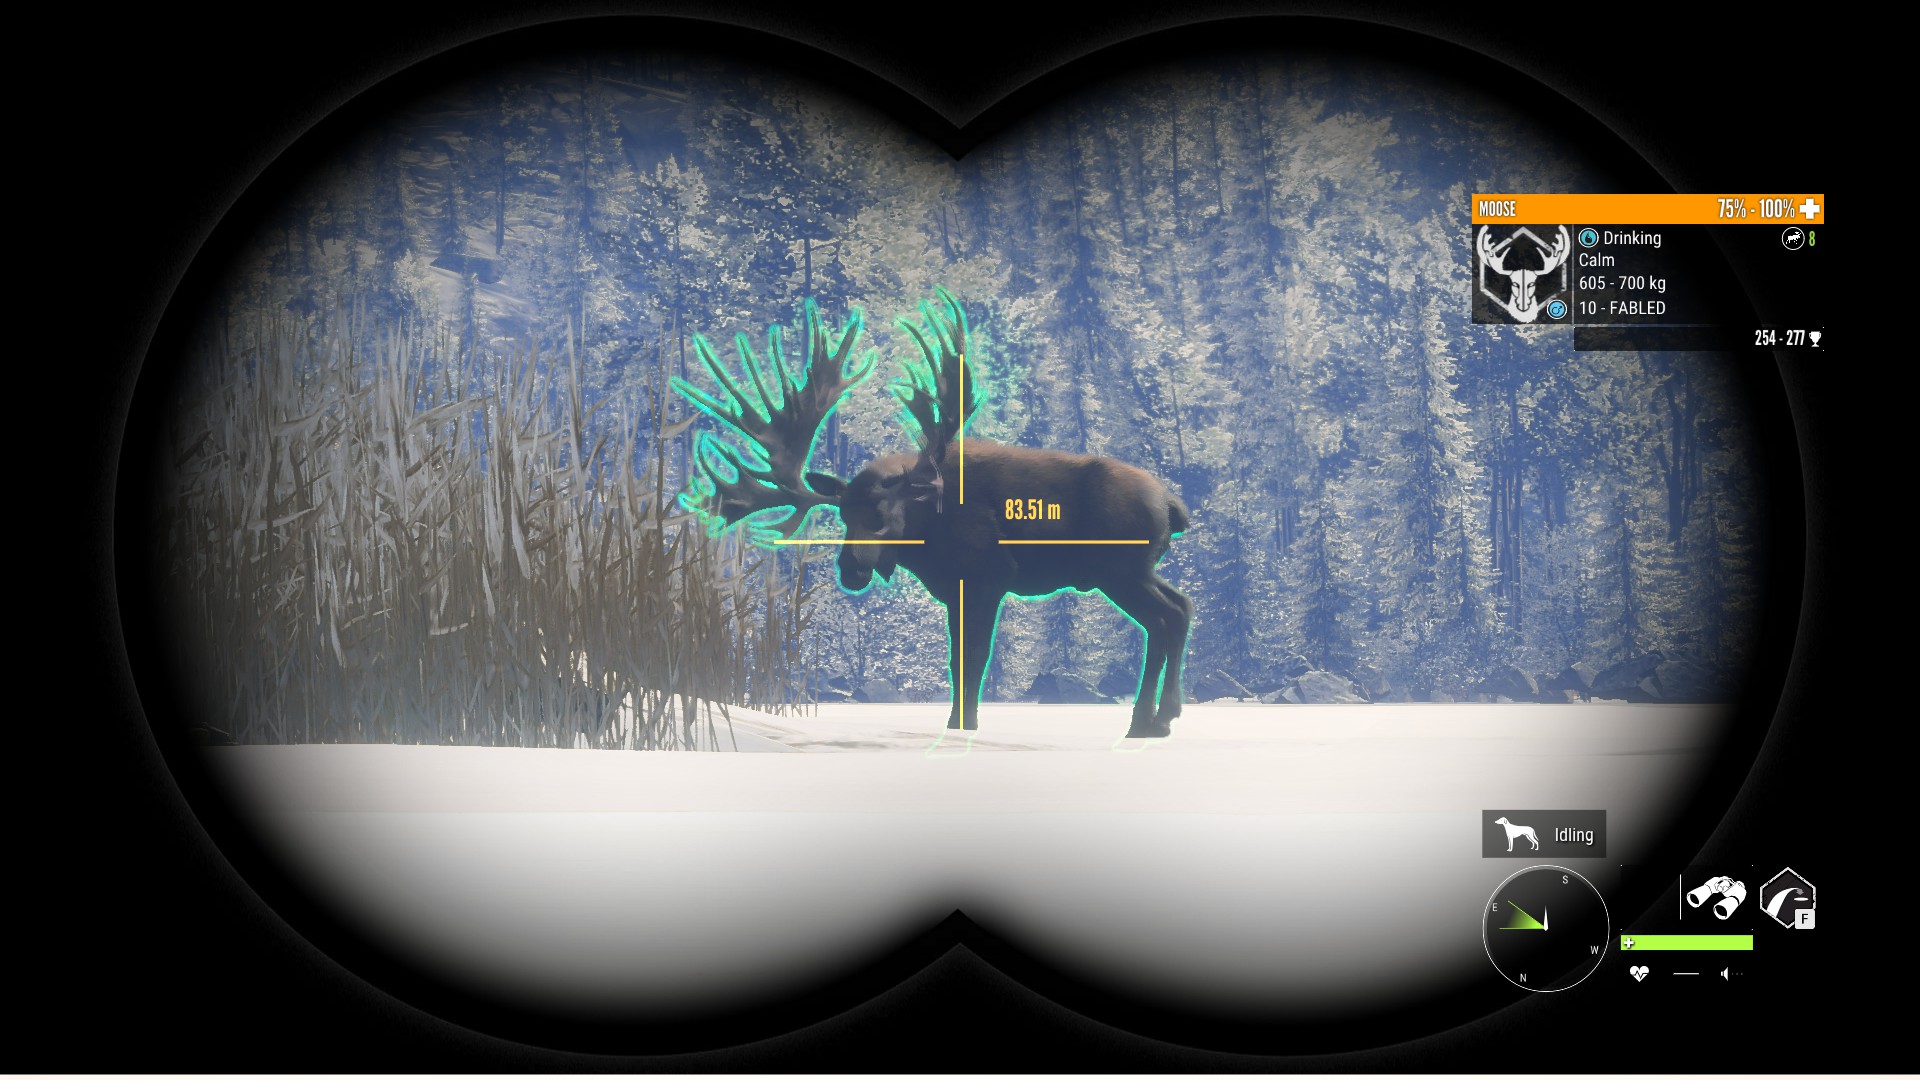
WEIGHT ESTIMATE
Moose come in various weights, which give you an idea of their level and size. If you come across a moose track, you can estimate the animal’s level based on the track’s weight. To potentially find a diamond moose, the animal should weigh at least 590 kg or 1300 lbs.
Moose weighing between 545-620 kg or 1201-1366 lbs are either large level 4’s, which score gold, of niveau 5 moose, which can either score diamond or gold if they play tricks on you.
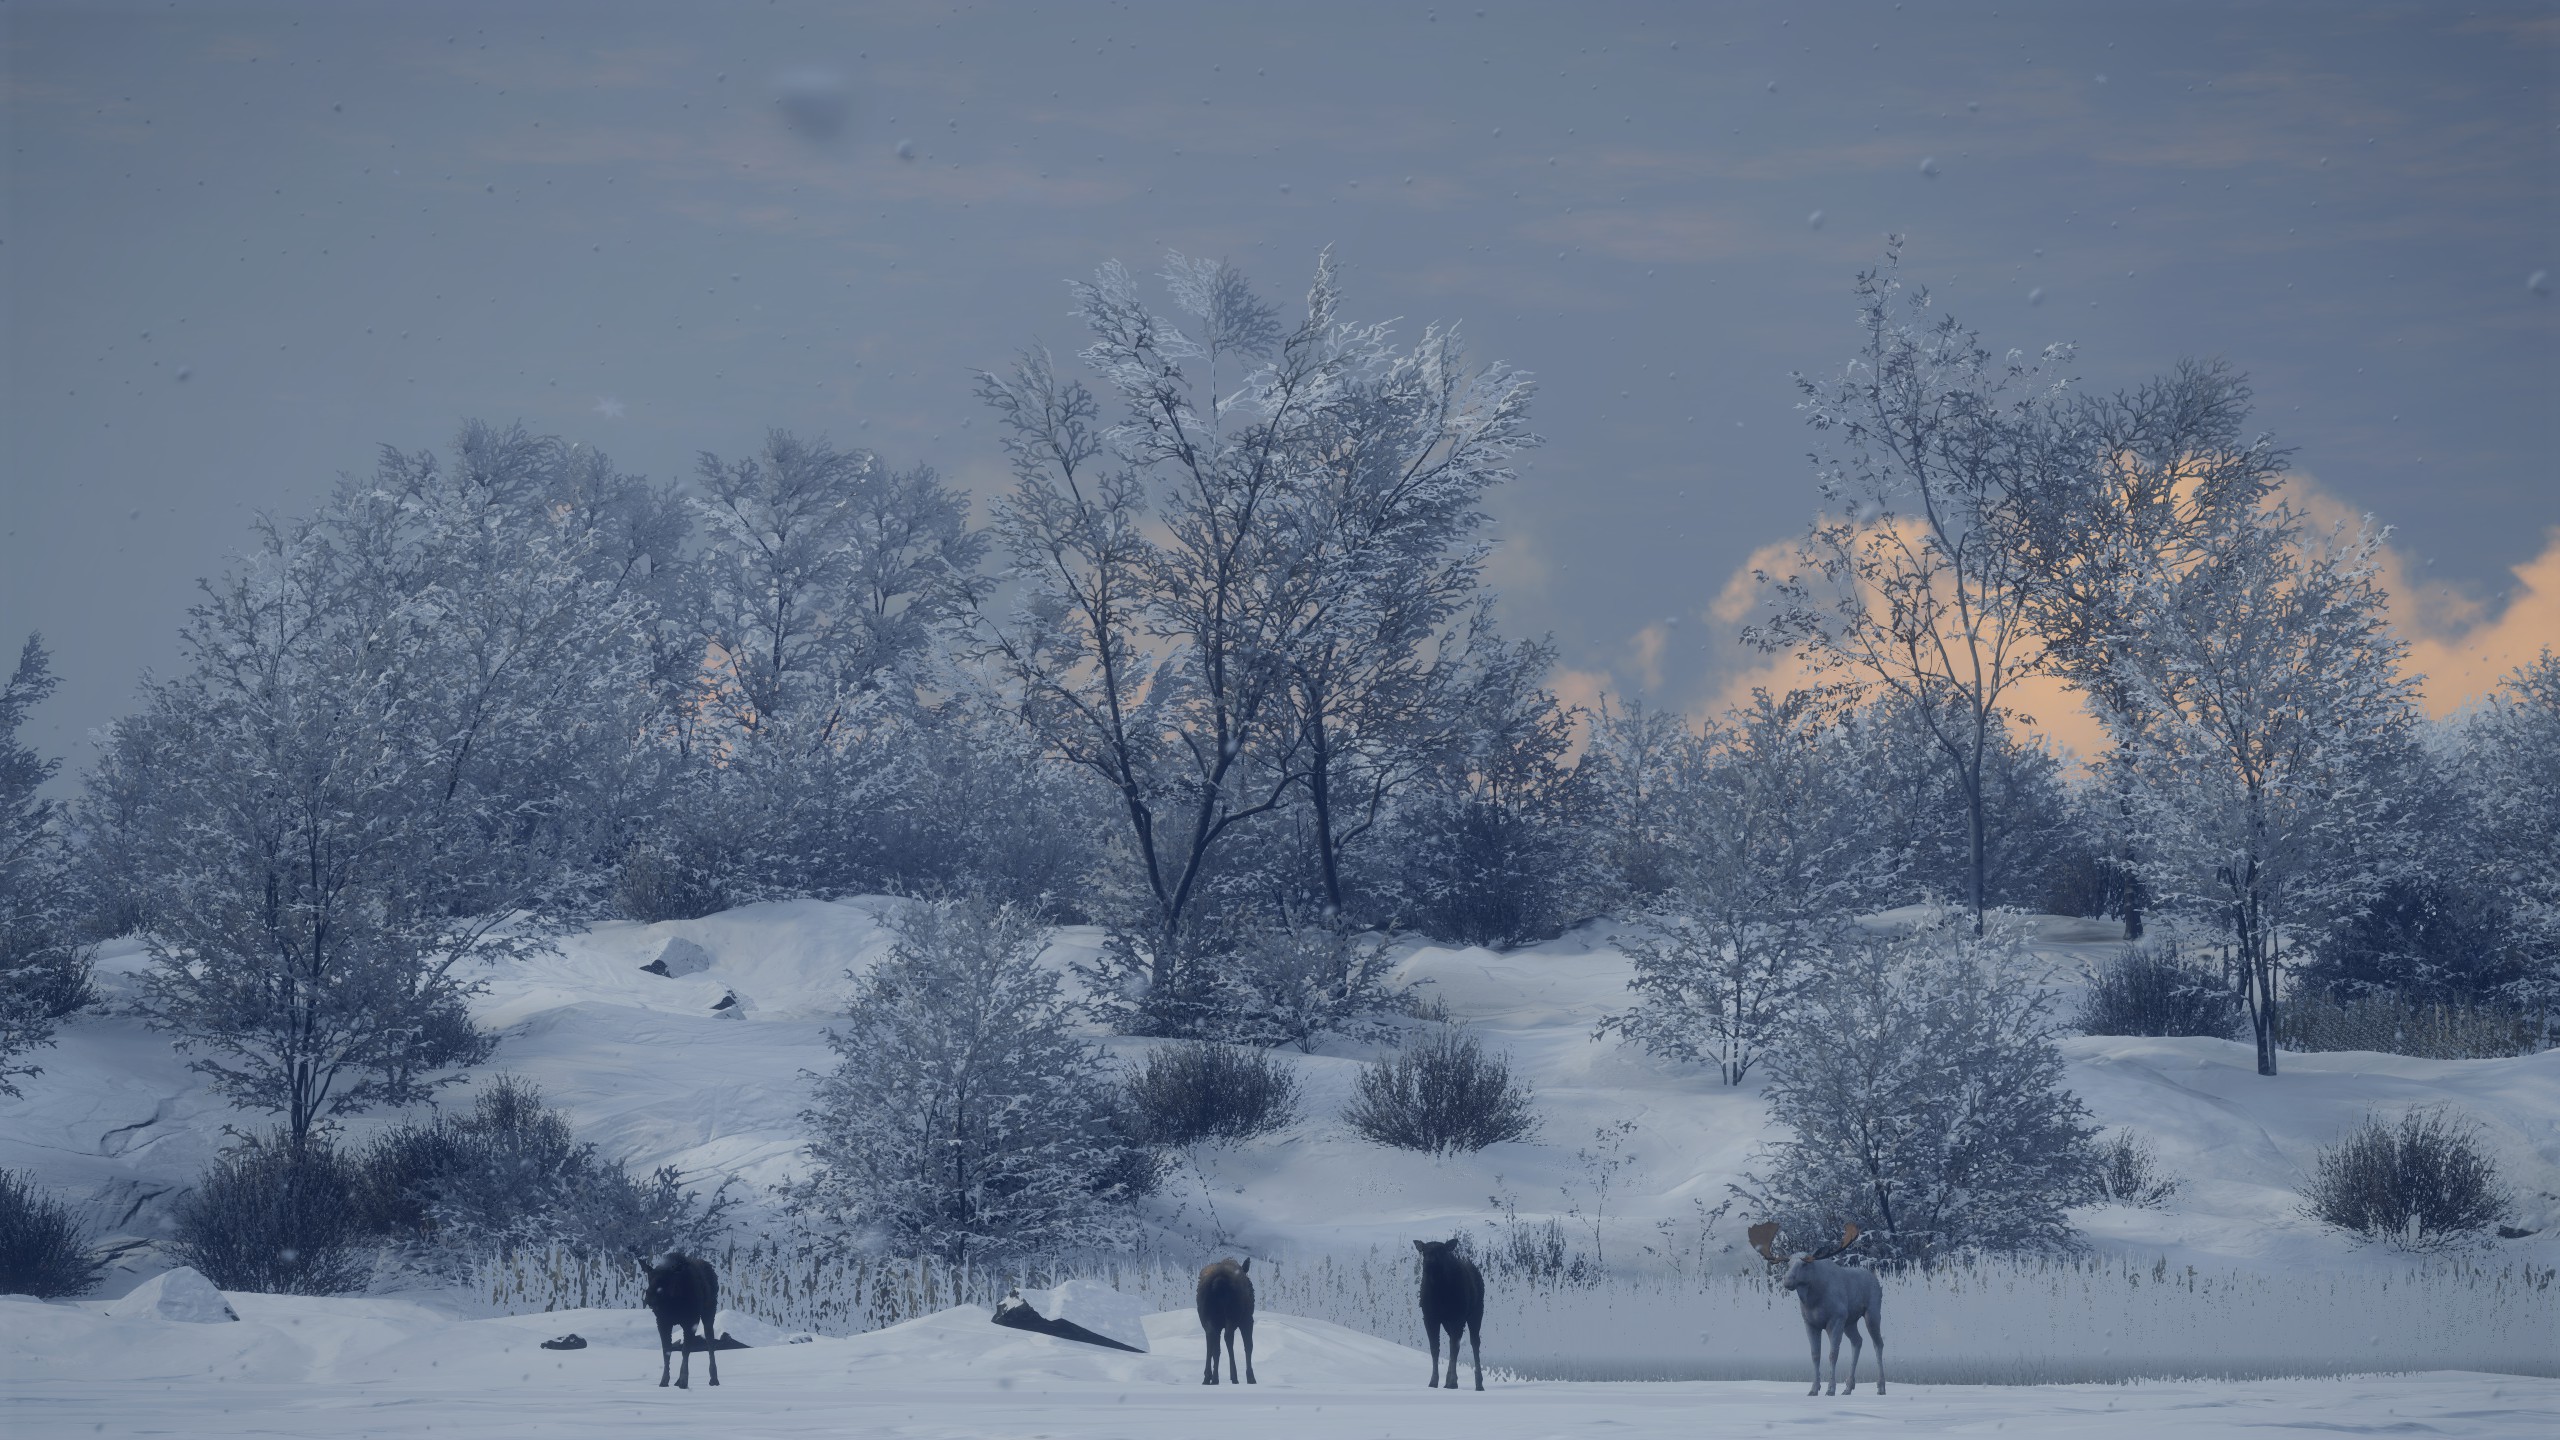
Moose guaranteed to be Great Ones weigh between 605-700 kg or 1333-1543 lbs. If you come across one of these moose, rest assured it will be a Great One score.
Herd Management
Herd management is a strategy where you selectively hunt moose of specific levels to influence the populations in different lakes. Laat me het voor je opsplitsen.
In Medved Taiga, you’ll need to pick around 10 main lakes to nurture and grow your diamond moose populations, while designating around 5 of 6 lakes to limit and reduce the moose numbers. When some lakes have only small moose, like levels 1 en 2, it causes your other lakes to predominantly spawn large level 4 en 5 moose, which is your ultimate goal. Jouw 10 “shooting lakes” should be easy to access and move around in, while the 5 “exterior lakes” should be located more on the outskirts of the map. Here’s my setup for shooting and exterior lakes:
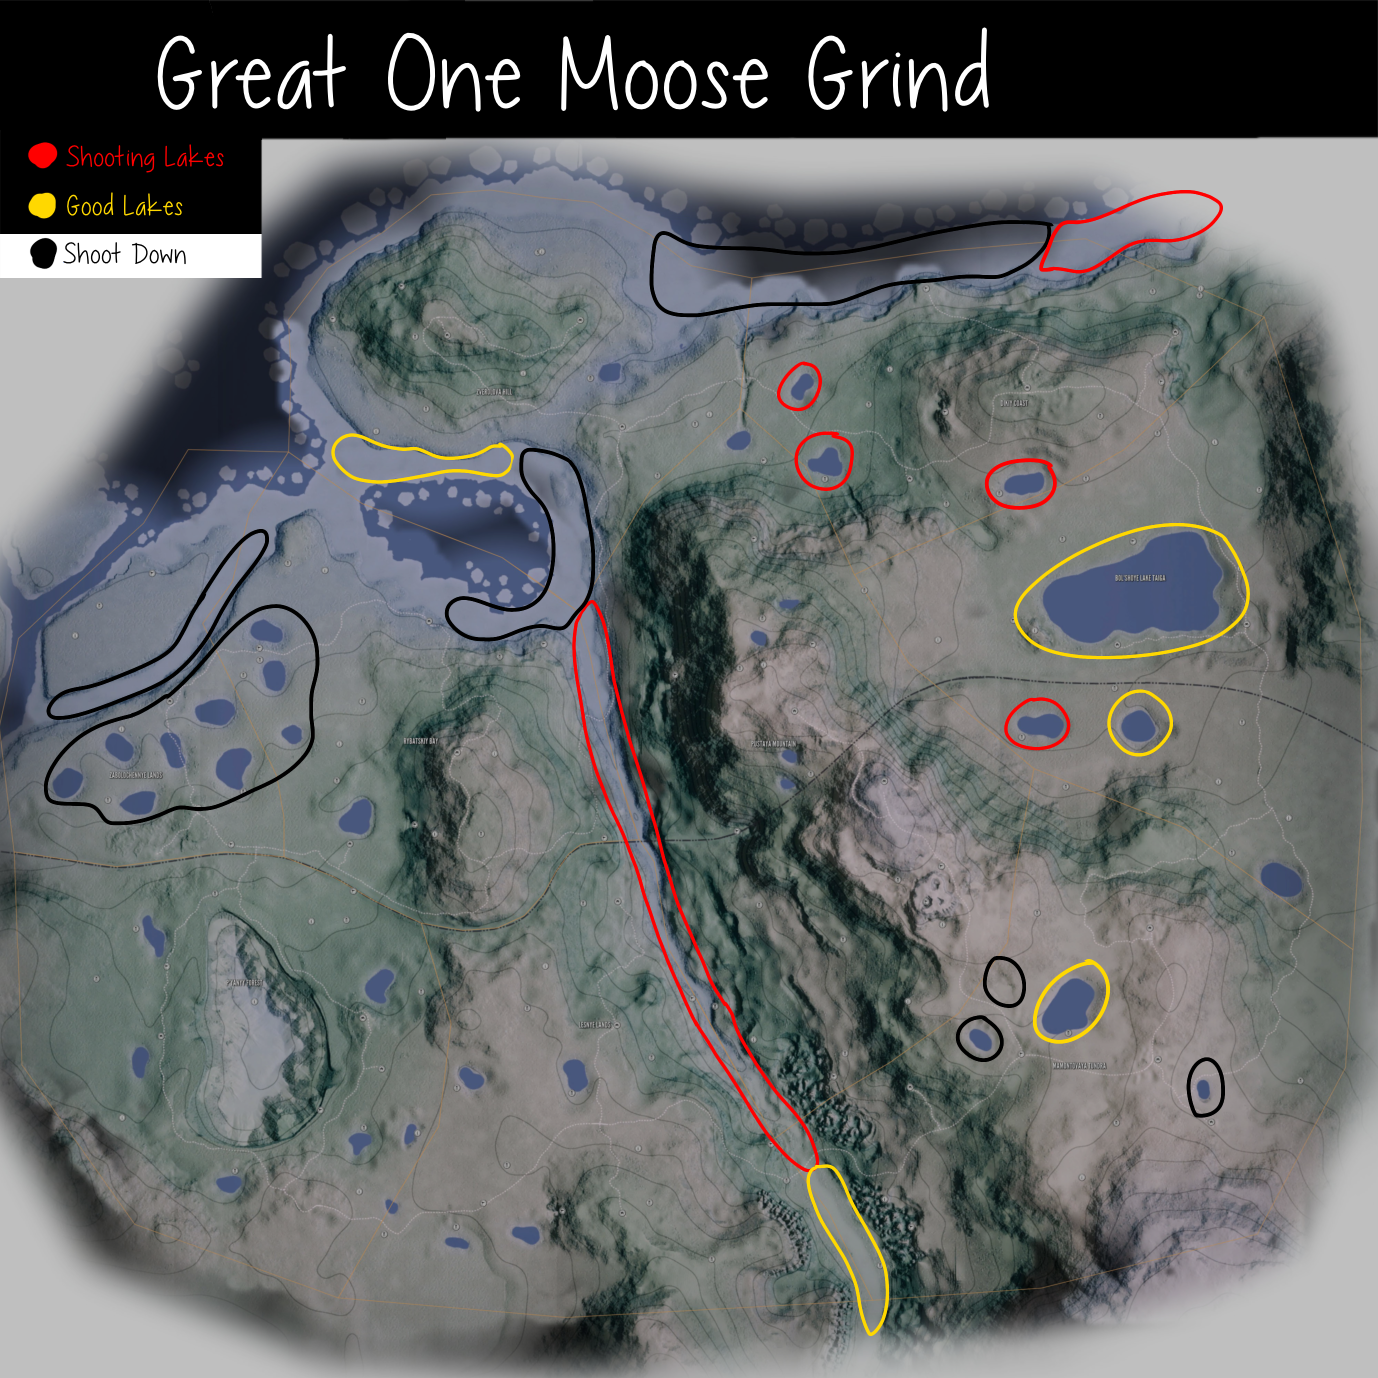
The lakes marked in yellow are my top shooting lakes. Volgende, identify all the moose drink zones in those areas. Nu, how do you get your shooting lakes to spawn diamonds and your exterior lakes to spawn small moose?
In your shooting lakes, focus on hunting only male moose that are levels 1 en 2. This encourages the opposite, niveau 4 en 5 moose, to spawn. In your “shoot down” lakes, concentrate on hunting male moose at levels 3 en 4, and perhaps play tricks on level 5 moose. This ensures that only levels 1 en 2 moose can spawn in those lakes.
Dus eigenlijk, “smaller equals bigger” en “bigger equals smaller.”
In the lakes surrounded by red and yellow, I will only hunt male moose at levels 1 en 2. In the lakes surrounded by black, I will reduce the moose population by hunting male moose at levels 3 en 4.
Once you’ve hunted the required moose for each lake, you should have only levels 1 en 2 moose in your exterior lakes, and there’s no need to return to those lakes. Be very careful not to hunt the wrong moose in either of your lakes, as this could disrupt your system.
(Natuurlijk, if a rare female or male moose appears, you might choose to hunt it, even if it doesn’t match the right shooting level for that lake. You can make an exception for one or two moose if you make a mistake.)
By hunting the opposite of what you want in those lakes, you’ll encourage the system to spawn large moose in your shooting lakes and very small moose in your exterior lakes. This method of hunting is known as “herd management,” and it’s the quickest way to spawn diamond and large level 4 moose in your favorite lakes. Medved is one of the easiest, if not the easiest, maps to employ this strategy.
It’s important to note that using this method won’t increase the frequency of Great One moose spawns, as they are entirely reliant on RNG (random number generator) and occur by rare chance. Echter, you’ll significantly increase the number of diamonds and super rare moose you encounter while searching for your Great One. The Great One could potentially spawn at any of your lakes, including your small exterior lakes.
After applying this method for a while, you should have a collection of diamonds at your shooting lakes and very small moose at your exterior lakes. You can hunt your diamond(S) whenever you choose, but I recommend another approach called “stacking,” which we’ll discuss in the next section.
In review:
- Select your 10 shooting lakes and 5-6 exterior lakes.
- Identify all your drink zones.
- Hunt the required male moose for specific lakes. Nu, watch the diamonds roll in!
It’s essential to understand that “herd management” is not considered cheating, for anyone who may have wondered about its legitimacy.
Stacking
“Stacking” is a method where you leave your diamond or Great One moose on the map without hunting them, allowing more of these high-level animals to spawn. I recommend using this approach in conjunction with herd management to maximize the number of high-level animals that appear.
When you successfully get a diamond to spawn, whether through herd management or another method, leaving the diamond on the map without hunting it enables other diamonds and Great Ones to spawn without disrupting your system. When you claim a diamond by hunting it, your grind system goes through a slight reset, creating a setback that makes it harder for more diamonds to spawn. Echter, by refraining from hunting your diamonds, it permits more and more of them to spawn continuously. The same principle applies to Great Ones.
Dan, when you can’t find any more moose to hunt for your lakes (if you’re using herd management), you can conclude your grind by hunting all your stacked diamonds and large level 4 moose, as well as any Great Ones you’ve chosen to stack. Persoonlijk, you might decide not to stack your Great Ones, except if they are unattractive, in which case you can hunt them when they spawn. But if you want them to appear more frequently, it’s best not to hunt them.
Dat is alles wat we vandaag hiervoor delen theHunter: Roep van de wildernis gids. Deze handleiding is oorspronkelijk gemaakt en geschreven door † Dakøta †. Voor het geval we er niet in slagen deze handleiding bij te werken, U kunt de laatste update vinden door dit te volgen link.