- Titel: The Chameleon
- Releasedatum:
- Ontwikkelaar:
- Uitgever:
Information about The Chameleon is still incomplete. Help ons alstublieft de details van het spel hiermee in te vullen contactformulier.
This guide will be showing you how to unlock and get all achievements in The Chameleon.
Invoering
The Chameleon is a relatively short stealth game that can be completed in less than 2 uur. In dit spel, you assume the role of a character who gains unique powers as the story unfolds. While some of these powers are essential for progressing through the game, not all of them are mandatory.
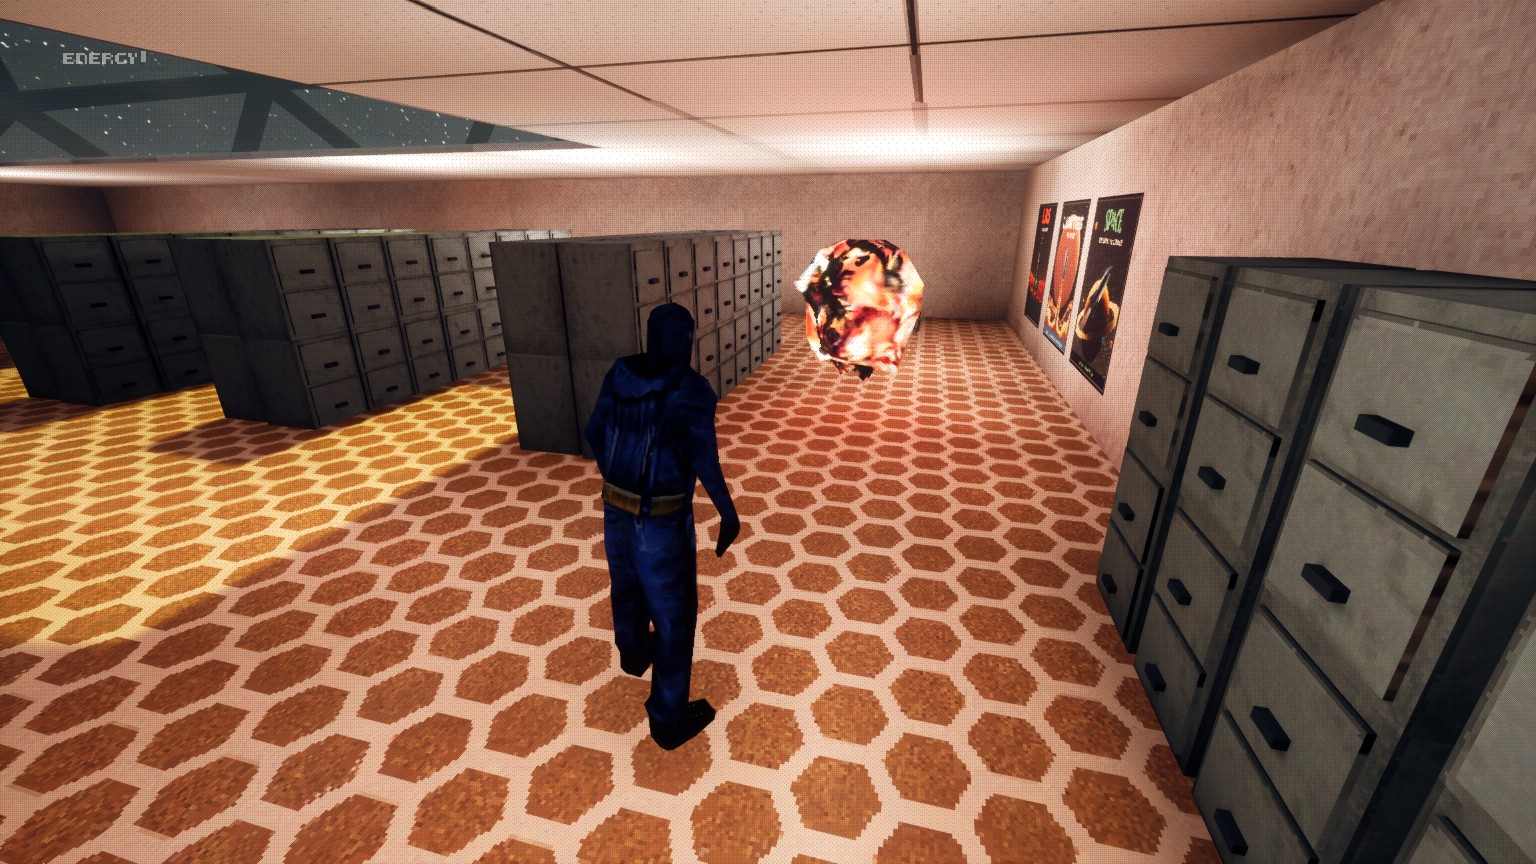
The game offers a total of 8 prestaties, met 5 of them closely tied to the game’s storyline, 2 being optional, en 1 remaining as a secret achievement. Aanvullend, players can come across purple capsules as pickups throughout the game. Interessant genoeg, there are no specific achievements associated with collecting these capsules. Echter, it is highly recommended to actively search for and collect them because they increase your maximum energy capacity, enabling you to make better use of your acquired powers. To obtain a power pickup, you simply need to touch one of the floating, organic-looking balls like the one depicted in the game.
Mandatory
These achievements are story-related, but due to the kinda open levels you might miss or get lost. I will give a short explanation for each.

Oriented: Watch the Orientation film for the LRS
This achievement is automatically unlocked after watching the Orientation film for the LRS. It’s essentially unmissable unless you manually disable the film by changing the “play orientation film” setting to “Nee.” Avoid doing this to ensure you don’t miss out on this achievement.

Beep Boop: Find the Chameleon power
Om deze prestatie te verdienen, you need to find the Chameleon power, which is the first power you acquire in the game. It allows you to disguise as a guard. You’ll come across it shortly after starting the game in a narrow hallway after the Generator Room. It’s a crucial power, so you won’t want to miss it.

Dasher: Find the Dash power
This achievement is tied to finding the Dash power, which is the second power in your arsenal. It enables you to dash through large gaps, and you’ll need it for game progression. You can locate the Dash power in the M.T.P.F. area in the Eastern Warehouse.

Home Desolate Home: Find out the location of the LRS
This achievement is story-related and unlocks after you exit the Warehouse. You’ll naturally progress to this achievement as you play through the game.

Slowmo: Find the Slow Time power
To earn the Slowmo achievement, you must find the Slow Time power, which is the third power you receive. It’s located in the Admin section of the Moon Lobby, across from the keycard. This power is essential for accessing other parts of the Moon Lobby.
Optional Powers
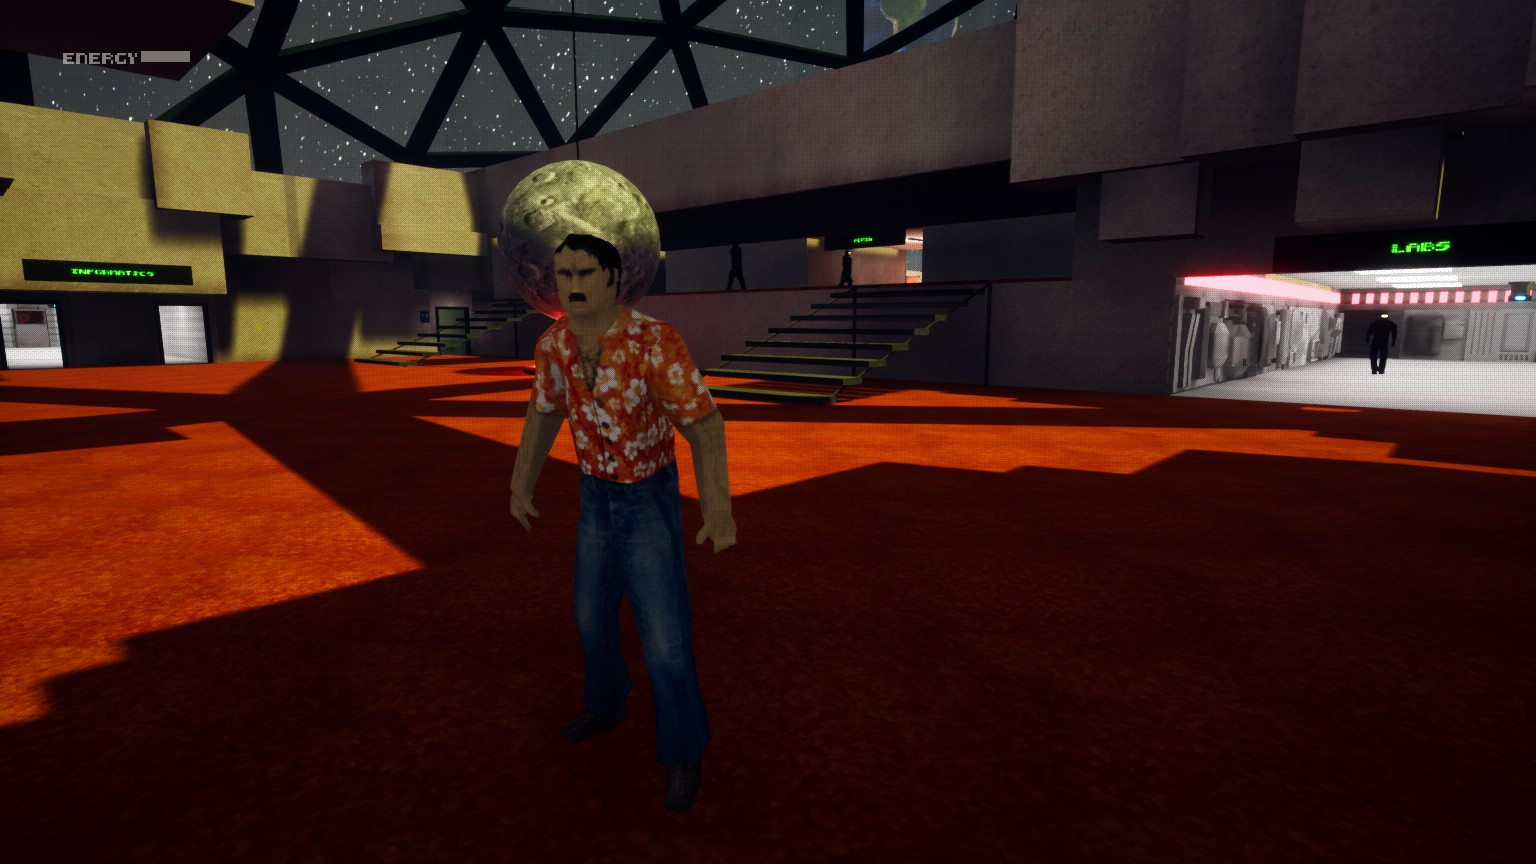
The pickups mentioned below are not mandatory and become accessible once you’ve arrived at the Moon Lobby. I’ve coined this term because of the prominent moon-shaped structure at the heart of the room. Upon reaching this location, make your way to the central room, known as Admin, to acquire the Slow Time ability. This ability is crucial since it’s needed to navigate the remaining areas, which are guarded by turrets and otherwise inaccessible without it.

Multipunch: Find the Better Punch power
Head into Informatics, the area to your left. Look for the keycard within this area. Before returning to the path leading back to the lobby, explore the hallway’s end, and you’ll come across a ball situated between a set of red walls. This item will reduce the energy cost of your punches, allowing you to execute additional punches before depleting your energy reserve.

Waarheid: Find out the truth about The Chameleon Project
Locate the final keycard easily by heading to the Labs area. Once you’ve reached it, you’ll notice a hallway behind it where a conspicuous ball is floating. This particular power-up comes with some trade-offs: it removes your disguise ability but grants you immunity to damage and an infinite energy supply. Aanvullend, it transforms your appearance into a rather grotesque meat-like creature.
Please be aware that taking this power-up effectively shifts your gameplay style from stealth to a more action-oriented beat-‘em-up approach. If you prefer to maintain a stealthy playthrough (as I did), I recommend saving your game, completing the area, and then loading your last saved game to acquire this power-up without altering your gameplay style.

To assist you in locating the optional powers, you can refer to the video. The Better Punch power-up becomes available at approximately 26 minuten en 20 seconds from the point where you obtain the keycard. As for the Truth power-up, you can find it around the 29-minute mark in the video.
Geheim

LOST: Unlock the second secret
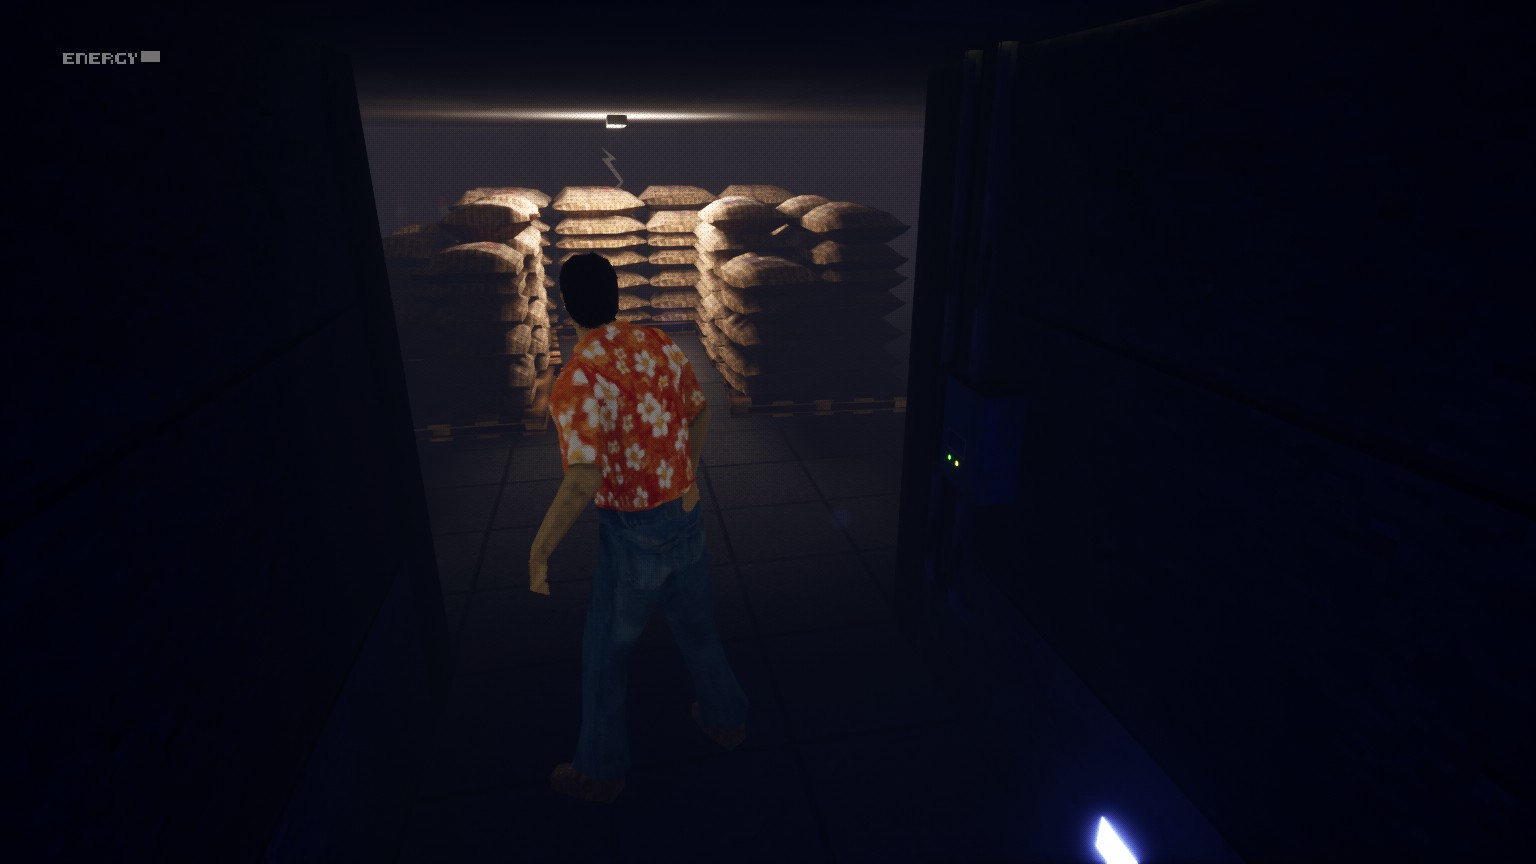
We embark on our journey within the East Warehouse. Make your way towards the area indicated by the black arrow.

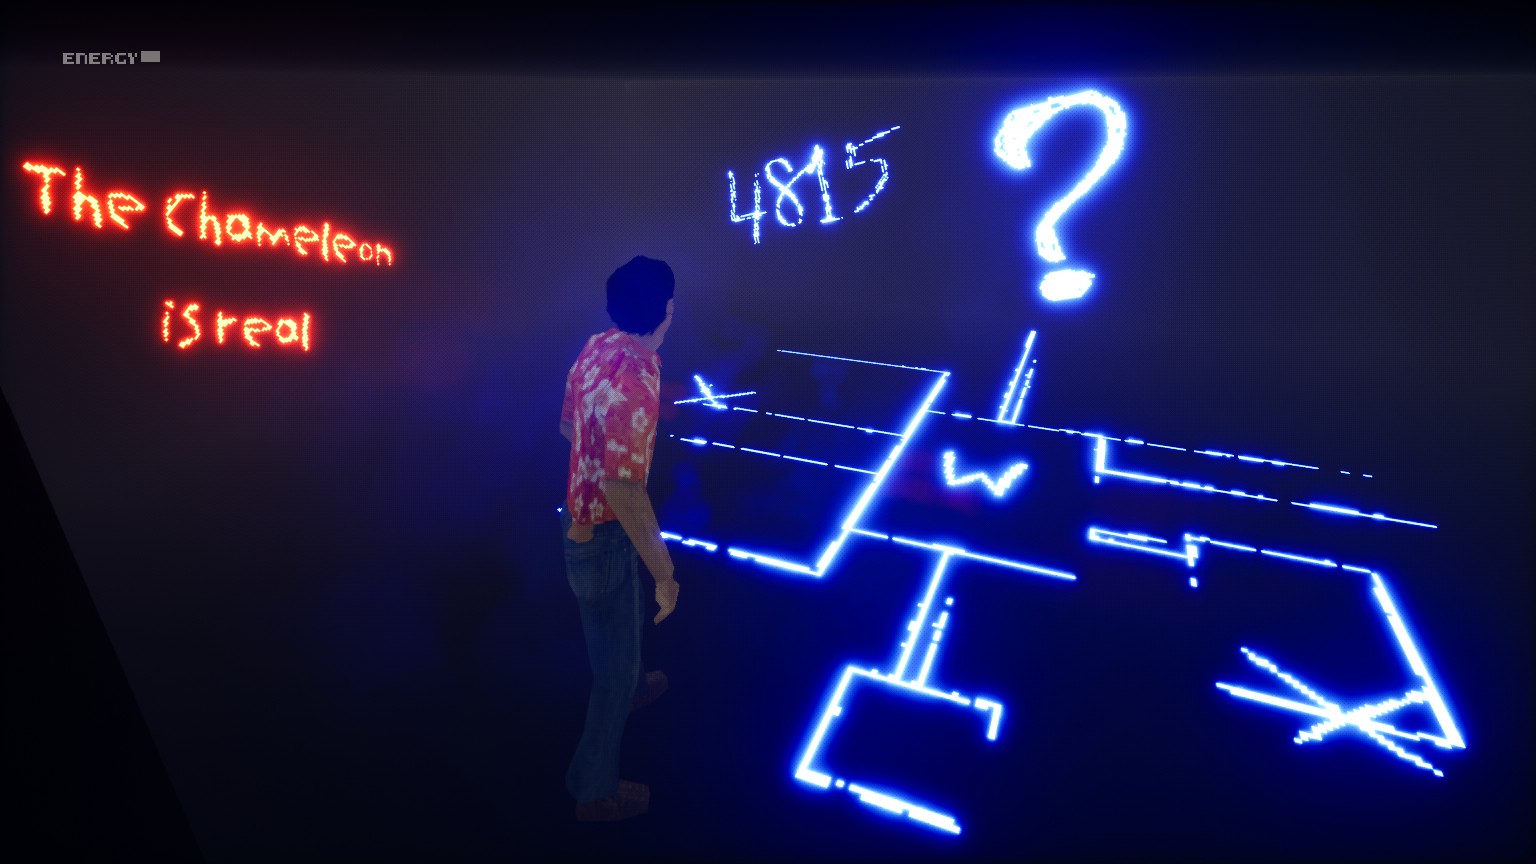
As you venture into the area with sandbags and a cracked wall, use your punches to break open that wall. Follow the path that leads you into an area labeled “Off-Limits.” Take note of the writings on the walls, particularly the number “4815” illuminated with glowing paint. Van hier, continue with the story as usual, as there are no further actions to be taken at this point.
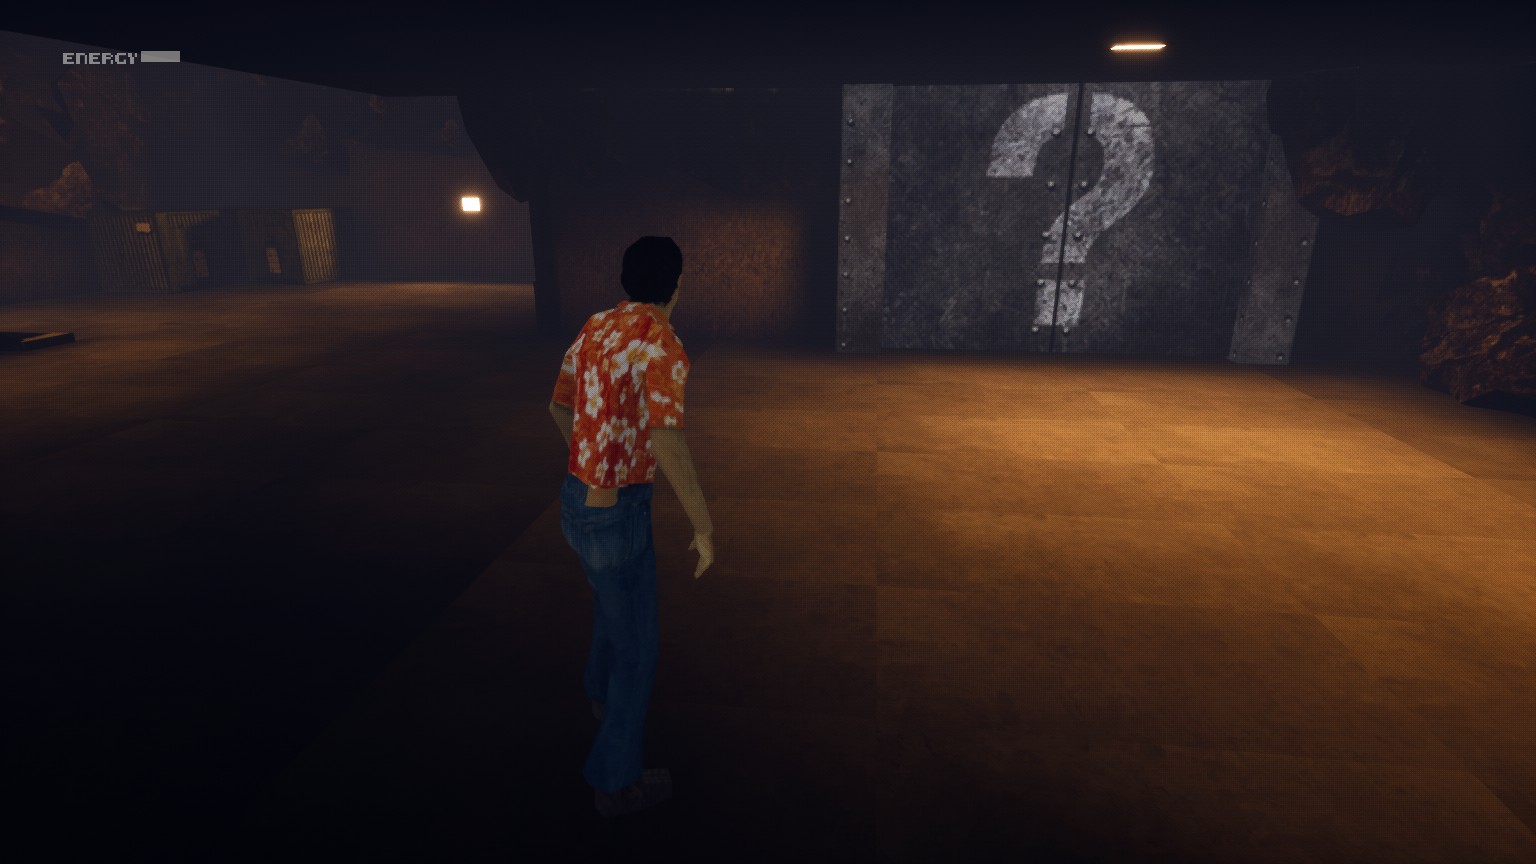
At a later stage, you’ll find yourself in an area known as the Control Room. As you navigate through this area, you will come across a mysterious steel door adorned with a question mark logo, which is indicated by an orange arrow.
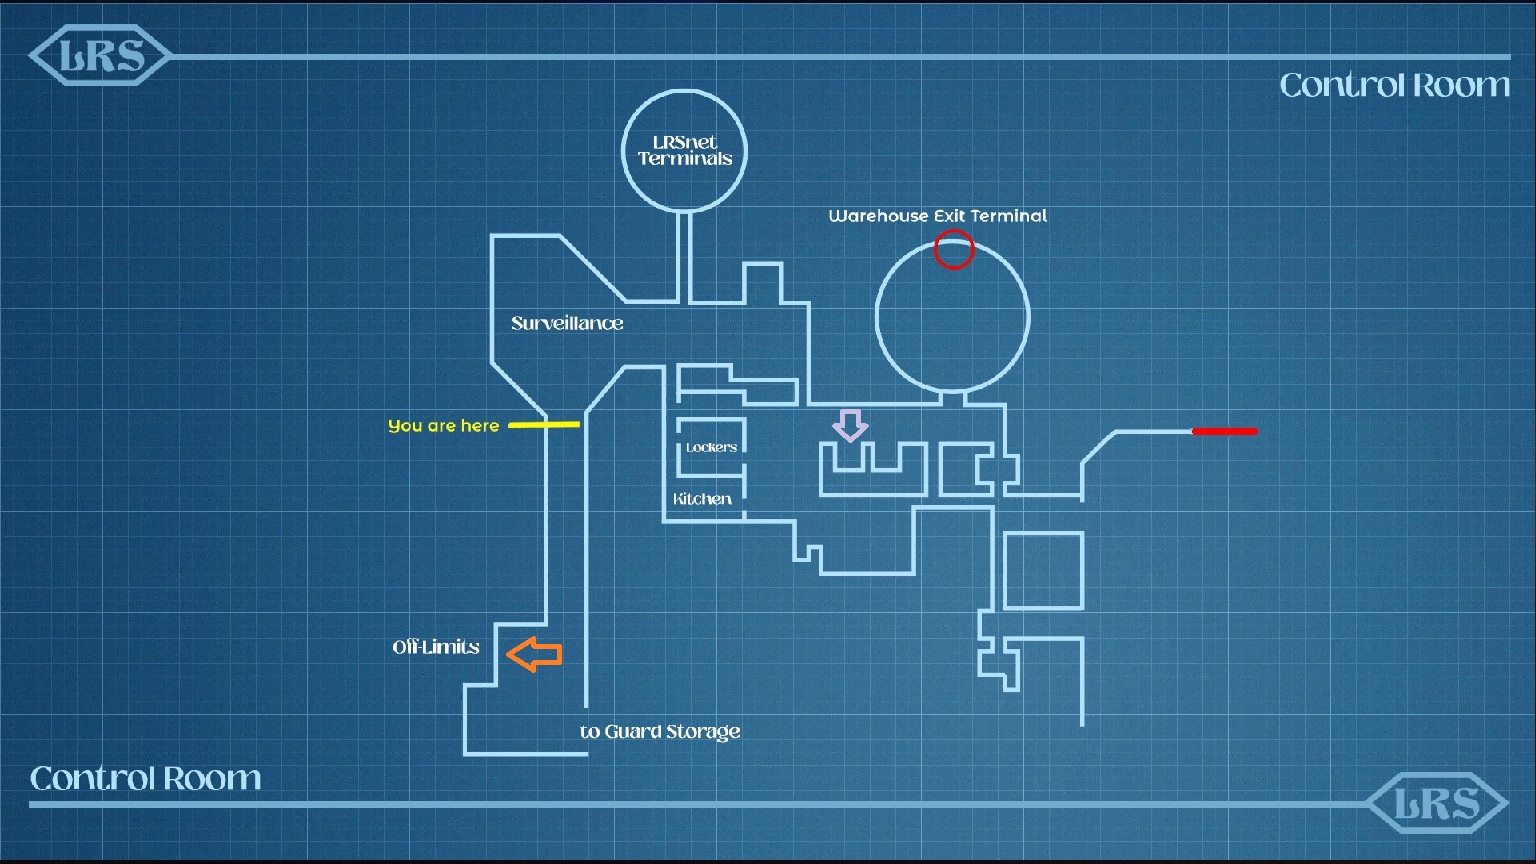
Continue onwards to the area marked by a light purple arrow. Within this area, you’ll come across a computer where you can input a code. Type in “4815” and hit enter; you should hear a sound. Return to the door adorned with the question mark logo, and you’ll now discover that it has opened.

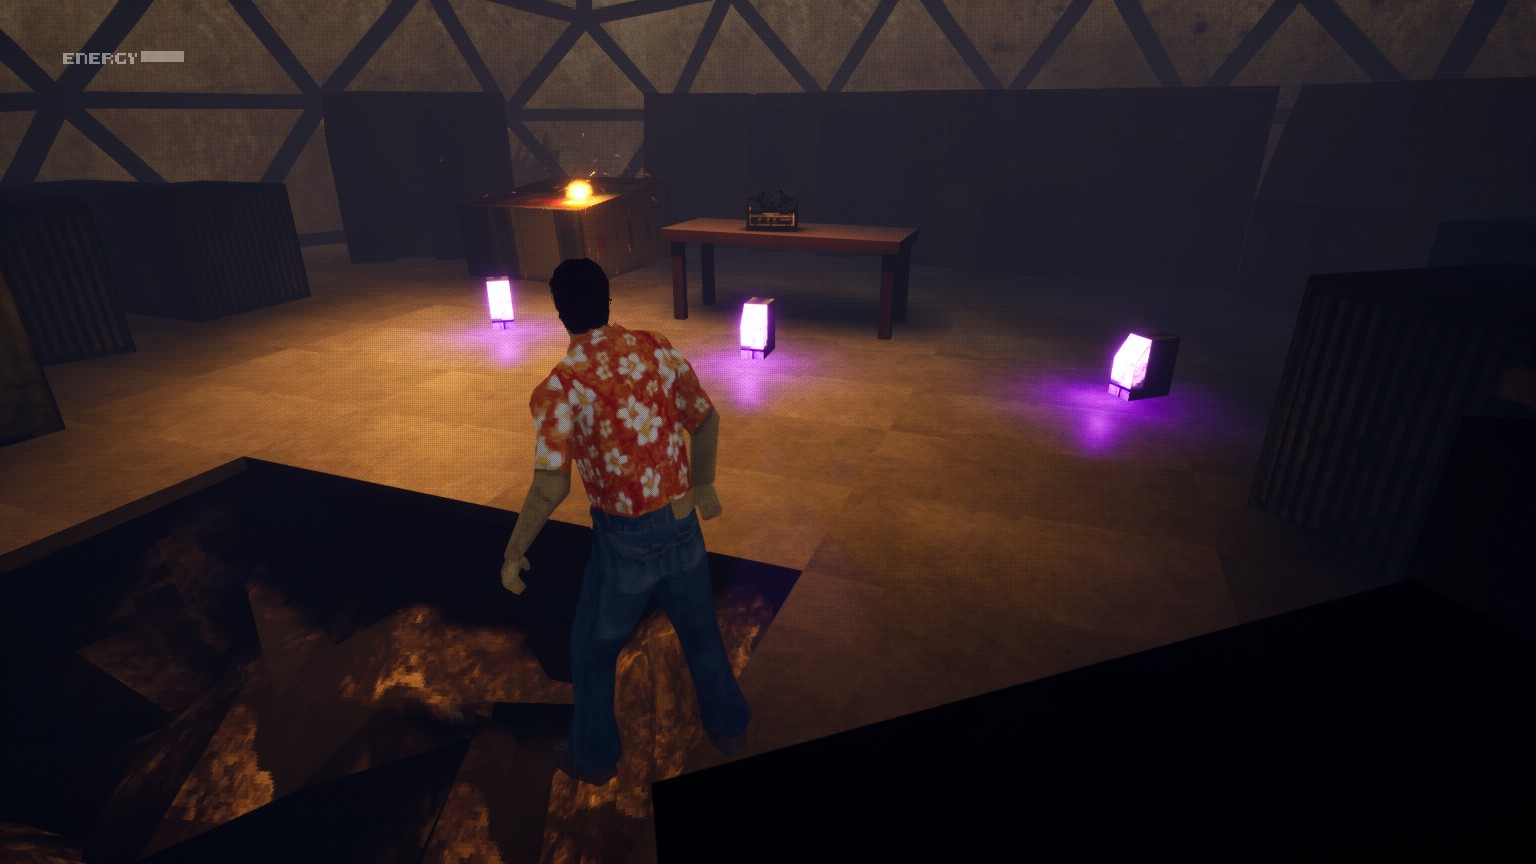
Step through the opened door, and after a brief journey through a rocky tunnel, you’ll find yourself in a room containing three energy capsules and a recording. Op dit punt, you should unlock an achievement.
Dat is alles wat we vandaag hiervoor delen The Chameleon gids. Deze handleiding is oorspronkelijk gemaakt en geschreven door Button Eyes. Voor het geval we er niet in slagen deze handleiding bij te werken, U kunt de laatste update vinden door dit te volgen link.