
This guide will show you how to solve all the puzzles in The Atlas Mystery. Solving all of these puzzles will also mark the full completion of the game.
Handleiding
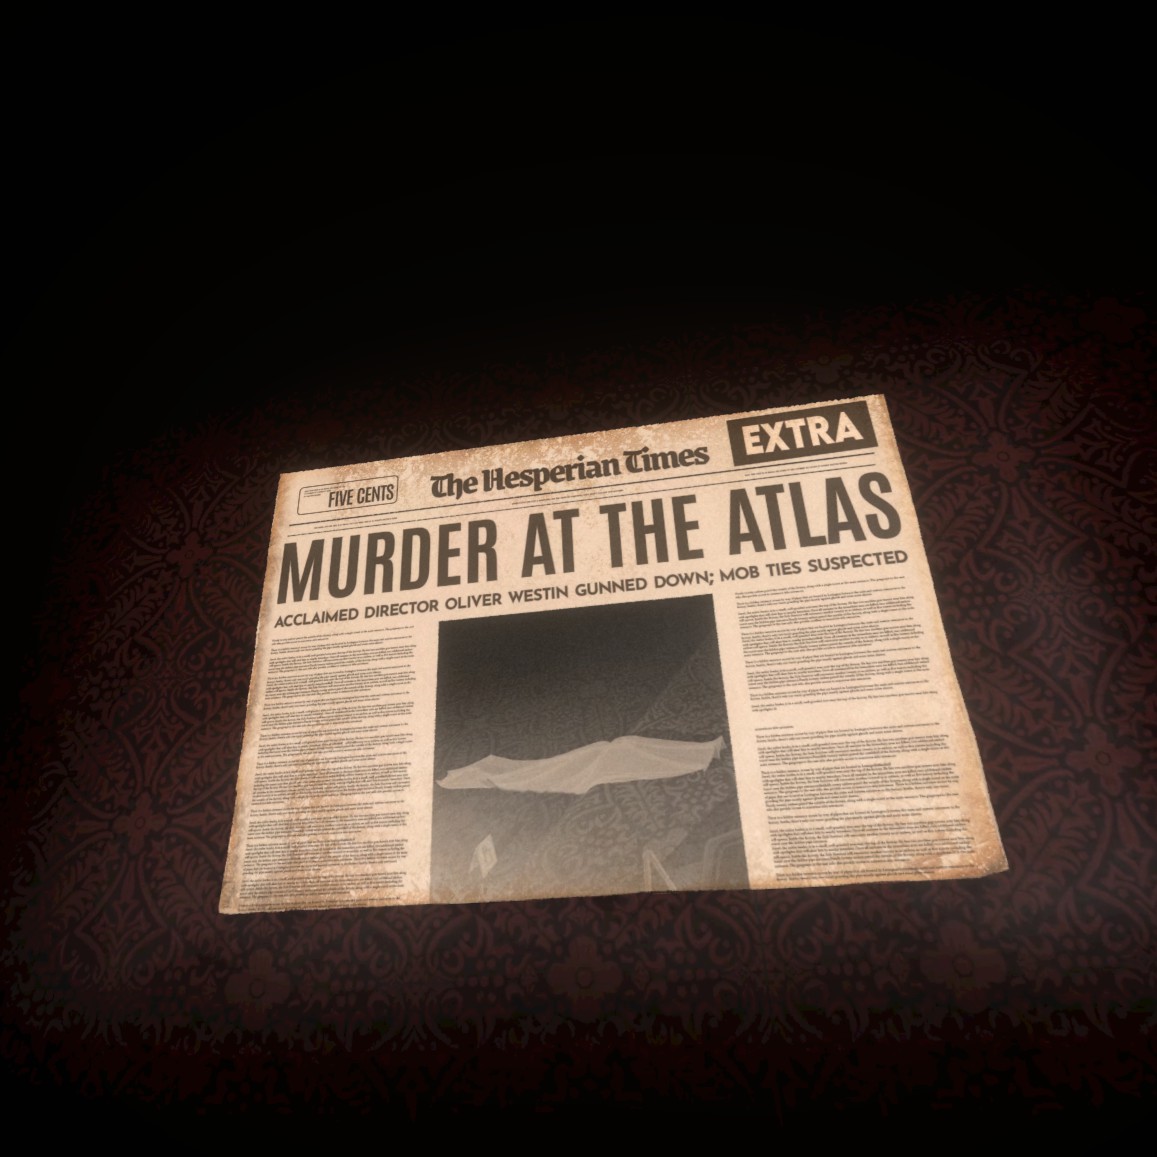
Akkoord, let’s get started on your investigation at The Atlas!
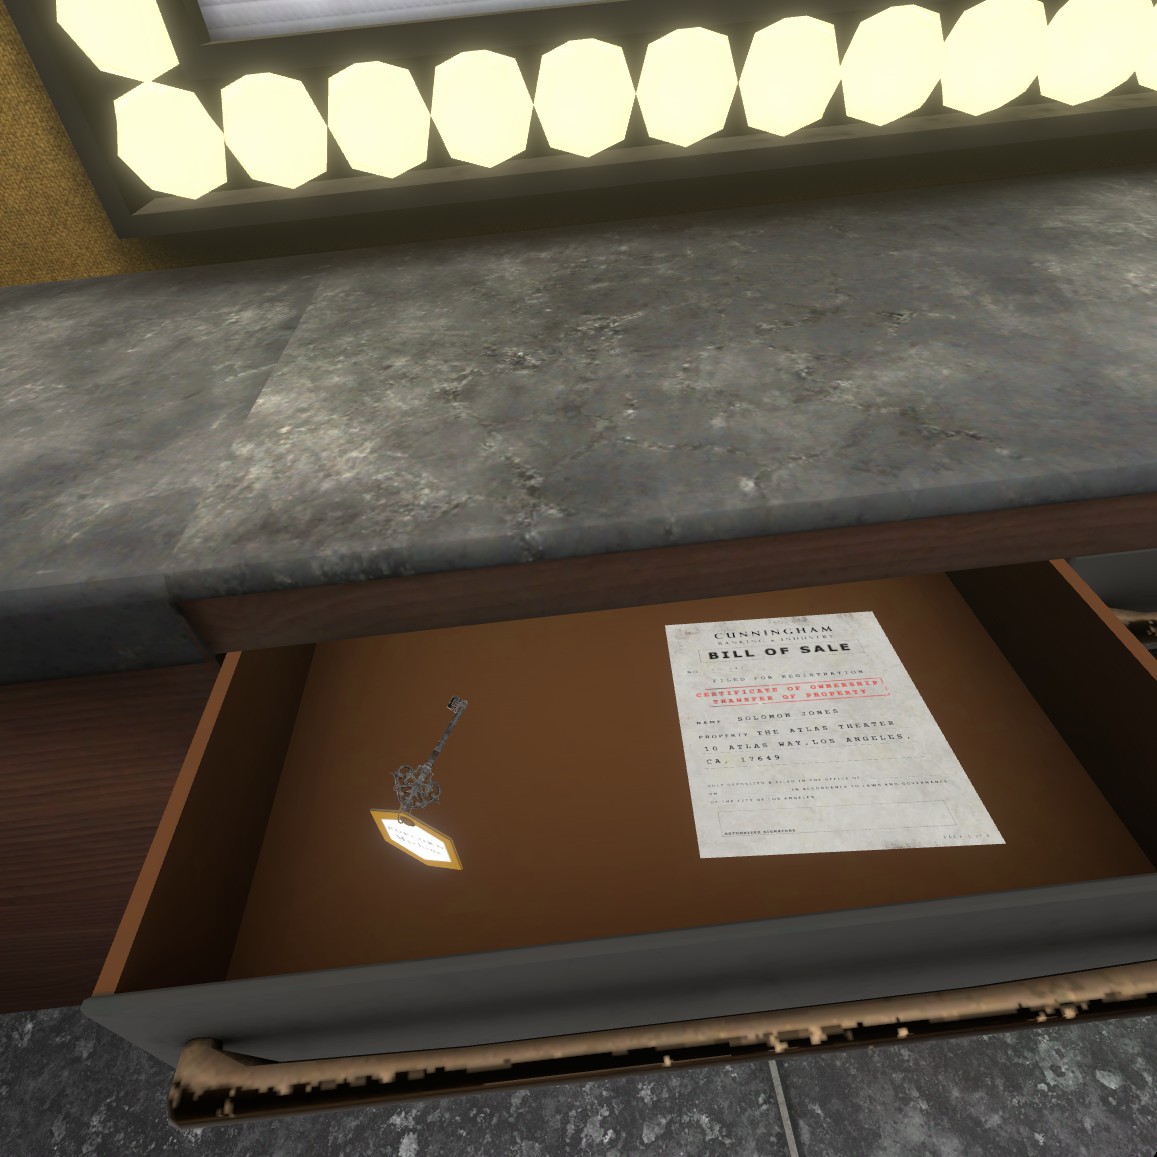
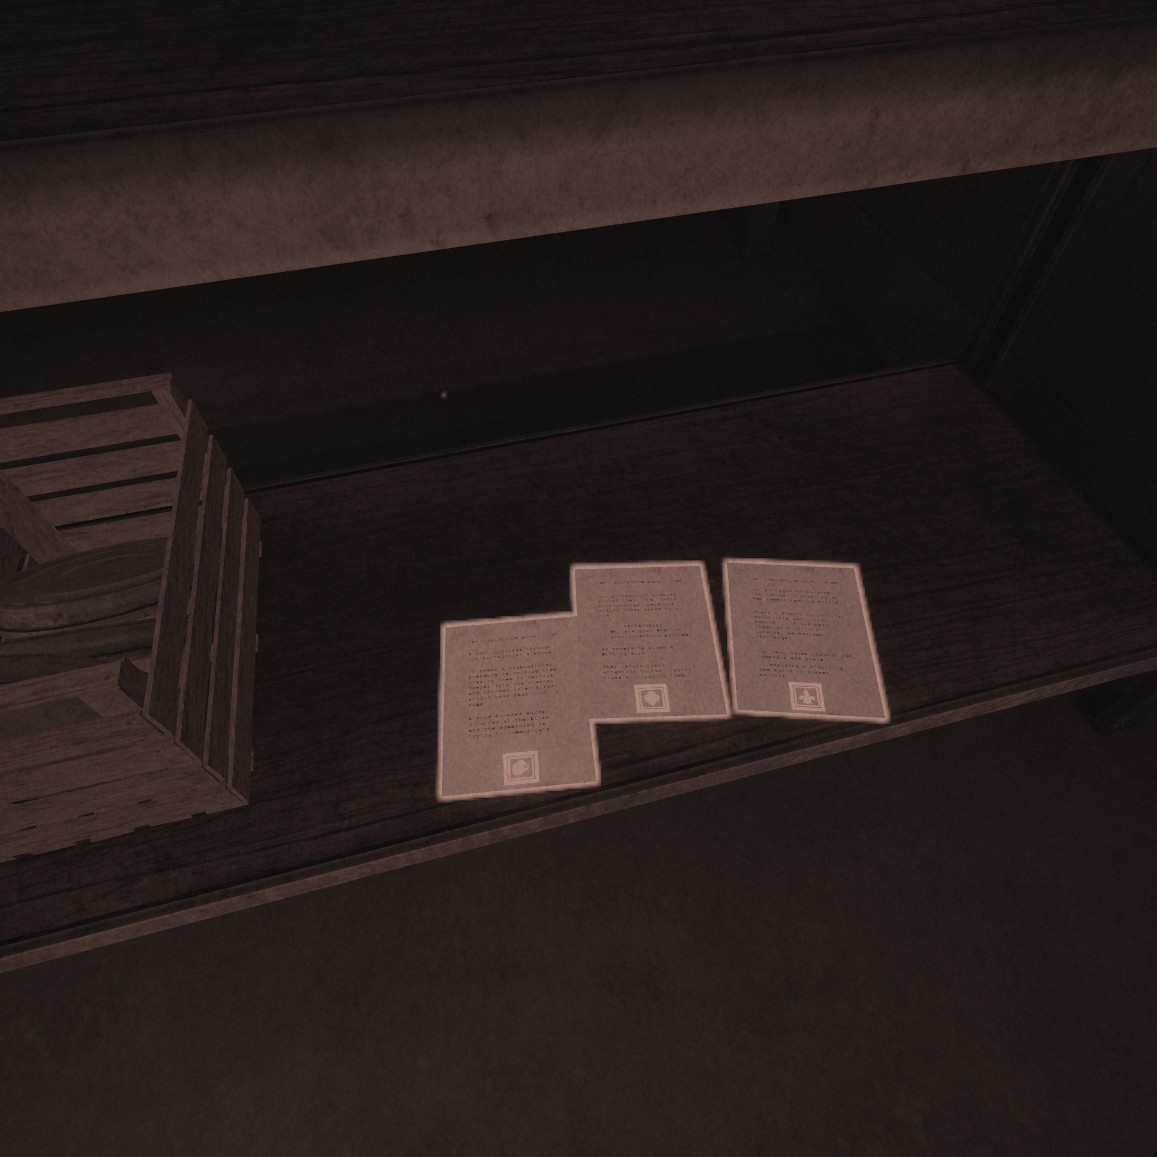
Open the second drawer and collect the two documents hidden inside. This action will unlock a secret achievement. Make sure to grab them!
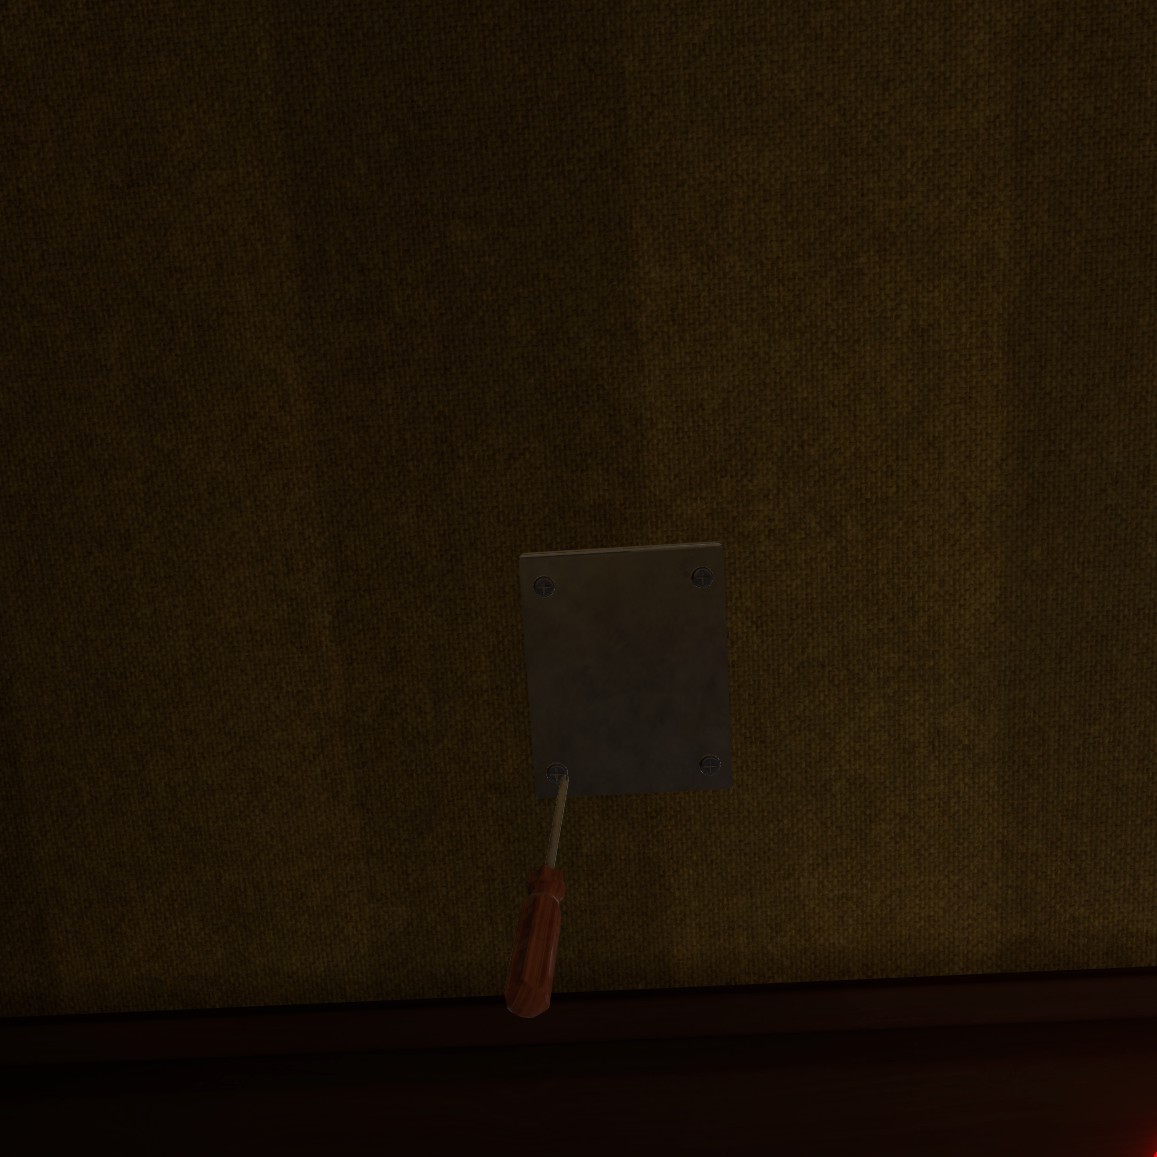
Retrieve the code from the first drawer and use it to open the cabinet. Follow the tutorial instructions carefully.
Inside the cabinet, find two more pages to collect for another achievement. Aanvullend, don’t forget to put the screwdriver in your backpack. Daarna, locate the page marked with the number 89 and head over to the old radio.

Connect the radio according to the provided instructions. Adjust the light of the waves using the knob on the right, modify the width with the knob on the left, and switch between blue and red waves using the center switch.

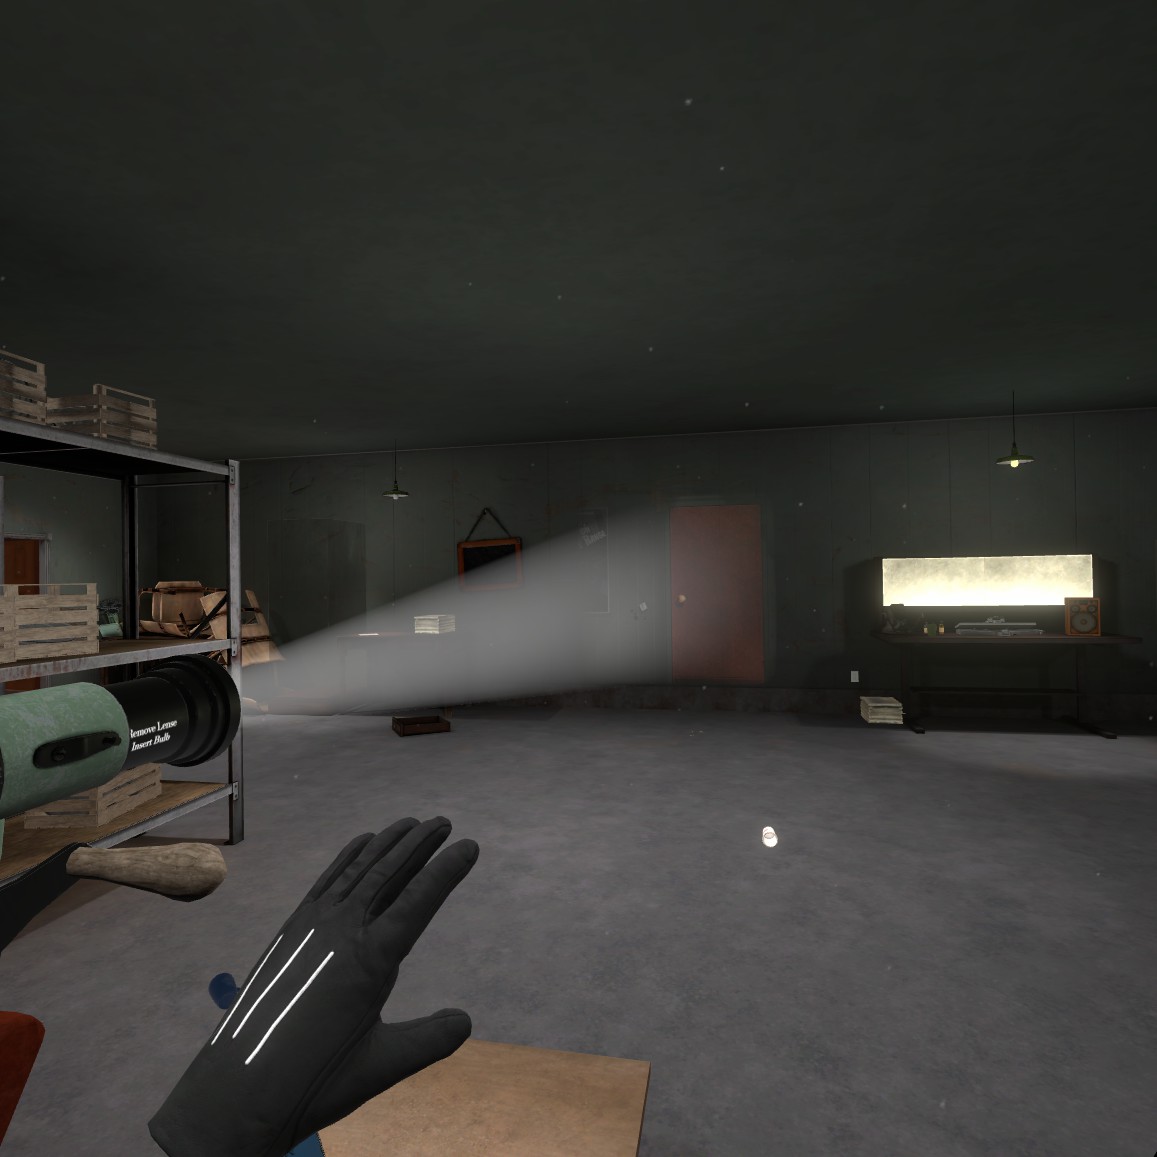
Gefeliciteerd! You’ve completed the tutorial. Nu, proceed to the main game. Grab the key, insert it into the door, and begin your investigation. Succes!
To the Concession Stand!
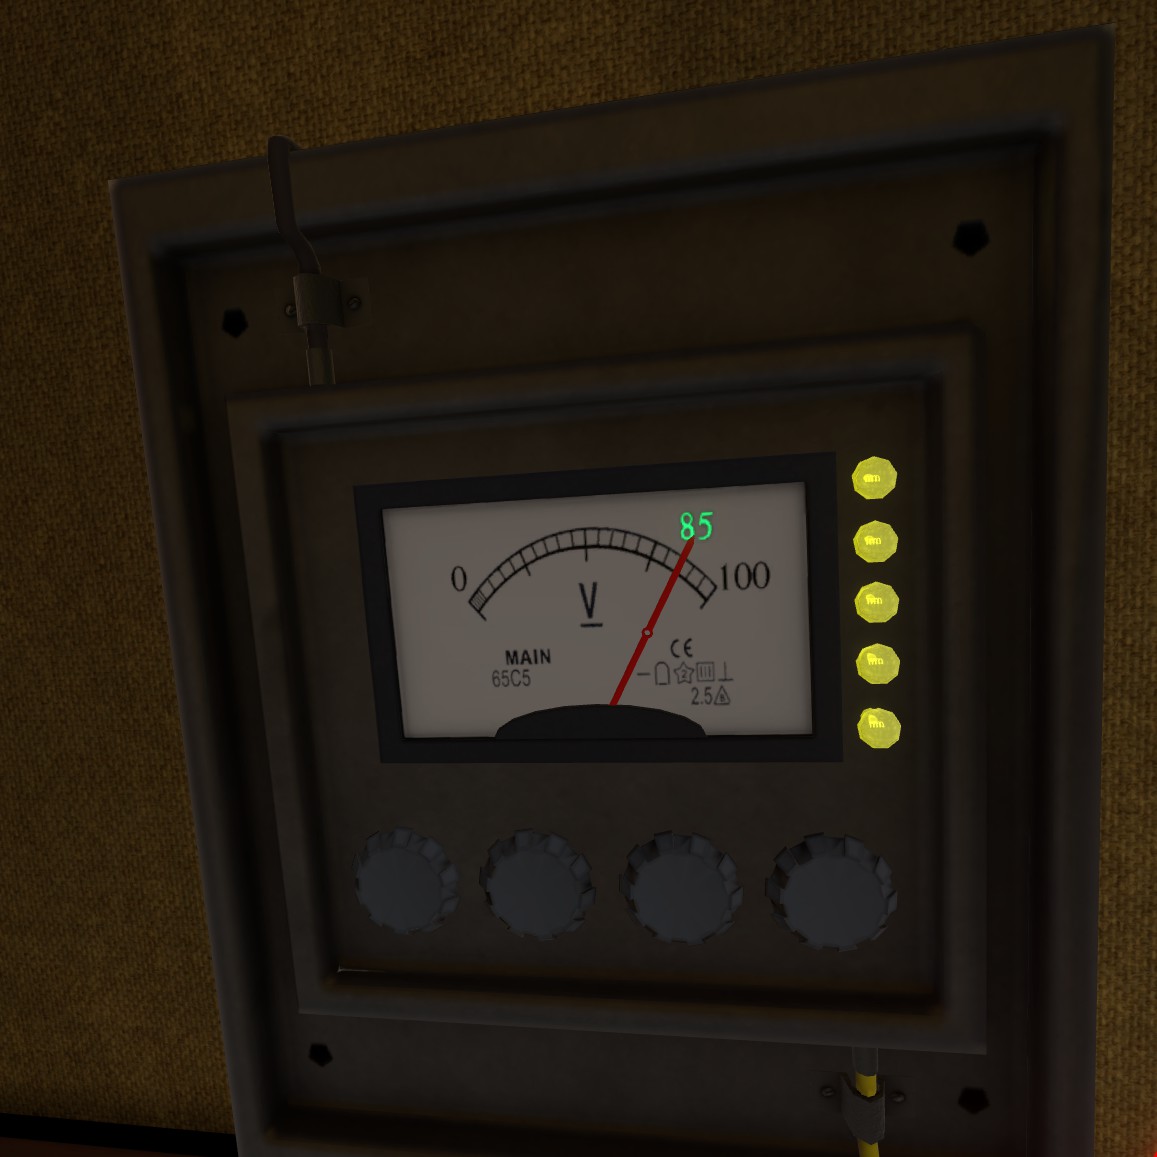
Akkoord, let’s dive into the first task. Find the panel and tweak the first, third, and fourth knobs until they match the green numbers. It’s as easy as pie!
Nu, onto the next challenge. Whip out your trusty screwdriver and carefully dismantle the panel like a pro electrician.
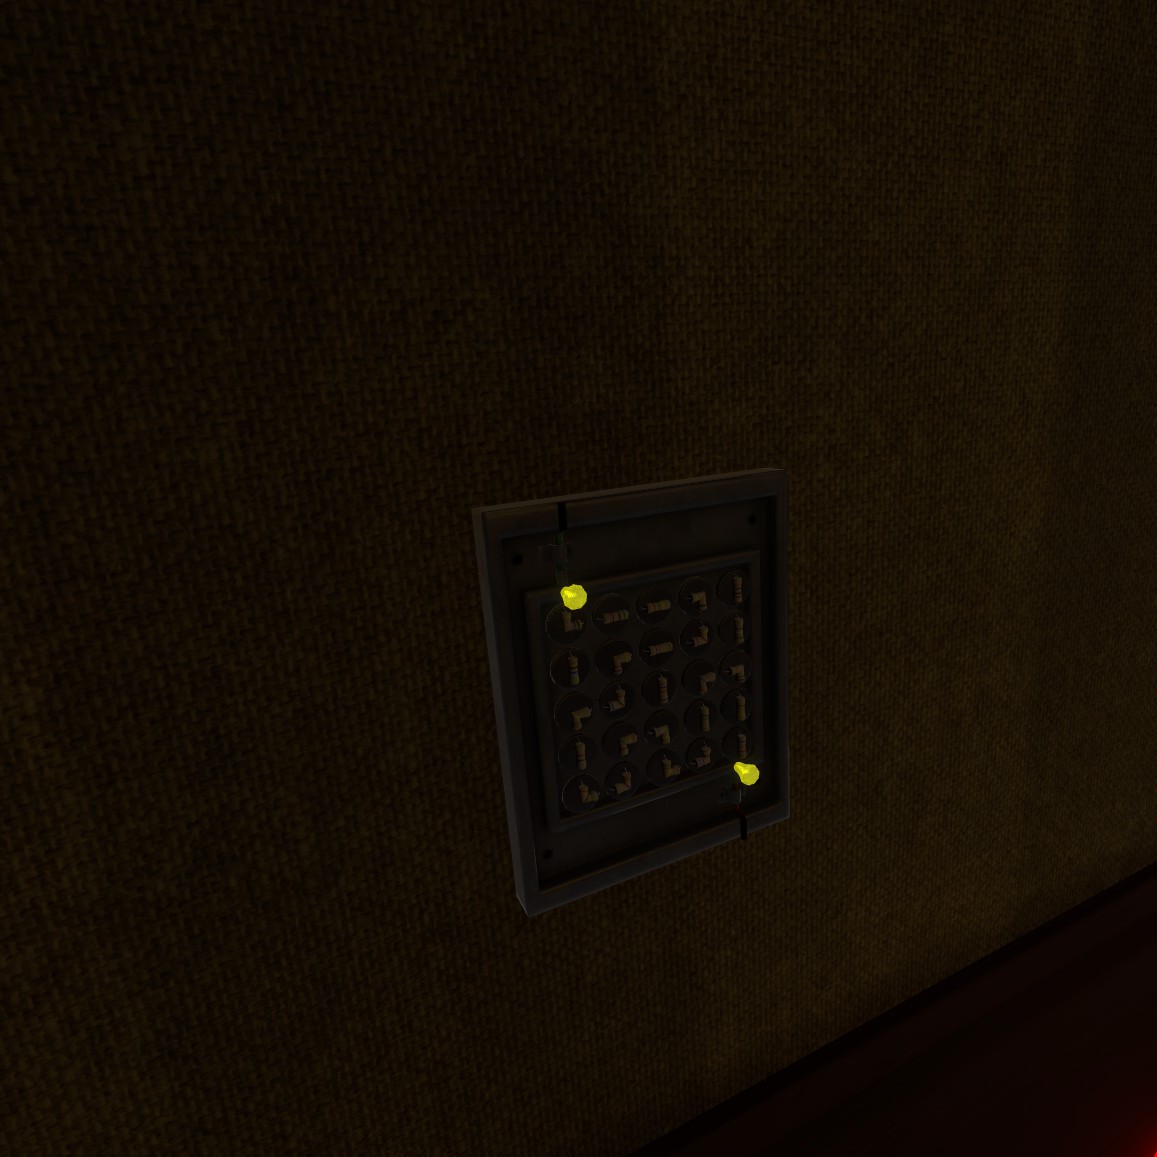
Binnen, you’ll see a bunch of circuits. Your job? Rearrange them like you’re playing a connect-the-pipe game. Make ‘em match the diagram.
Zodra je dat hebt gedaan, it’s time for a snack break at the concession stand! Maar hé, don’t go Hulk-smashing everything. There’s an achievement for keeping it intact, believe it or not. Dus, keep those frustrations in check!
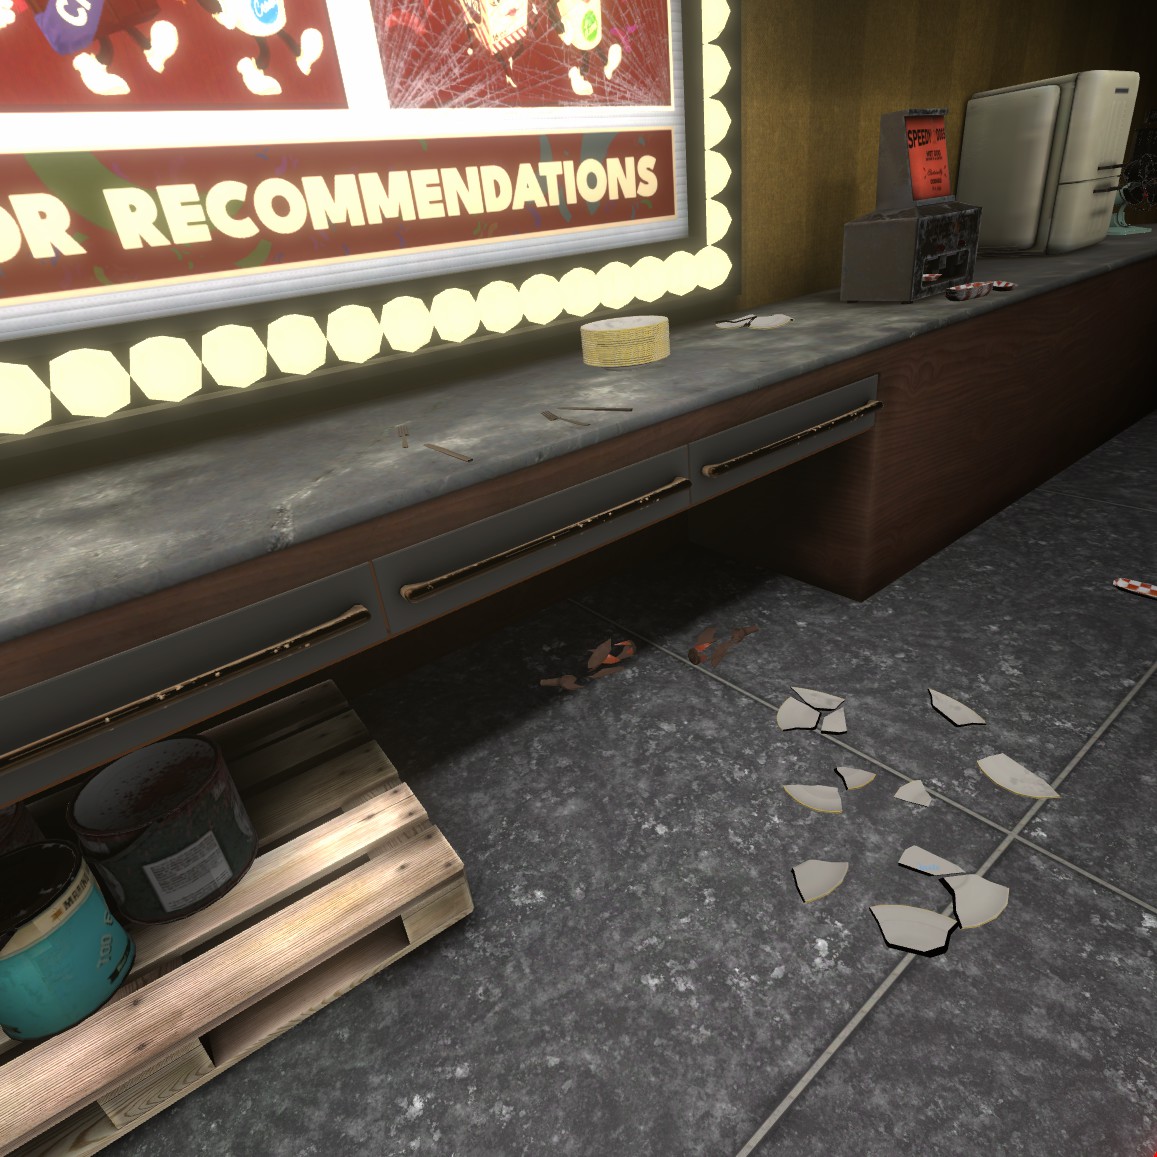
Let’s raid those drawers! Look for the keys to the soda machine and the popcorn machine, plus an extra paper with some story nuggets.
Oh, and don’t miss that paper lurking past the hot dog contraption on the counter.

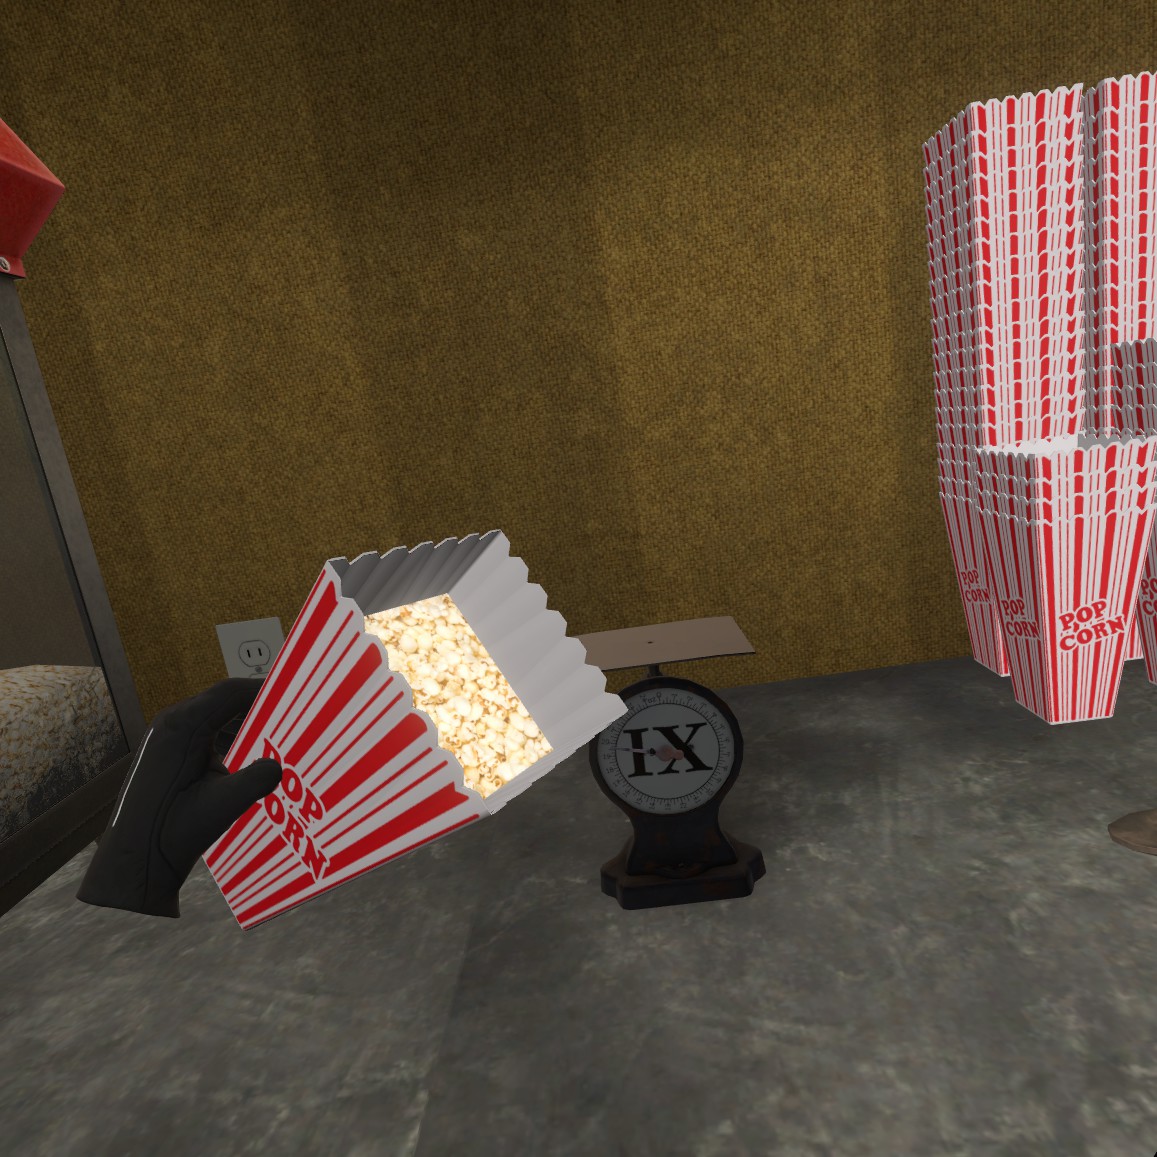
Nu, onto the popcorn mission. Crack open the case, snag the scoop and a bag, and get filling! Once it’s loaded, weigh it up for the first clue. It’s gotta look just like this… because, weet je, they never overstuff those popcorn bags. Totally legit.

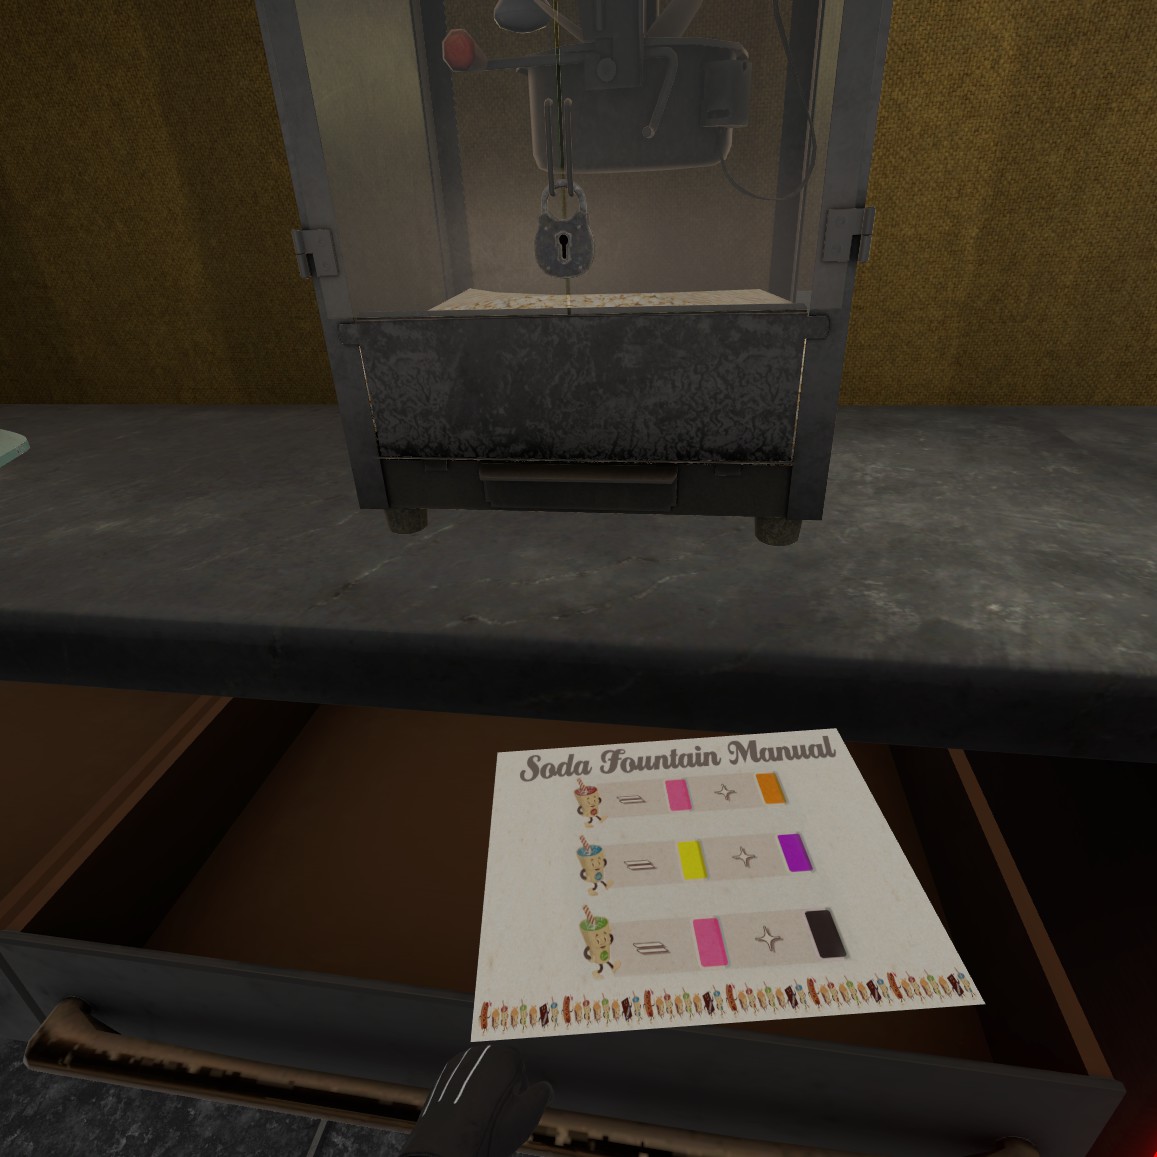
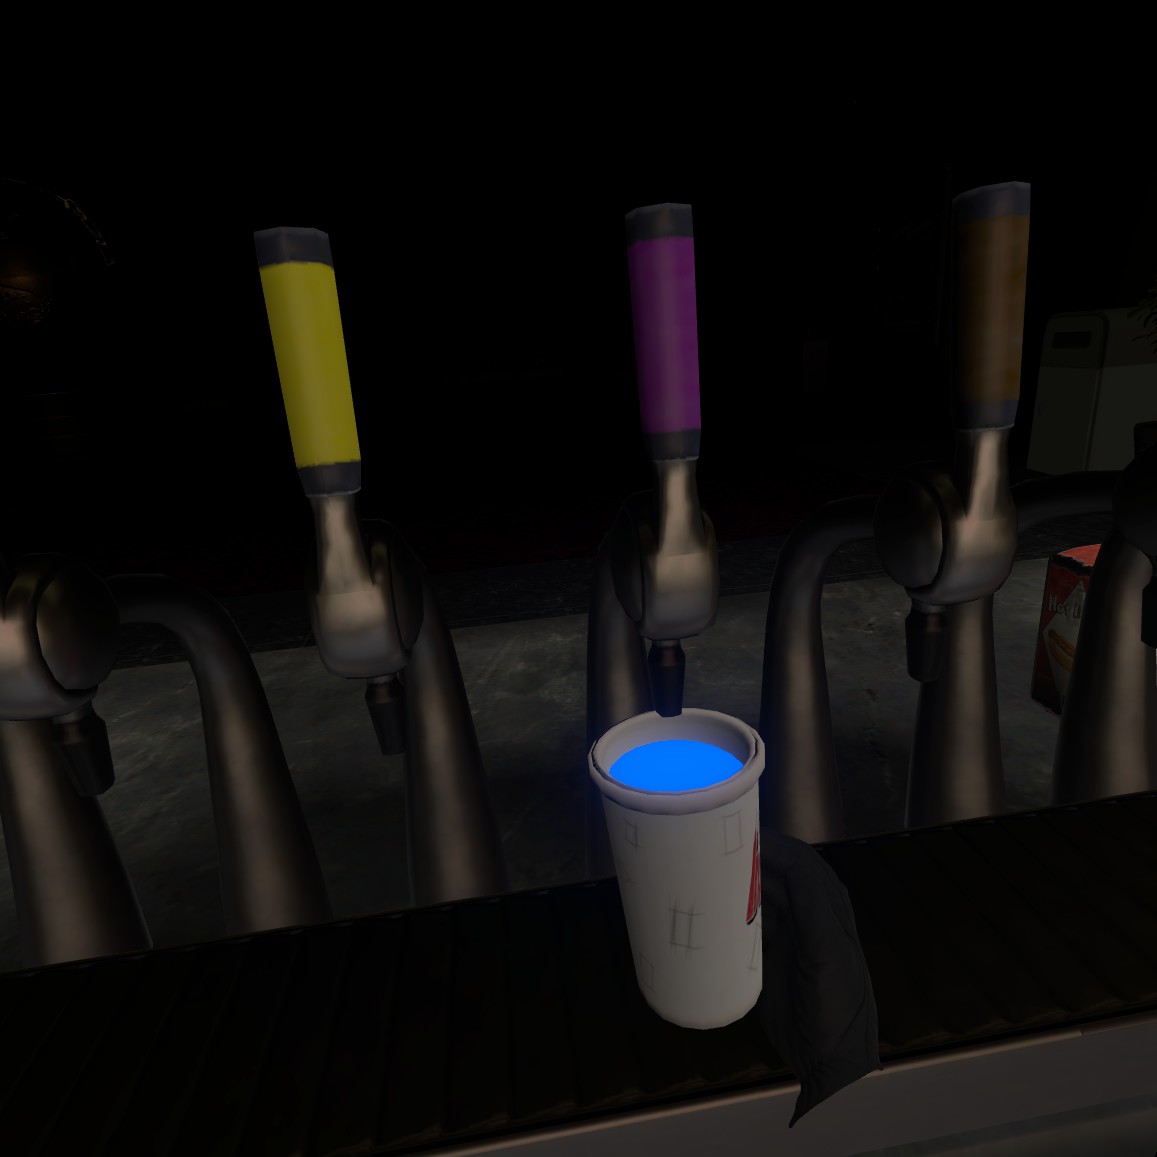
Time to tackle the soda machine! Mix up yellow and purple to score that sweet blue hue (because, weet je, colors work that way here). Grab your second clue from the cup.
Volgende, gather all the chocolate bars and arrange them neatly for the final clue.

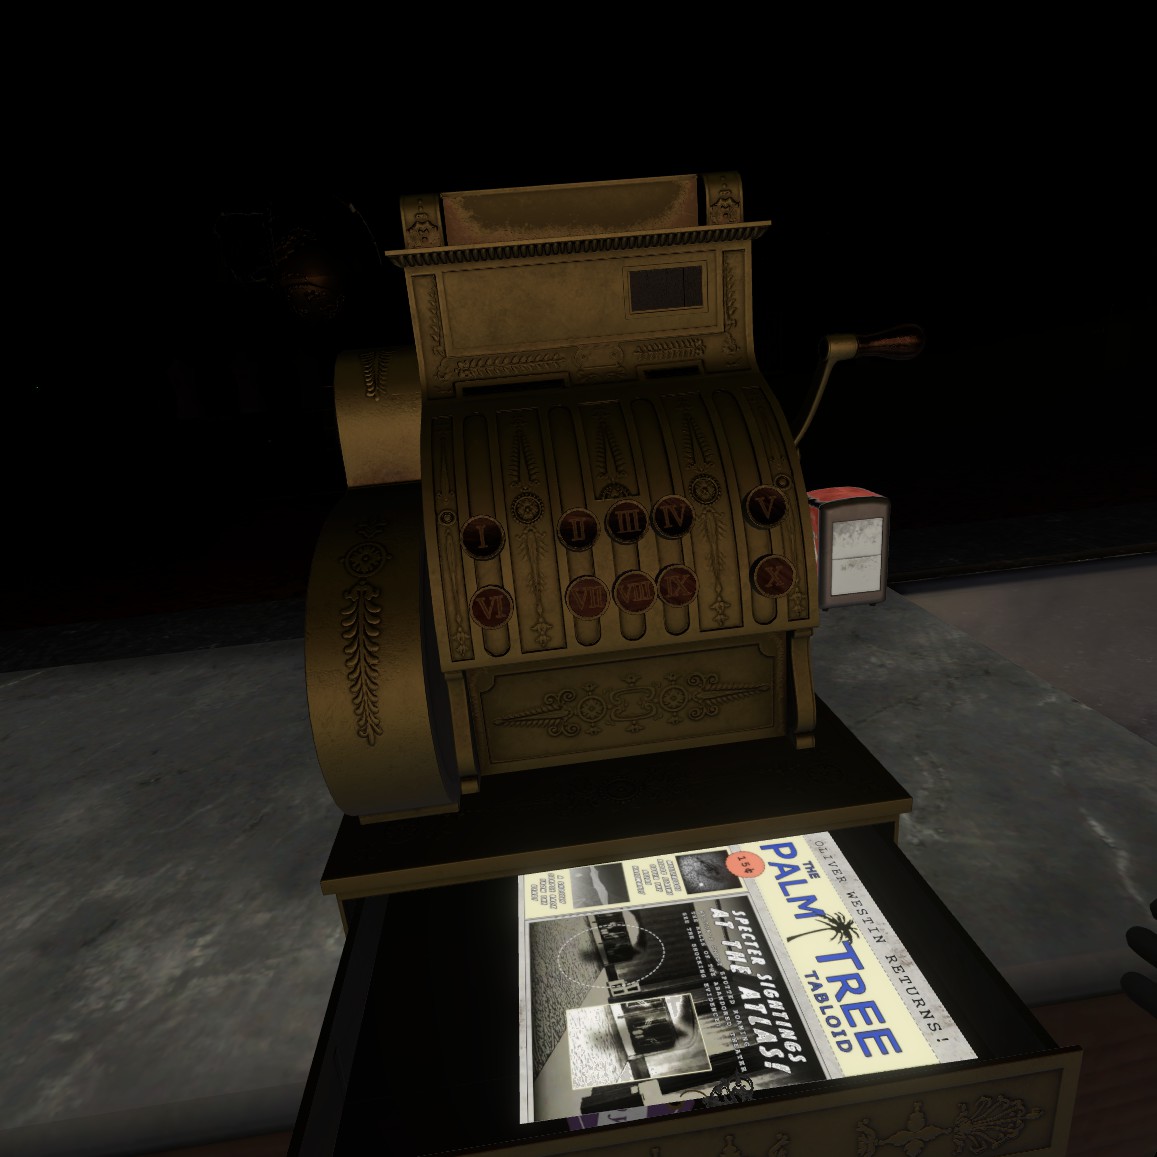
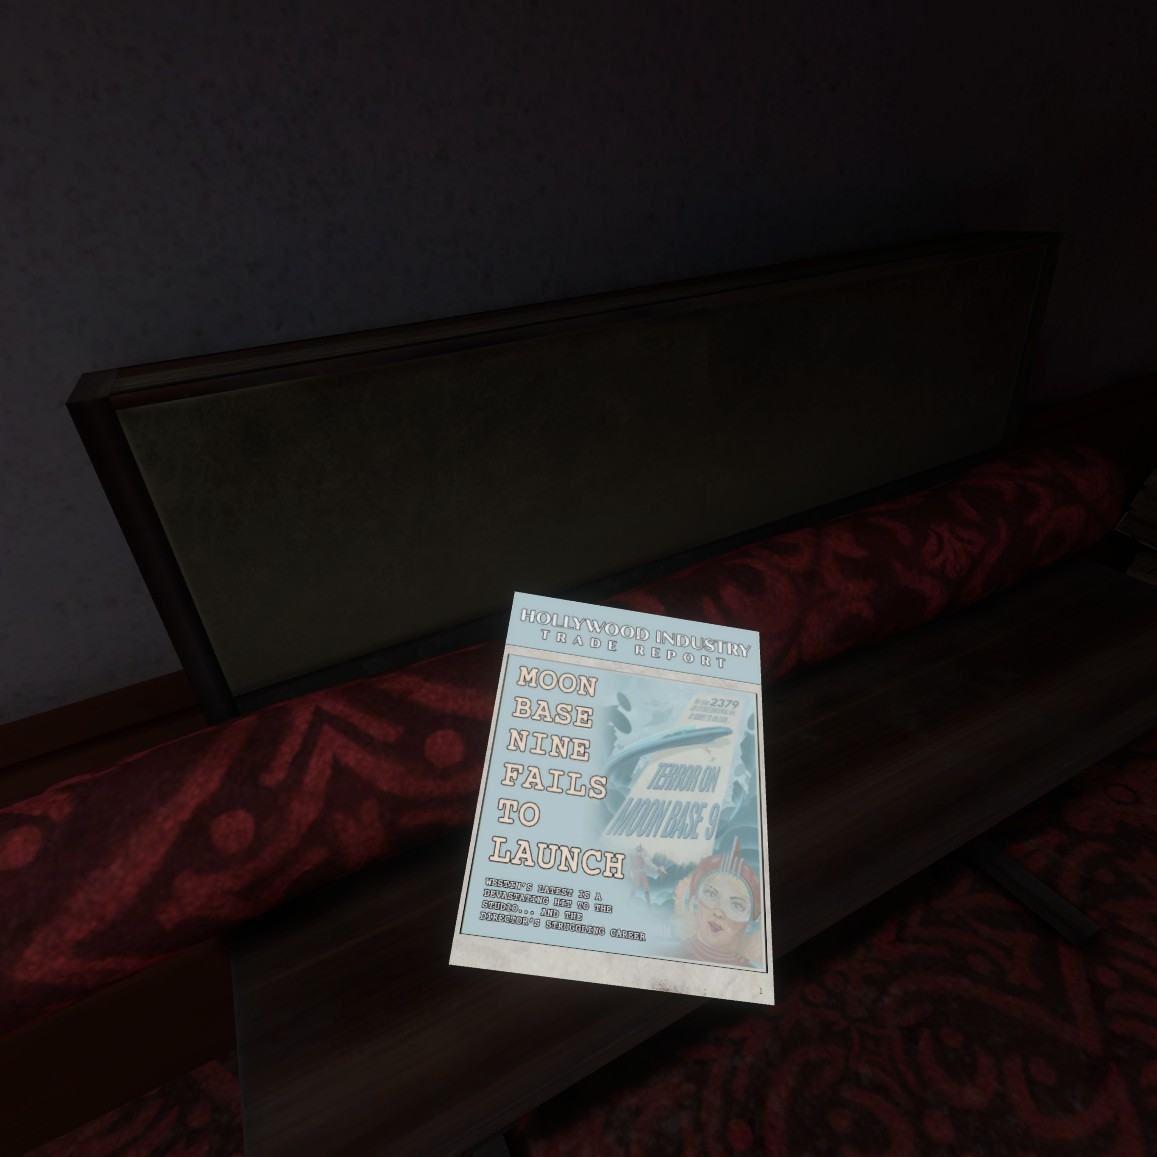
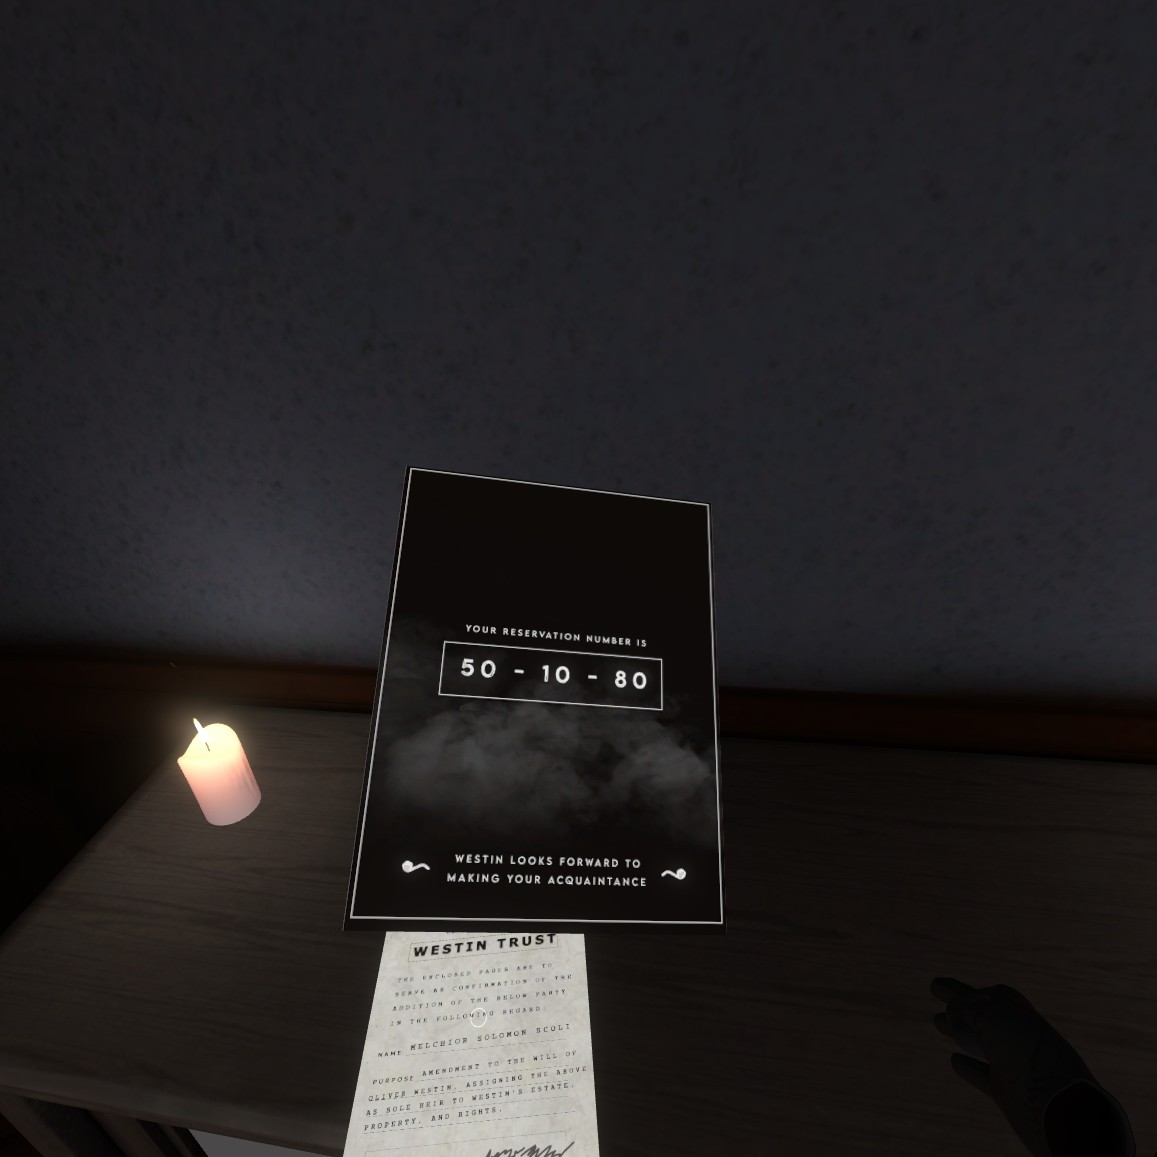
Boom! You’ve nailed your first combo, just like the note hinted. Punch in the Roman numerals II, VI, & IX on the cash register. Voila! You’ve unlocked the key to the counter and snagged another article about The Atlas.
Use that key to unlock the counter padlock, and congratulations! Concession stand conquered, lobby unlocked.
Nu, onto the main lobby! Maar hé, quick heads up: there’s an achievement for speed demons, so hustle!
Main Lobby of the Atlas
Igor, turn on the switch! (Then the lights will come on and you can see into the abyss).
Search through the trash like we’re garbage gamers. Open de deur (it was tough), pull out the trash bin, grab the page, and put the bin on your head.
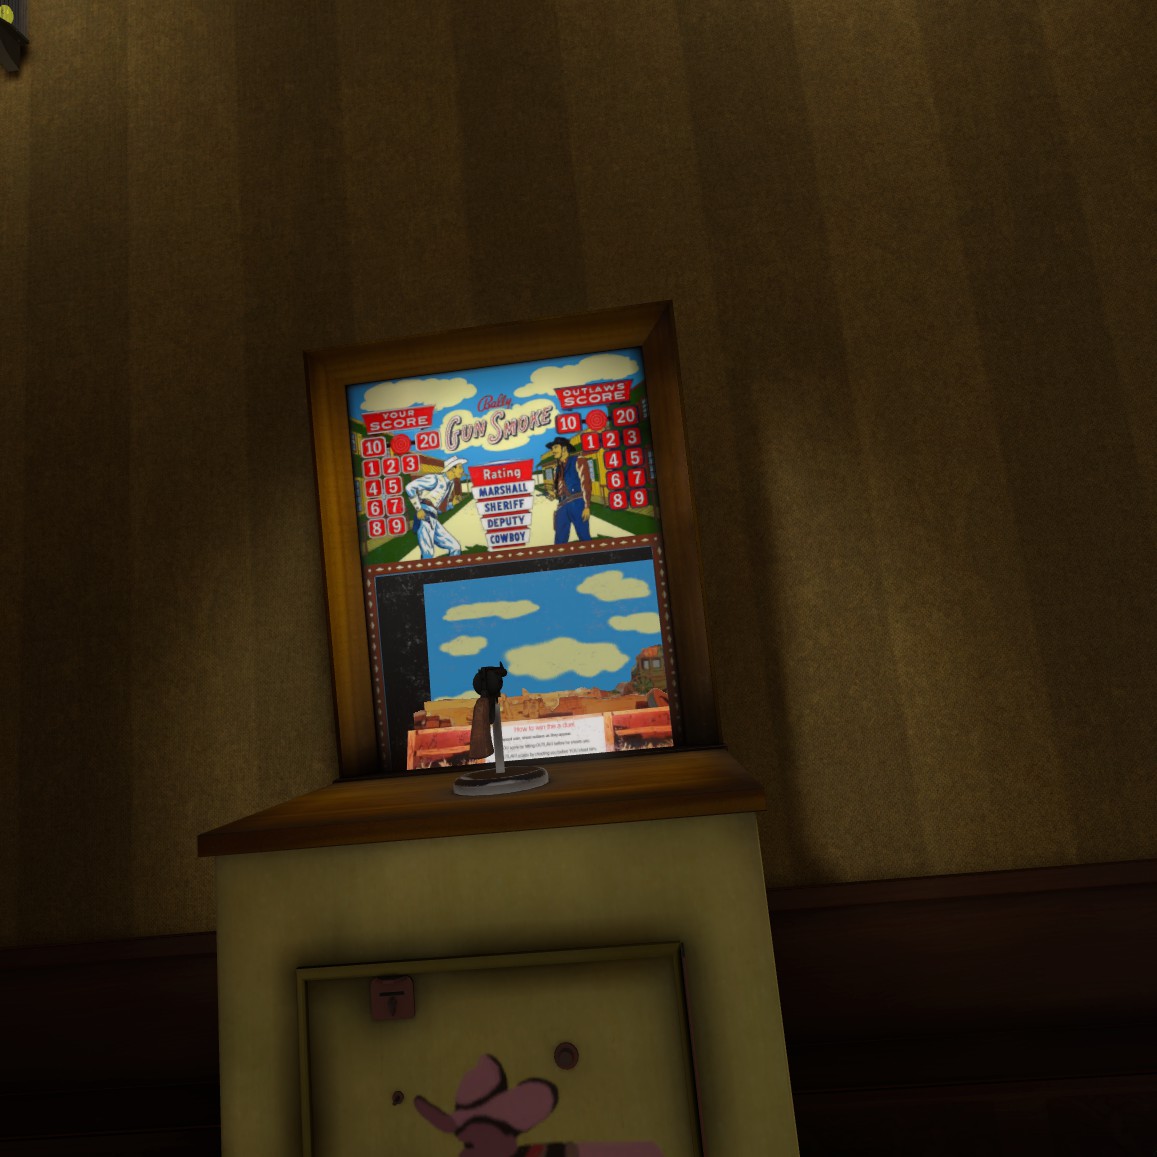
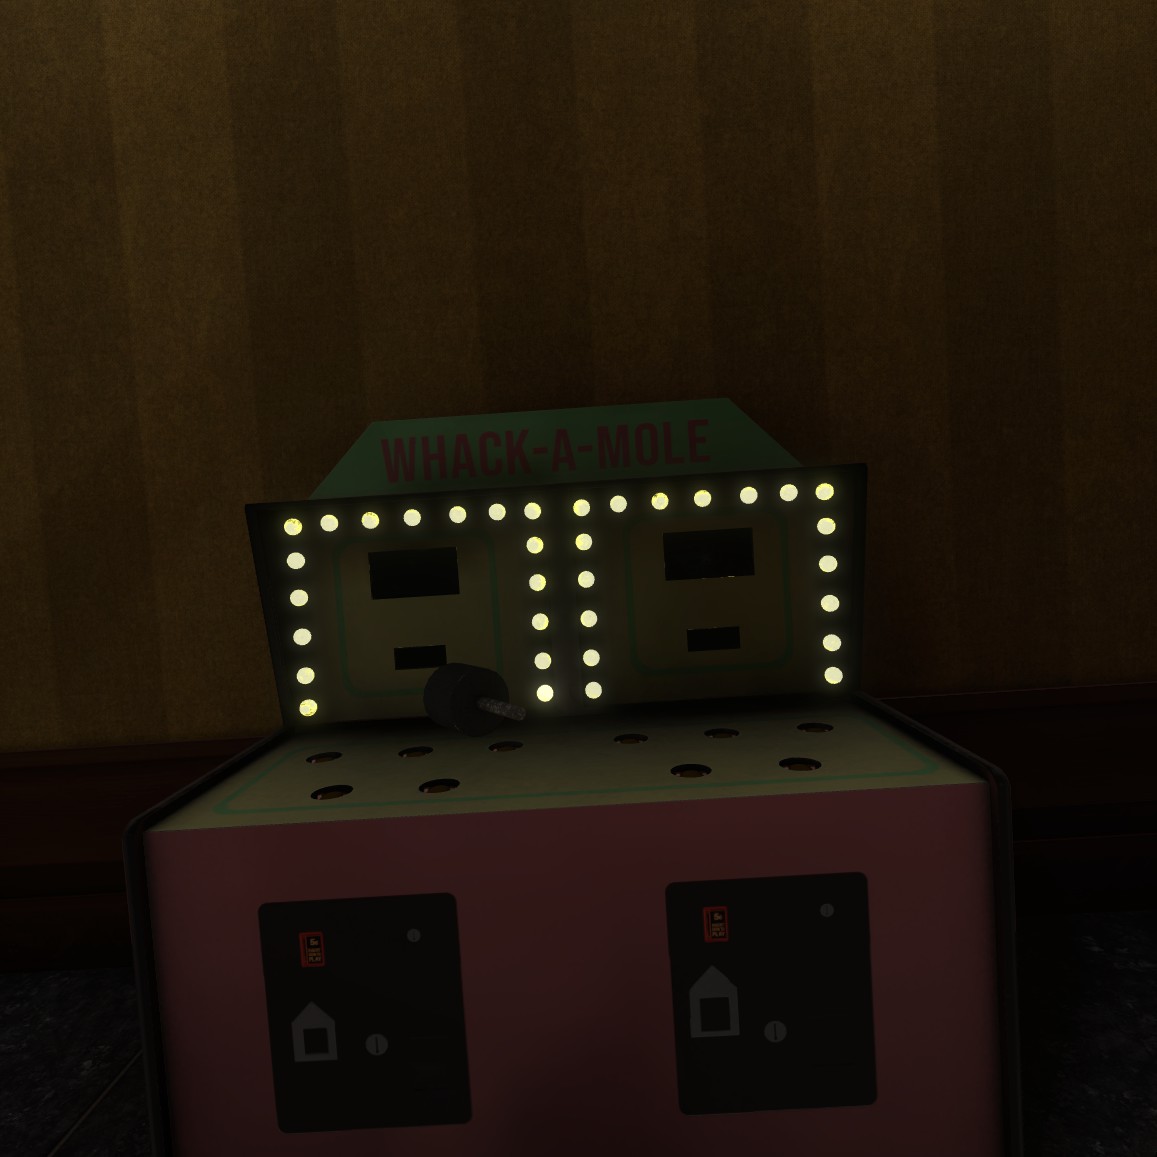
Play the arcade cowboy game and shoot cowboys until you earn an achievement (I think it’s 5). Then go to the Whack-a-Mole machine and hit them until you unlock 2 prestaties (misschien 5 & 15).
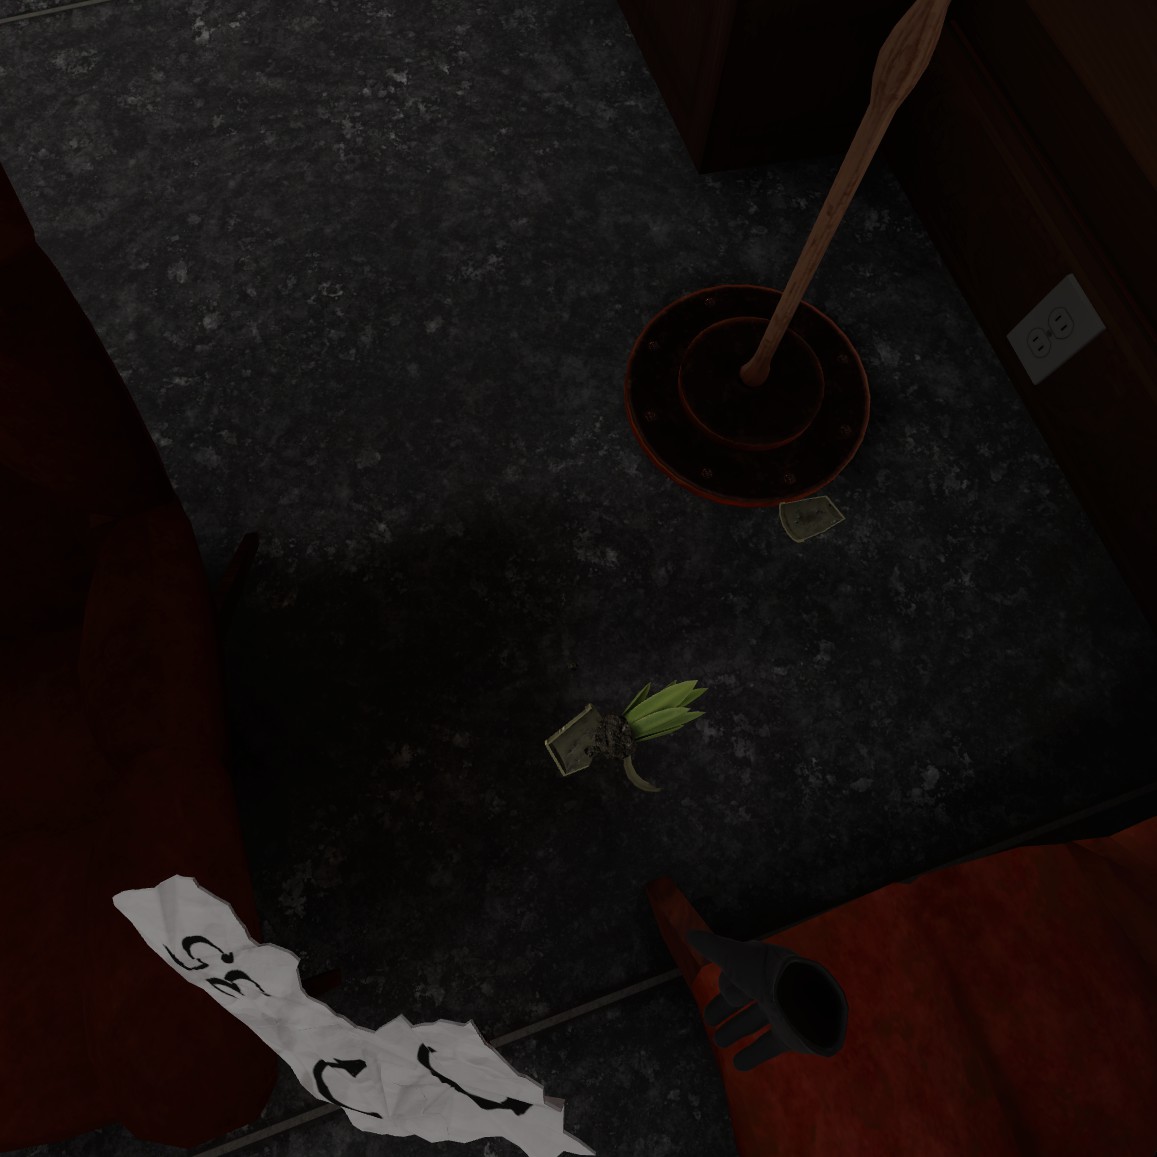
Go to the table with a small potted plant and smash it for an achievement.

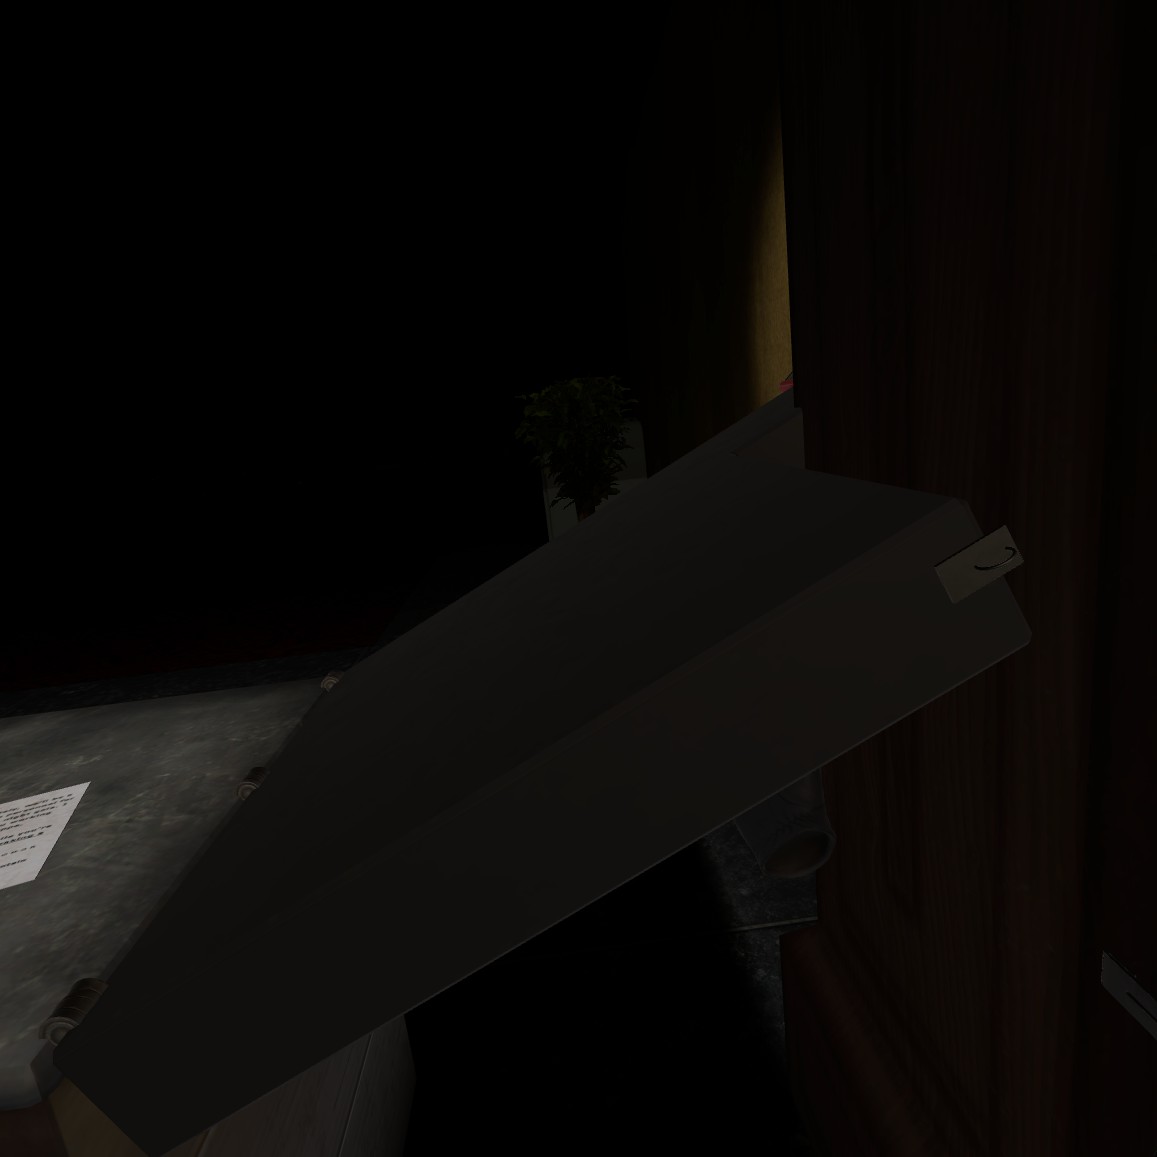
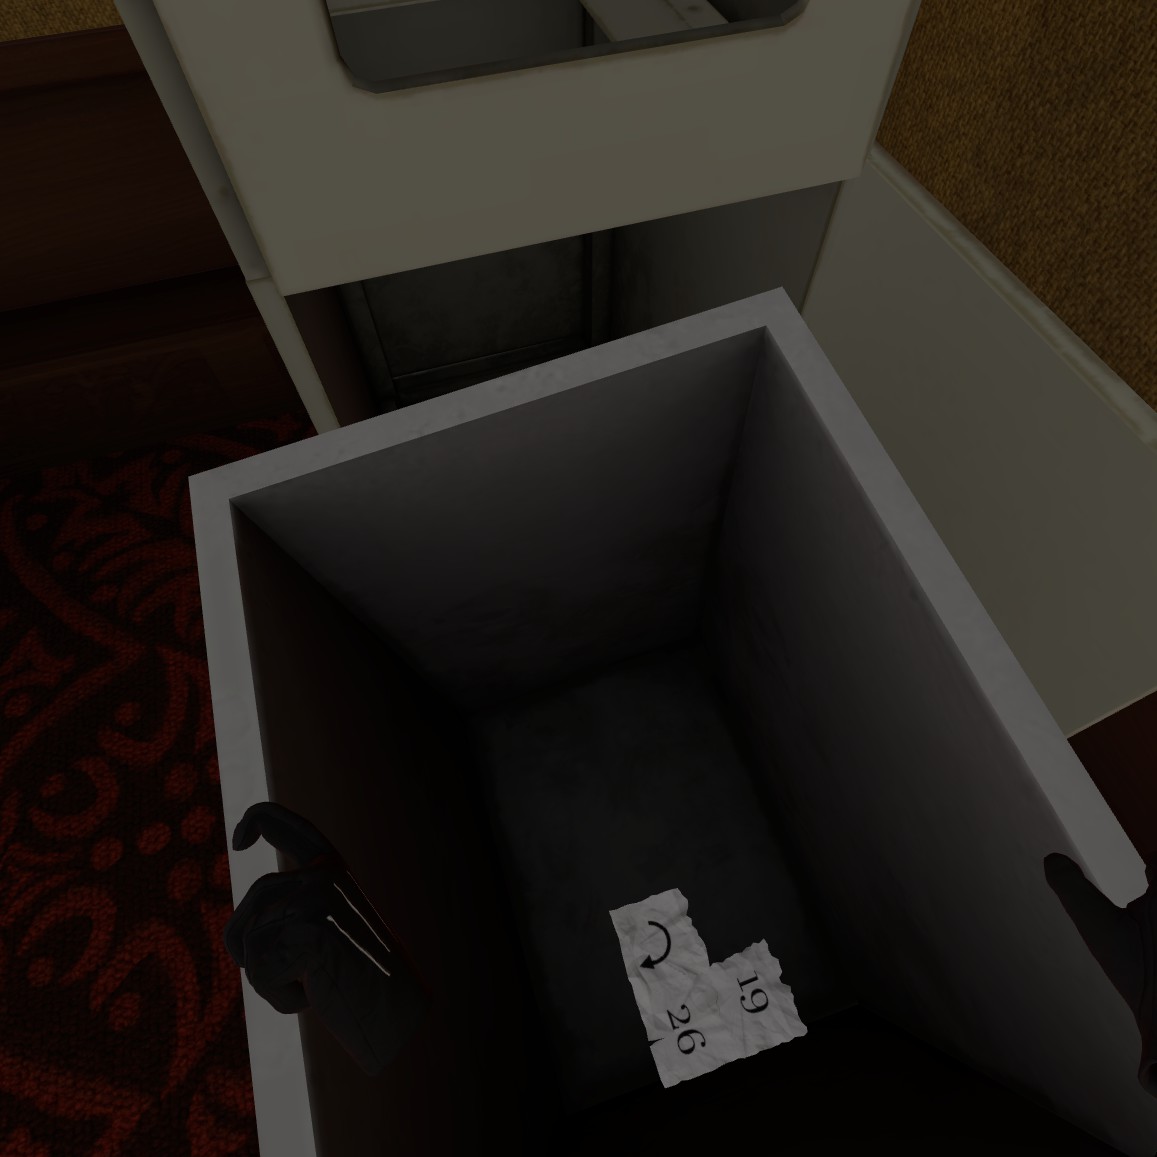
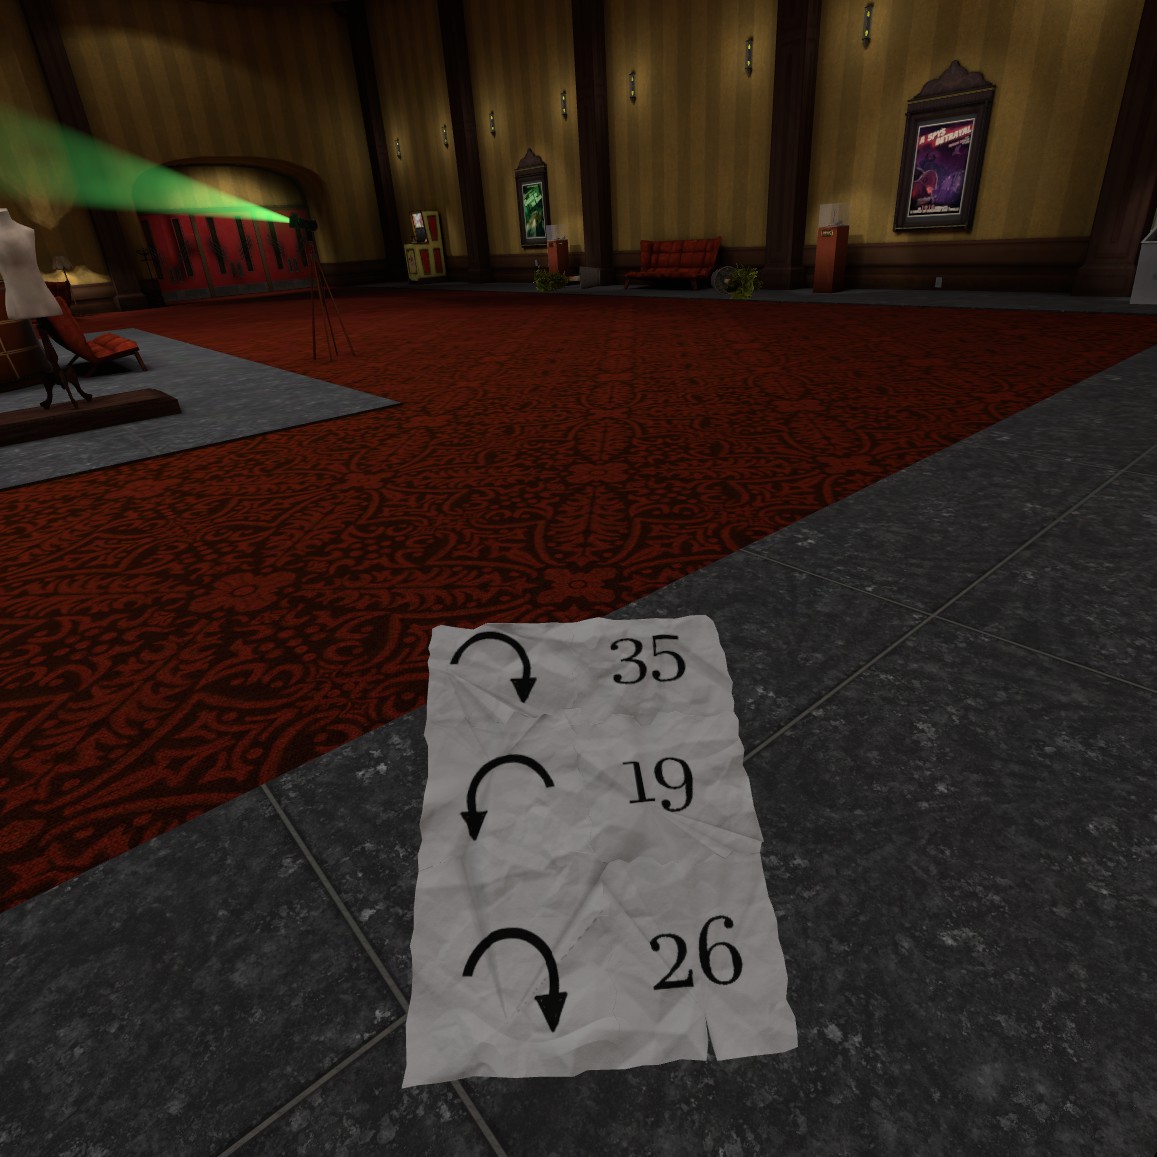
Lift the box and tip it leftward to uncover the key to the pigpen cipher. Proceed towards the lions, placing your small piece of paper on the counter because it won’t fit in your backpack. Commence with the leftmost lion.
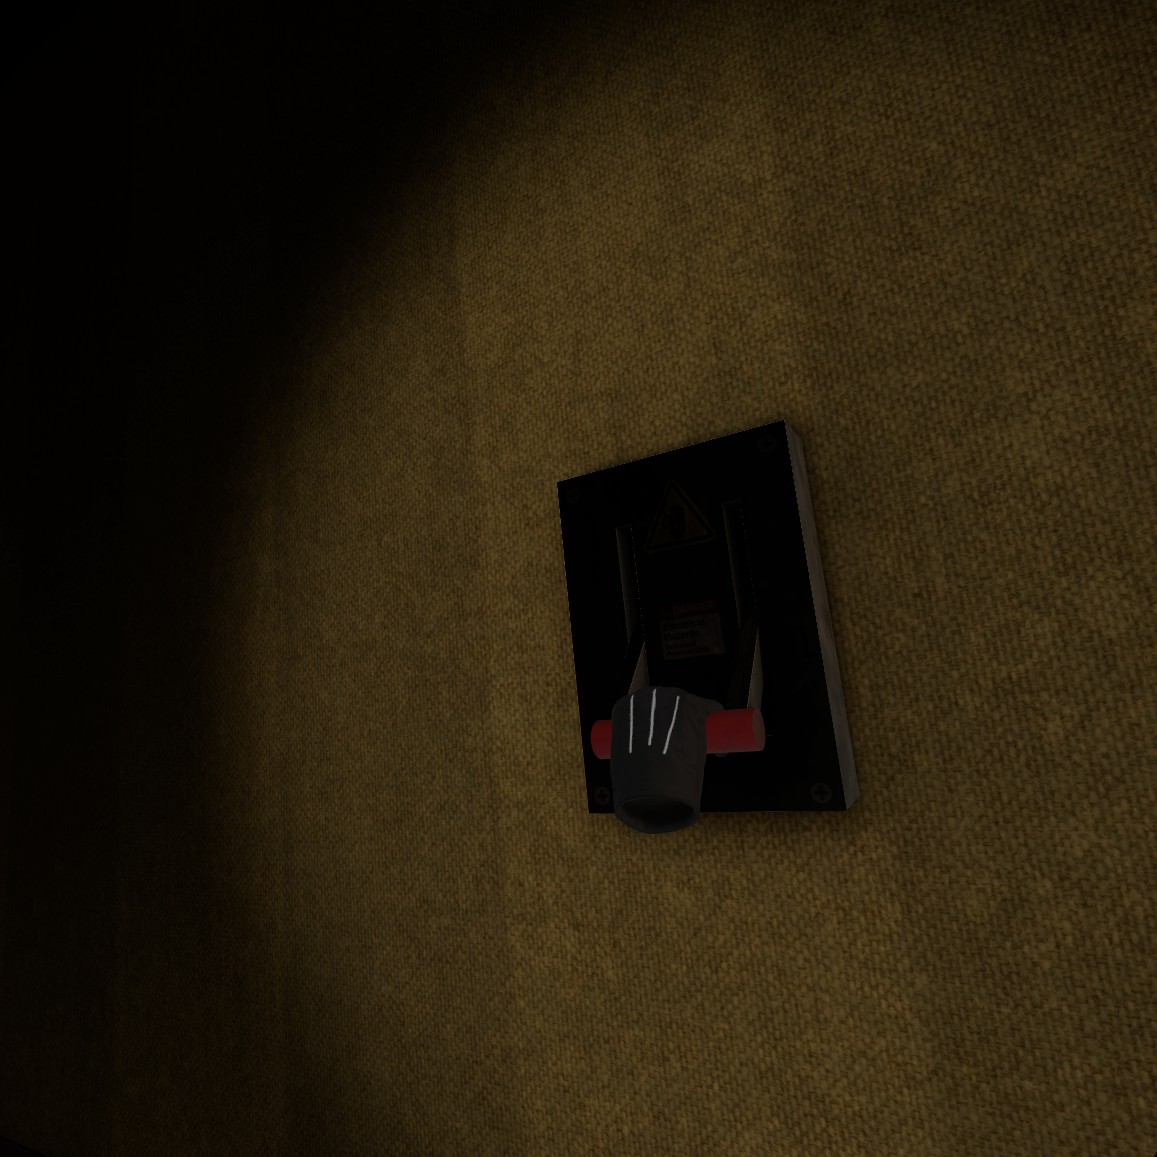
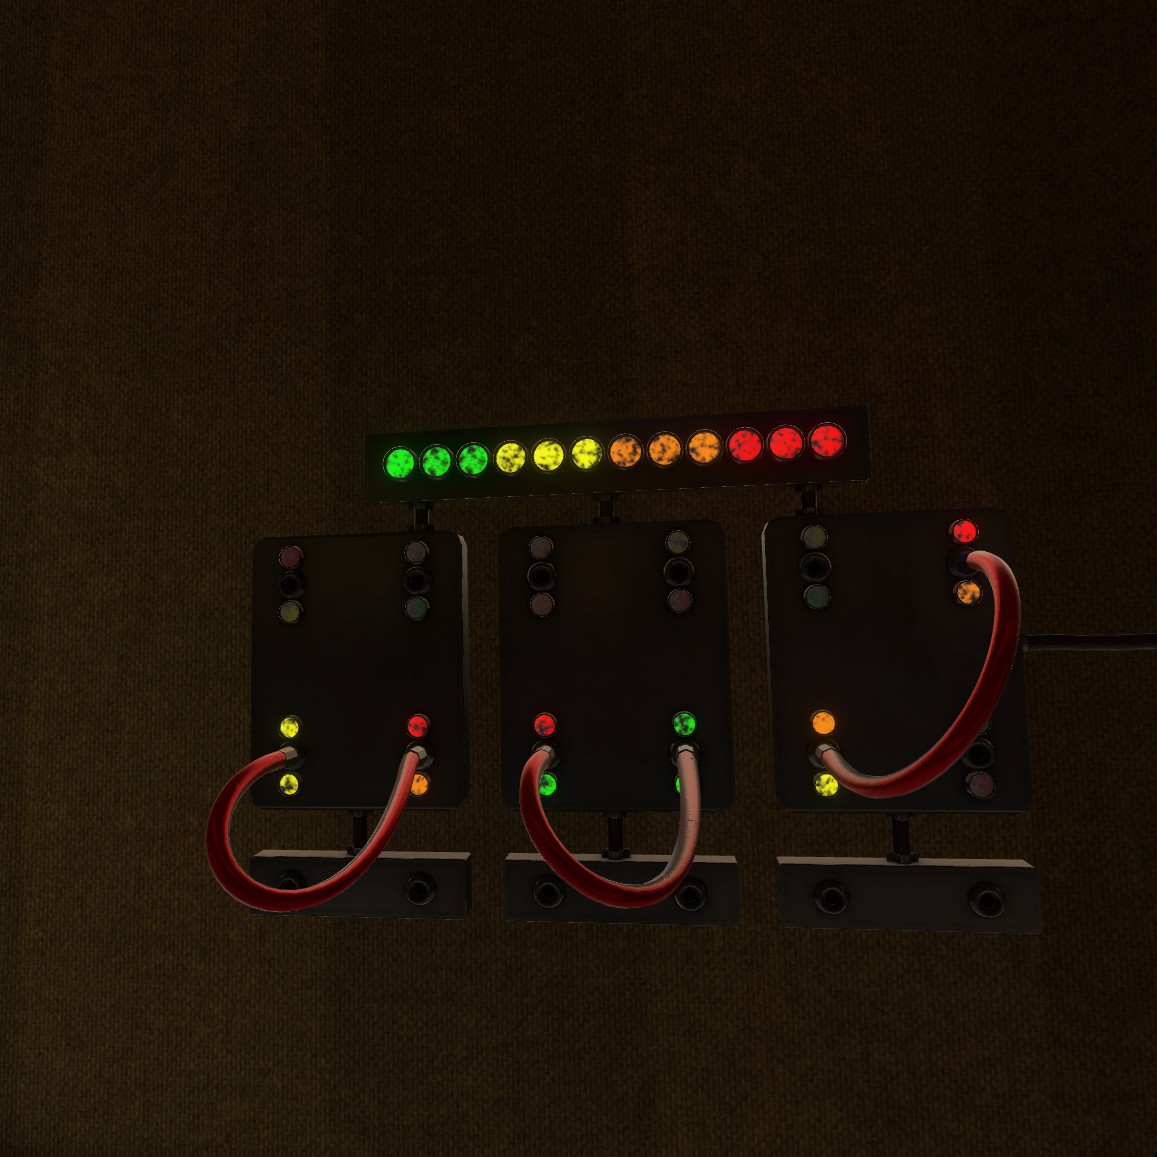
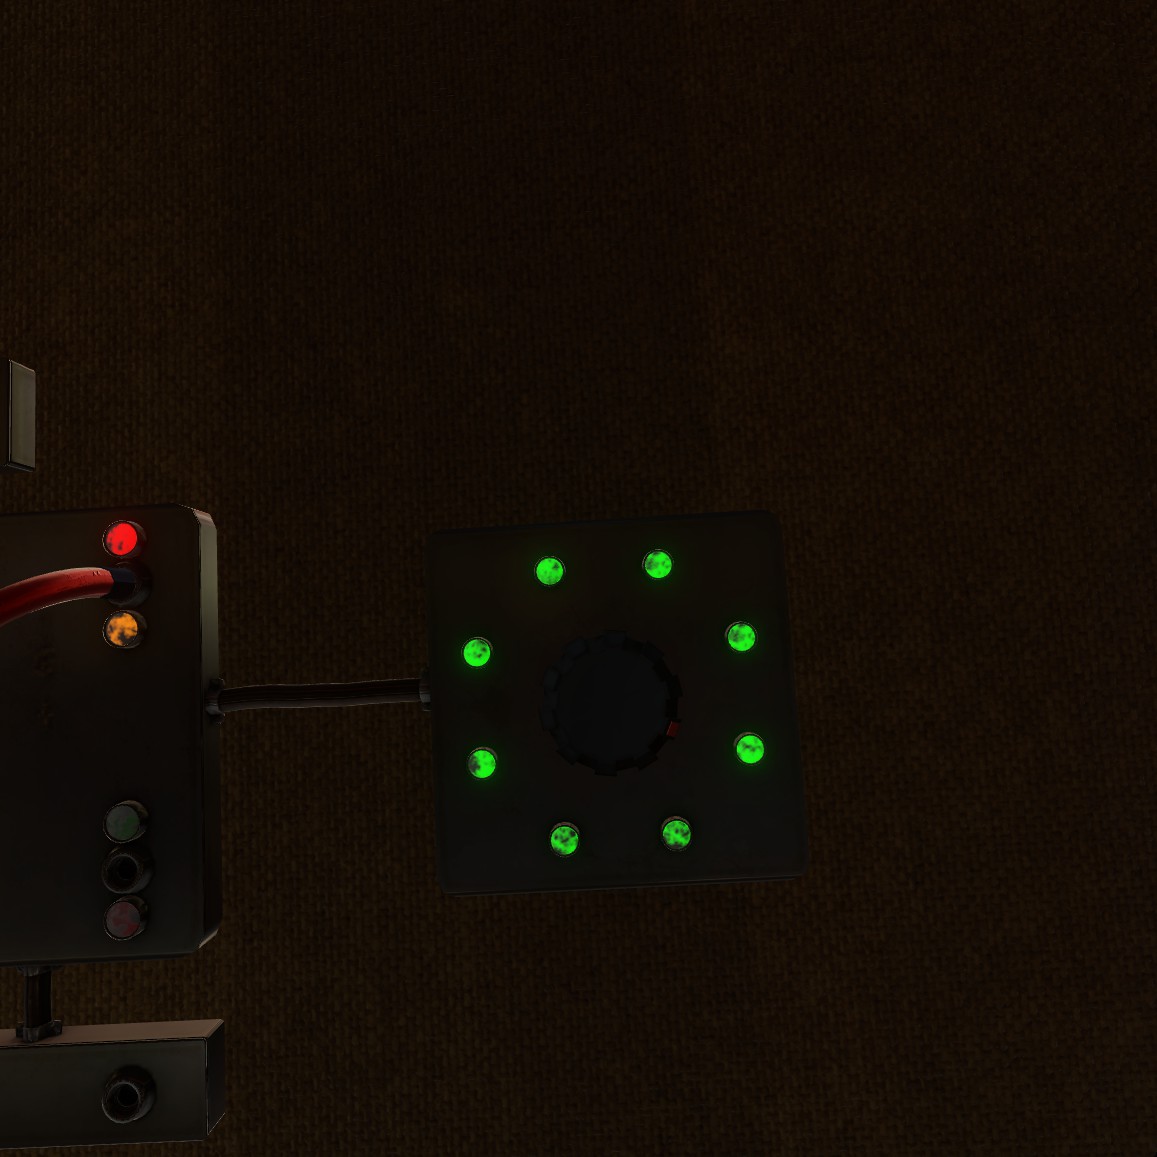
To illuminate all the lights, align the plugs according to the arrangement depicted in the initial photo. Rotate the adjacent dial until all lights shine green. The lion’s rear will open, exposing a cogwheel. Retrieve it and stow it in your backpack.

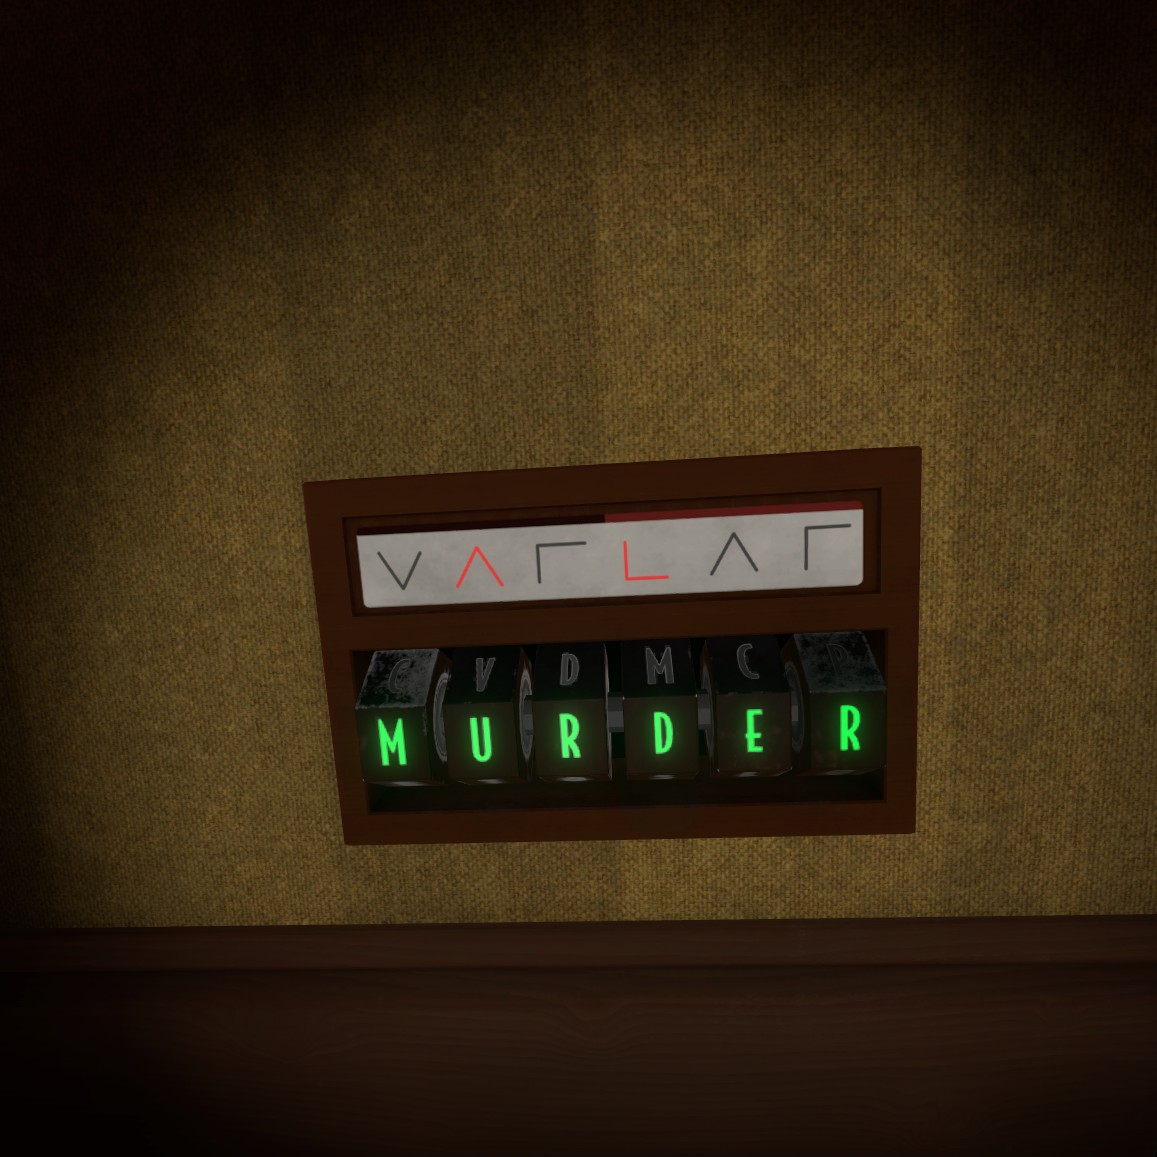
Head over to the lion located on the right side and enter the solution to the pigpen cipher, dat is “Murder.” Eenmaal ontgrendeld, retrieve the cog wheel concealed within the lion’s secret compartment. Volgende, gather your torn paper scrap from the nearby trash bin and proceed to the second trash bin. Combine the pieces of paper.
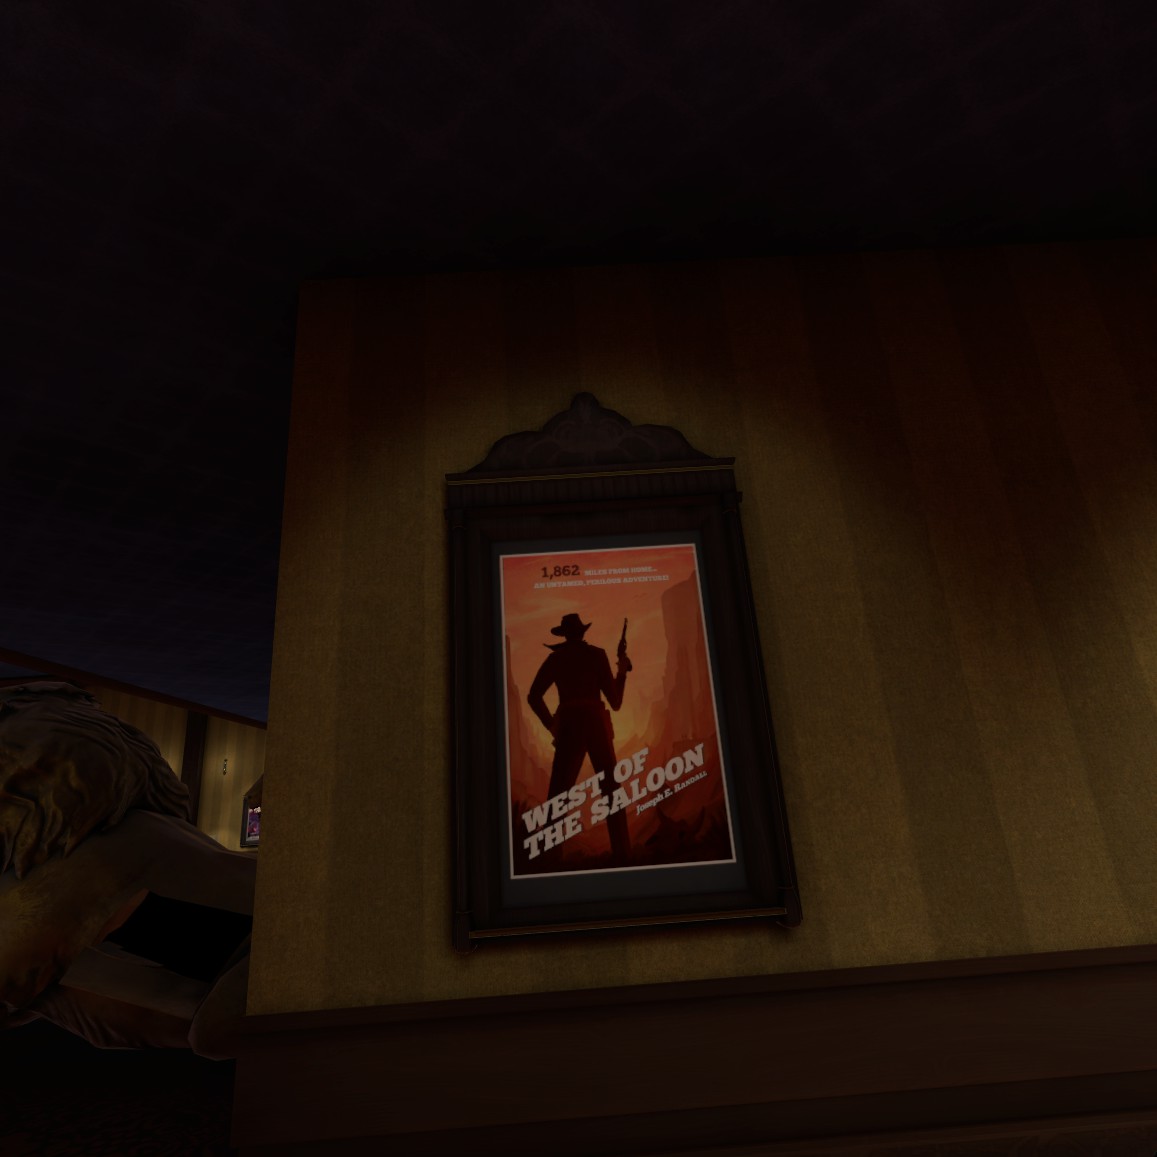
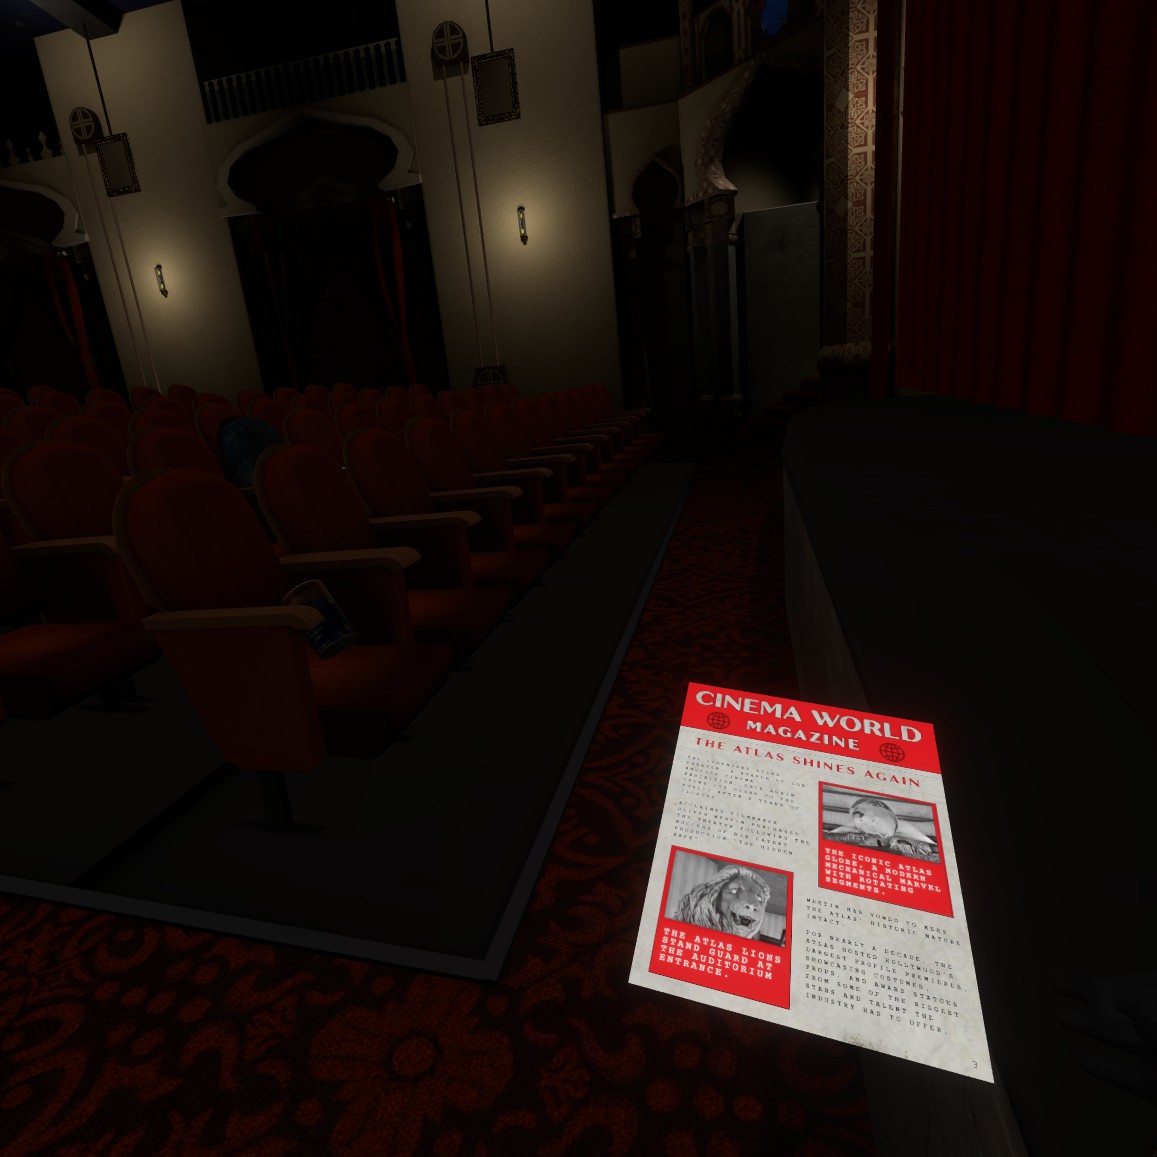
Take a moment to observe the poster on the wall opposite the trash bin, as it relates to a clue discovered earlier.
Dan, move towards the display case positioned to the left of the second trash bin. Tap the plaque to reveal a hidden compartment. Arrange the cogwheels according to the provided photo, then collect both the statue and the dial and stow them in your backpack.
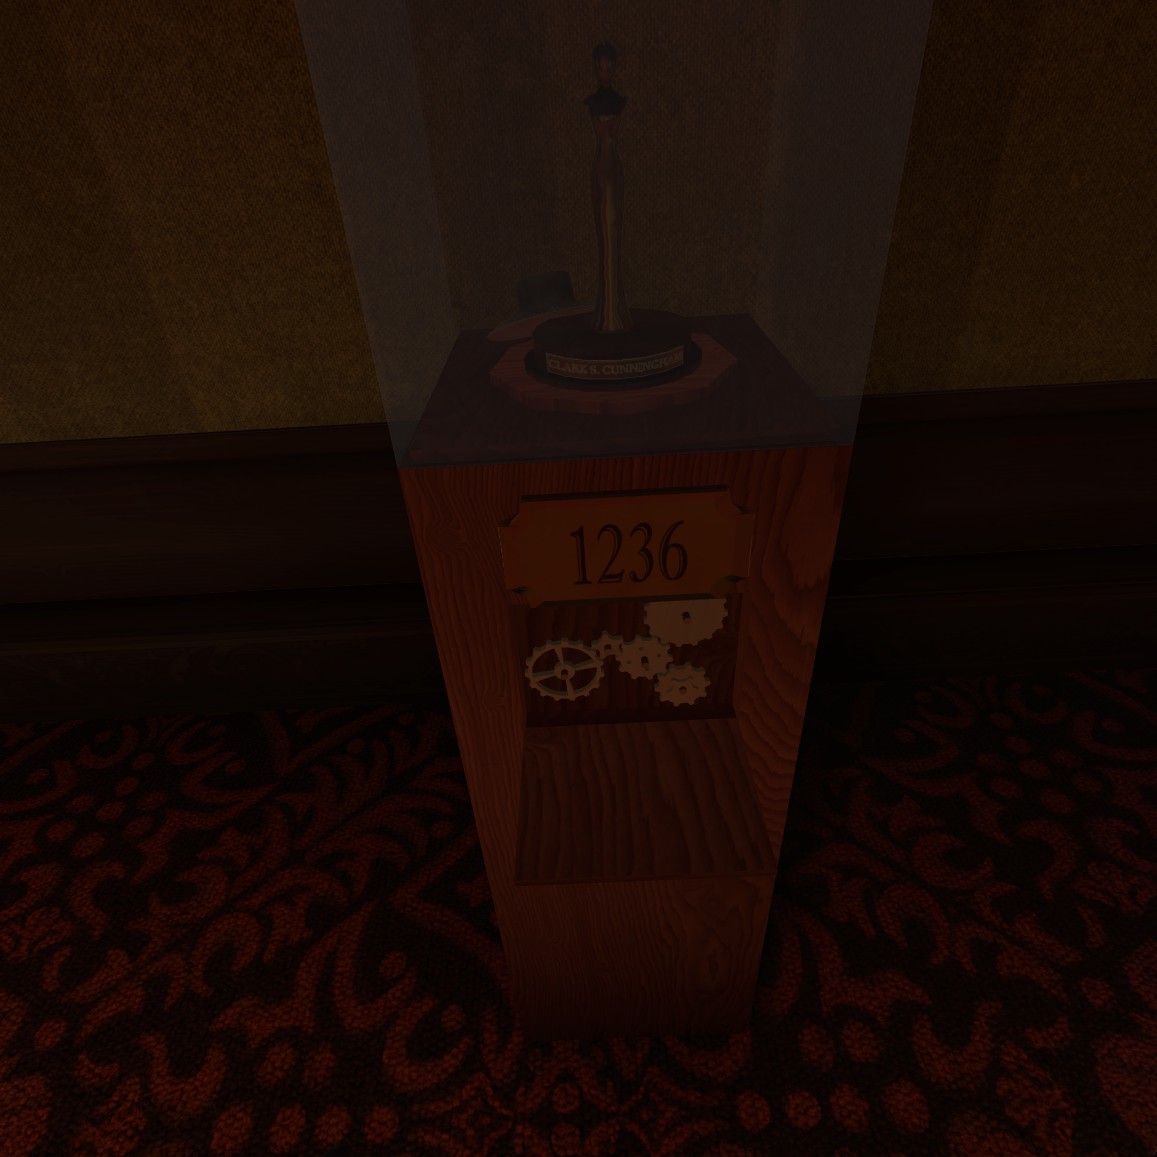
Return to the other two display cases. Begin with the one on the left and input the combination using the crank since the paper with the code cannot fit into your backpack. Opnieuw, secure the statue and dial, placing them in your backpack. Proceed to the display case adjacent to the previous one, and input the numbers 1862 to unlock it. Retrieve the final dial and statue, then head back to the safe situated on the opposite side of the lobby.
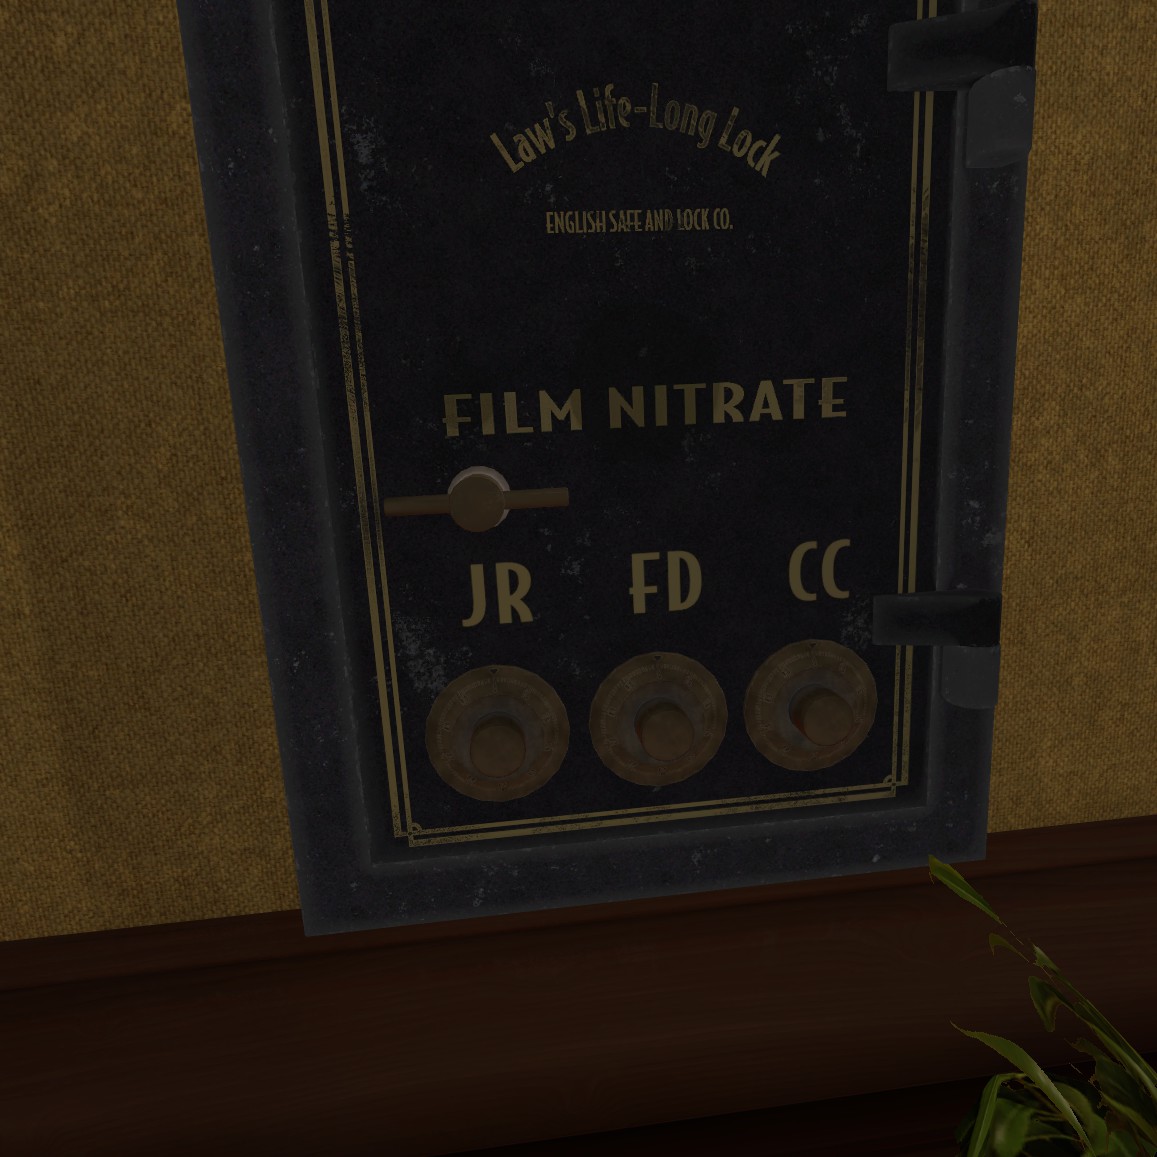

Attach all the dials you’ve gathered. Dan, match the names inscribed on the statues to the initials on the safe. Utilize these initials to deduce the code for the safe, dat is 20, 70, 50.
Eenmaal ontgrendeld, completely empty the safe of its contents. Place the film pieces into your backpack along with the key. Take out the money for an additional achievement (despite the questionable ethics!).
With the key in hand, proceed to the globe. Upon inserting the key into the podium, you’ll have 30 seconds to solve the puzzle for yet another achievement!

To align the continents correctly and obtain the elevator key, remember that the buttons on the left control the top part of the globe, while those on the right control the bottom part. Press the blue button to shift the continents to the right and the yellow button to move them to the left. Line up the continents with the green glowing outlines to unlock the elevator key!
Once you’ve secured the key, don’t forget to grab the hammer before heading upstairs!
The Film Room

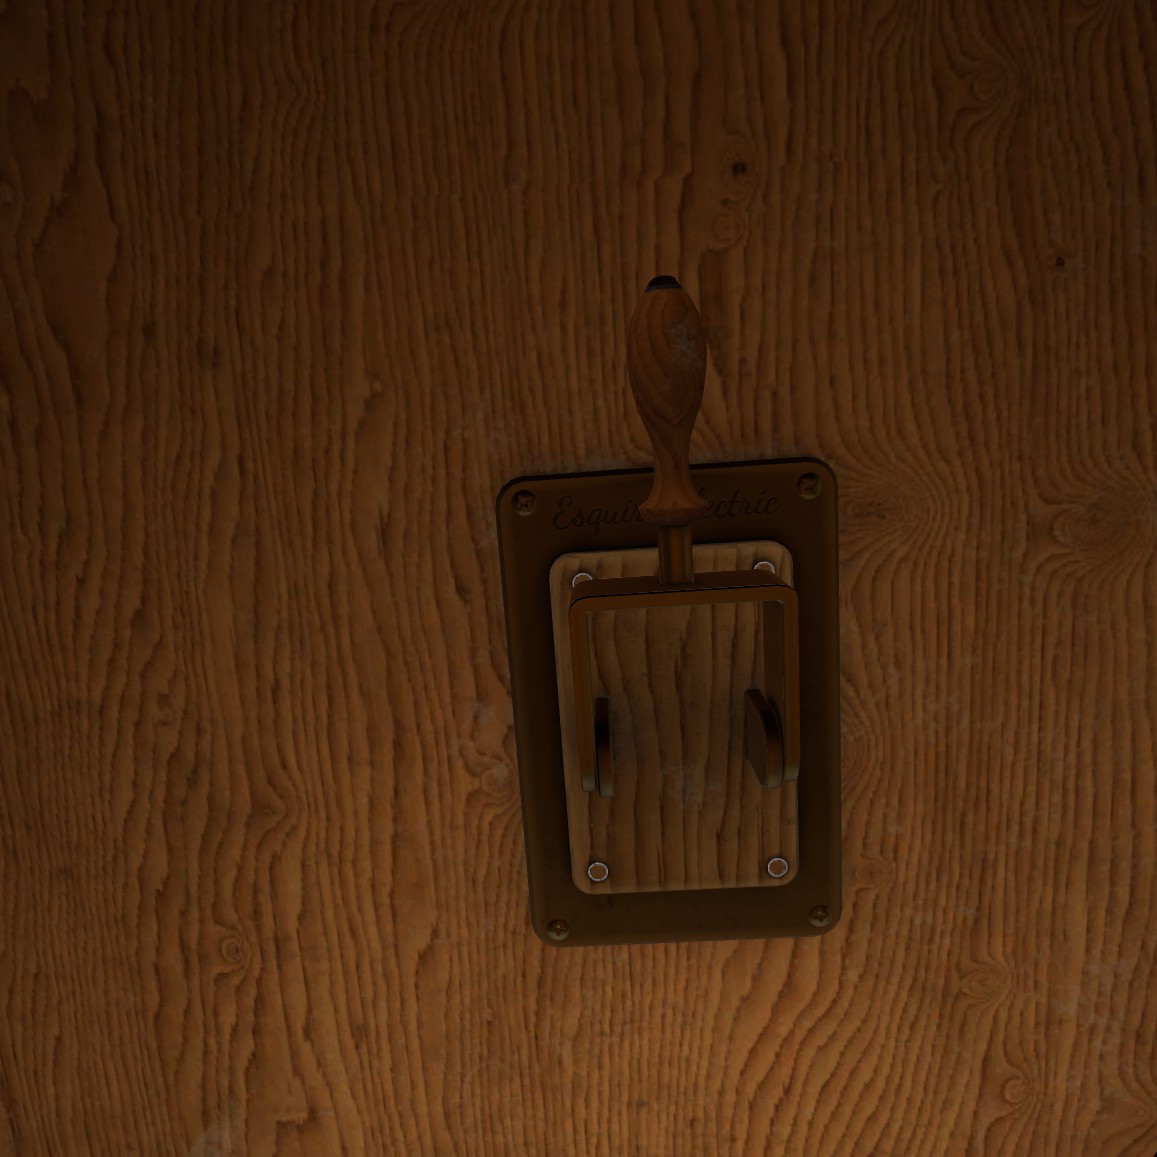
Once you’re in the elevator, make sure to grab the piece of paper lying on the floor first to prevent any glitches. While holding onto the hammer tightly, go ahead and throw the switch. You’ll witness it glitch out of your hand and vanish, maar maak je geen zorgen, you don’t need it anyway.
Proceed down the dark hallway upstairs and check out this page.
Continue onward until you reach the door and pick up the page that’s on the floor.
Scan the room and gather all the pages scattered about, especially those on the shelves. You’ll come across several pages of letters and script pages. Start by locating the first page at the bottom of the first film shelf directly in front of you and the shelf above it. Give a gentle slap to the poster of The Hidden Safe to uncover a secret safe (quite iconic, is het niet?). The next page can be found on the desk to your left. Take the script page and place it on the floor in the center of the room. Another page awaits on the opposite shelf, so be sure to grab it and position it next to the first script page in the center of the room.


Retrieve the small blue book to discover the instructions for starting the projector.
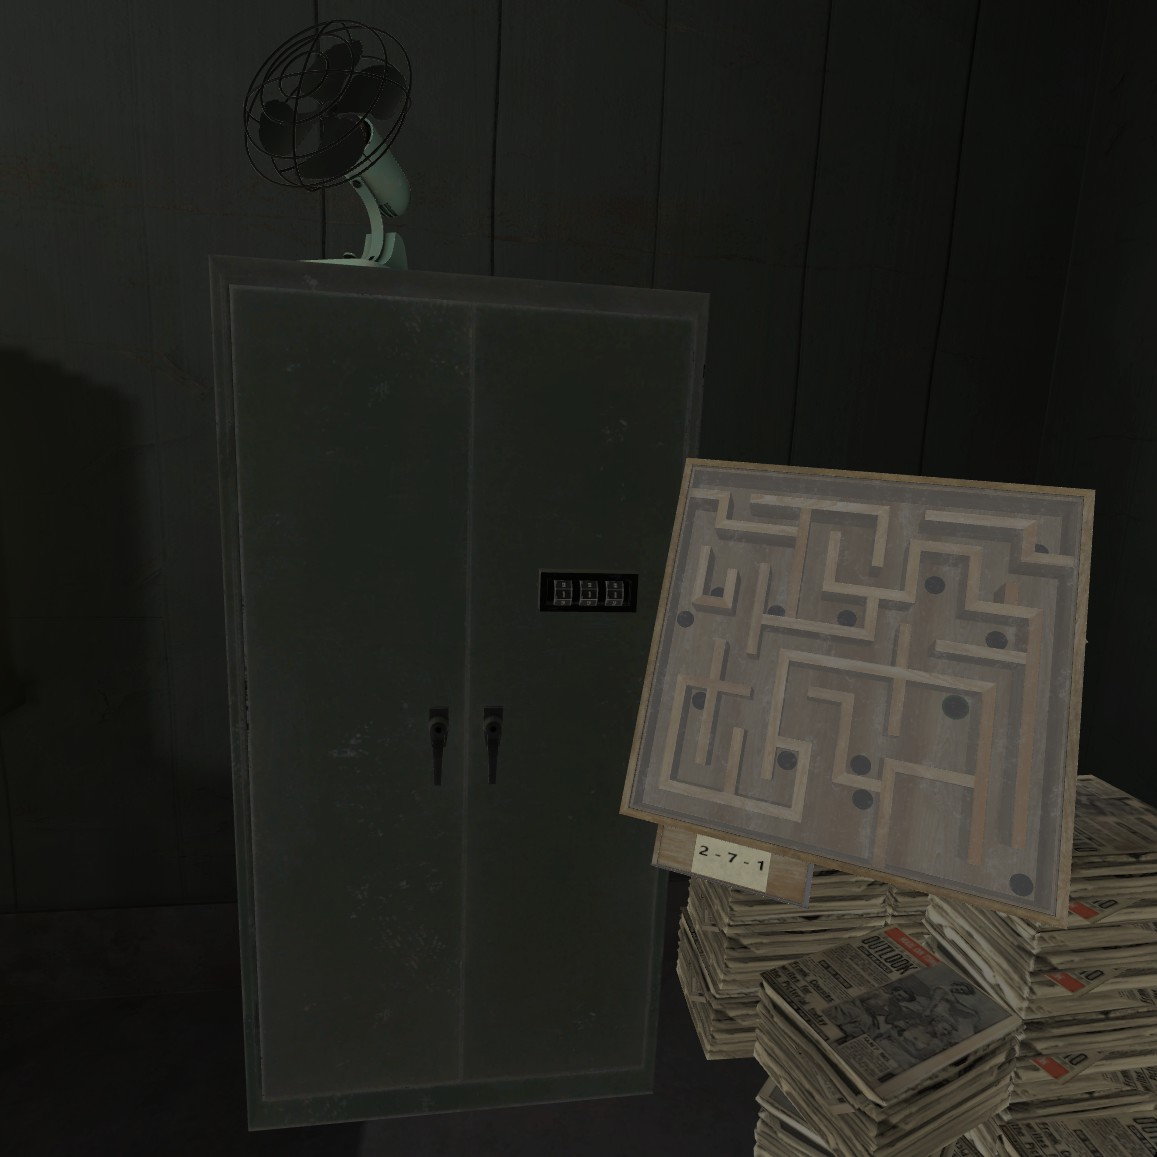
Volgende, take hold of the little pinball puzzle and contemplate your life choices as you grapple with stick drift while attempting to navigate the ball through the maze. Eventueel, succumb to frustration and hurl it across the room, then indulge in a brief snack break. Once you’ve conquered the ball maze puzzle, input the code into the cabinet situated at the back of the room.
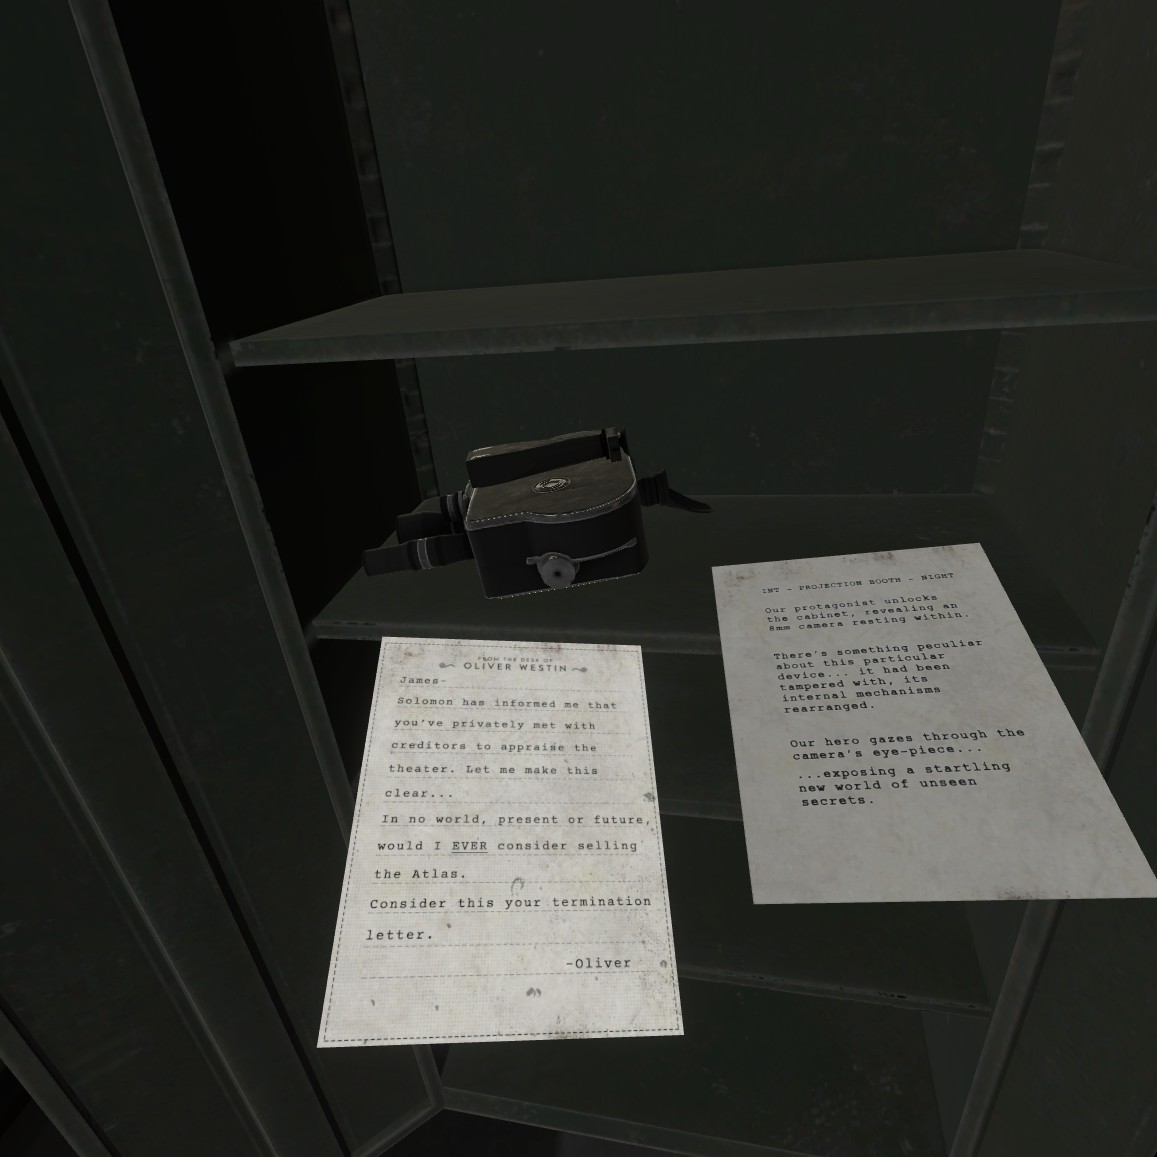
Retrieve and peruse the two pages, stow the camera in your backpack, and join the script page with the others you’ve gathered.
Utilize the viewing lens on the camera to uncover the hidden secrets on the script pages. The revealed images depict the buttons that must be pressed to unlock the chest on the bottom shelf opposite the cabinet. Press the lion emblem on the back of the chest, then proceed to press the two buttons on the left side of the chest to open it.

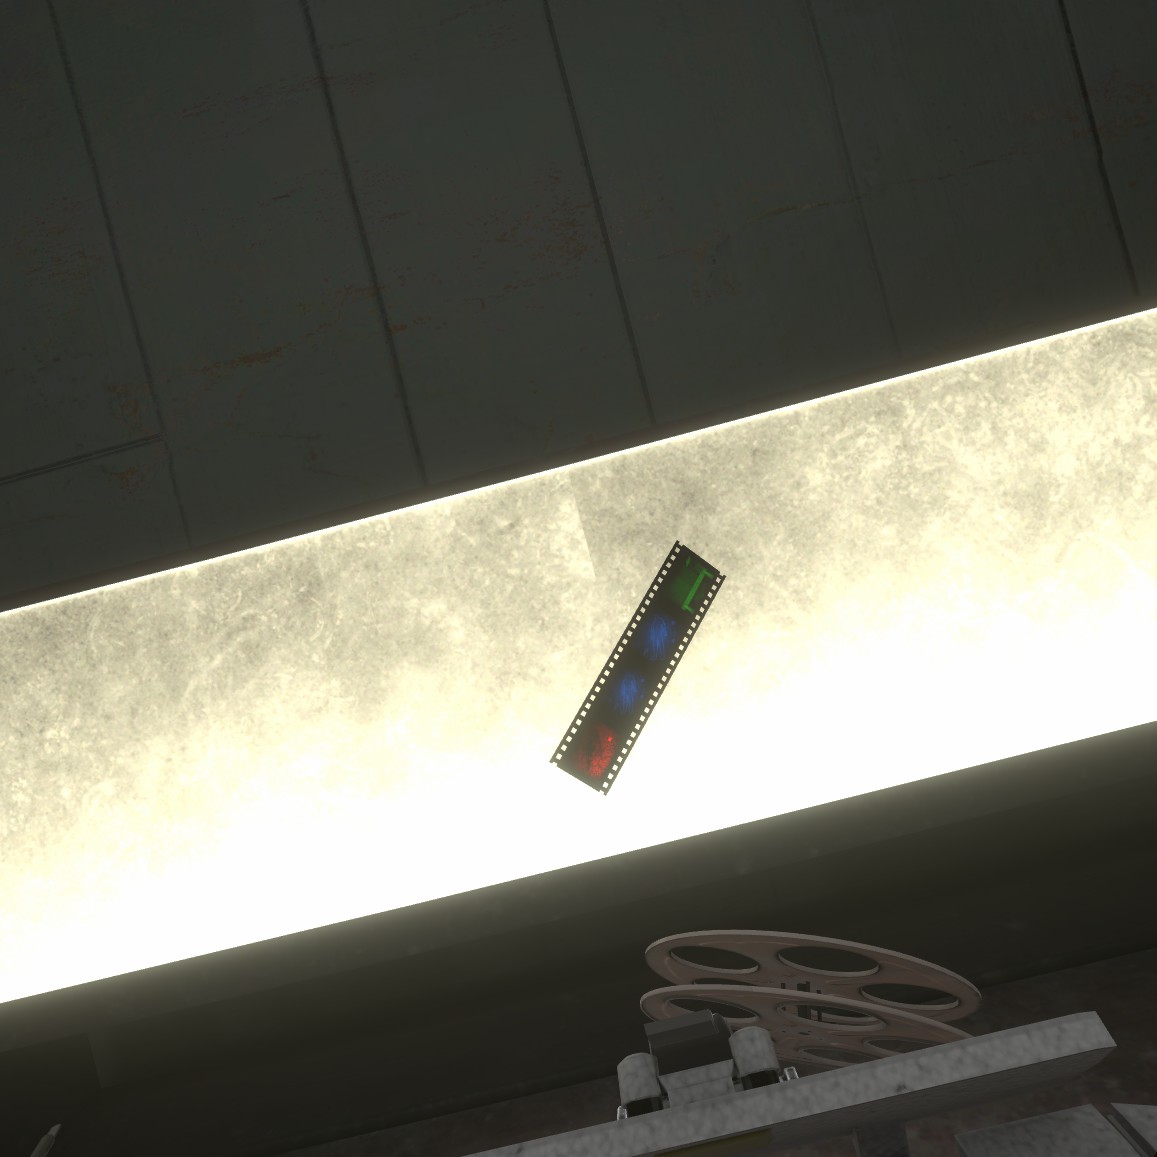
Delve into the lore provided on the page, then tuck the crank into your backpack like the conscientious gamer you are. Teleport over to the small film area and align the film pieces you found in the safe, ensuring the colors match and commencing with the red one as indicated. Once aligned, close the metal contraption to fuse them together. Retrieve the completed film piece and attach it to the reel you acquired. Fetch this film reel from the very last shelf and affix the film onto it. Eindelijk, follow the instructions outlined in the blue book to install both the film and the crank into the projector.
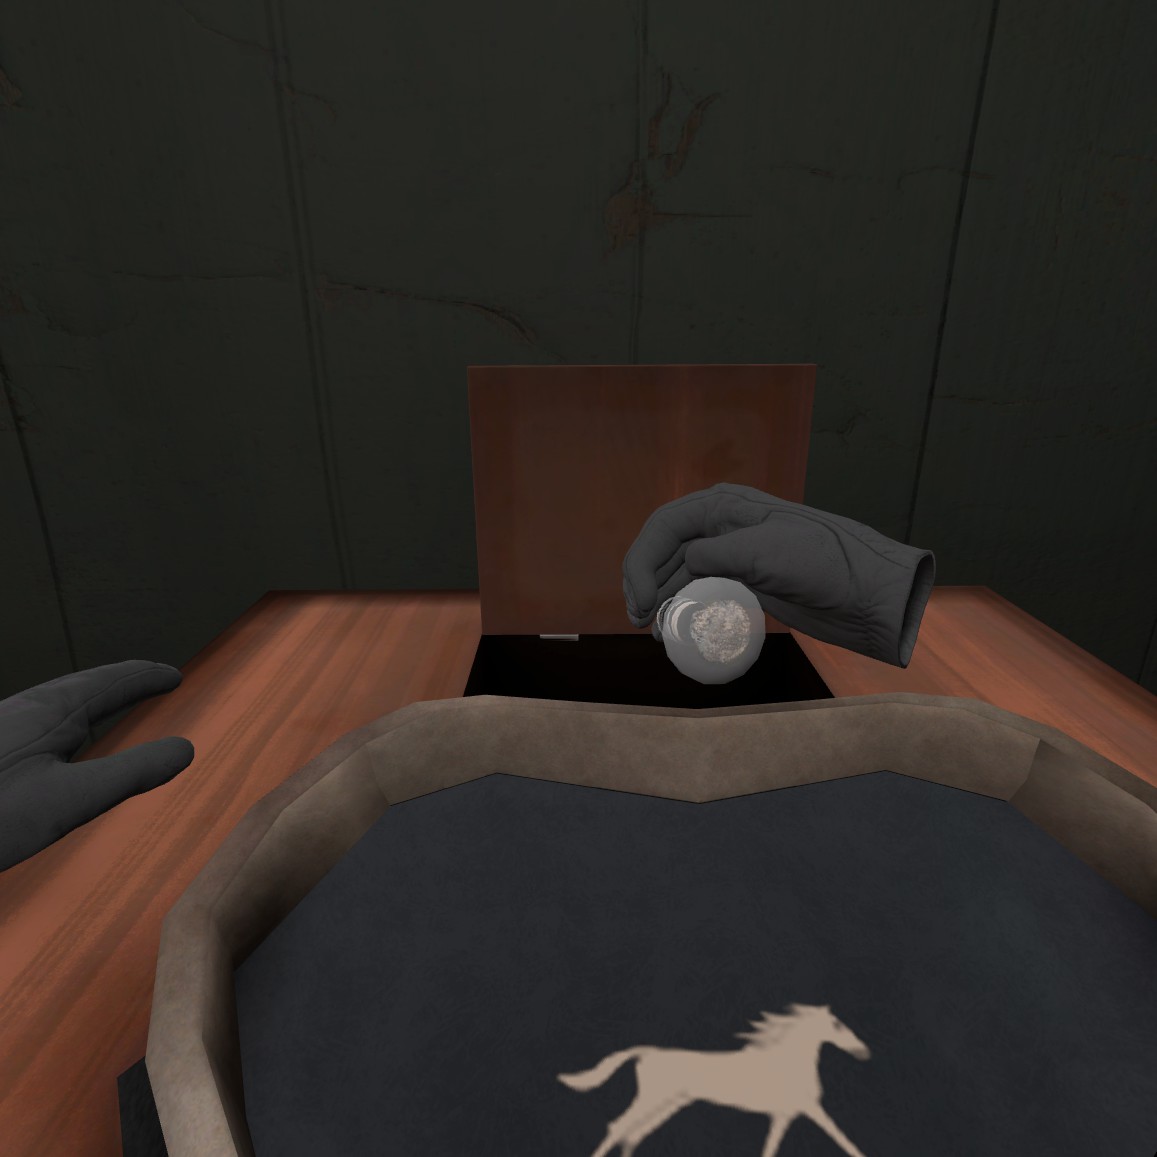
Make your way to the other side of the room where the Mutoscope is located. Don’t fret if you’re not familiar with it; it’s a contraption featuring a running horse, akin to those found in the days of yore when our great-grandparents roamed the earth. Gather all the images of the horse, similar to what you did with the film pieces, and align them so that the colors connect seamlessly. Once aligned, crank up the machine to witness the horse galloping and acquire the light bulb.
Return to the projector and remove the lens labeled “remove” to insert the light bulb. Install the light bulb and use the crank to navigate through the movie you’ve just assembled! Progress through the film until you reach the red door, then step through it.

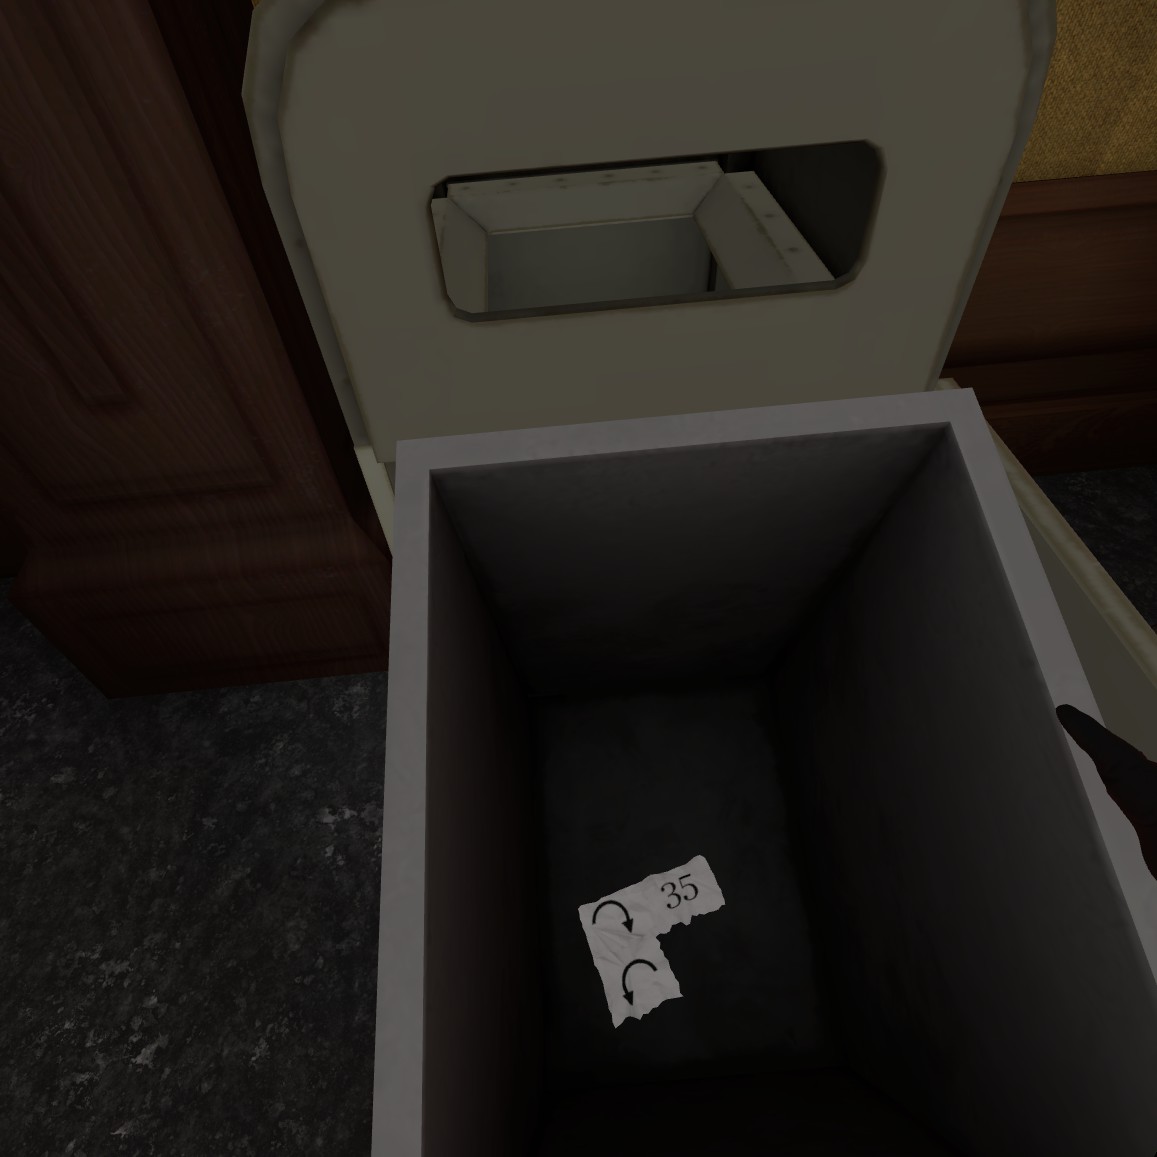
Navigate through the eerie hallway and seize the two pages at the end. Keep the one containing the code to the safe and turn back. Snatch the page from the floor to unveil more of the story.
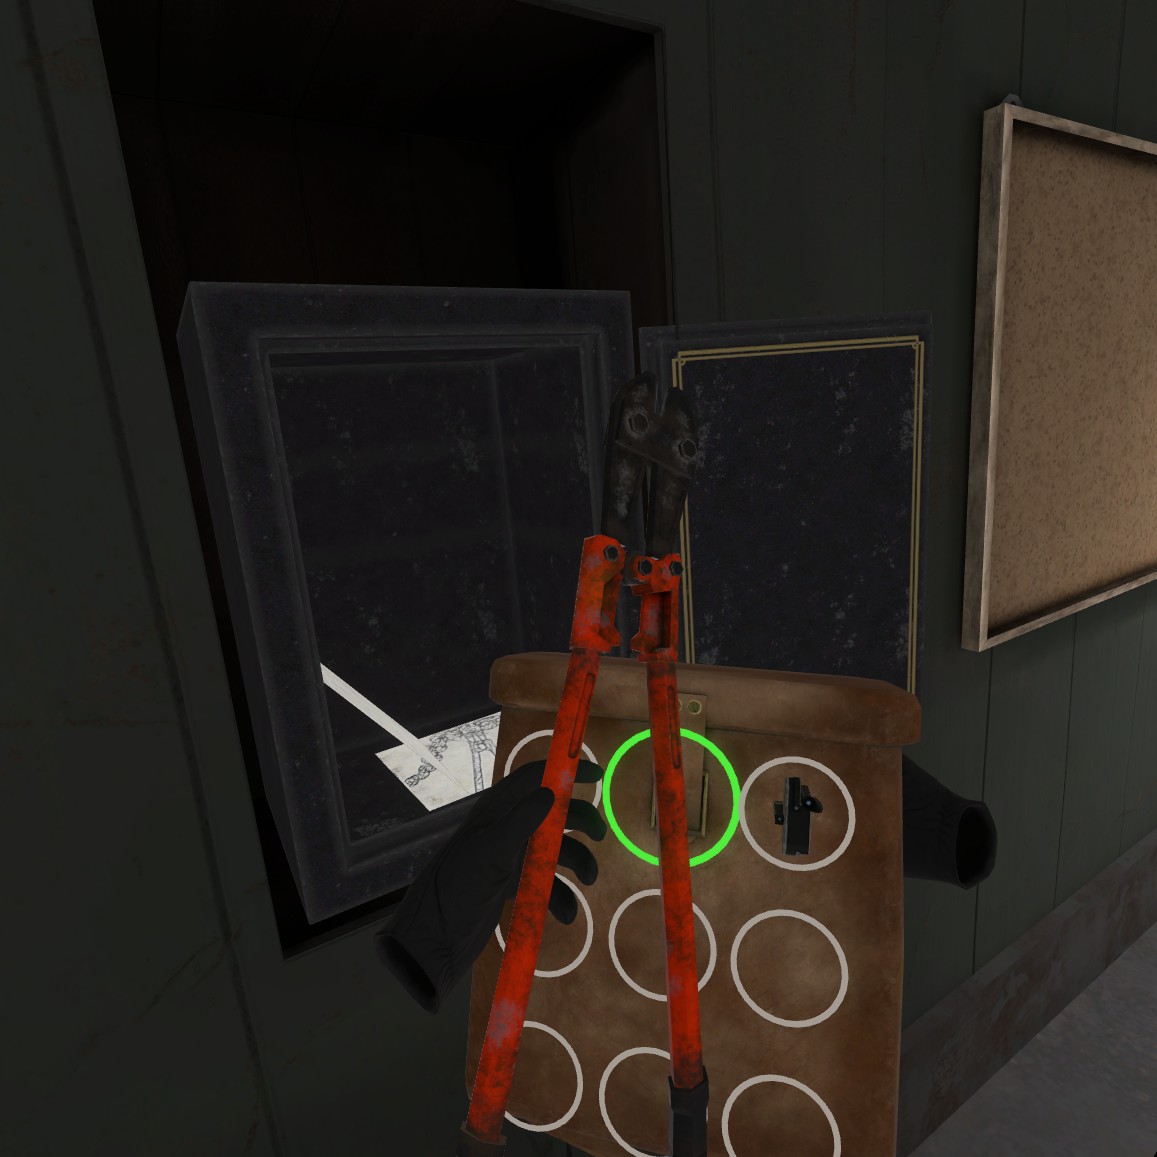
After finishing the reading, proceed to unlock the safe using the code you discovered. Retrieve the wire cutters and stash them in your backpack. Take a look at the other two pages, then retrieve the camera.
As you exit the film room, utilize the camera to capture footage (by peering through it) until you earn another achievement.
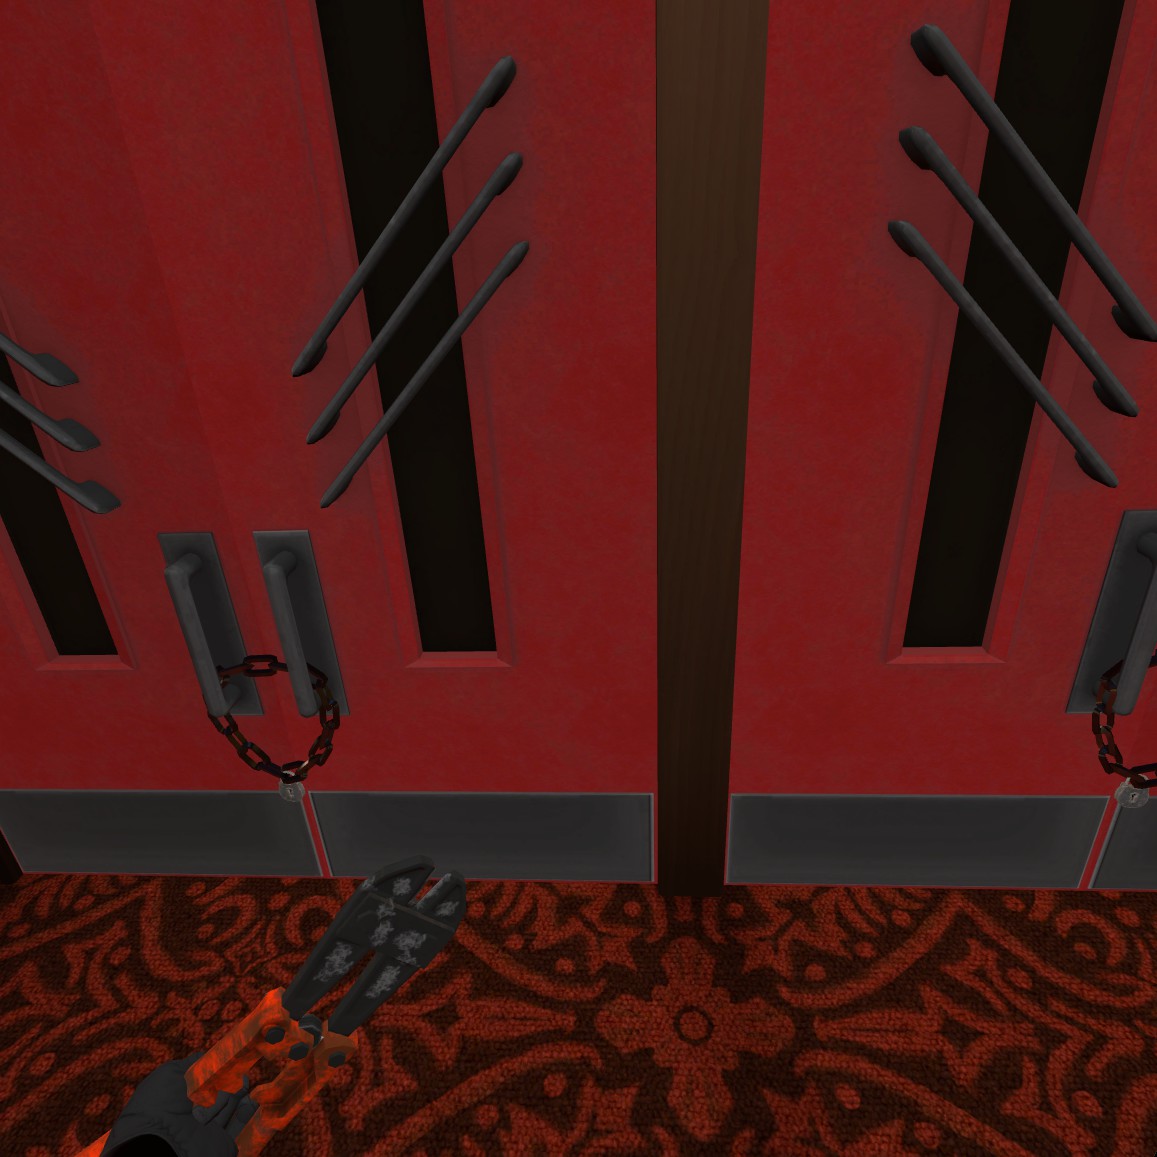
Use the wire cutters to sever the chains on both doors, earning yourself another achievement! Dan, swing the doors open triumphantly.
Gefeliciteerd! You’ve successfully unlocked the theater, the ultimate destination, and final room of this adventure.
The Atlas Theater Room
Holoport all the way to the front of the room and seize the magazine article and the battery resting on the chair in the front row.
Nu, if you’re thinking that’s a big D battery, Goed, you know what they say.
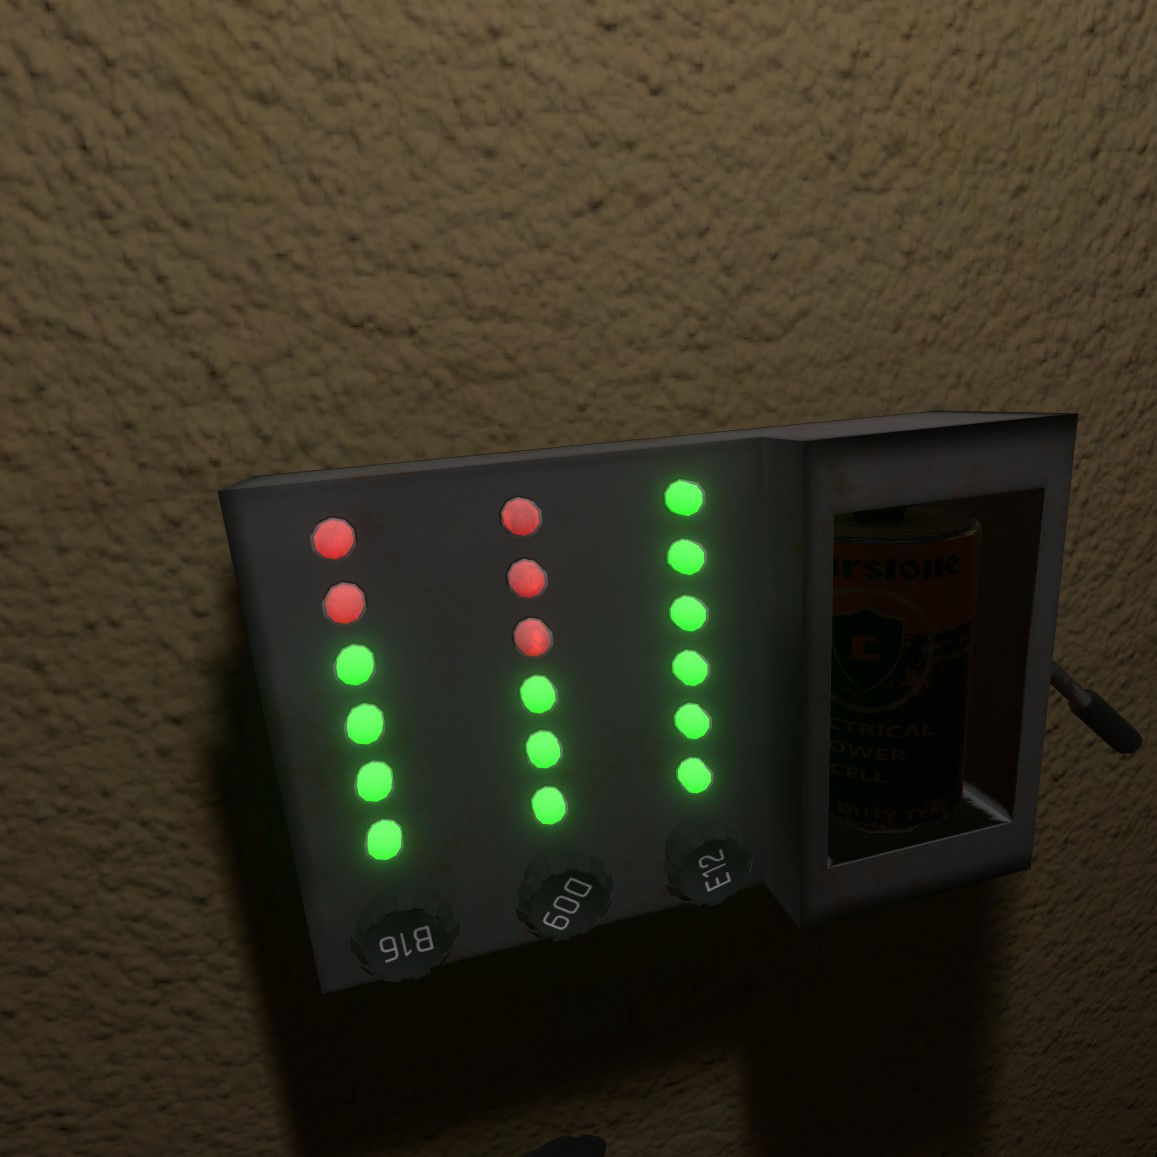
Holoport all the way to the panel on the back wall with the battery and flip the lever. For those unfamiliar with theaters, the letters and numbers on the knobs correspond to specific chairs in the room. You can either inspect each chair to determine the required dial settings or refer to the provided photo for guidance.
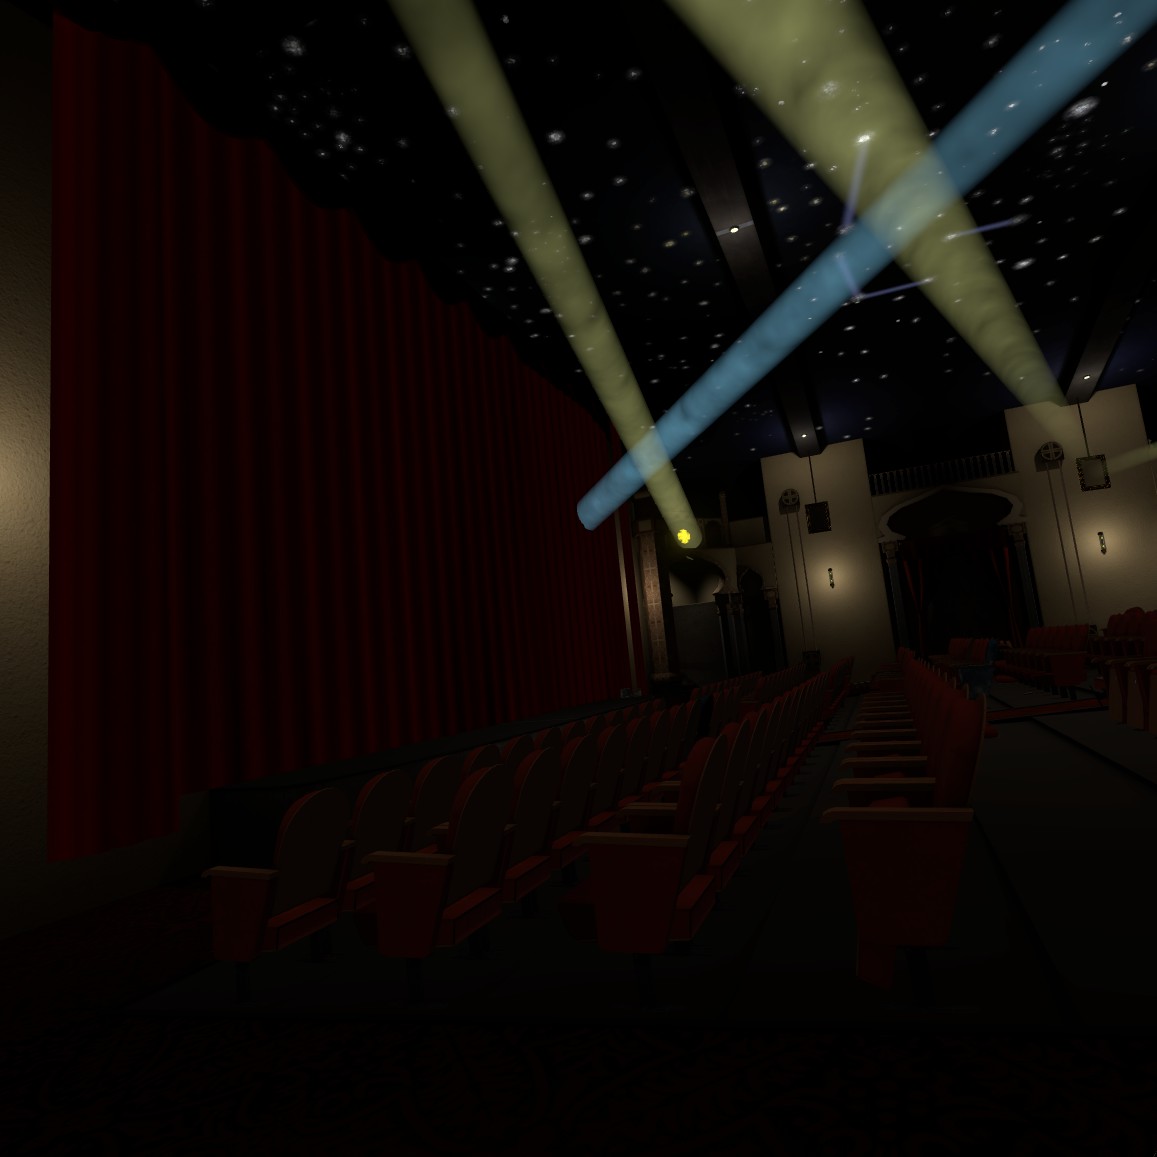
After fixing the panel, stage lights will illuminate above you.
Use the ropes adjacent to the mirrors to adjust the light direction until both the blue and yellow gems are illuminated by their respective colors. Once accomplished, return towards the entrance of the theater to the other back panel.

Adjust the bars on this panel until the rope can pass freely between the notches in the bars, thereby opening the stage curtain.
Enter the room that has opened on stage left and retrieve the flashlight from the desk. Focus solely on the pipe organ piano for now.

Align the pipes to match the configuration shown next to the piano keys. To earn the “Fine Tuning” prestatie, only adjust pipes 2, 3, 5, 8, 9, & 10.
Utilize the flashlight to unveil the yellow lines, as depicted in the photo, to solve the second piano key puzzle.

Eindelijk, play the highlighted keys in the order of the tune shown at the top of the piano and stash the lock pick into your backpack.
After some contemplation of your life choices at the piano, flop down onto the bed in a state of confusion, only to notice that the blue lines on the roof resemble those on the piano.
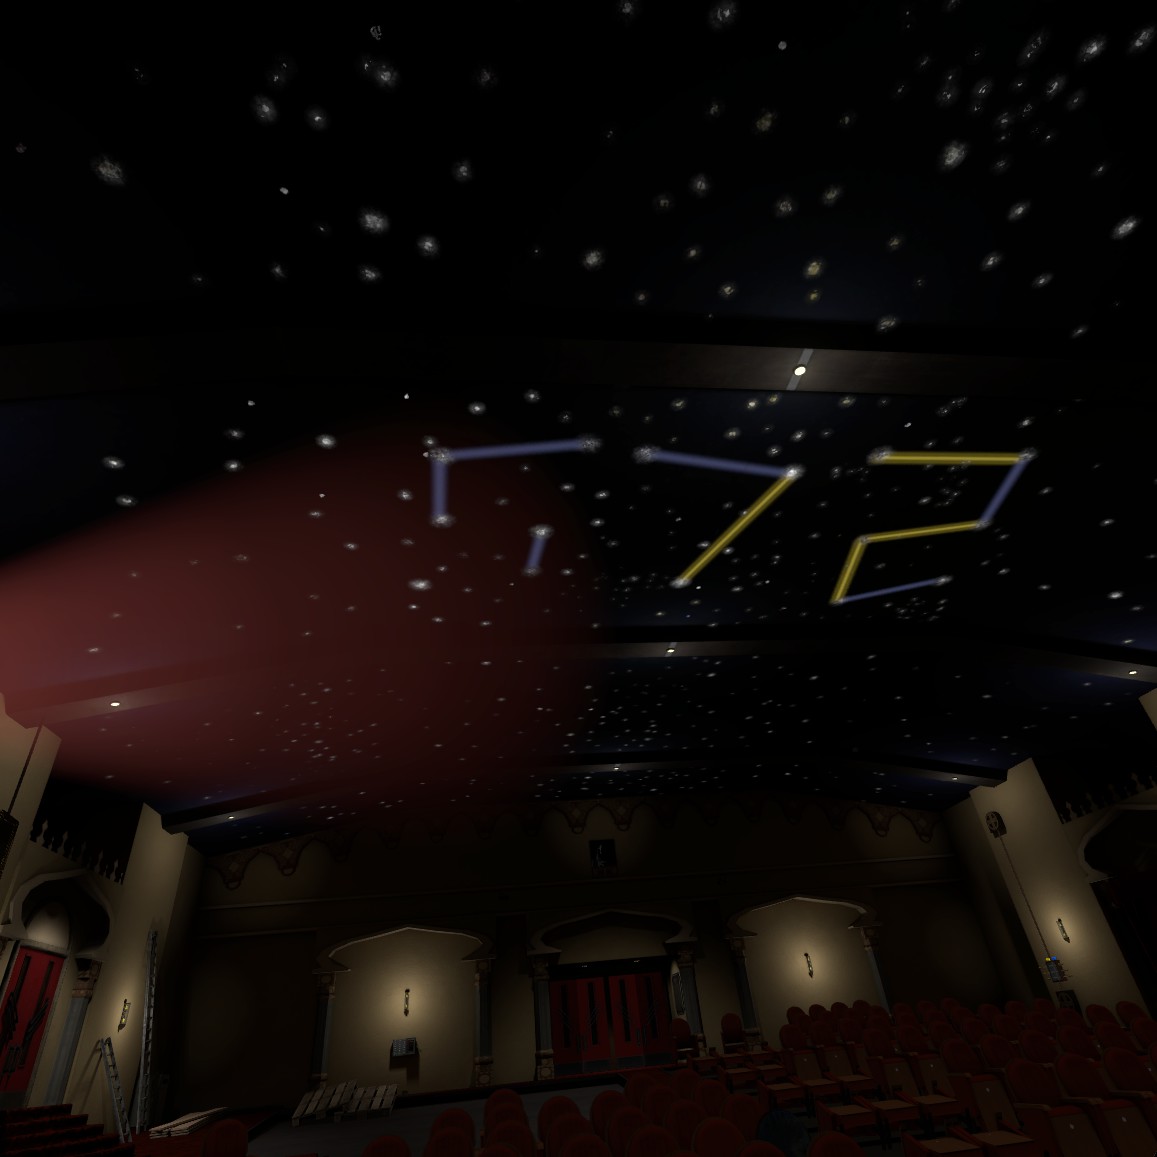

Whip out the flashlight and shine it up on the roof to unveil the code to the cabinet in the room on stage left. In a fit of frustration, hurl the flashlight into the rows of chairs and input the code 5 7 2.
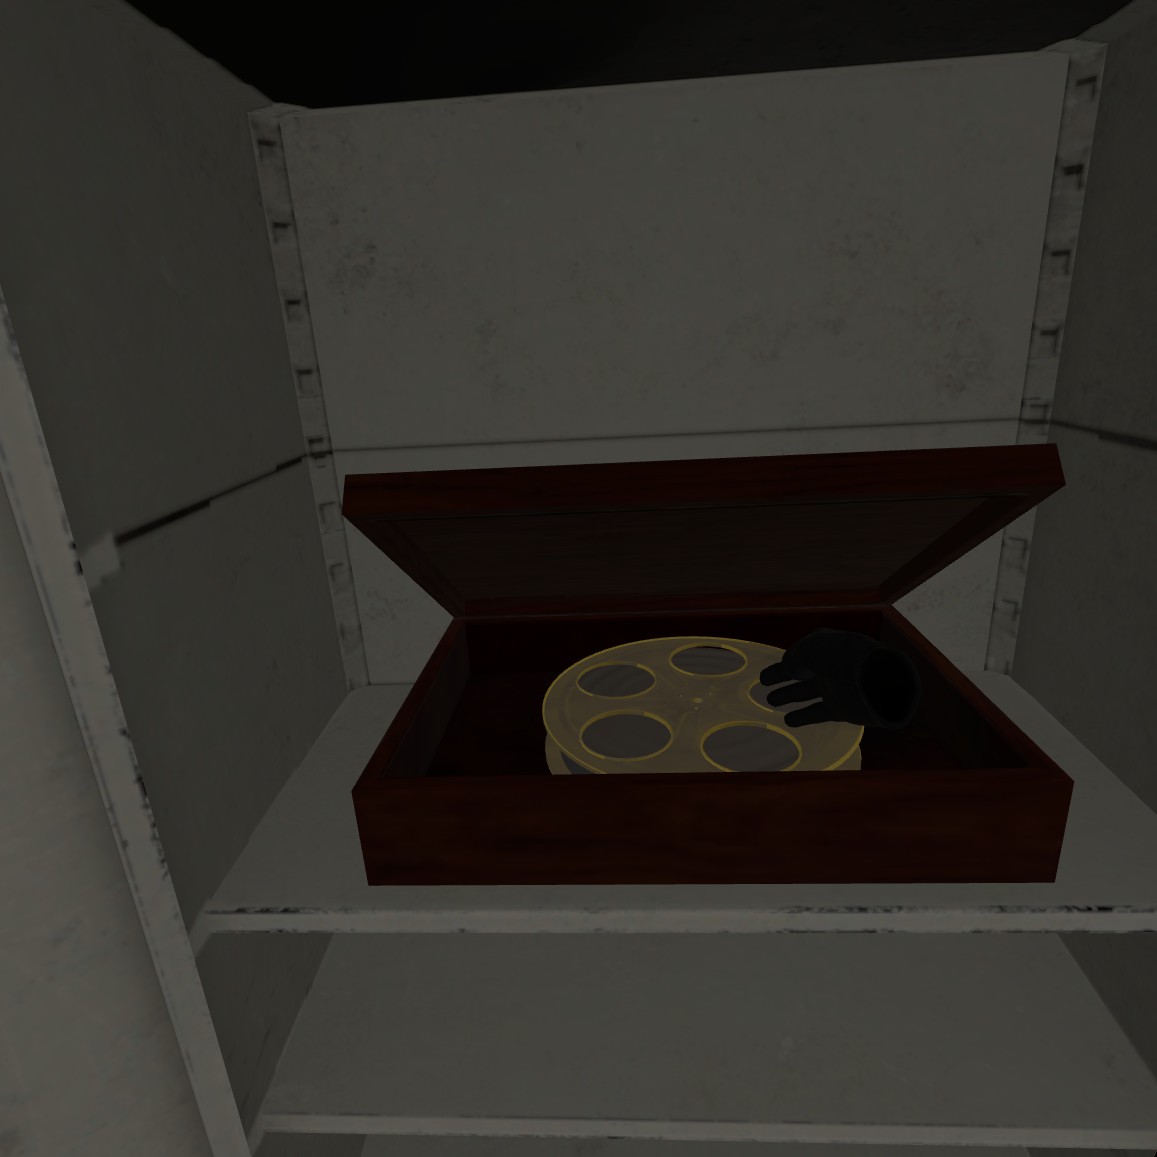
Retrieve your lock pick and observe a brief lock-picking animation (turns out you’re playing a thief) before grabbing the film reel from inside the box. Startled by the new music, proceed to inspect the film now playing.
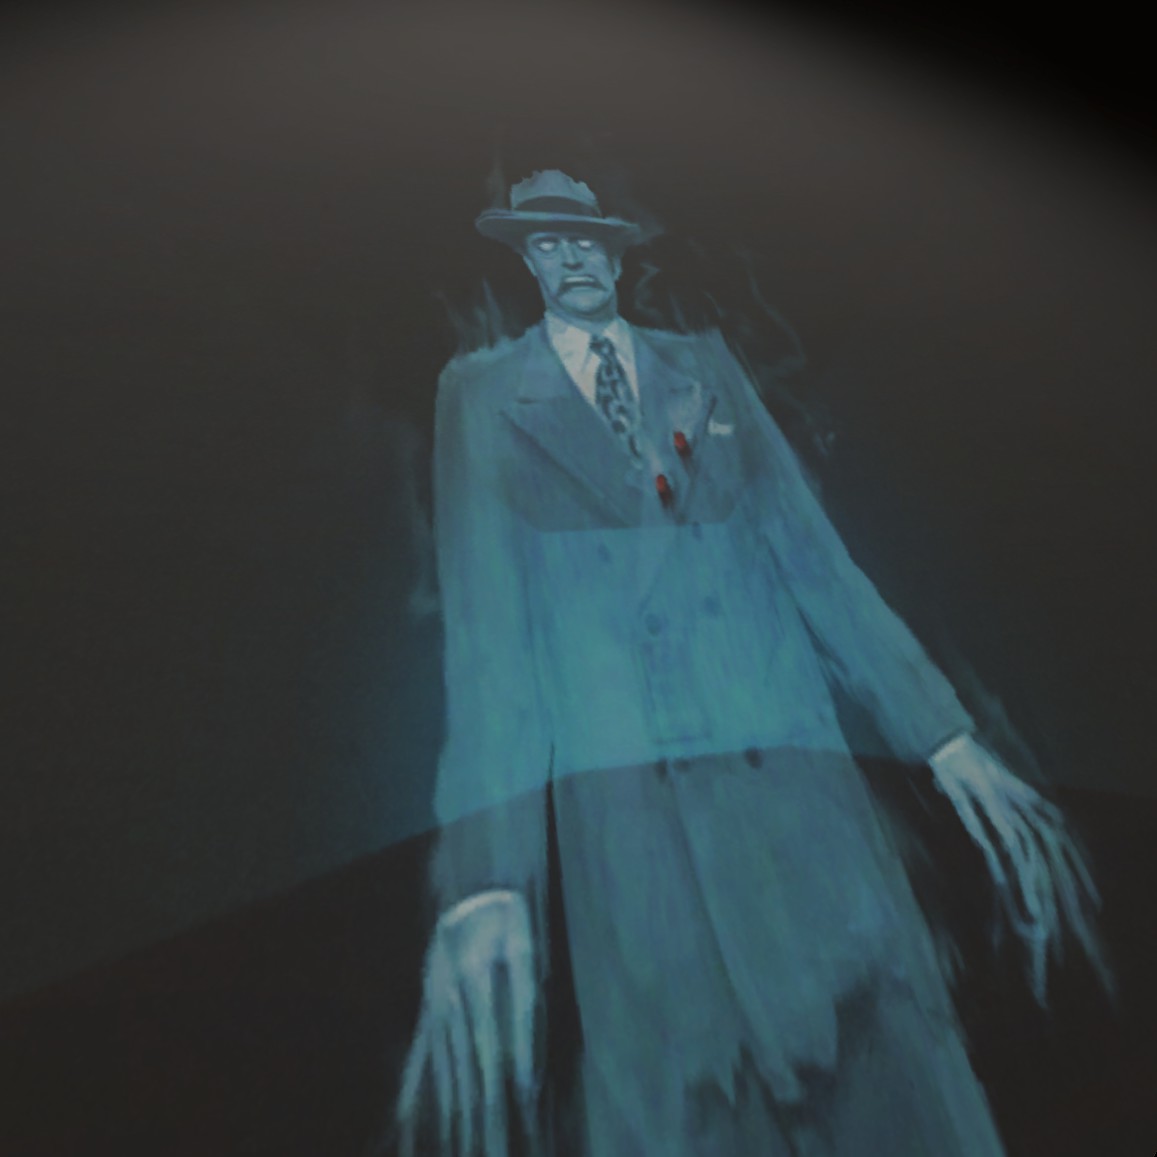
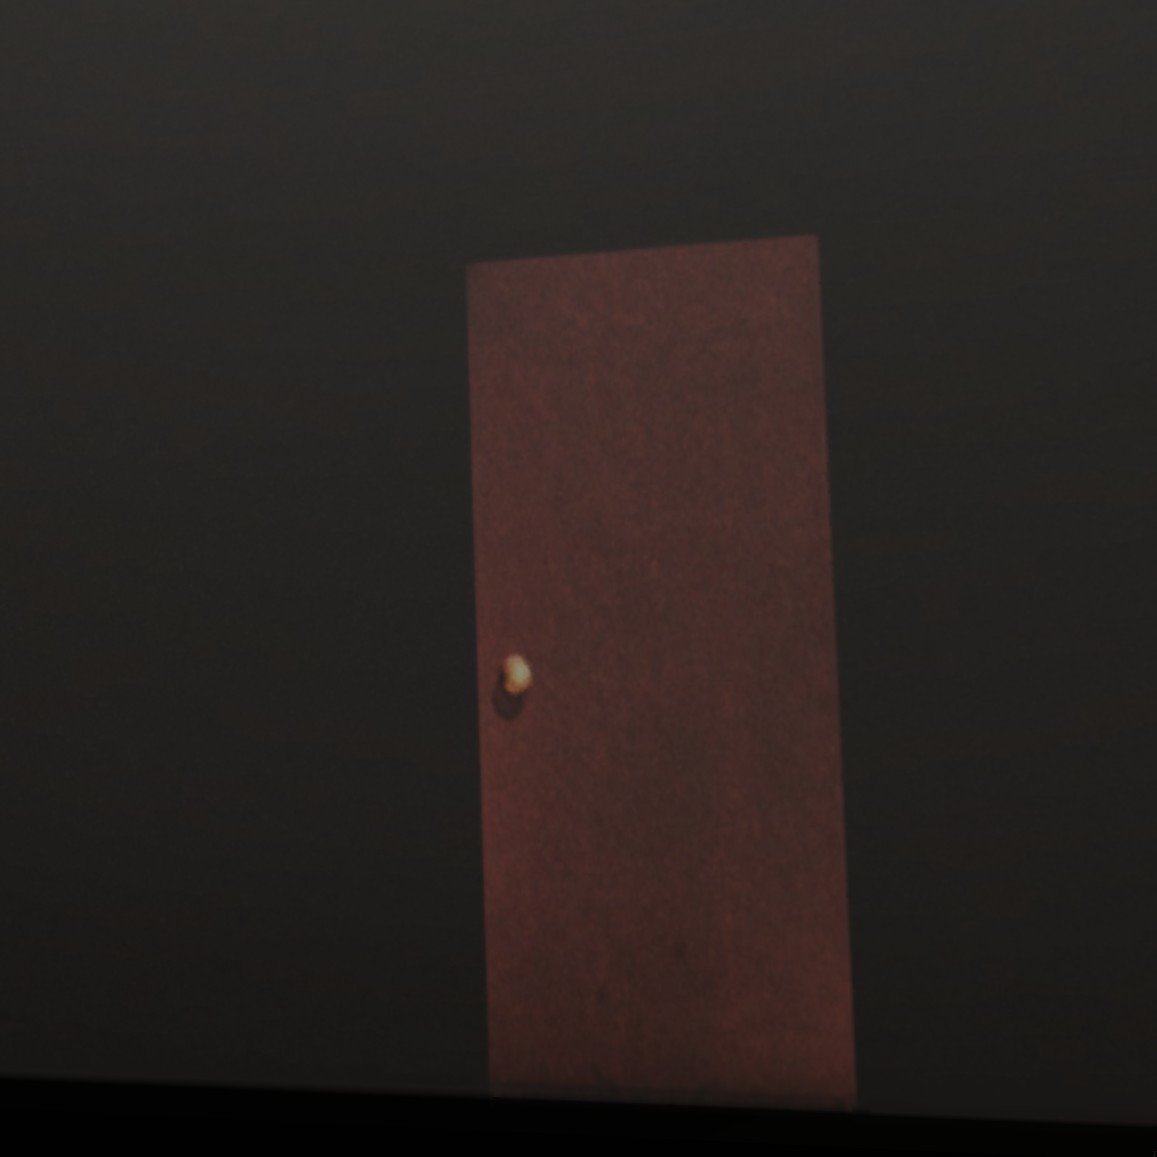
Wait until the spooky ghost figure transforms into the red door shown here, then venture through it.

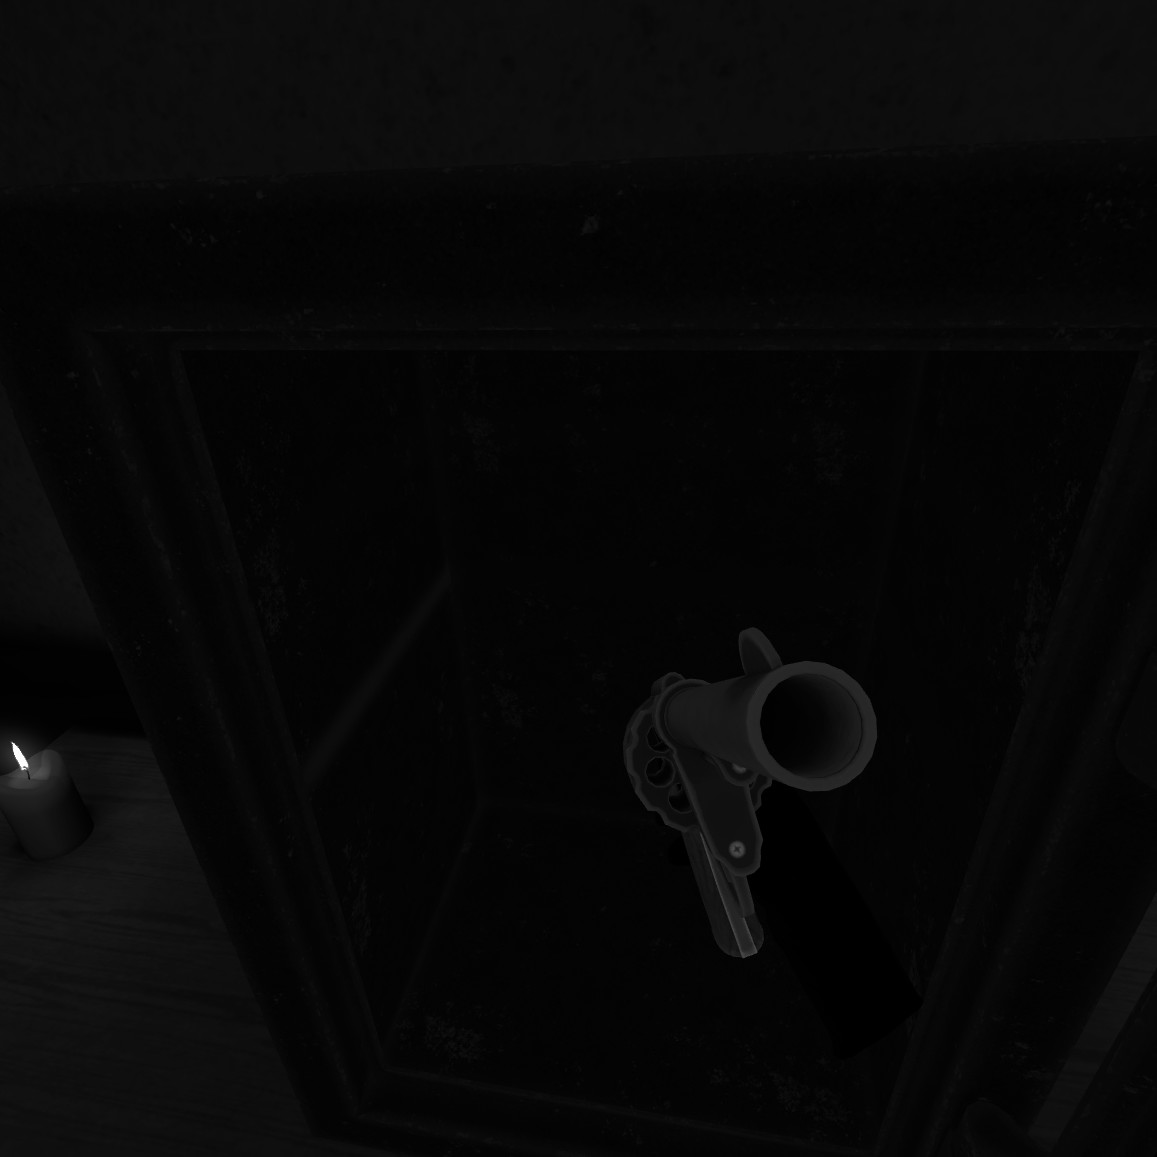
Navigate through this new, even spookier hallway and seize the last two pages to complete the two-page achievements. Extract the gun from the safe and uncover the truth behind The Atlas.
This marks the ending of the game. Congrats on finishing the story!
Dat is alles wat we vandaag hiervoor delen The Atlas Mystery gids. Deze handleiding is oorspronkelijk gemaakt en geschreven door Red Tail the Mute. Voor het geval we er niet in slagen deze handleiding bij te werken, U kunt de laatste update vinden door dit te volgen link.