As SIGNALIS approaches the end of its time on Game Pass, many players are interested in moving their save files from this version to the Steam version. Echter, the procedure for doing so is intricate, and there are currently no comprehensive and updated tutorials available. This guide endeavors to provide a solution for this issue.
Vereisten
To successfully carry out this transfer, you will need the following:
- A Gamepass or Microsoft Store version of SIGNALIS (You can keep the game installed after Gamepass expiration; just refrain from uninstalling it yet)
- A Steam version of SIGNALIS
- Additional space of at least one gigabyte on the C: Drijfveer, or wherever your Steam is located
- A designated folder for copying and renaming files
- At least one empty profile slot in the Steam version of the game, although having two empty slots is preferable
- An ample amount of patience and focus to complete the process meticulously.
Preview and Context
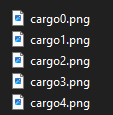
In the Steam version of SIGNALIS, there’s a unique feature called savegame encryption. This means your game saves are stored as .png image files with labels like cargo0 to cargo4. This encryption behavior is exclusive to the Steam version, while the Gamepass version saves the files directly without encryption.
Nu, there are two versions of the game: “1.0” en “1.1” (also known as “Spatz”). In de 1.0 release, there’s a debug command that lets you toggle save encryption on/off. Echter, this command was disabled in the current 1.1 versie. To move your Gamepass saves to the Steam version, we’ll need to downgrade from 1.1 naar 1.0. This makes the process a bit more complex and also makes the only existing online guide outdated.
This guide will walk you through downgrading your SIGNALIS installation, transferring your Gamepass saves, renaming them correctly, safely importing them into the Steam version, and then restoring your game to the current 1.1 update.
Downgrading SIGNALIS from 1.1 naar 1.0 (Steam Only)
Beginnen, you’ll need to access the Steam client console. The simplest way to do this is by opening a web browser and entering one of the following links:
- stoom://nav/console
- stoom://open/console/
This will open a console tab in your Steam client.

In the Steam console, enter the following command:
download_depot 1262350 1262351 6585255940086961378
If you own the game on your active Steam account, you will eventually receive the following outputs:

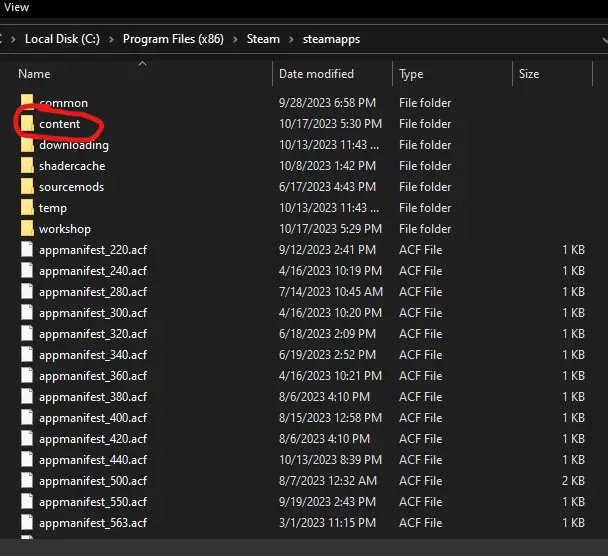
After you observe the final line in the screenshot, navigate to your main Steamapps directory. For most users, this directory is located at C:\Programmabestanden (x86)\Steam\steamapps. Inside this directory, you will find a new folder named “content.” Binnen deze map, you will discover the 1.0 installation of SIGNALIS.

Nu, it’s crucial to create a backup of your current main SIGNALIS game installation. This is essential because you’ll be overwriting files in that directory, so preserving the original files is vital for later restoration.
Once you’ve successfully backed up your main SIGNALIS game installation, proceed to copy the files from the depot download you obtained earlier into your main game install directory. This will involve overwriting all the files.
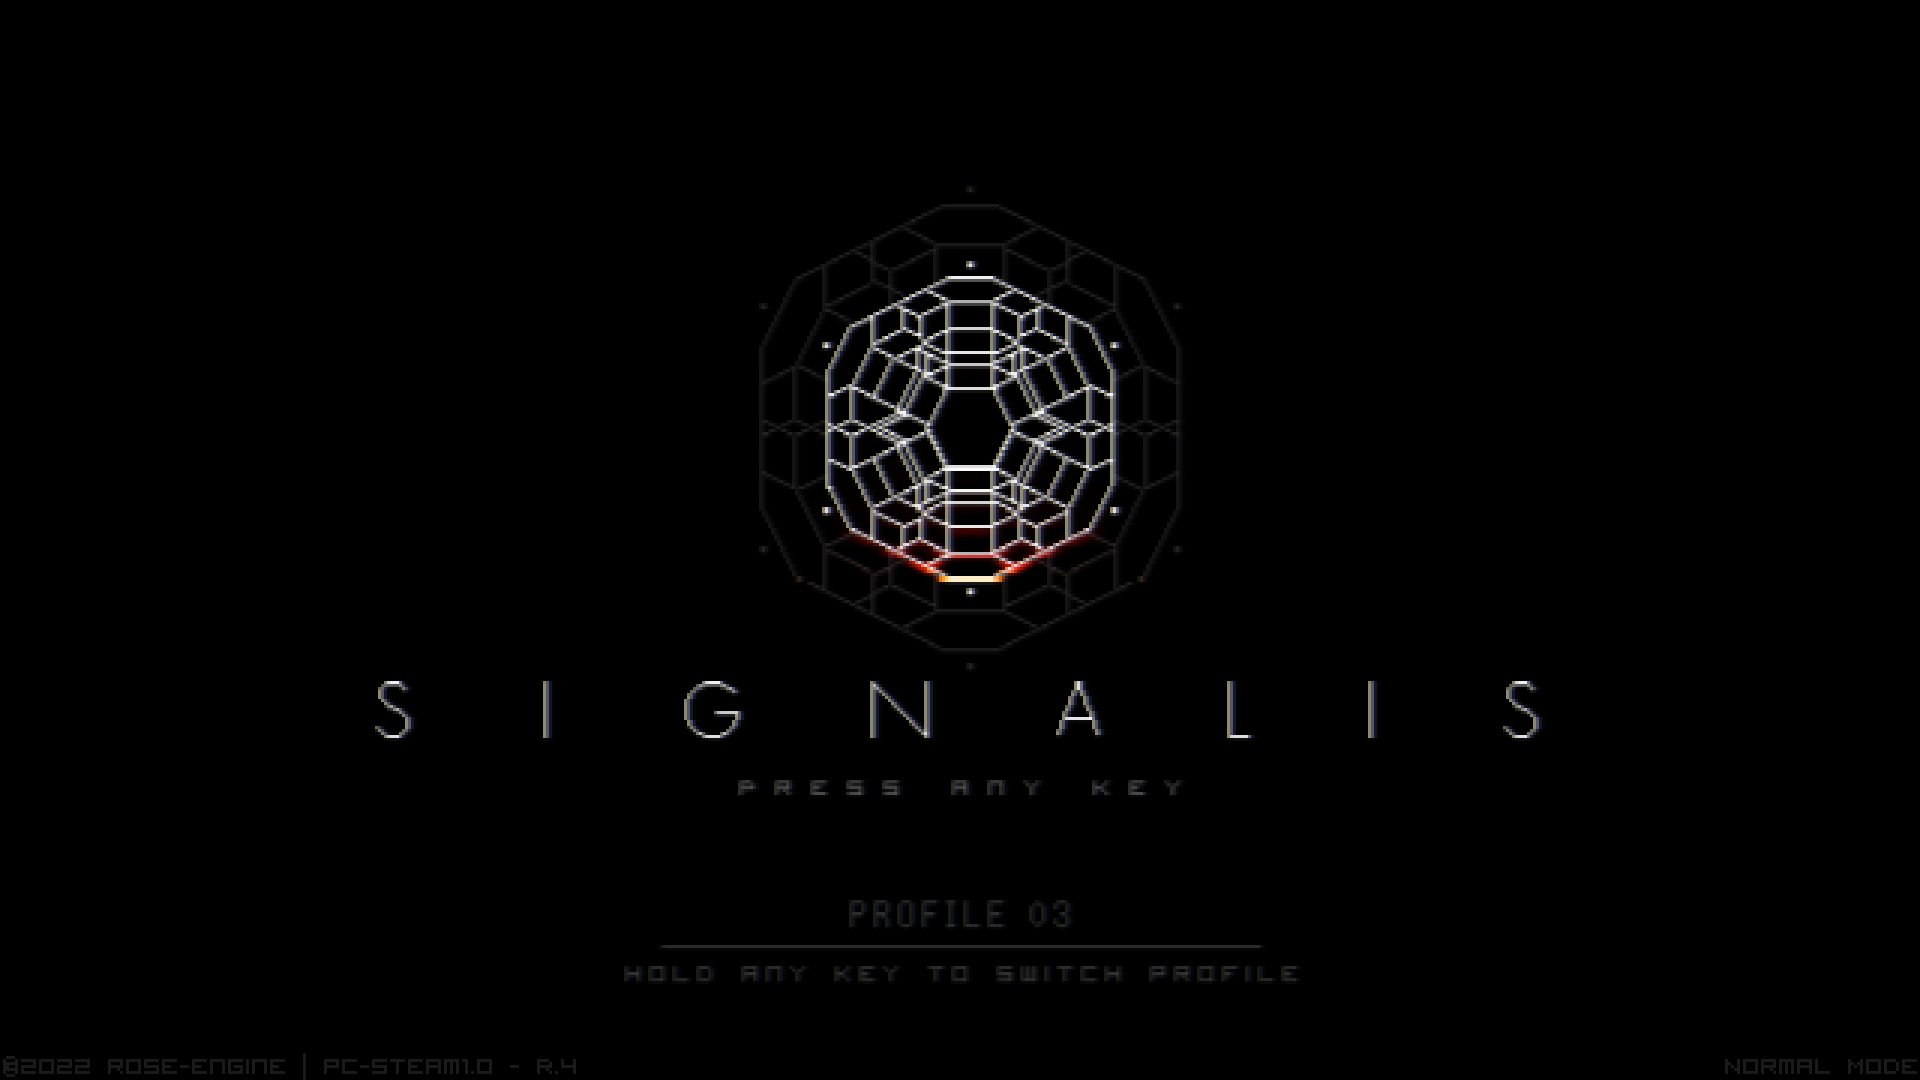
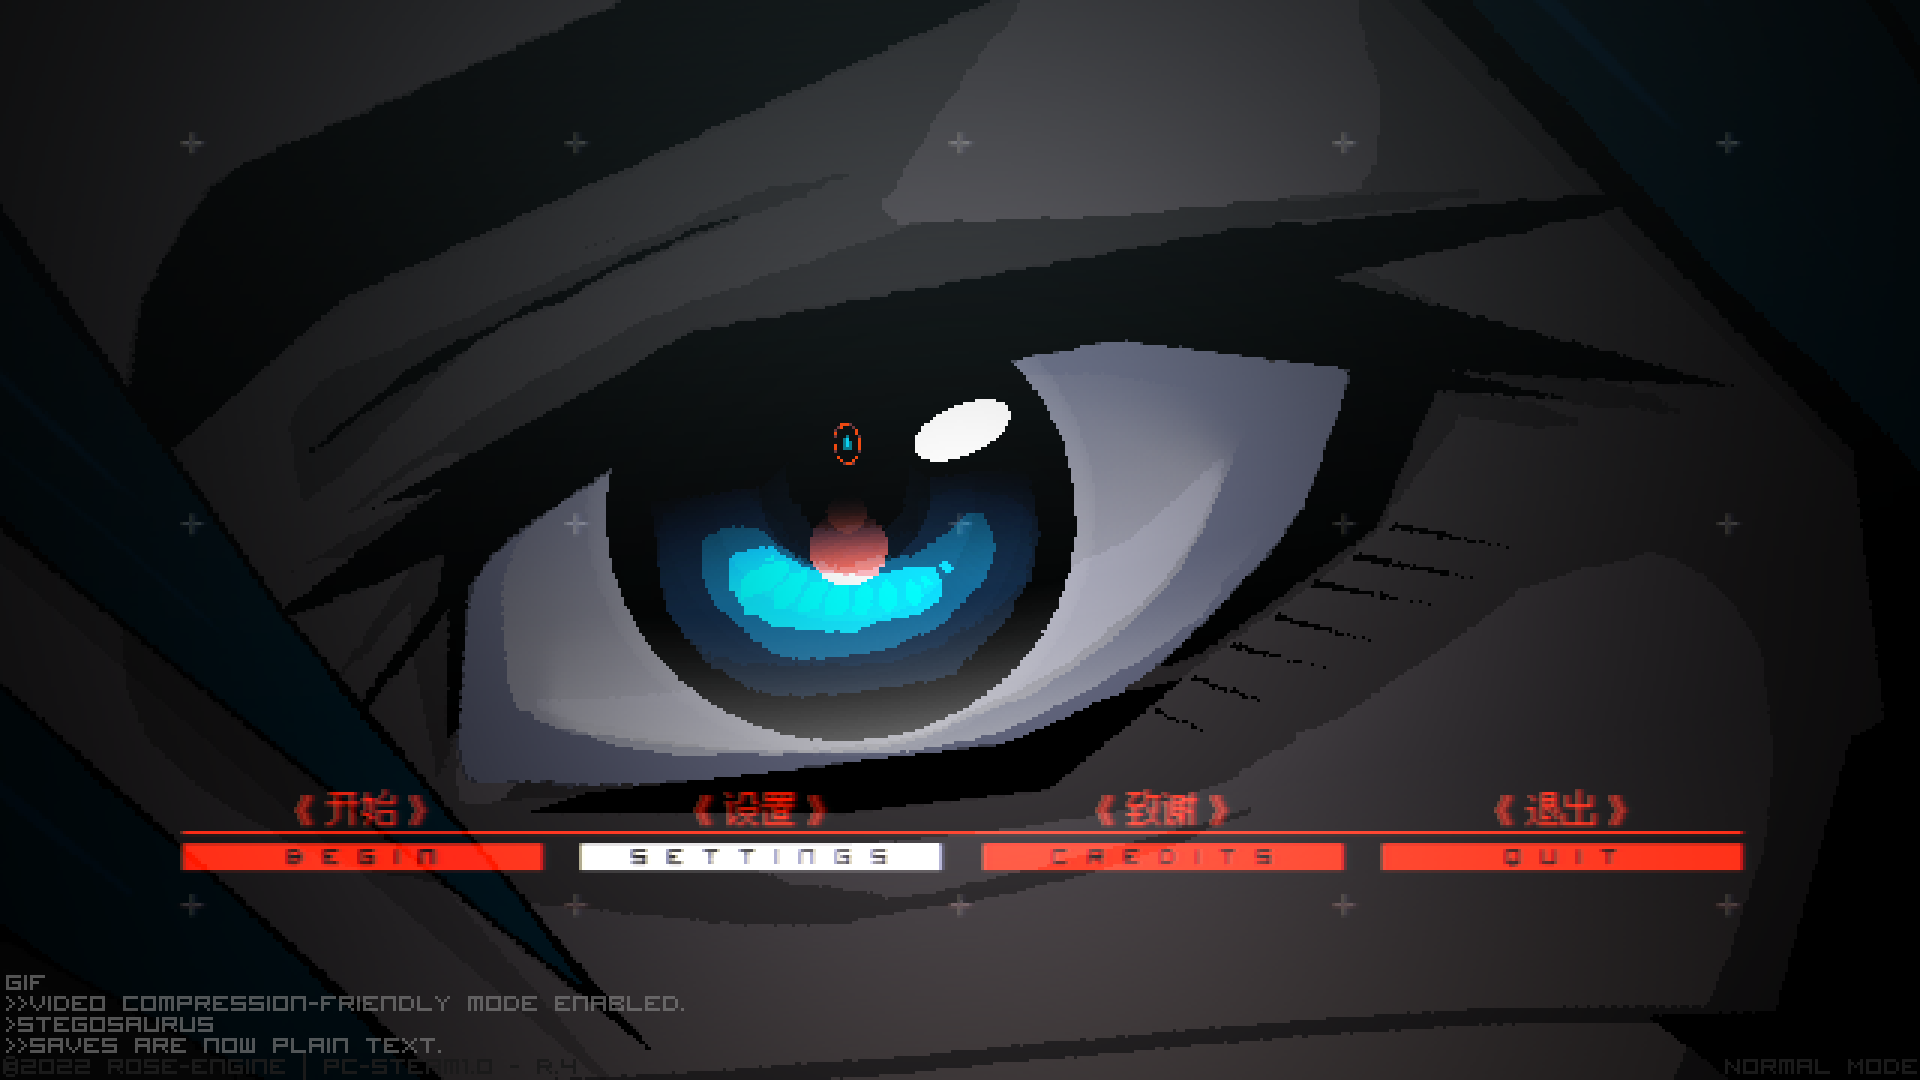
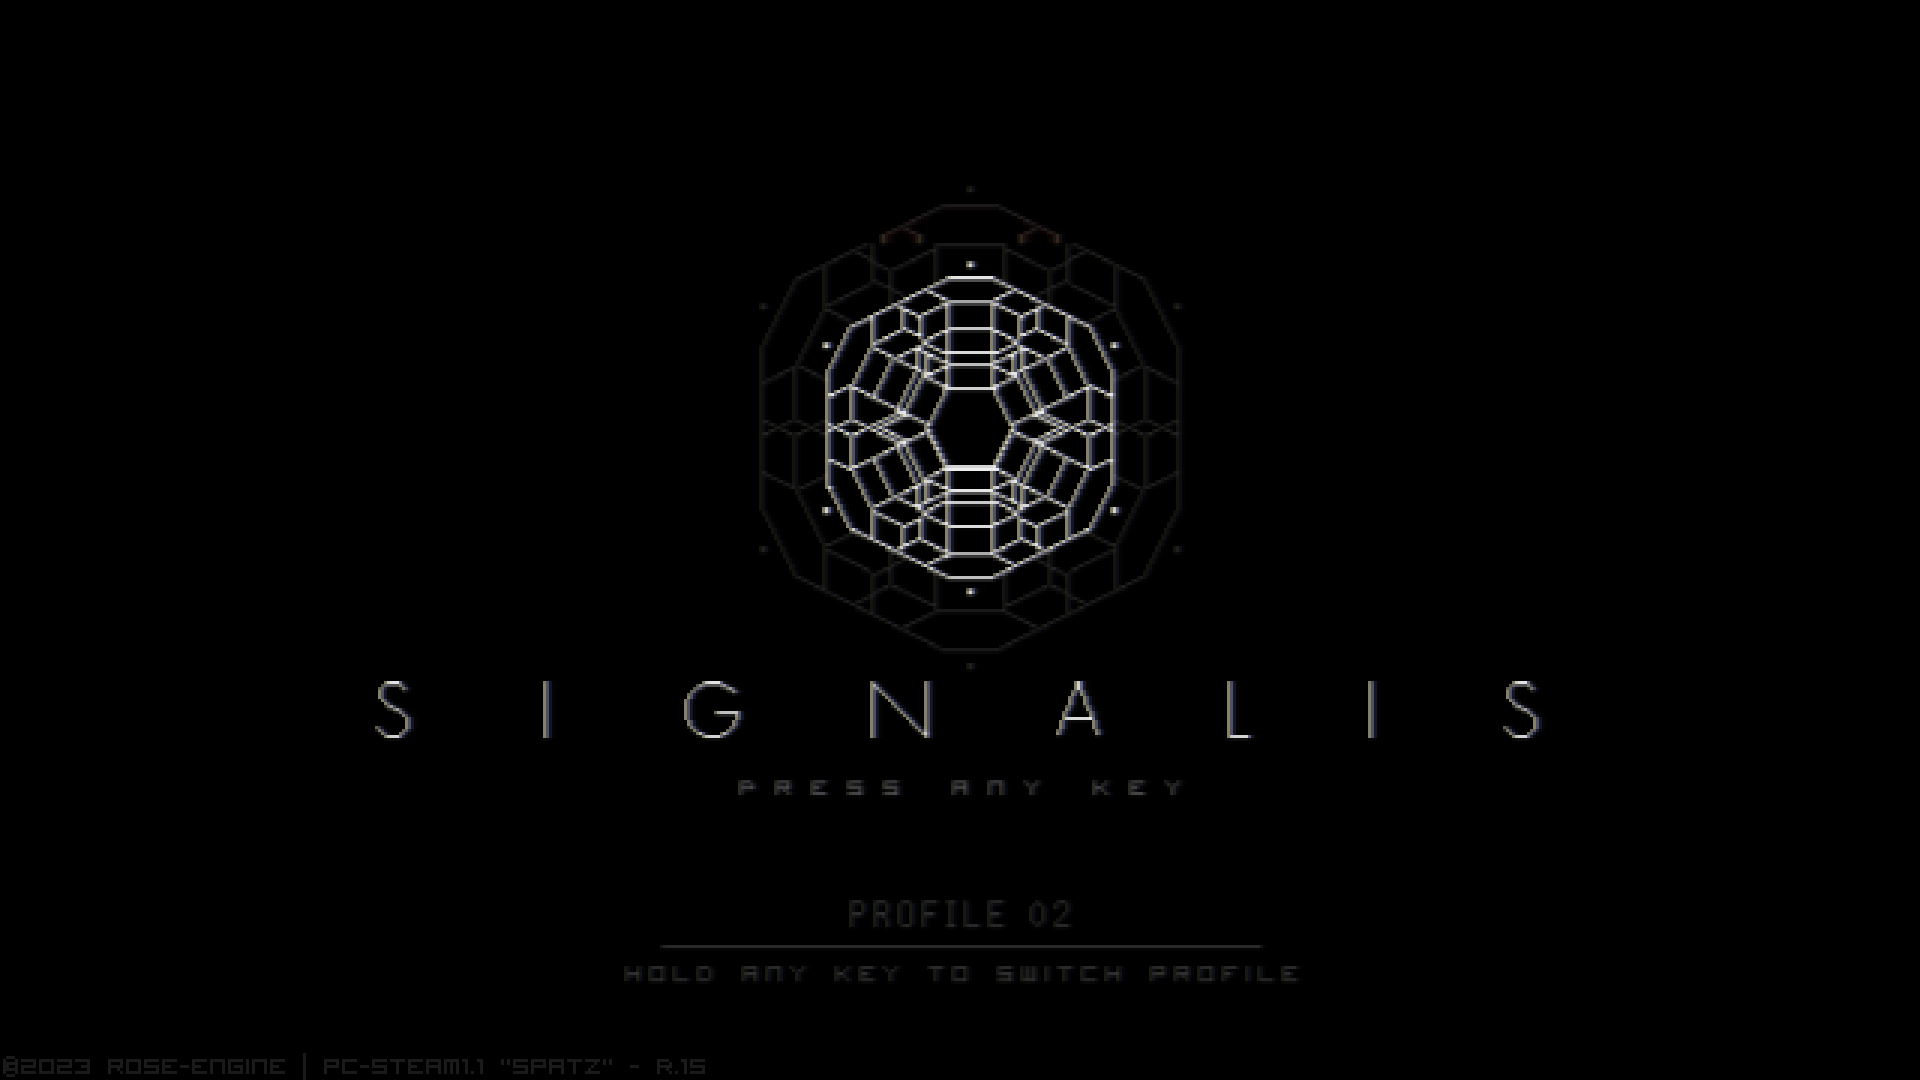
If you’ve carried out these steps correctly, when you launch the game next, you should see “©2022 ROSE-ENGINE | PC-STEAM1.0 – R.4” displayed in the bottom left corner. You can now proceed to the next section of the guide.
Als, upon launching the game, you still see “©2023 ROSE-ENGINE | PC-STEAM1.1 “SPATZ” – R.15,” it means you are running the current version of the game, which does not allow you to disable save encryption. In dit geval, please revisit this section and ensure you have correctly downgraded your game installation.
Finding and Backing Up Gamepass Save Files
To access the necessary folder, go to:
C:\Users\<Username>\AppData\Local\Packages\HumbleBundle.SIGNALIS_q2mcdwmzx4qja\SystemAppData\wgs\000900000135FB56_0000000000000000000000007239D761
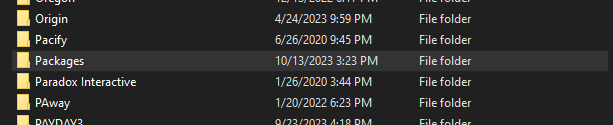
You can also use the shortcut %localappdata% in the Windows Search or Run, and then navigate to the “Packages” folder and find your “HumbleBundle.SIGNALIS” folders as described above.


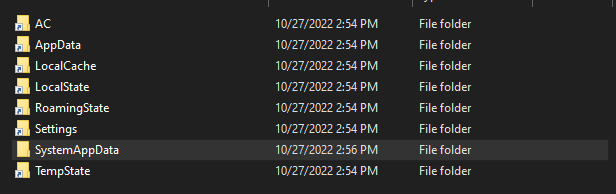


Inside this directory, you will find a folder with a long string of characters. This is where your game saves are located.
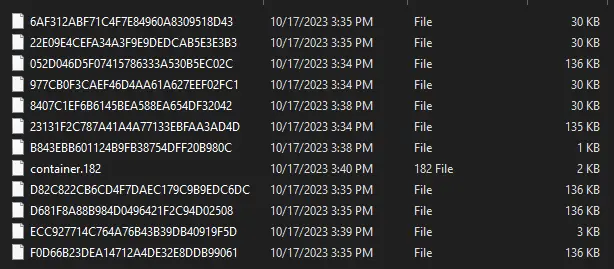
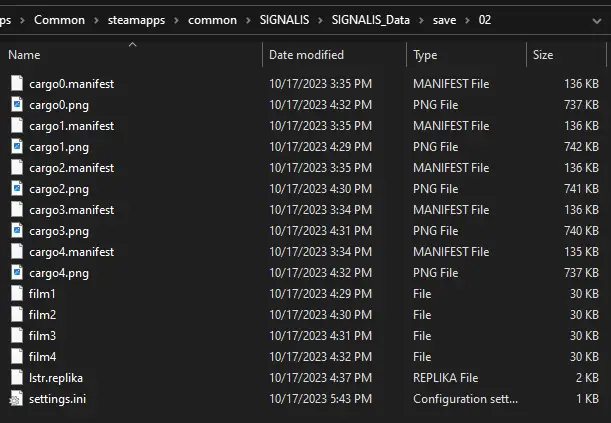
Nu, the next steps depend on how many saves you have in your Gamepass game. In the screenshot provided, the main save files, which are around 136 KB in size, are the primary save data, and the files around 30 KB store in-game screenshots. The size of the main save files can vary based on your in-game progress but typically remains above 10 KB, making them easy to distinguish.
The number of main save files in this folder will correspond to the number of saves you have in the game, plus one for the latest save, which always has a backup copy. Om verder te gaan, copy all these larger files, as well as the 30 KB files, out of this folder into another location for renaming.
Renaming These Files for the Steam Version
Your eventual save folder will need to include all of this:
- cargo0 (for your most recent save)
- cargo1
- cargo2
- cargo3
- cargo4
For the main save files (the larger ones), give them an extension of “.manifest.” Echter, do not give any extension to the 30 KB files (your screenshot files). Name your screenshot files as follows, in relation to the corresponding “cargo” bestand:
- film1
- film2
- film3
- film4
There is no film0.

If you’re uncertain about which save file is which, especially if you have multiple saves, je kunt de “Date Modified” timestamps to determine their order. alternatief, you can return to the Gamepass version of SIGNALIS and save all the files in reverse order to align “cargo0” met “cargo1” for convenience, ensuring the saves are listed in the correct order when sorted by Date Modified.
You don’t need to be concerned about the very small files from the Gamepass saves or the “lstr.replika” en “settings.ini” files from the Steam saves, as they are not relevant to this process.
Rename the larger files (your actual saves) as follows:
- cargo0 (for the backup of your most recent save)
- cargo1
- cargo2
- cargo3
- cargo4
Assign these main files an extension of “.manifest,” but do not provide any extension to the 30 KB screenshot files. Name your screenshot files as indicated:
- film1
- film2
- film3
- film4
These names should correspond to the “cargo” file they are associated with, in the order they appear in the save menu. There is no film0.
In case you’re unsure about which save file corresponds to which, particularly if you have multiple saves, je kunt de “Date Modified” timestamps to help you identify them. alternatief, you can return to the Gamepass version of SIGNALIS and save the files in reverse order so that “cargo0” aligns with “cargo1” for convenience, ensuring that the saves are listed in the correct order when sorted by Date Modified.
You don’t need to be concerned about the very small files from the Gamepass saves or the “lstr.replika” en “settings.ini” files from the Steam saves, as they are not relevant to this process.
Setting up SIGNALIS 1.0 for Importing the Saves
This is kinda fast.
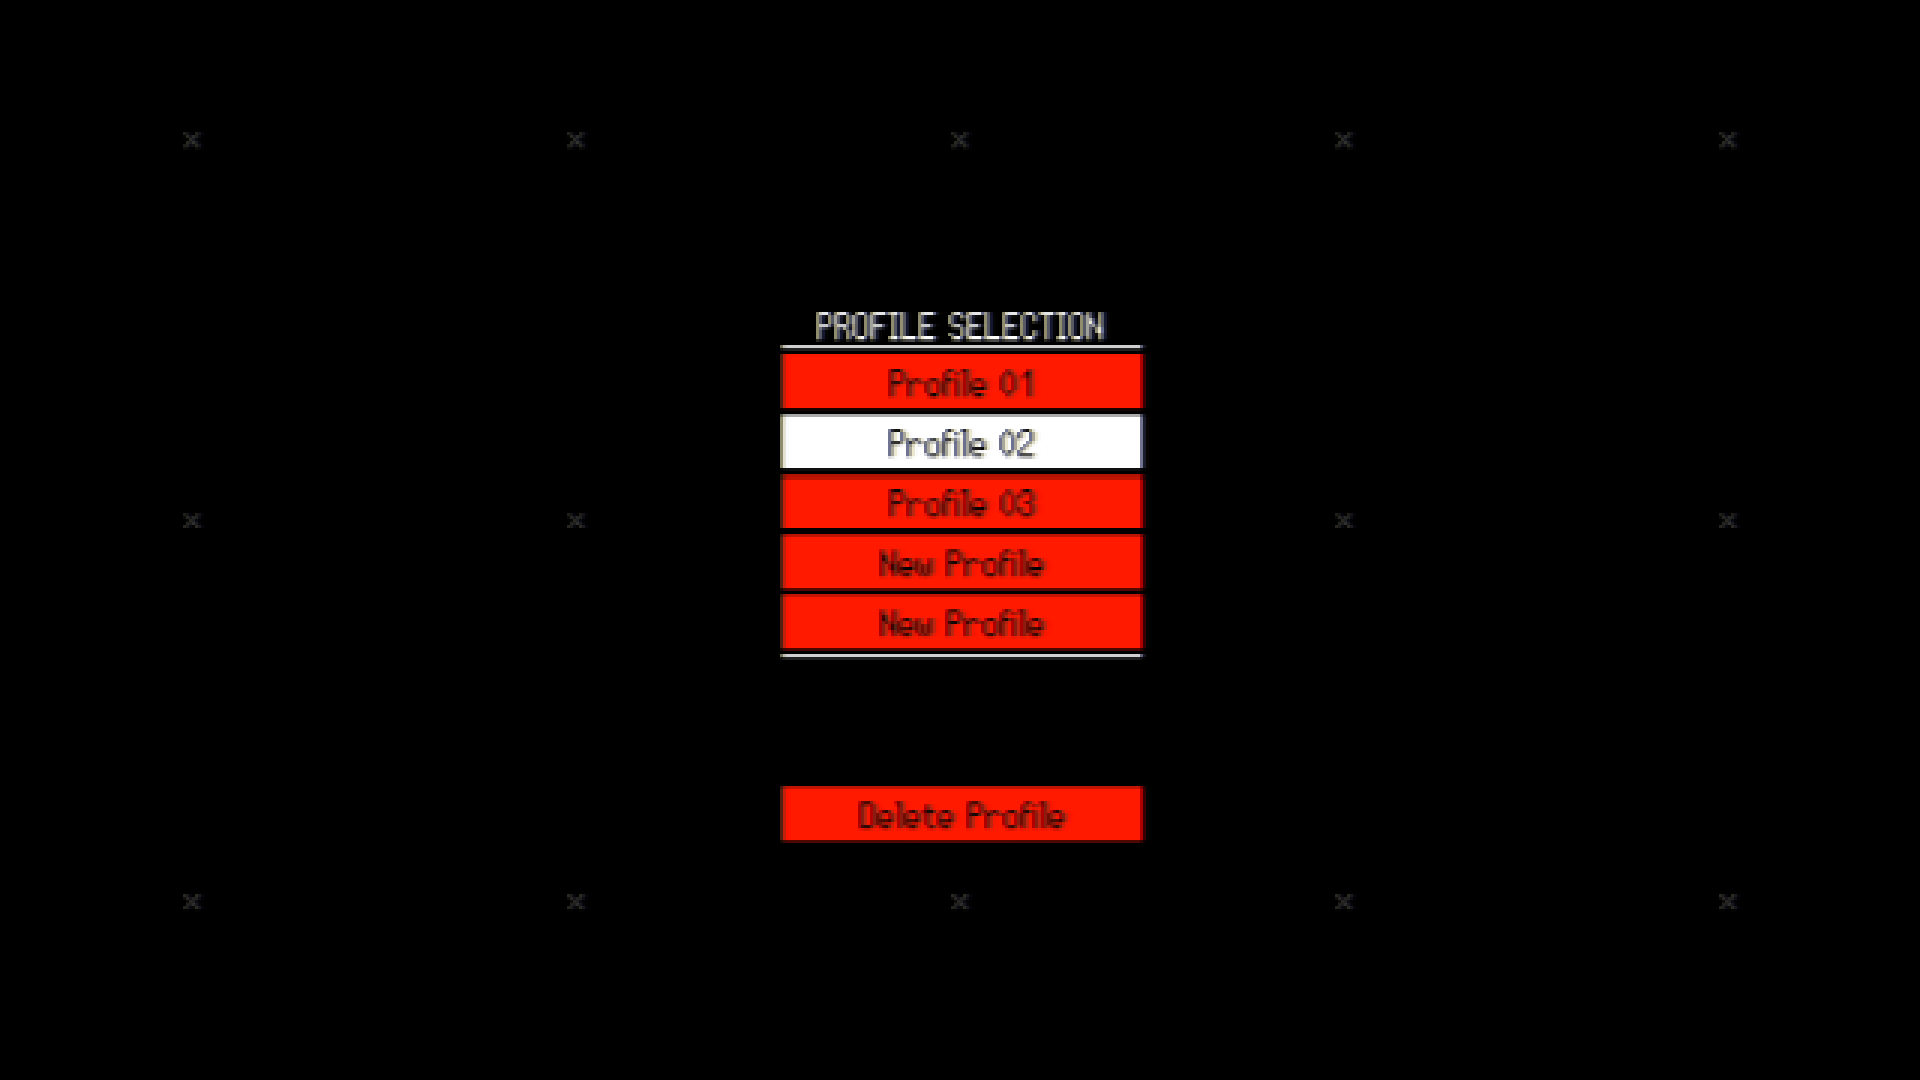
Eerst, when you release the 1.0 version of the game, make sure to make at least one new, empty profile. It’s even better if you make two. If you haven’t used Profile 1 before, you can use it to import your saved games.
Here’s how you do it: On the title screen, press and hold any key until the bar is completely filled up. When that happens, you’ll see a screen where you can pick a profile. In the picture below, you can see Profile 2 en 3, but you should create two empty profiles on your own or use Profile 1 if it’s not being used.
Once you’ve done this, exit the game.
Pasting In the Saves Into the Steam Version
This one’s short too.
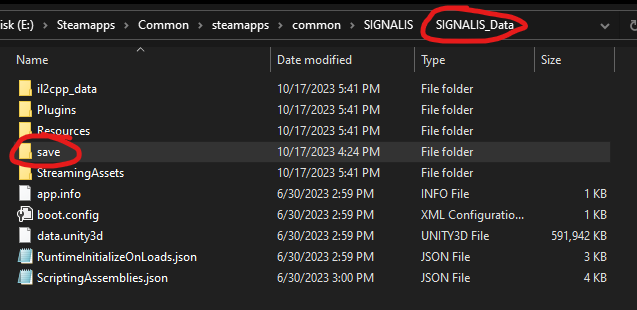
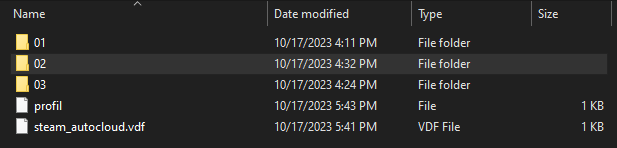
Go to your main game folder, then find the save folder. You’ll see it in SIGNALIS_Data and then save. Binnen, you’ll find profiles numbered from 01 naar 05. Pick the profile where you want to put your saved stuff. Copy the cargo.manifest and film files from the earlier part and paste them into that profile folder. Don’t worry about the lstr.replika and settings.ini files.
Importing the Save Files into The Game
Here’s the tricky part:
Defaultly, the game won’t look for save files that aren’t locked up with secret codes. If you search for them in the game right now, you’ll only see the “Begin” knop. Om dit op te lossen, we have to do a few steps. We need to switch to the non-secret code mode, go into each save file, save them again with secret codes, switch off the secret codes, go back to the main menu, and do this all over again. Does that sound a bit hard to understand? Let me explain it in an easier way.
Let’s pretend we’re using Profile 2 as the main place for this. It’s simpler to talk about this way. If you’re using different profiles, just replace them with your own.
- When you start the game, go to Profile 3 (or any other empty profile you made).
- On the screen where you see the game’s title, press the F7 key. Type in “ausruinen” Op uw toetsenbord, and then press Enter. Make sure you do this before the menu fully loads. If the “Instellingen” option is highlighted, that’s a good sign.
- If you don’t see anything happen after pressing F7, look at the bottom of the screen. If there’s some text there, you’re on the right track. Zo niet, go back and try step 2 opnieuw.
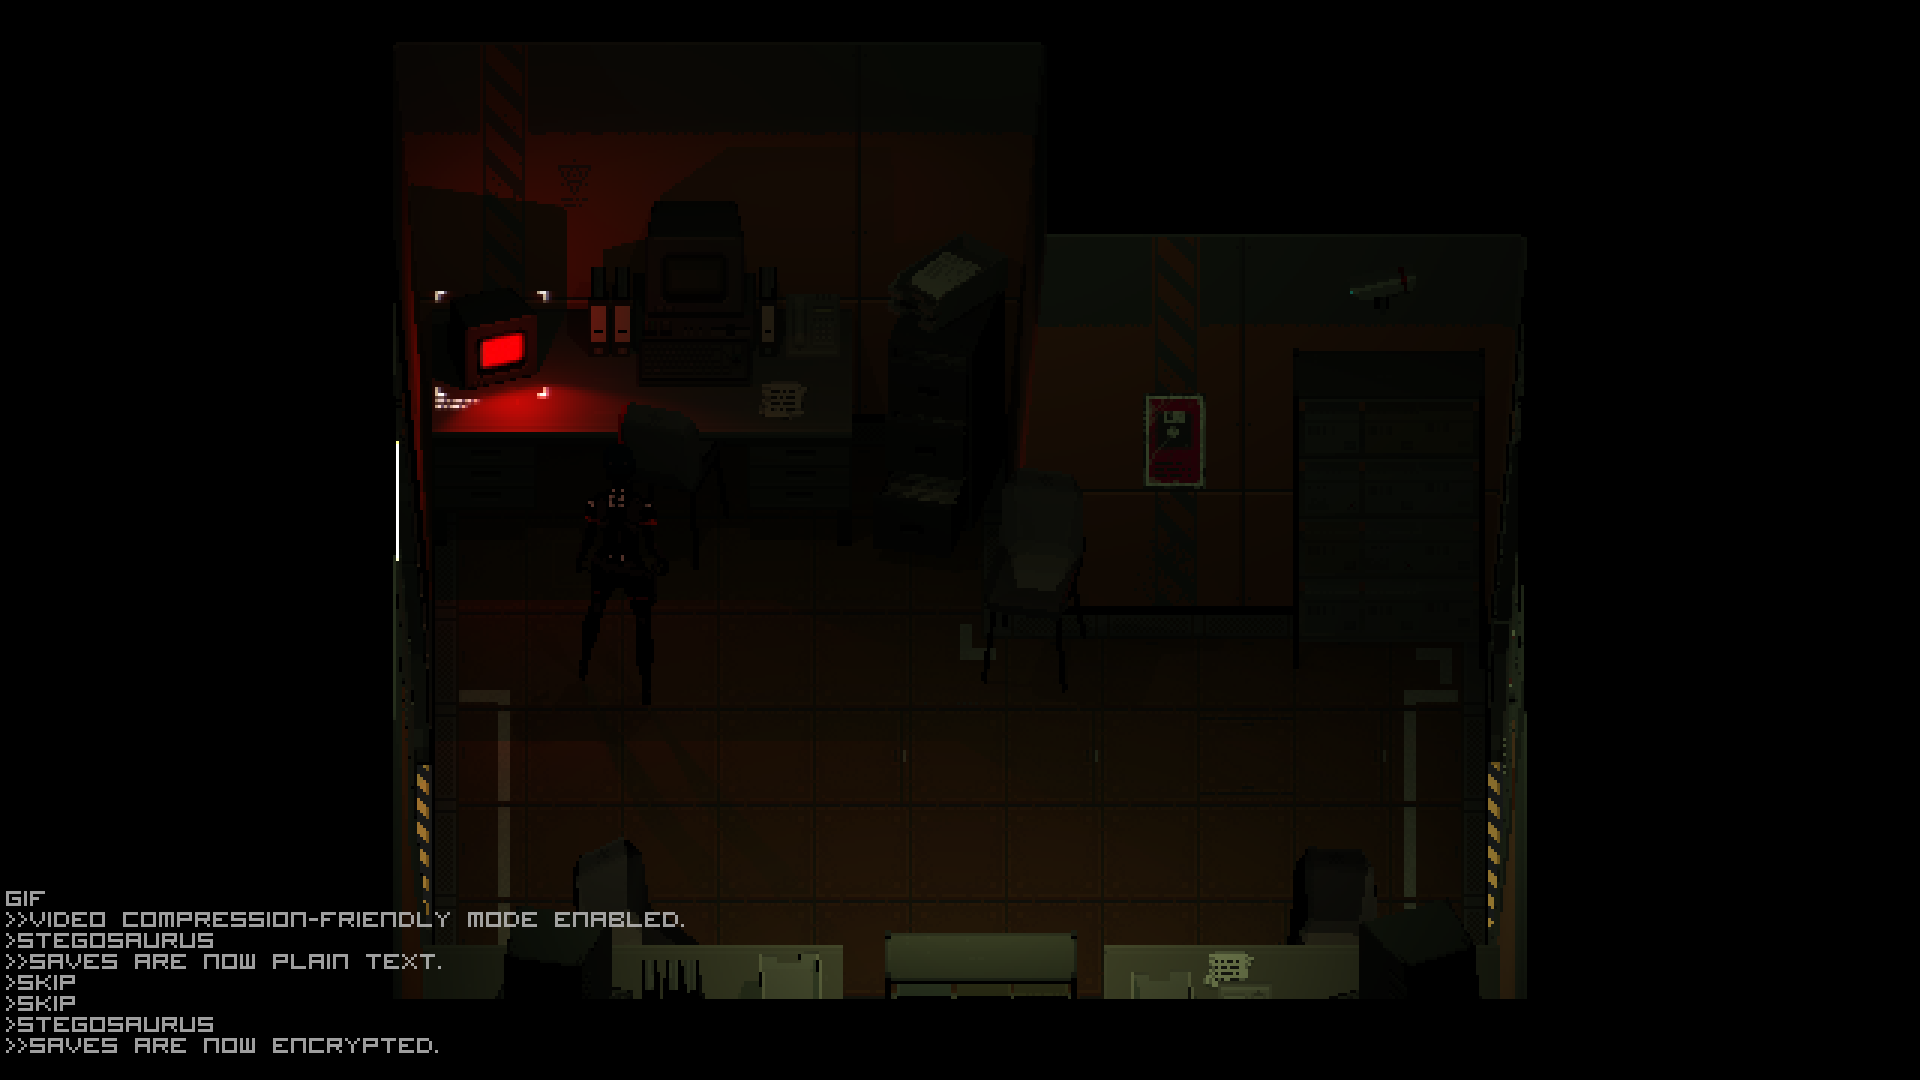
- In the debug console, type “stegosaurus.” You should see a message that says “>>SAVES ARE NOW PLAIN TEXT.” If you don’t see this, give it another try.
- Leave Profile 3 or the other empty profile by pressing the escape key when you’re on the main menu. Go back to Profile 2, which is your main empty profile.
- Nu, go into the main menu. You should be able to access the “Doorgaan” screen, and all your old saved games should be there.
- Choose one of your saved games and enter it.
- Once you’re inside the saved game, open the debug console again by pressing F7. Dan, type “stegosaurus” one more time. You should see a message that says “>>SAVES ARE NOW ENCRYPTED.”
- While you’re in the encrypted saves mode, save over the current game you’re in. Maak je geen zorgen; the unencrypted version will still be there in the game files. But if you’re planning to switch back to version 1.1, you won’t be able to use those unencrypted files.
- Open the Debug console again, switch back to Plain Text mode by typing “stegosaurus,” and then go back to the main menu. By doing this, you’ll see the remaining unencrypted saves that you need to convert.
- Herhaal de stappen 7 naar 10 for each of your saves. Once you’ve saved over the last one in encrypted mode, don’t switch back to Plain-Text mode. In plaats van, go directly back to the main menu while keeping encrypted saves turned on.
If you can see all your saves in the “Doorgaan” screen without needing Plain-Text mode, then you’ve successfully converted all your saves. You can also double-check by looking for both a .png and a .manifest file for each save you have (plus one more for cargo0).
If everything went smoothly, you’re now all set to restore the game to version 1.1 “Spatz.” Enjoy your gaming experience!
Upgrading SIGNALIS Back to 1.1 Van 1.0 (Steam Only)
Stop playing the game and let Steam Cloud sync your new saves if it’s turned on. If it asks about conflicting files, choose the local option.
Locate the backup of SIGNALIS 1.1 wherever you stored it. If you copied a save folder with it, I suggest removing the save folder from the backup before you continue, or else you might overwrite and lose your progress so far.
Paste the backup’s files back into your main game installation and accept all overwrites. If the game doesn’t start or if you didn’t back up the original files, you’ll need to run a verification. You can do this in the “Eigenschappen” section accessible through the gear icon on the Library page. This action will essentially revert the game to version 1.1 but will download any missing files.
If everything goes smoothly, you should notice the Version 1.1 text in the lower left corner when you launch the game. Your saves should function correctly in this version. You have now effectively moved your saves from the Gamepass version of SIGNALIS to the Steam version.
“©2023 ROSE-ENGINE | PC-STEAM1.1 “SPATZ” – R.15″
Dat is alles wat we vandaag hiervoor delen SIGNALIS gids. Deze handleiding is oorspronkelijk gemaakt en geschreven door sharkhide. Voor het geval we er niet in slagen deze handleiding bij te werken, U kunt de laatste update vinden door dit te volgen link.