If you’ve ever done something wrong in Saint Denis and tried to run away, you probably noticed that no matter which way you go, the police magically appear in front of you to stop you. It can be super annoying, especially because they’re on horses and they chase you down. Dus, picture this: You accidentally bump into someone while trying to hop on your horse, and boom, you’re on a wild adventure trying to escape from the police. This guide is here to help you understand how I manage to shake them off without even leaving Saint Denis.
Get Wanted in Saint Denis
The easiest way to get the attention of the authorities in Saint Denis is by committing a crime. Just rampage the city and you will find yourself being wanted by the police.
Escaping the Police
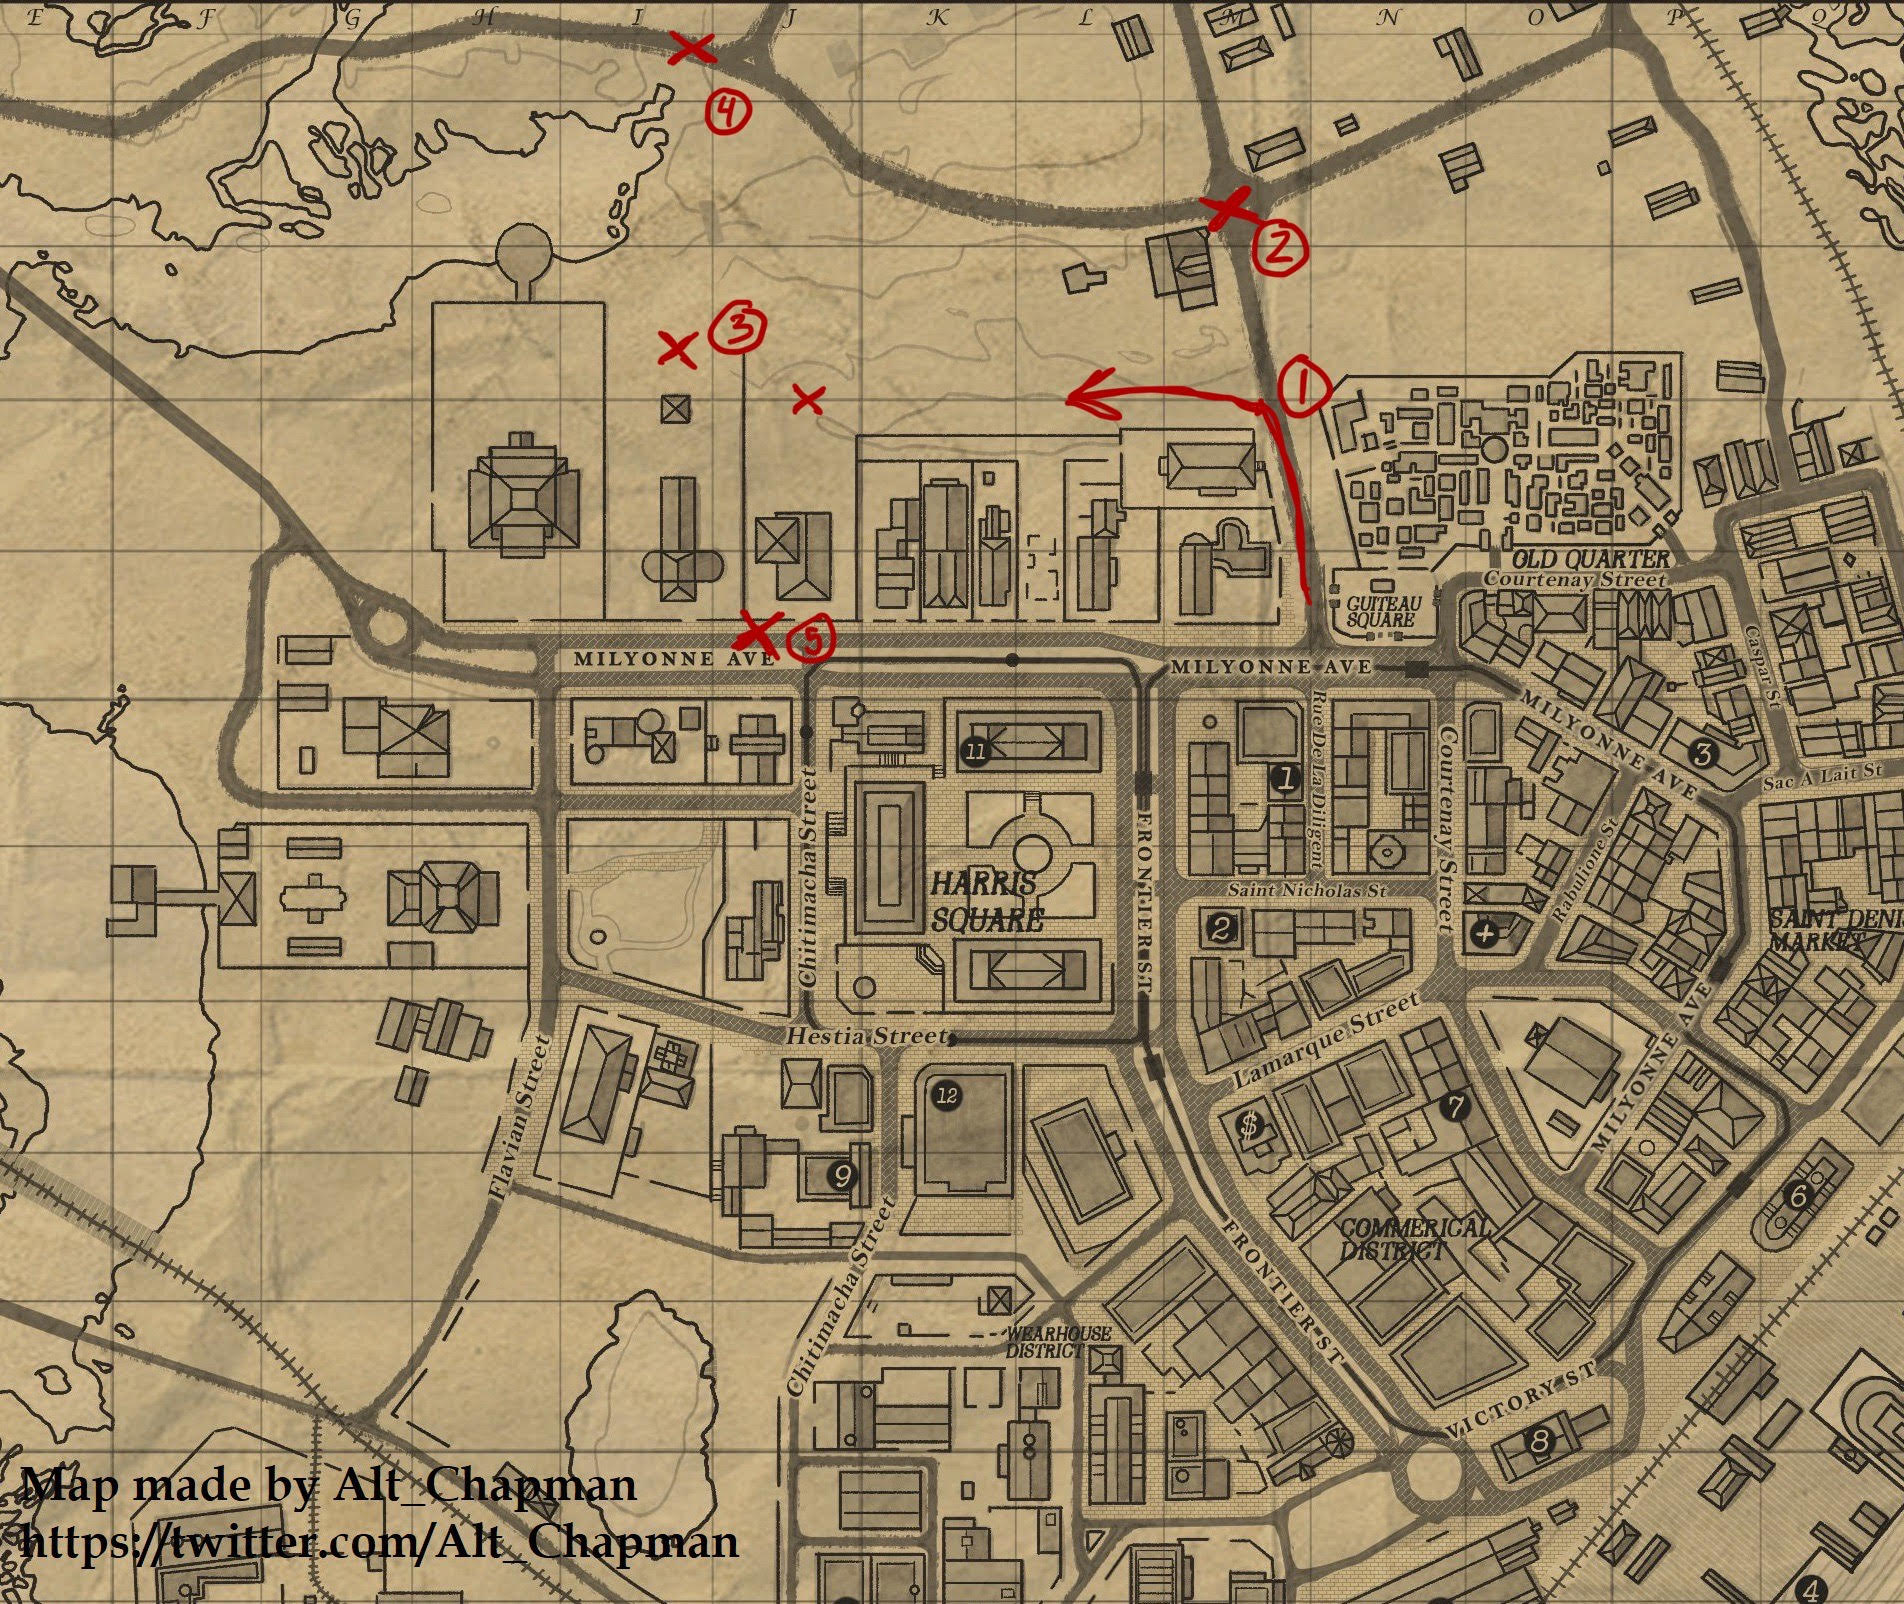
In eenvoudige bewoordingen, here’s the plan: We’re going to move from point 1 to point 3, avoiding point 2. But the trick is to keep going back and forth between north and south. This makes the police appear and disappear around points 4 en 5. Let me explain this step by step.
Start by going to the road on the west side of the cemetery.
Look at the map with the arrow labeled as “1.” If you’ve ever tried to leave the city when you’re in trouble, you’ll know that mounted police appear at the “X” gemarkeerd als “2.” Try to stay away from them, but if they show up, head west between the house on the corner and the small group of shops to the north, where you’ll find Algeron Wasp’s milliner shop.
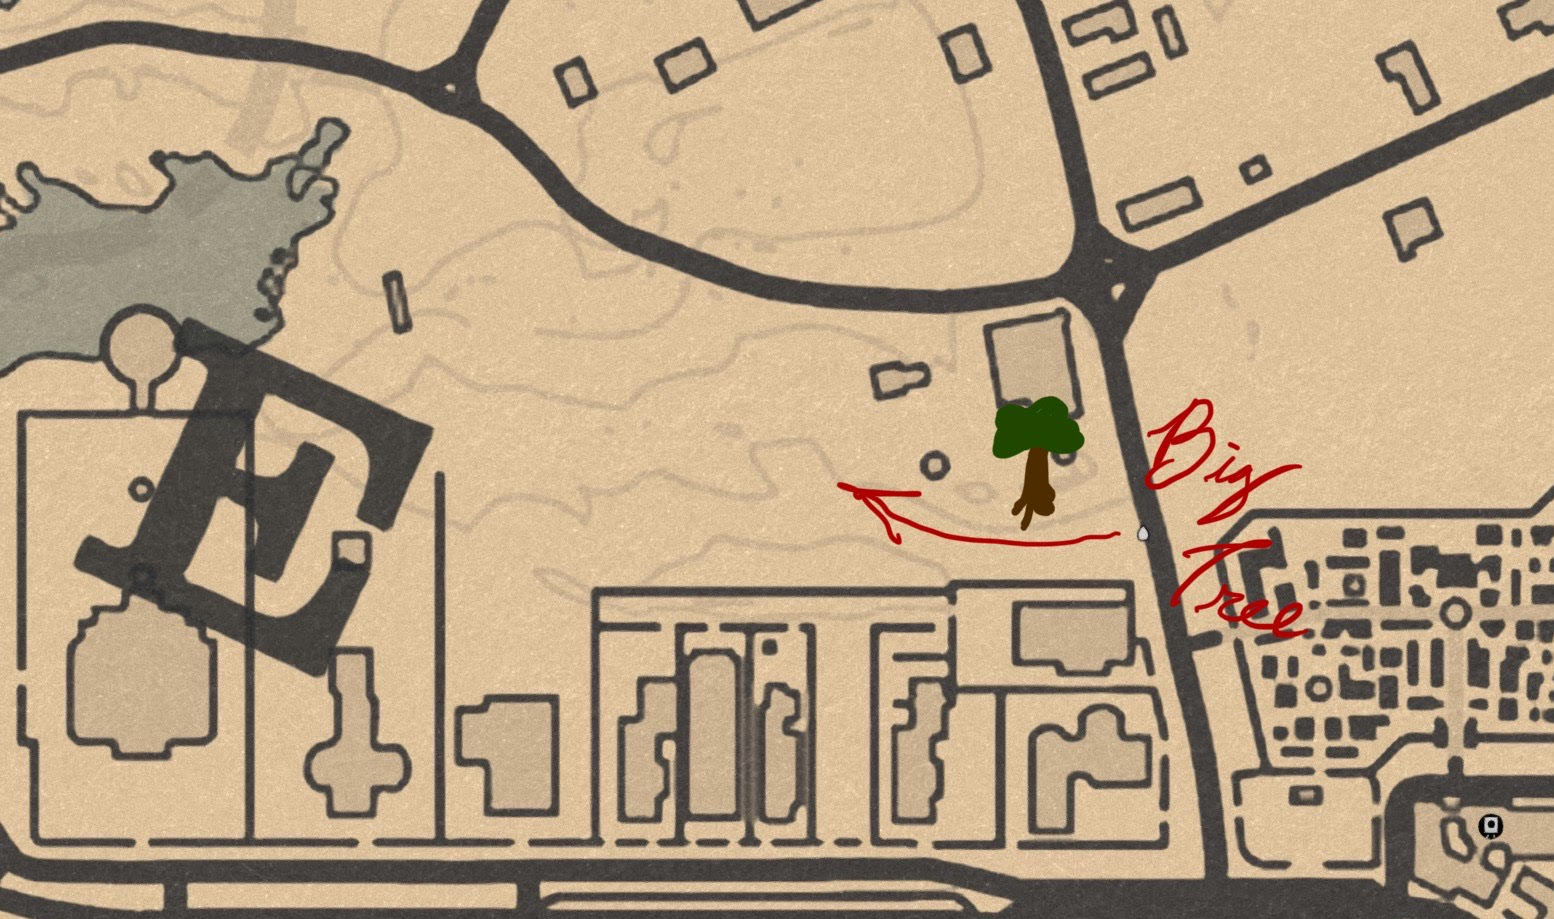
Nu, look for a big tree and keep moving west towards the “X’s” gemarkeerd als 3 on the reference map.
Once you reach the properties east of the Mayor’s house, you need to position yourself carefully.
Here’s what you should do:
- Aim to reach one of the properties marked as “3” on the reference map. I personally prefer the one on the right (oosten), but there’s a catch – you need to stay outside of the ‘WANTED’ cirkel. Soms, the police that spawned at point 2 can push the circle too far, so watch out for that. The reason I like the one on the right is that we’re going to be moving up and down (north and south), and if there’s a worker in the yard, they might rat you out for trespassing. The property on the east side is smaller, giving you more room to work with.
- Nu komt het leuke deel – the jiggle! The goal here is to make the police spawn and then disappear, just like I mentioned in the reference map. When you head far enough north, they’ll spawn on the road near the “X” gemarkeerd als 4 op de kaart. Maar, if you start moving south, the ones that just spawned at 4 will vanish, and some new guys will come in at the “X” gemarkeerd als 5 in plaats van. Head back north, and it’s like the guys on Milyonne Ave suddenly remember they’re late for a dentist appointment and decide to go away.
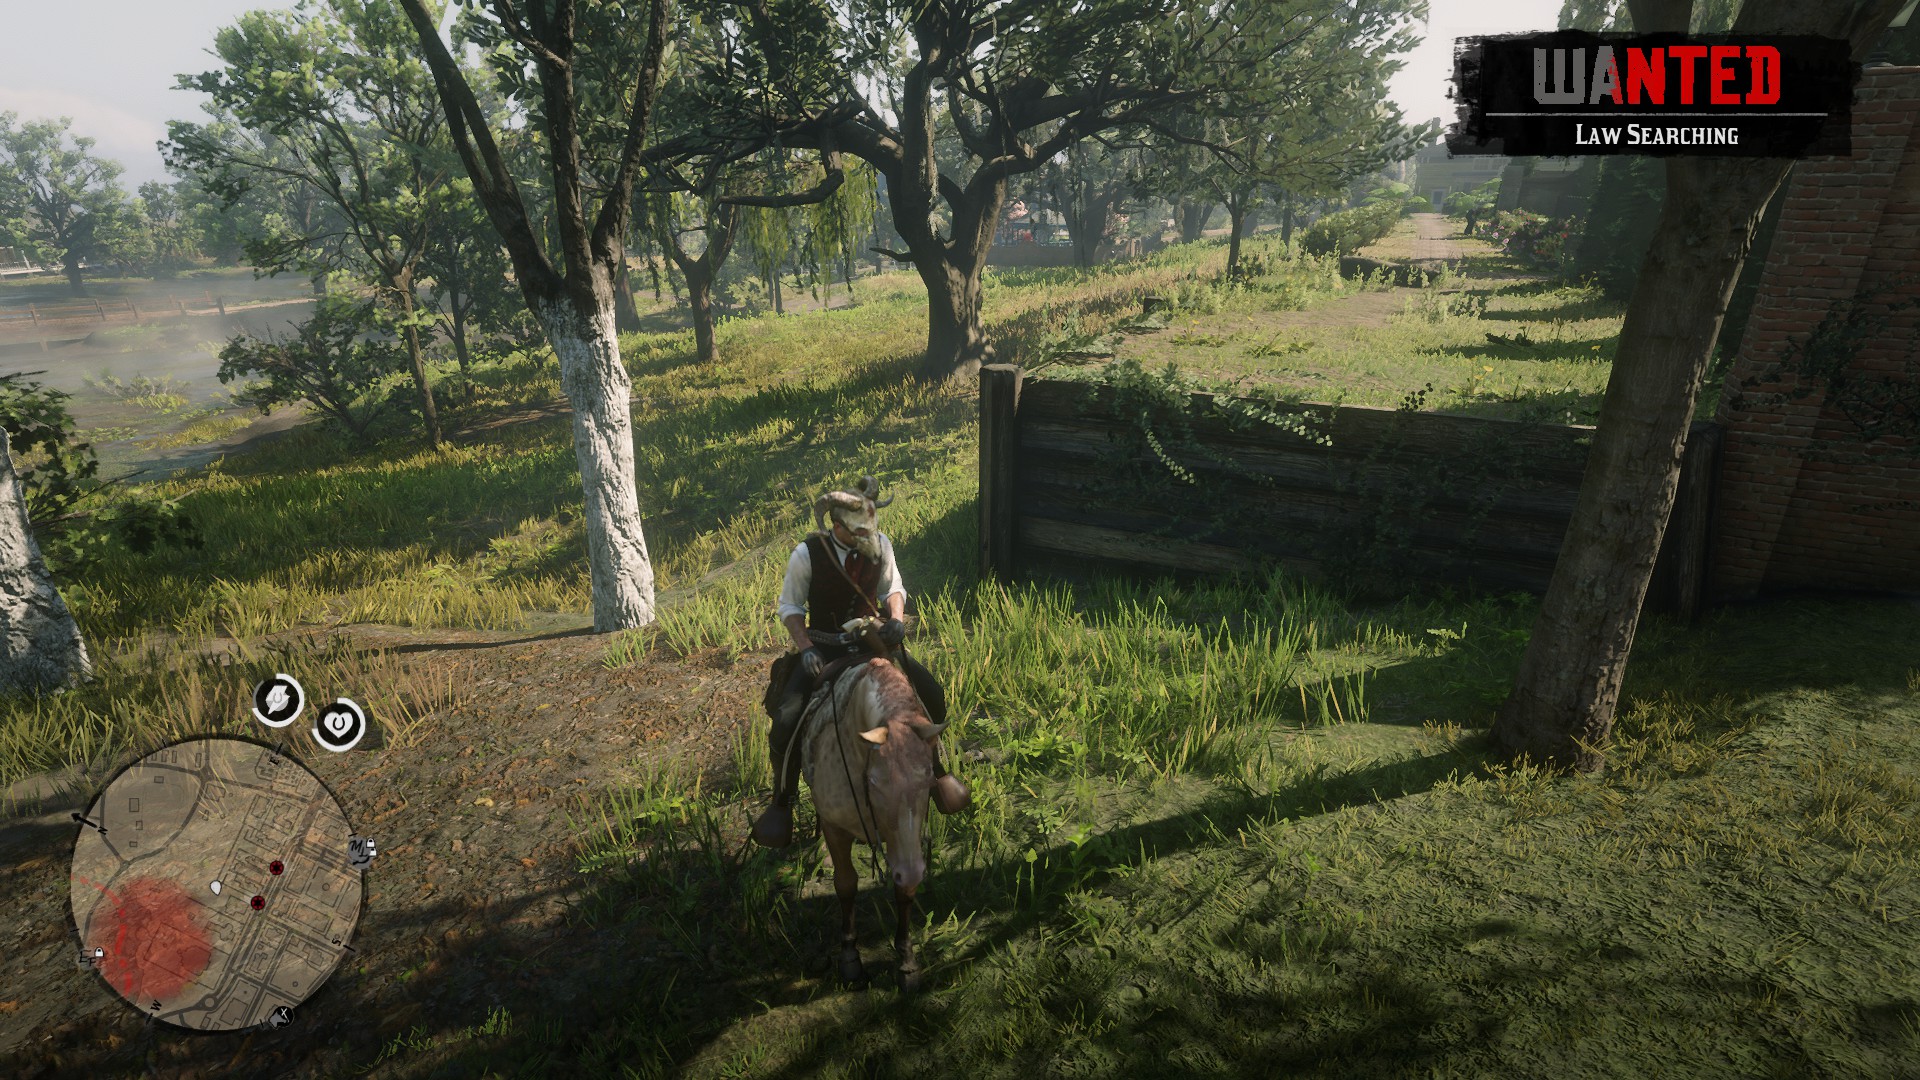
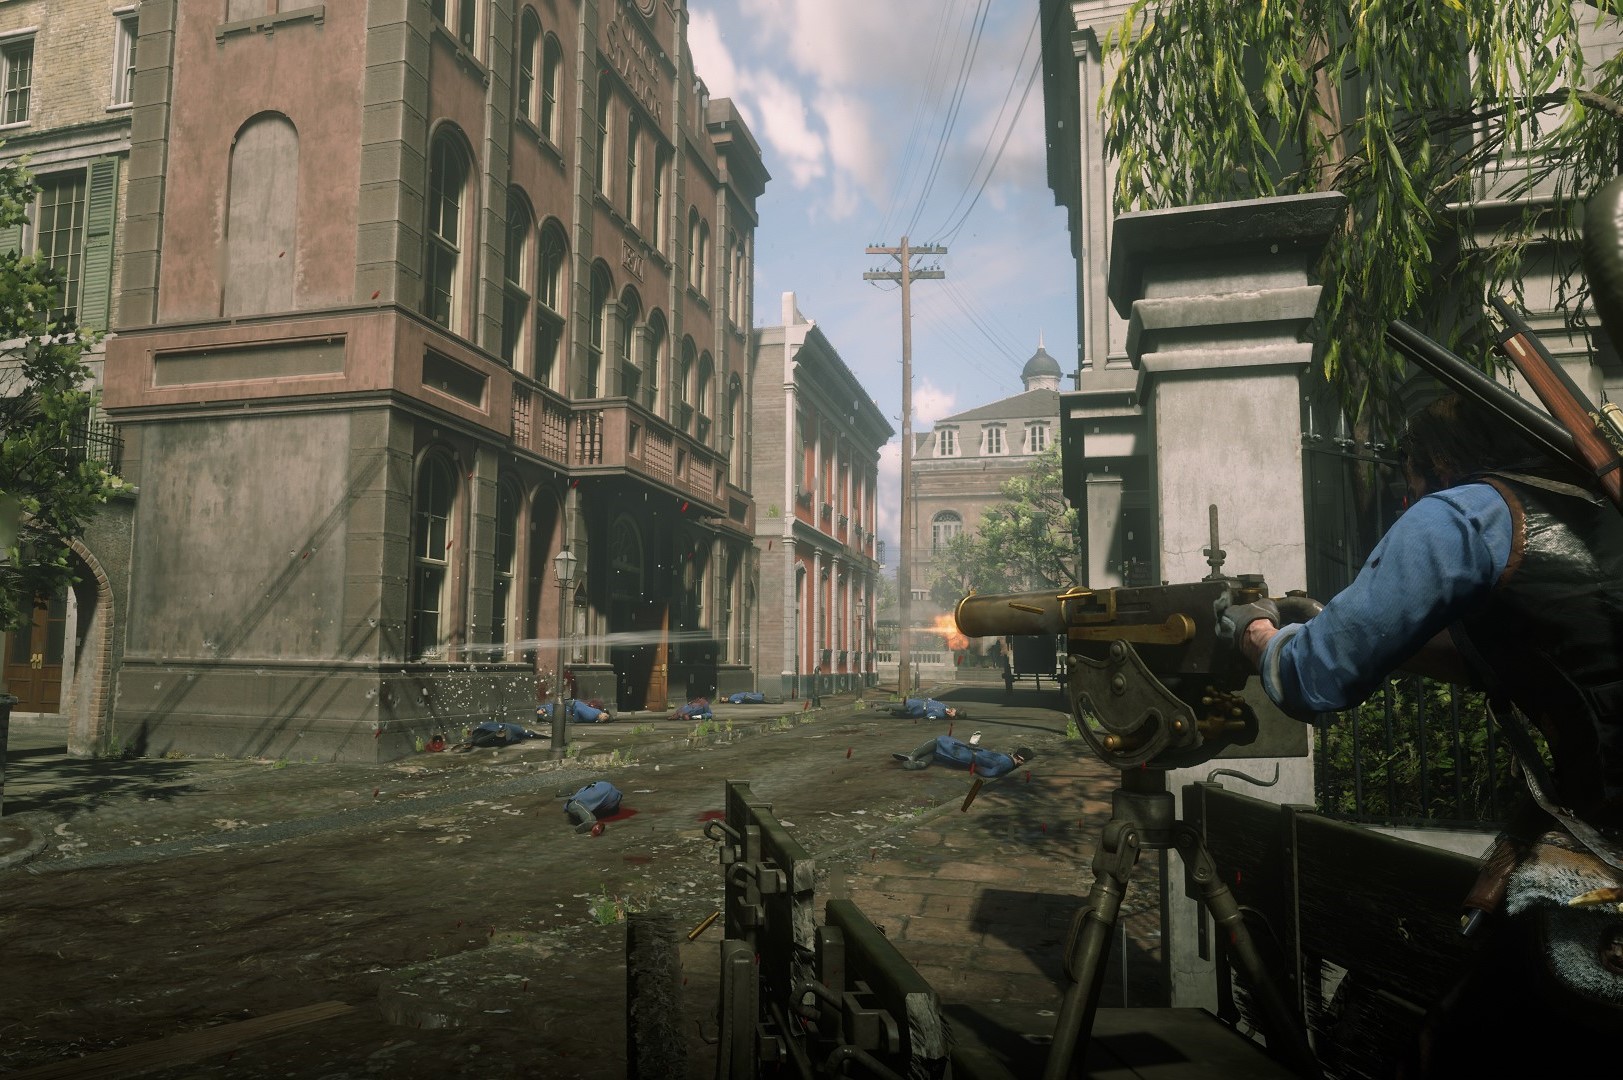
In this picture, you can spot the police officers who have spawned on Milyonne Ave (I also couldn’t resist showing off my Language Other Than English – LOTE – skills and the cool ram skull mask I’m wearing).
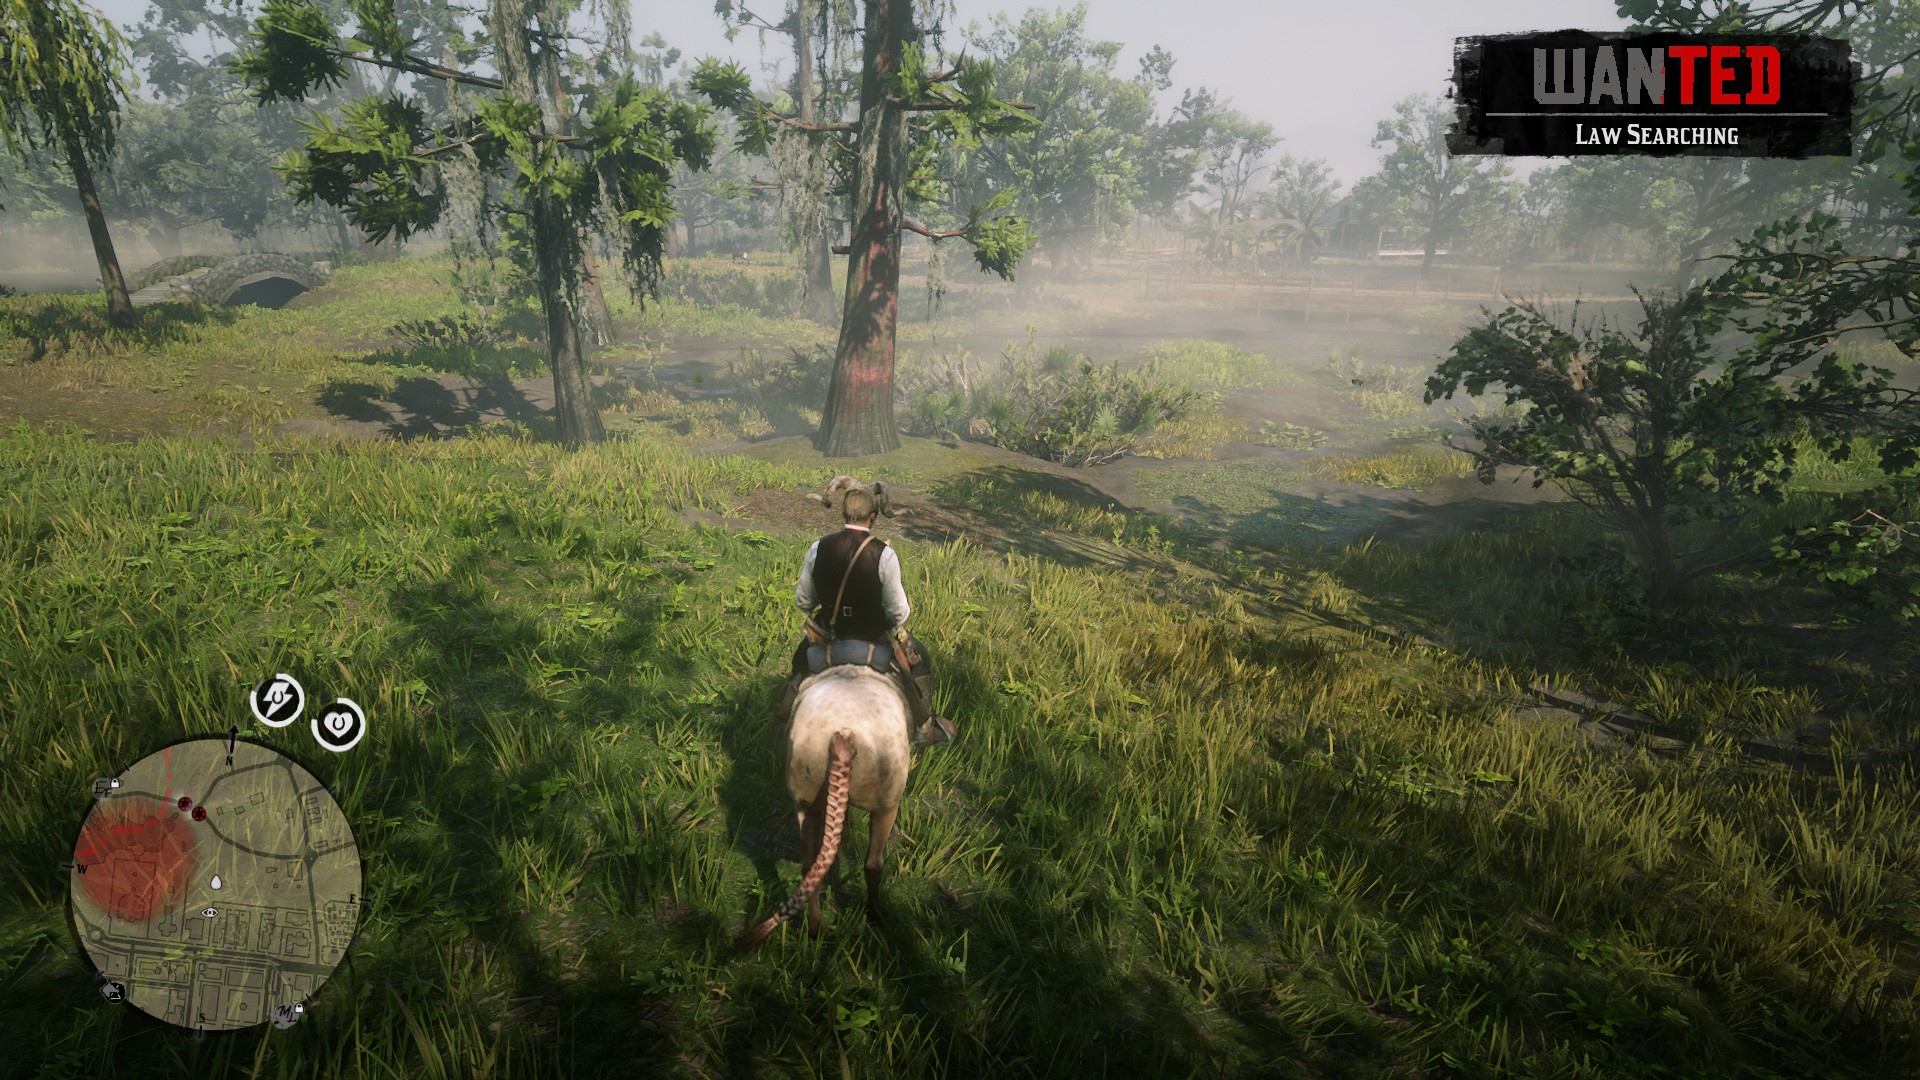
In this one, they’re up north again, and the ones down south are no longer there. Soms, you’ll spot riderless horses galloping around as well. I’m not exactly sure why the game makes the police disappear but leaves the horses, but it’s a great way to find a decent extra horse. Aanvullend, on the mini-map in the picture above, you’ll notice a small white icon that represents a witness; this occurs when you trespass. It happens occasionally, and I either intimidate them or eliminate them quietly, but it usually isn’t a significant problem based on my experience.
Conclusie
What I usually do after I’m no longer ‘WANTED’ is head straight north (or more like NNW) into the swamp and set up camp. Dan, I use fast-travel to get to Rhodes and pay off my bounty. Saint Denis can be incredibly frustrating when you have a bounty, and the police are actively searching for you. I know it’s intentional in the game design, but it’s nearly impossible to accomplish anything in Saint Denis when you’re wanted. Naar mijn mening, this approach is quicker and cheaper because you don’t have lawmen chasing you, and you don’t need to evade their sight or pay for any altercations.
I hope this explanation helps! Feel free to ask if you need any further clarification or if I made any errors.
Dat is alles wat we vandaag hiervoor delen Red Dead-verlossing 2 gids. Deze handleiding is oorspronkelijk gemaakt en geschreven door Old Man Jenkins. Voor het geval we er niet in slagen deze handleiding bij te werken, U kunt de laatste update vinden door dit te volgen link.