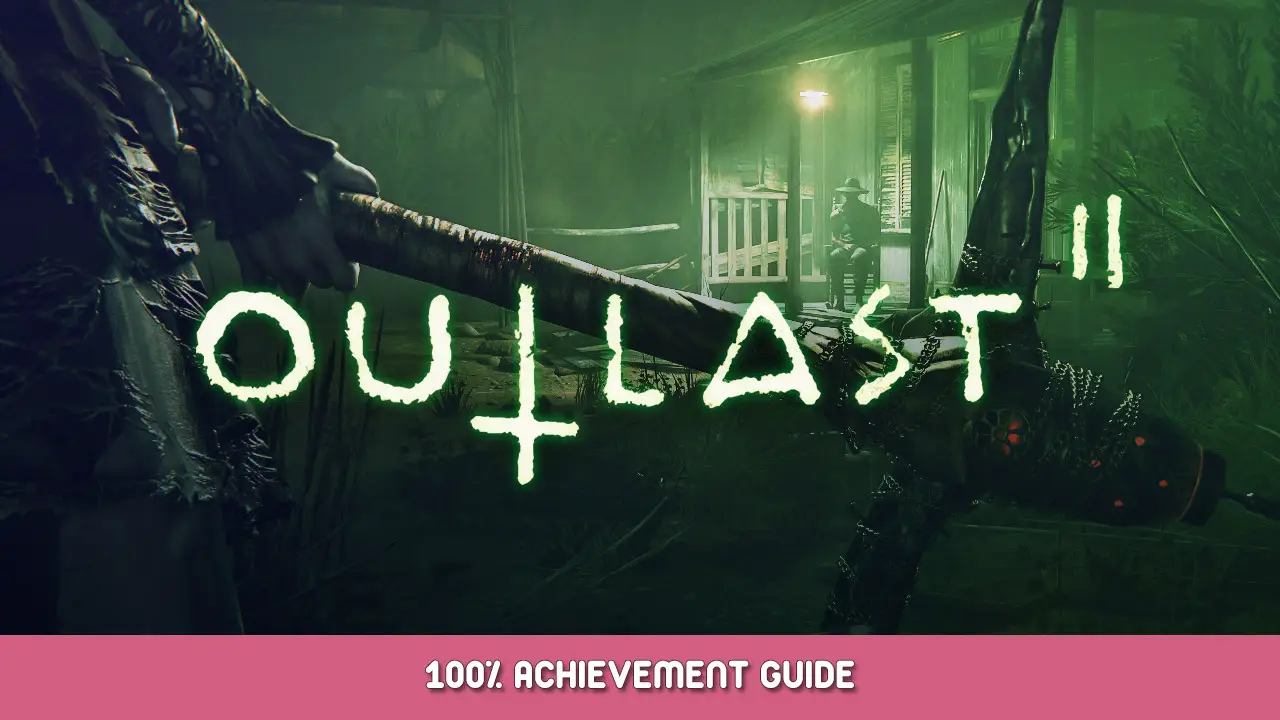
- Titel: Outlast 2
- Releasedatum:
- Ontwikkelaar:
- Uitgever:
Information about Outlast 2 is nog steeds onvolledig. Help ons alstublieft de details van het spel hiermee in te vullen contactformulier.
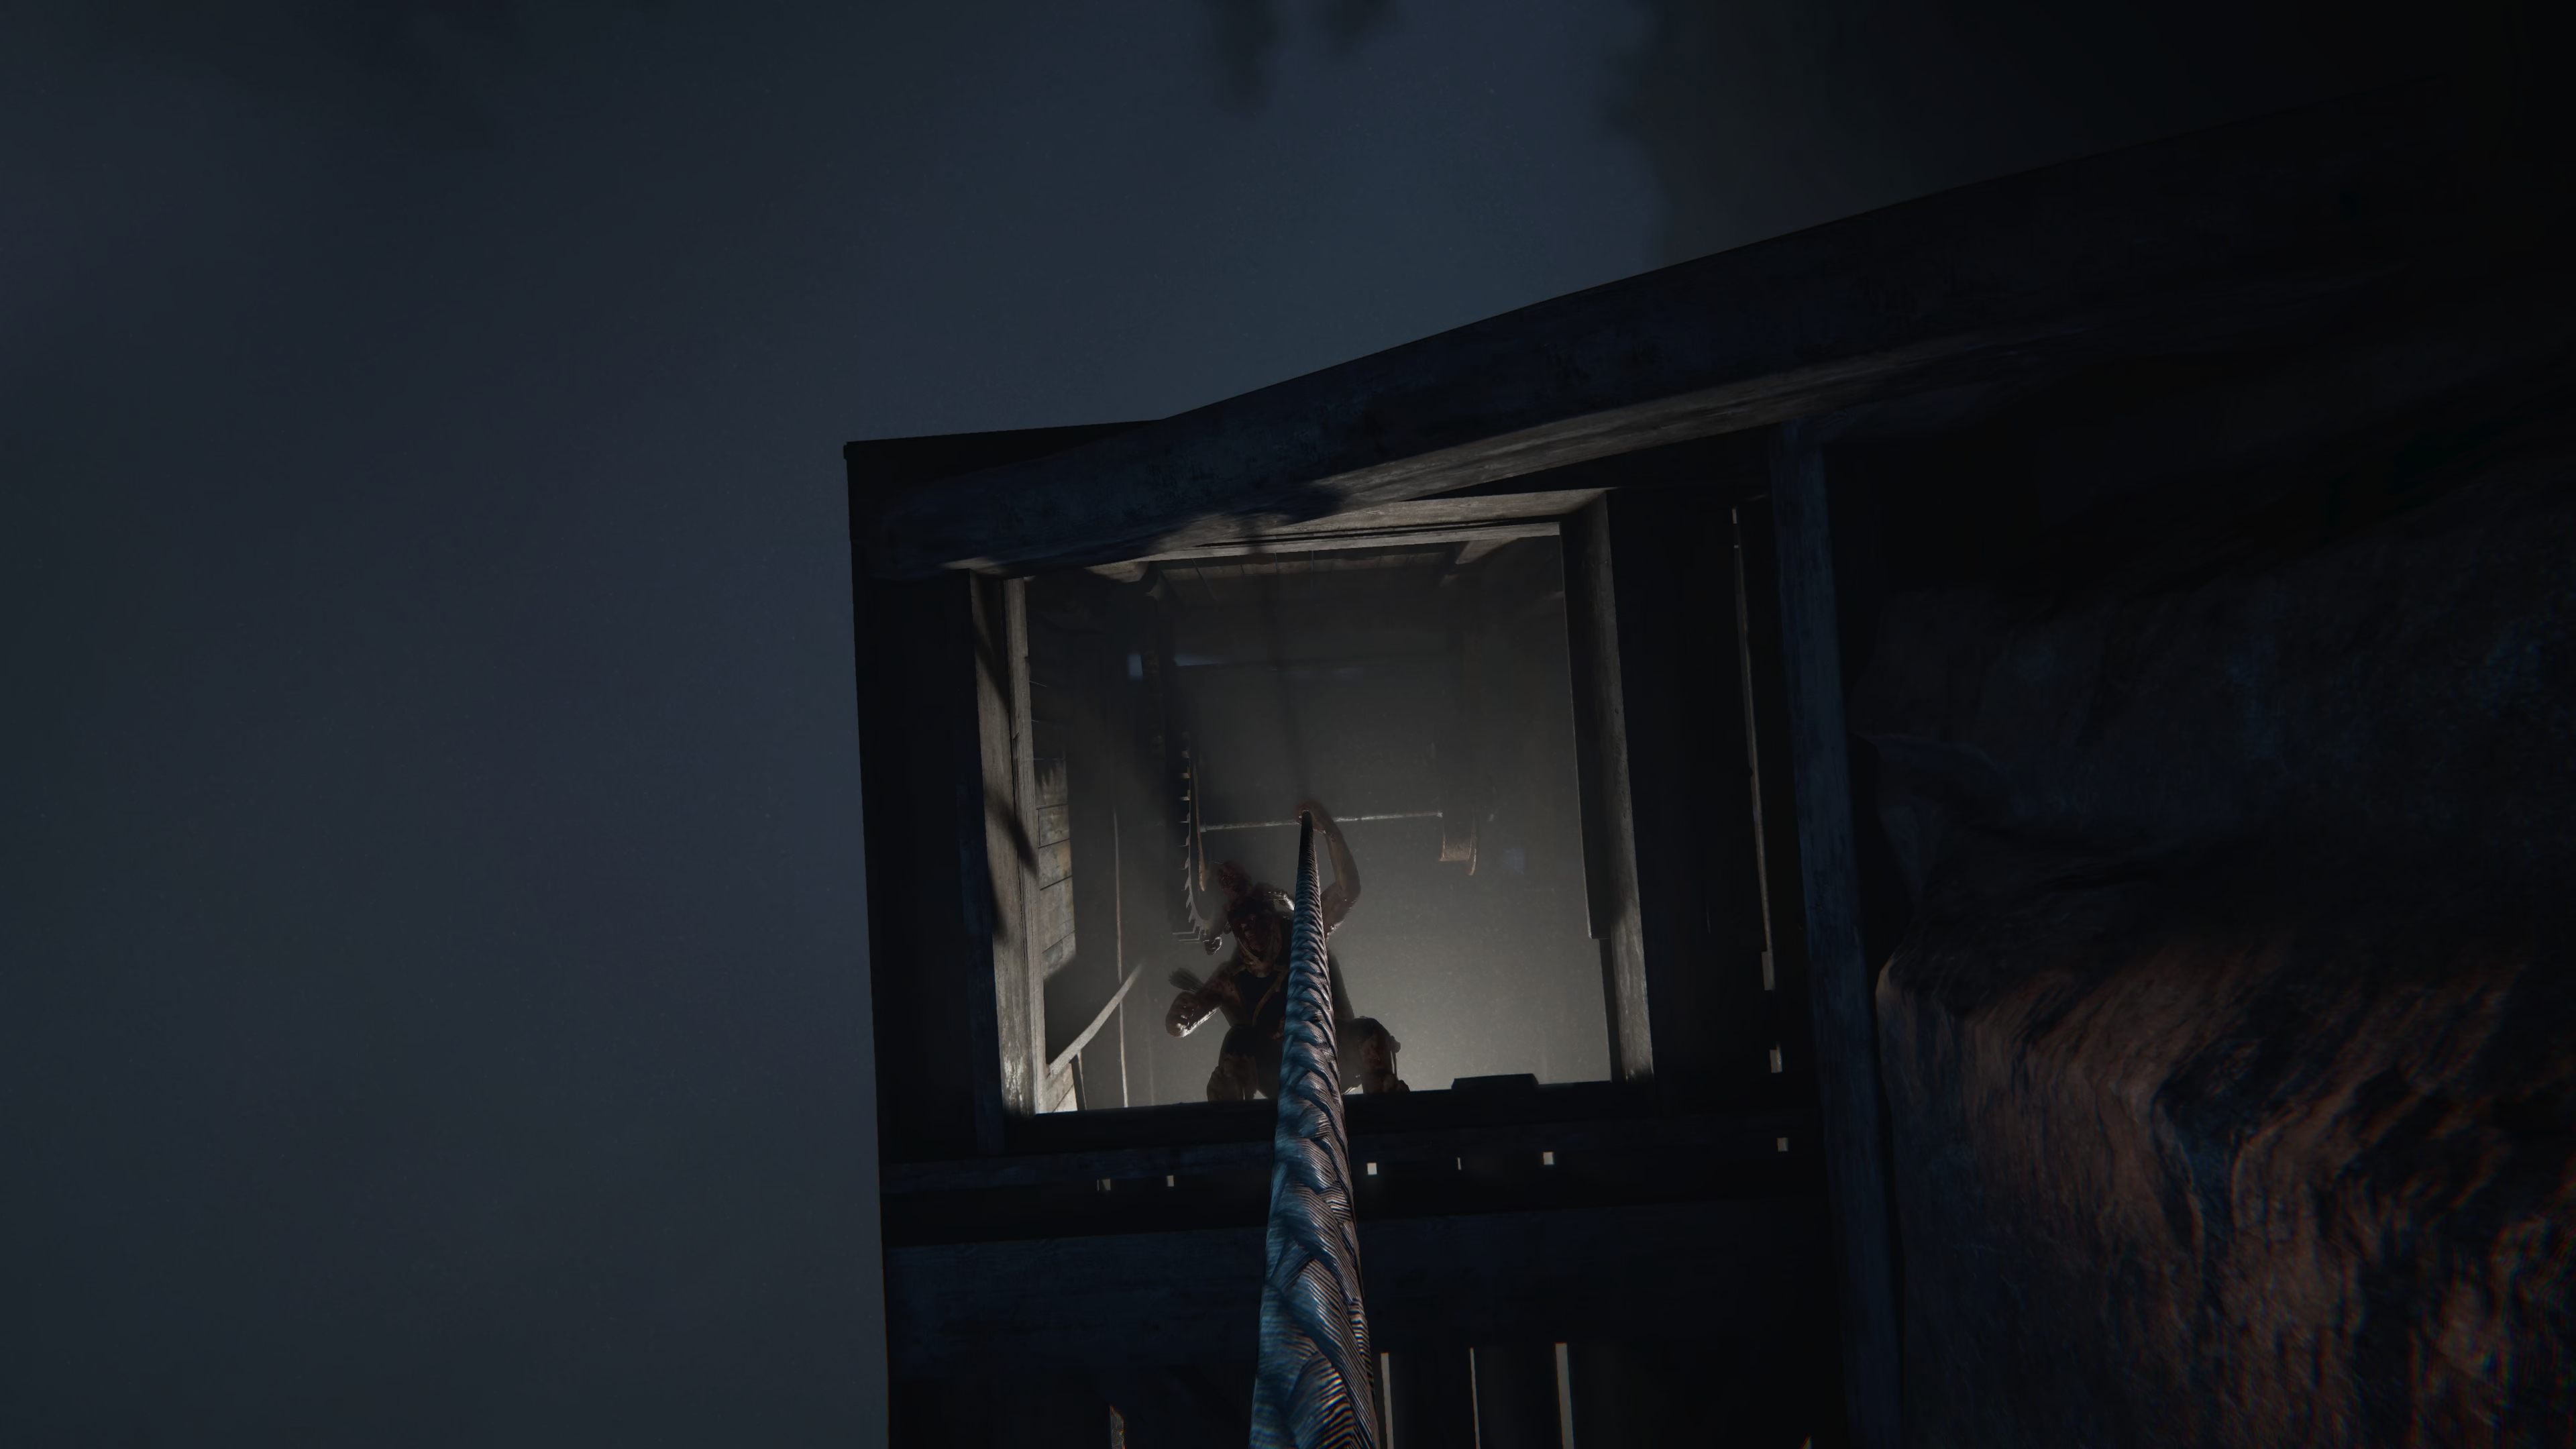
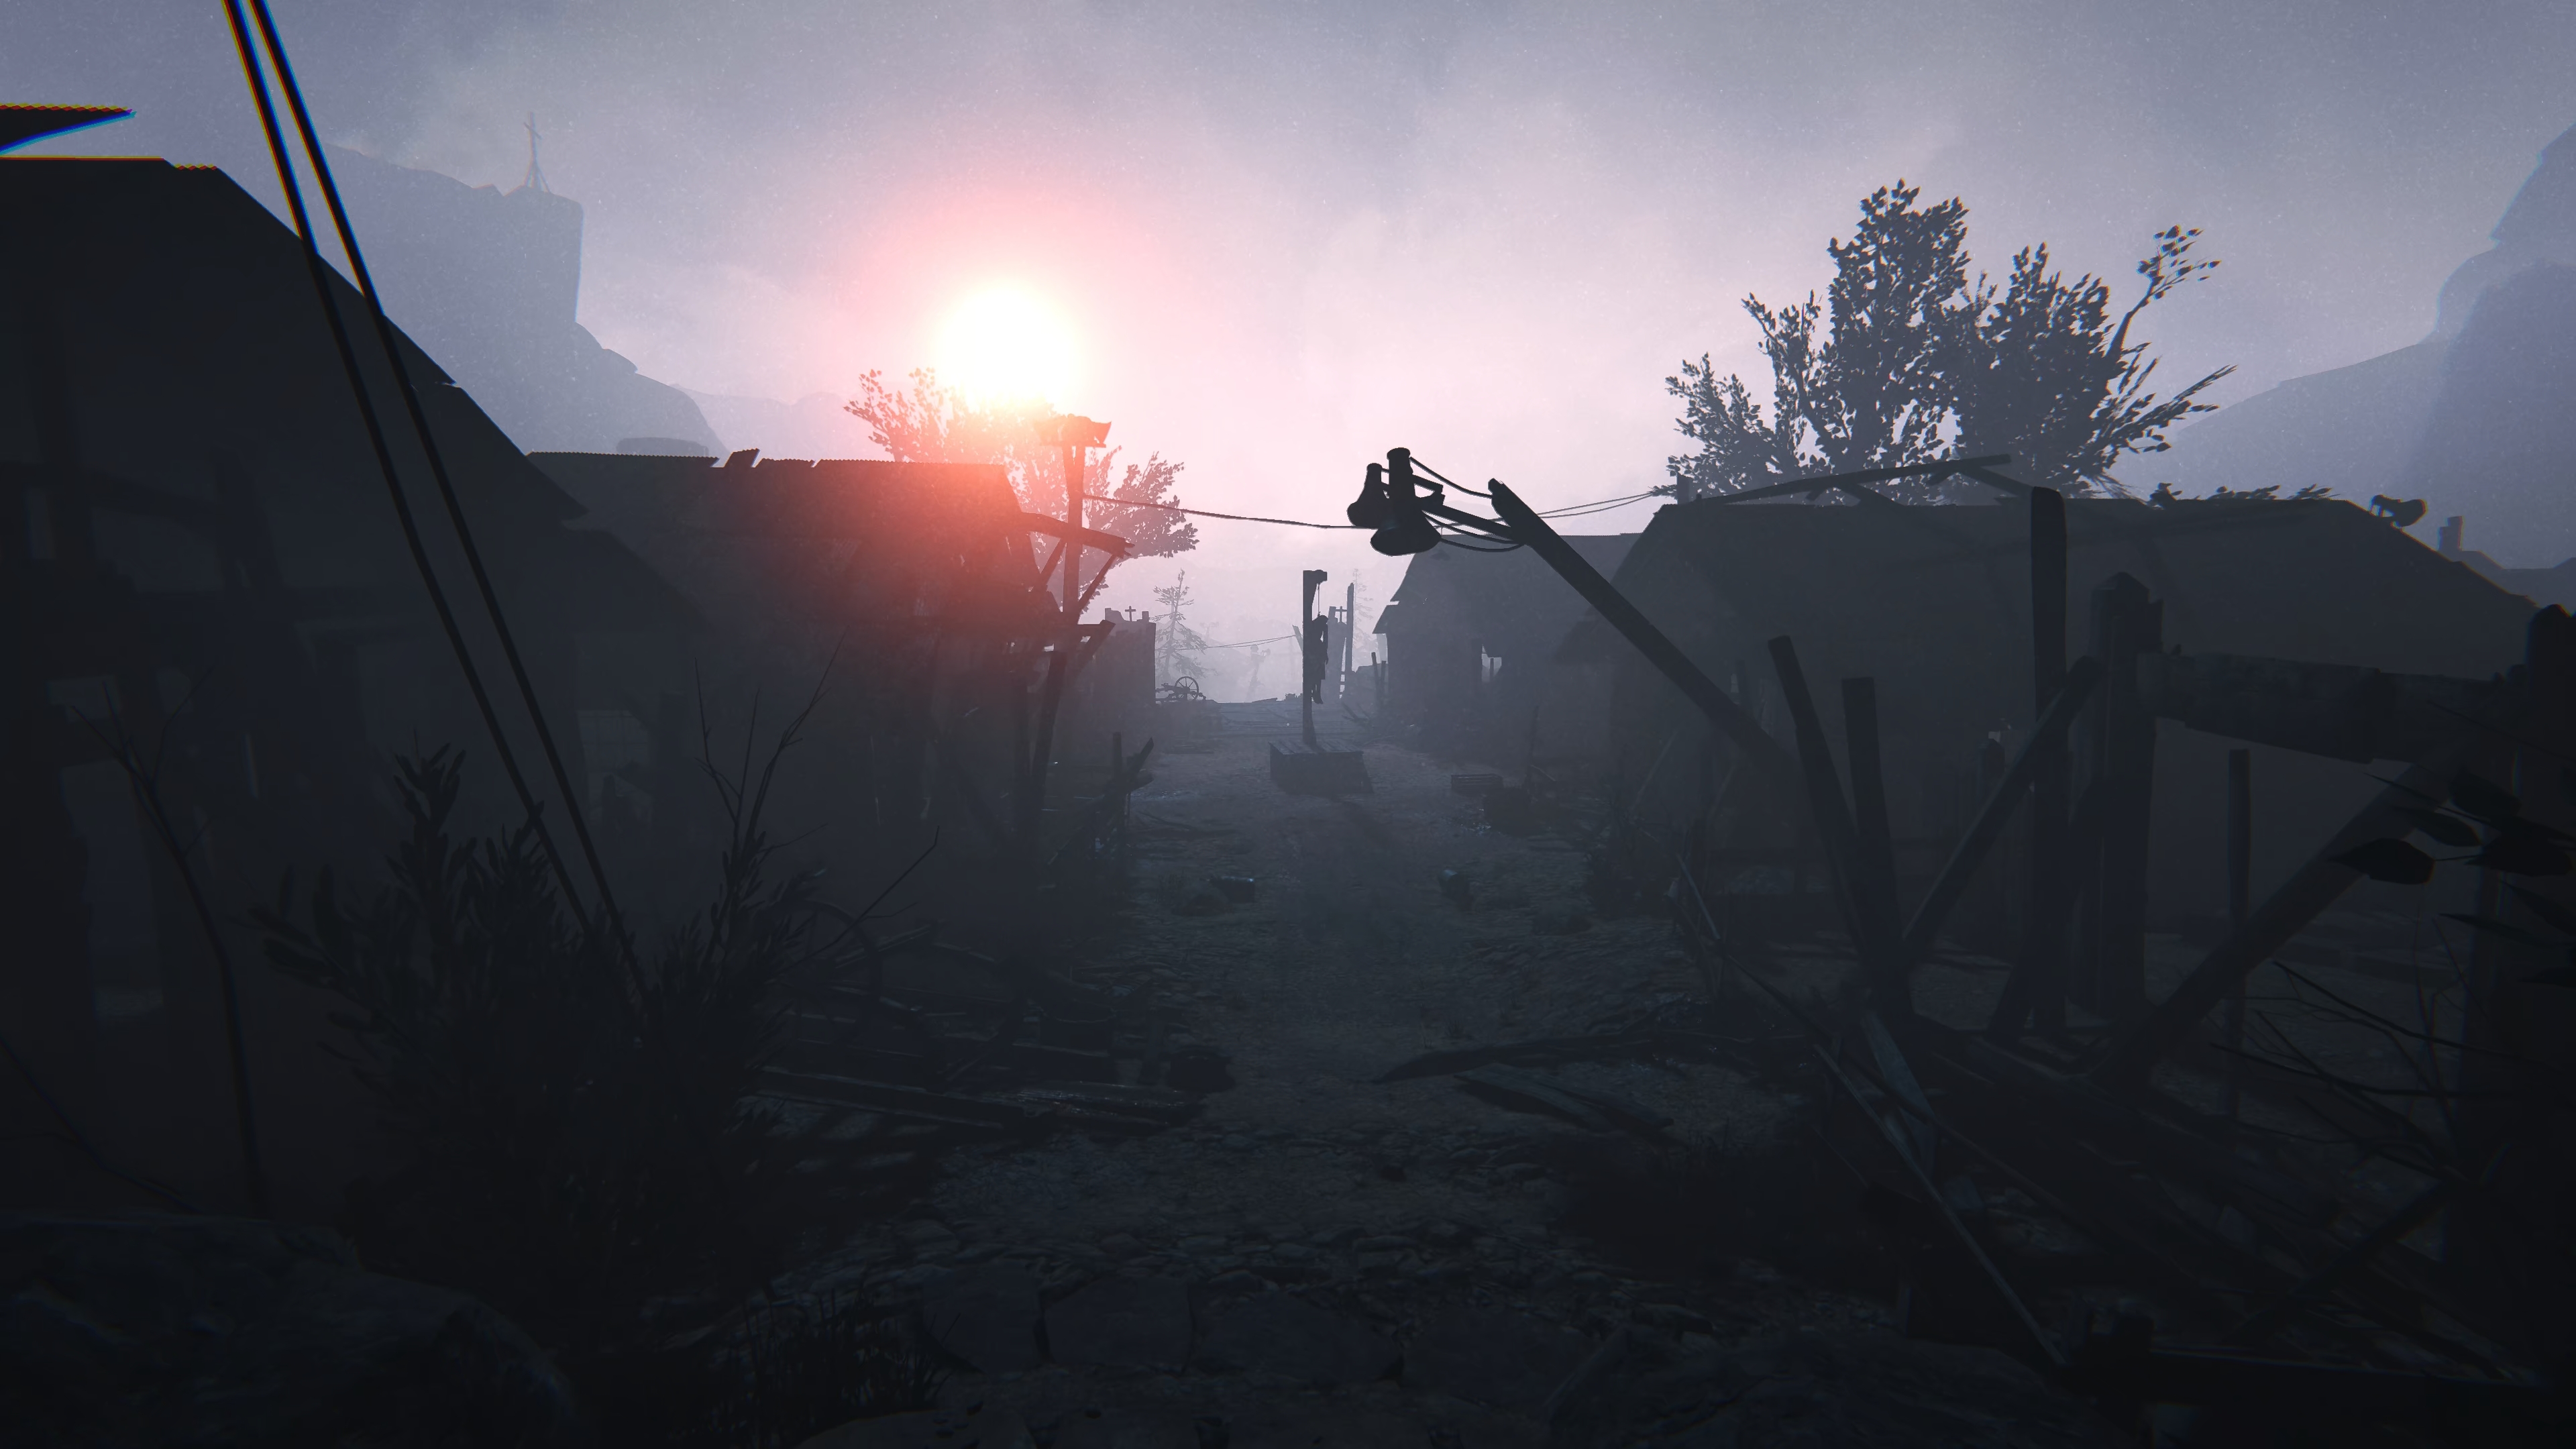
This guide will be going over all of the achievements in Outlast 2. This horror game is the sequel to the original Outlast and of course starts with you being stranded in the middle of a creepy place, with creepy people, and you have to use your camera navigate your way out and outlast your enemies.
Verhaal – Niet te missen – Banner
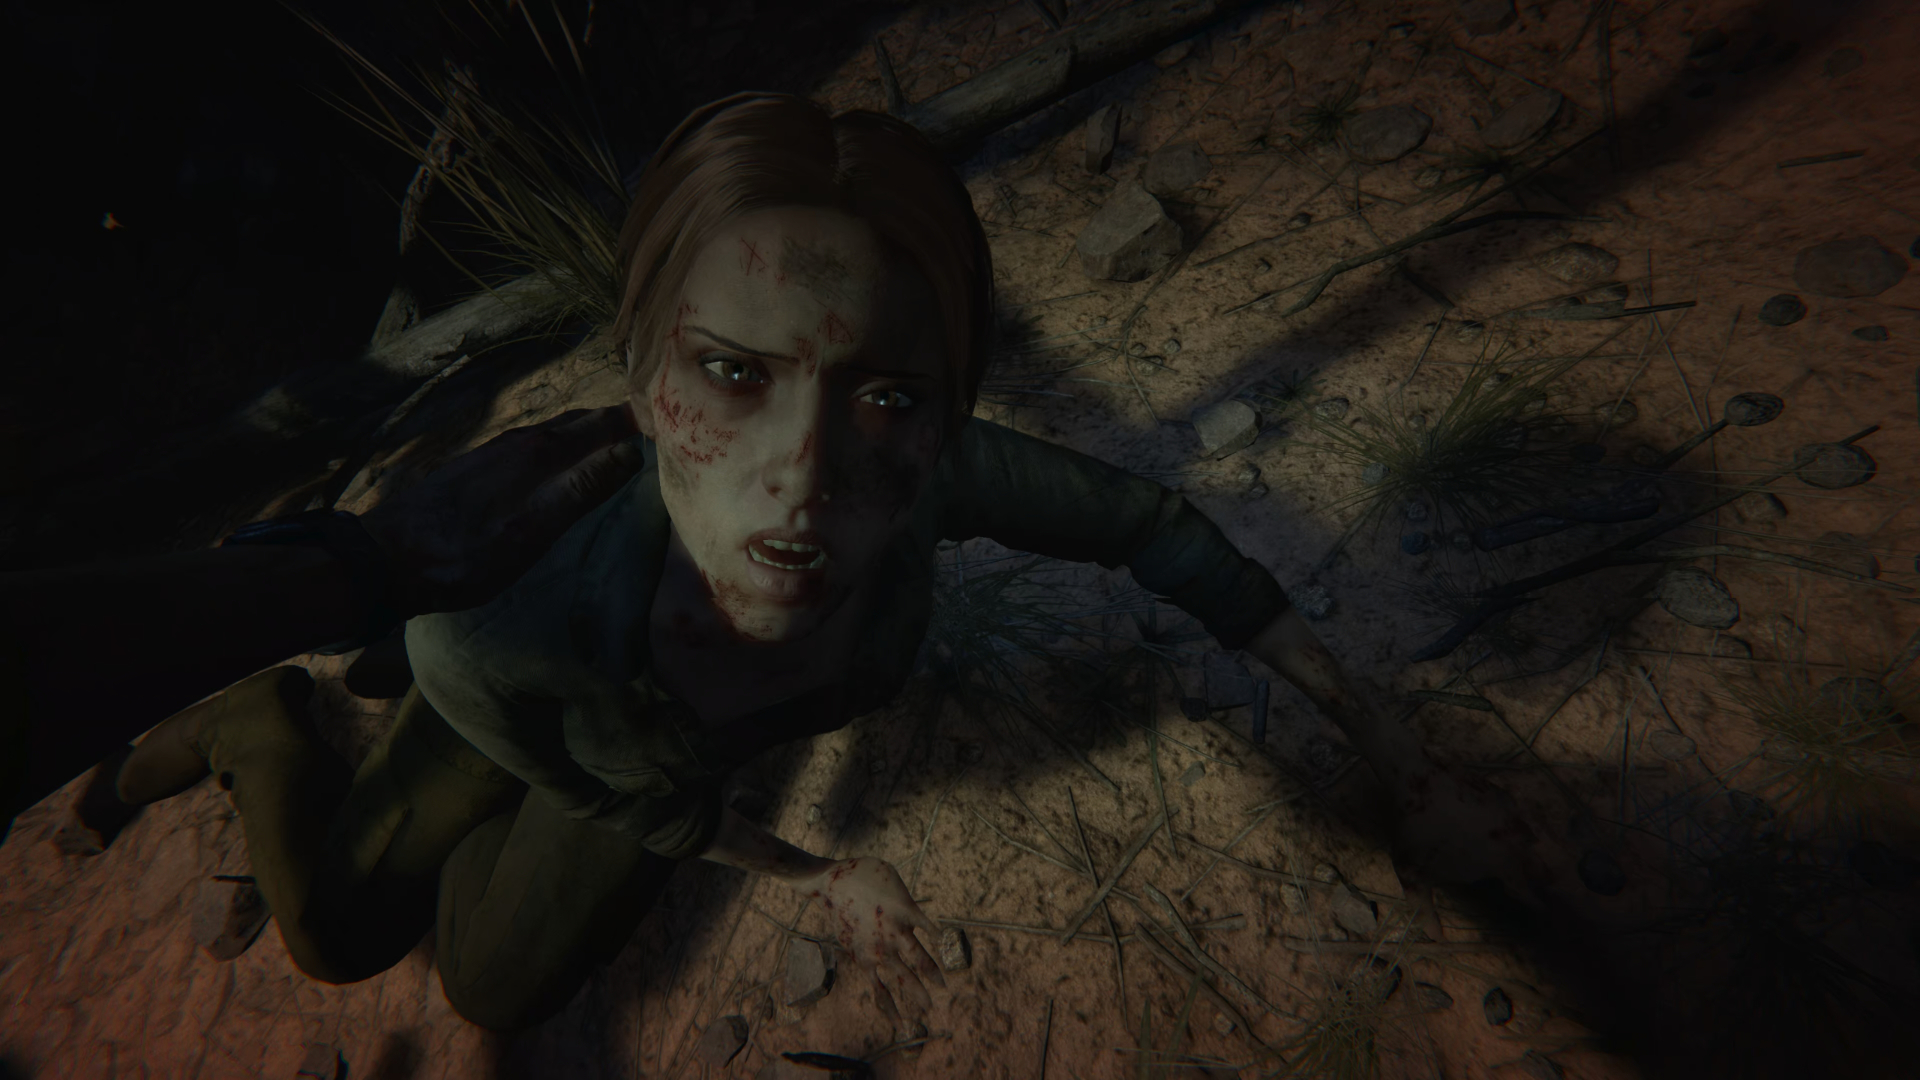
What God has Joined

What God Has Joined is for finding Lynn during the first main chapter of the game. You’ll only be with her shortly before you have to get back to searching.
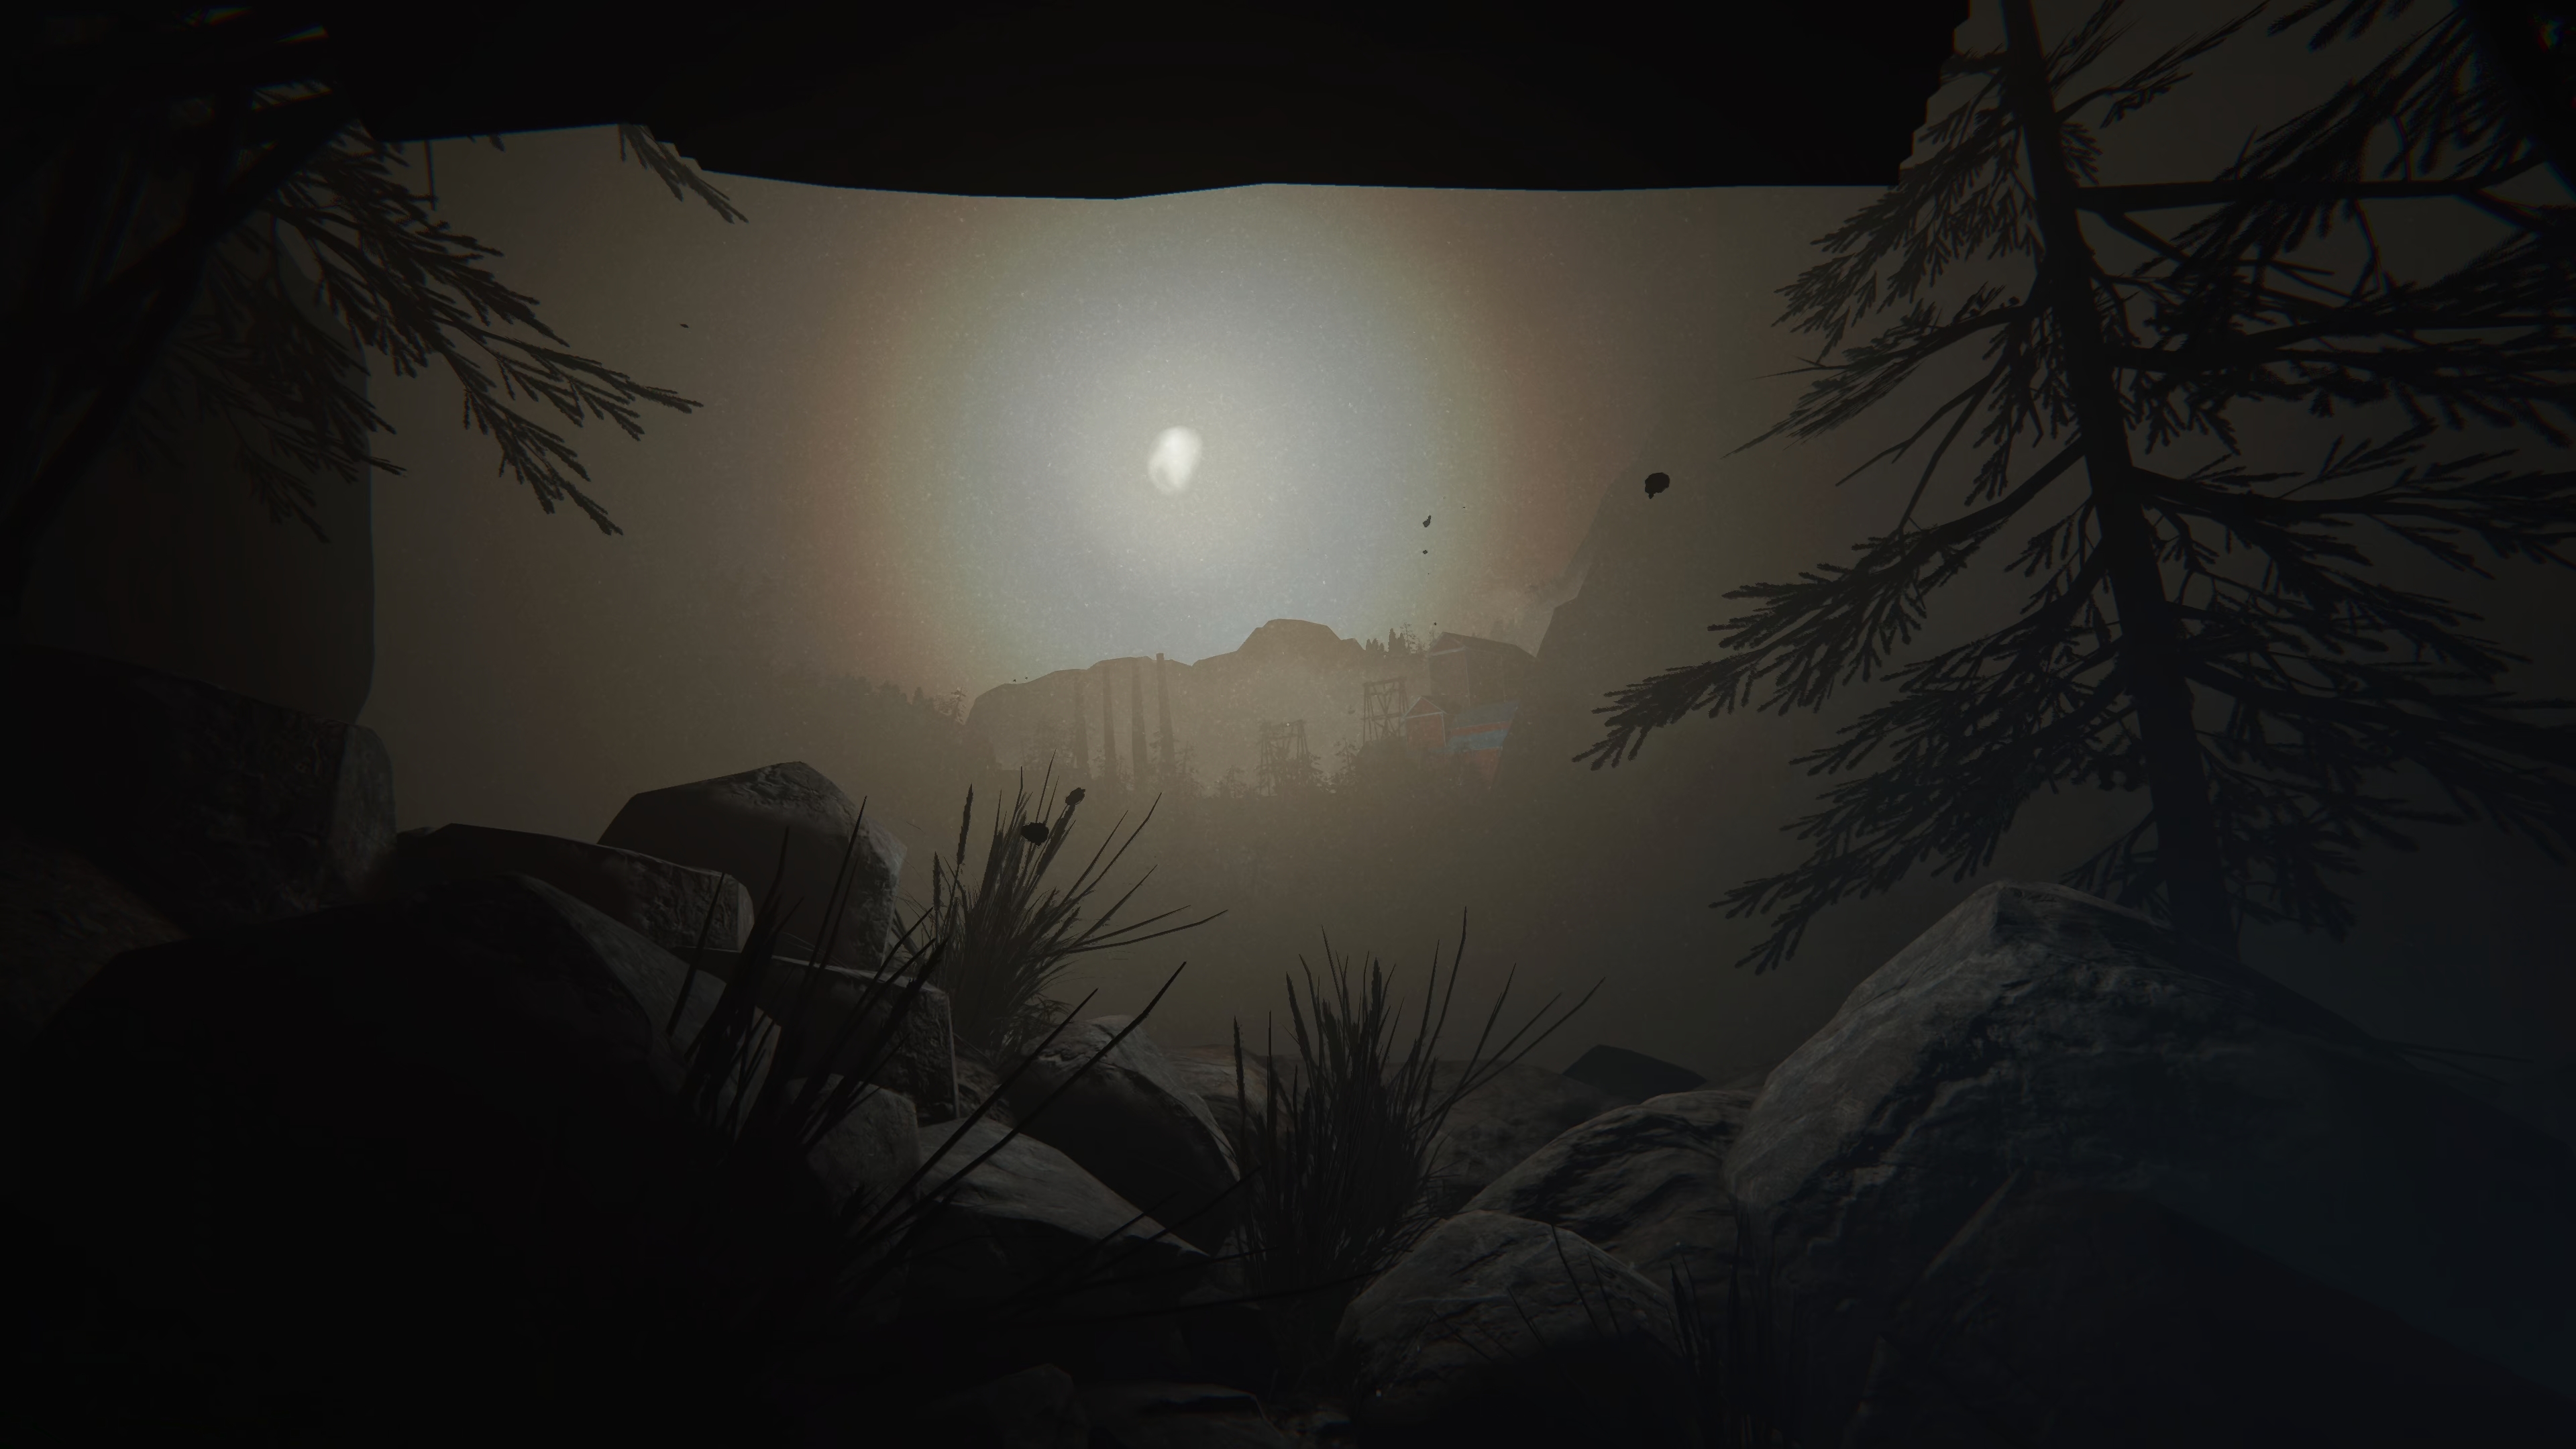
Babylon

Babylon is for seeing the distant mines where Lynn is captive. This is in the first chapter of the game after a few chase sequences with Martha where you finally crawl through a small grate to get away.
Hang In There, Baby

Hang in there, Baby is for escaping the crucifixion. This will be during the second chapter of the game and will be after you are crucified and escape. Temporarily…
Be Though Clean

Be Thou Clean is for escaping from the scalled. This will be in the second chapter after you end up running from them for a while, go through a little town to grab some rope, and they fall down dying in the process.
Golgotha

Golgotha is for reaching the mine facility. This will be near the beginning of chapter four and will be as you’re getting through the blood rain and heading towards the elevator to the mines.
Sancti Sepulchri

Sancti Sepulchri is for descending down into the mines. This will be the start of chapter 5 where you fall down the elevator down into the mines.
Let No Man Put Asunder

Let No Man Put Asunder is for reuniting with Lynn. This will be at the beginning of the last chapter, chapter 6. As you escape the mines and run from the mine people you’ll end up finding Lynn again for the last time.
Onthullingen

Onthullingen is for witnessing the end. This will be after you and Lynn make it back into the town and well… witness the end…
Born Again

Born Again is for finishing the game. This will of course be after you finish the game and you’ll get it shortly after Onthullingen.
Non-Story – Misselijk – Banner
Sanctified, Preacher, Heilige

Sanctified is for finishing the game in Hard -modus.

Preacher is for finishing the game in Nightmare Mode.

Heilige is for finishing the game in Insane Mode. Which is essentially just Nightmare Mode, but with perma-death added.
The easiest way to take care of this is going to be with one Insane Mode playthrough where you can get all three of these unlocked. I made a video showing my full Insane Mode speedrun that you can pull up on another monitor and watch through the sections as I go through it myself.
Them That Hath Ears

Them That Hath Ears is for using the microphone for 20 notulen. This one honestly I didn’t find to be THAT useful during my play-throughs so I ended up just loading up a chapter after I finished everything else and sat in a room with the camera pulled up and the microphone on.
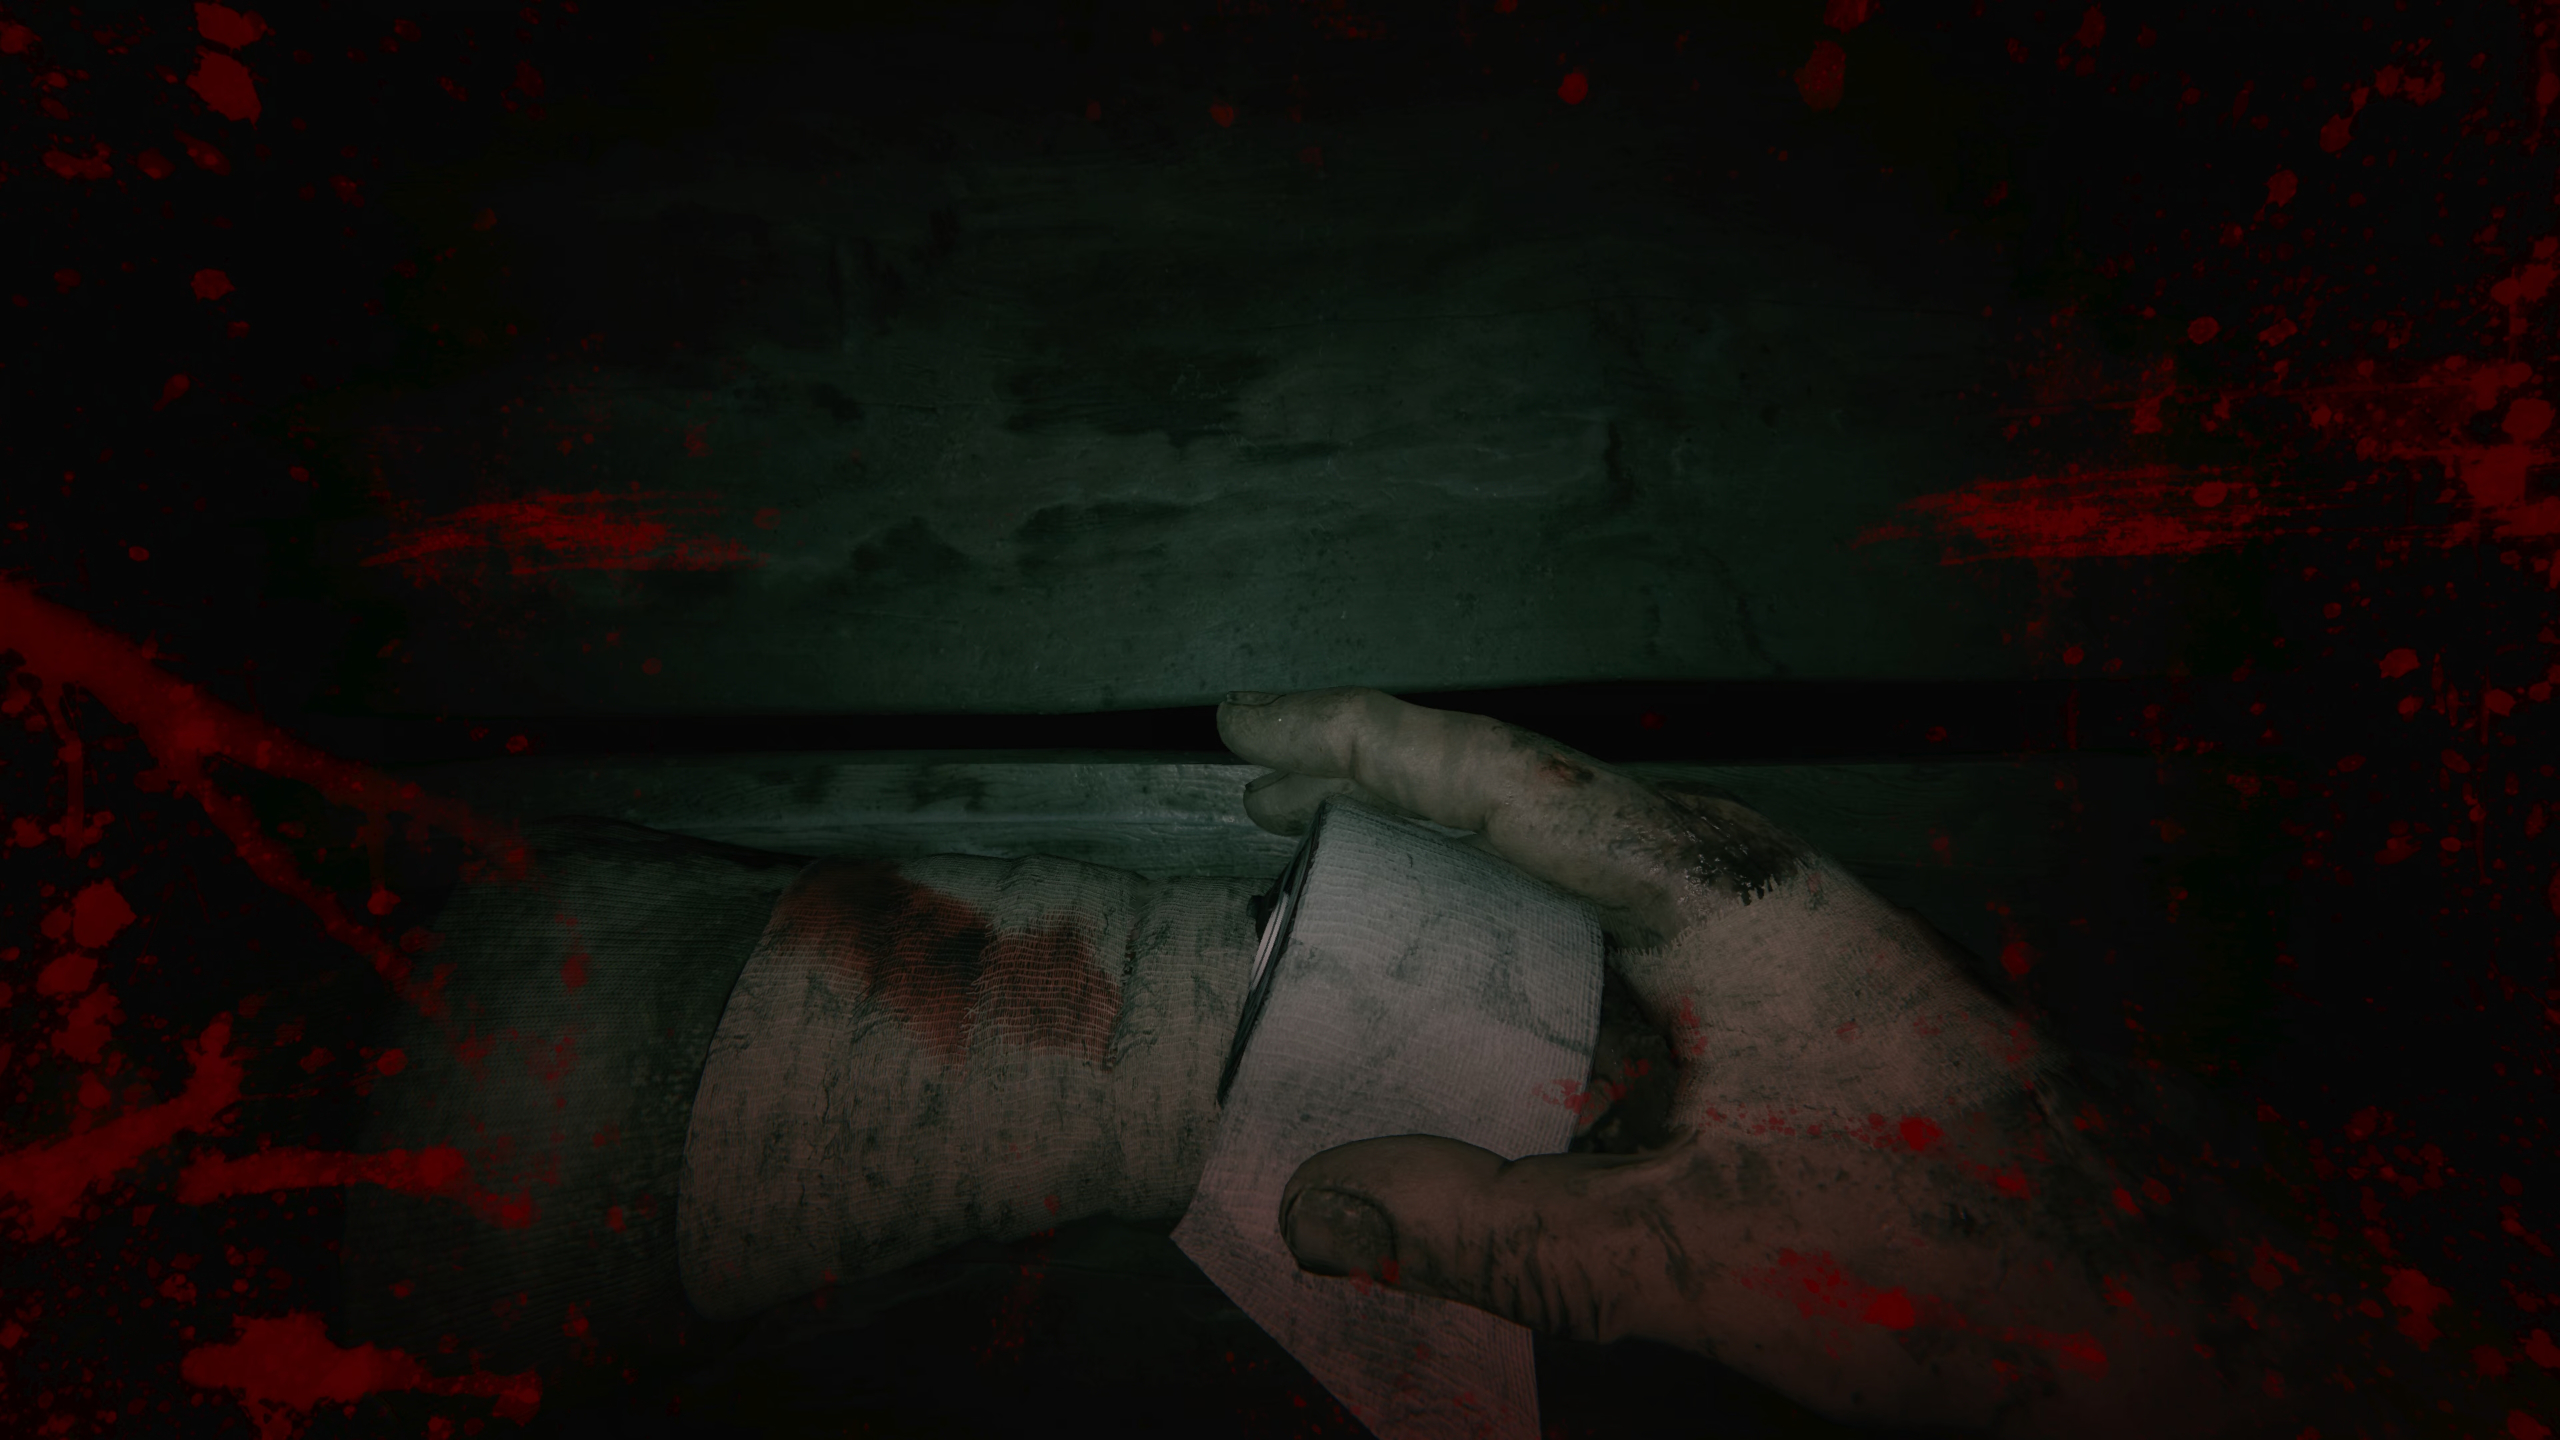
Heal the Sick

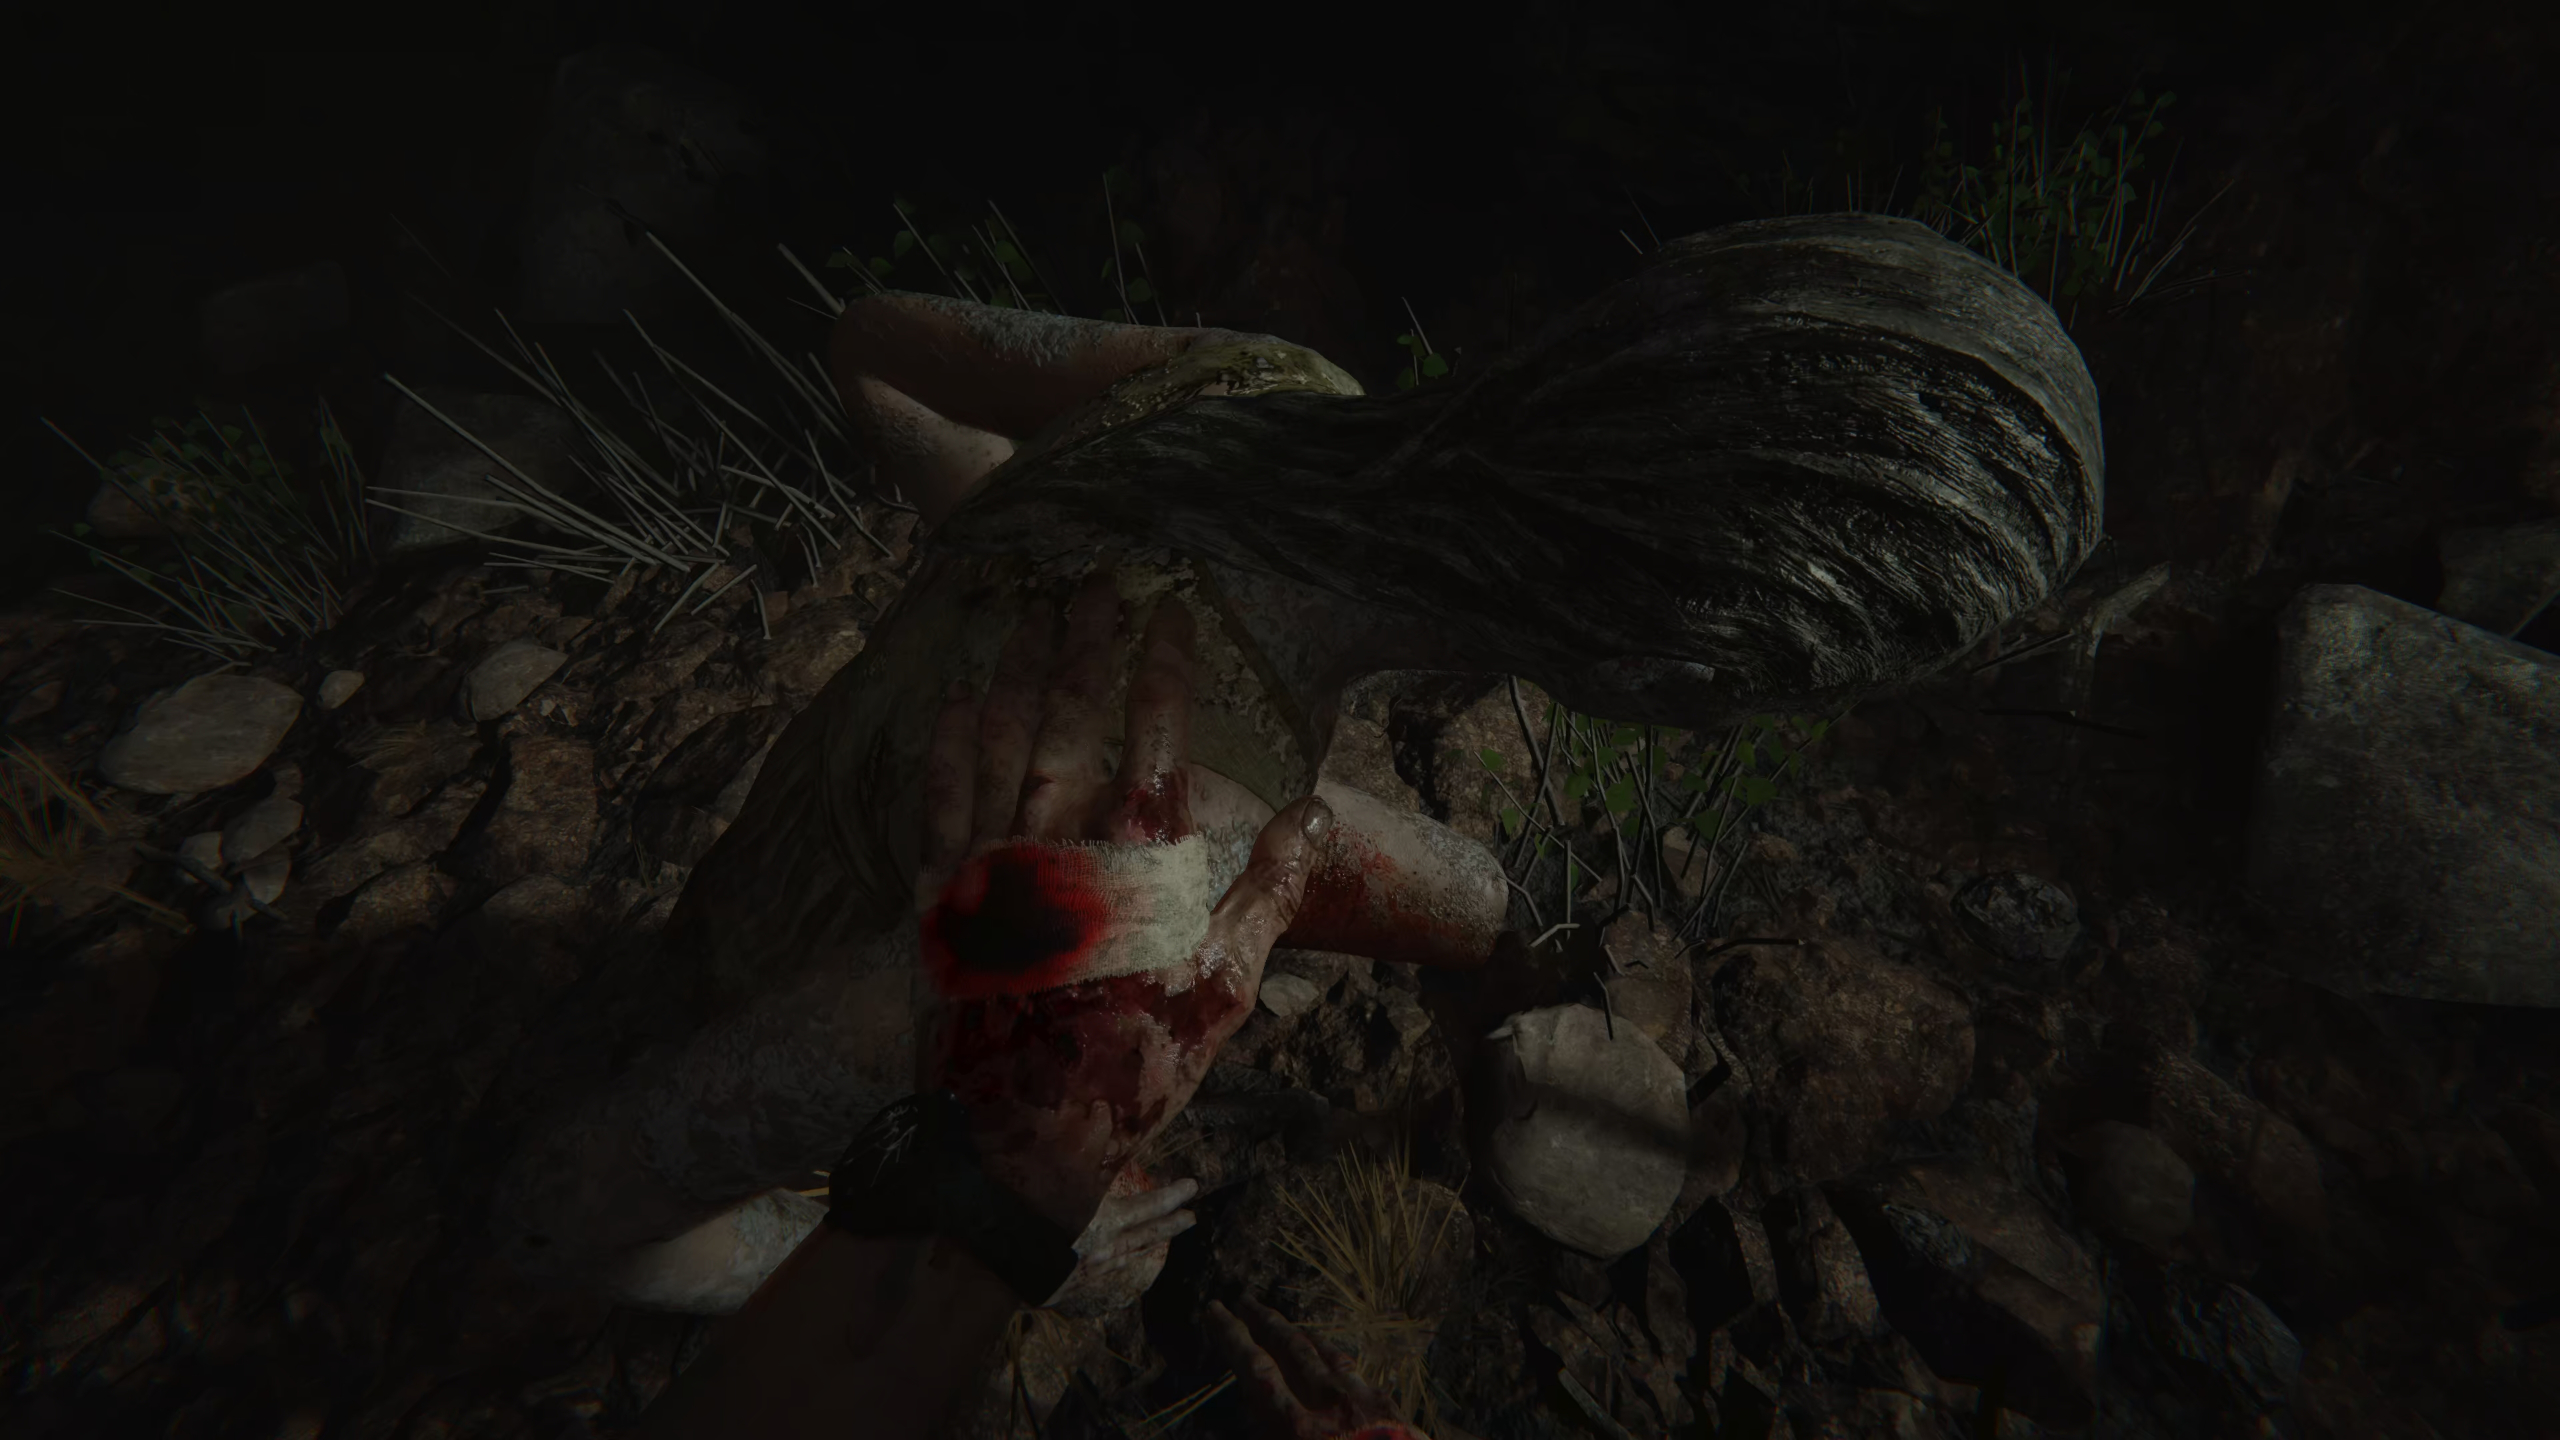
Heal the Sick is for using 10 bandages during your play-through. Most likely you’ll get this automatically during your first play-through near the end. You can of course purposefully take a hit or two from enemies to use a bandage when you find another one and kind of grind it out that way.
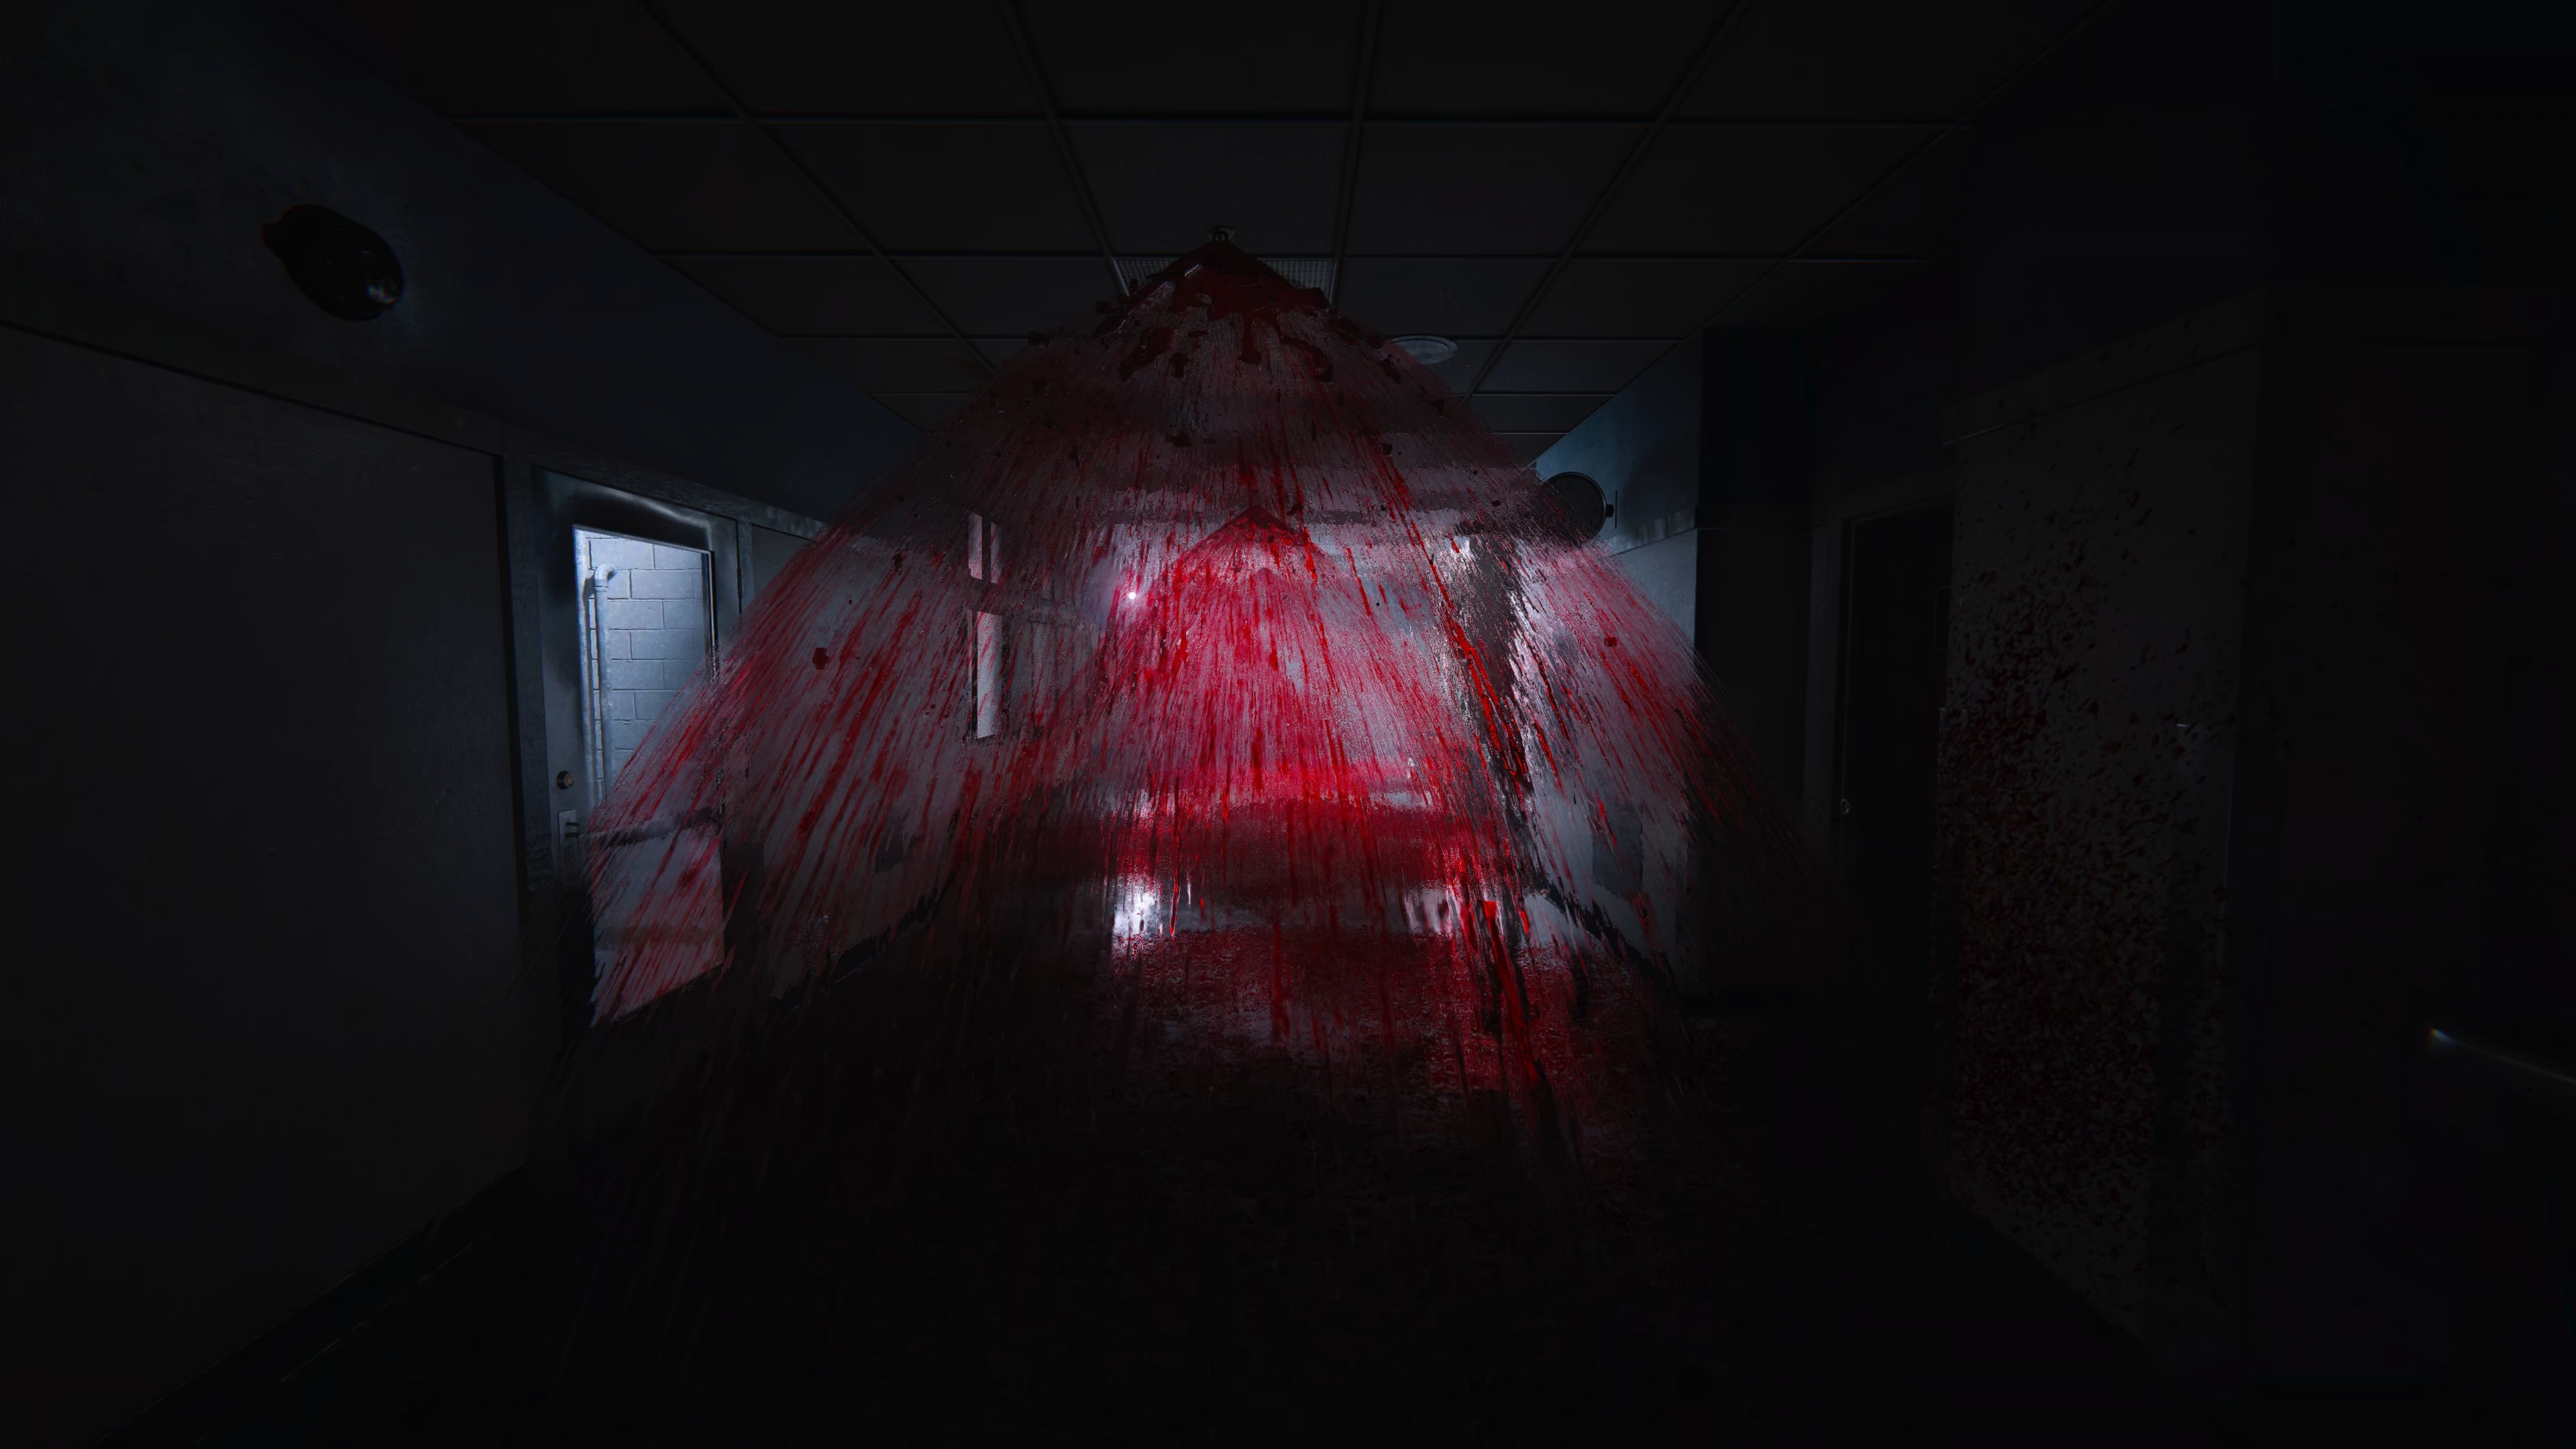
Slip and Slide

Slip and Slide is for performing a twelve-meter blood slide. This is going to be in chapter 4 when you have a flash back over to the school and the sprinklers start sprinkling blood. As you’re running down these halls just slide and hold it and it’s very easy to get this one done.
Thoroughly Baptized

Thoroughly Baptized is for spending 10 minutes underwater. You likely won’t be doing this naturally more than a minute or two throughout your game, but you can grind this out in multiple places throughout.
Just find a watery area where you aren’t in danger (the lake at the beginning of chapter 3 is pretty good for this) and then go under water until you start getting low on breath, come up for a bit, and go back down. Repeat that until you finally get this one to pop.
Proper Penance

Proper Penance is for crawling for 500 meter. This one you’re slightly more likely to get naturally than
Thoroughly Baptized , but still will likely just need to grind it out. I did it outside of Ethan’s house in the first chapter like with the other, but you can also do it on chapter 4 at the lake pretty easily as well.
Verzamelobjecten

The Road to Damascus is for completing 30 recordings.

The Apostle Paul is for completing all recordings.

Bible Study is for collecting 40 documenten.

Ordination is for collecting all documents.
As there are 107 collectibles in the game it’ll be much easier to use my video guide to go through that rather than trying to figure out from screenshots and a written guide.
Asahel

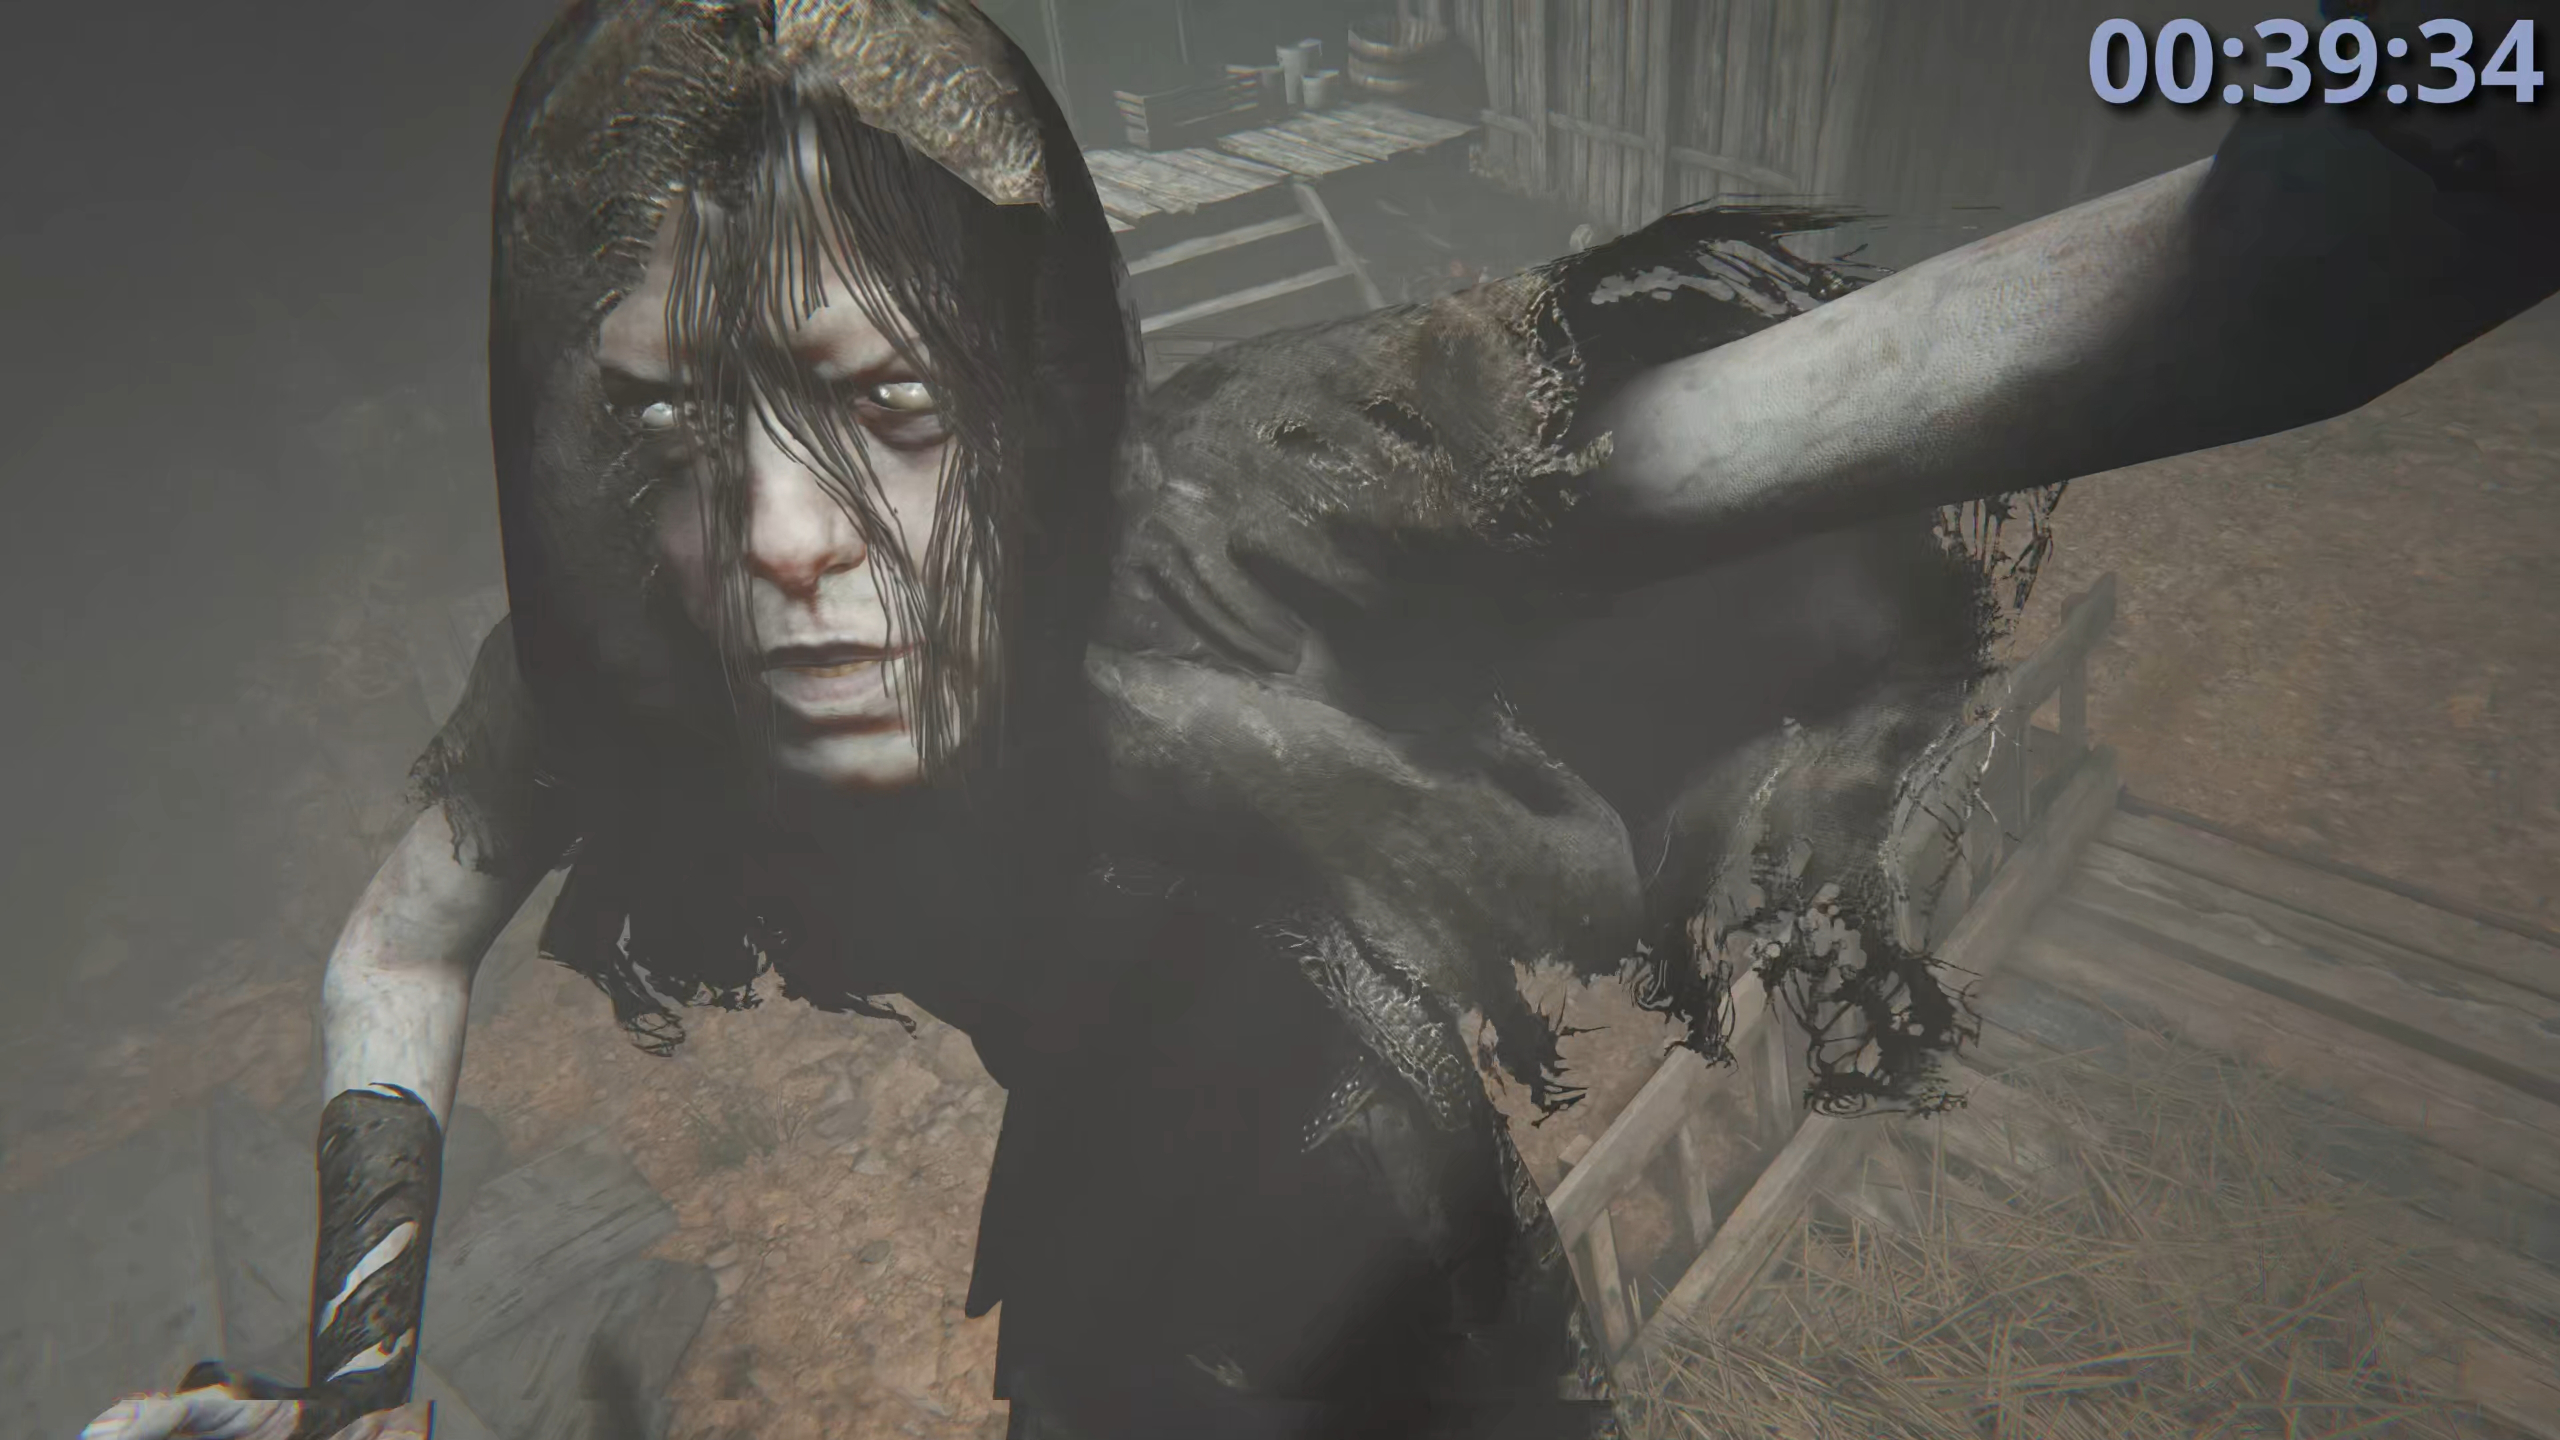
Asahel is for finishing the game in under 4 uur. This isn’t too bad to get done, but I’d recommend going for it during your Insane Mode speedrun to make it more efficient. I of course have my video guide showing my Insane Mode run below so you can follow along with that while you do your run.
Prophet

Prophet is for finishing the game without hiding in a barrel or closet. This is pretty self explanatory, but there is one point in one of the school flashbacks where you HAVE to jump into a locker. This does not count against you, but you can’t get into any others during the course of the game.
Messiah

Messiah is for finishing the game in Insane Mode without reloading the camera battery. This is one of the tougher ones to do, but you can be fairly liberal with it in the first two chapters up until you lose your camera for a bit and get it back.
After that you need to save it as much as possible for the mine areas of the game. The best way to knock this out as well as a few other tough achievements is to do an insane mode speed run while not reloading the battery. I made a video guide showing my run of that so you can watch that along with your play-through to get this done as easily as possible.
Dat is alles wat we vandaag hiervoor delen Outlast 2 gids. Deze handleiding is oorspronkelijk gemaakt en geschreven door Pandallax. Voor het geval we er niet in slagen deze handleiding bij te werken, U kunt de laatste update vinden door dit te volgen link.