
- Titel: Minecraft -kerkers
- Releasedatum:
- Ontwikkelaar:
- Uitgever:
Informatie over Minecraft -kerkers is nog steeds onvolledig. Help ons alstublieft de details van het spel hiermee in te vullen contactformulier.
Er zijn er een totaal van 6 schakelt in de bolwerkmissie. (Die niet van positie veranderen). En u kunt ook altijd gegarandeerd worden 7 Obsidiaanse kisten, Wanneer je de bolwerkmissie doet. Dit zal u ook helpen de “Schatkamer” prestatie.
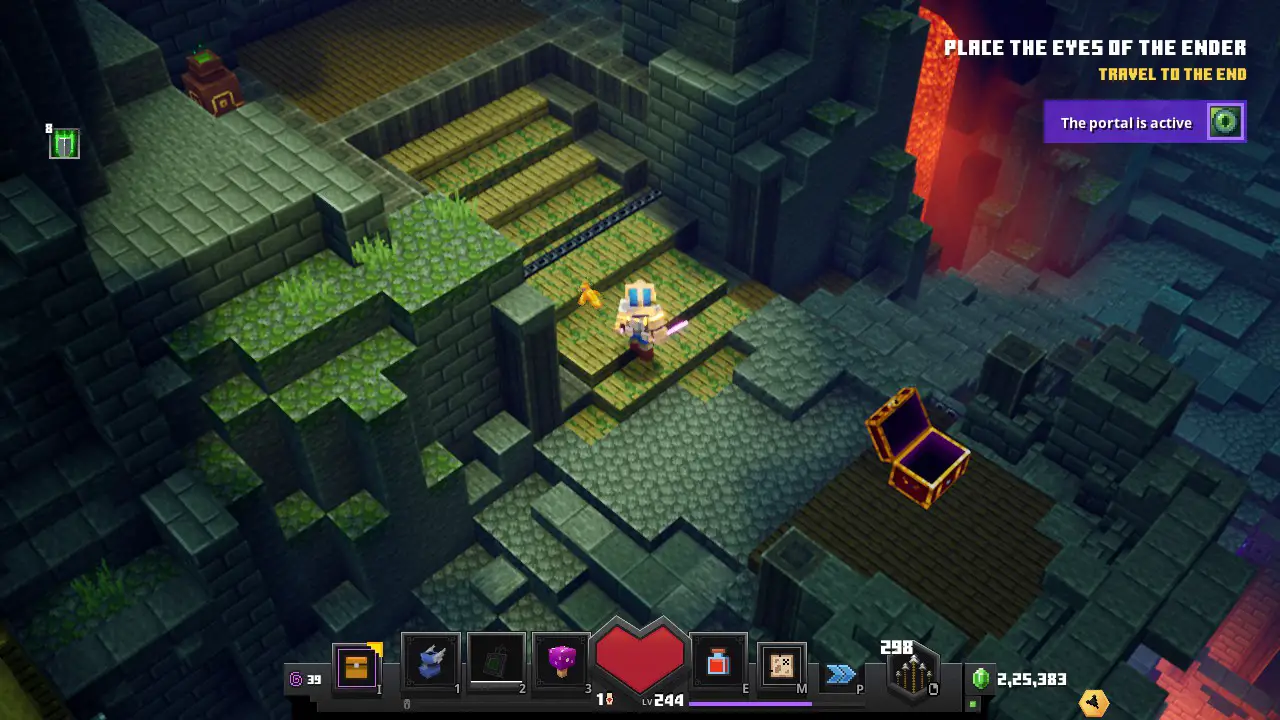
#1 Schakelaar & Obsidiaanse borst
Als je de eerste vork vindt in je pad in de bolwerkmissie. Neem het pad dat het recht gaat.
Ga naar boven, En aan uw rechterkant, zal deze deur zijn.
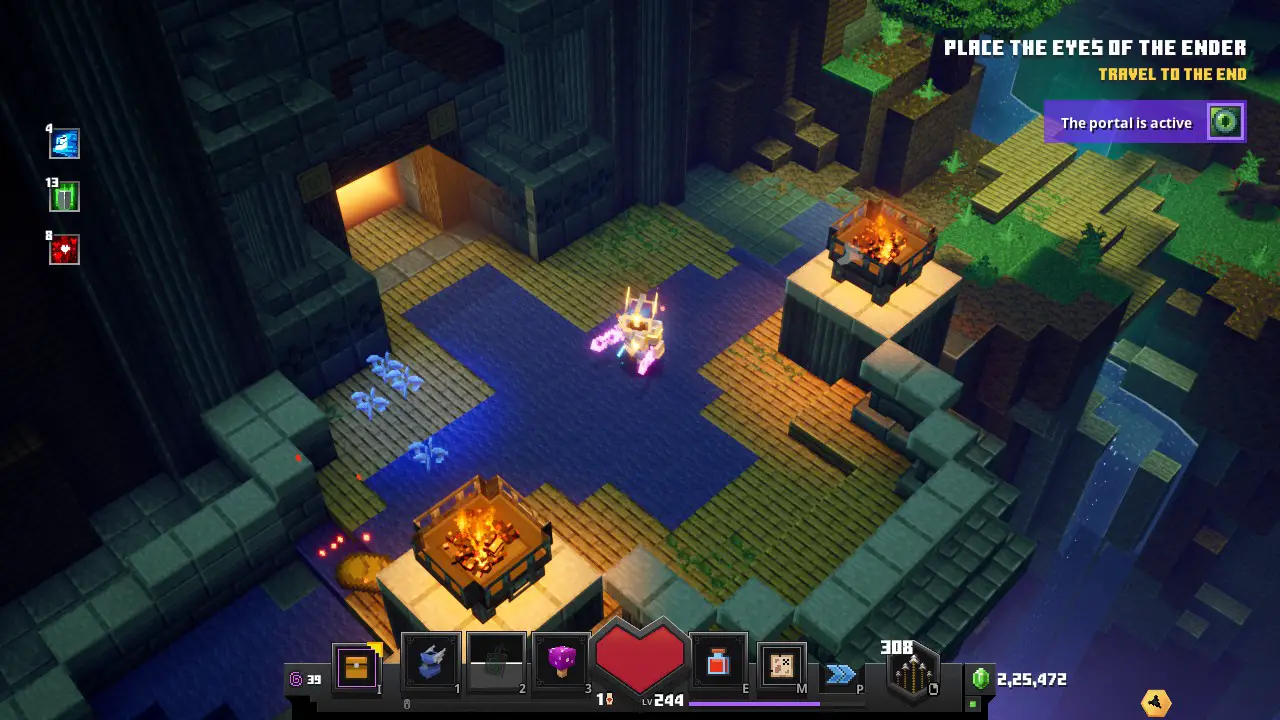
In het gebied, Neem het juiste pad dat omhoog gaat, en je komt twee open kamers tegen. Ga de tweede in.
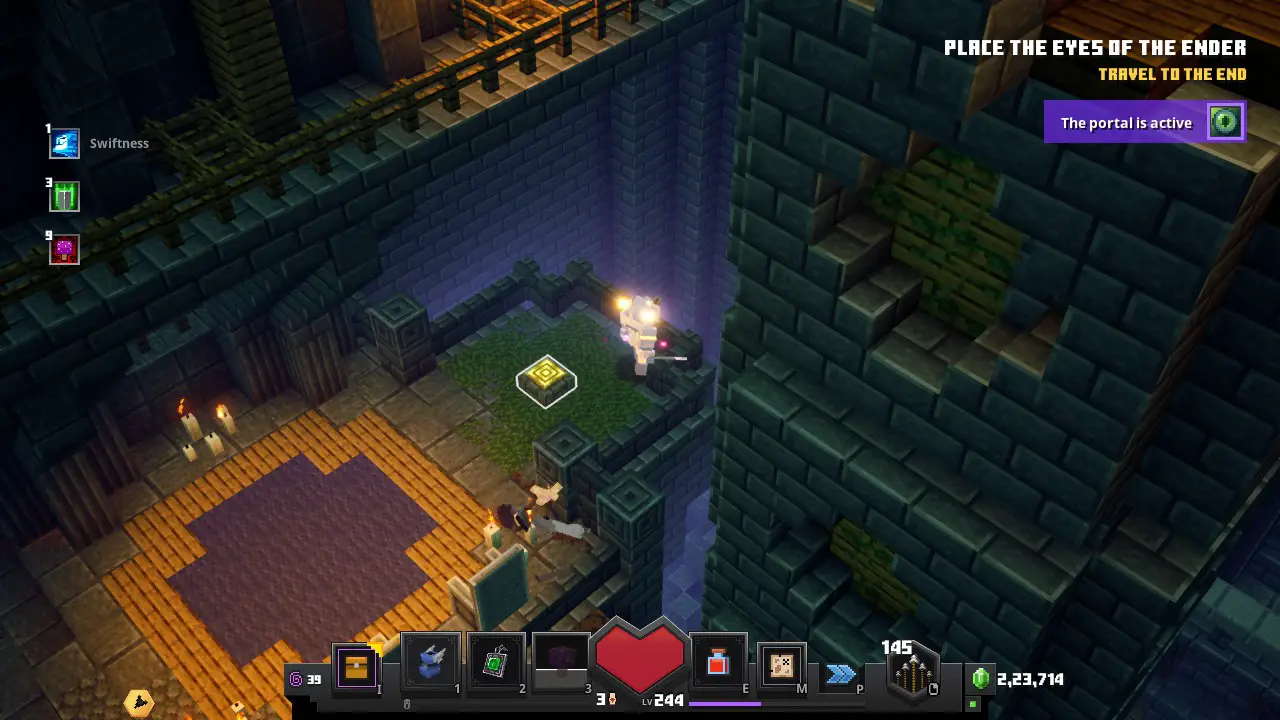
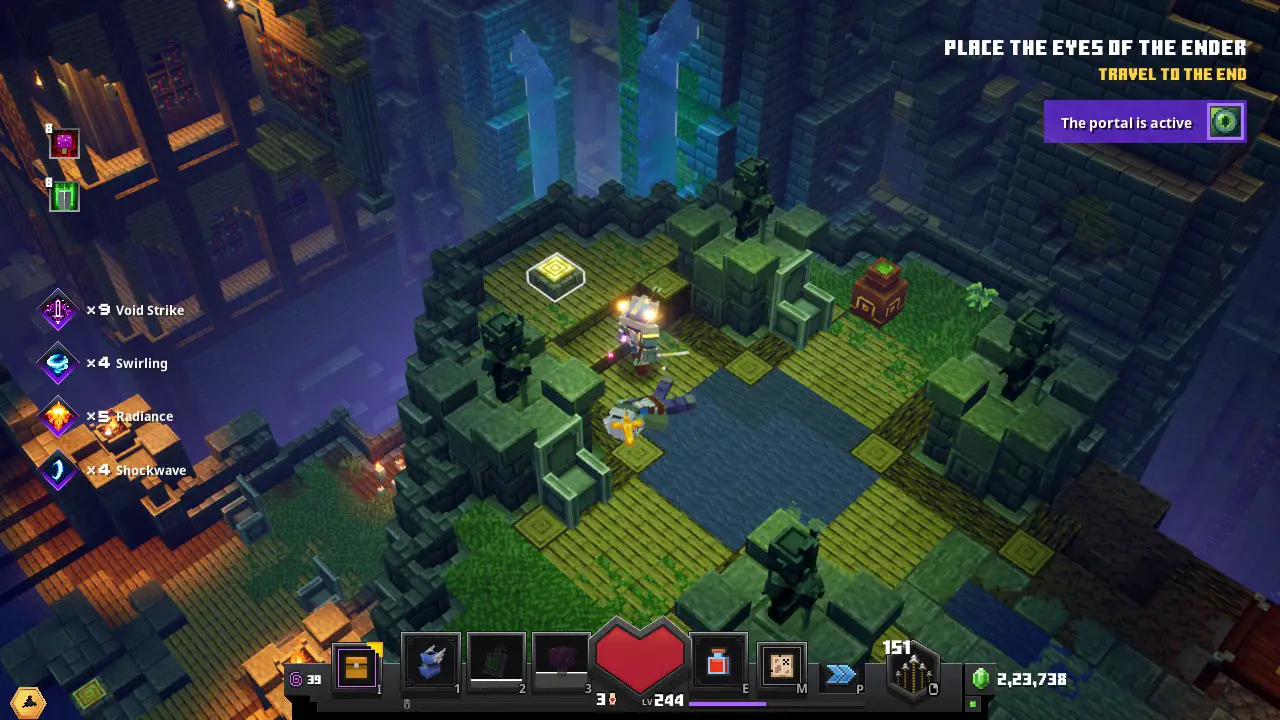
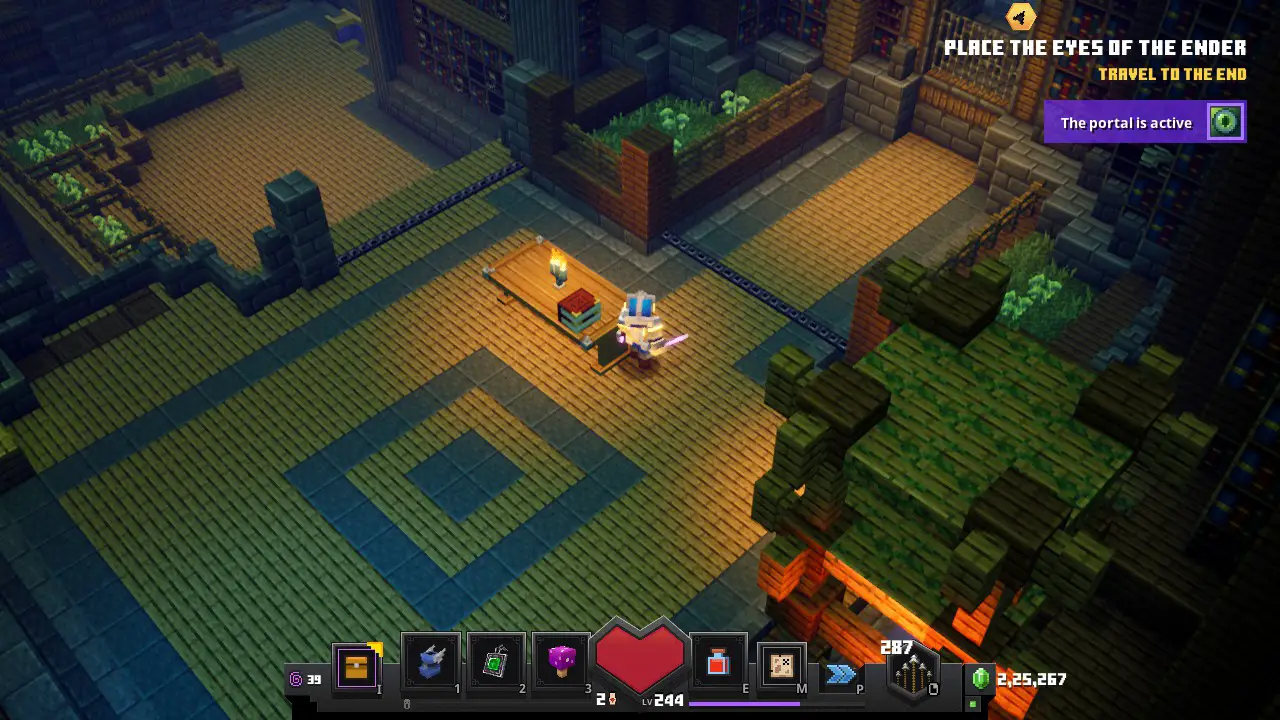
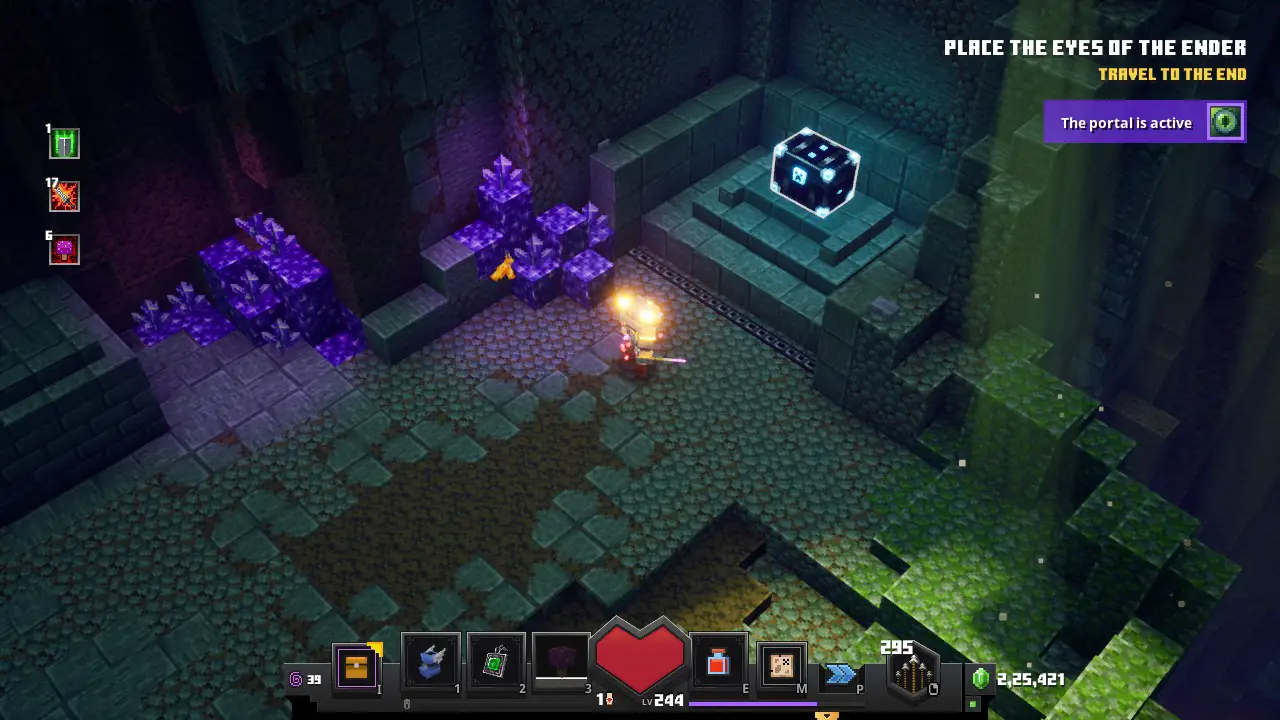
De #1 Switch zal worden verborgen onder een smaragdpot. Door op de schakelaar te drukken, wordt een vuurwerkgeluid.

Blijf doorgaan, en neem de trap, En dat zal je leiden naar de blauwe golem -sleutel.
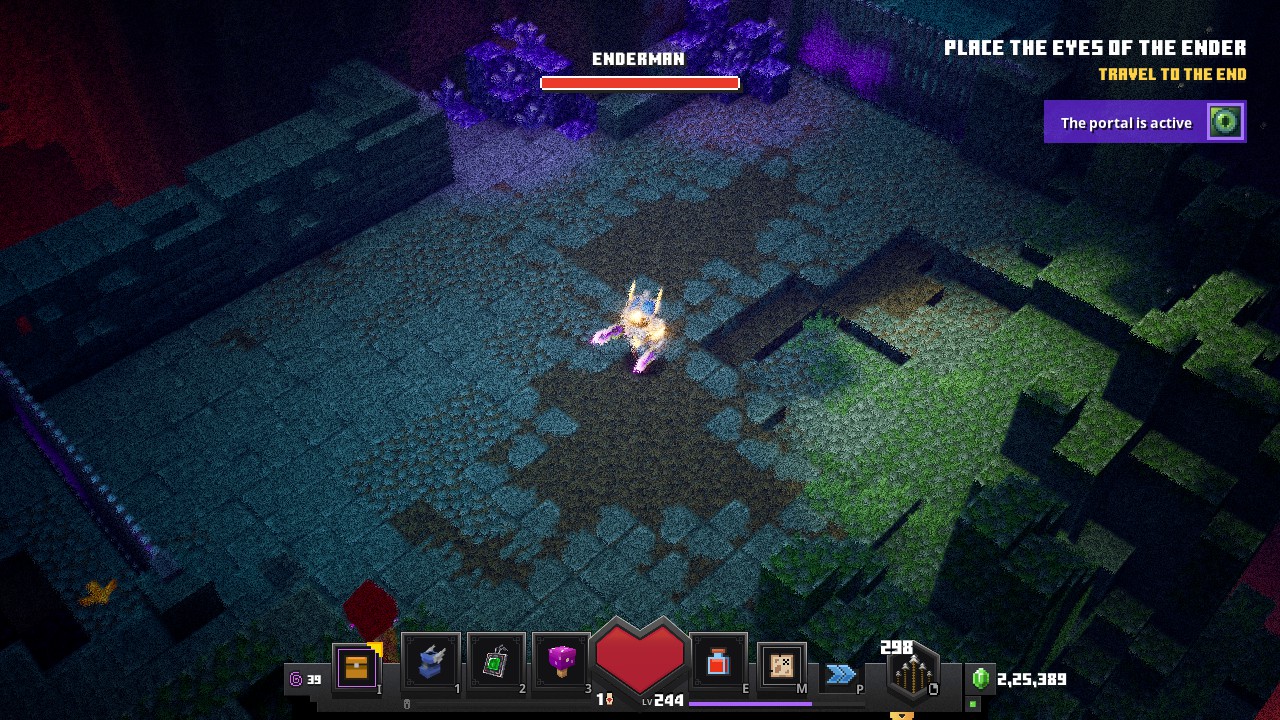
After taking the Blue Golem Key, Go near the door (from where you came into the room), and then take the center path. This will trigger an ambush. After fighting the ambush. Keep walking forward, and open the lock, with the Blue Golem Key.
Here you’ll get your #1 Obsidiaanse borst (make sure to wear a ‘Luck of the Sea’ pantser, to increase the chance of getting a ‘Unique’ gear.)
#2 Schakelaar & Obsidiaanse borst
After you come out of the first area, head down to the fork again, and now take the left path.
The door to the next area will be located just ahead.
In het gebied, you will come across two pillars. Go inside that area.
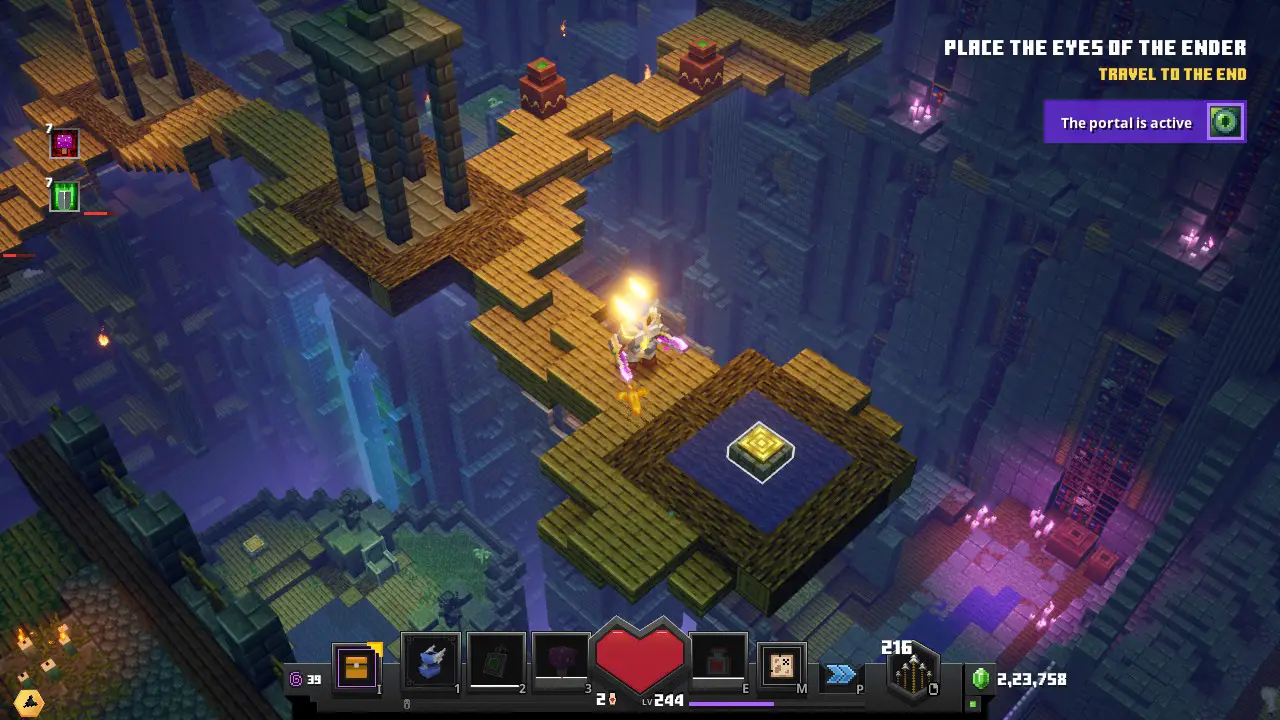
Take the route that takes you up in the room.
You will come across an area, where some stairs take you upward.
Near about that, de #2 Switch is kinda hidden behind some pillars.
Going upwards through the stairs will lead to an ambush event with 2 Readstone Golems. Clearing the event will give you your #2 Obsidiaanse borst. (Wear ‘Luck of the Sea’ armor for increased chance of ‘Unique’ versnelling)
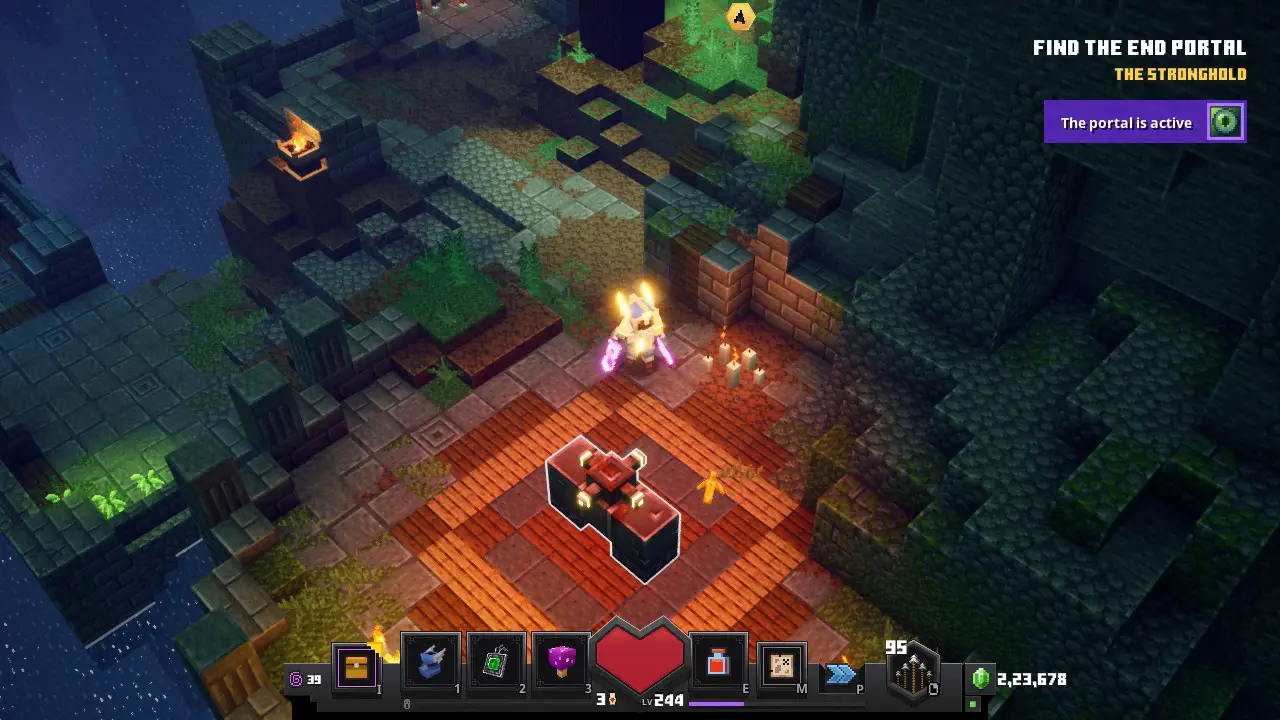
De #3 Switch is flooded. We need to lower the water. So we access the switch.
#3 Schakelaar & Obsidiaanse borst
After exiting the second key area, keep heading forward, and there will be your 3rd door.
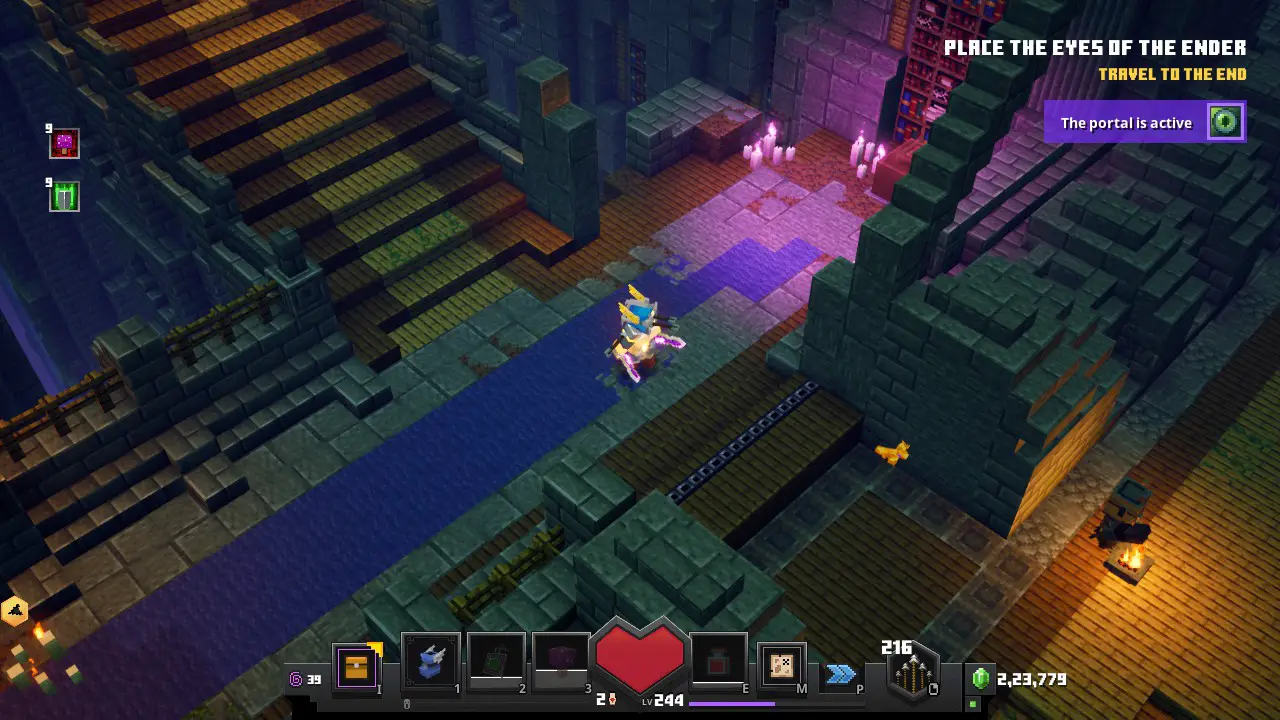
Go down until you find a very enclosed area, with a lever. Upon entering the area, an ambush event will happen. Triggering the lever will lower the water.
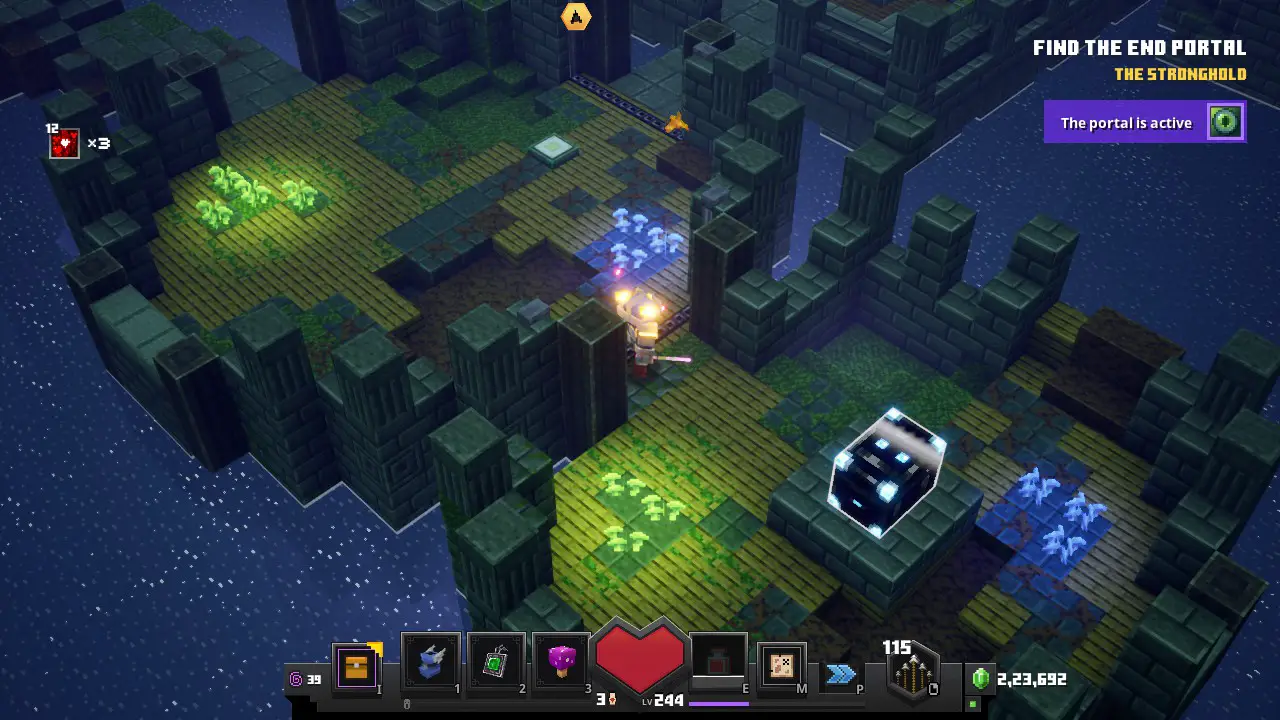
The area revealed to you after the water has been lowered, will lead you to a similar area, take the right path connecting it, and there you’ll another lever, that’ll lower the water even more.
Follow the path, that gets revealed to you after pressing the second lever. At the end of it, you will find another enclosed area. Entering the area, zal een ander hinderlaag evenement activeren. Door het evenement te wissen, krijgt u de #3 Obsidiaanse borst.
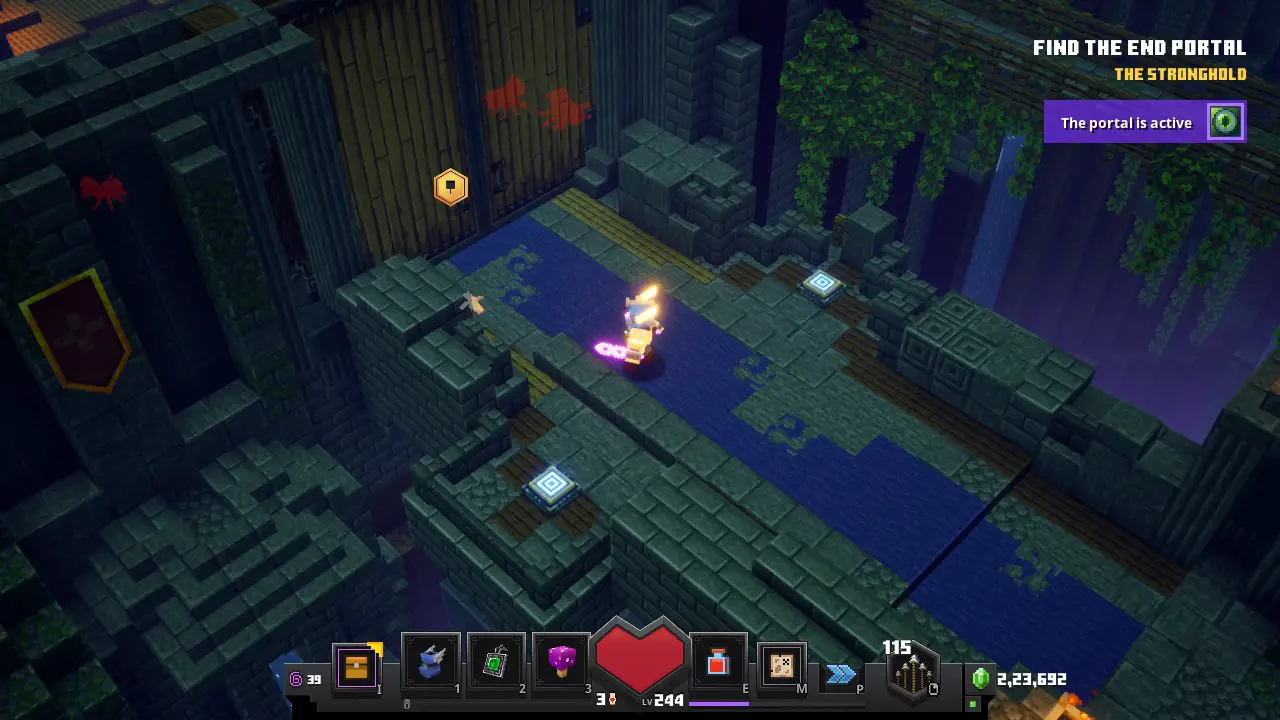
Na het nemen van de Obsidiaanse kist, Ga naar de lift. en druk op de middelste knop, die je omhoog brengt. Op de muur van de lift, de #3 Schakelaar zal worden gezien.

#4 Schakelaar & Obsidiaanse borst
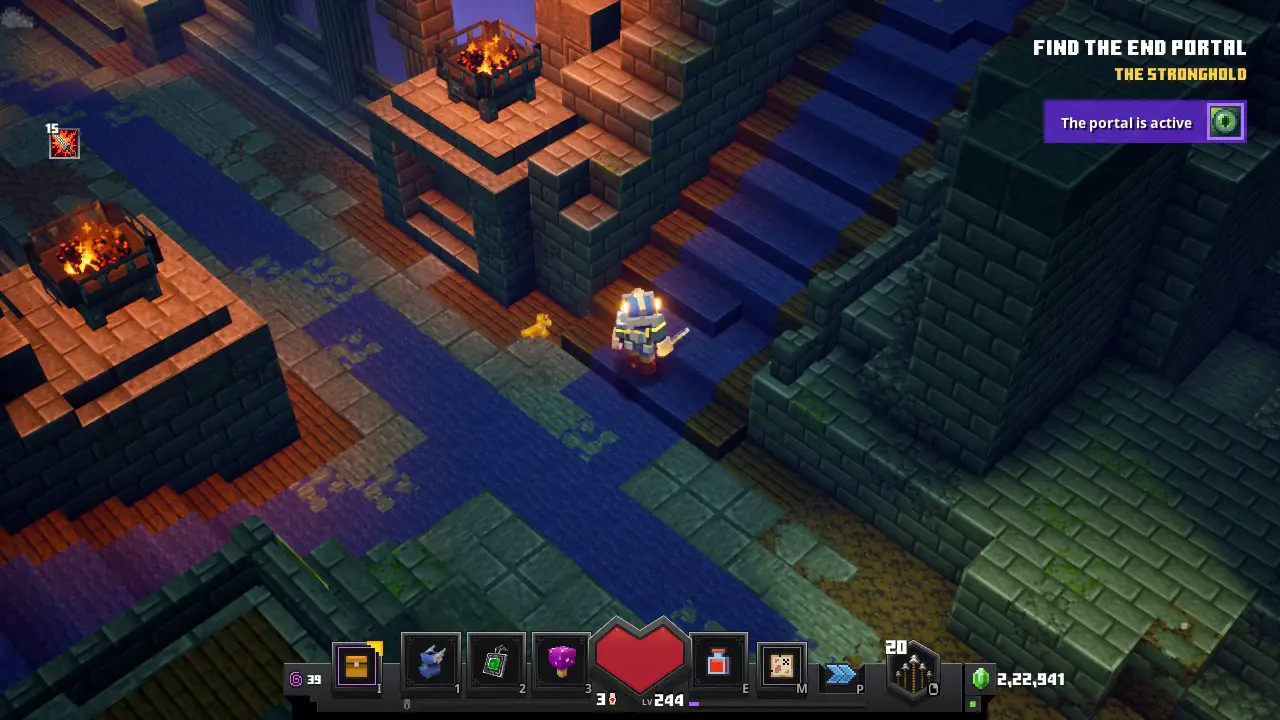
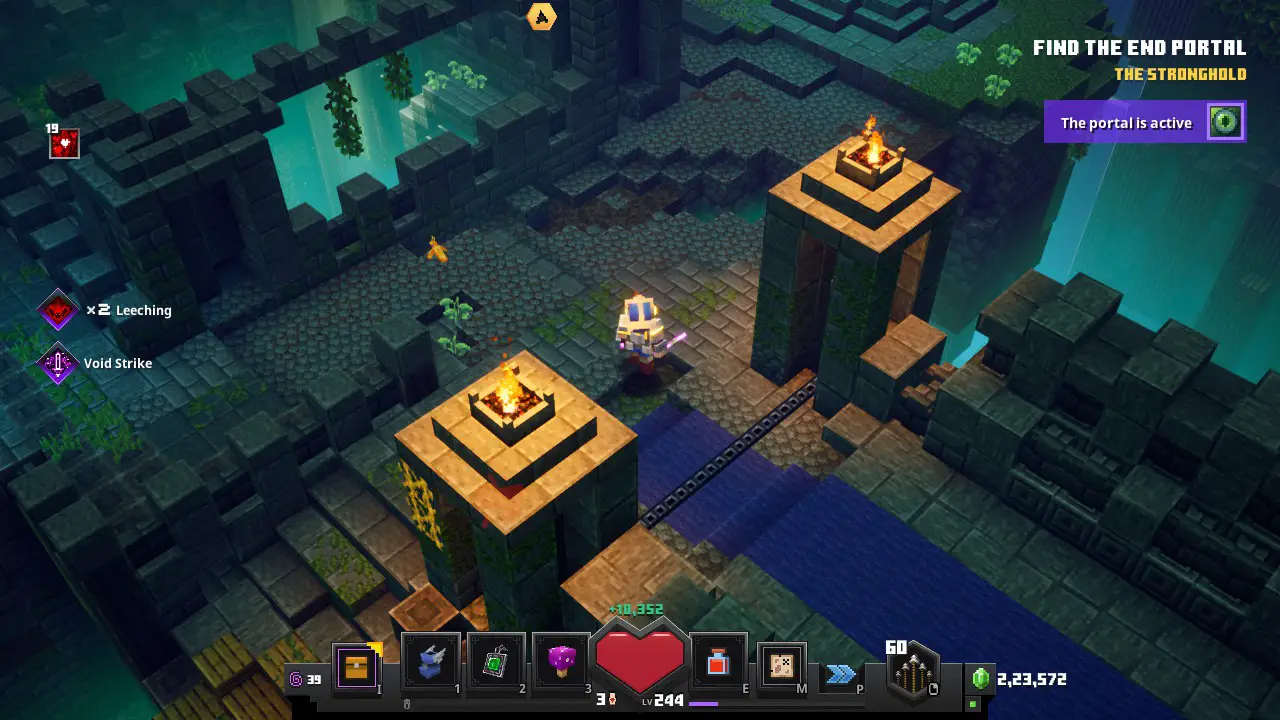
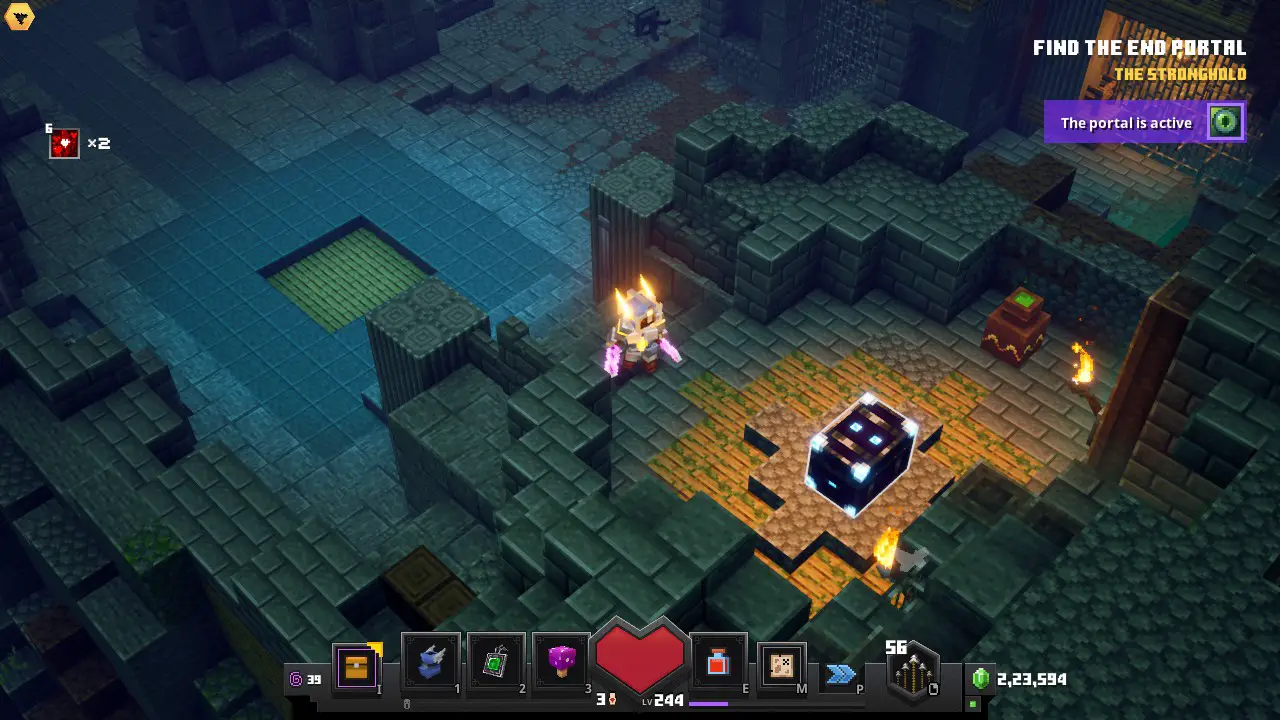
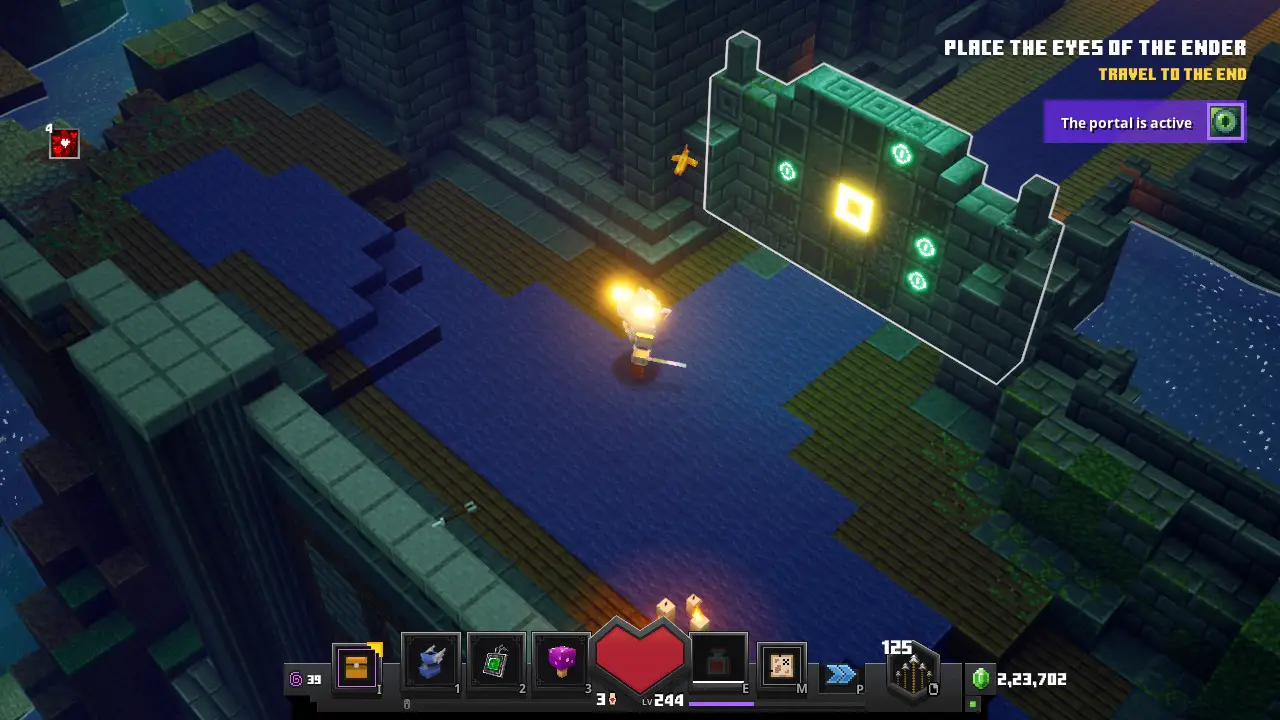
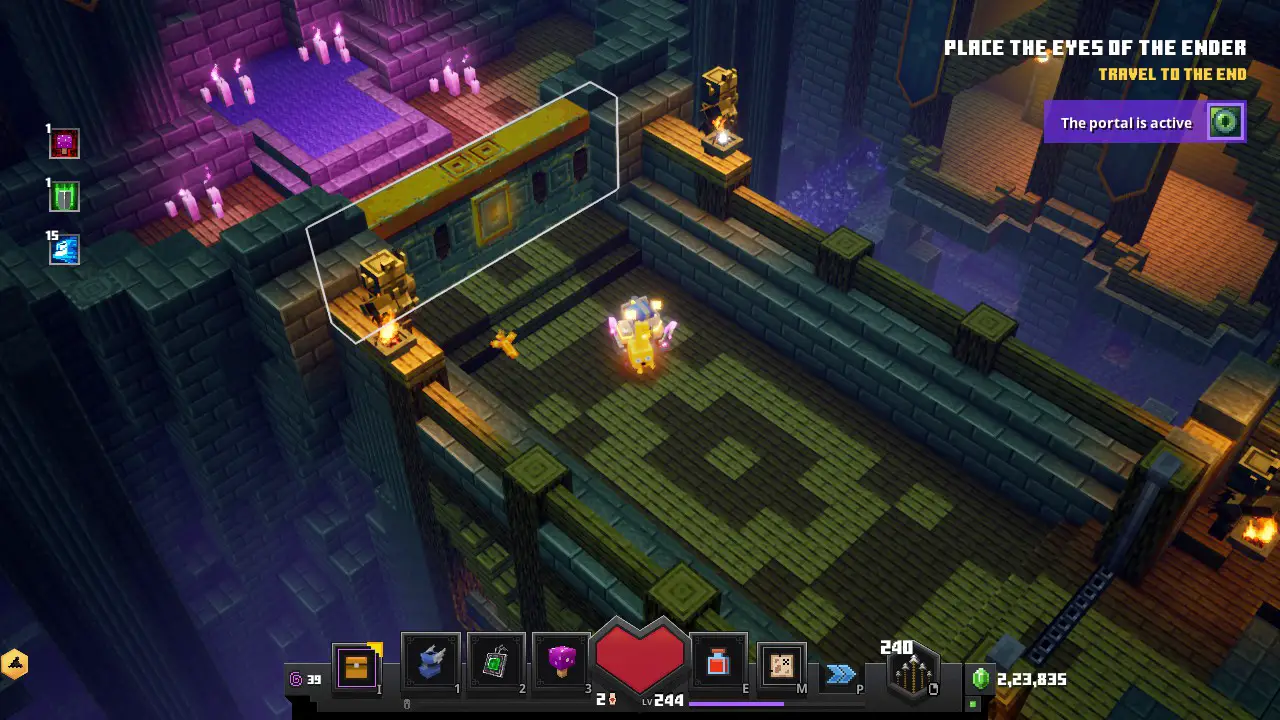
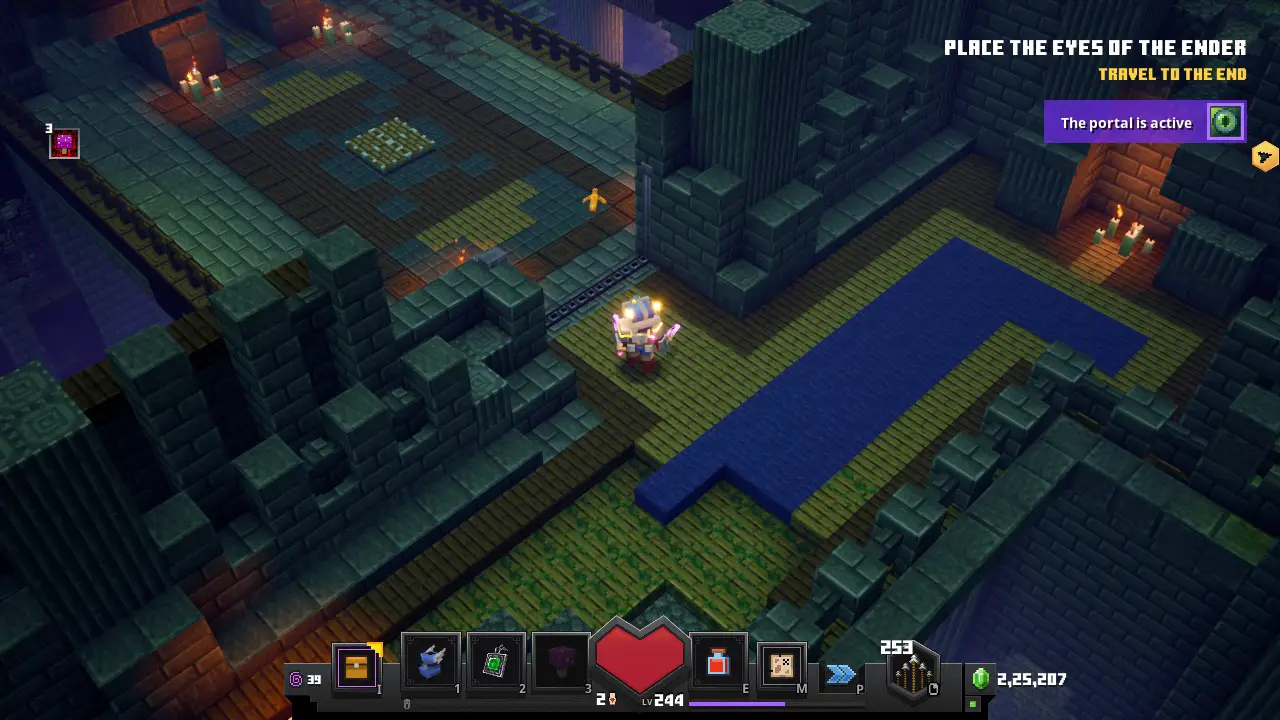
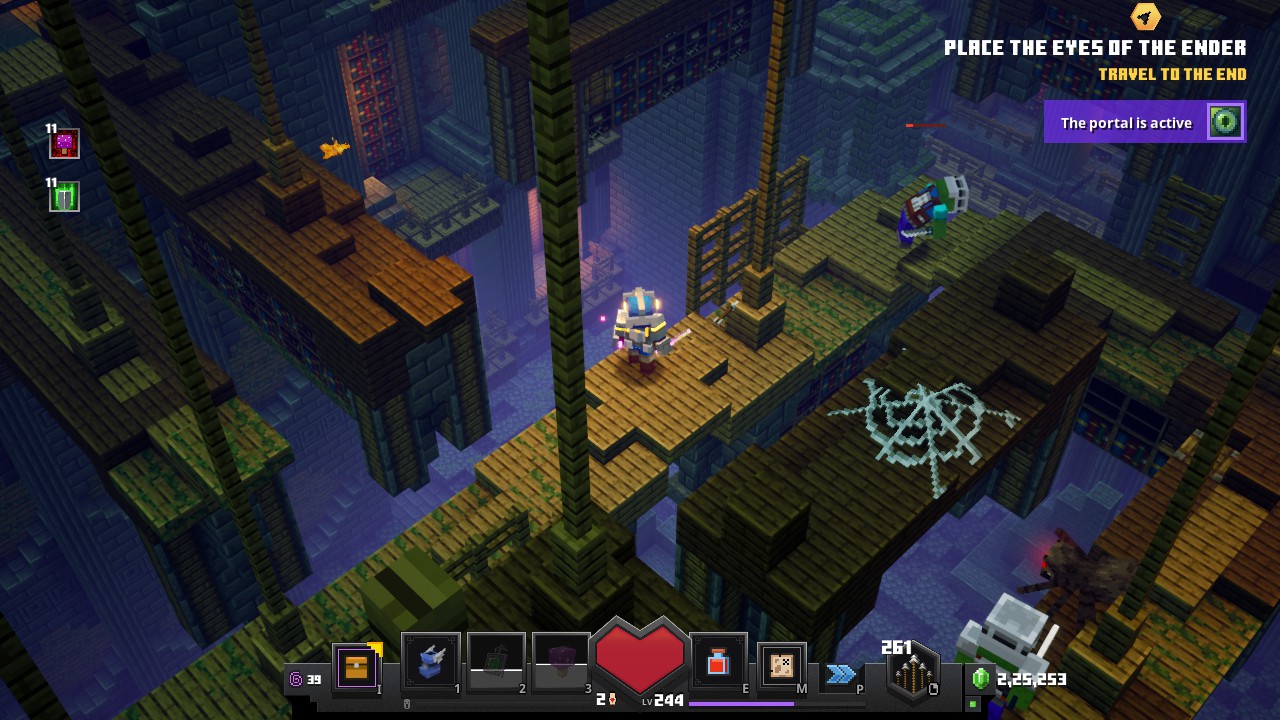
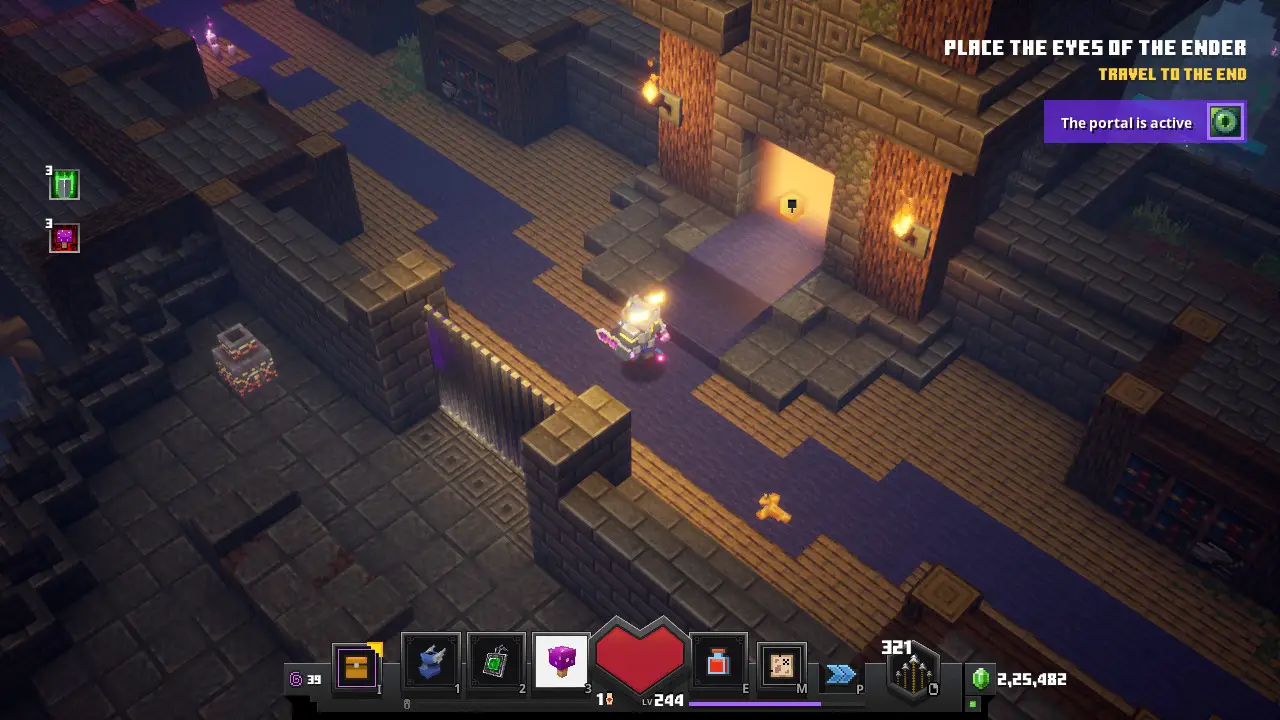
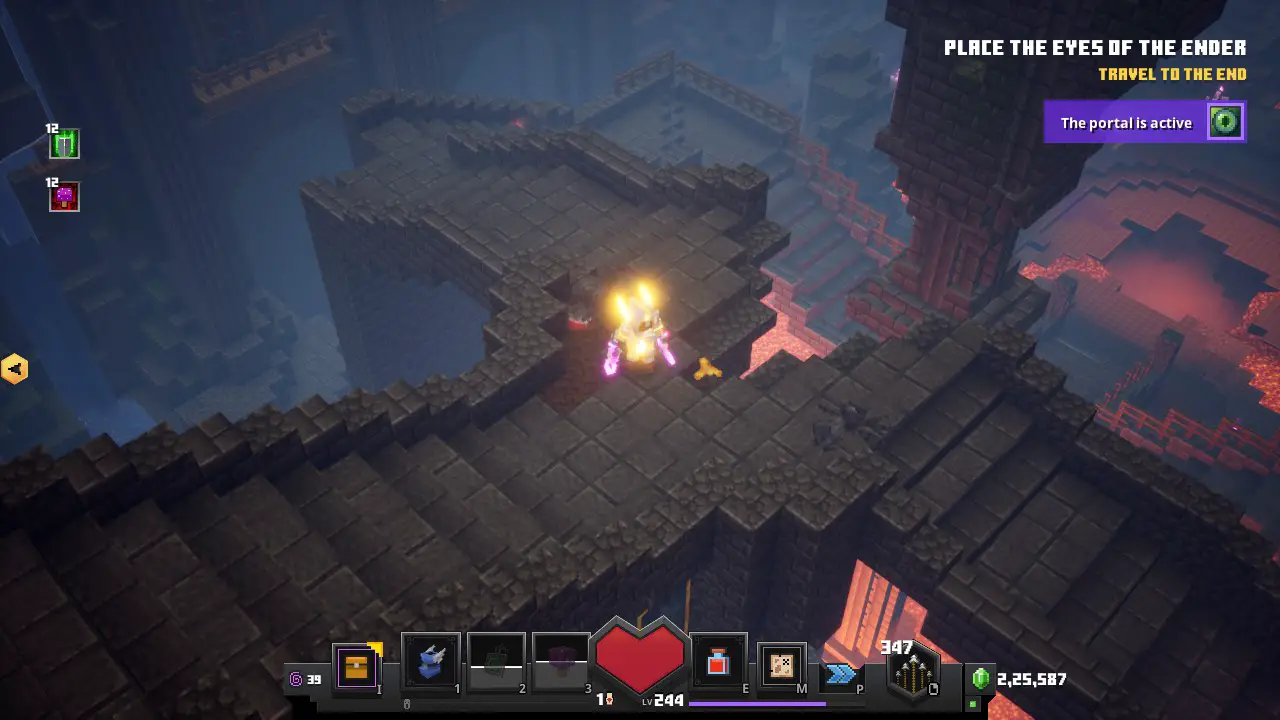
Na het verlaten van het 3e gebied, Ga naar de portaalkamer. Waartoe u toegang hebt, Door twee grote houten deuren te openen, met twee knoppen.
Neem het juiste pad.
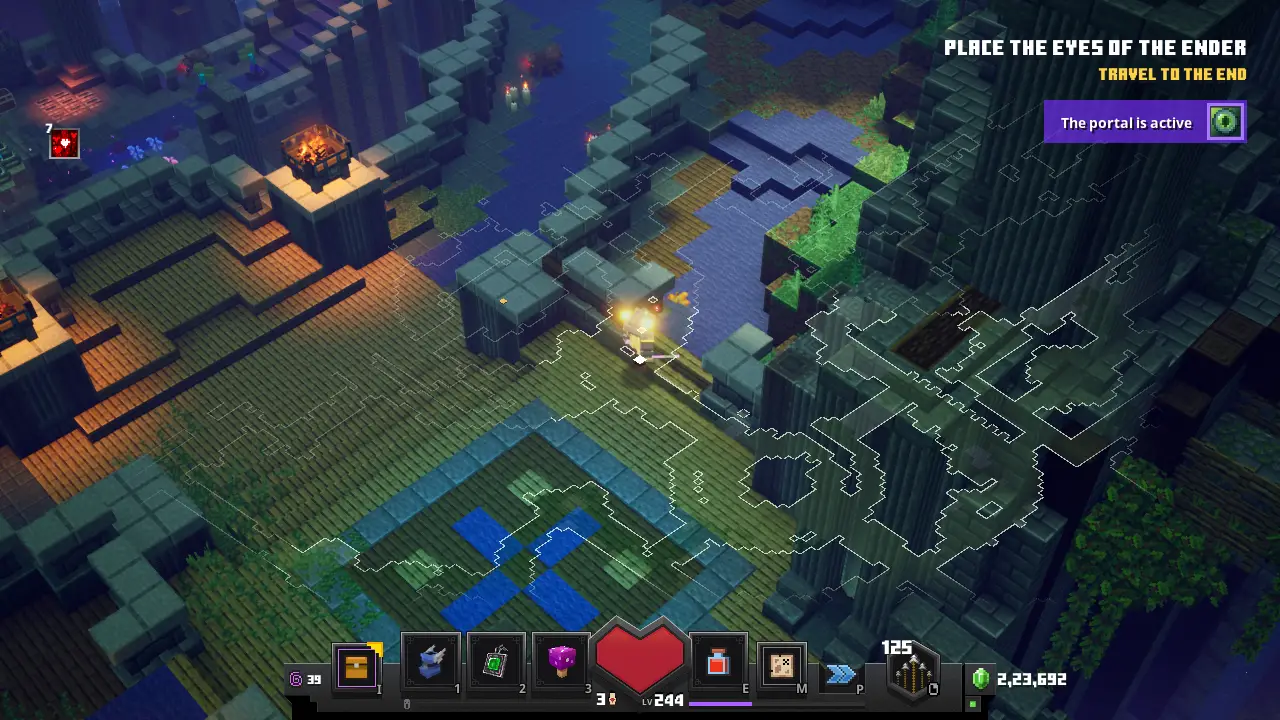
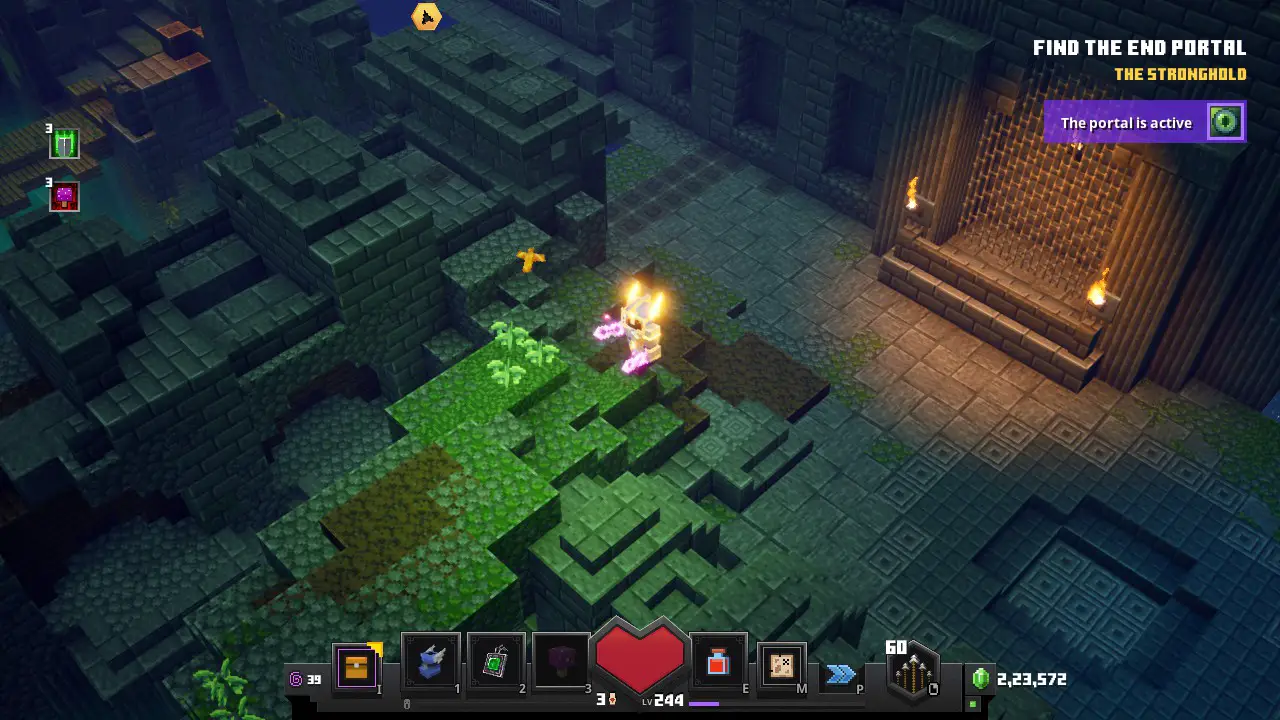
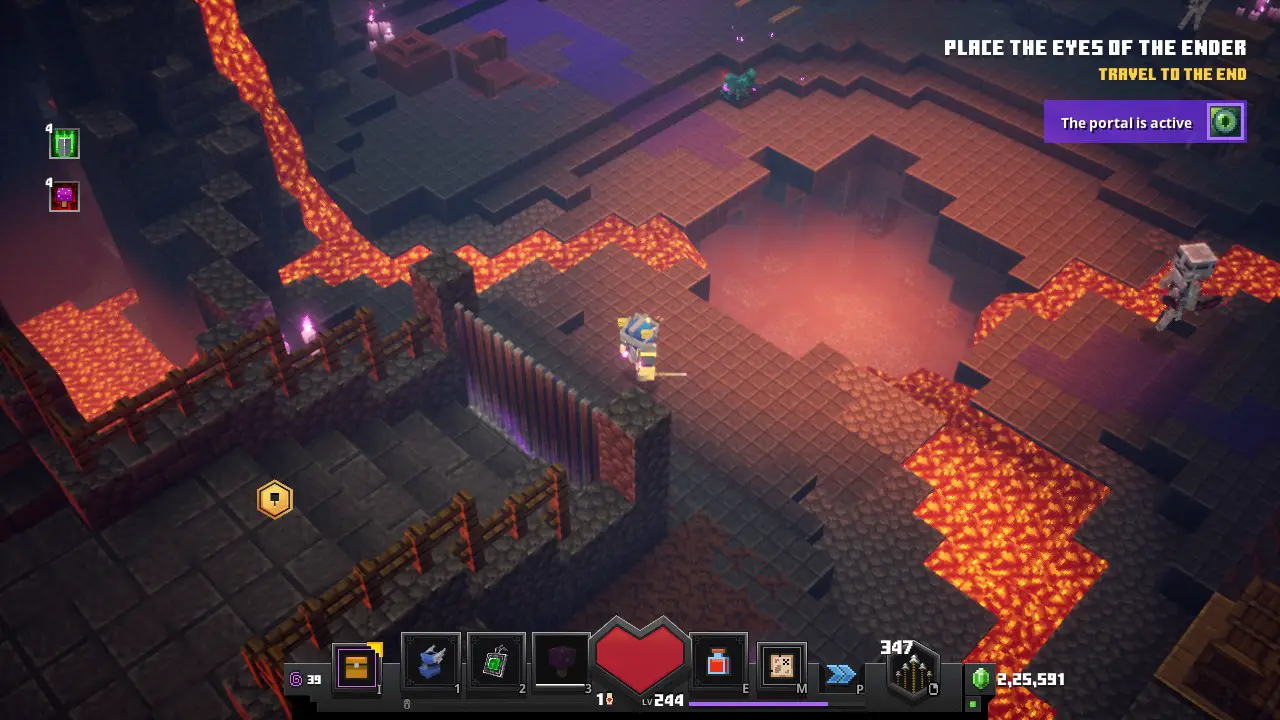
Ga naar boven, U vindt de deur naar uw 4e gebied.
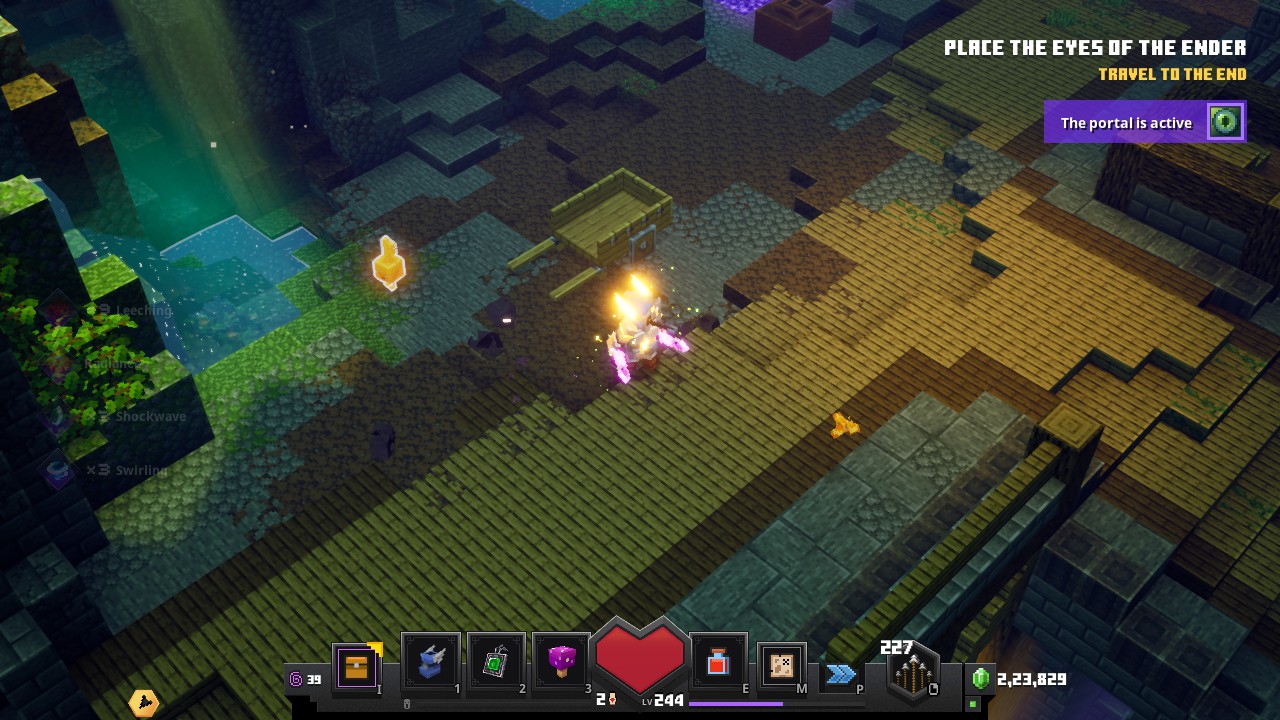
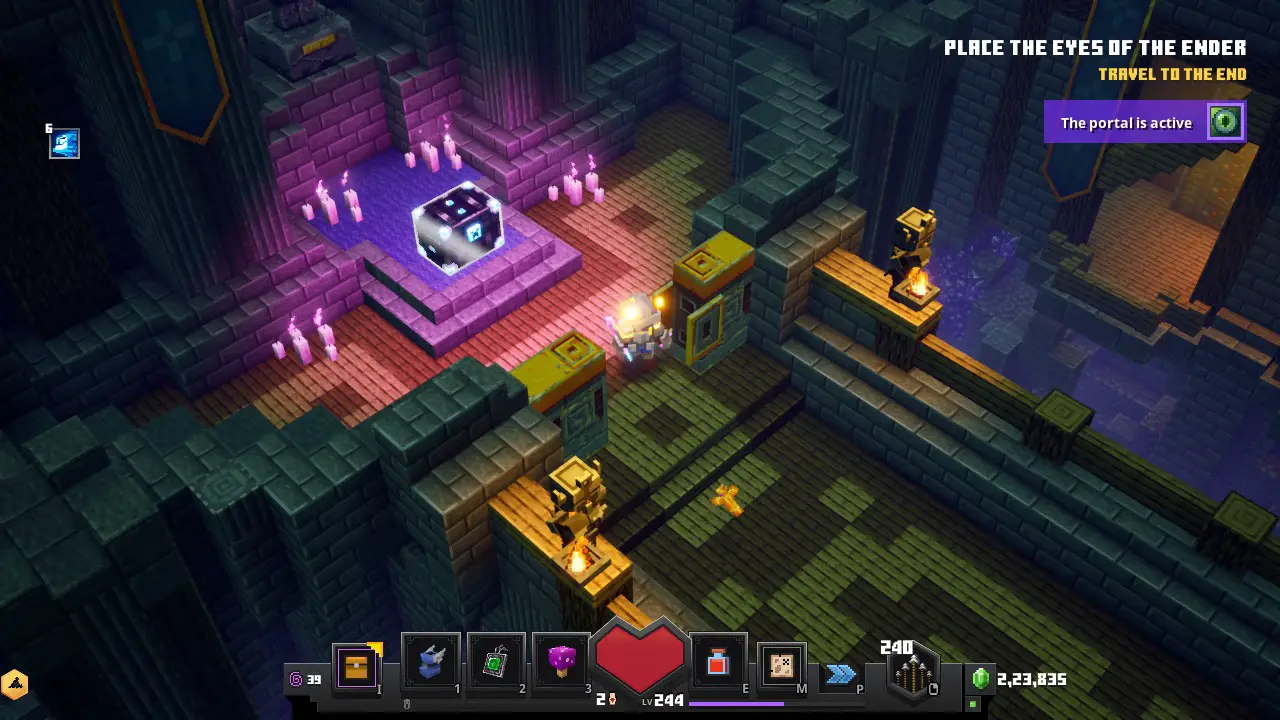
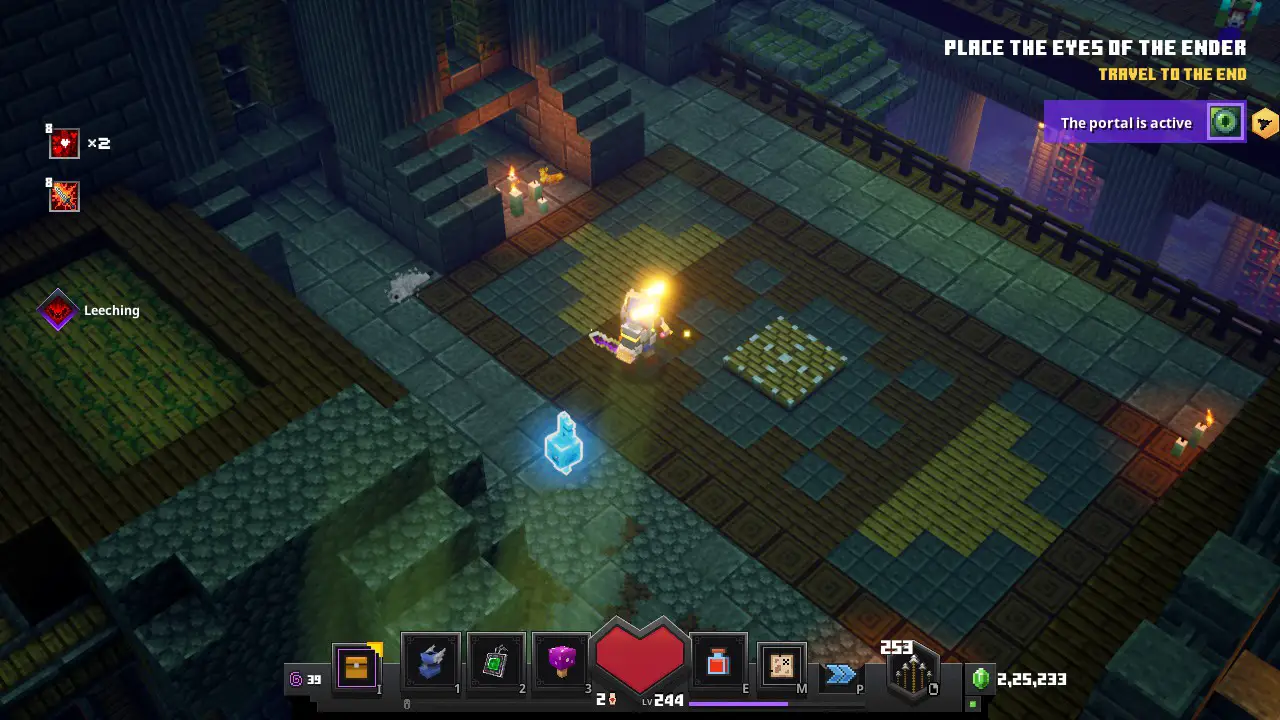
Erin, Nadat je verder gaat, kom je dit gebied tegen, Waar necromancers blijven paaien totdat u op de knop drukt.
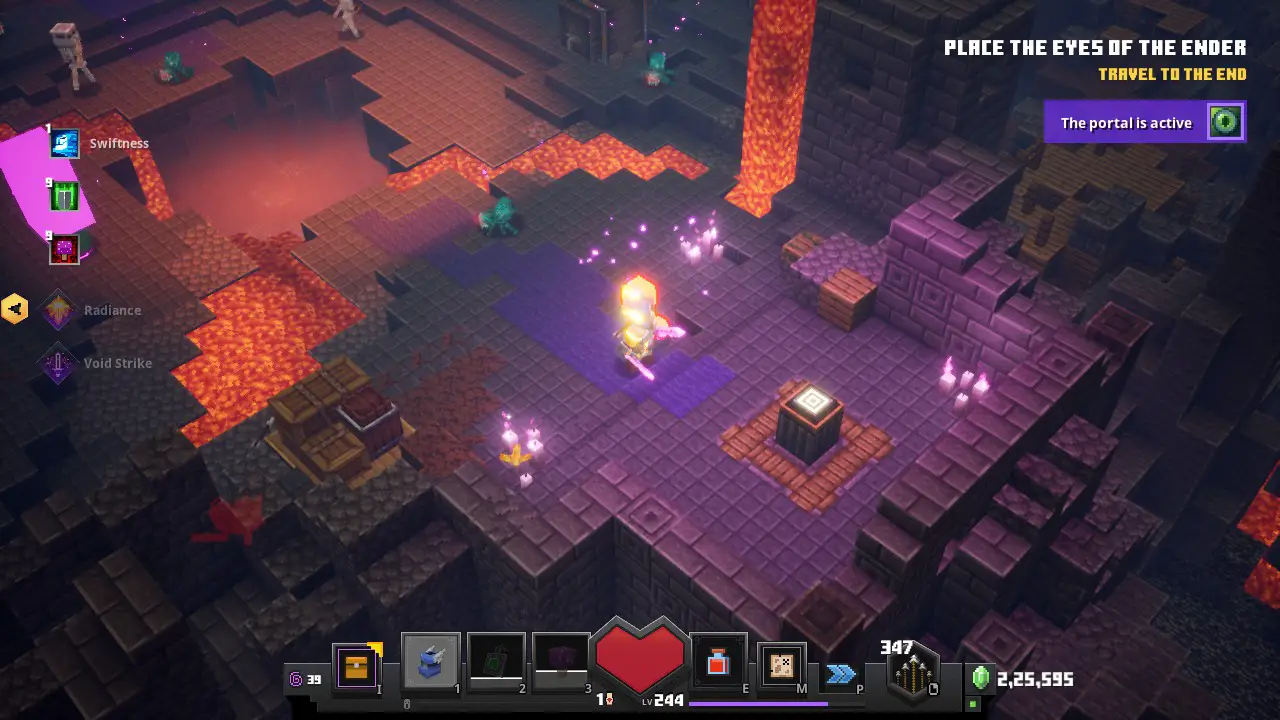
Neem het linker pad naar boven. En ga dan naar links. Aan het einde van het pad, je komt je #4 Schakelaar
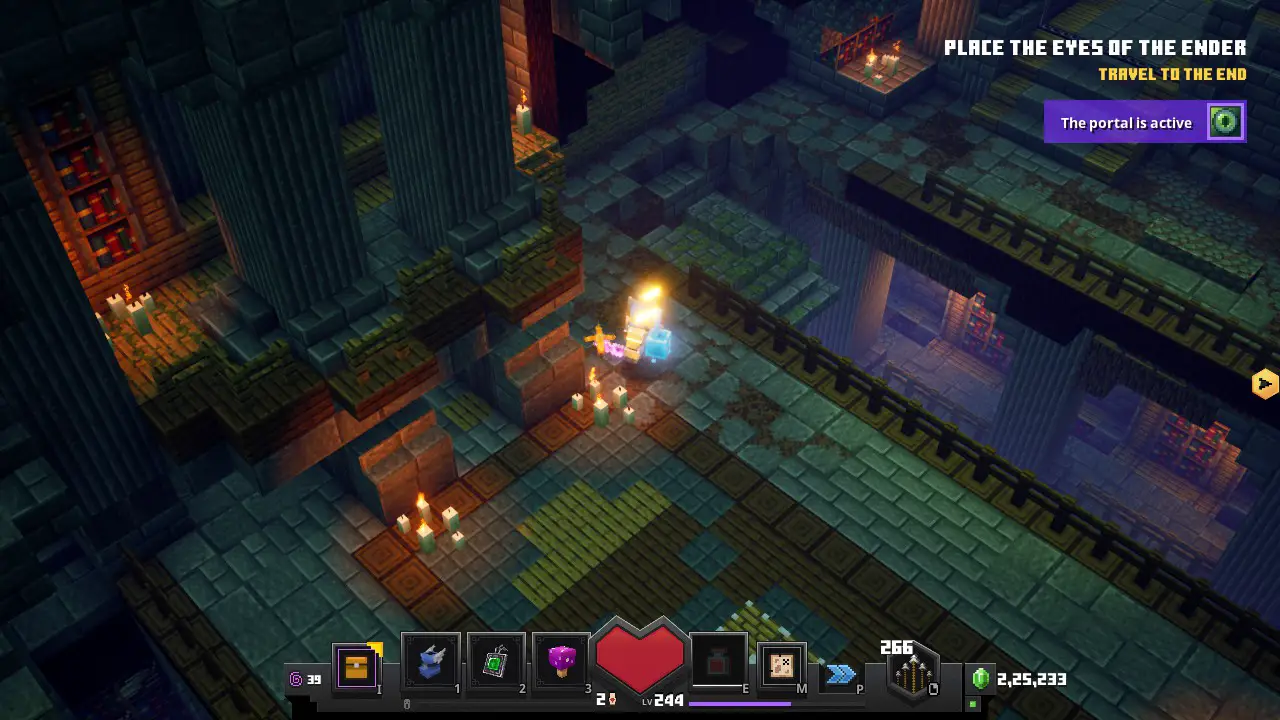
Ga terug en neem nu de rechterkant. Nogmaals totdat u op de knop drukt, Necromancers zullen blijven paaien.
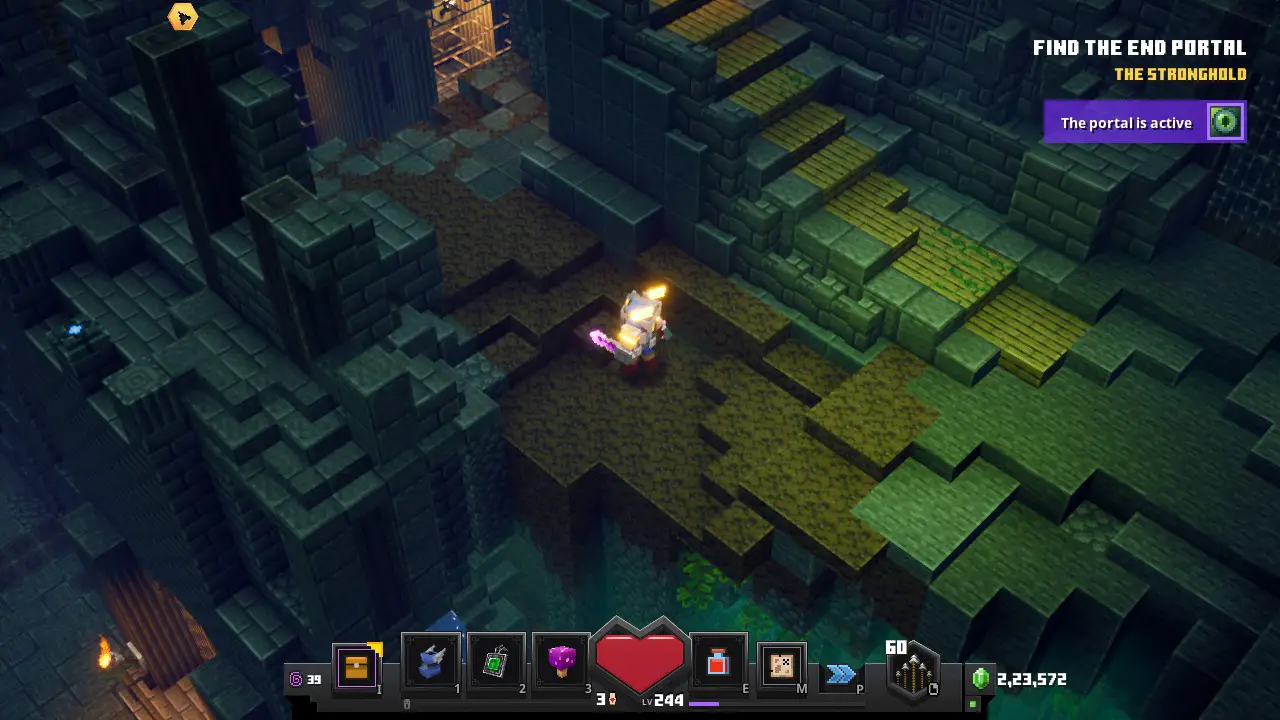
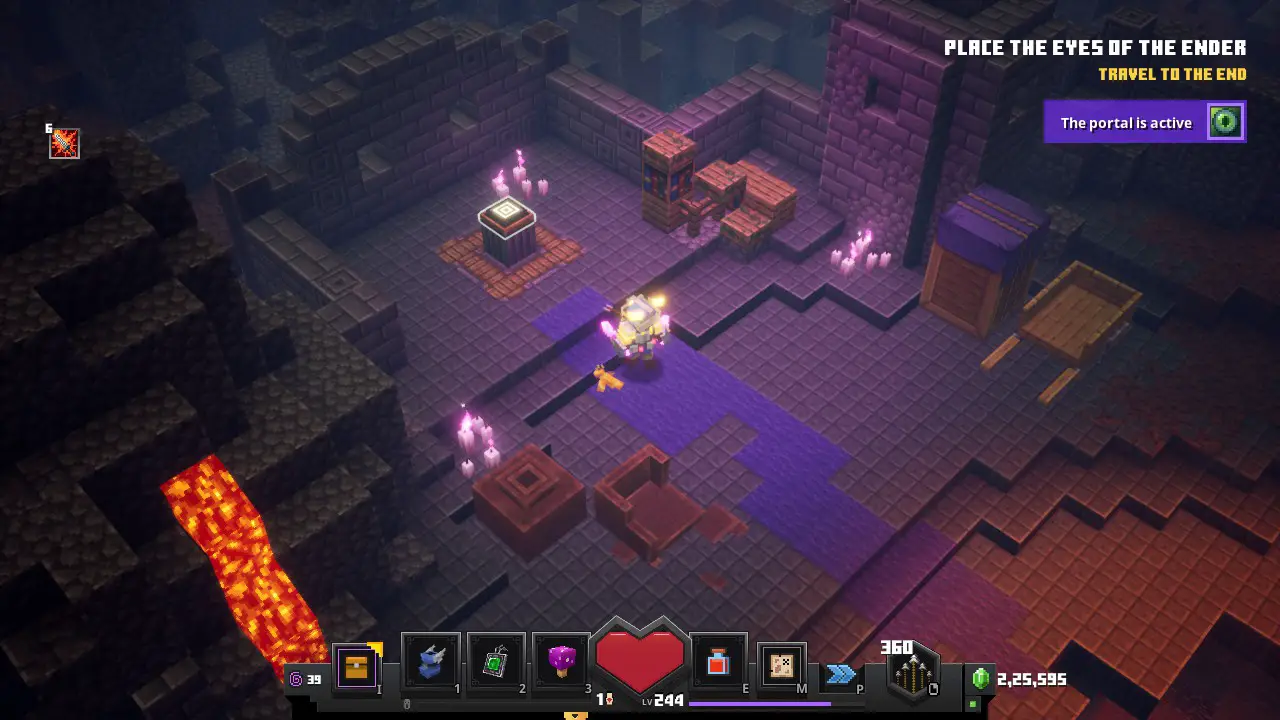
Ga nu naar beneden, en neem dan de trap naar rechts, die naar boven gaan. There you’ll find the third button.
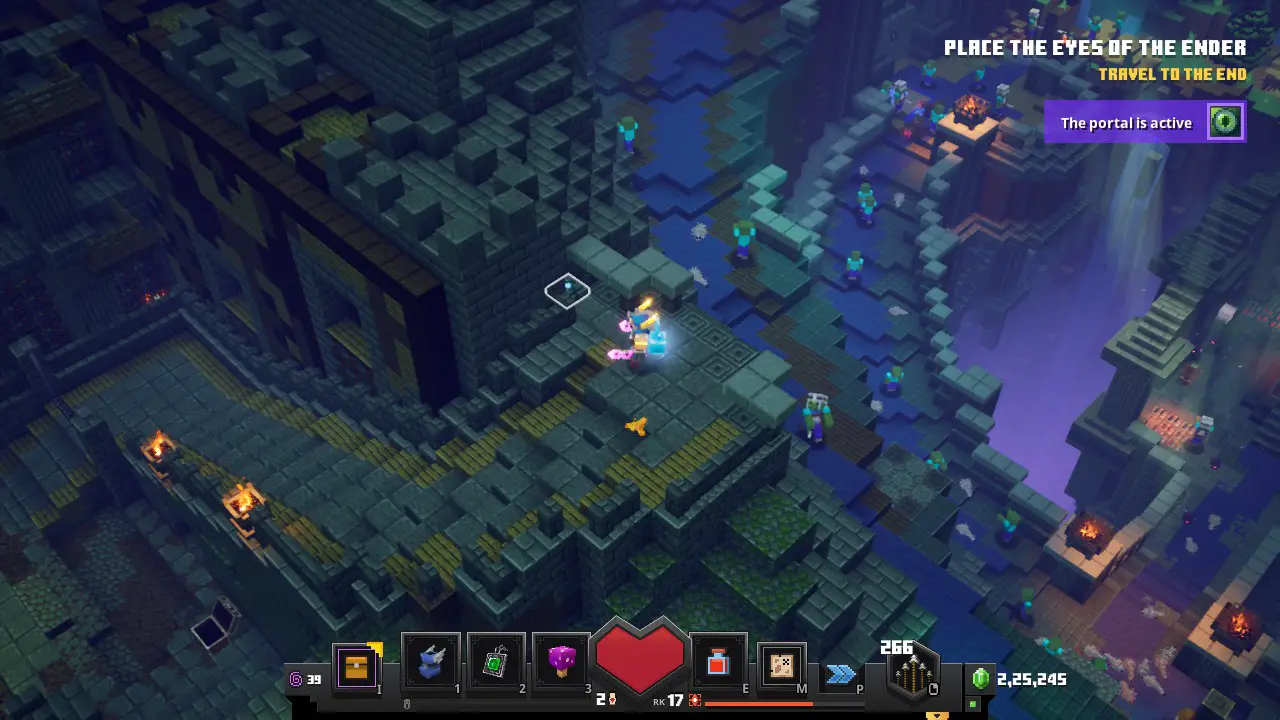
Now go downstairs from the 3rd button area. And walk forward, you’ll come across, another set of stairs that’ll take you even higher. Carefully navigate the narrow passageways. Until you find the fourth button.
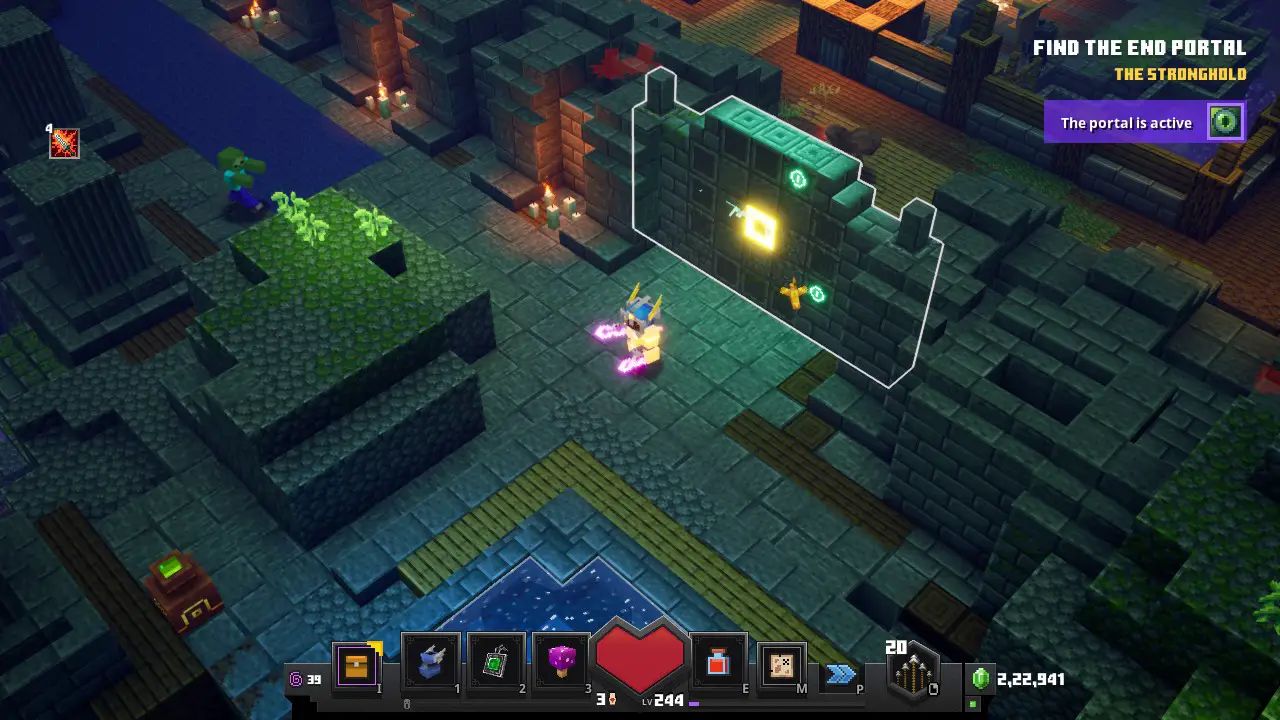
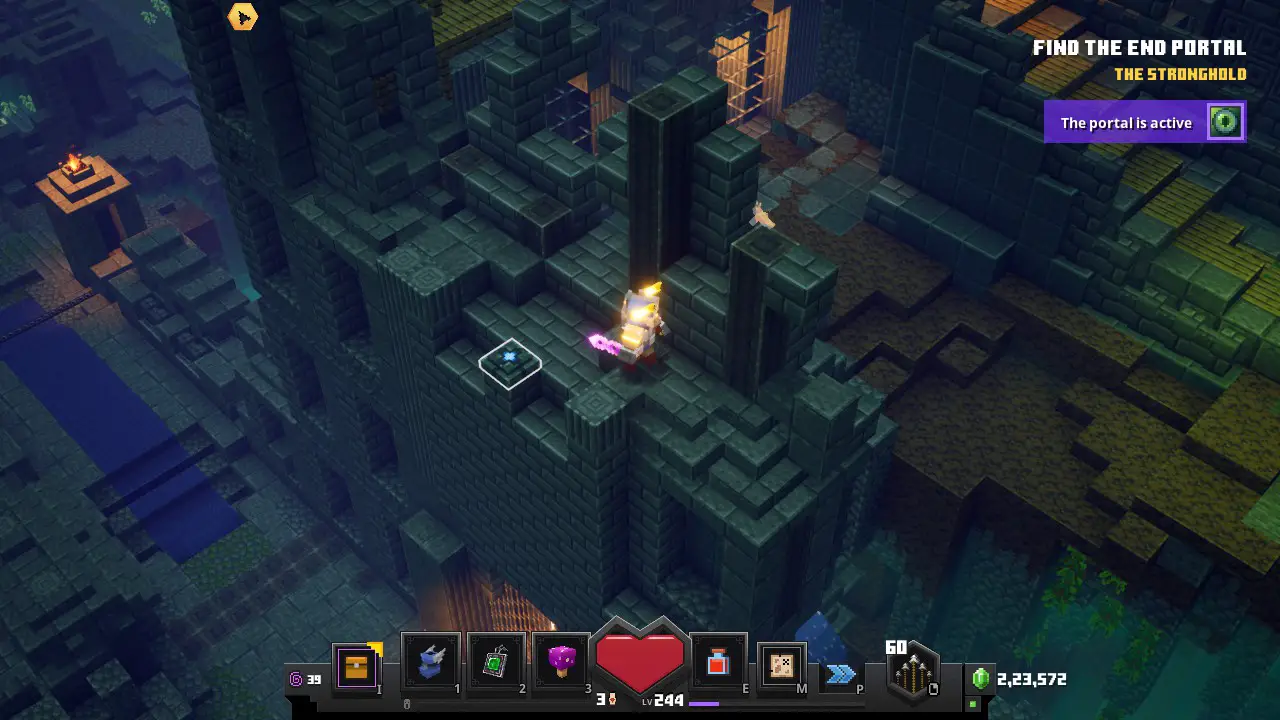
This will open a barrier that was blocking your way previously in the third button area. Navigate back to the third button area, there you can go further to the right.
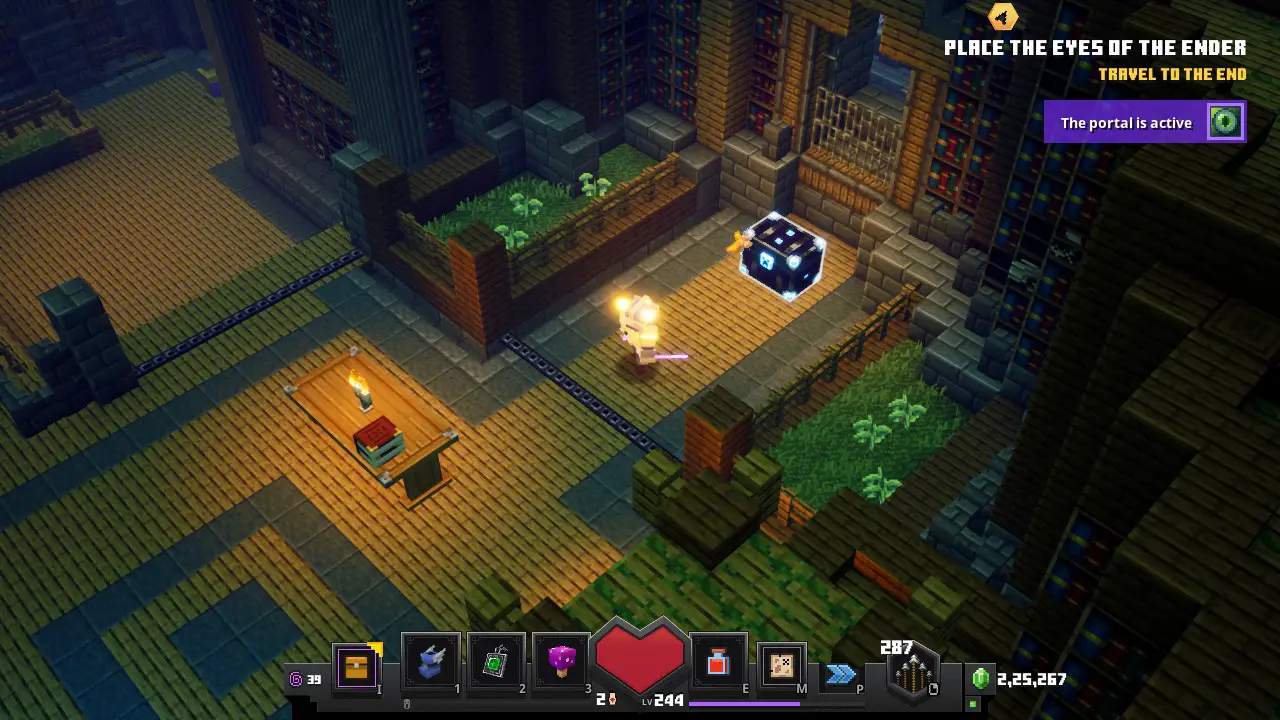
Inside the barrier area, go right again, and you will come across a room, with two paths, one locked needing a golden key, and one going downwards. Take the downward path and go left. At the end of it. You’ll find the Golden Golem Key.
Use the key to unlock the gate.
And you’ll be rewarded with your #4 Obsidiaanse borst
#5 Schakelaar & Obsidiaanse borst
Exit the 4th area, and now go back to the two large wooden doors, and take the left path.
Going upstairs will lead you to the 5th door.
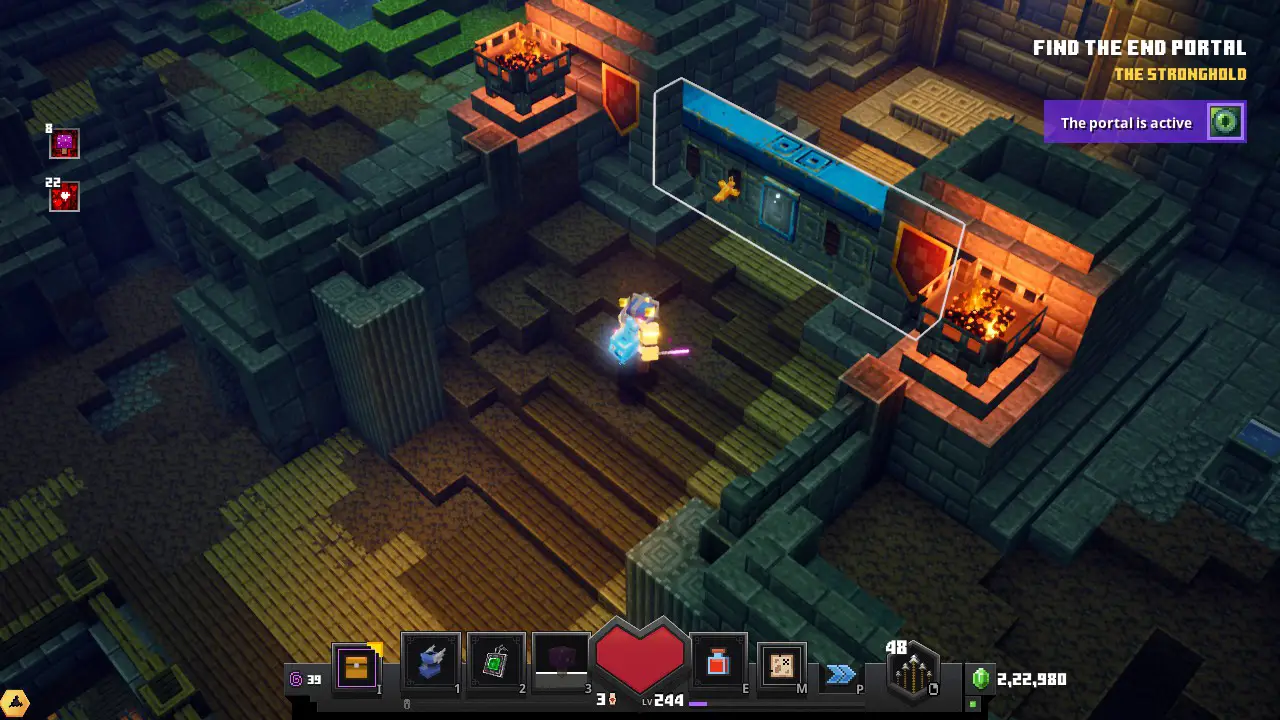
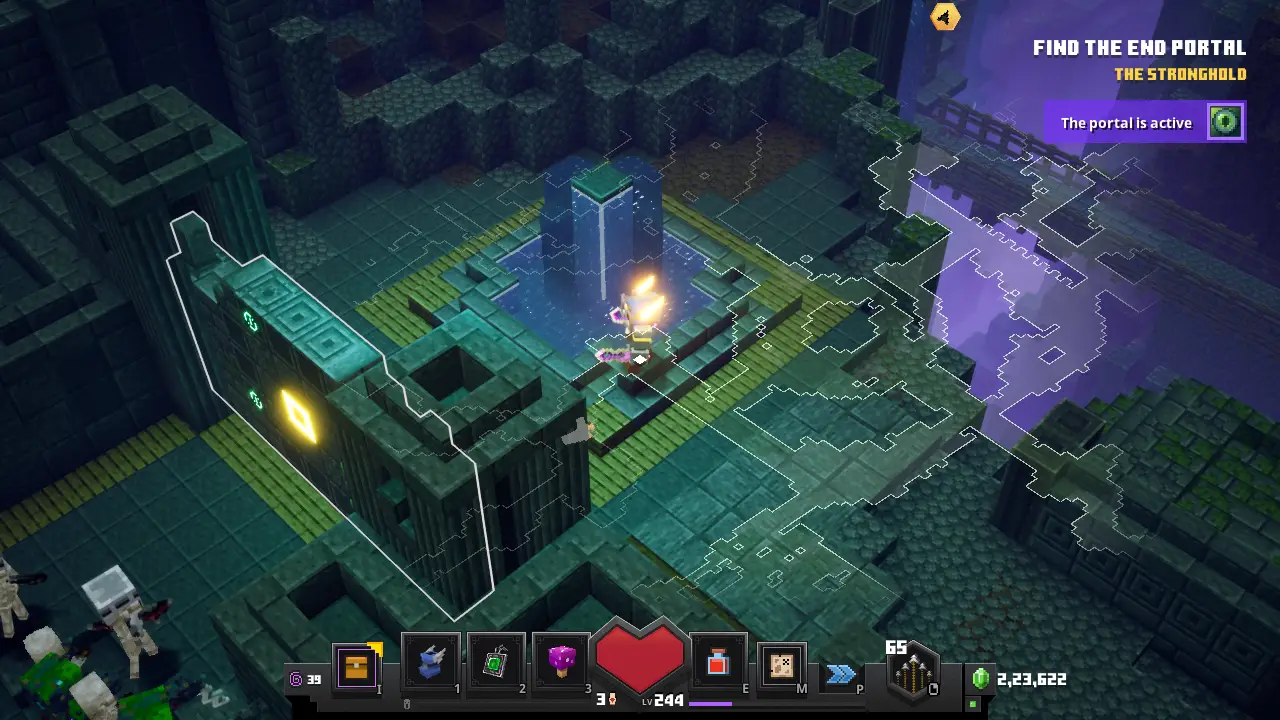
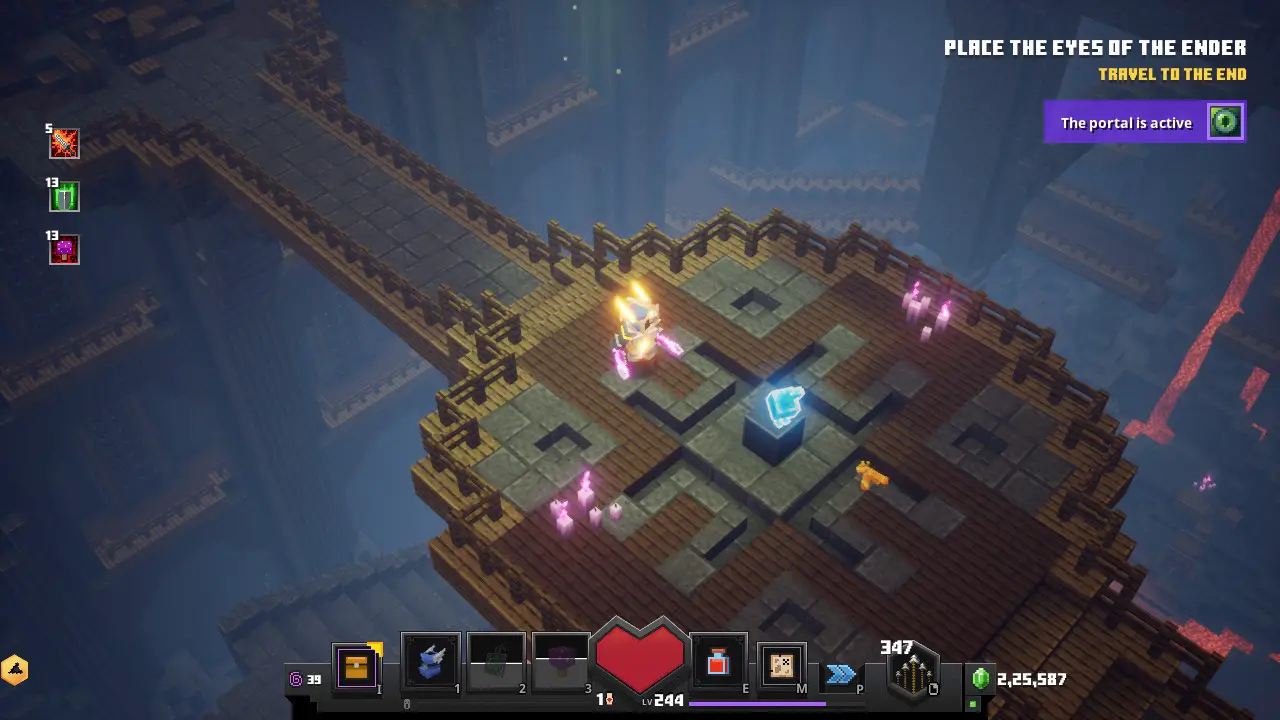
Going inside you’ll find an area with a launchpad and on the left side will be a locked door(it might not be visible on the Screenshot, but there is a locked door), needing a Blue Golem Key. Entering that launchpad area will trigger an ambush event.
Clear the ambush event and then go to far left end of the room with the launchpads. There you’ll find the Blue Golem Key sitting there.
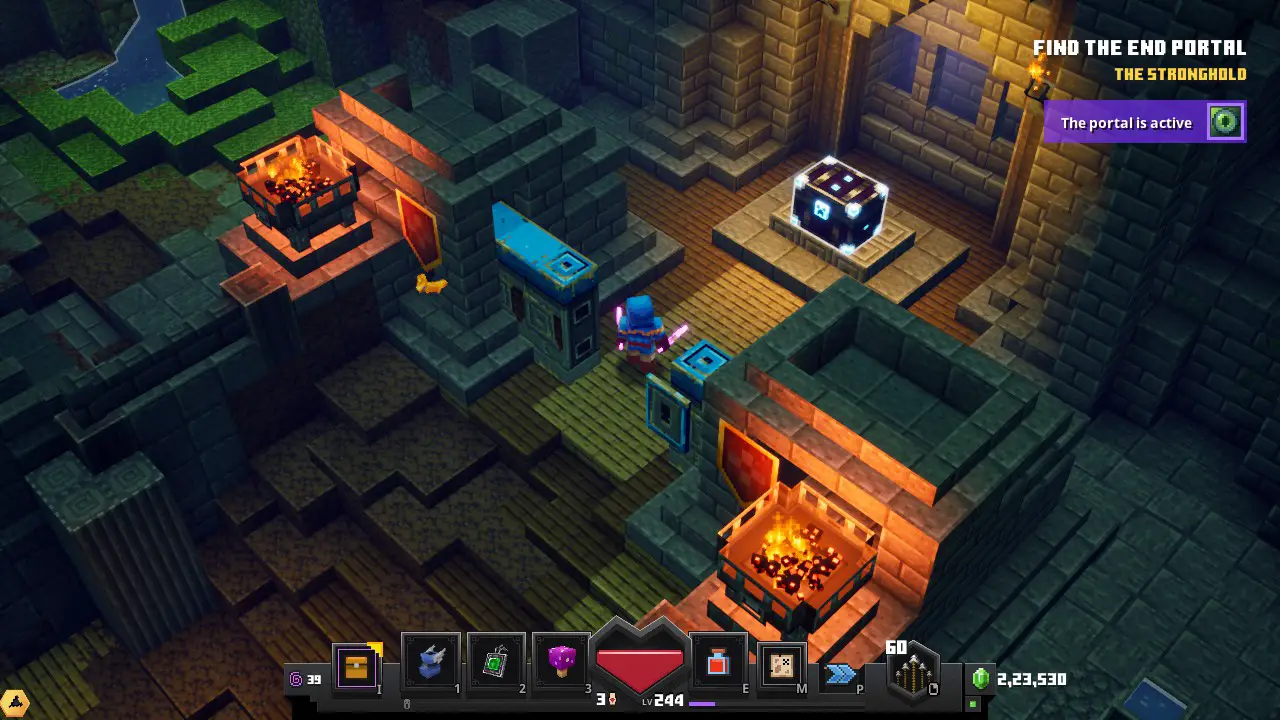
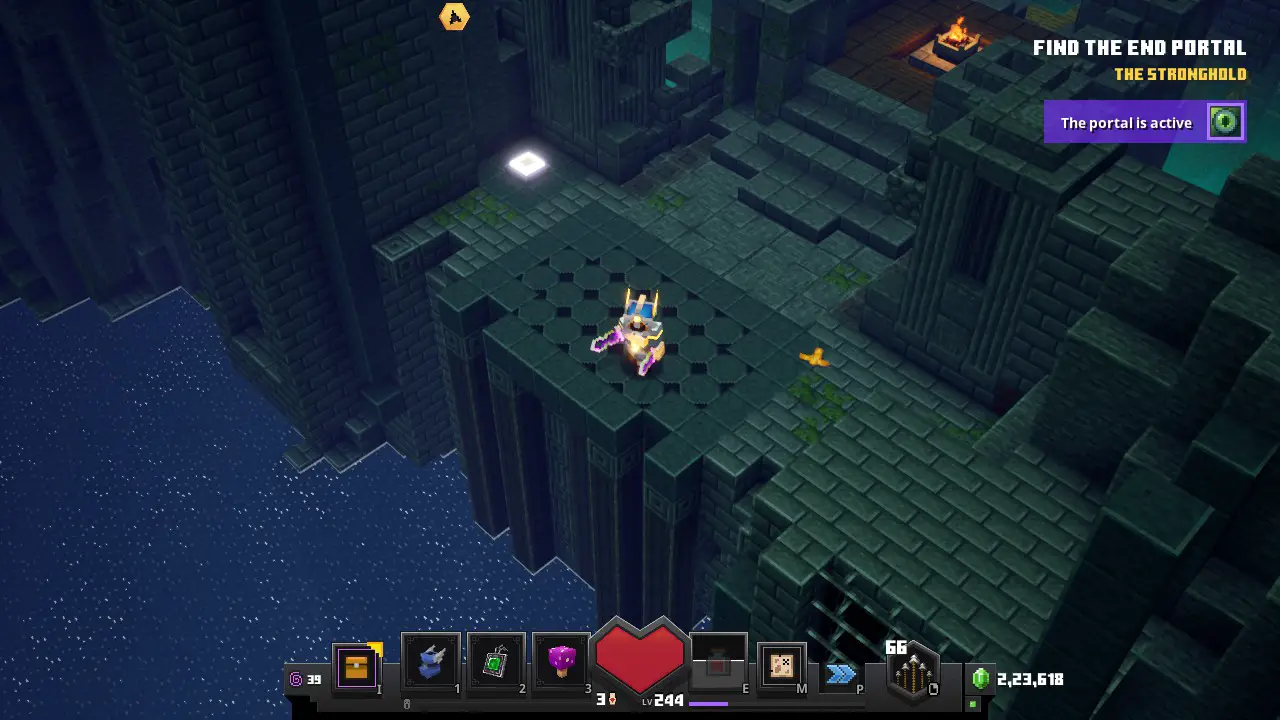
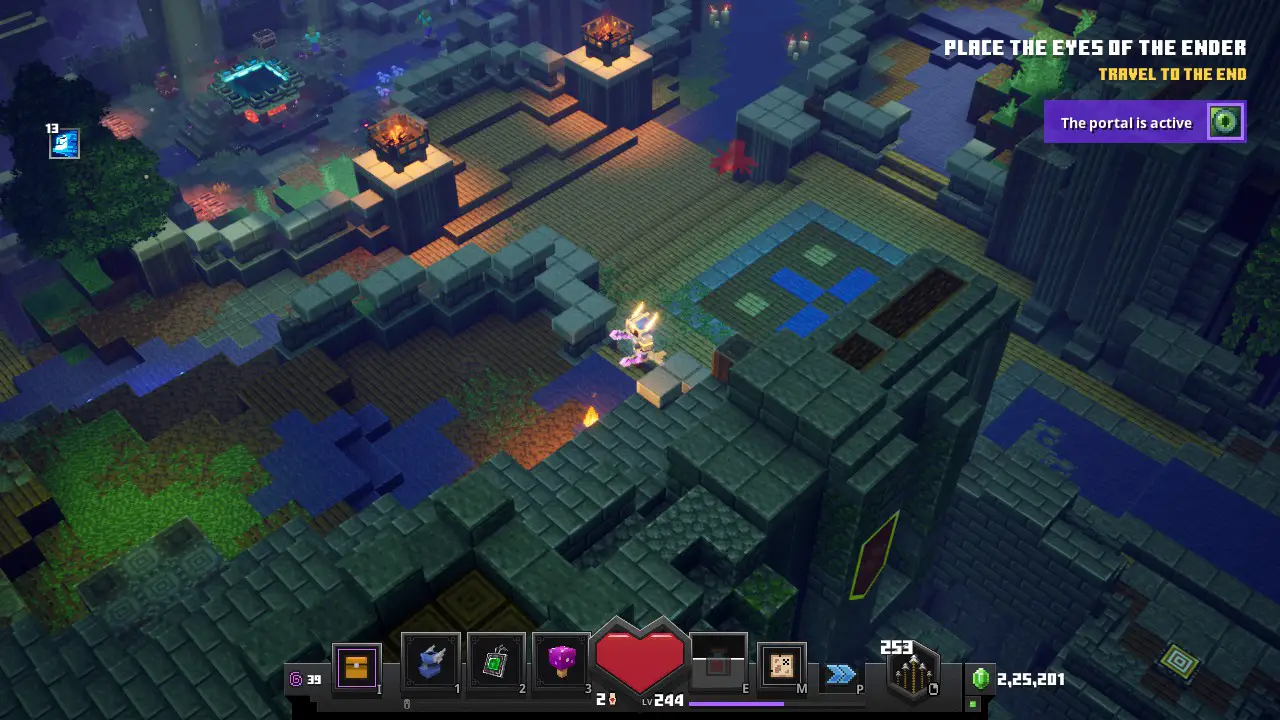
Now go back to the initial area where the barrier is now open. But don’t exit just yet. Go forward. You’ll notice a broken path forward. Carefully navigate it, and go upstairs.
At top of it. You’ll find the #5 Schakelaar.
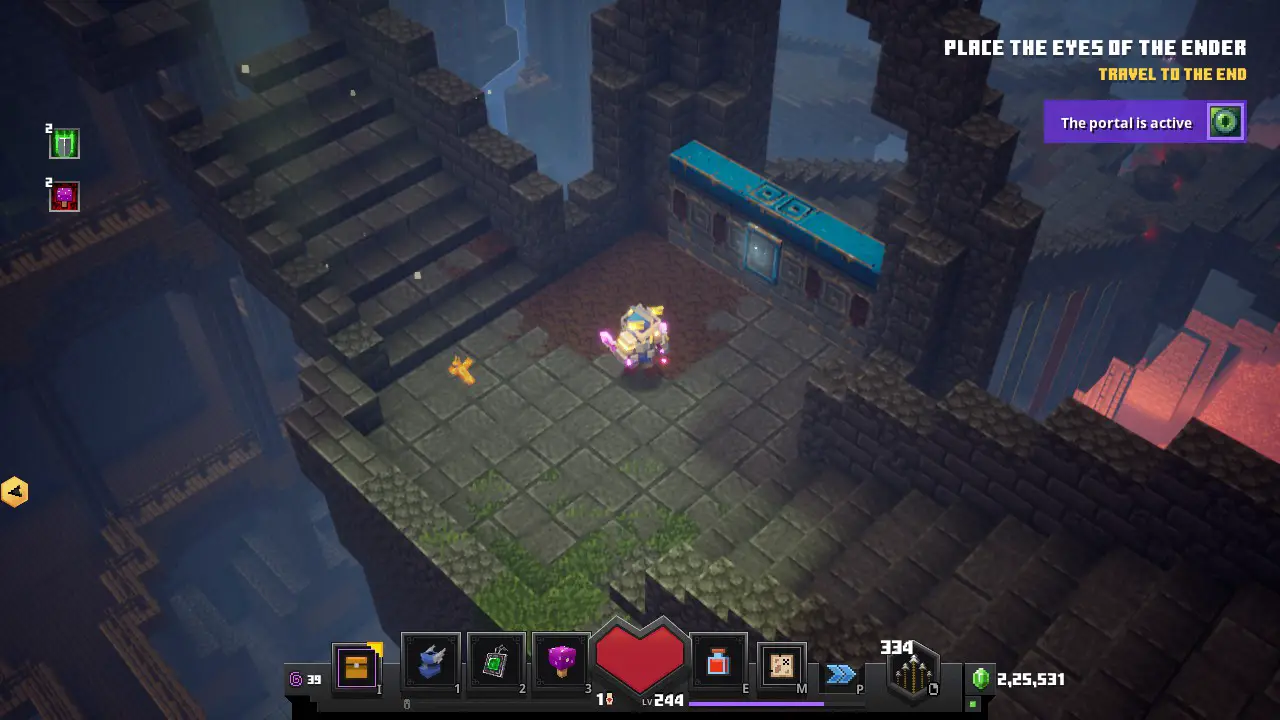
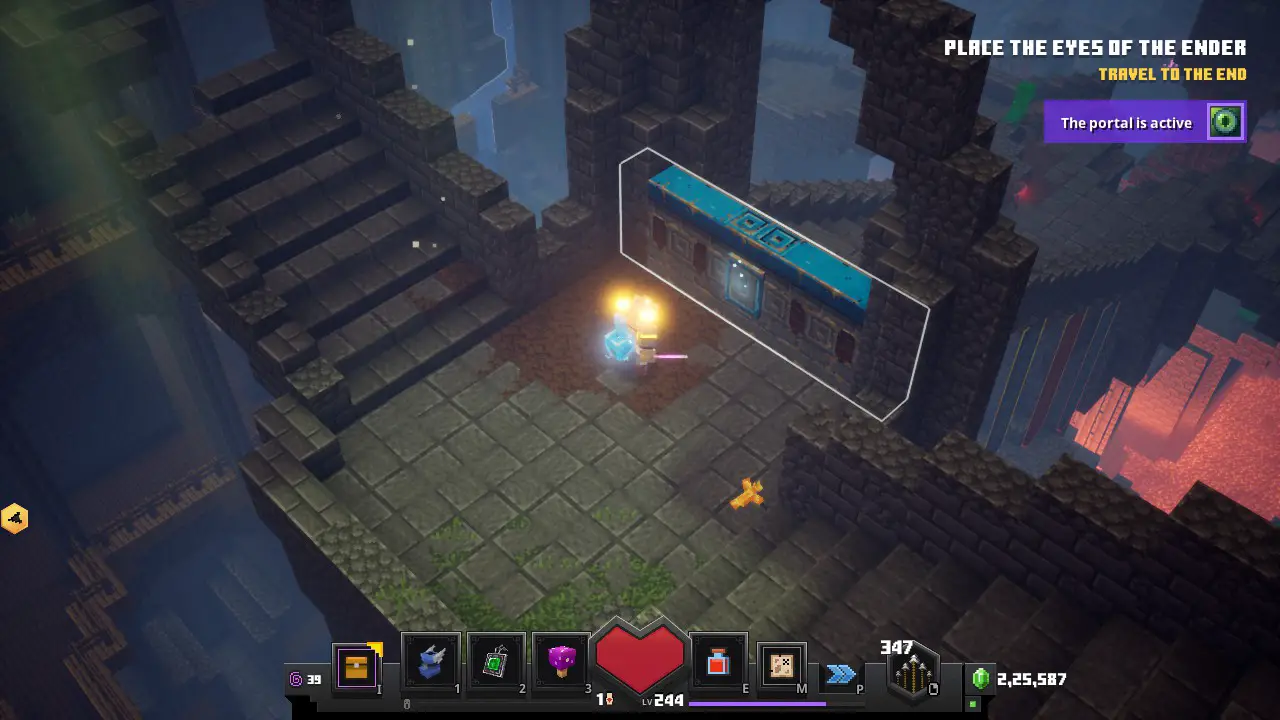
Now go back and open the door with the Blue Key. You’ll find yourself in some narrow passages.
At the end of those passages, you’ll end up in a room. Once inside the room, you’ll have to clear out an ambush event.
Clearing the ambush event, will give you your #5 Obsidiaanse borst.
#6 Schakelaar & Obsidiaanse borst
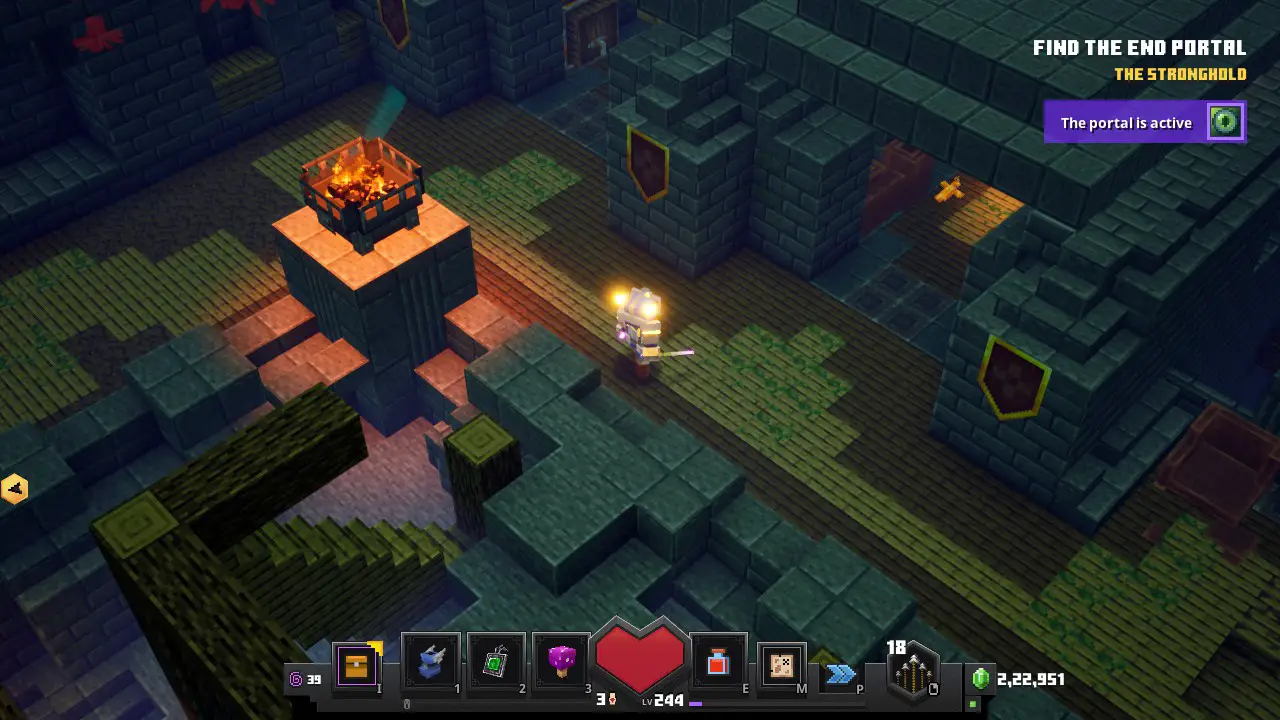
Exit from the 5th area and then head forward, and you’ll come across the door to the 6th area.
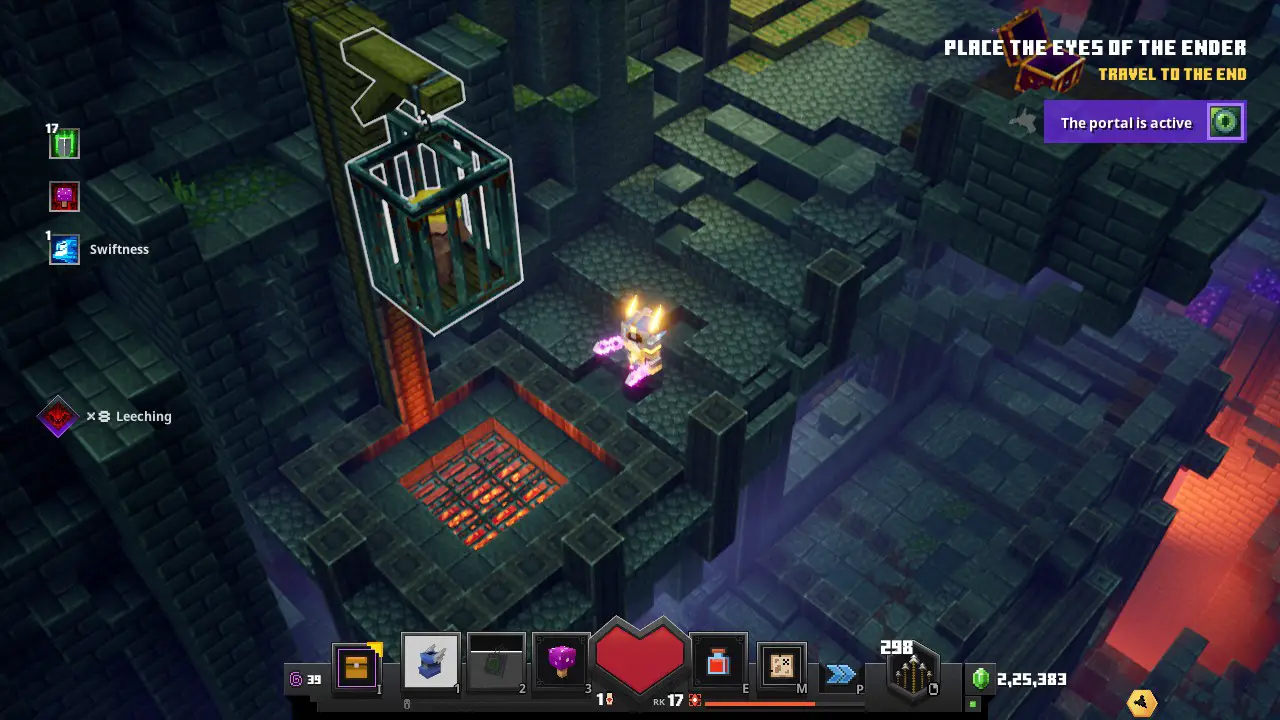
In het gebied, you’ll come across these caged villagers. Simply release them.
Go upstairs from the first caged villager. You’ll find the second caged villager. Release him.
From the second caged villager, go right and you’ll find the third caged villager. Release him as well.
Now you can go upstairs, which was previously blocked.
Ga naar boven, and take the right. You’ll find yourself the fourth caged villager.
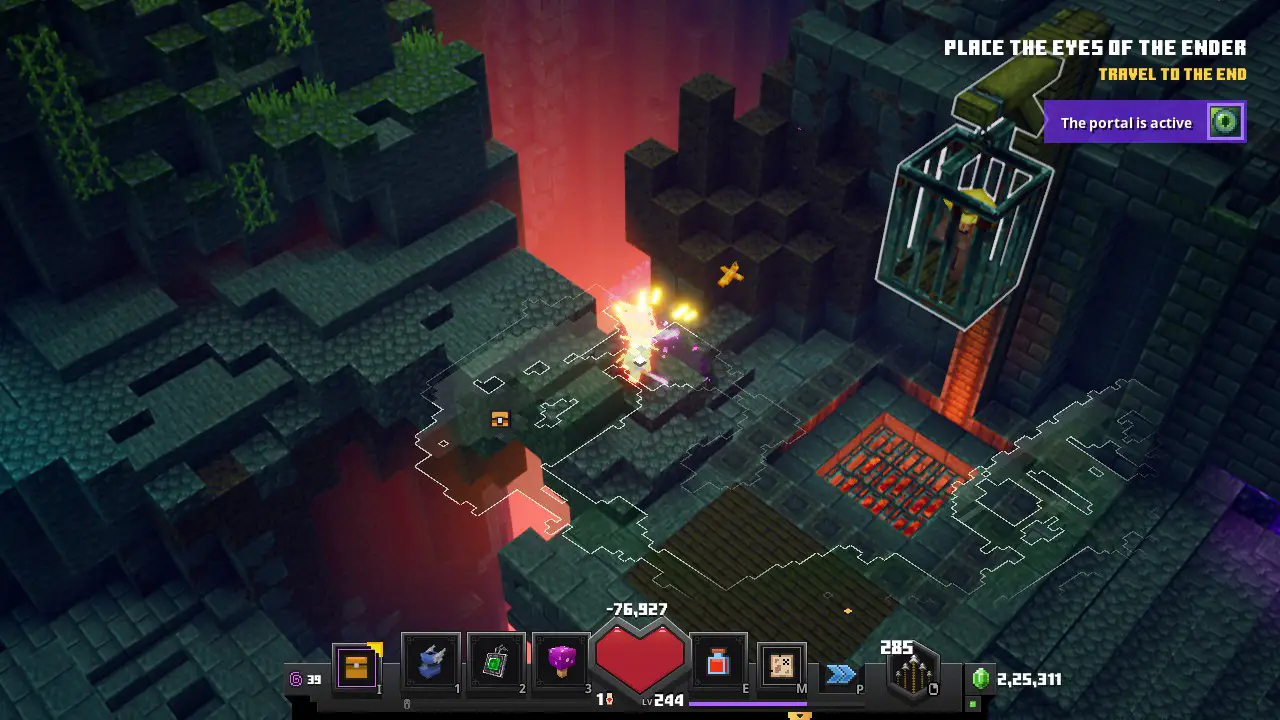
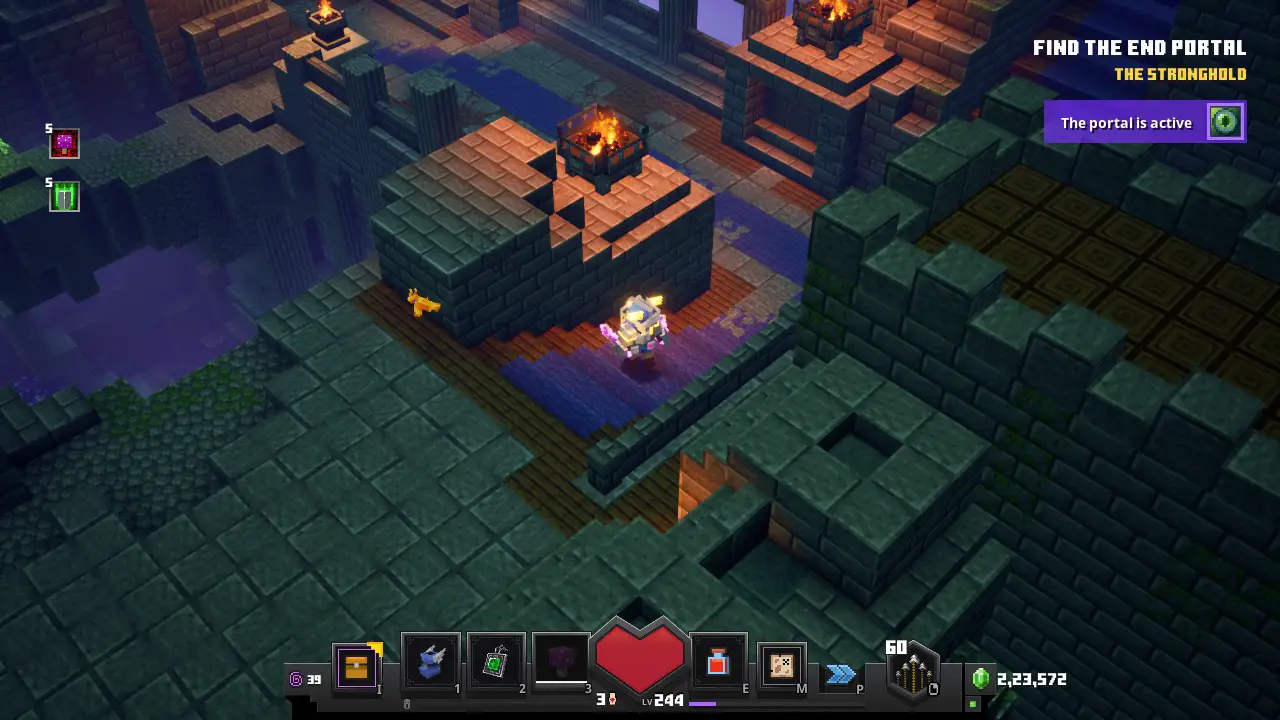
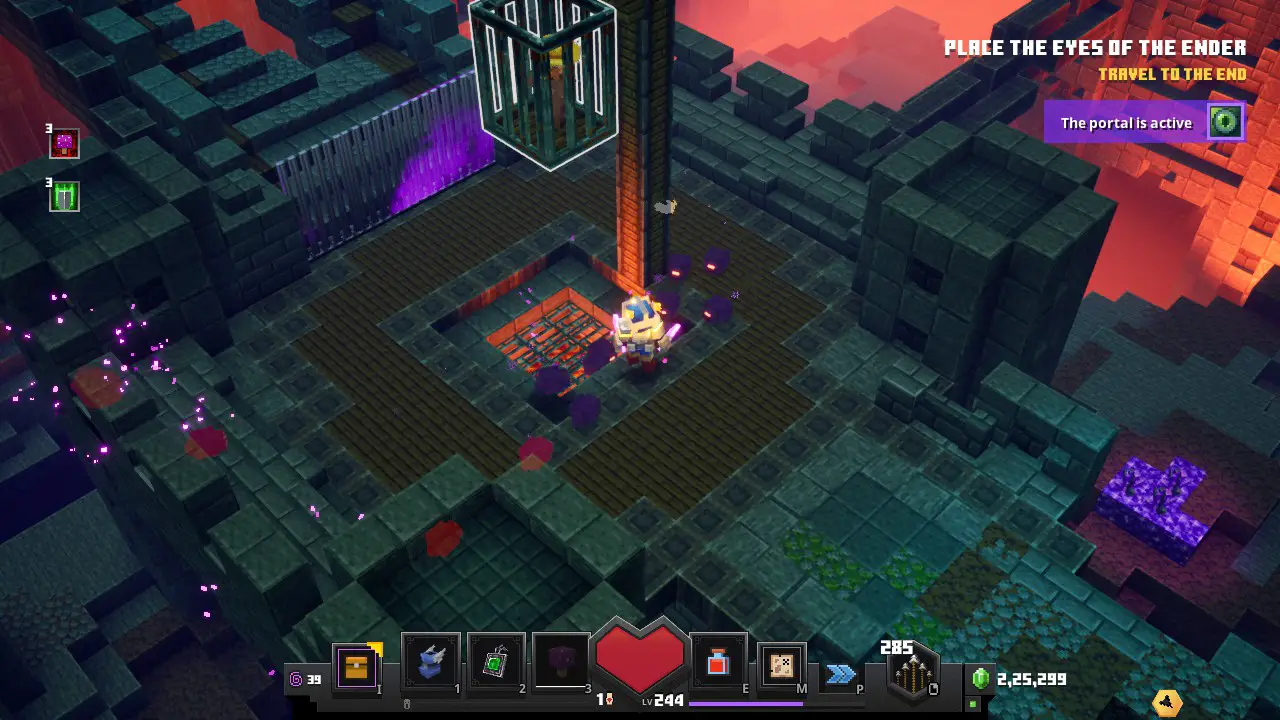
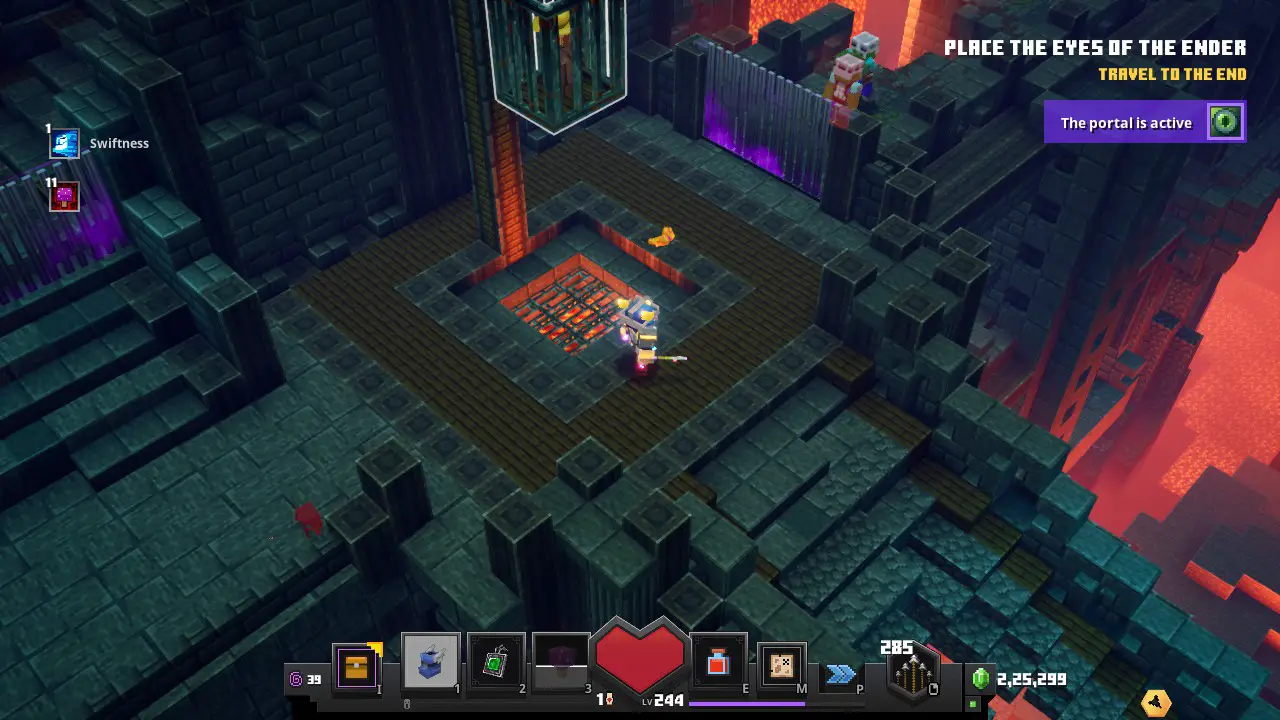
Keep going forward, after releasing the fourth caged villager, and you’ll find the final #6 Schakelaar
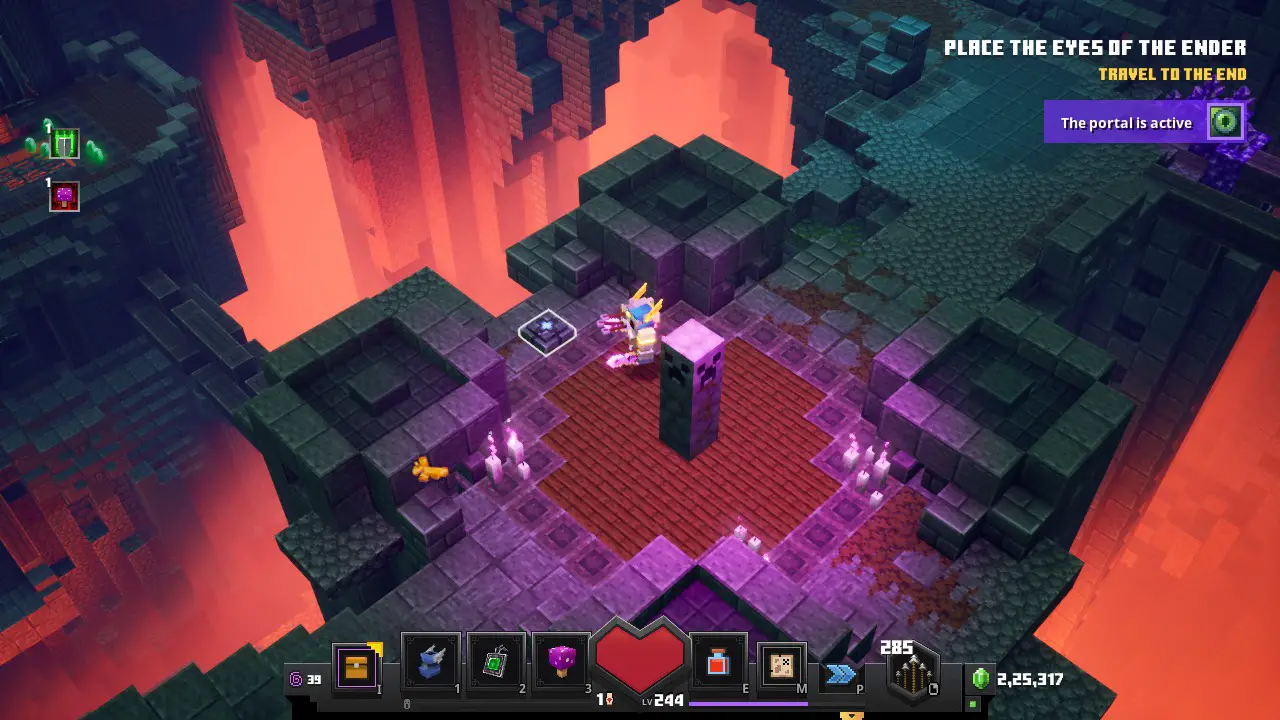
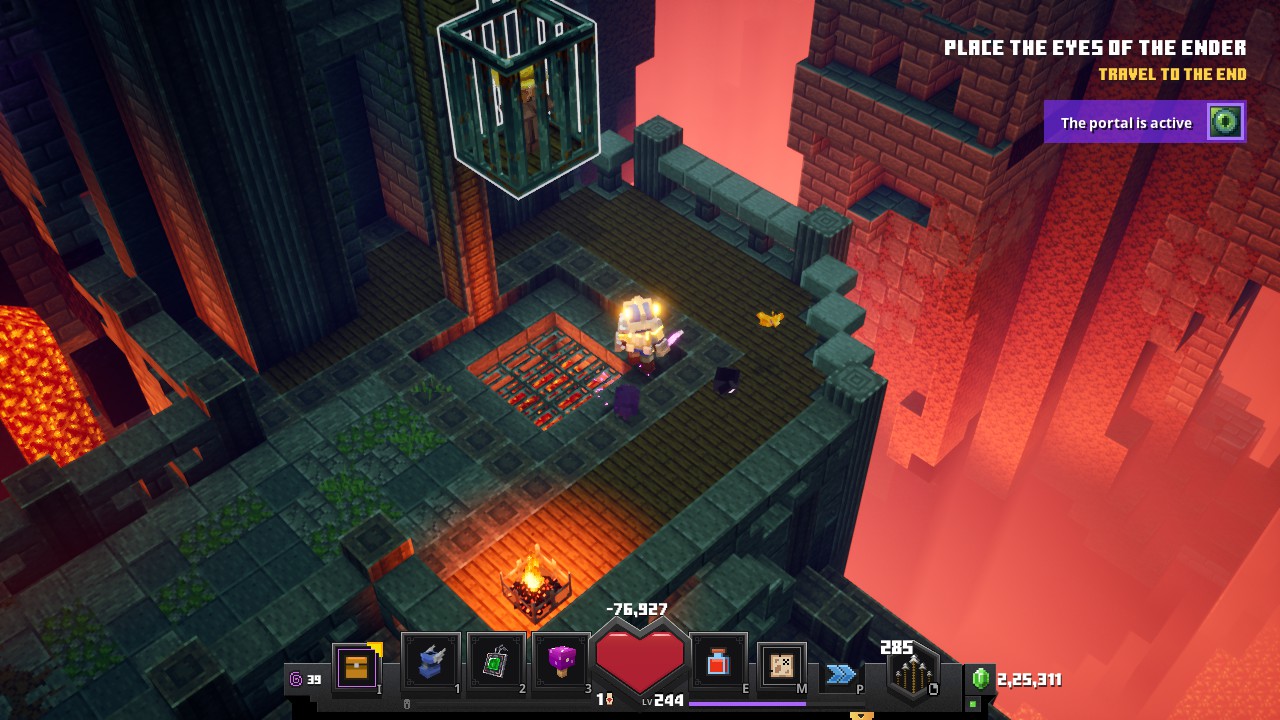
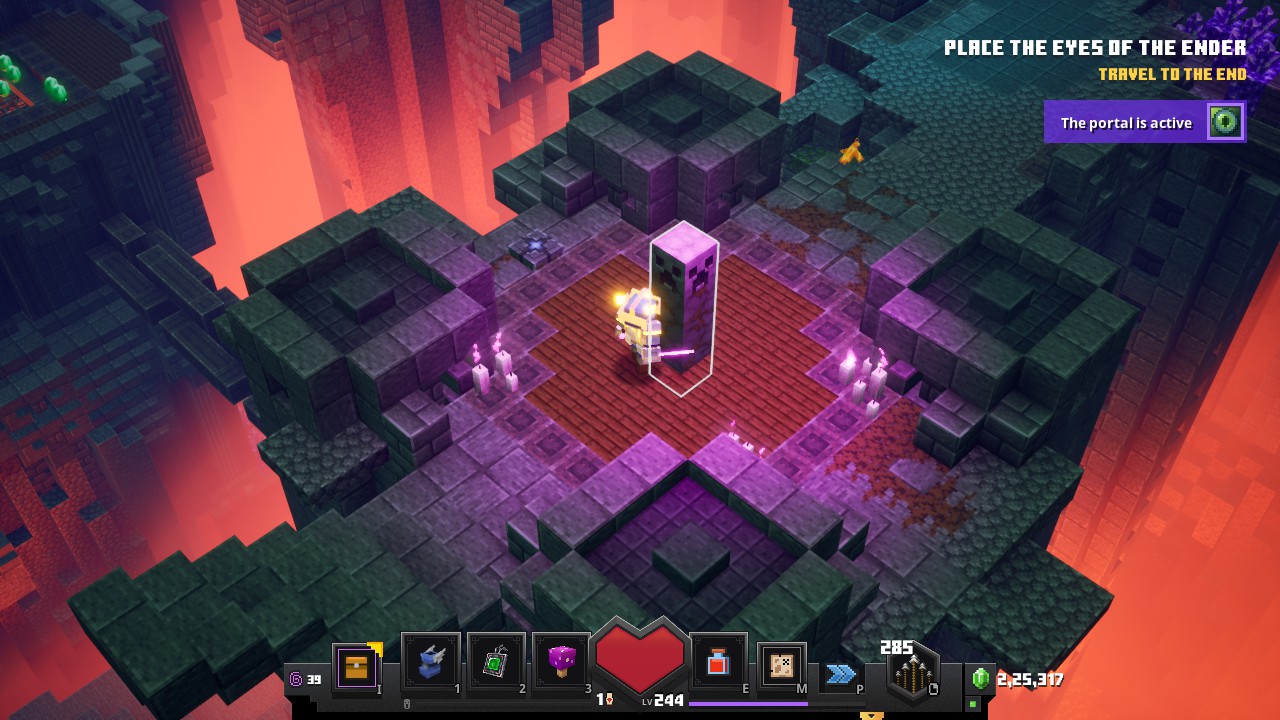
You can get yourself a Golden Chest. Daarvoor, je moet de klimplant -pilaar activeren. Die een hinderlaag -evenement zal activeren, bestaande alleen uit klimplanten (Wees voorzichtig!). Dit is volledig optioneel. Doe het alleen, Als u er zeker van bent om veel klimplanten te verwijderen. Sommigen van hen kunnen betoverd zijn.
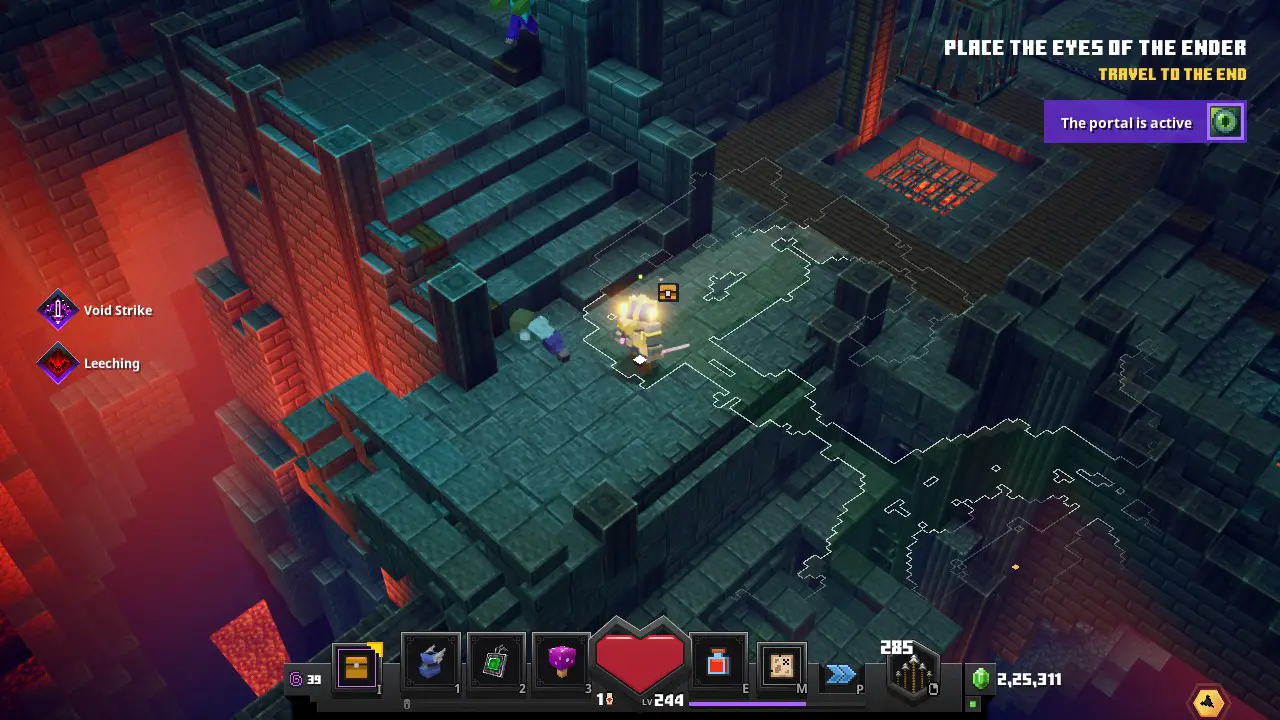
Na het opruimen van het Creeper -hinder evenement (Alleen als je dat deed). Ga terug naar het gebied van de vorige vierde gekooide dorpsbewoner, En deze keer, Neem het linker pad, Je zult een vijfde gekooide dorpsbewoner vinden.
Door hem te bevrijden, wordt de barrière geopend, leidend naar de obsidiaanse borst.
Boven bevindt u zich in een kamer. Dat zal een hinderlaag in de hinderlaag veroorzaken die er uit bestaat 2 Bewerg
Door het evenement te wissen, krijgt u uw #6 Obsidiaanse borst.
De kluis en #7 Obsidiaanse borst
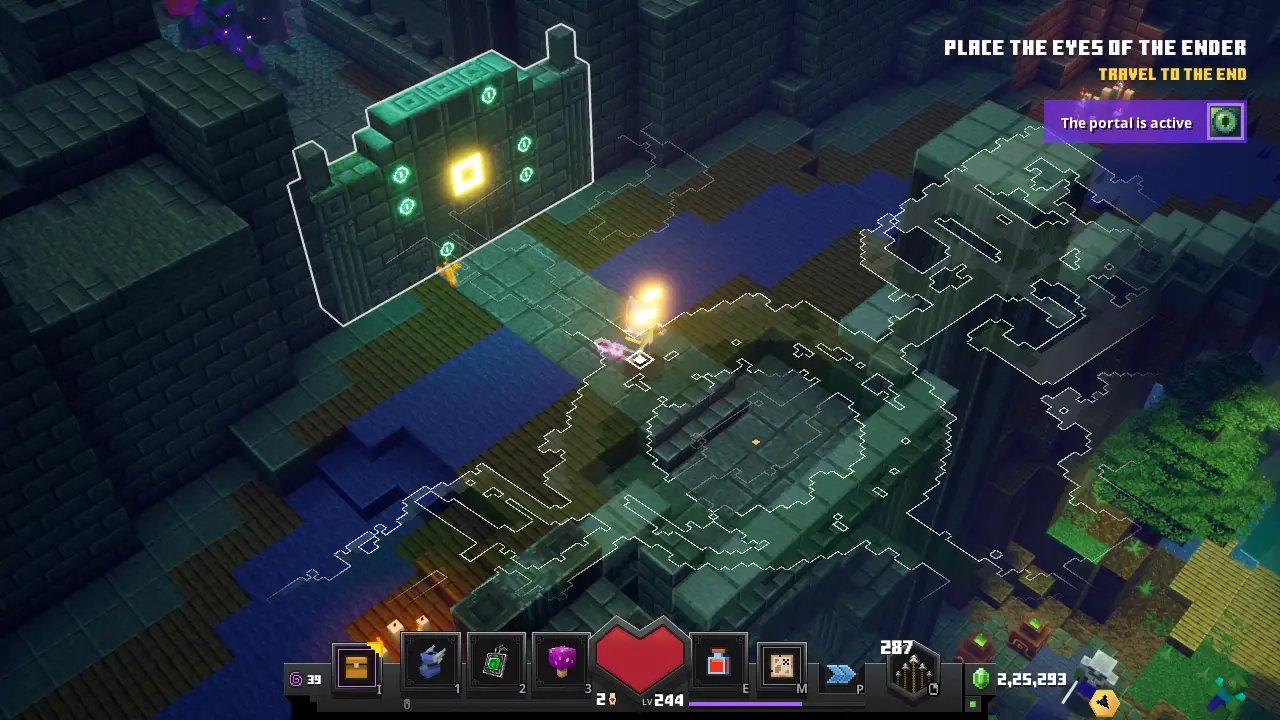
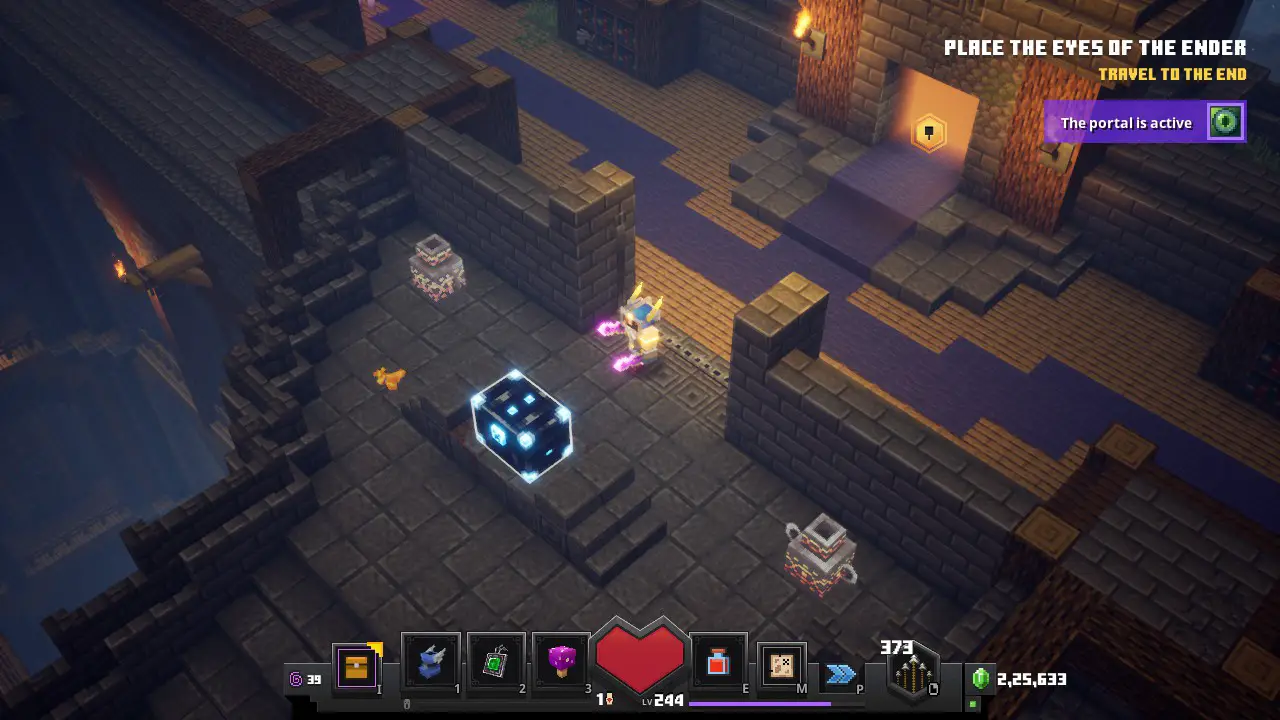
Na het veroorzaken van alles 6 Schakelaars. De kerker van de kluis zal openen. Dit zal zich net onder het gebied van de 6e schakelaar bevinden, of ten noorden van het eindportaal.
Bij binnenkomst, you’ll notice a barred area, this is where you can find the Obsidian Chest. So we need to unlock it. For that take any of the two stairs going downstairs.
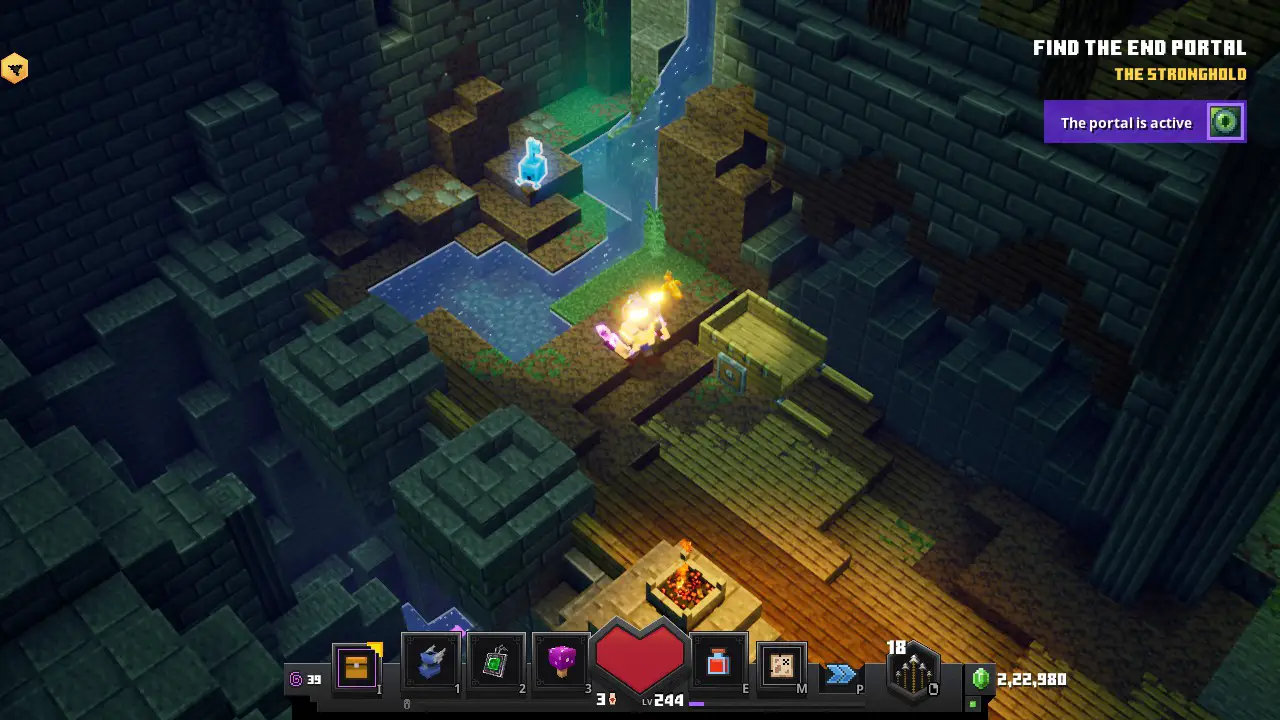
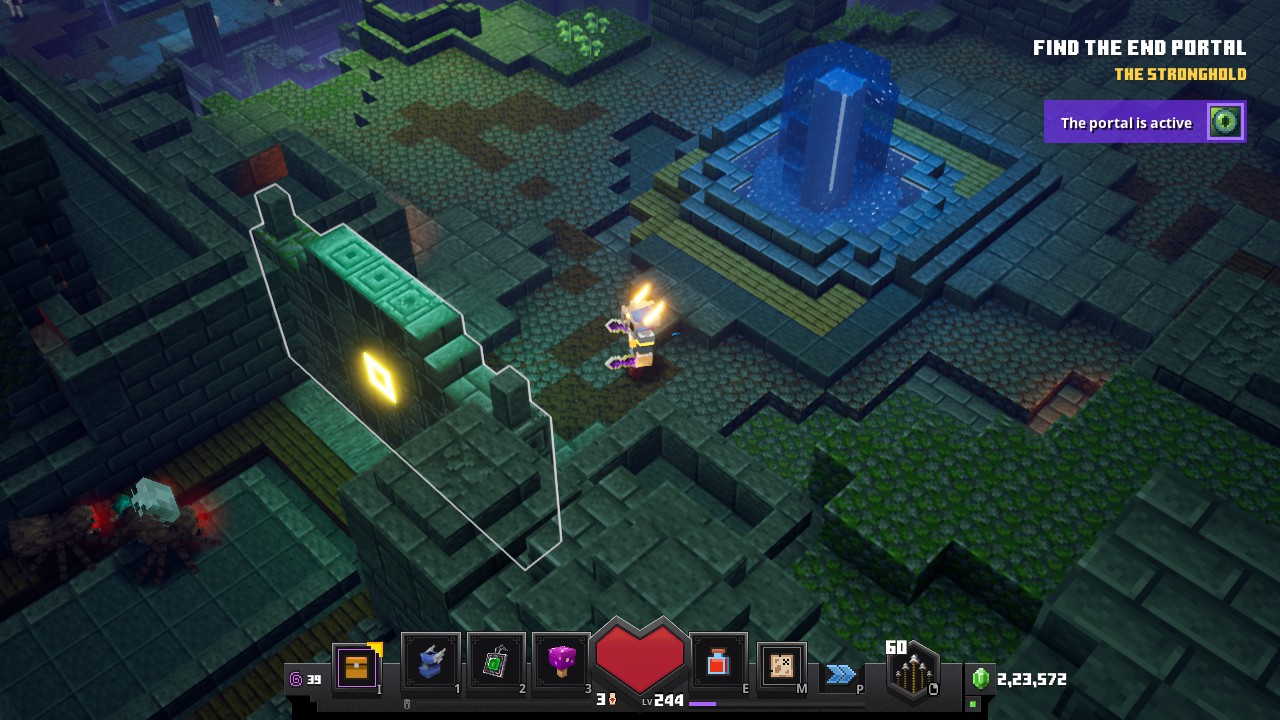
Take any one of them. At end of those stairs will be a locked door, needing a Blue Key.
The Blue Golem Key is located upstairs and in the middle of a small area.
Take the Blue Key and unlock the door.
Going downstairs, you’ll find a fork, take any of the two paths.
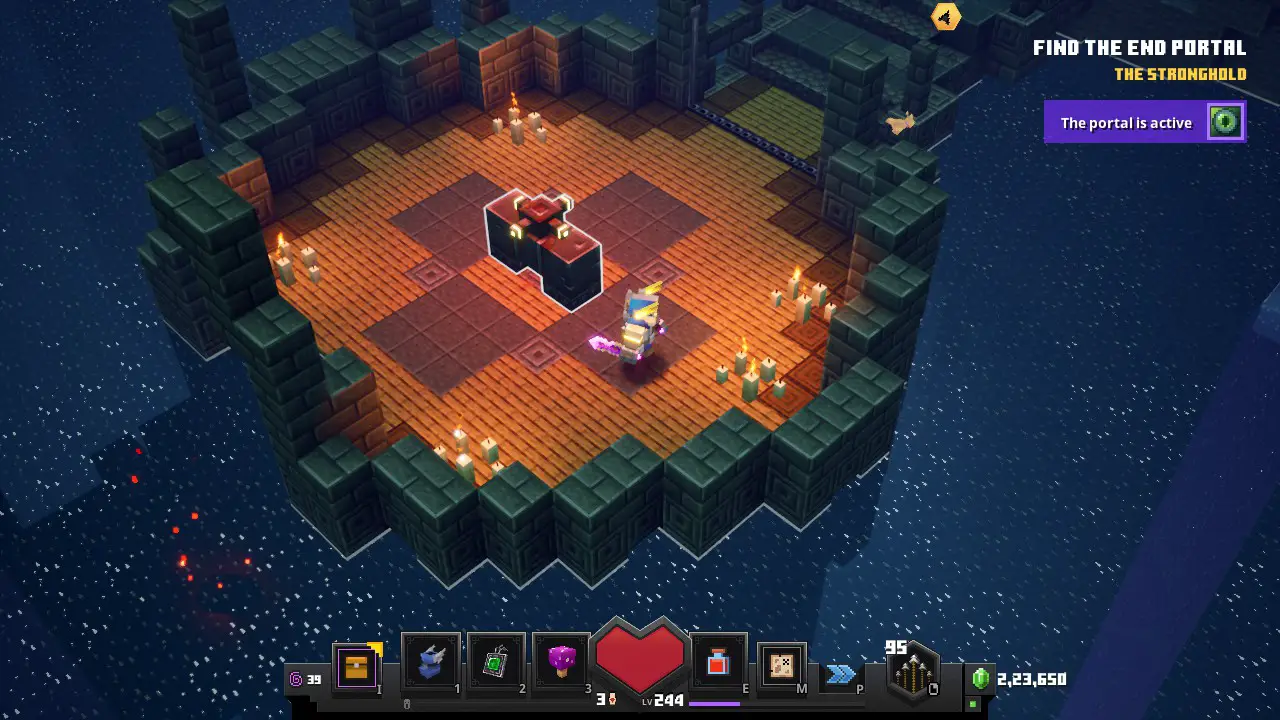
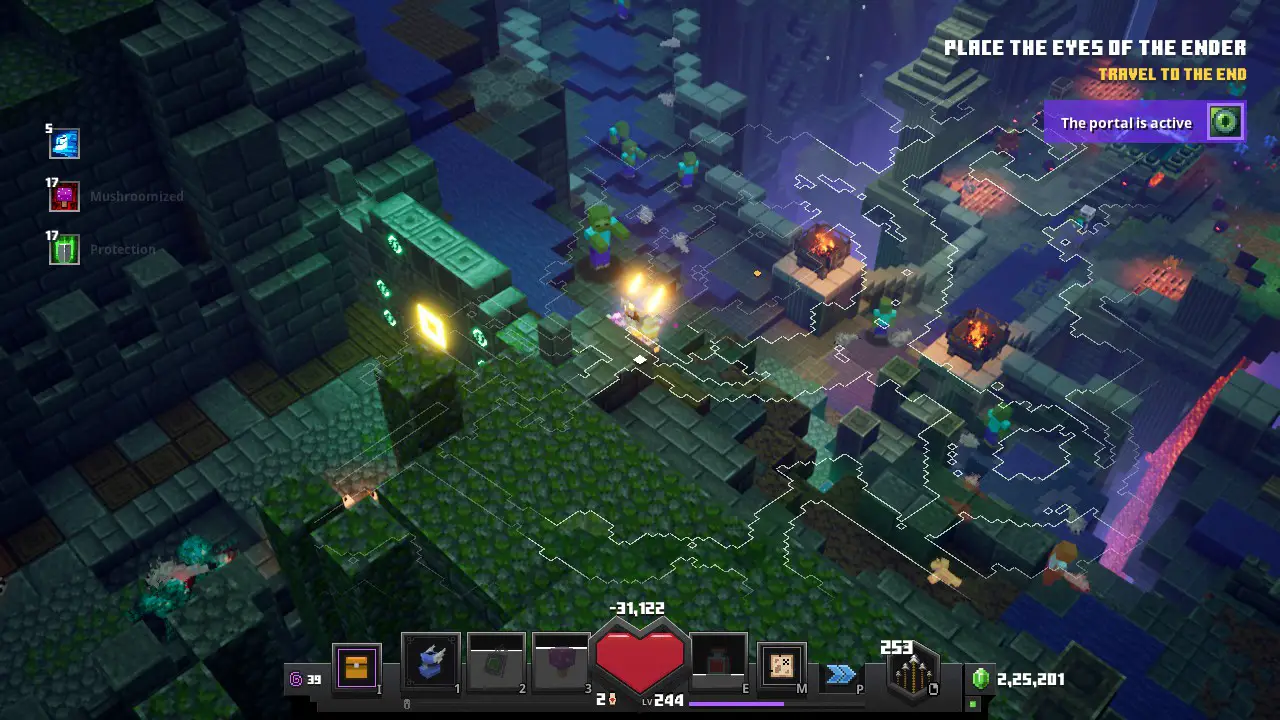
At the bottom of the Vault, you’ll find yourself in a large room. And soon as you enter, an ambush event will happen.
There will be two buttons, on either side of the room. Triggering each of the buttons will trigger another ambush event.
There will be a lot of mobs. So be careful.
Now go back to the initial area, now the barrier will be unlocked, and upon entering the #7 Obsidian -borst zal van jou zijn.
Dat is alles wat we vandaag hiervoor delen Minecraft -kerkers gids. Deze handleiding is oorspronkelijk gemaakt en geschreven door Donder. Voor het geval we er niet in slagen deze handleiding bij te werken, U kunt de laatste update vinden door dit te volgen link.