- Titel: Kingdom of Wreck Business
- Releasedatum:
- Ontwikkelaar:
- Uitgever:
Information about Kingdom of Wreck Business is still incomplete. Help ons alstublieft de details van het spel hiermee in te vullen contactformulier.
If you are facing challenges with the gameplay mechanics of Kingdom of Wreck Business, you are likely not alone. Echter, if you persist in playing the game (zoals ikzelf), I hope this guide can assist you in overcoming some of the frustrations associated with retrieving raw material resources from shipwrecks.
Invoering
When I initially started playing this game, I was enthusiastic about the salvaging aspect. Echter, I quickly realized that there were no clear instructions on how to perform it effectively. Bijvoorbeeld, I have yet to successfully raise a wreck. Verder, I encountered frustration when attempting to extract resources from the sunken cargo holds of ships due to two reasons: 1) the lack of clear instructions or an intuitive method to do so, en 2) the absence of consensus among other players regarding the extraction process. While I did go through some discussions to gain some insights, I decided to begin anew and rely on trial and error until I discovered a viable strategy.
The following approach proved successful for me, and I sincerely hope it yields positive results for you as well.
Aan de slag
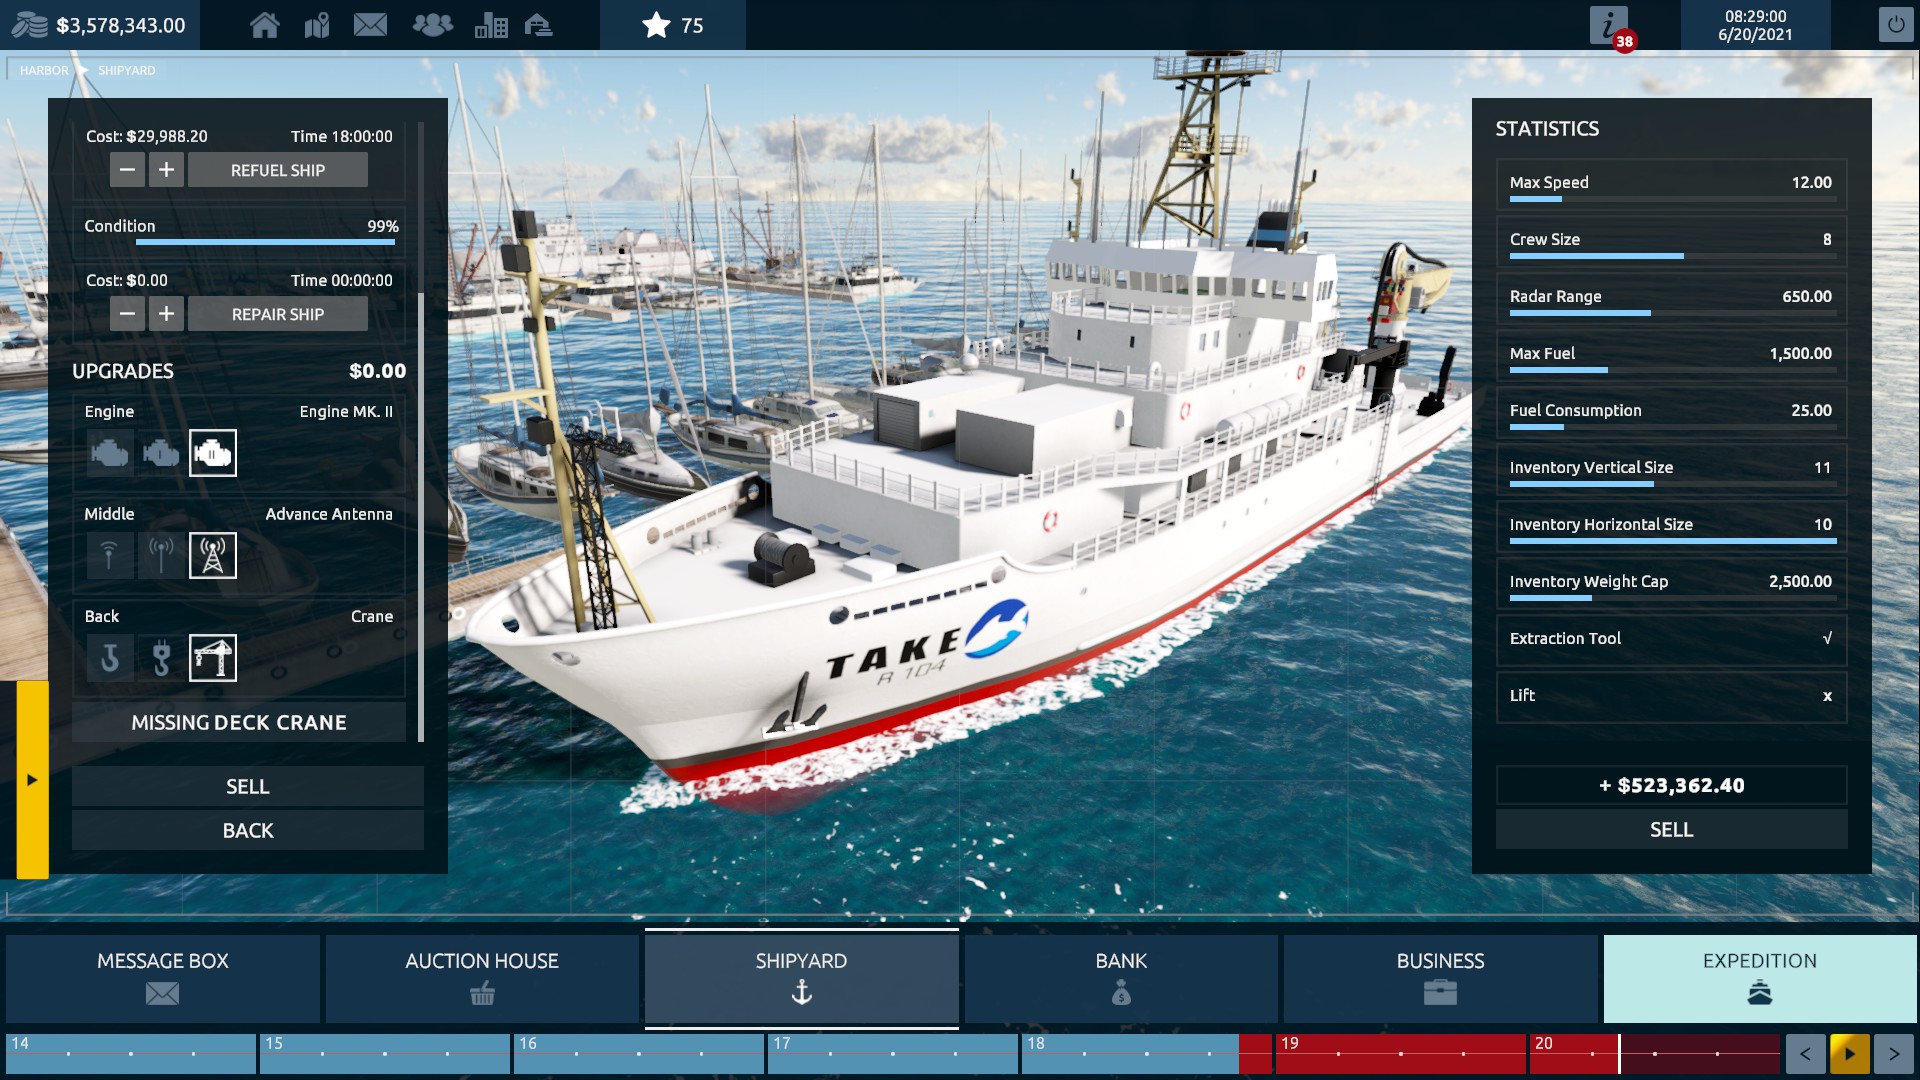
During my exploration of discussions, a few points garnered consensus. Ten eerste, the NOAA vessel appears to be the only ship unequivocally suitable for resource extraction. It must be equipped with a rear upgrade—a crane for extraction—that will be visibly indicated by a checkmark in the statistics panel.
Verder, it is essential to acquire the GPS tracking gun from the Auction House panel. Interessant genoeg, it appears that both the scanner and GPS darts need to be purchased. The reasons behind this requirement are unclear and not intuitive, but this was my personal experience.
Ten slotte, this mission element seems to appear randomly and occasionally includes a note in the contract message specifying the need for extraction tools. One might assume that cargo extraction would primarily occur on cargo ships, but that is not always the case. There were instances where I arrived at the site without the necessary tools. Echter, since money seems to be abundant in the game and there doesn’t appear to be any penalty for spending too much time, you can return to port and retrieve the appropriate equipment.
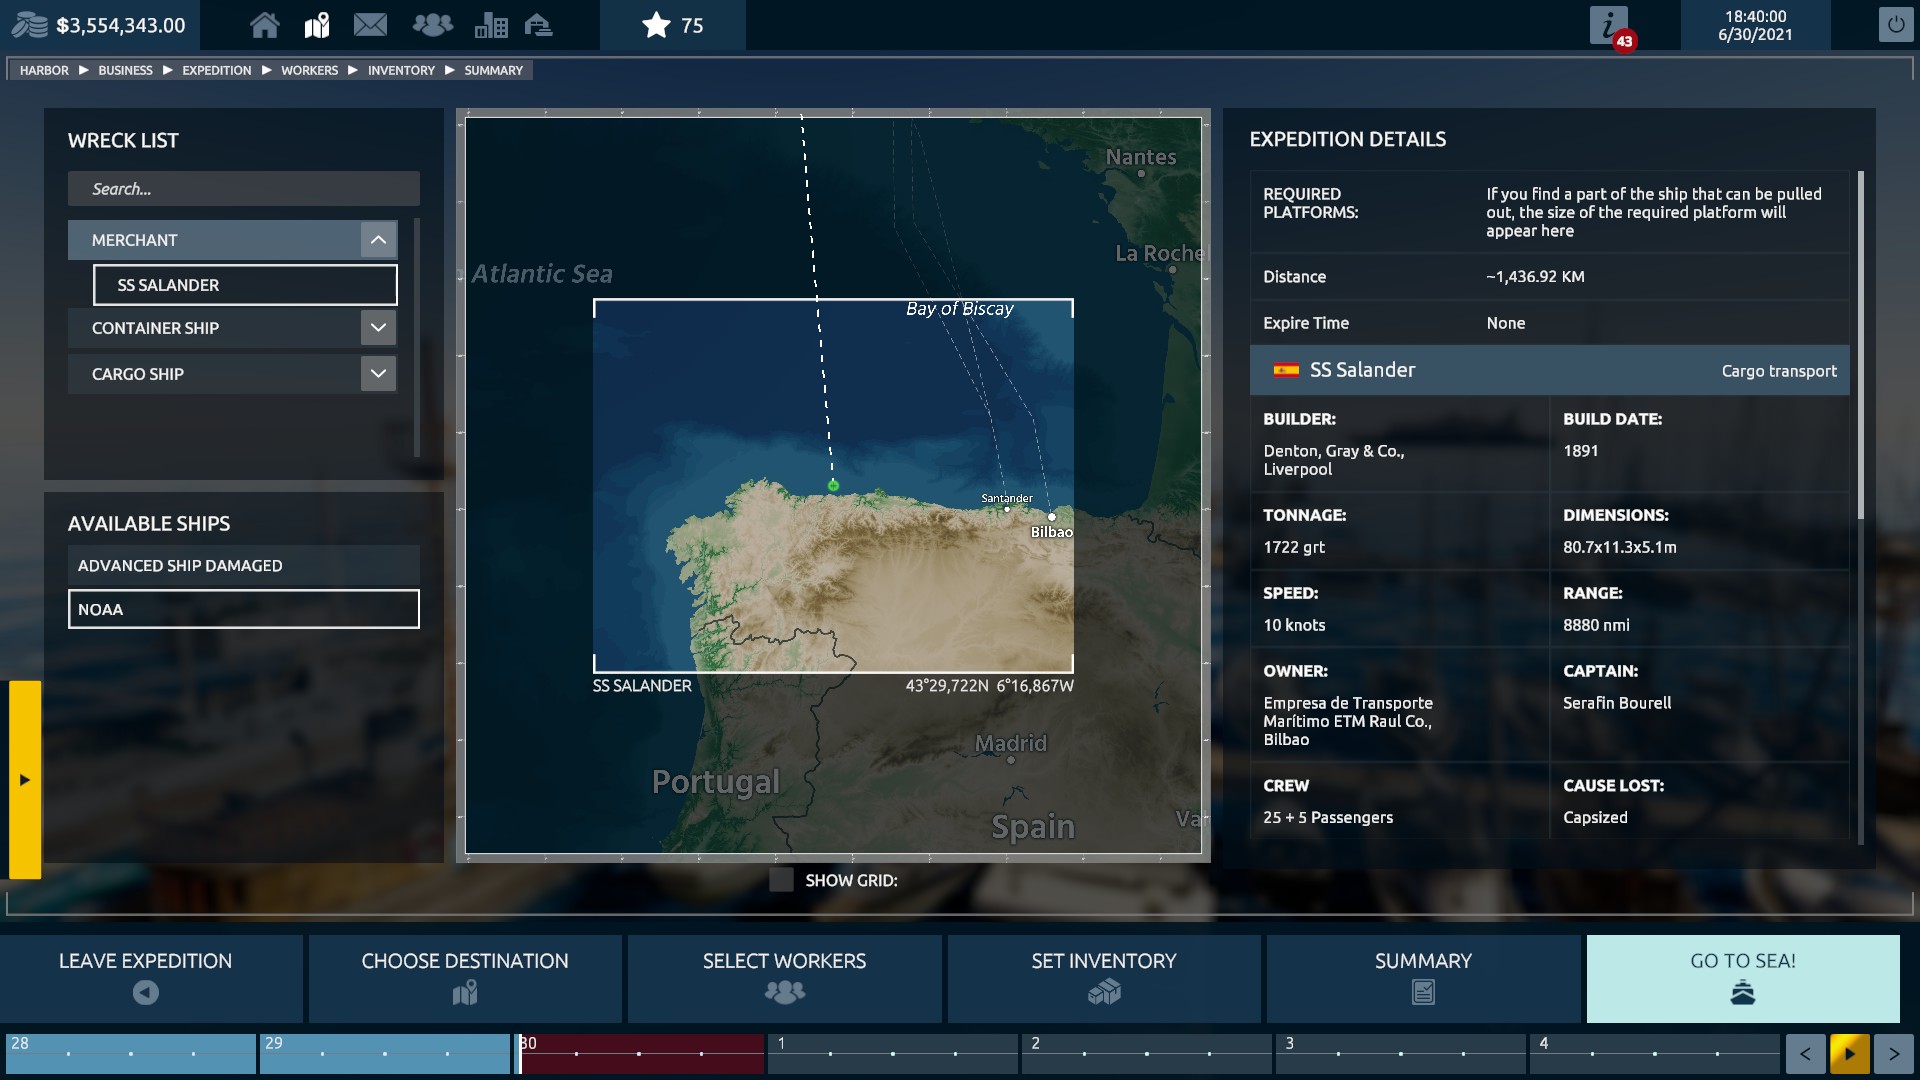
OPMERKING: It may sound trivial, but it’s important not to forget to select the correct ship for your expedition, in dit geval, the NOAA ship.
Extracting Resources
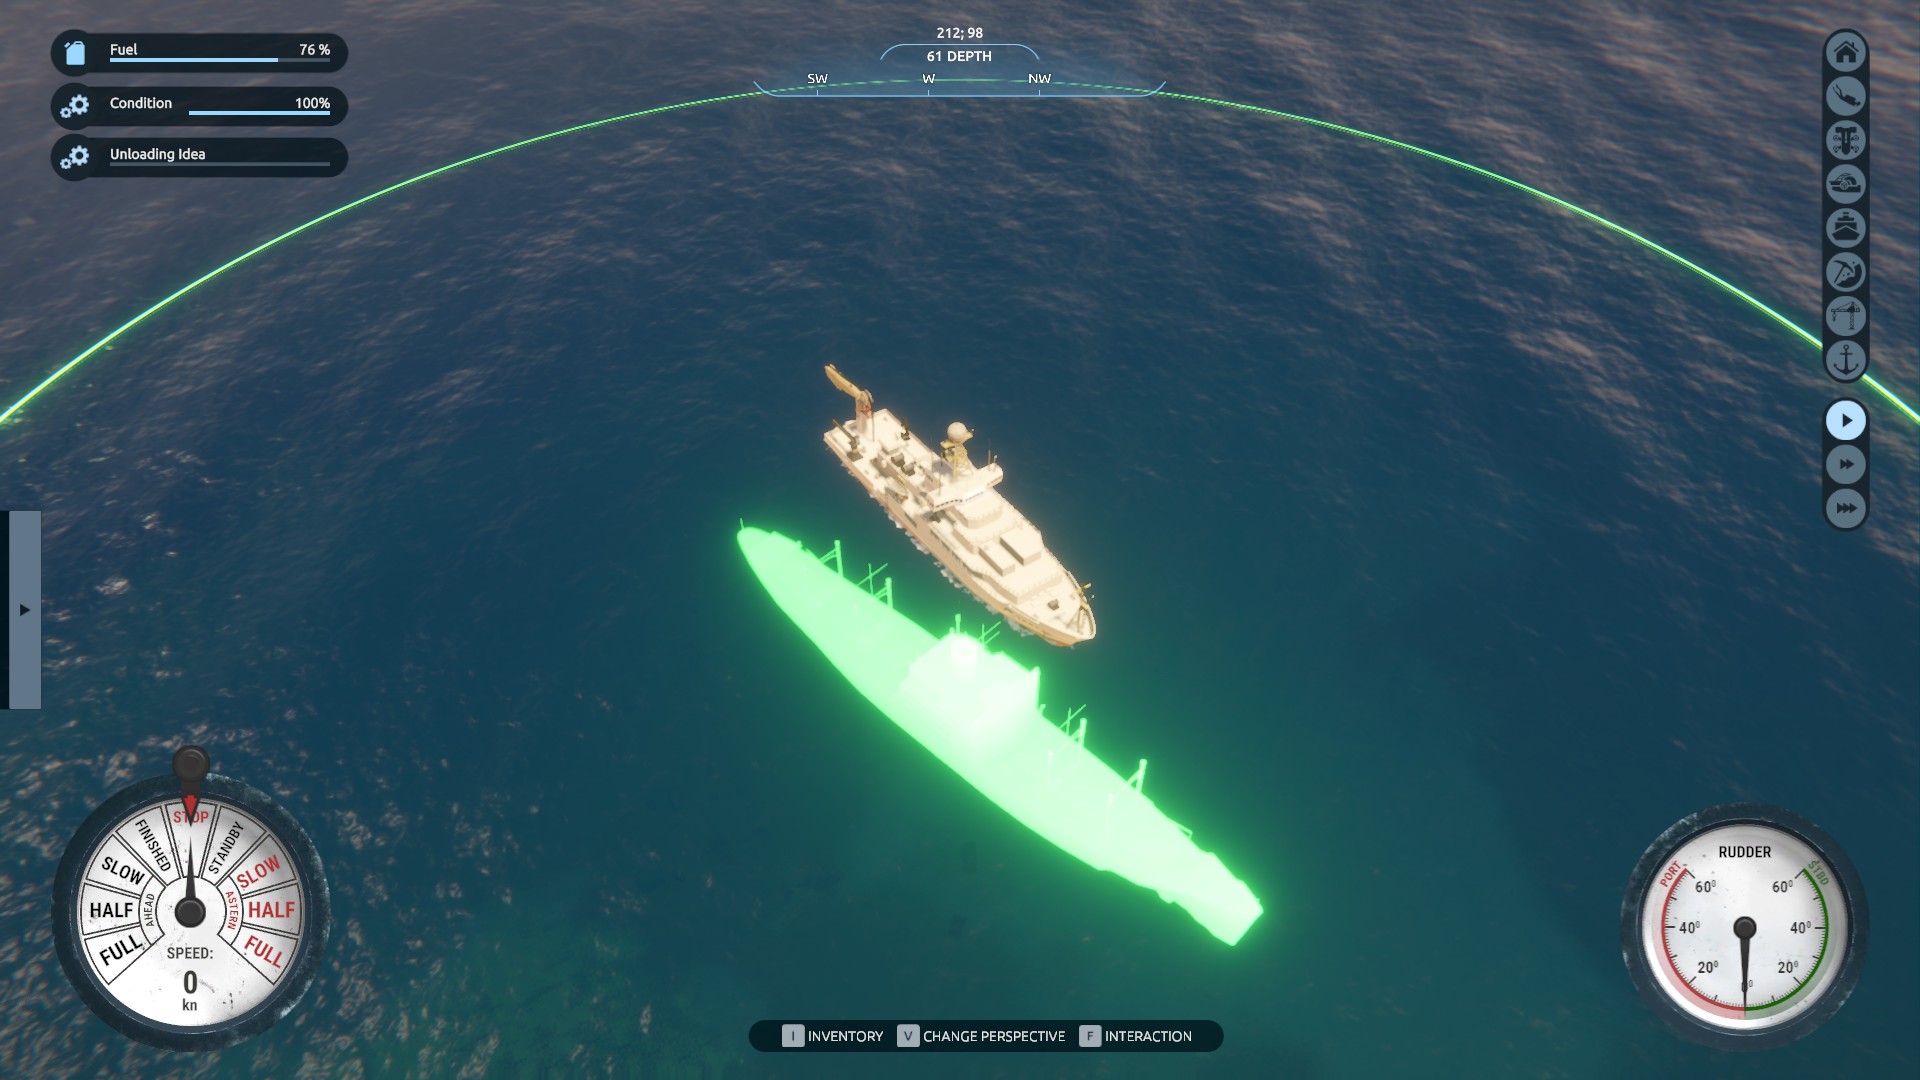
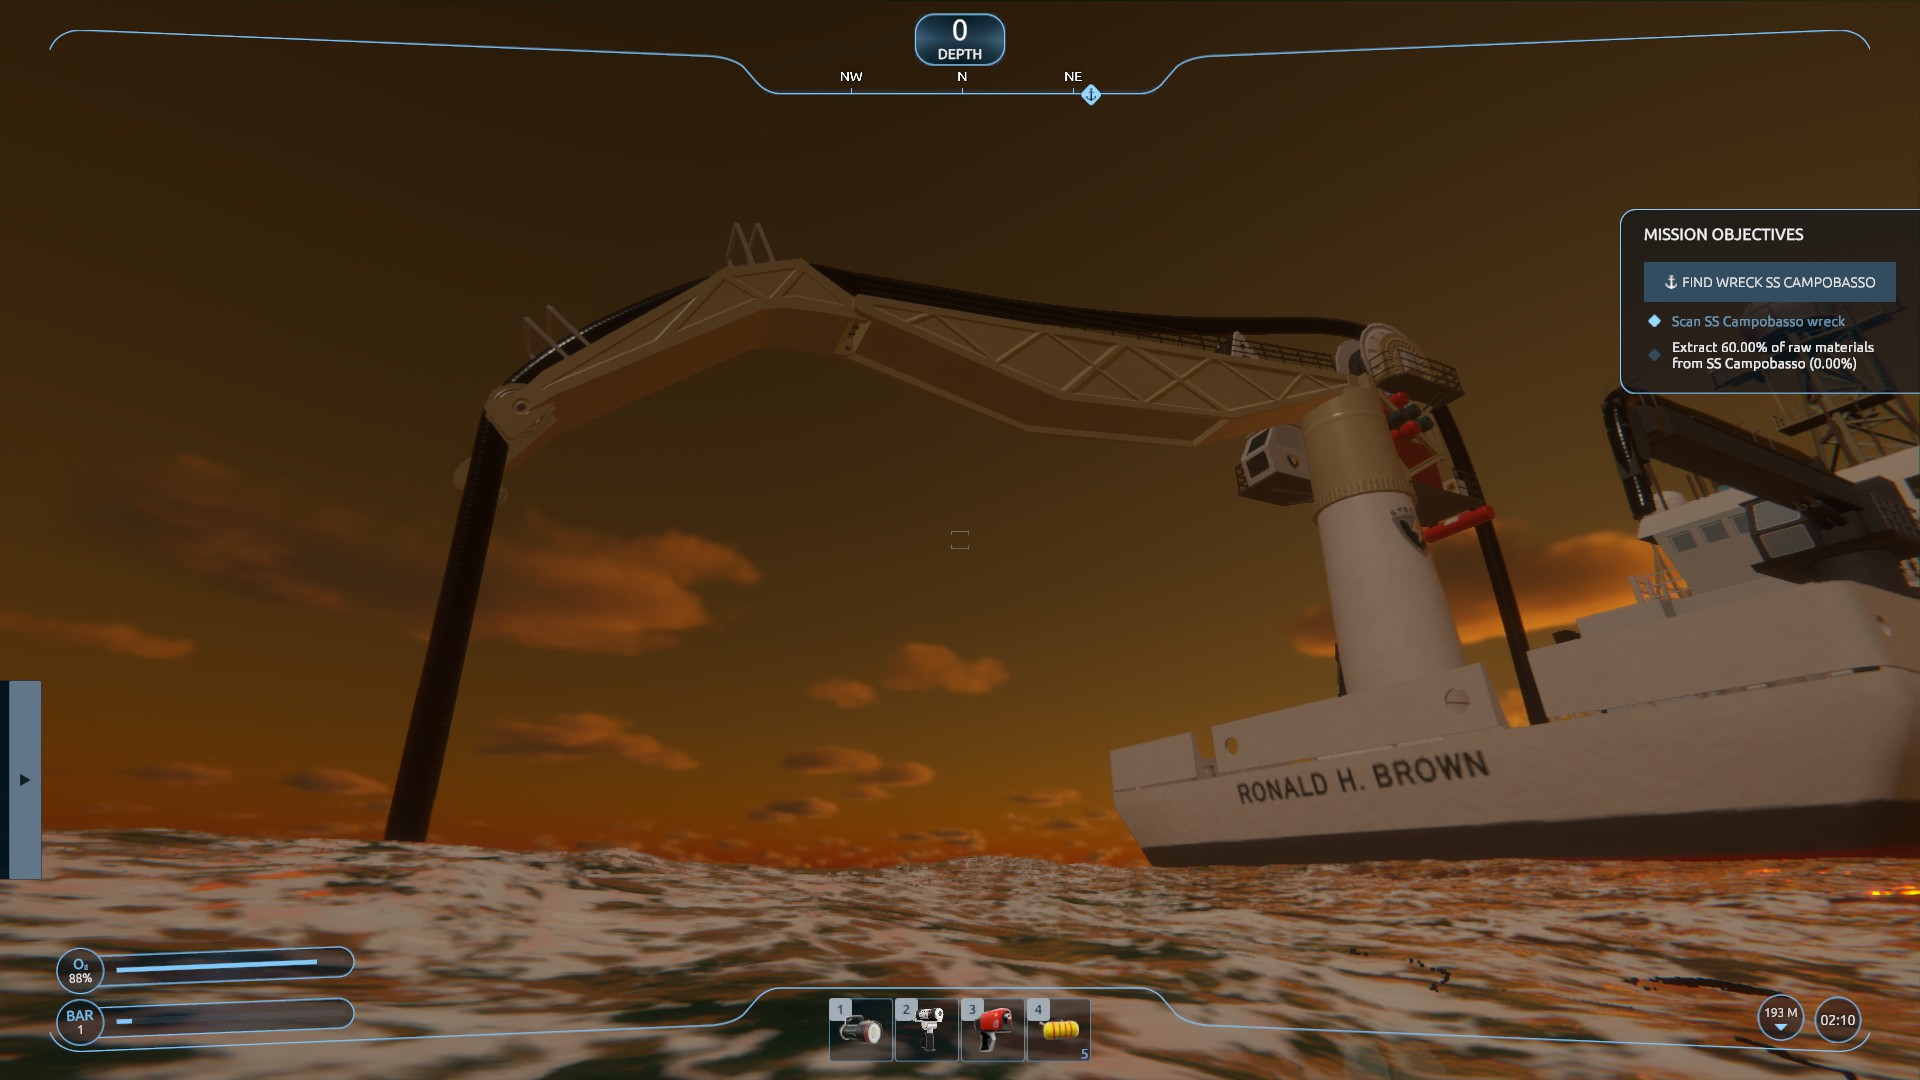
Upon reaching the site, I prefer to initiate a sonar ping to assess the condition of the wreck, especially if it is located near the water’s surface. This can be easily accomplished from the bridge by selecting the ship’s wheel [F], switching to the alternate view [V], and then activating the sonar [K].
As depicted, in this instance, the ship appears to be undamaged and relatively near the surface.
Op dit punt, you have two options to proceed. You can either head back to the ship’s bridge and initiate the dive by selecting your tanks, or you can use the “Duiken” button located at the top right corner of the third-person ship screen.
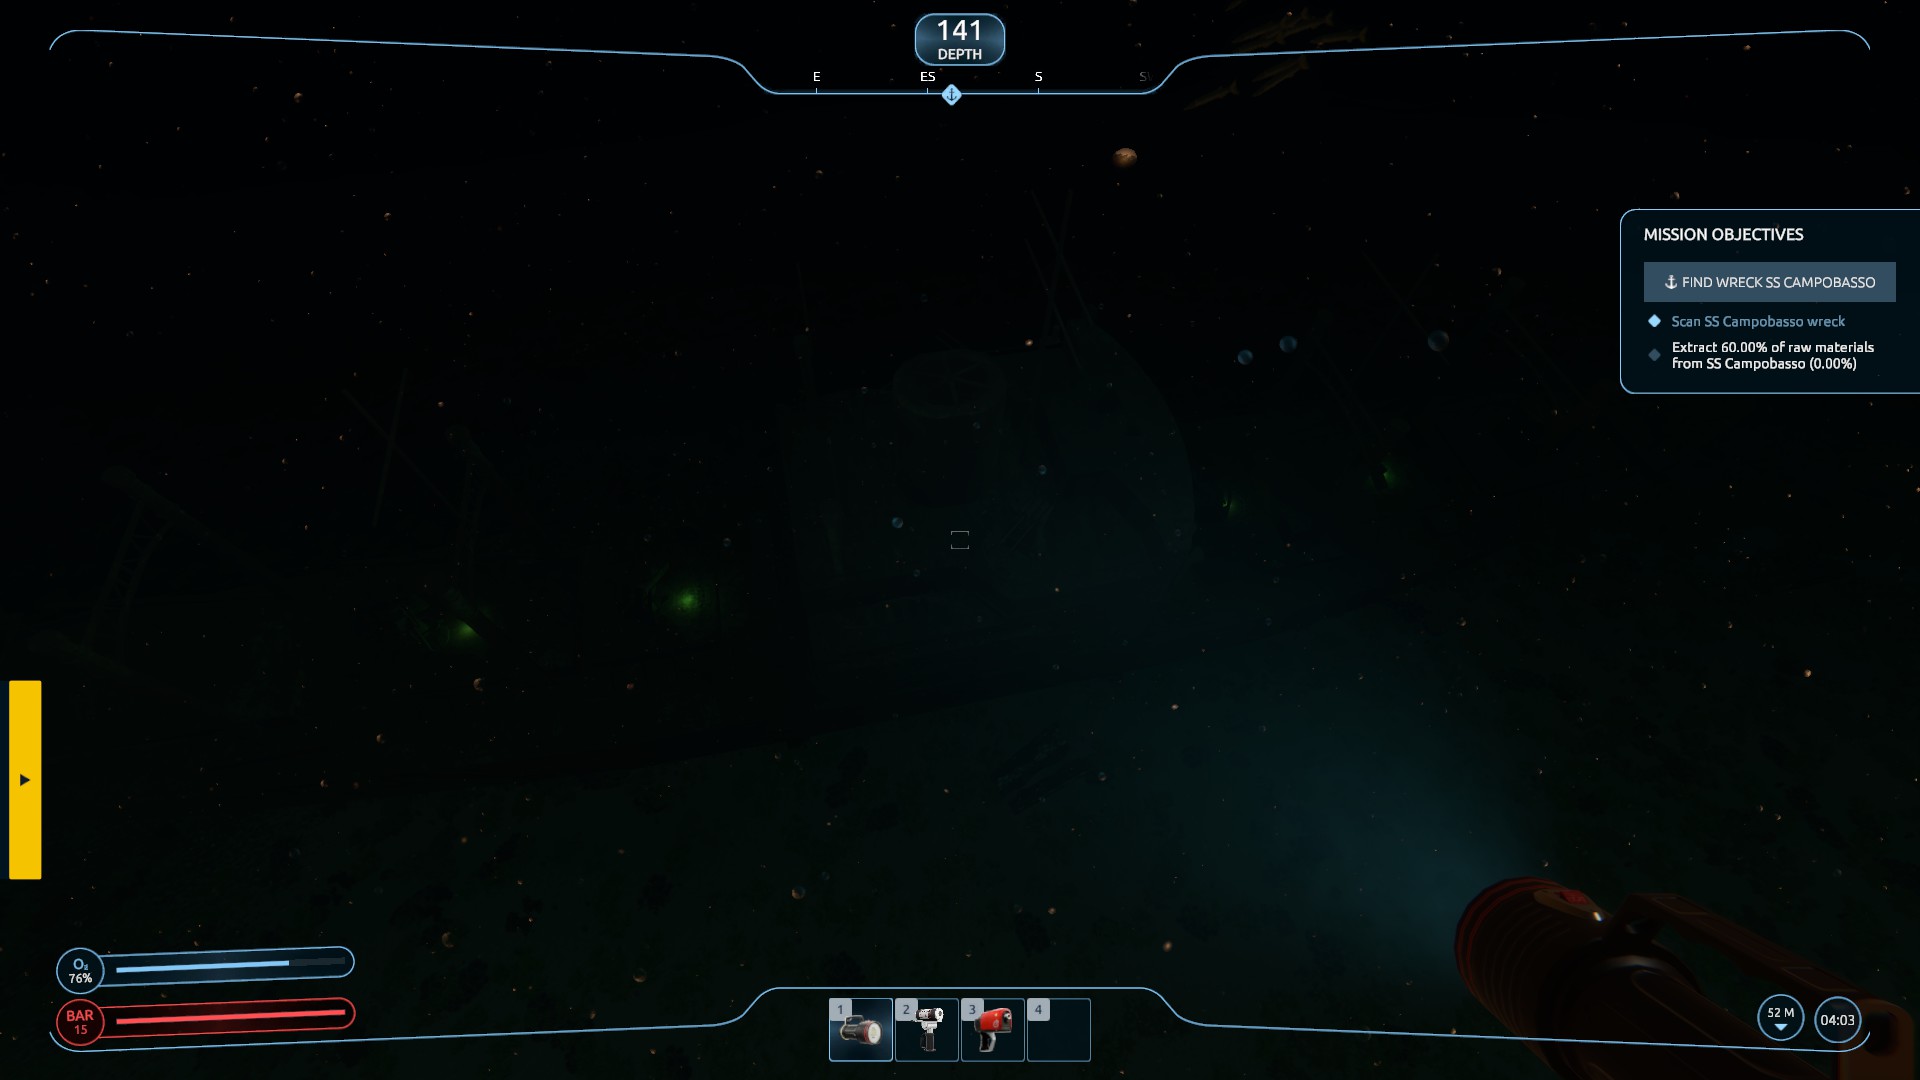
Descend towards the wreck and assess the mission conditions once you reach it.
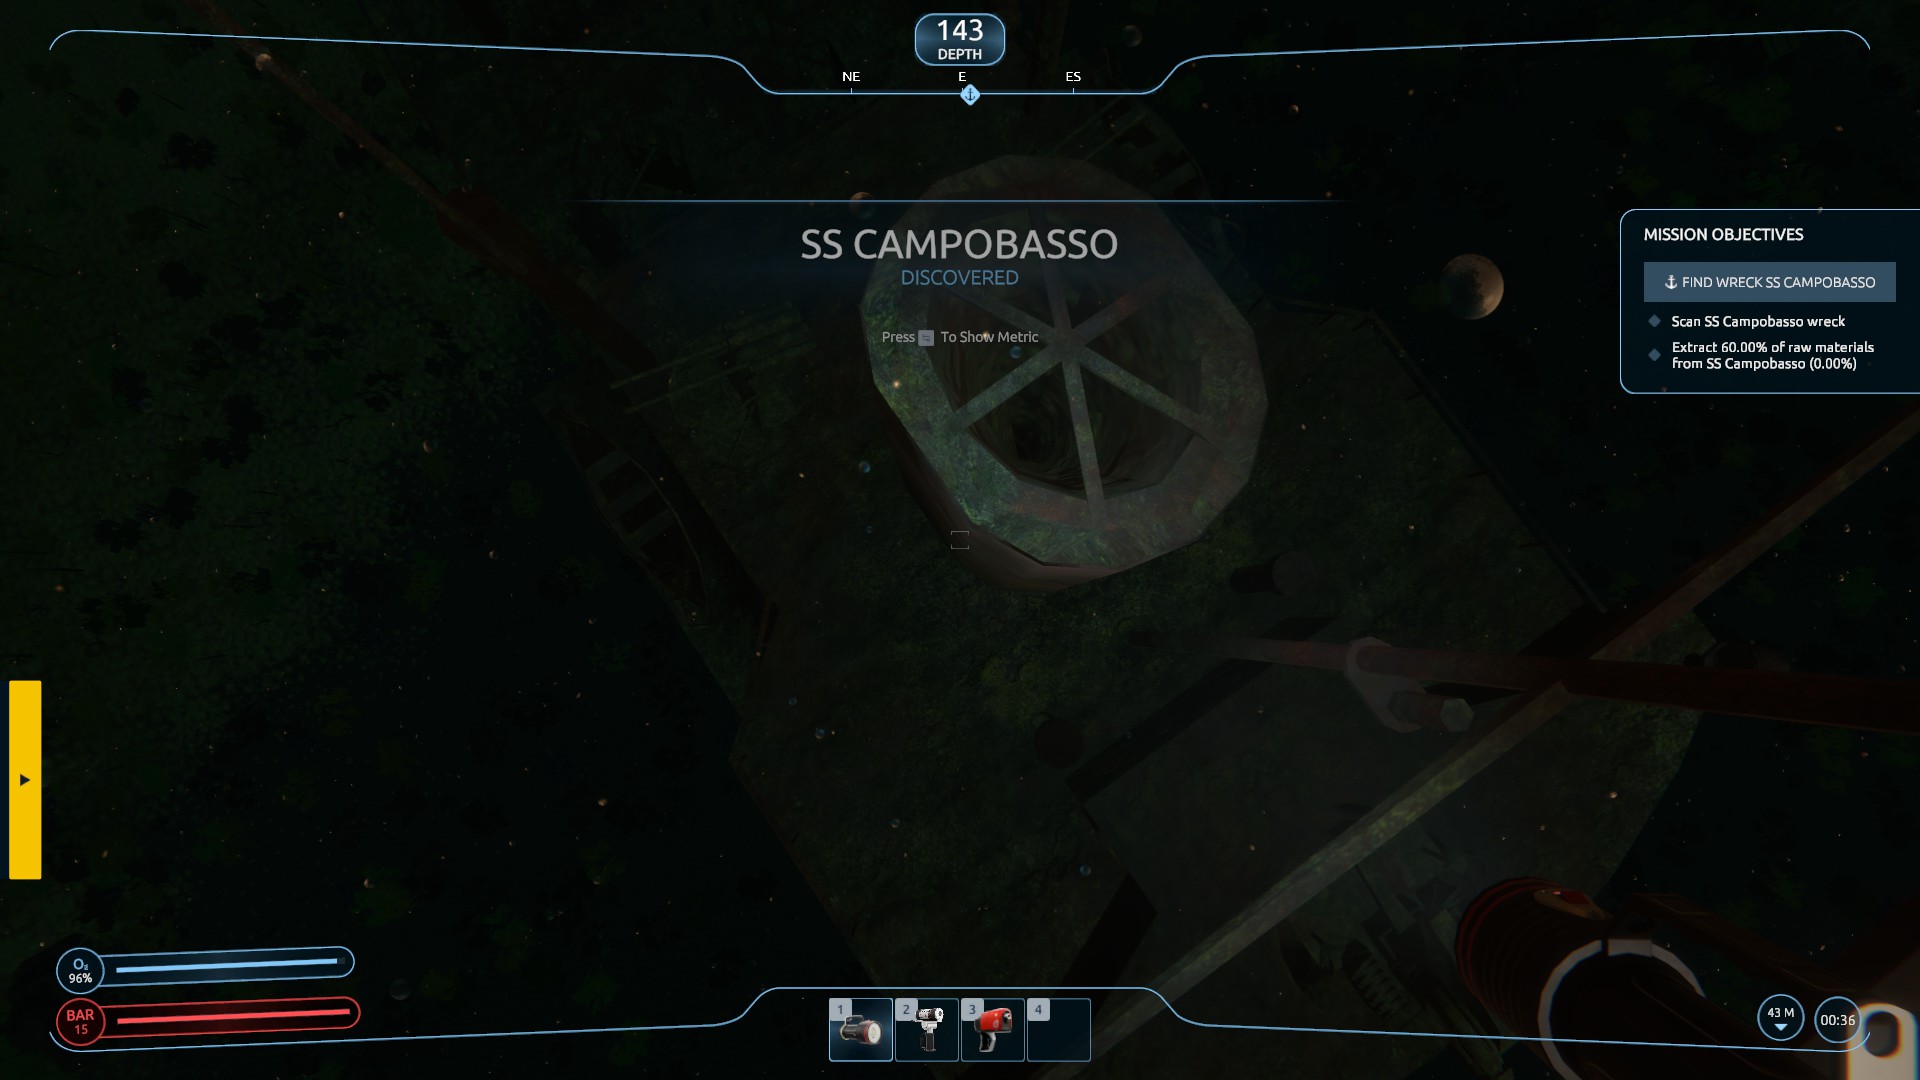
In dit specifieke scenario, the contract requires a wreck scan and a 60% raw material resource extraction.
The scanning process is relatively simple. You need to equip the Laser Tool and select it. Activate the tool from a depth that allows for capturing a sufficient portion of the vessel for the scan.

Now let’s focus on the extraction of the raw material resources.
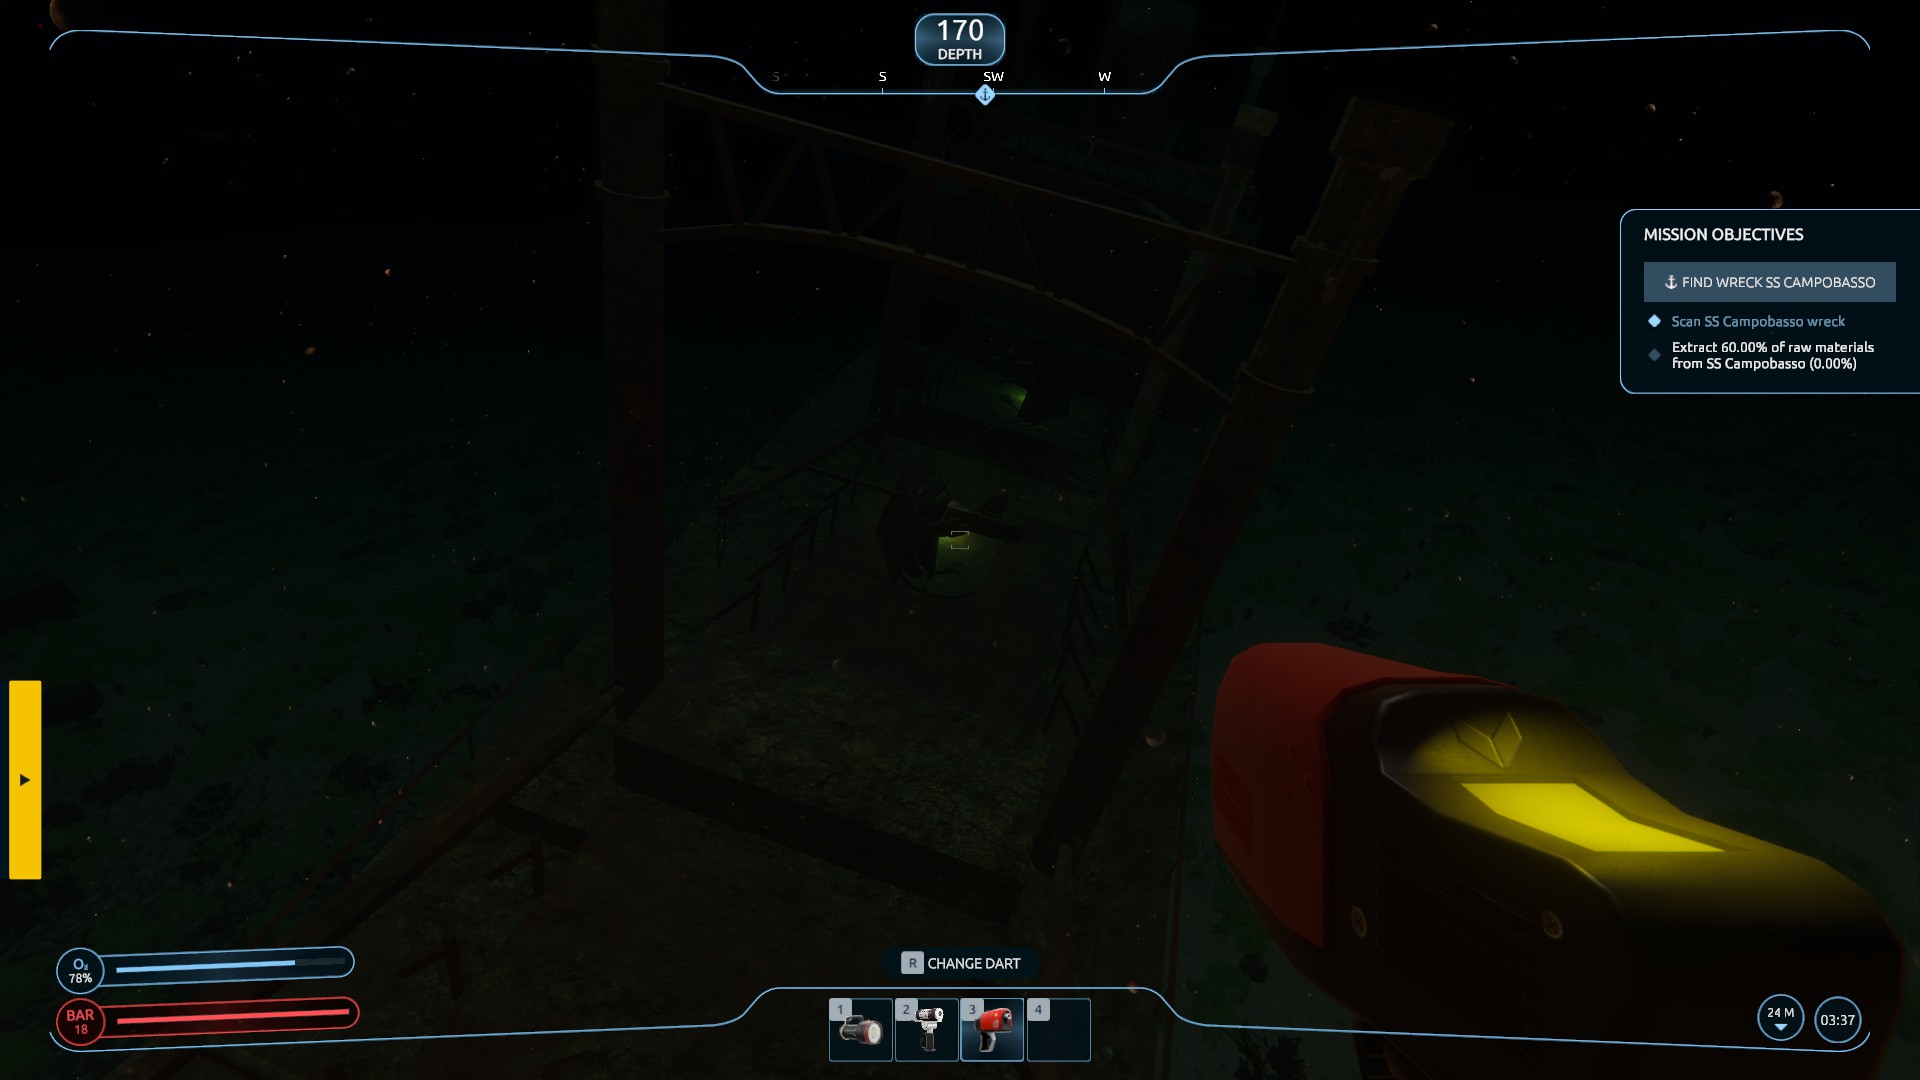
Om te beginnen, start by exploring the top deck area of the wreck in search of a cargo hatch. These hatches typically have a slightly different color and texture compared to the rest of the ship. In dit geval, you might notice a brown hatch with an anti-aircraft gun on top of it, which is an unusual arrangement for a cargo hatch.

As you approach the cargo hatch more closely, you will notice a notification appearing, indicating that it is a raw material container. Aanvullend, instructions will be provided on how to mark the hatch for extraction.

Now comes the tricky and frustrating part, which is not explicitly mentioned in the game (at least from what I could observe) and is not intuitive. You need to mark the container at the highlighted location using BOTH a GPS dart and a scanner dart. I confirmed this through trial and error, eliminating various possibilities, and found that this method worked consistently on two different wrecks. The GPS gun has an indicator light, with the yellow light representing the GPS dart and the green light representing the scanner dart.
Another aspect to watch out for is the presence of multiple cargo holds on certain ships. In the case of this particular ship, there are four cargo hatches to inspect. It is important to thoroughly check the entire deck. I have zoomed out to provide a view of the four distinct cargo hatches, each requiring two darts (one yellow GPS dart and one green scanner dart) for marking purposes.
Once you have tagged the cargo holds, you can now return to your expedition ship on the surface and resume control of the vessel by pressing [F] in front of the steering wheel. Daarna, toggle the third-person view using [V].
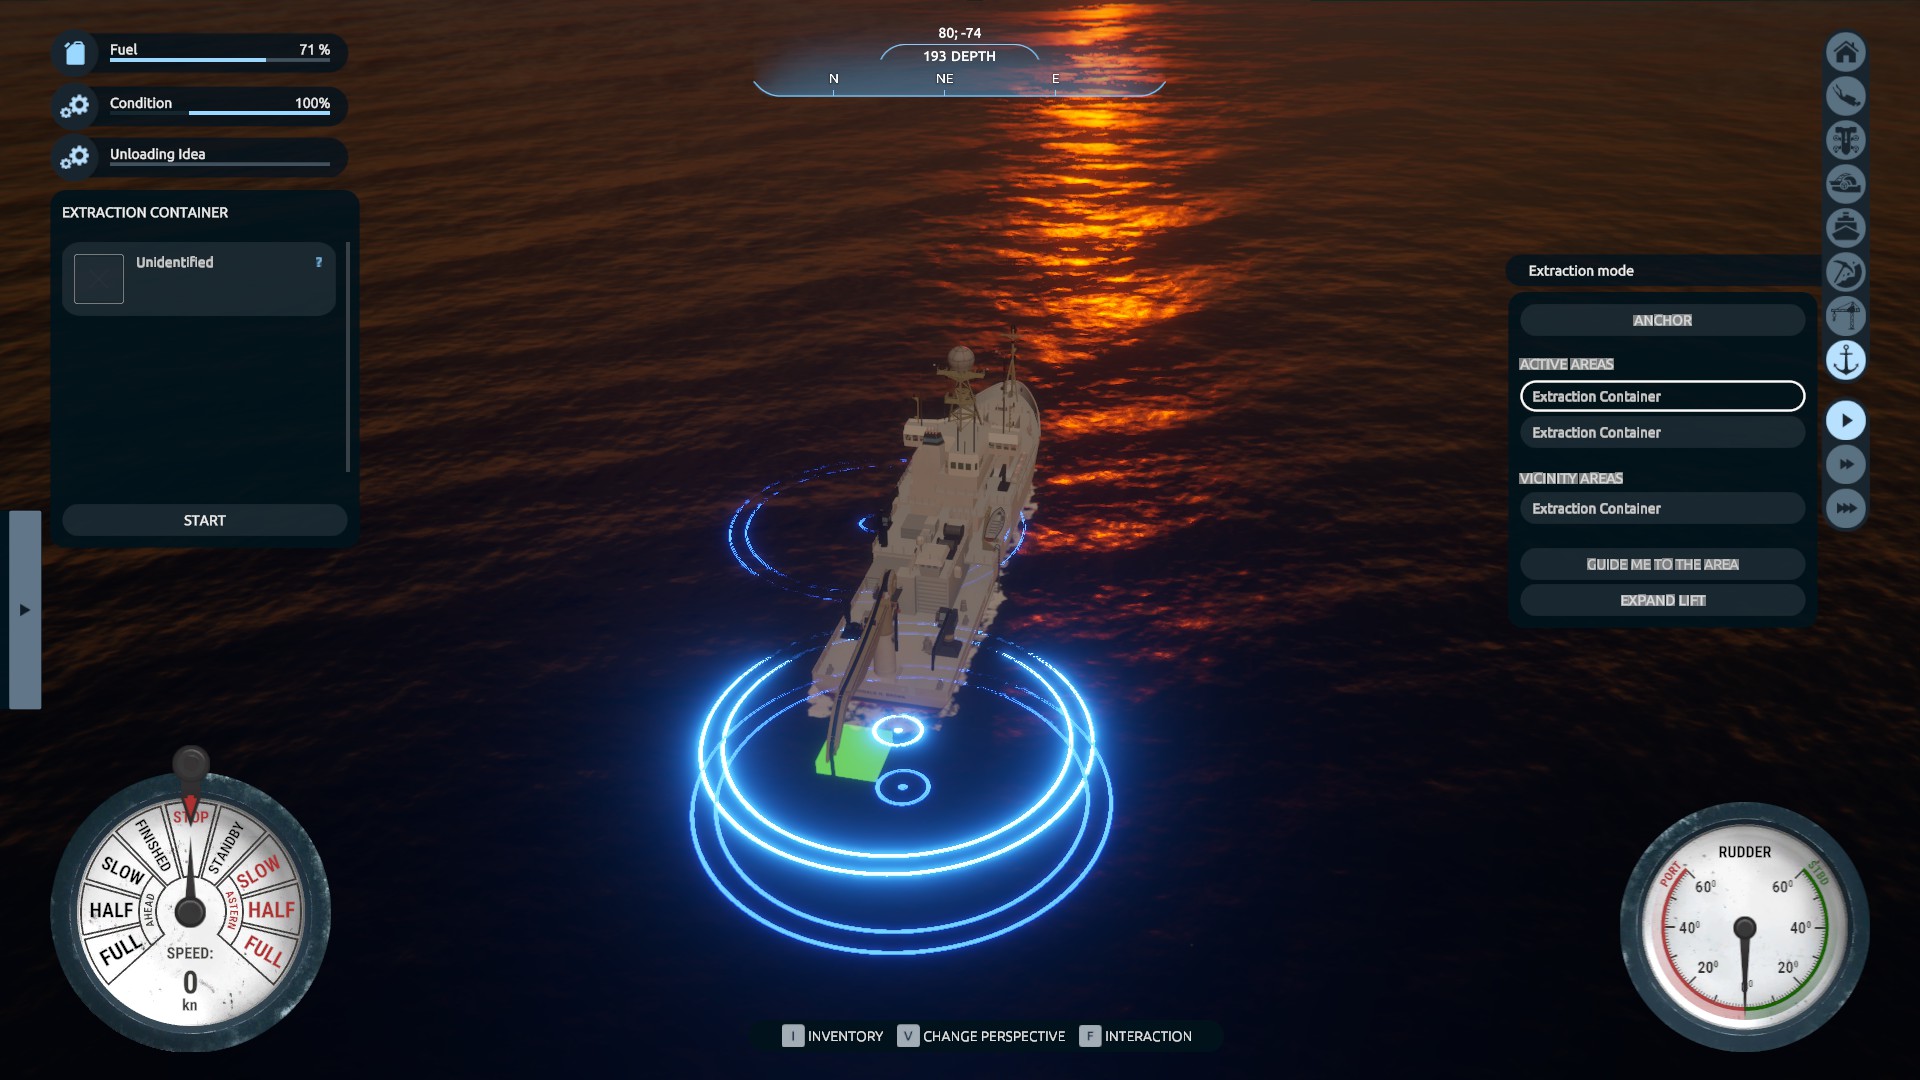
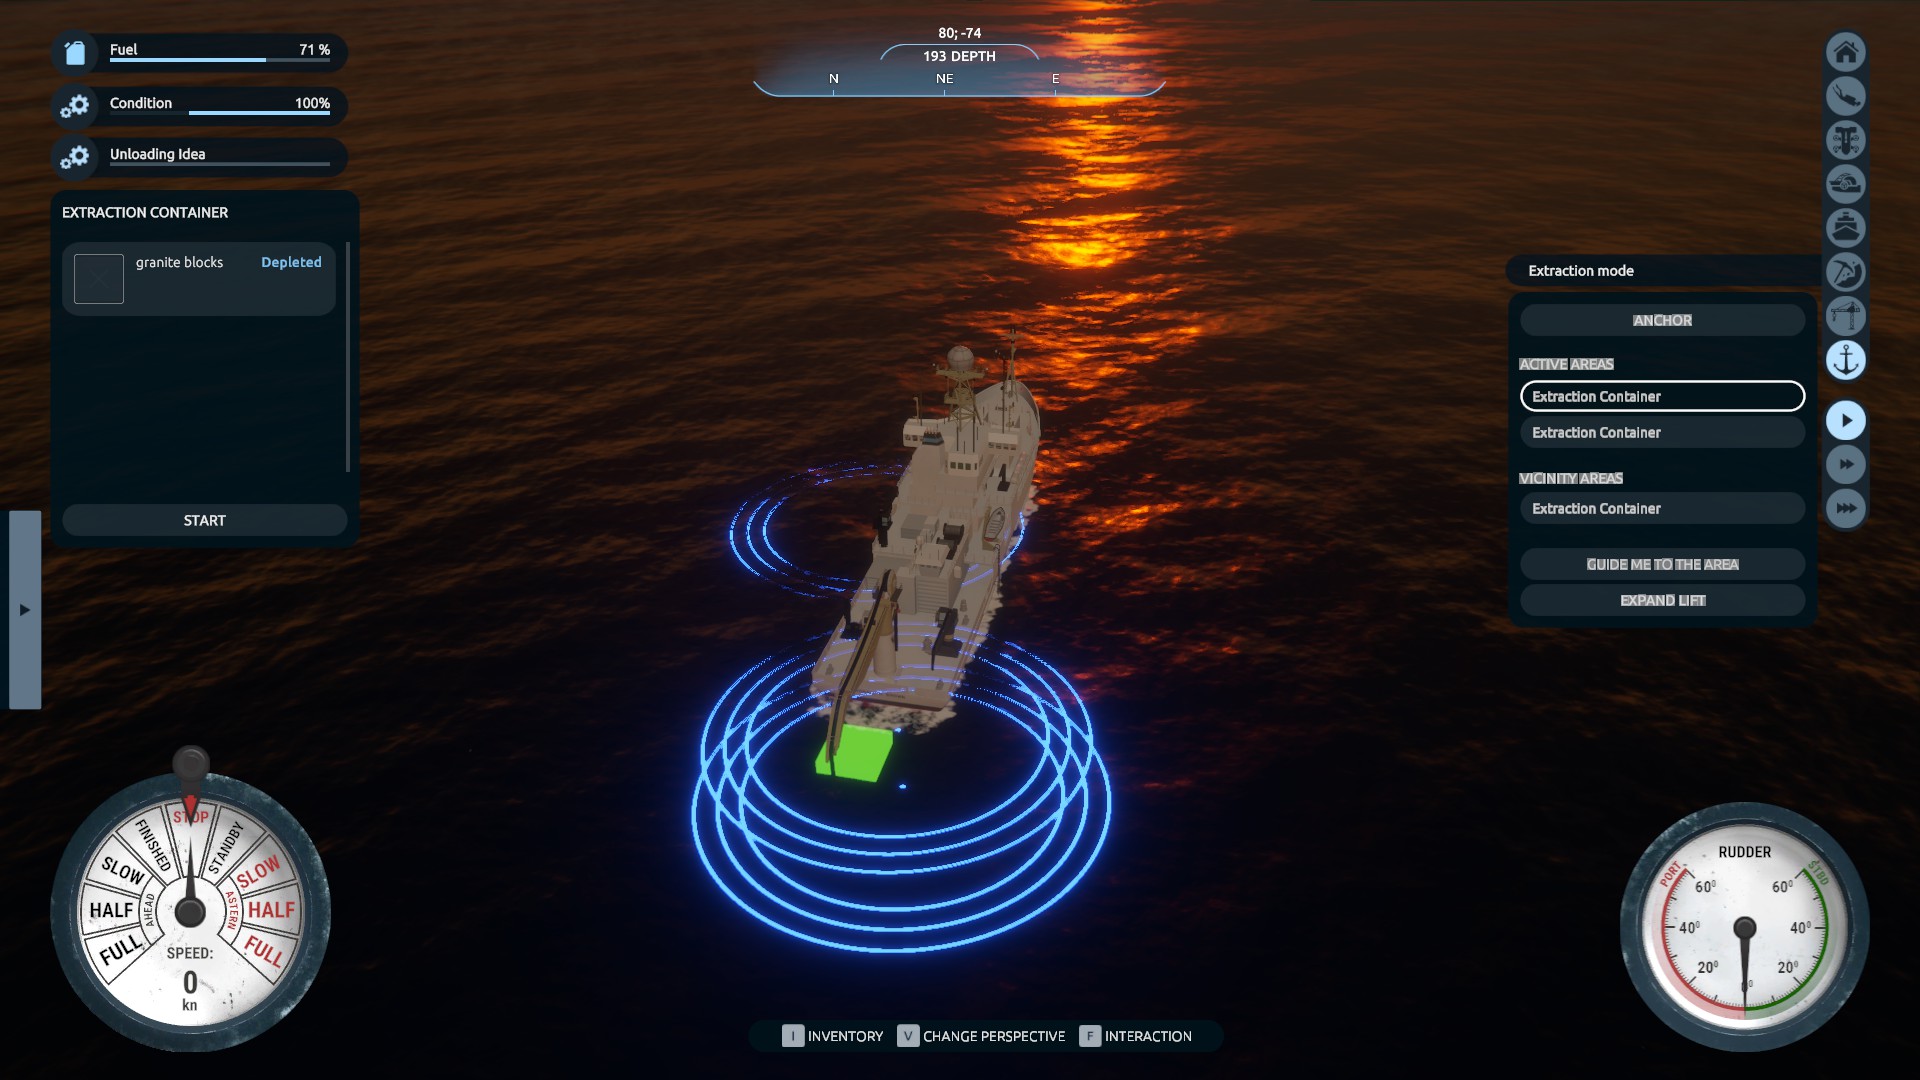
From this screen, you will notice a change when you select the “Extraction Mode” button located on the right side of the screen. Upon selecting it, a series of blue circles will appear on the surface of the water, along with new information on the info panel. These blue circles indicate the positions of the marked cargo holds on the seafloor. Aanvullend, you will notice that the rectangle beneath your ship’s crane has changed from orange to green. This change signifies that you are now in the correct position for extraction if your ship is directly above these circles.


Once your ship’s green rectangle aligns with the blue ring of circles, it’s time to exit the bridge and dive once again. Echter, before you leave the ship, ensure that the anchor is deployed and the crane is extended. Anders, you’ll have to return to the ship to make the necessary adjustments.
Return to the wreck and approach the cargo hatch. You will notice a slightly different information pop-up that instructs you to connect the container to the extraction hose. Drukken [F], and the hose connecting the container to the ship will appear.
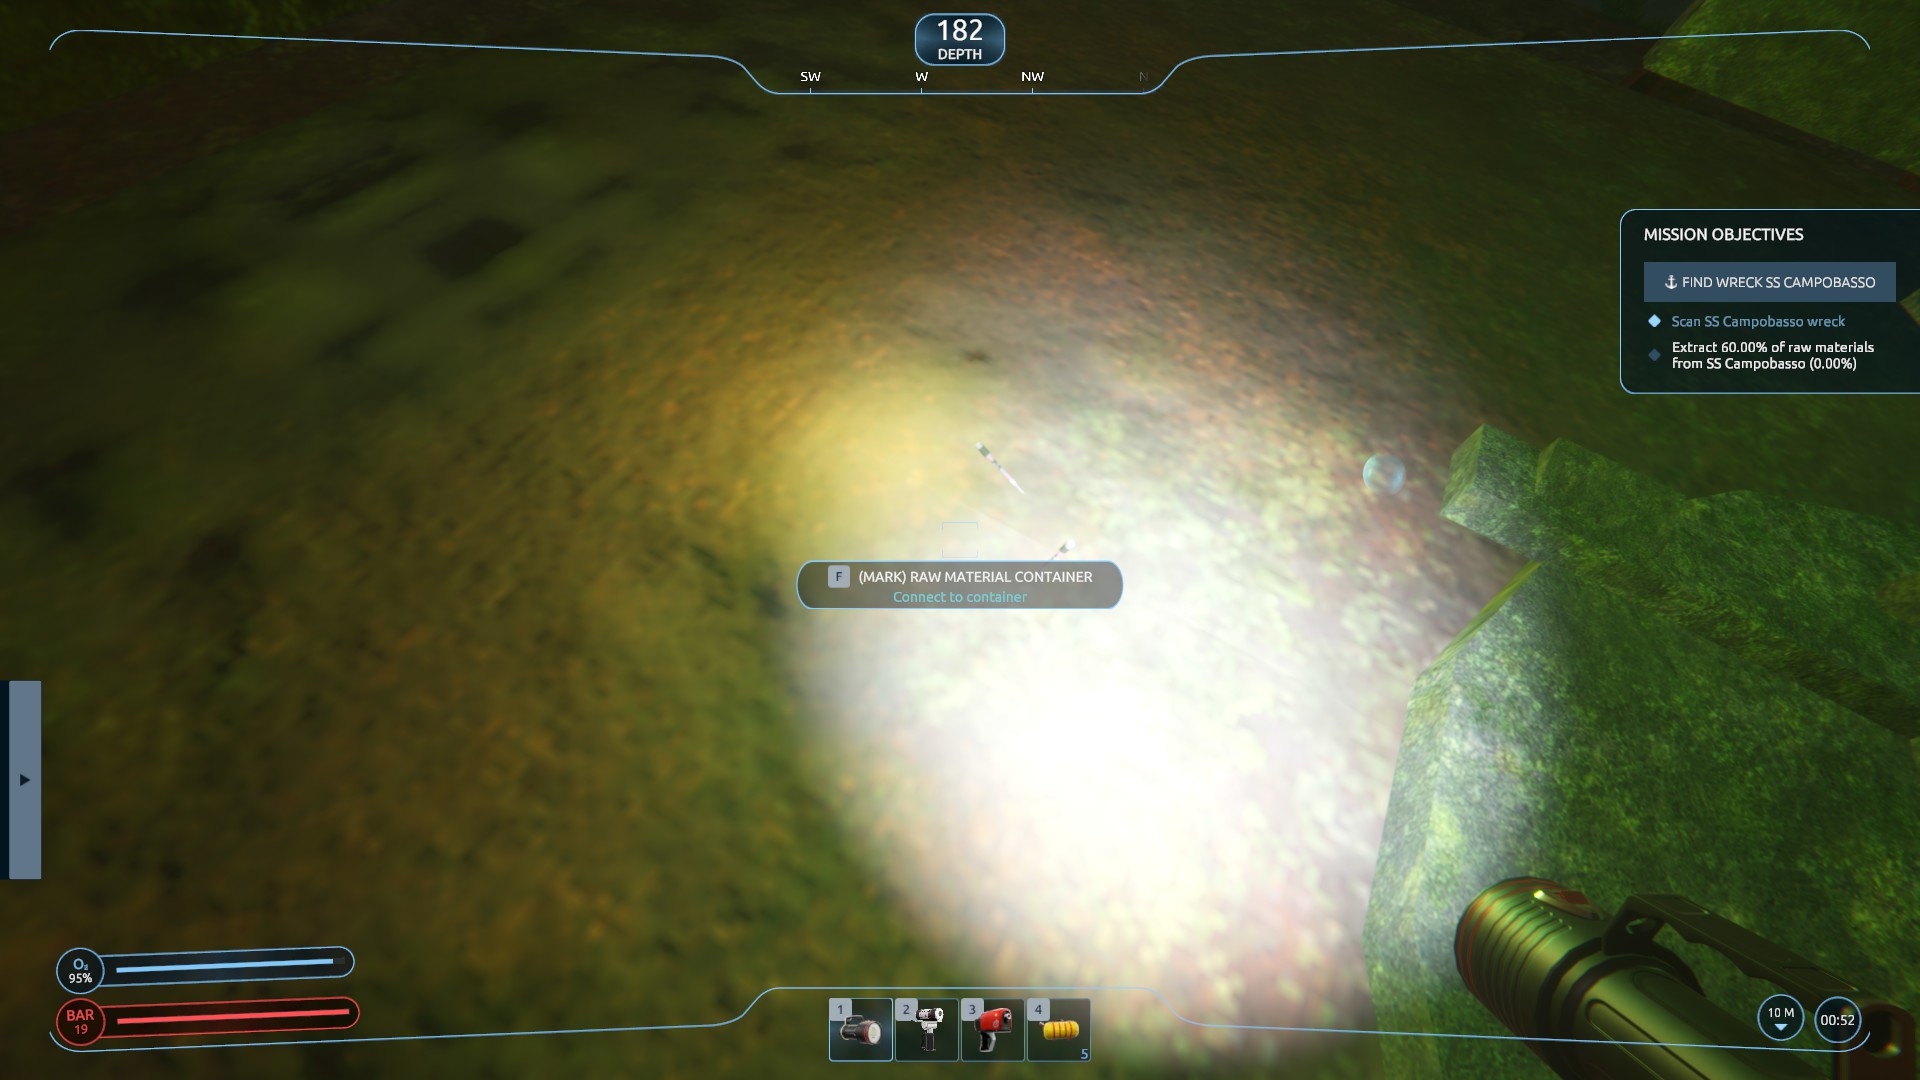

Follow the hose all the way to the surface, and you will notice that everything is now connected and ready for extraction.

Once back at the bridge, take control of the ship by sitting at the helm and switch to the third-person ship view. Vanaf daar, click on the extraction tool button, which will bring up a list of extraction containers. Ensure that your anchor is deployed and the lift is expanded. Select the extraction container to which your hose is attached, and this action will prompt a “Begin” button to appear on the left side of your screen.
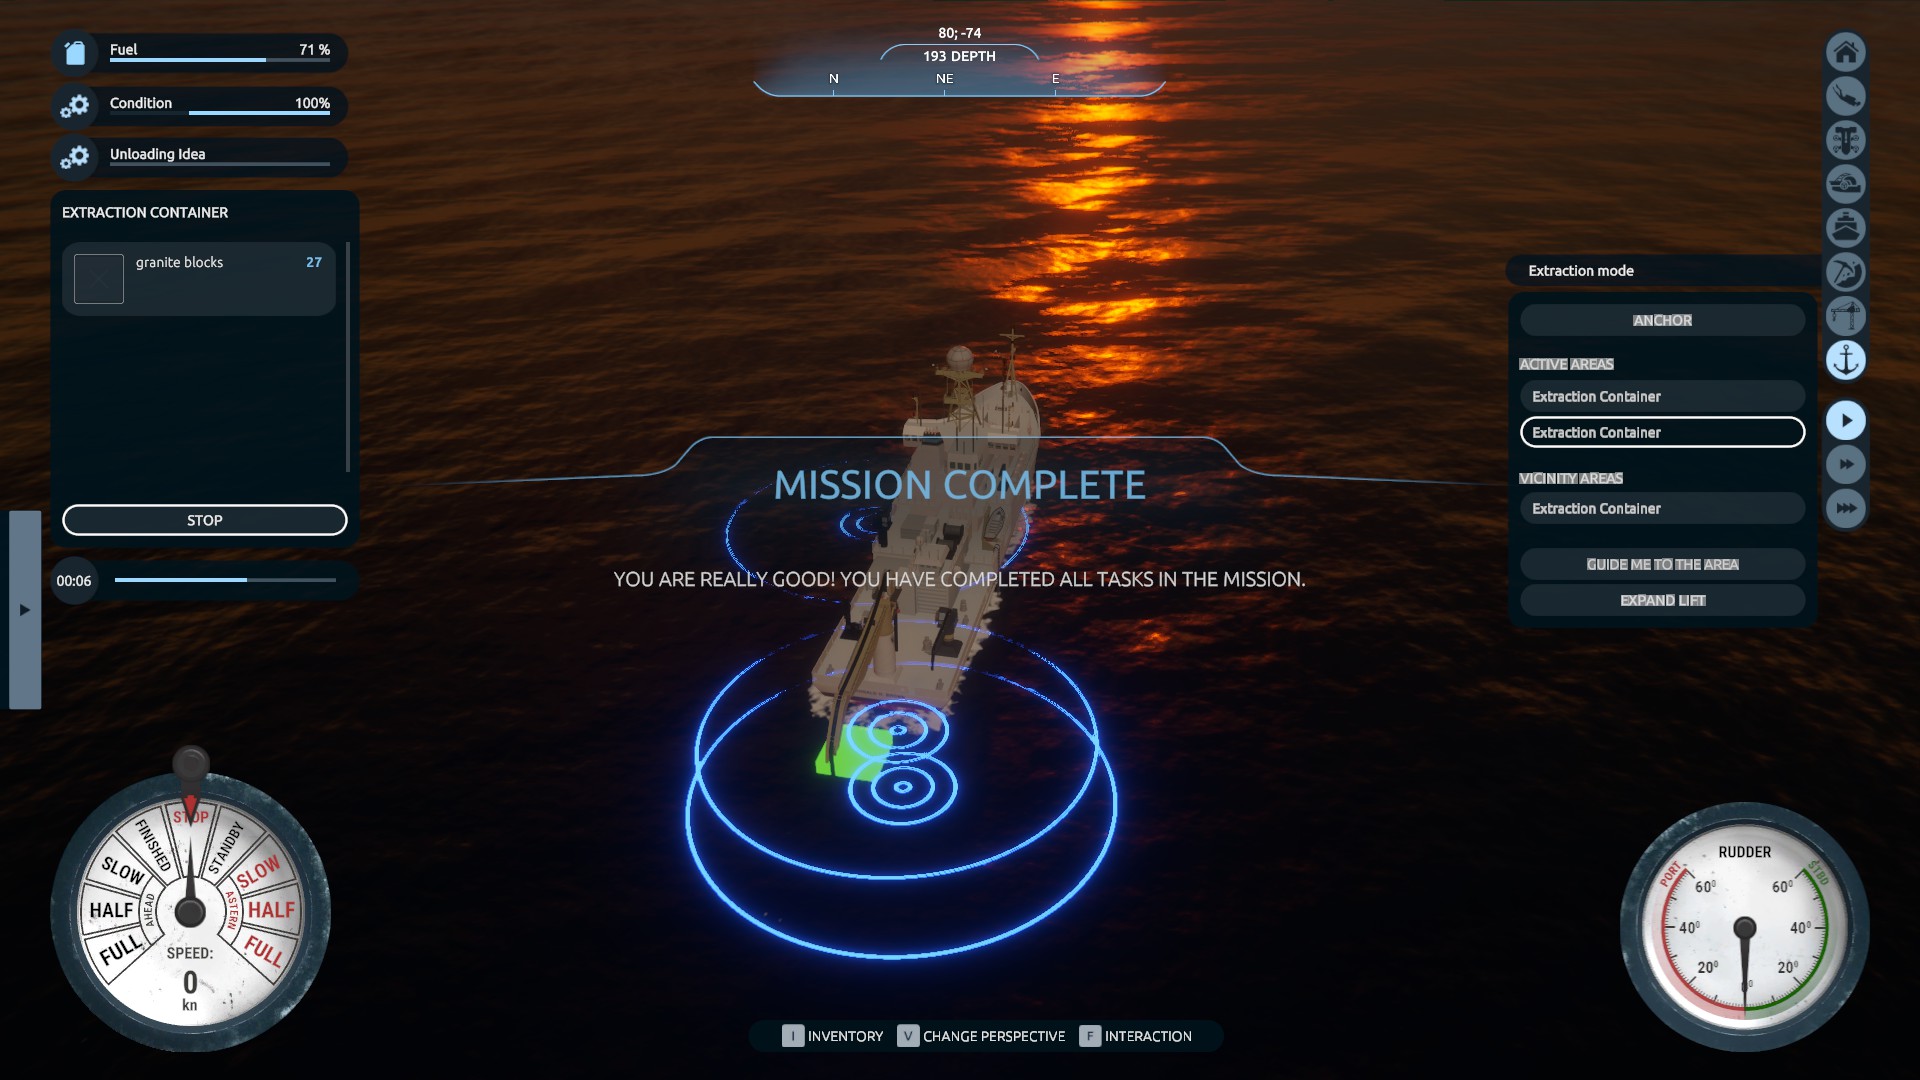
Klik op de “Begin” button and wait for the resources to be extracted. If there are multiple cargo holds, you will need to repeat this process for each one. Please note that after completing the extraction, you will have to return to the wreck to detach the extraction hose.

Gefeliciteerd! With some luck and proper execution, you have successfully completed your objectives. Well done on completing the mission!
Dat is alles wat we vandaag hiervoor delen Kingdom of Wreck Business gids. Deze handleiding is oorspronkelijk gemaakt en geschreven door Radar14. Voor het geval we er niet in slagen deze handleiding bij te werken, U kunt de laatste update vinden door dit te volgen link.
Witam bardzo dziękuję za pomoc. Mogę się odwdzięczyć ponieważ jeśli nadal nie wiecie jak wydobyć jakiś wrak to mi się dziś udało też metodą prób i błędów bo oczywiście było tylko zadanie wydobądź wrak 0/2 (bo to była łódź podwodna w dwóch częściach)
Tam gdzie jest podana cała metryka tego wraku jest podane jaka jest potrzebna barka do wydobycia go.
W moim przypadku to była 2x mała barka
I trzeba zrobić tak:
1. kupić balony wydobywcze i umieścić je na pasku ekwipunku i tak samo detonator.
2.Gdy zbliżymy się do wraku i wybierzemy balon to pokaże się na zielono miejsce gdzie zamontować każdy balon
3. wypożyczyć poprzez telefon na pokładzie wymaganą barkę i wtedy zanurkować do wraku i zdetonować czyli napompować balony detonatorem i wrak zacznie się wynurzać.
4. Gdy wrak dotrze na powierzchnię to z widoku kamery zewnętrznej wybieramy ,,wydobywanie wraku” następnie wybieramy barkę, potem klikamy by barka znalazła się przy wraku i następnie rozpoczynamy wyciąganie i obserwujemy jak winda wyciąga go i kładzie na barce.
5.Gdy winda położy wrak dajemy zakończ i gotowe, wrak będzie się znajdował w stoczni. 🙂