- Titel: Escape the Backrooms
- Releasedatum:
- Ontwikkelaar:
- Uitgever:
Information about Escape the Backrooms is still incomplete. Help ons alstublieft de details van het spel hiermee in te vullen contactformulier.
Voor de 06/15 update, a simplified handbook has been created to assist explorers in navigating the latest levels. This guide focuses on the fundamental aspects, providing instructions on progressing through the levels and offering insights into what to anticipate. Its purpose is to support enthusiastic wanderers, such as myself, in overcoming any obstacles they may encounter when traversing the new levels.
Niveau 7
Considerably expanded, Niveau 7 presents an array of exciting features. To fully explore this level, embark on a boat and leisurely sail around the charming distant houses.
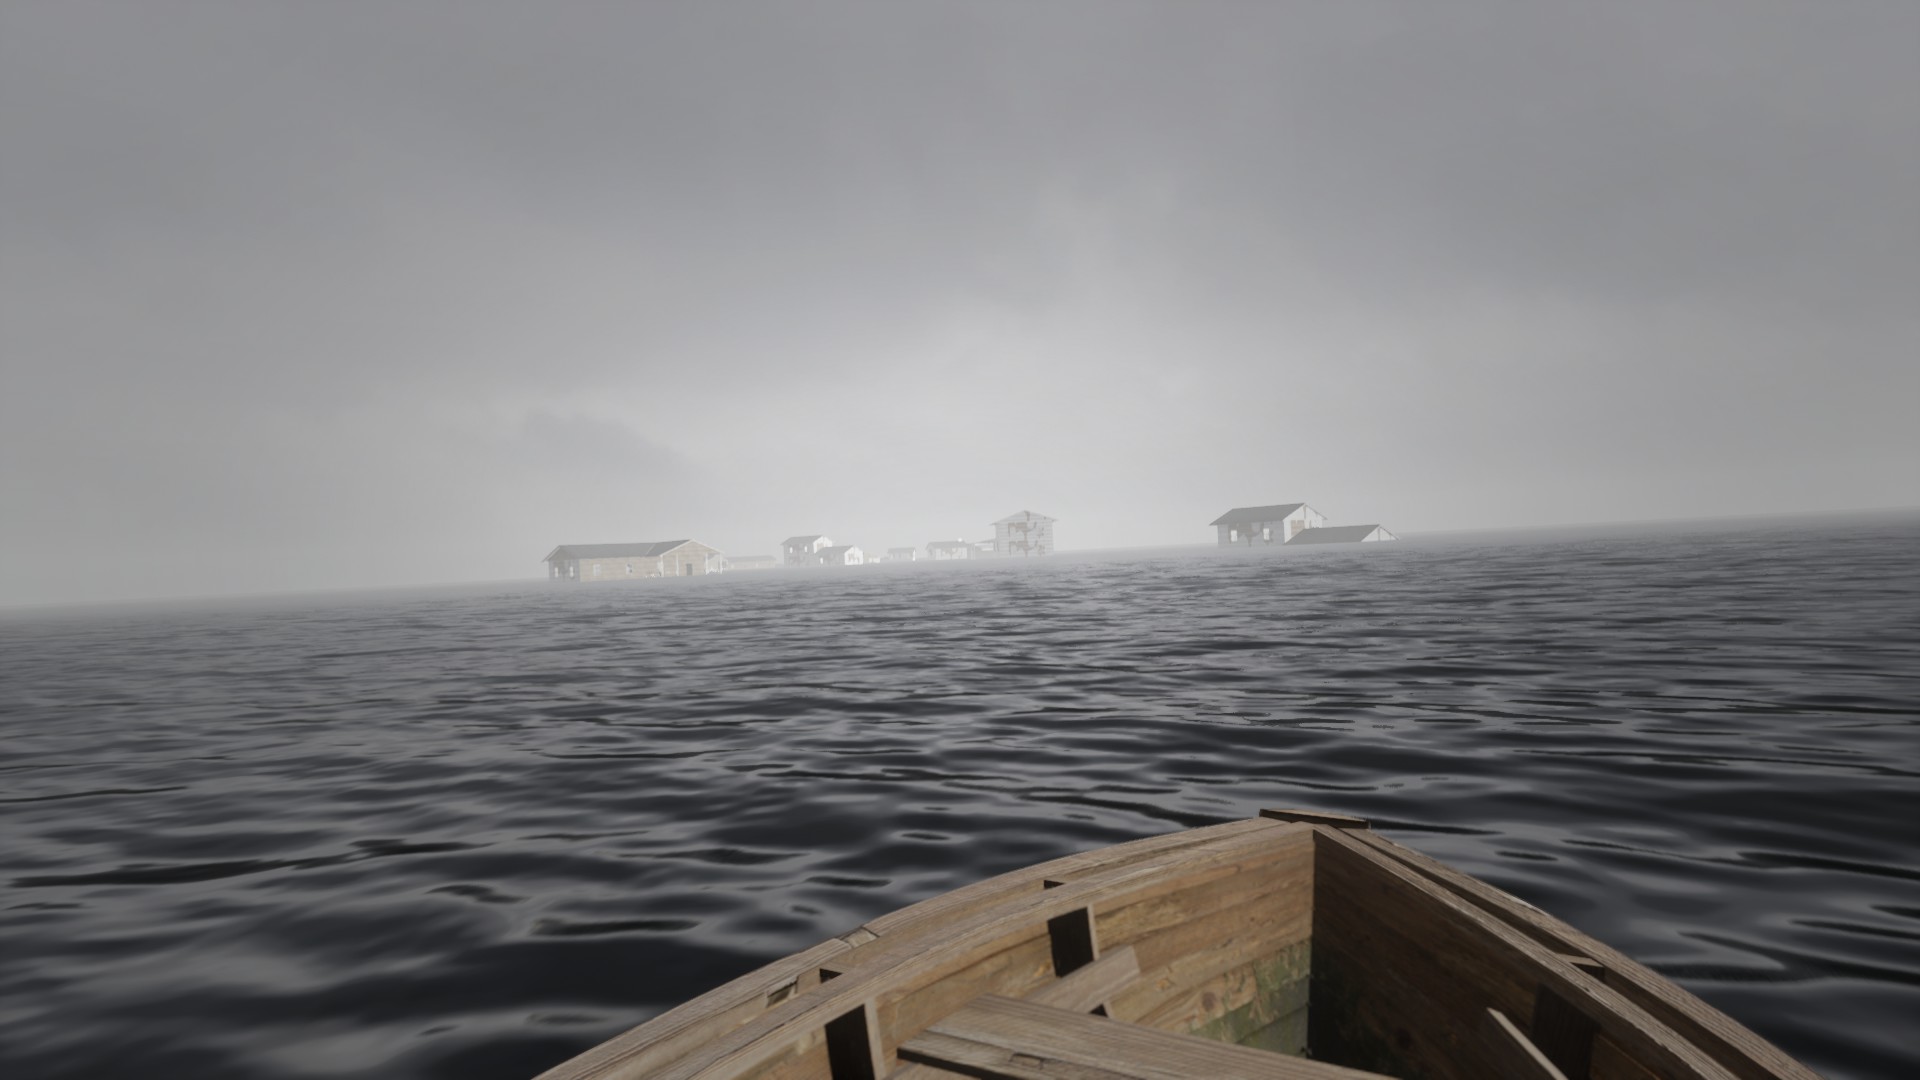
Don’t miss the opportunity to visit the houses! They serve as excellent sources for replenishing essential provisions, especially after the challenges faced in the previous levels.

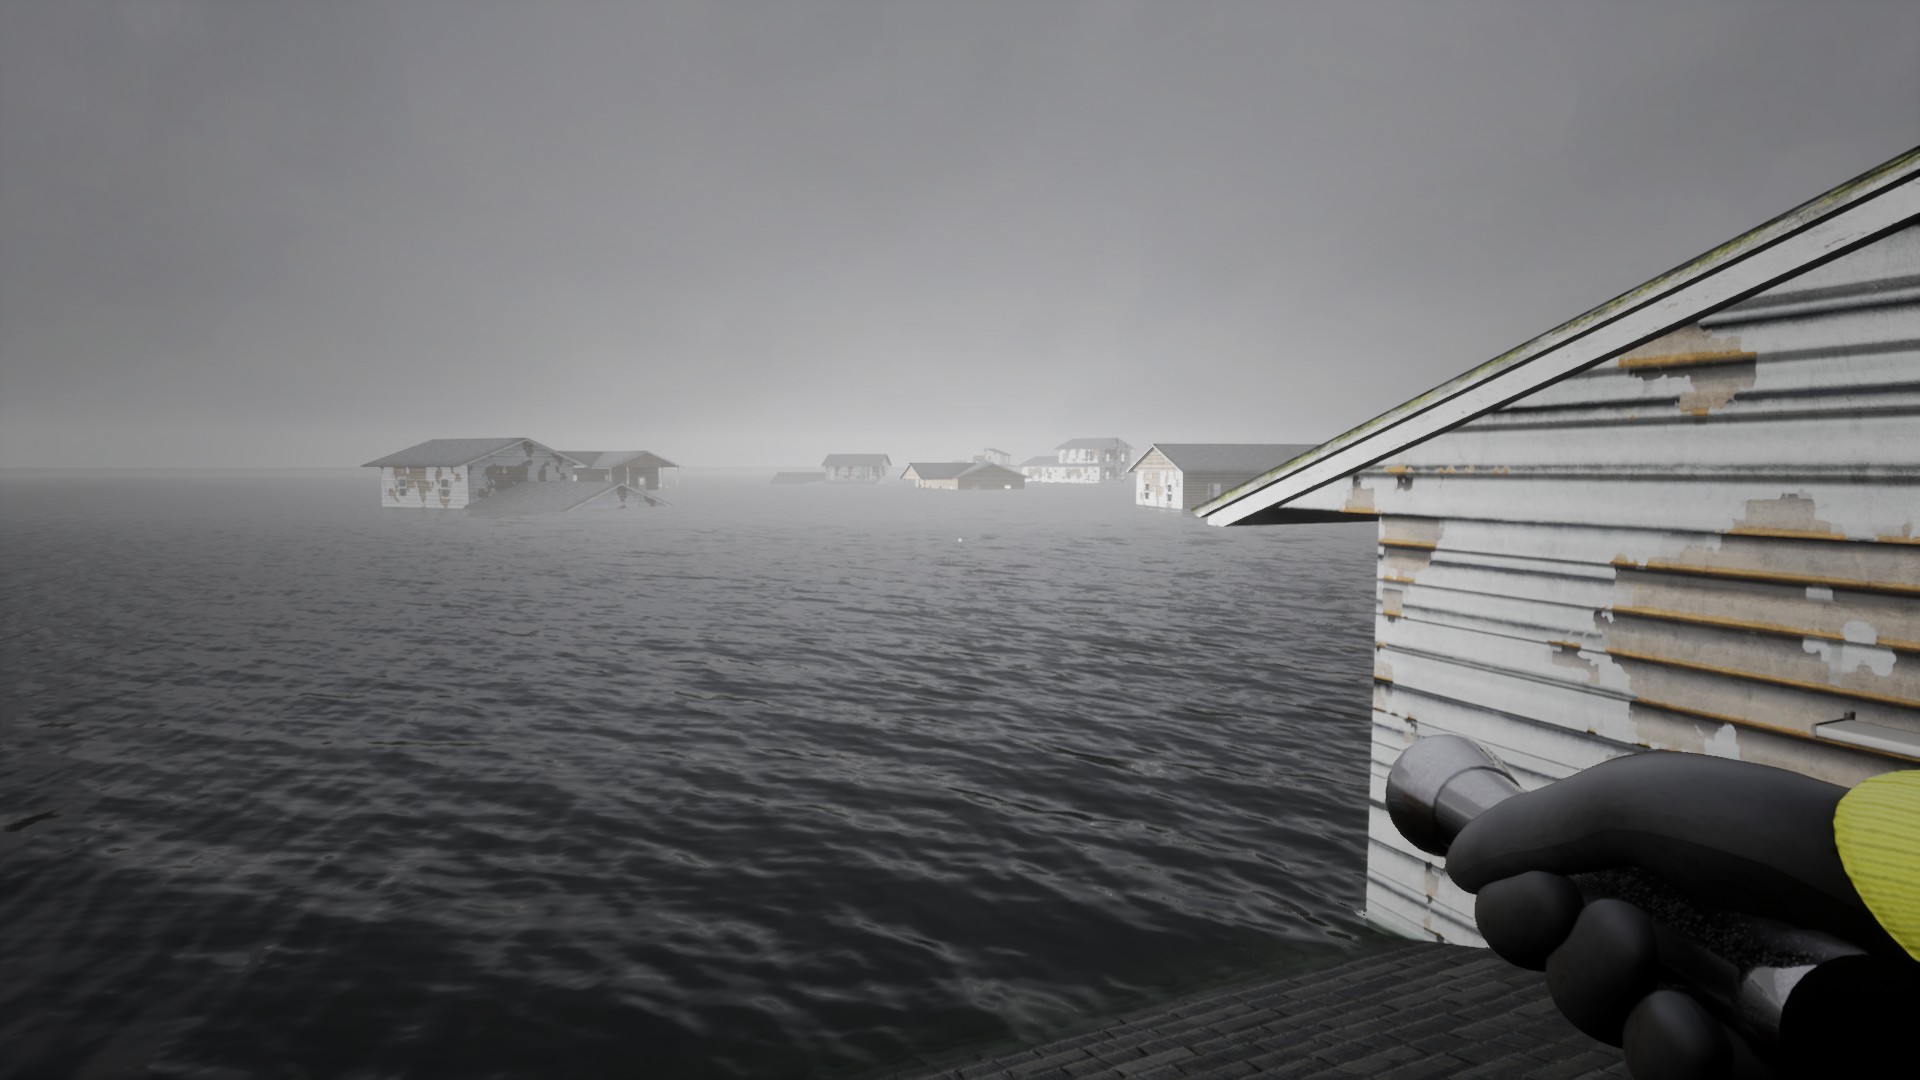
Exercise caution as you progress deeper into the level, as the visibility tends to diminish significantly.
Escape Strategy
Your objective is to reach the opposite side of the village. Om dit te bereiken, navigate your boat directly through the fog until you successfully emerge into clearer surroundings. You may refer to the provided image for visual reference.
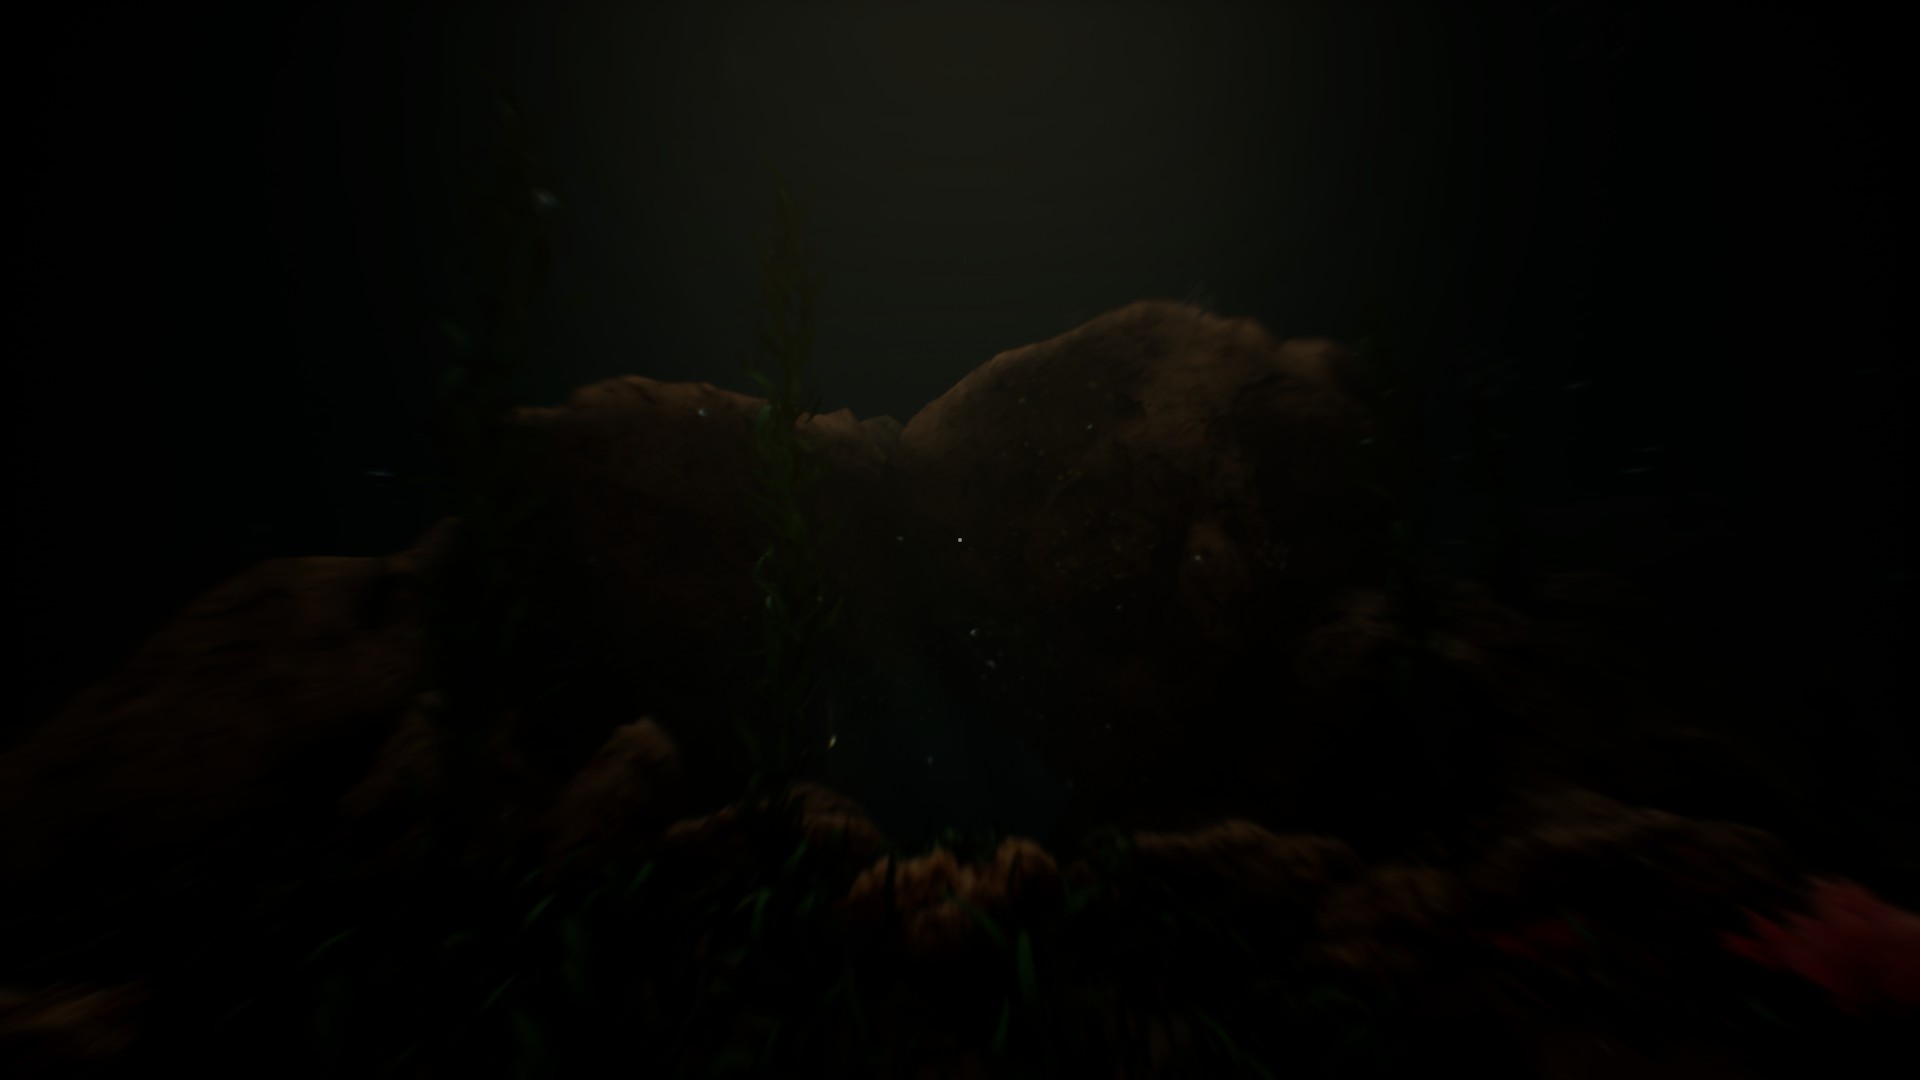
Descend into the depths by entering the shark cage, and you will come face to face with the Thing, which will ultimately lead you to the ocean floor. Zodra je de bodem bereikt, you’ll notice that one of the walls of the cage opens up. Exit through that opening, make a slight right turn, and then swim forward until you come across the outcropping. It’s worth noting that the motion blur is the most perilous aspect of this section. Exercise caution while navigating through it.
Niveau 8
In Level 8, be cautious of a female death moth that appears right after the starting doors. It’s crucial to maintain stealth to prevent losing all the valuable loot obtained from Level 7. Vooruit, welcome to the caves!
Female death moths are quite common within the caves, so it’s advisable to leave behind any squeaky rubber hazmat boots from Level 7. Aanvullend, watch out for skin stealers in this area. The caves follow a relatively linear path with occasional branching routes, all leading to the same exit connections. It’s worth noting that the female death moths and skin stealers do not appear in the same areas.
Escape Strategy
For the initial section of this level, crouch down and follow the left wall upon entering. This will lead you to a checkpoint with valuable loot (in case you, Zoals ik, died in Level 7). Dan, follow the right wall to reach a section with glowing mushrooms. Pass through the hole with mushrooms, and you’ll find a relatively direct path to a bridge and the first checkpoint.
The following section poses significant dangers due to the presence of skin stealers. They carry flashlights, so your best bet is to turn off your own flashlight and avoid getting within their line of sight. This can be quite challenging, as they have an extensive range of vision forward.
To navigate this section, start by following the left wall until you reach the blue mushrooms. Wait for the first skin stealer to pass before venturing deeper. As you notice a light approaching, swiftly move along the right wall and run until you reach the door.
Niveau 188
Eerst en vooral, take an immediate left and follow the left wall to locate the door leading back to the hub.
Ahead, you’ll come across a locker and an intriguing sculpture associated with a puzzle (opmerking: there’s a jumpscare warning once the puzzle is solved).
This level represents another maze, denoted as Level 0, but it has suffered significant deterioration. Gelukkig, the mold monster remains the same.
The switches in this level operate on a timer, resetting after a few minutes when you activate a switch.
Escape Strategy
Your first task is to unlock the locker and obtain the chainsaw. This chainsaw will be essential for cutting open a wall and accessing the maze. Proceed through the maze until you encounter arrows indicating the location of the roaming mold monster and the switches. Use the chainsaw to open doors and avoid the monster by hiding in vents (as it cannot open doors). Locate and activate the four switches, then make your escape.
Solutions for the two puzzles in this level
The first puzzle involves clicking on the light source and observing the shadow to determine the corresponding shape that covers the number.
The second puzzle relies on the illuminated lights in the rooms visible from the courtyard outside the puzzle room. Click the buttons that correspond to the lit-up lights.
Niveau 9
In Level 9, there’s only one direction to go: deeper.
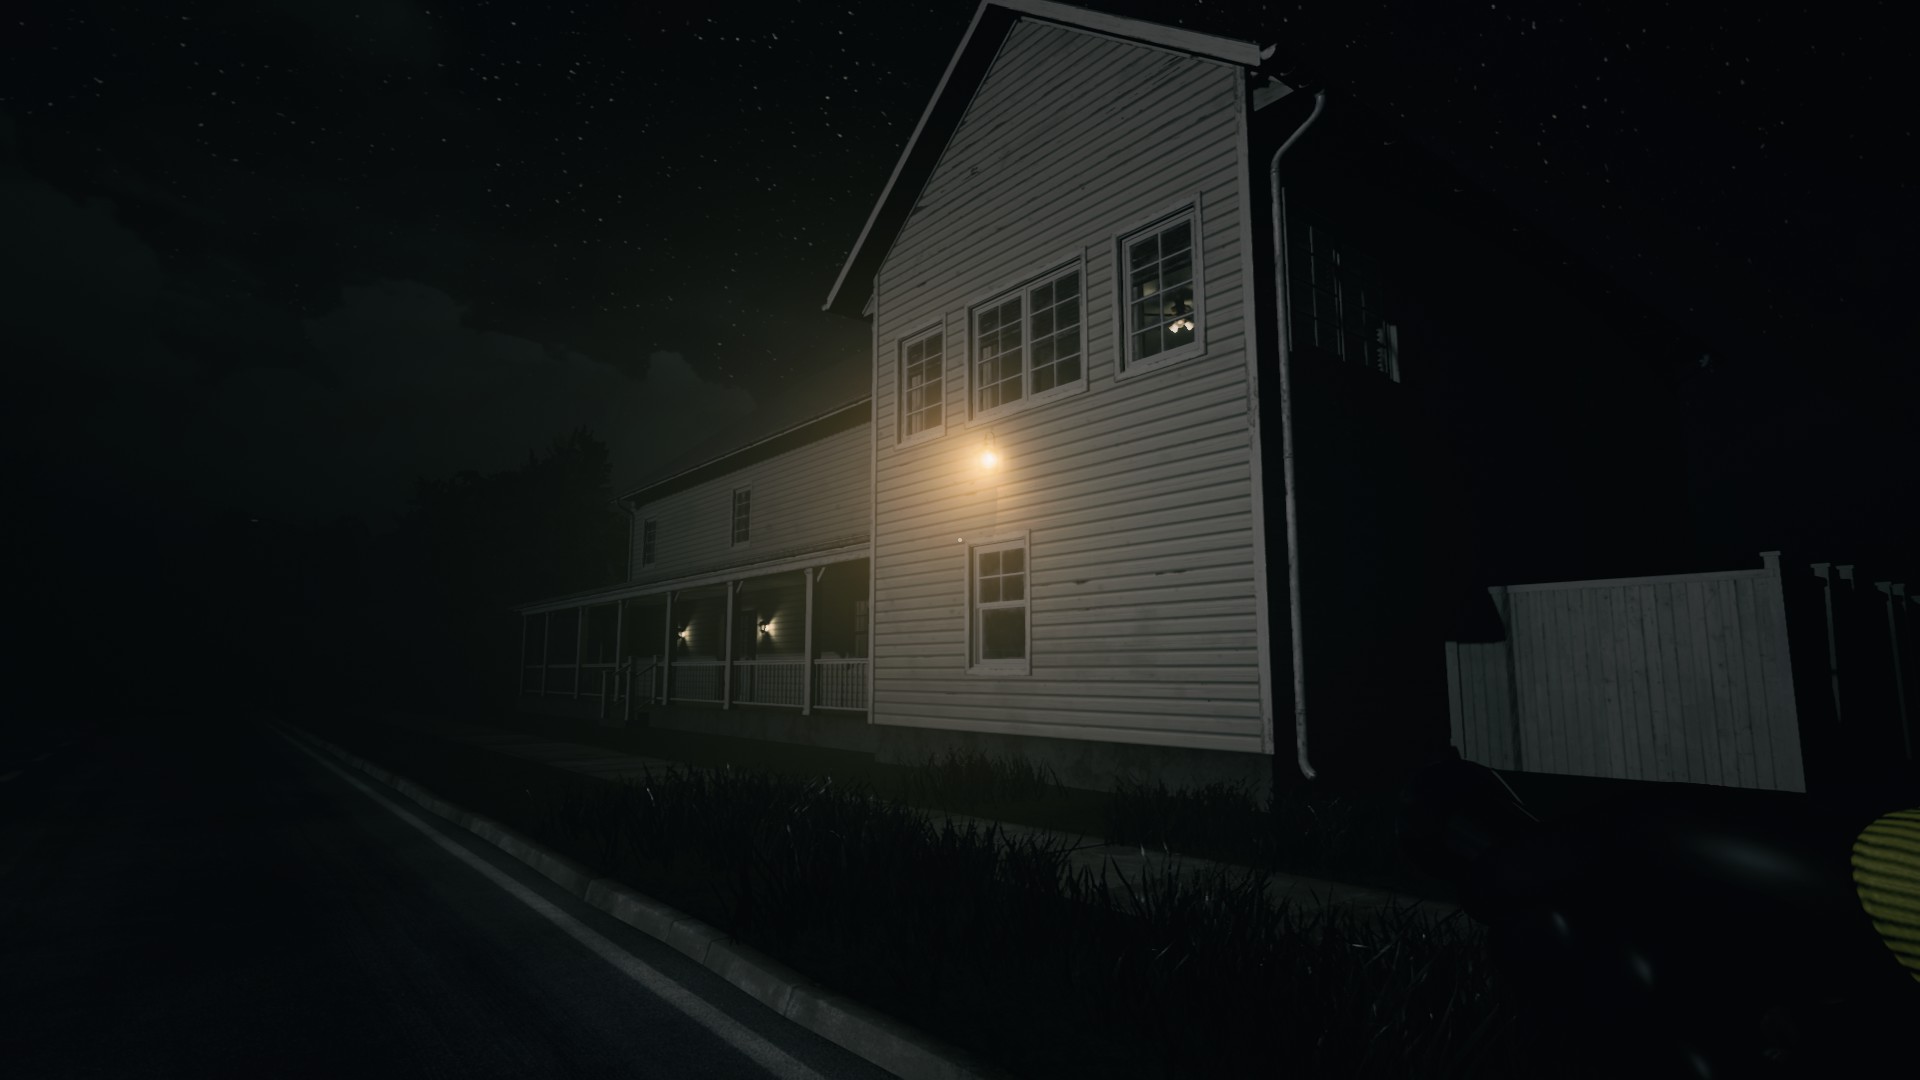
It is advisable to minimize your time spent outside as wandering monsters are actively searching for wanderers. Head towards houses with lights for safety.
Not all houses are vacant; some contain level 6 monsters.
To return to the hub, locate the first illuminated house on the right, as depicted in the attached photo.
Monsters encountered:
Helaas, there isn’t a clear photo available for this particular section, making it challenging to provide a detailed visual reference.

Escape Strategy
Within the center of the town, there’s a MEG base, but the gate leading to it is locked. Consult the terminal to identify which houses contain the unlock terminals, and proceed to those specific houses. Be cautious of the roaming street monster and the creatures inside the houses while searching for the computers required to unlock the gate. These computers take a moment to activate and should not be interrupted. Eenmaal geactiveerd, make sure to lock the door behind you before proceeding.
Once the gate is unlocked, you can simply walk in and exit the level.
Abandoned Base
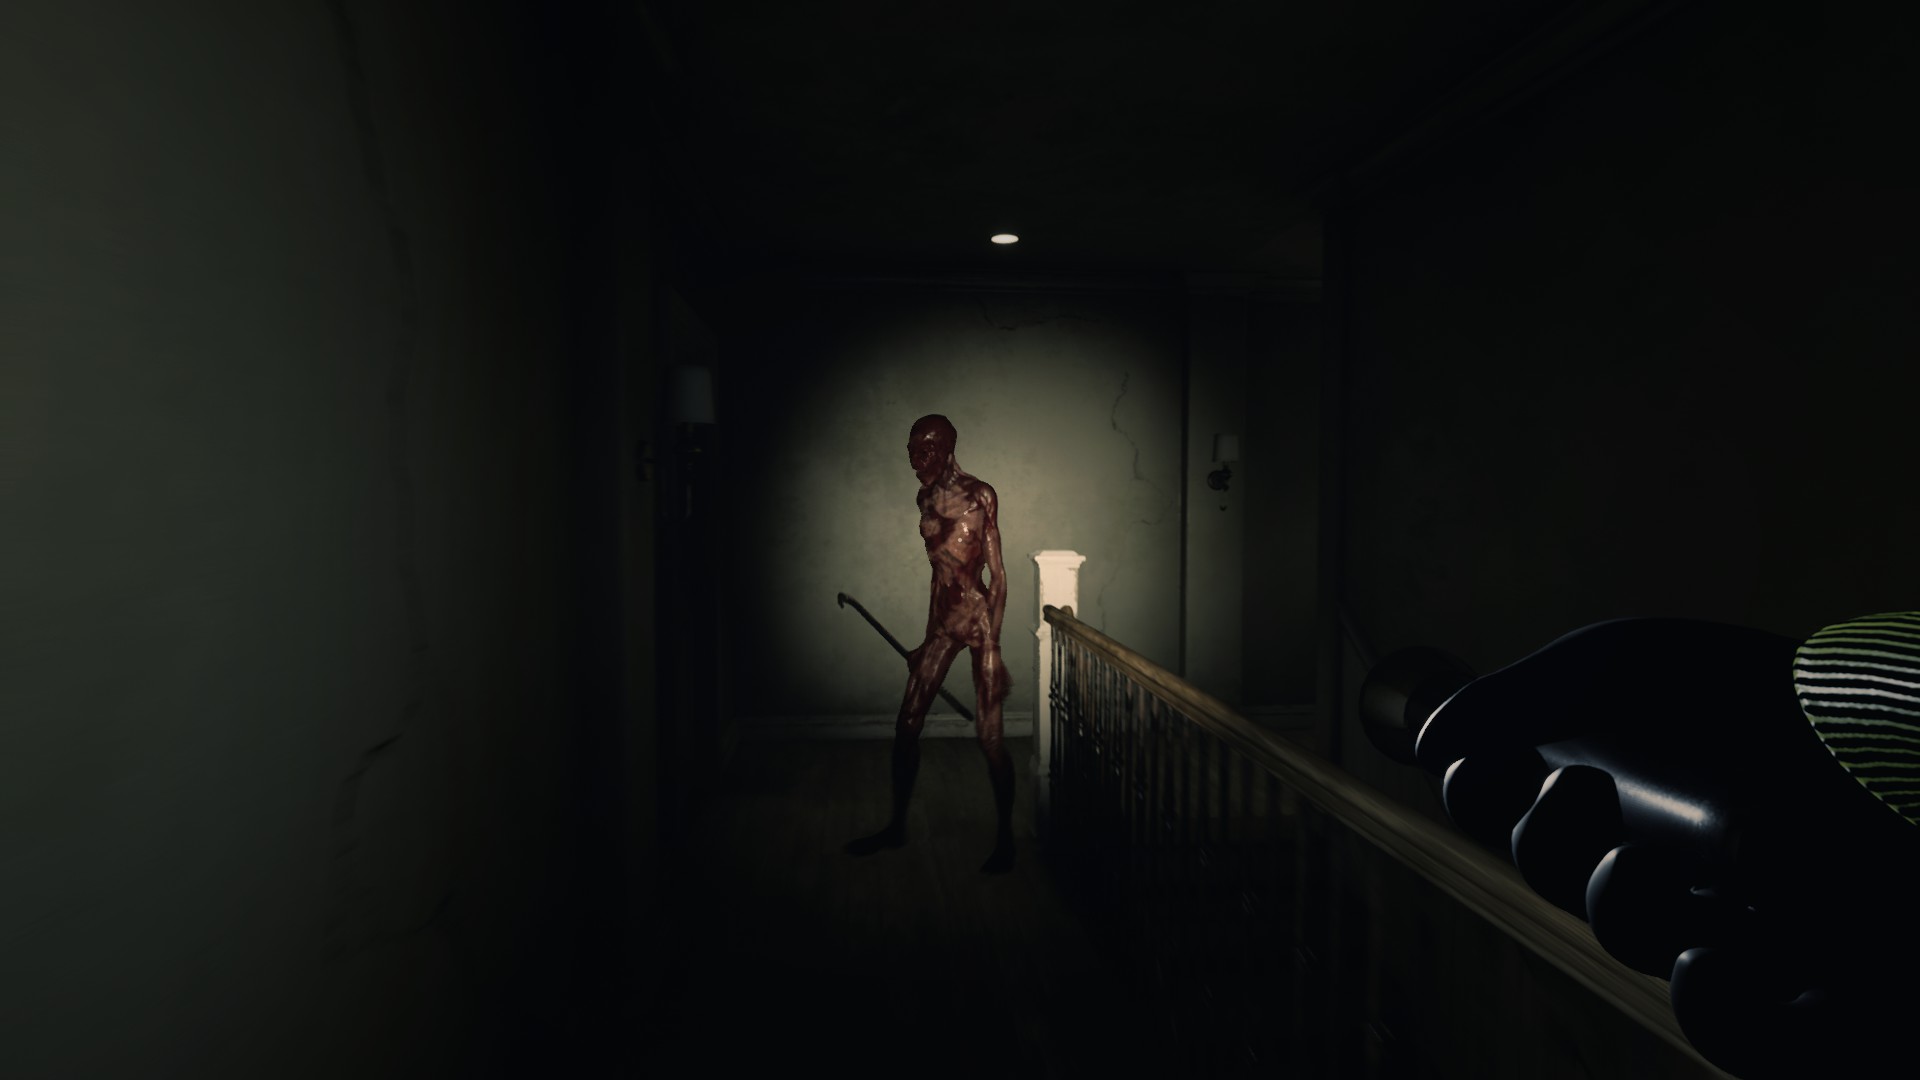
Visually, the Abandoned Base stands out as my personal favorite level. It features a wandering wretch in the halls, and you can take cover inside lockers for protection. Bij binnenkomst, an informative tape plays, explaining the purpose of the shower in the center of the starting room.
Once you acquire the keycard, return to Level 9 and navigate around the MEG base. On the opposite side, you’ll encounter a large gate leading to Level 10.
Escape Strategy
The objective is relatively straightforward: locate four bottles of liquid and bring them back to the device. Once all four bottles are in place, lure the wretch into the pressure plate trap to shower it and obtain the admin keycard.
Niveau 10
Ahead lies a long road, but what mysteries does it hold? Blijkbaar, scarecrows. It’s important to note that this level is not safe, particularly when venturing into the cornfields.
The scarecrows are averse to being observed, so remain vigilant and swiftly proceed forward, avoiding unnecessary delays.
Escape Strategy
While progressing down the road, the scarecrows will often attempt to approach you from behind. Since they make minimal sound, it’s crucial to frequently check behind you.
The second part of this level involves running through the cornfield to reach the windmills. After activating the first light, a chainsaw-wielding scarecrow will spawn. As this scarecrow moves slightly faster than you, managing your stamina becomes essential in order to stay ahead while making your way to the next windmill.
Navigating the cornfield can be disorienting, so try to follow the fence walls until you find openings that allow you to approach the windmills more closely.
Niveau 3999
After entering through the sliding glass doors, the hub exit is on the left.
Enter the darkness to complete the level and roll the credits.
Conclusie
That concludes part 3 of Escape the Backrooms. I hope this guide has provided you with some assistance. Feel free to leave a comment if you have any additional insights to add to the guide or if you found it helpful in any way.
Dat is alles wat we vandaag hiervoor delen Escape the Backrooms gids. Deze handleiding is oorspronkelijk gemaakt en geschreven door Just Valerie. Voor het geval we er niet in slagen deze handleiding bij te werken, U kunt de laatste update vinden door dit te volgen link.