Tired of wandering around, getting lost at every corner? This is a complete map of level 5 with all its stages. On it, you will find locations for objectives, items, and collectibles.
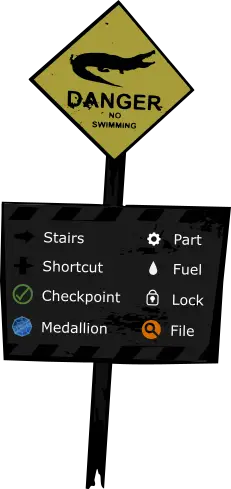
Legends
After some time I am finally done with this chapter, re-creating the map with all locations for items and such (might have cheated a bit with some medallion locations thanks to another guide, thanks!).
The map is pretty self-explanatory with a legend at the bottom left (also found here to the right). As with my other map (LVL 4), it might seem quite small in the workshop, so to see all details bring up the real image scale by clicking on and then the URL above it.
BE AWARE: The locations for both parts and fuel change with each playthrough. You only need 6 and 4, respectively, and as such, this many will spawn on a random pre-determined location. I have found quite a few of them but surely missed some. If there is any missed location, please write in the comments so I can revise.
Level 5 Map

Click the image to enlarge.
That's everything we are sharing today for this Labyrinthine guide. This guide was originally created and written by Viktor. In case we fail to update this guide, you can find the latest update by following this link.