- 제목: 노동자 & 자원: Soviet Republic
- 출시일:
- 개발자:
- 발행자:
Information about Workers & 자원: Soviet Republic is still incomplete. 이것을 사용하여 게임의 세부 정보를 입력할 수 있도록 도와주세요. 문의 양식.
What is the simple series about?
Workers and Resources is a complicated game, when you are new (or newish) it is very easy to struggle with basic things like getting public transport working.
There are video tutorials but not only do you have to invest 10 minutes or even as much as an hour, but they might never mention or just gloss over the specific thing you wanted to know. The simple series provides bite-sized chunks of information that you can skim through in a minute to get what you want to know.
The simple series often provides a single opinioned way to do things. not because it is the only way or even the best way, but just because it is easy to explain concisely.
What is realistic mode?
The difference between normal and realistic mode is that auto-buy and auto-build are disabled.
Auto-buy being disabled means you must import all goods and keep them stocked at all times, like food in the shopping centre.
Auto-build being disabled means you can no longer build with rubles/dollars like in other games. You must use construction offices to build buildings from the very beginning.
In normal games, you only usually start to use construction offices in the mid-game, but you are forced to do it from the very start in realistic mode.
The aim is an easy stable playthough
The guide is based on a realistic
어려움시작. This means all mechanics are enabled, and you only start with 1 million rubles and 500k USD.
No mods are required.
Assuming you start in 1960, the initial setup (도시 + clothing factory + fabric factory) should be finished by 1962. Only then do you invite immigrants. You will probably become stable sometime between 1965 그리고 1970.
Free construction setup
You’ll need to make a double “main road”, which is two mud roads running parallel from the customs house.
This is not because it improves customs house access but so that you can easily upgrade from mud to gravel and from gravel to asphalt. Using the second road as a backup while the first is being upgraded.
One of the first things you want to do is upgrade one of the roads to gravel. You can leave the other one as mud.
- 2x free distribution office (1x oil truck, 2x open hull truck, 3x dumper truck
- 1x free gas station
- 2x construction office (4x bus, 4x concrete truck)
The distribution office trucks will keep the storage filled up. Construction offices picking up goods from storage will reduce the traffic into the customs house.
Buses and concrete trucks will load directly from the customs house, so you might as well put them closer.
- 2x free open storage (steel/boards, bricks/prefabs)
- 1x free aggregate storage (gravel)
- 1x free gas station
- 5x free construction office (5x dumper, 4x open hull, 4x excavator, 2x bulldozer, 2x road crane, 2x covered hull, 1x tower crane)
- 1x free road depot
This is not a particularly optimized setup. 예를 들어, the trucks are in sets of 2s and 4s because free construction offices have 4 vehicle slots.
Setting up your town
- Enough residential buildings for at least 1000 citizens
- Small shopping centre
- 병원
- Fire Station
- Kindergarten
- 학교
- Bus stop
- Inner pool
- 2x Small heat exchanger
- Cinema
- Red star monument
- Electric substation
- Water substation
- Sewage tank
- Free technical office (2x snowplow, 1x water truck)
Untick “Get citizens” when you create your residential buildings, and then untick “Allow citizens to move in” once you have placed them down.
Set the small shopping centre food/clothing/electronics to 65%/20%/15% 정상 대신 33%.
When setting up bus routes from the town, make sure the untick the load “workers with university education” 상자. This will keep all your educated workers in town for your schools and hospitals.
Cut back on the number of people working at each service building, 예를 들어. reduce the number of doctors at the hospital to 5-10.
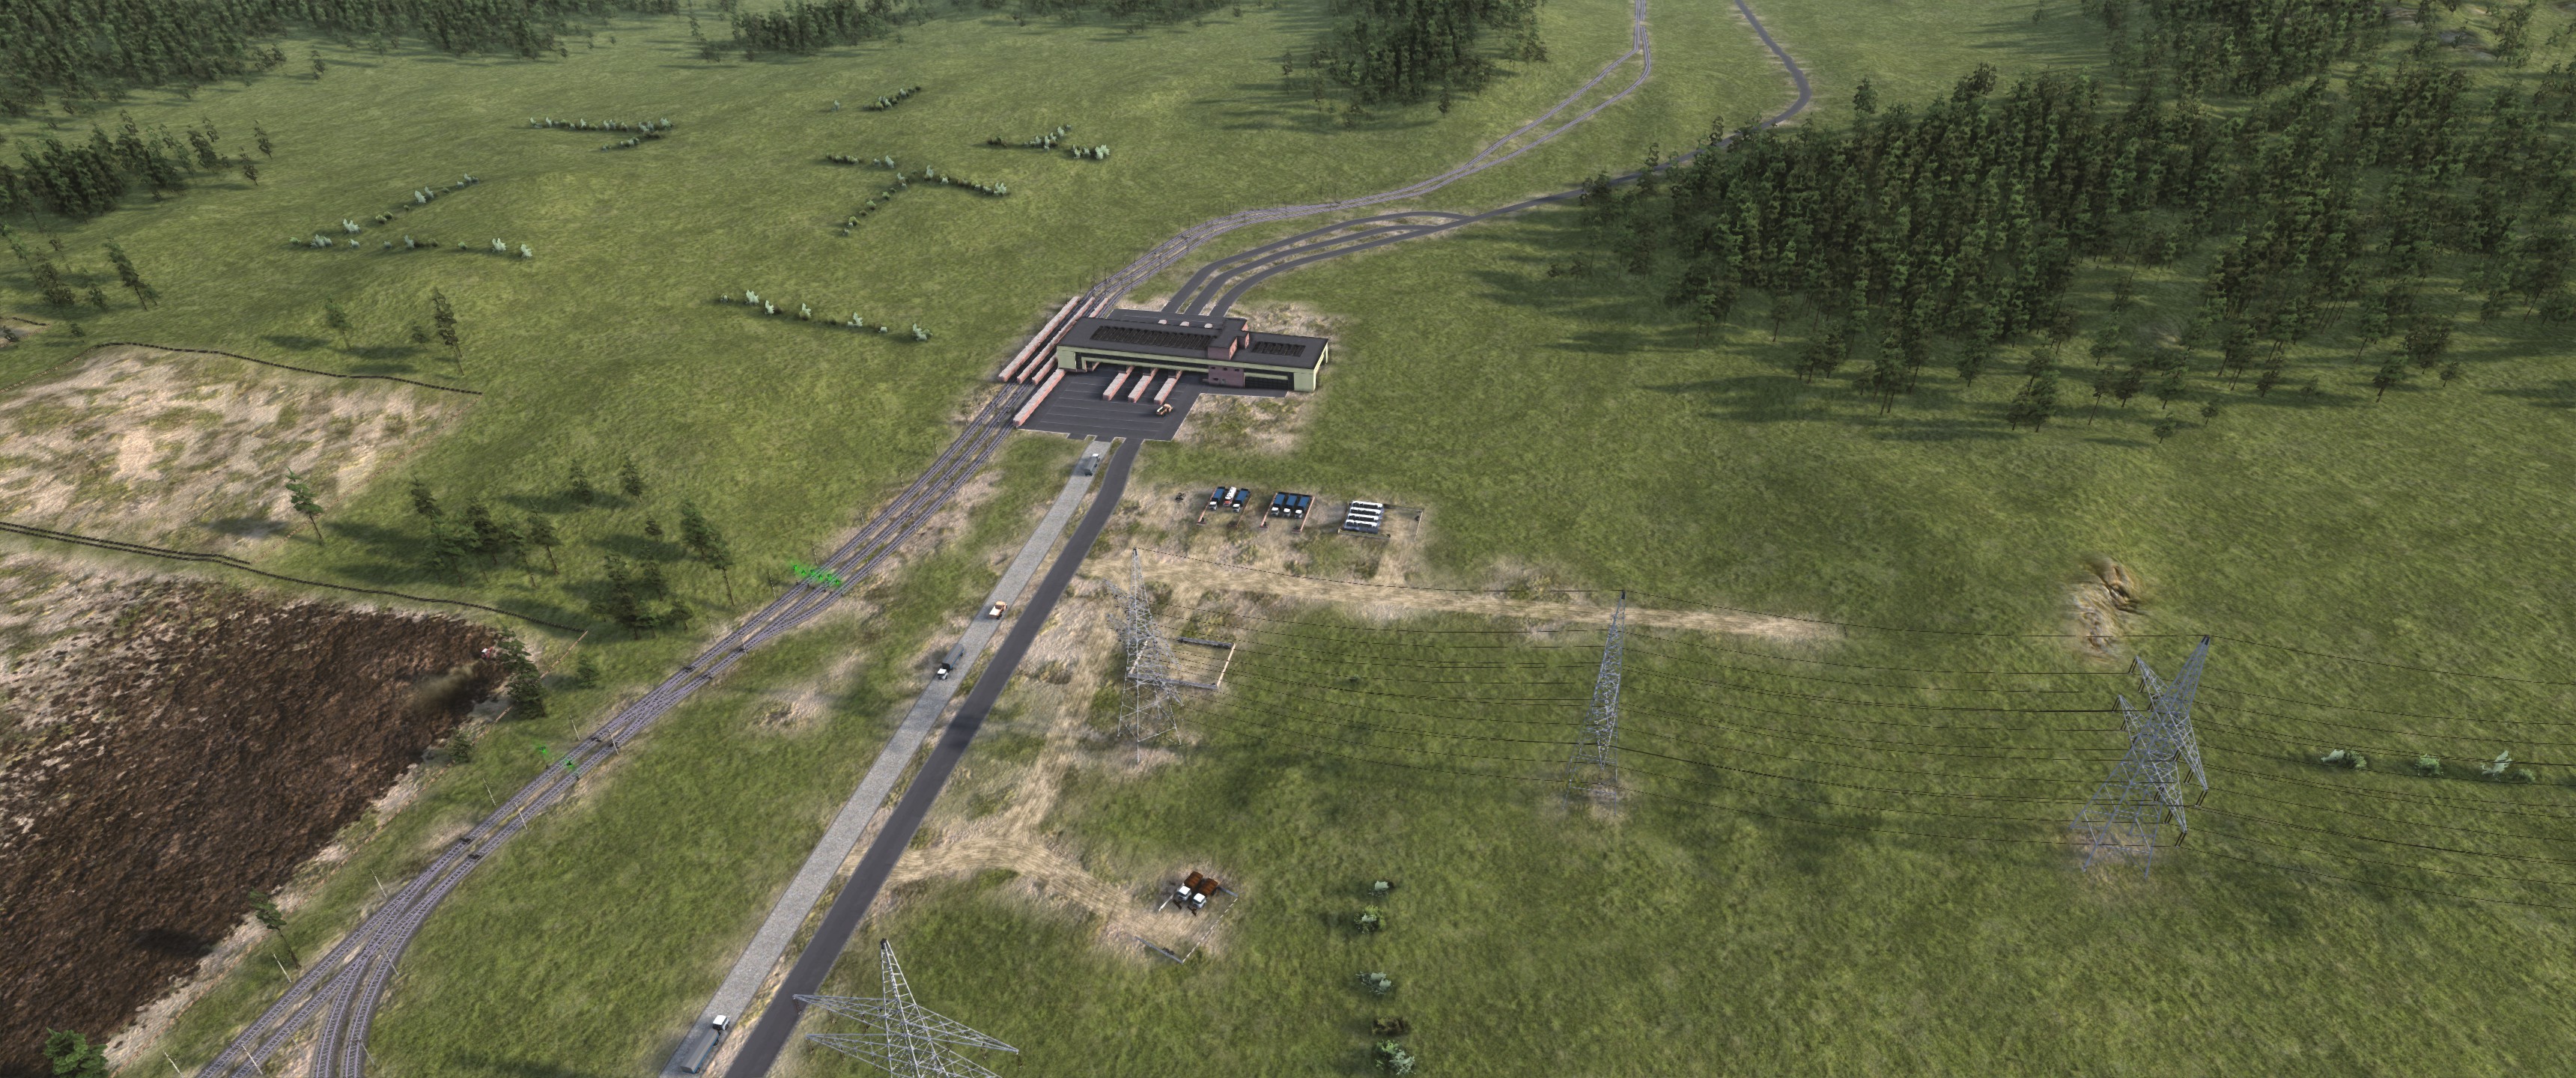
Supplying goods to your shopping centre and pubs
Create this just outside of town
- 창고
- Meat Storage
- Road cargo station (connected to both the warehouse and meat storage)
- 2x free distribution office (2x covered hull. 2x refrigeration truck)
The warehouse should be set to hold food, 의류, electronics and alcohol.
The first distribution office should transfer goods from the custom house to the warehouse and meat storage (10%). The second distribution office should transfer goods from the warehouse and meat storage to the small shopping centre and pub (50%).
Drinking water and sewage
You can deal with all early drinking water needs with
- 1x water loading/unloading building
- 2x free technical offices (1 in the town and 1 in the industry area)
- 2엑스 “wait until loaded” water trucks
You can eliminate sewage by dumping it in the water or exporting it to the customs house.
Dumping sewage into water is free once you set up the piping, so there is no reason to export it to the customs house.
If you aren’t near a river, you can lower the ground with landscaping tools to create a small pond where you can dump sewage.
Creating your first export industry
This is just the standard 2x clothing factory, 1x fabric factory setup. A 300km-500km distance between this and your town seems sufficient.
You will need to build it in phases, 즉. 로 시작하는 1 clothing factory and 1 fabric factory.
You should put your small heating plant here too.
Other profitable choices for early export industries are bauxite and oil.
서비스
This is a realistic mode guide, not a guide about services, so I’m not going to go into details.
Besides adding 1 more kindergarten, all the service buildings should be sufficient until 2k population.
I’m not sure exactly when you need to start fighting crime; that is when it affects happiness badly. You should be able to “afford” crime buildings by 3k anyway.
For prisons, you need roughly 1 warden per 2 prisoners.
For police stations, you should have a maximum of 4 (밖으로 8) police cars. The more police cars you have, the more crime they can find, which can overwhelm your police station’s ability to process them.
As long as you don’t let buses take your highly educated people, you can probably manage with just 50 of them to be doctors and teachers. So you can periodically invite highly educated immigrants until you can afford a university.
As long as you have red star monument coverage, loyalty will probably end up between 35% 그리고 40%.
If loyalty drops below 35% and/or happiness drops below 60%, then there are some problems causing loyalty and happiness to drop.
Construction goods
There are three categories of construction goods, high (강철, mechanical components, electrical components), 중간 (벽돌, prefabs, 무대) and low (콘크리트, asphalt, gravel).
Construction costs are generally split into something like 60% high (mostly steel), 15% 중간, 그리고 25% low.
So your first industry needs to be an export industry to pay for all the steel, and your second should be gravel/concrete/asphalt.
You can use your own judgement when to start producing bricks, prefabs and boards.
스크린샷
These are screenshots of the republic I made while finalizing this guide. It might be helpful as a reference.

Full view.
This is the small area beside the customs house. I still use the distribution offices.
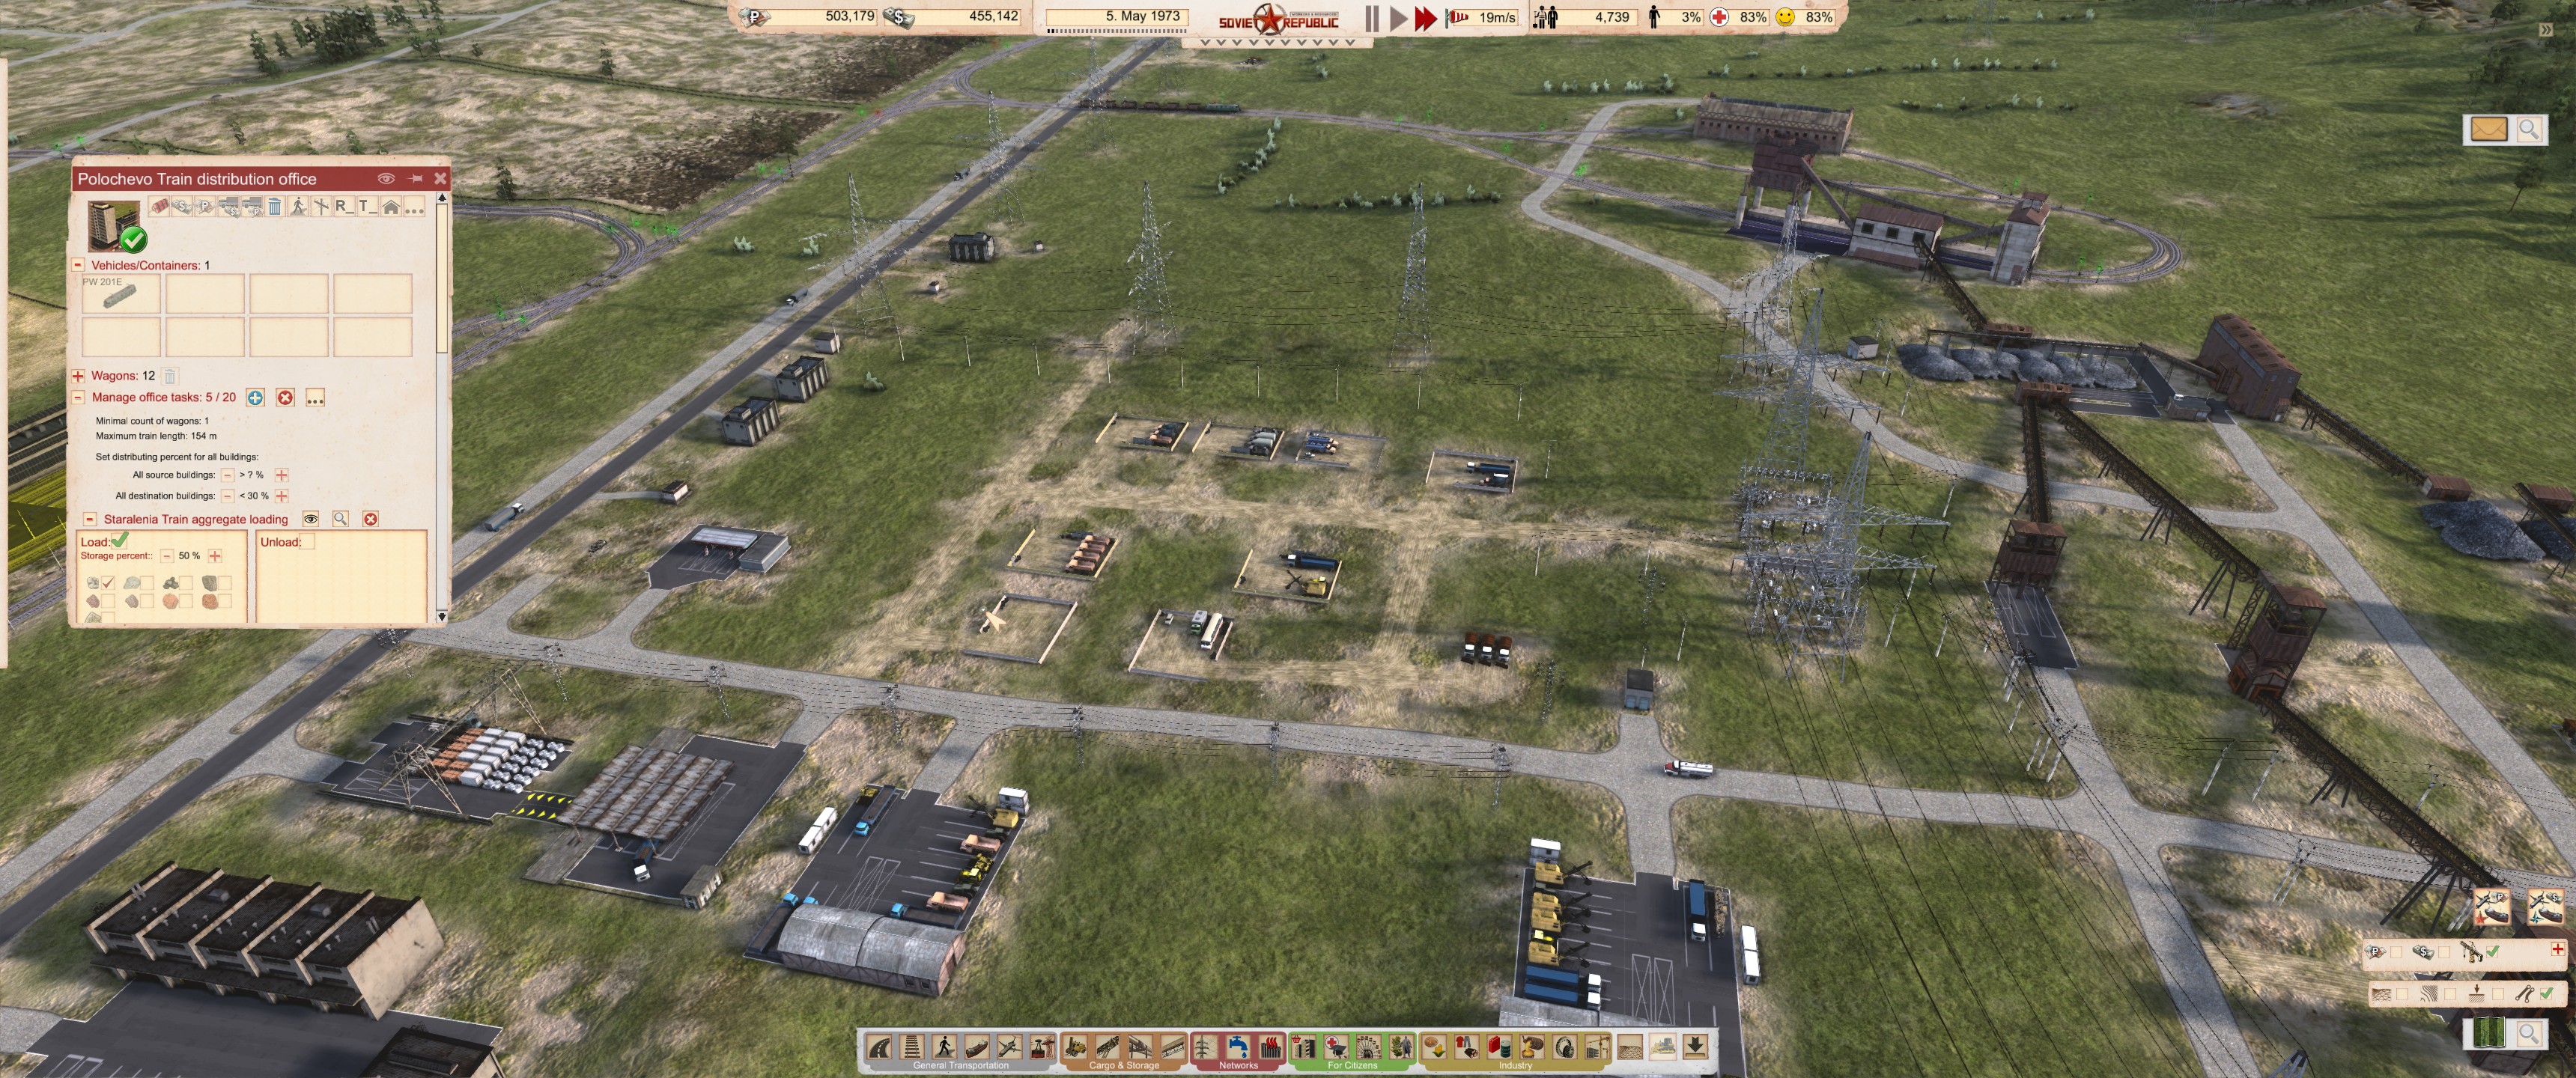
This is my original “free construction area”. I’ve removed the free storage buildings since.
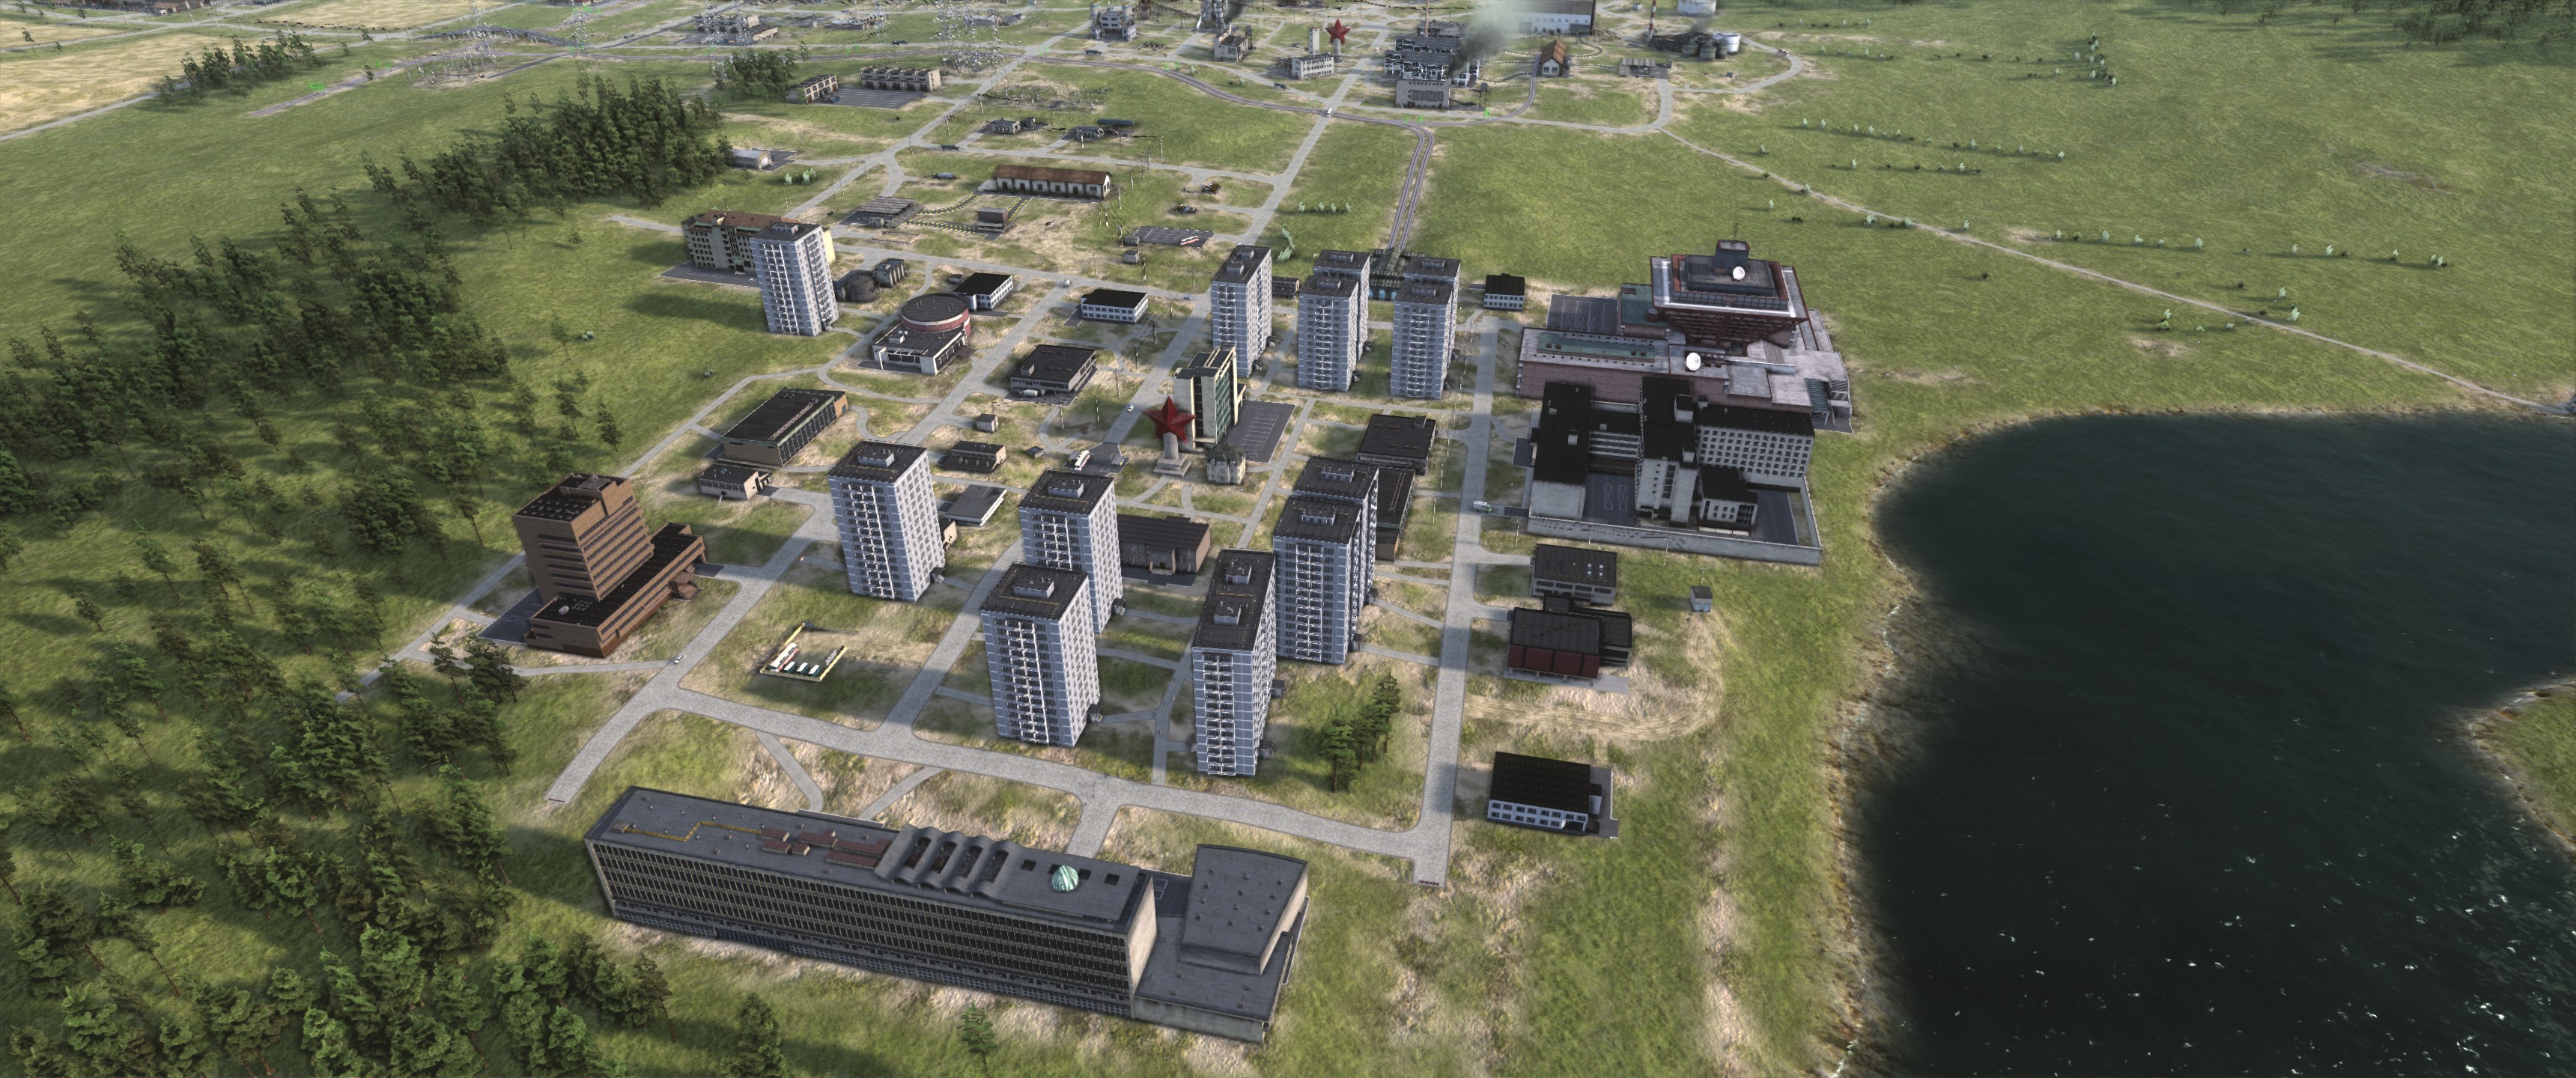
This town is fully self-sufficient. 4k people with a water treatment plant, a university, police and a radio station.
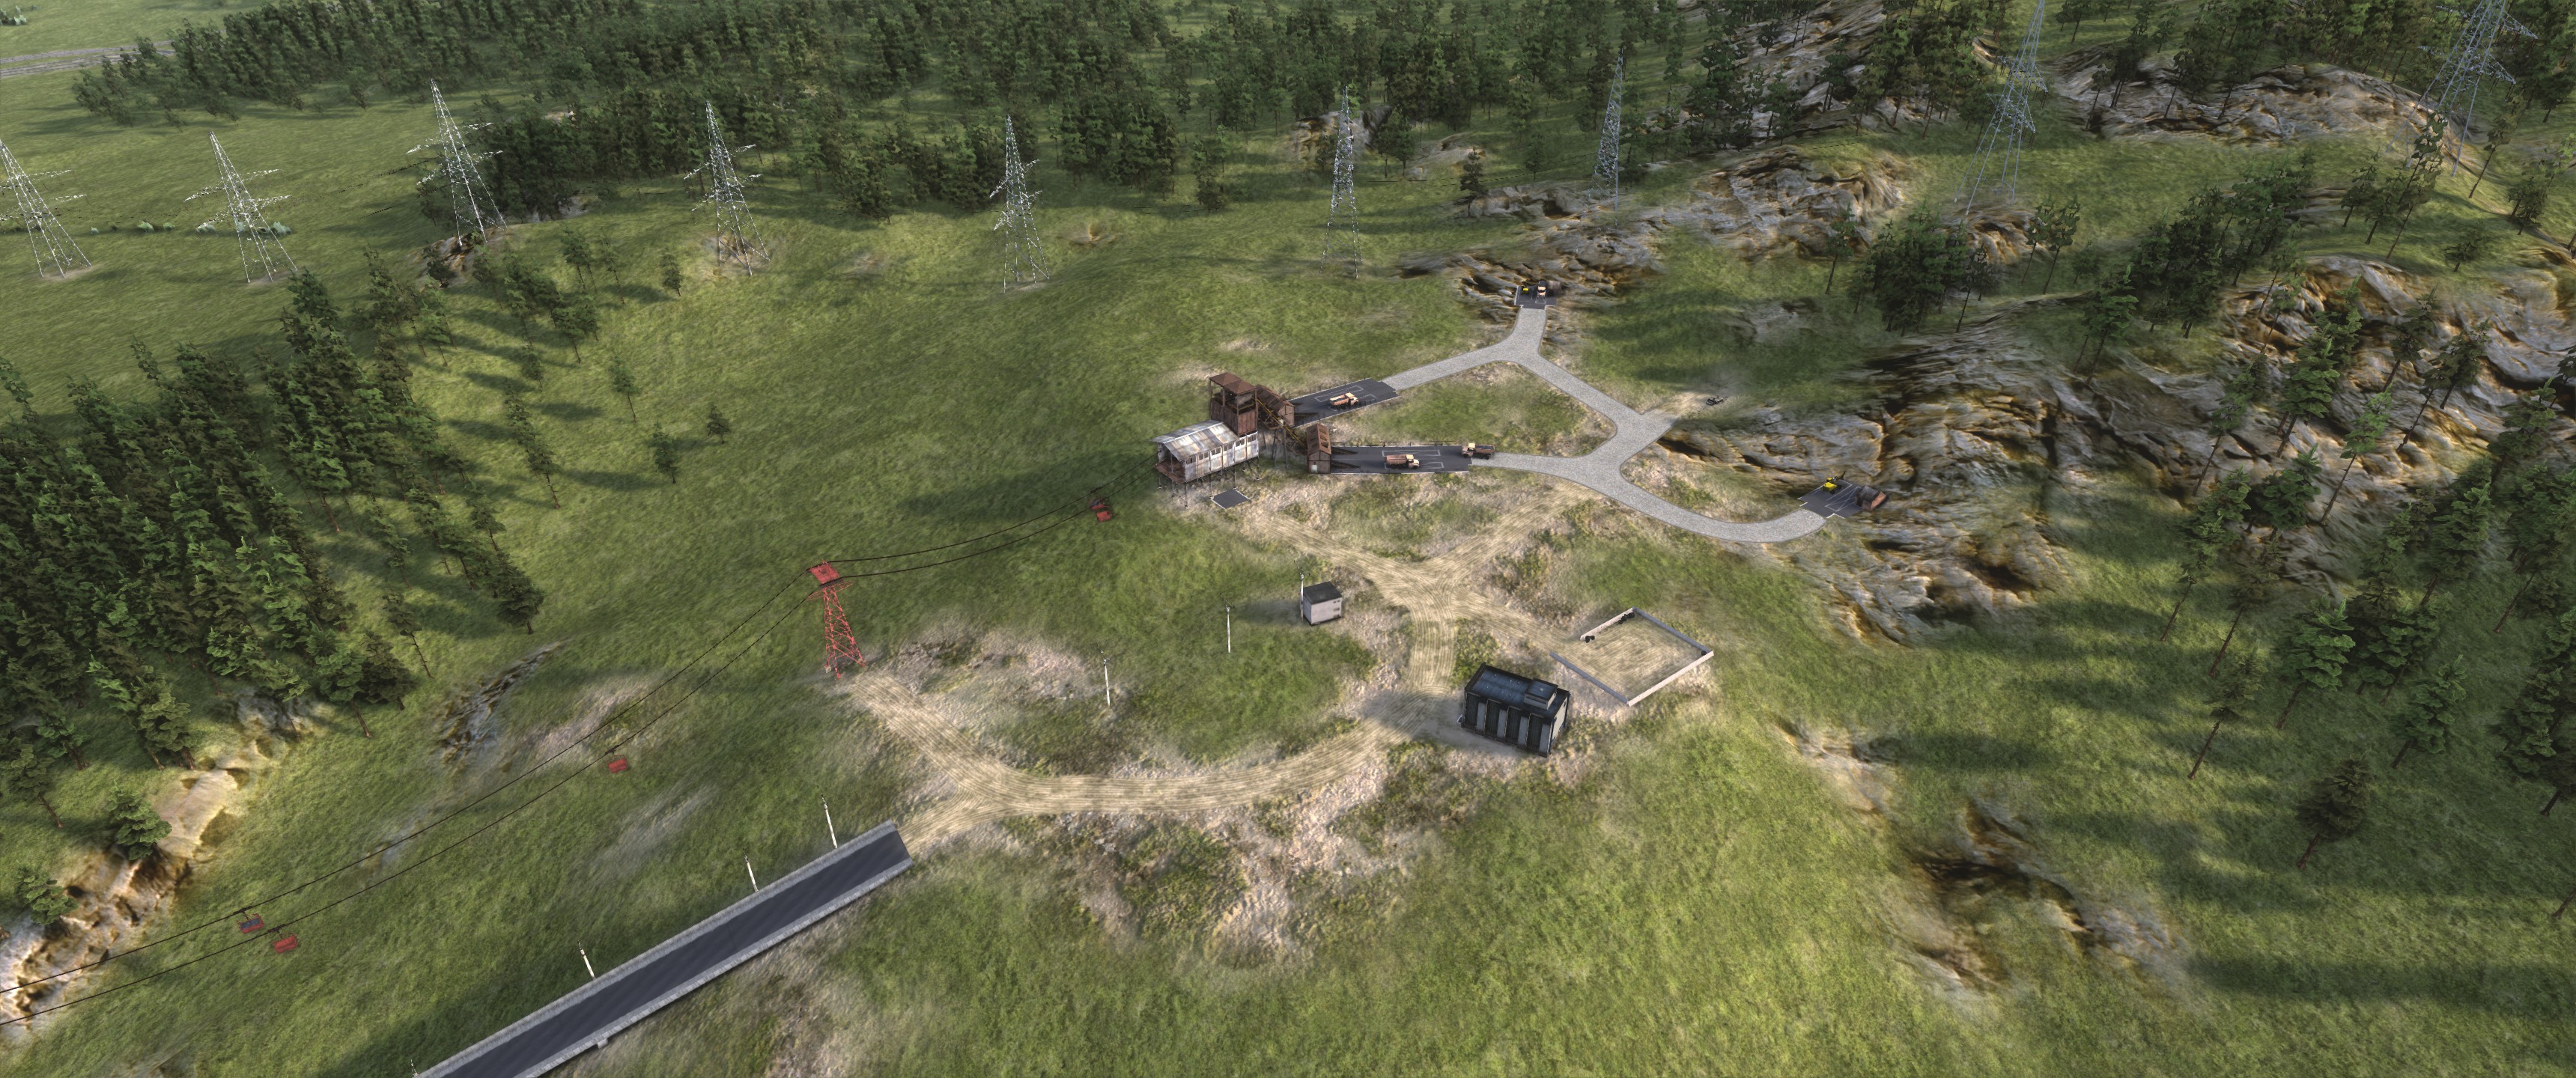
The gravel mines are too high up to build a gravel processing plant easily, so I used cableways to bring to stone down the mountain.
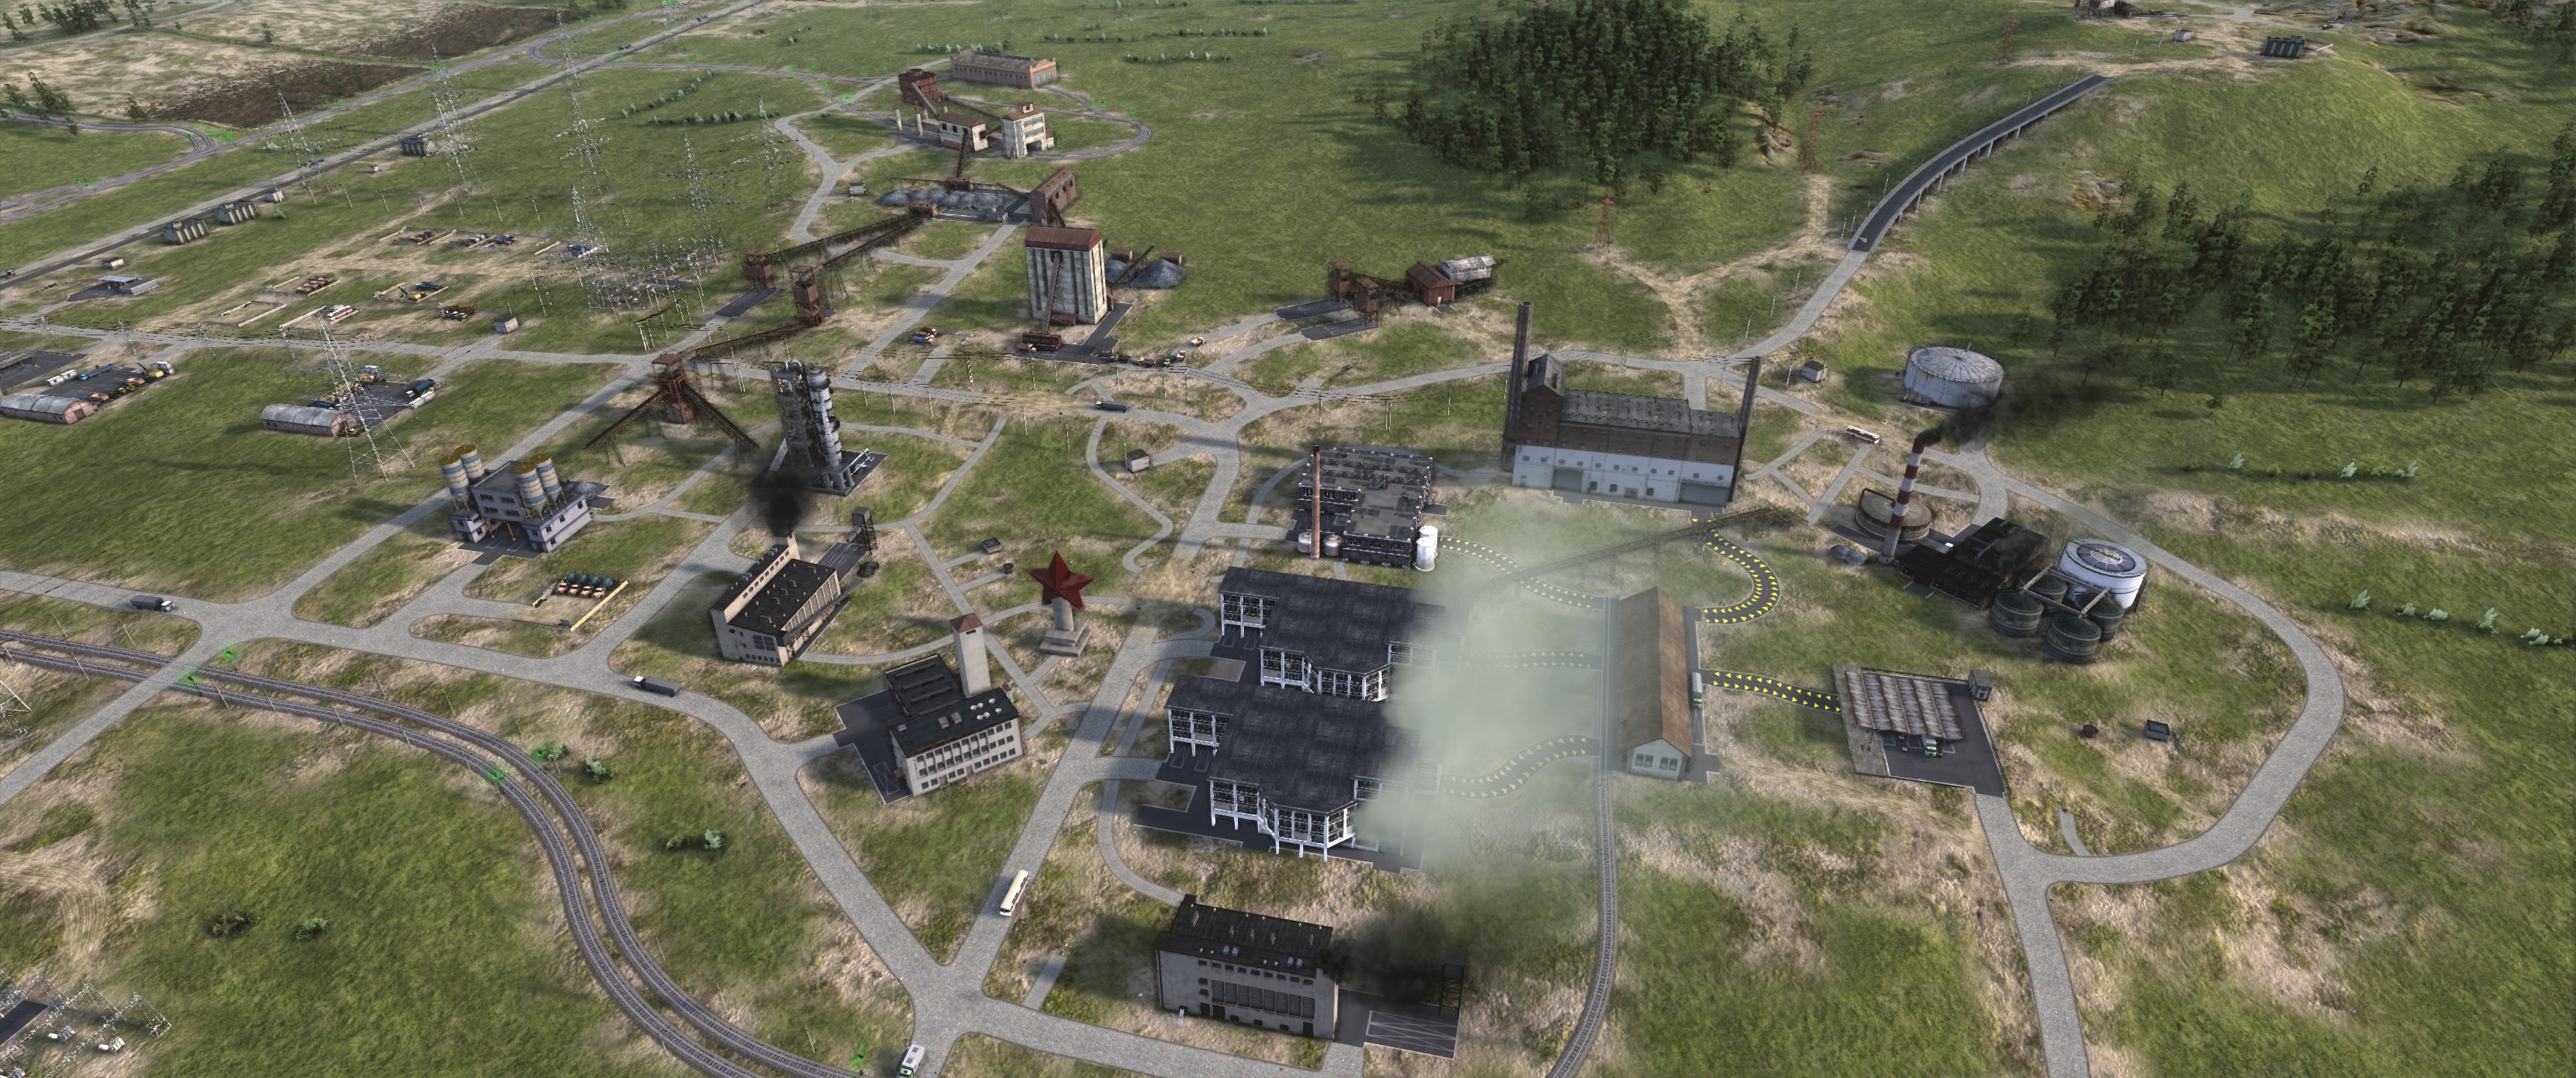
For efficiency, clothing and low construction goods production are all close together.
I’m not sure whether or not the food factory was worth it. Just 10 workers were enough to supply all my food needs; 반면에, I couldn’t employ much more than 30 because my distribution office couldn’t import crops fast enough.
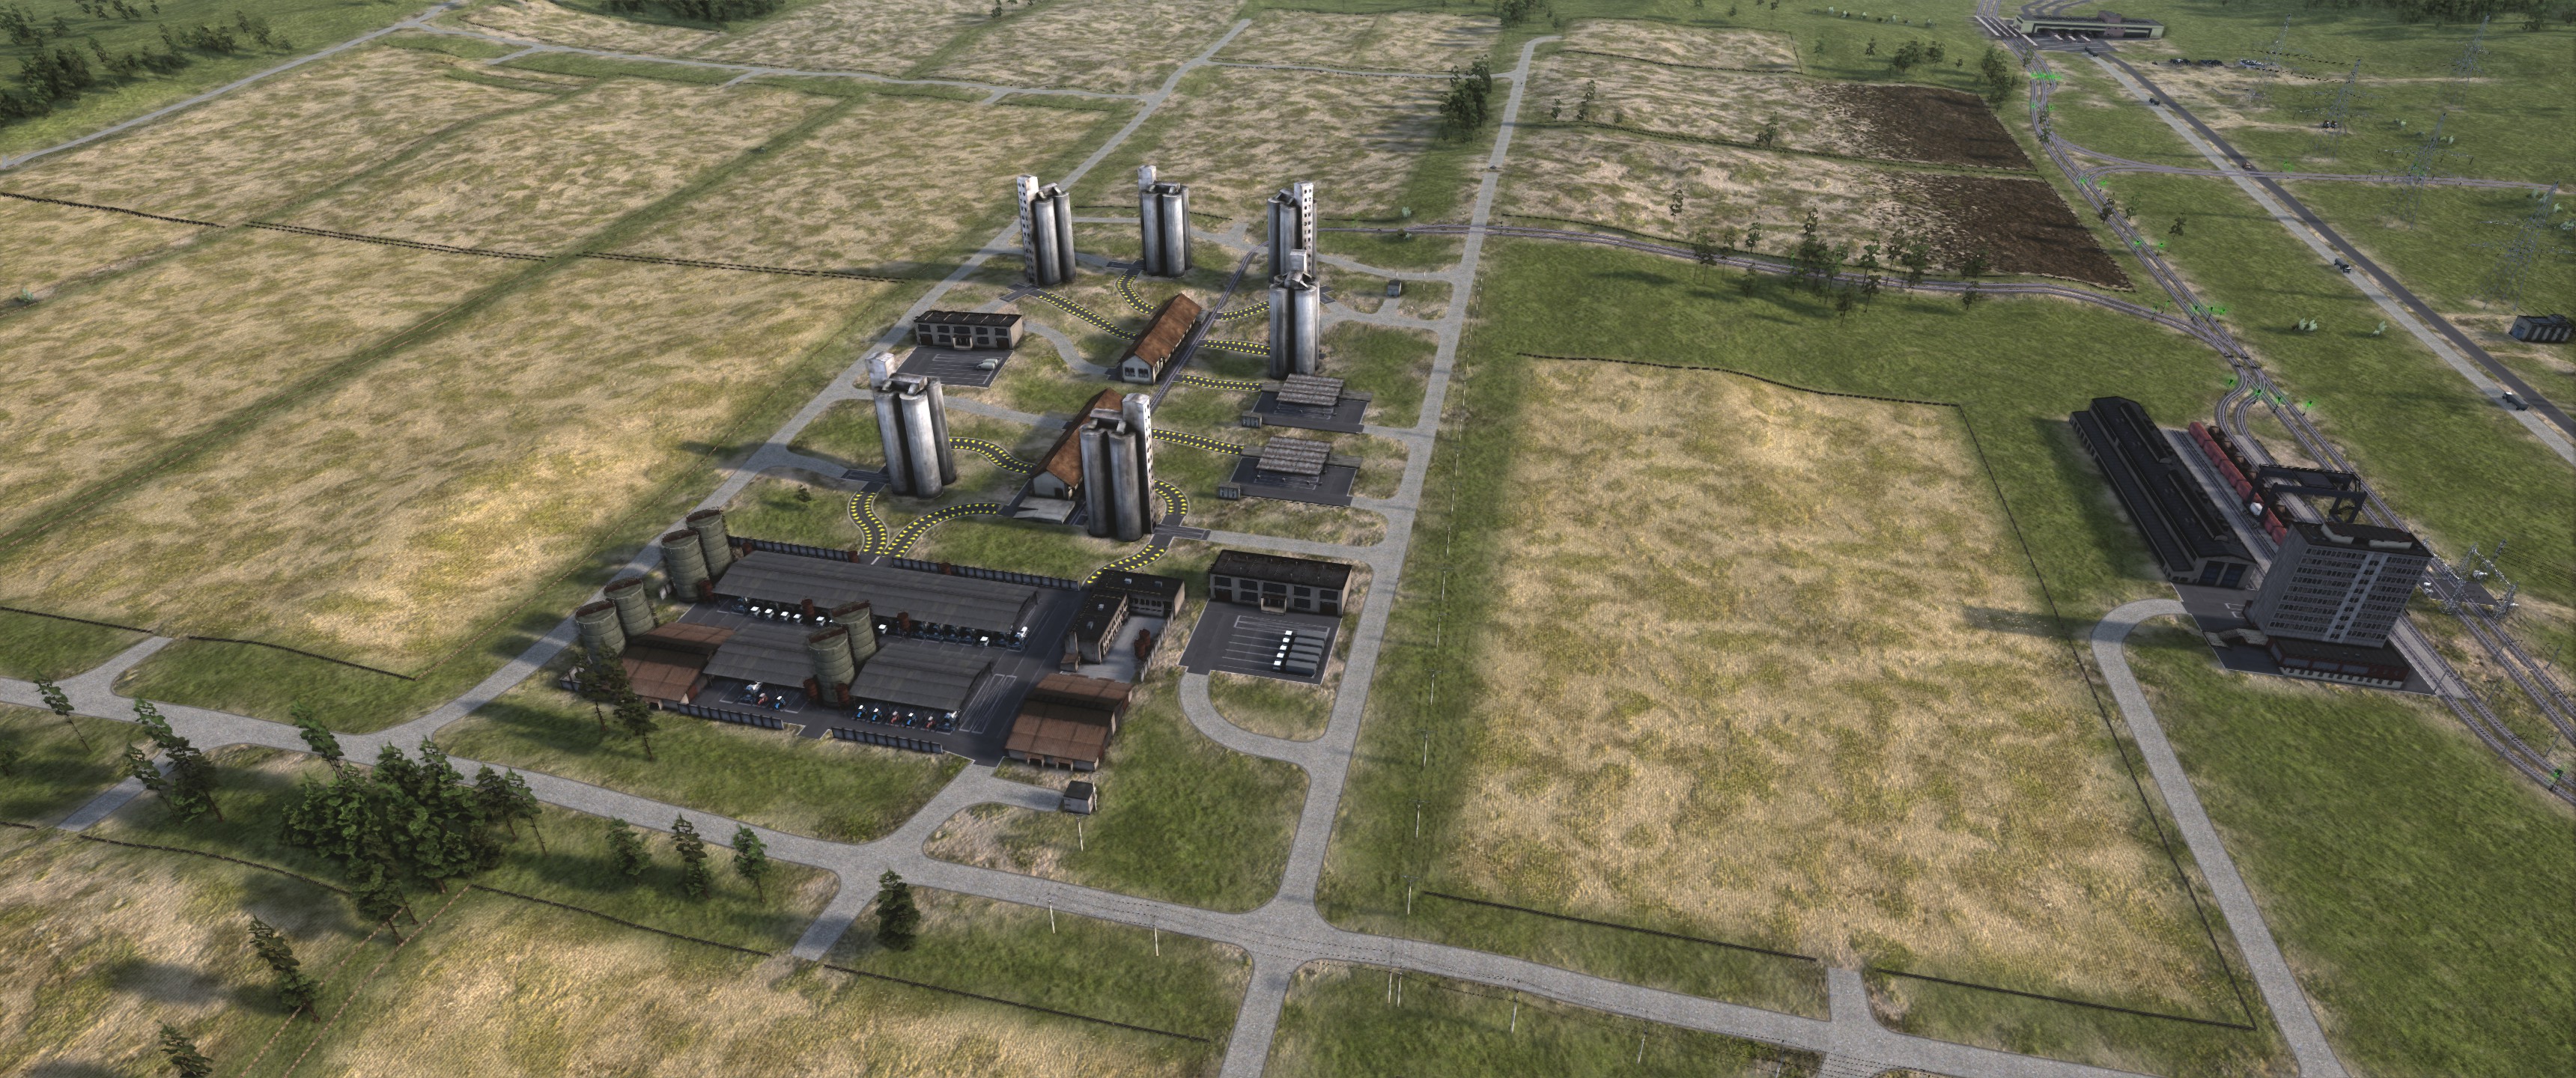
I overkilled it on the storage. It’s rather annoying how little crops get produced for the space they take.
FAQ
Buy it at the customs house. Then use the Skd 706 RTTN open hull truck to bring it from the customs house to the construction office. You need to create a line to do this.
Some trucks can carry tower cranes, but some can’t, so just use the Skd 706 RTTN one.
In the customs house, purchase the AGMu train under the Disassembled filter type, not the one under the Track Builder type.
And then, similar to town cranes, use the Skd 706 RTTN open hull truck to bring to the rail construction office.
이것이 오늘 우리가 공유하는 모든 것입니다. 노동자 & 자원: Soviet Republic 가이드. 이 가이드는 원래 작성자가 작성하고 작성했습니다. John Moridin. 이 가이드를 업데이트하지 못한 경우, 다음을 수행하여 최신 업데이트를 찾을 수 있습니다. 링크.