- 제목: Void Sols: 프롤로그
- 출시일:
- 개발자:
- 발행자:
Information about Void Sols: Prologue is still incomplete. 이것을 사용하여 게임의 세부 정보를 입력할 수 있도록 도와주세요. 문의 양식.
This is a guide in order to help you in your play-through in Void Sols with some tips, explanations and tricks. This guide is useful for all levels, and will surely help you or at least entertain you.
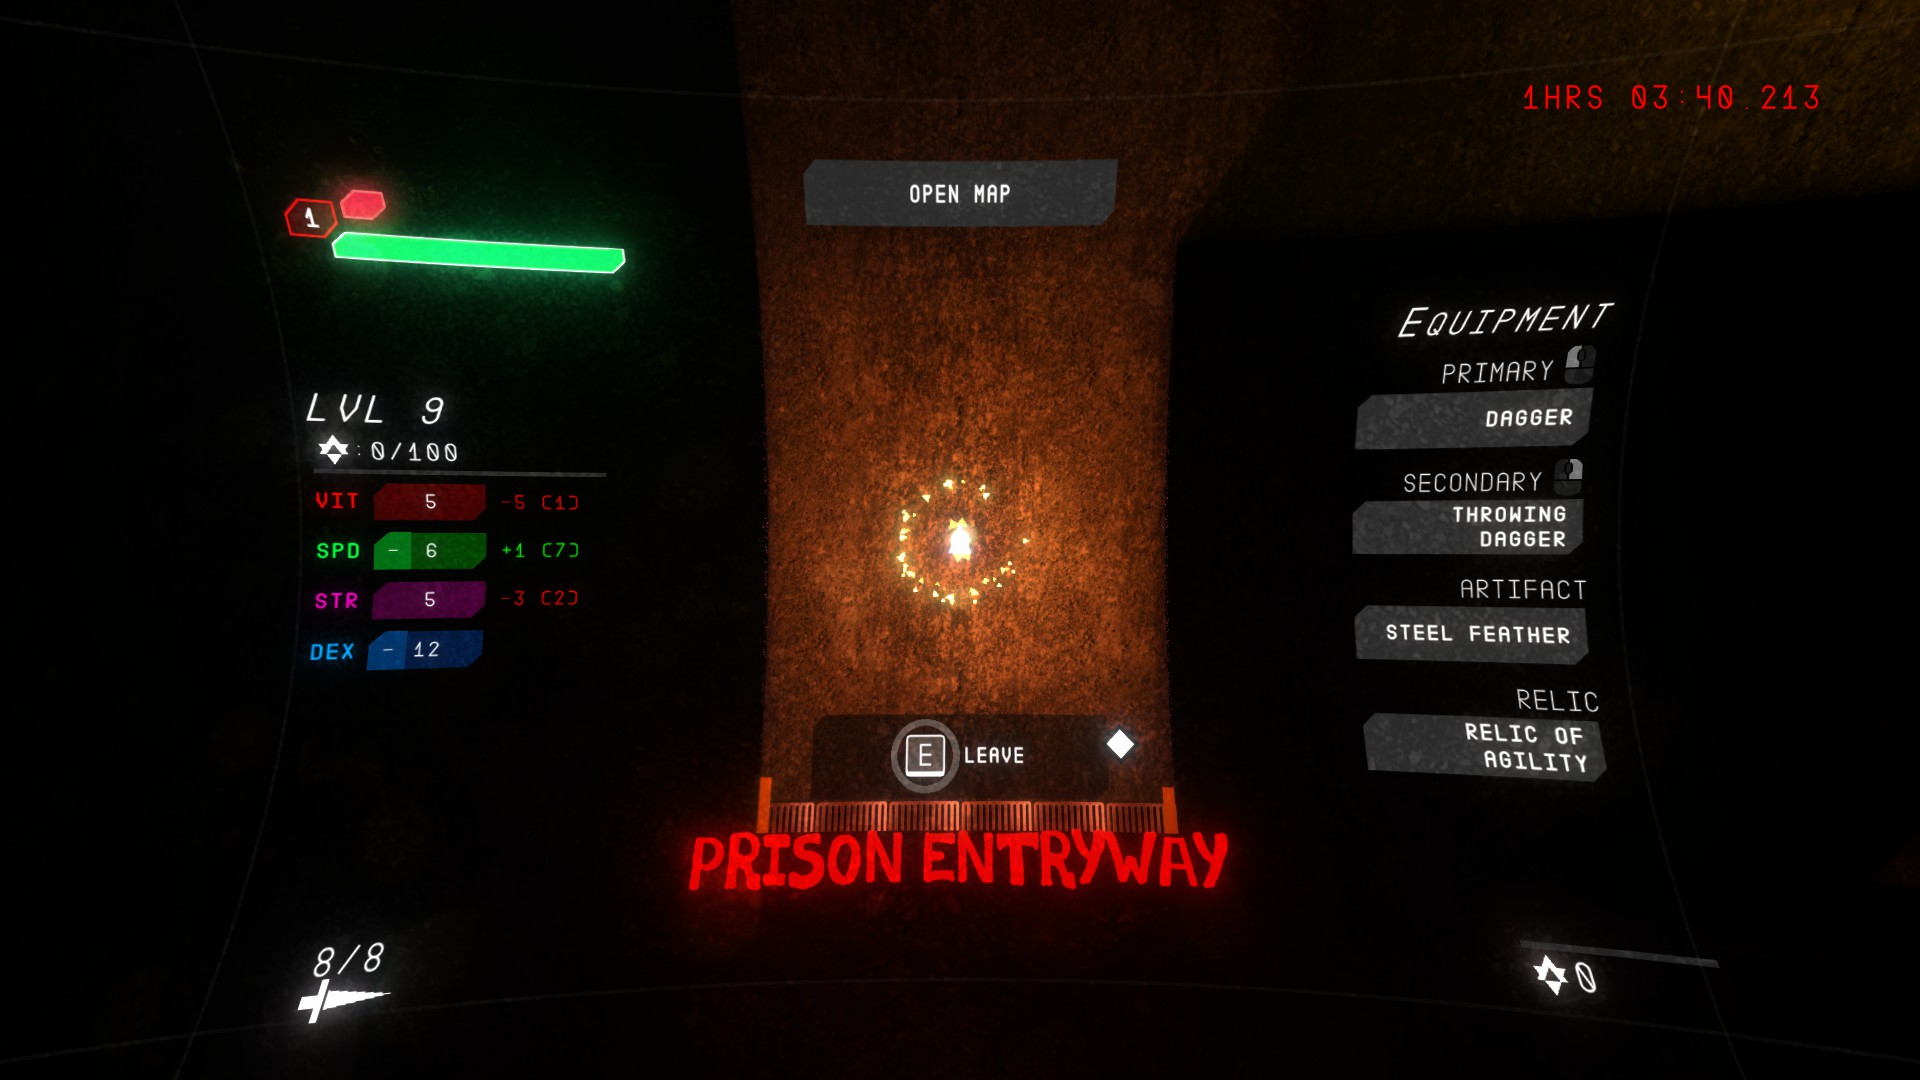
통계
And so the git-guddening 시작합니다.
– 우선, 통계. You can respec at ANY time, so if you want to have fun with your build (character construction), the possibilities are yours. 활력 (VIT) increases health, 속도 (SPD) increases stamina and, 잘, 이동 속도, 재치 (DEX) slightly increases stamina (far less than SPD) and helps with dealing damage with certain weapons (전- : 단검) and the last stat is Strength (str), which almost does the same thing as DEX , except it buffs VIT instead of SPD.
– Keep in mind weapon damage scaling (전- : The basic sword has a 1x on DEX and 1x on STR. The dagger has a 1.5x scaling only on DEX) and debuffs (다시, the dagger has a “-2 VIT” 디버프, which reduces your health), since it can make the difference between a good and a bad build.
Combat and Settings

The main activity in this game, besides exploring and editing character things, COMBAT is the most omnipresent and important thing, making a combat victory a must in order to advance.
– Can’t stress this enough, but seriously, don’t button mash. The dev’s said it too, and you really shouldn’t, unless you want to tank everything, which is not the wisest.
– Dodging is cool, 예, 하지만 그렇지 않아 100% fool proof and you don’t get IV’s ( Invincibility Frames) the whole dodge. Consider taking some distance or even fleeing if necessary, or attempting to attack from a different angle.
– 치유. I didn’t know healing even existed in this game until I accidentally pressed “엑스” (on controller) (PC에서, 그것은 “큐”).
– 하다(nt) you need a secondary weapon?
– Use the environment. Let them get stuck in walls, bug or just use it to slow them down. Go at the end of a short hall, wait at the corner and let the archers walk right at you, so you can get a good hit.
– 인내심.
Settings are your friends and can be changed at will. Make use of that advantage.
– Consider changing controls. 날 믿어, it works like a charm sometimes. If you already have played a game with similar abilities (다지, 치유하다, primary attack, charged attack, secondary attack), then try mimicking the controls so you have an easier time. (I have the following, which are close to “엘든 링”‘s ones (on controller!): B for roll, X for heal, RB for primary attack, LB for secondary attack.)
– Tweaking damage and stamina. If you go to “설정” in the pause menu and then in the “Accessibility”, you can increase/decrease the damage taken and dealt, same goes for stamina usage. Keep it in mind when you’re having a hard time or are looking for a challenge.
– While in combat (also works on the boss), if you time it correctly, by opening the settings menu when an enemy is going to attack, will skip the animation and/or completely null the attack.
Don’t tell the dev’s!
– The grainy effect can be removed if it makes you nauseous or don’t like it. Go to the menu, 설정, video and untoggle the “film grain” 체크박스.
All items and where to find them
There are multiple kinds of items in this game, adding up to a total of 11 (excluding the Kindlings). Here’s how to find ALL of them.
기본 무기 (망치, 단검, 검)
보조무기 (Throwing Dagger, 방패, Greatbow)
유물 (Steel Feather, Obsidian Arrowhead)
유물 (Relic of Power, 민첩, of the Colossus)
Kindling’s (2 그들 중)
Prim. 우리.
The Dagger is found in a room at the “Sanitation” spot on the map, not too far from the “Security Block”. The hammer, 하지만, is a little bit trickier. From where you found the knife, head up into the wall, and then hit it. It should reveal a secret pathway, which if you go left and follow the corridor, you will find it. The sword is the base weapon, and requires nothing in order to get and use.
Sec. 우리.
The throwing daggers are found in a cramped passage-way on the left right after the “Cell Block C” 출구, from which you start the game. You will also find a kindling there. The Greatbow is in “Cell Block B”, behind a guard. 마지막으로, the shield is found closely to the Sanitation. 패배 3 enemies there, go left and follow the curved corridor. You will find it there.
미술.
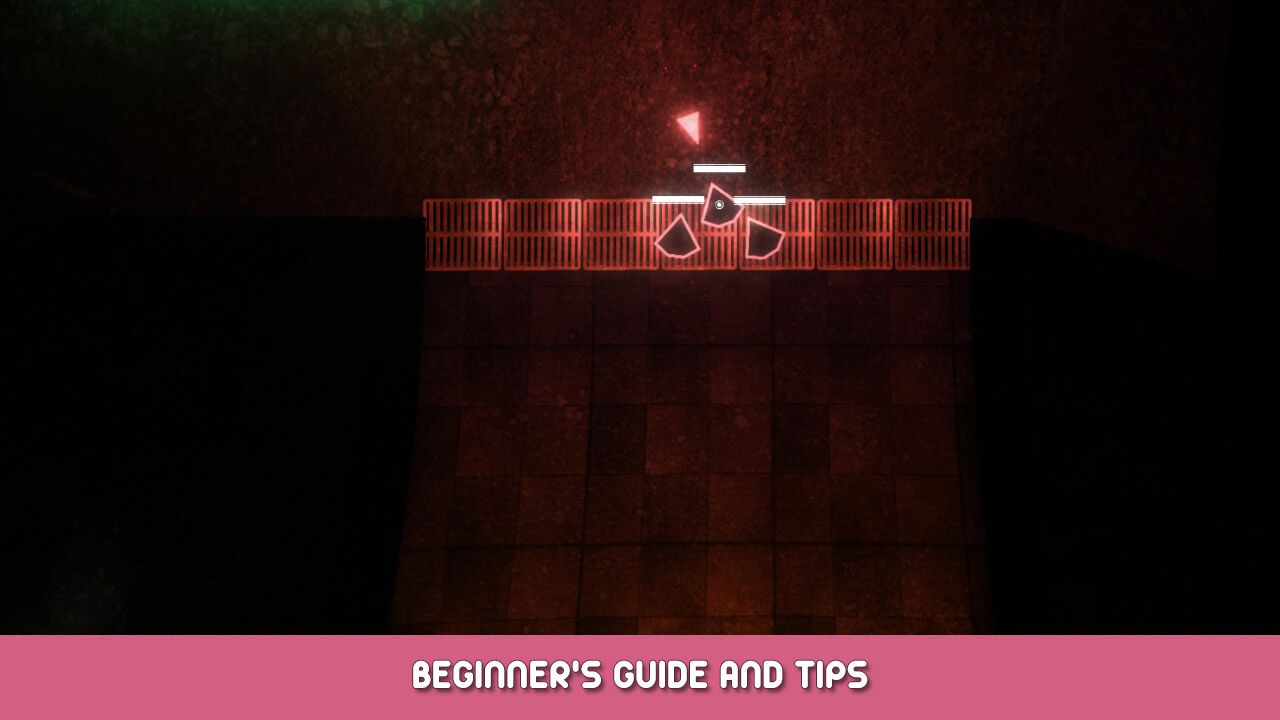
The Steel Feather and the Obsidian Arrowhead are hidden in a fairly big hidden zone, deffended by multiple enemies. 에서 “Prison Entryway” light spark (the one before the boss), head up, and next to the “Entry Hall” 입구, hit the wall. It will reveal a hidden passage, which you shall follow to it’s dead end, where the two Artifacts will be. Watch out for the enemies!
Rel.
Just like the Artifacts, all of the Relics are in the same room. It isn’t hidden behind a passageway, but not easy to reach nonetheless. Right over the place where “Security Office” is written, there will be a long corridor. Go straight ahead until you hit a wall. 이후, pass next to it, up or down, and enter the “병기고”. The room is full of enemies, but you will find all 3 of the items:
Relic of Power, Relic of Agility and the Relic of the Colossus.
Build examples
Frankly, there aren’t a lot of choices, when it comes to builds. That’s why I will be trying to offer you about 5 builds that I played with and thought were fun, as well as a possibility to upgrade them as you level up.
GlassCannon Boy 짓다:
무기: 단검, Throwing Dagger
Artifact: Steel Feather
유물: Relic of Agility
Recommended LVL: 1
This build can be used at ALL levels, but remains the most interesting (my opinion) at LVL 1.
If you aren’t using this build at LVL 1, you should dump all your points into DEX until LVL 12 and then in SPD.
If you want a real challenge, put the taken damage to 2X. It’s a build for those who like PAIN.
Stronk Bonk 짓다:
무기: Greathammer (and shield, but it’s optional)
Artifact: 없음
유물: Relic of the Colossus
Recommended LVL: 10+
하하, hammer go bonkkkk
Get to VIT 10 and then invest the rest of the points into STR. Use only charged attacks and you are basically unstoppable against most enemies, killing them in 1 또는 2 샷. Try to keep some distance, since the lack of SPD and stamina can (and probably will) get you killed. I used it to beat the game.
Regular_Joe 짓다:
무기: 검, 방패
Artifact: 없음
유물: Relic of Power
Recommended LVL: 5+
Dump the lvl 1 에게 5 points into SPD and the rest into VIT and whatever else you want. This is a casual, classic build, that knows it’s worth.
Aerosmith 짓다:
무기: 절하다 (and sword, but once again, 선택 과목)
Artifact: Obsidian ArrowHead
유물: Relic of Power
Recommended LVL: 15 +
If you want an excuse to play some more, this is a fancy alternative. It deals monstrous damage, and is one of the funnest builds I’ve played with. It’s fairly easy, since it’s mainly ranged.
I brought this build to LVL 30 and man it deals MASSIVE damage with the bow, finishing the boss in less than 30S.
How to take on every enemy
I do not know ANY of the names of the enemies in-game, and so I have interpretated them as such.
Sentinels:
Sentinels are the strongest non-boss enemies in the game. They pierce and slash with a pretty long sword, and have a pretty large HP bar.
You can try ranged attacks on them, or if you have a melee build, simply wait for them to try and poke you, dodge to the side and get behind. You should get an opening and be able to strike. Repeat until dead. DONT FORGET TO USE THE ENVIRONMENT TO YOUR FAVOR!
궁수:
Archers are fairly easy to deal with. Make them move to you, by hiding behind a wall or obstacle, and then charge-attack them. Repeat until dead, or simply dodge the arrow and strike, before taking some distance and repeating.
Foot Soldiers:
Foot Soldiers are the ones with a sword that slash once. Wait for them to attack first and then retaliate. If you’re feeling “추가의”, I’d reccomend trying to parry them with the shield.
도둑:
Thieves are the polygon shaped enemies with knives. 다시, use ranged attacks if possible. 그렇지 않은 경우, hit and run always works. Back-stepping is quite good against them.
The Warden:
The Warden is the only boss in the game (지금까지). He has a rather big health-bar, and can seem intimidating at first. 하지만, you will see that his attack pattern is predictable, and will be easy to read. You only need to focus. The first three attacks are: Double Cleaver, which can be dodged by backstepping with high precision, or simply dodging to the side (less preferable when the “Obsidian Arrowhead” is equipped.), 360 쪼개다, which forces the player to take some distance (just bonk with the hammer or use a ranged weapon). Backstepping doesn’t really work for me, and I prefer running away. 그리고 마지막으로, Double Cleaver with Haste Cleaver. This one catches me off-guard very often, and isn’t easy to dodge. Keep distance, don’t retaliate and wait for him to finish the combo if not sure.
After releasing the minions, two strategies exist:
– If you are using a ranged weapon and aren’t using the Obsidian Arrowhead artifact, try to kill as many as you need to refill your gauge, starting with the Archers, and then use them on the boss. Repeat until no more enemies and simply fight.
– If you are NOT using a ranged weapon or have enough ammo, 있다 2 options again:
– If you are confident, you can try and defeat the boss without killing the minions.
– If you don’t have high damage and don’t think it is a good idea, kill them all and then focus on
the boss.
In the second phase, take note that he will throw a meat cleaver right at you, that will stop in place and start spinning. Avoid the corners and walls, try staying in the middle of the map, to keep as much mobility as possible. Remember the unexpected 3rd cleave in the double cleave combo from phase 1? 잘, 여기 있습니다- 다시- but in a combo on it’s own, striking twice. You can bug his AI into getting stuck in an obstacle, or try dodging around in order to get behind him. Don’t try to hit him when he isn’t done with the strikes- you WILL get hit.
이것이 오늘 우리가 공유하는 모든 것입니다. Void Sols: 프롤로그 가이드. 이 가이드는 원래 작성자가 작성하고 작성했습니다. Kaarmaa. 이 가이드를 업데이트하지 못한 경우, 다음을 수행하여 최신 업데이트를 찾을 수 있습니다. 링크.