
- 제목: 스탠리 비유: 울트라 디럭스
- 출시일:
- 개발자:
- 발행자:
스탠리 비유에 관한 정보: 울트라 디럭스는 아직 미완성입니다. 이것을 사용하여 게임의 세부 정보를 입력할 수 있도록 도와주세요. 문의 양식.
Not all content is available to you upon starting the game for the first time. Learn how to unlock all the new content, culminating in obtaining the “Test achievement please ignore” 성취.
단계 1
Simply play the game from the start to an ending a few times. 약 3 runs are required if you answered “예” when asked “Have you played The Stanley Parable before” at first-time setup; more if you answered “아니요”.
메모: Some new content is already available at this point.
단계 2
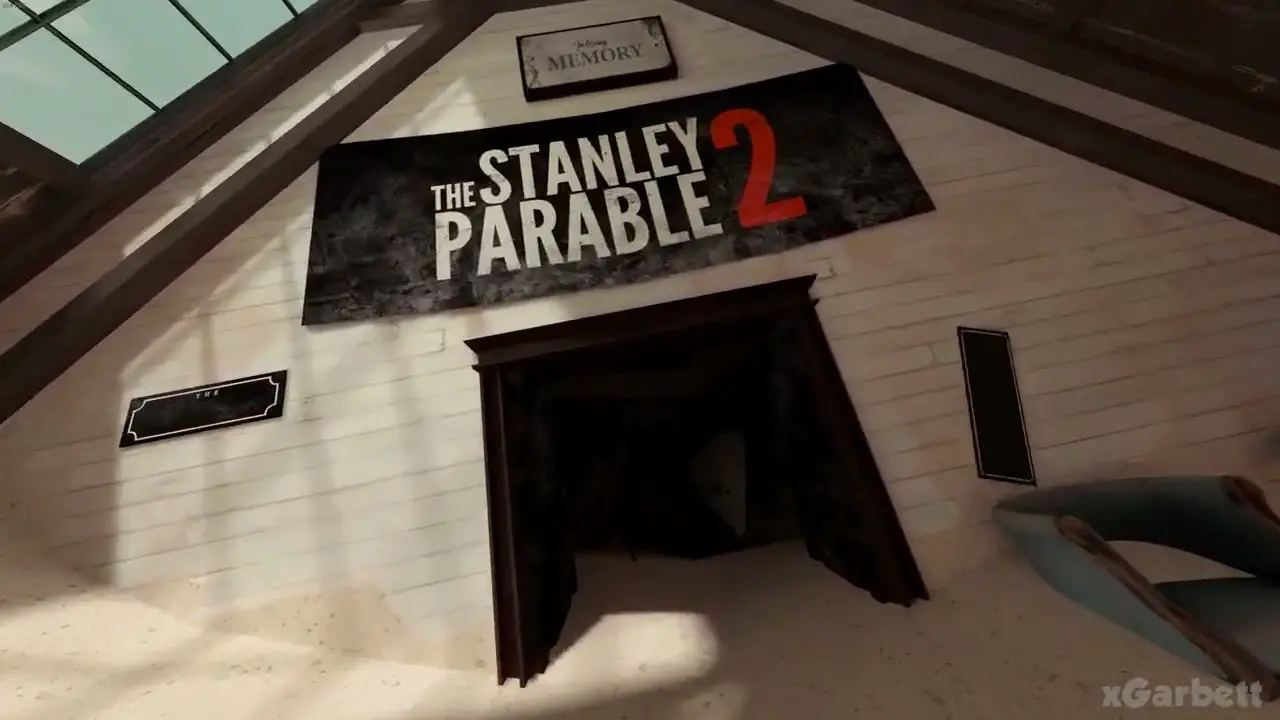
지금, before reaching the two-door room, you will see a half-open “new content” 문. 들어가다, and follow the linear path to the end.
메모: Jumping in the Jump Circle is optional. 사실은, the remaining jumps are carried over to future appearances of the Jump Circle, so if you spend them all now you will not be able to jump later.
단계 3
지금, the Narrator will ask you to go into the vent. Be sus and go in, and follow the linear path until you are in a room with a skip button. Press the button a number of times. It’s your choice how long to wait before pressing the button; each time the Narrator will go into a long monologue that will eventually loop (you’ll know when it loops). 결국, he won’t talk anymore, and the room will start decaying during skips. When the button has fallen to the ground, turn around and walk out of the room. Keep walking until the game restarts.
단계 4
지금, 그만큼 “new content” door will have a neon sign saying “새로운 new content” pointing towards it. Go in and follow the linear path to the expo. Make sure to grab the collectible before you leave; visiting the other exhibits is optional. For the exit, turn right in front of the map, which is opposite the “collectibles” 영역. 그 다음에, simply watch until the restart.
메모: 이 시점 이후, 그만큼 버킷 will be available to you, and with that much of this game’s new content. But that’s not all, so keep going.
단계 5
Now you must collect all 6 figurines (including the one from the expo). Once you get your second, the meeting room will show hints for where they are, with the ones already collected crossed out. The hints, and where to find the corresponding figurines, are as follows:
- Inside of a sequel exhibit. You should have already picked it up from the expo. 그렇지 않은 경우, go in the “new content” door a couple times to go back to it.
- A large room. Lots of boxes? Go to the cargo room (right door -> 똑바로), go up the ramp onto a box, and then jump down onto the wooden walkway on the left and follow it.
- Stairs… something to do with stairs. After the meeting room (left door), go down the stairs and look under the staircase.
- Somewhere both RED and BLUE In the cargo room (right door -> 똑바로), take the cargo list, then jump down onto the catwalk. In the red and blue doors room, 오른쪽을 봐. Do not bring the bucket with you or you’ll not be able to get this one.
- Nearby a fireplace Go to the boss’s office (left door -> 위로), open the secret passage with the keypad, then in the secret passage, look to the right, opposite from the elevator.
- A private (but smelly) place for an important person From the top of the staircase (left door -> 위로), turn left and go into the Executive Bathroom (click on the door to open).
단계 6
At the next restart, the Narrator will interrupt your path. Follow the new, linear path to the end (when there’s a fork, pick whichever way you like).
메모: Collecting the figurines along the way is optional.
단계 7
만약에, 이 시점에서, 그만큼 “발문” option is not available from the title screen, then close and relaunch the game a few times, following the setup prompts until the title screen each time, until the setup screen says “it’s time for me to leave”. Play the epilogue. Wait around until a broken arch and a building in the distance appear, and then enter that building. Follow the linear path until the end (collecting the figurines along the way is optional). 마지막에는, there is a cubicle with a computer. Go in front of the computer. Agree with the setup screen’s proposal (그렇지 않으면, then you have to replay the epilogue back to this point and agree before you can proceed) and proceed to the end.
단계 8
Go into the “new content” doors a couple of times until you make it back to the expo. 로 이동 “free achievement” exhibit and use the machine.
Final note
이 시점부터, the style of the menus and the title of the game depend on whether you completed the expo ending last or the epilogue ending last. To switch to the other style, just play the corresponding ending. You’ll be asked to make a subtitle each time you launch the game either way.
이것이 오늘 우리가 공유하는 모든 것입니다. 스탠리 비유: 울트라 디럭스 가이드. 이 가이드는 원래 작성자가 작성하고 작성했습니다. Troy. 이 가이드를 업데이트하지 못한 경우, 다음을 수행하여 최신 업데이트를 찾을 수 있습니다. 링크.