- 제목: The Price Of Flesh
- 출시일:
- 개발자:
- 발행자:
Information about The Price Of Flesh is still incomplete. 이것을 사용하여 게임의 세부 정보를 입력할 수 있도록 도와주세요. 문의 양식.
Tips for the Acolyte of Decay achievement by surviving the mountains as long as possible, or just in general.
Sacrifice Achievement
I am putting this at the top, with an image attached, to get your attention…
Because this achievement requires you to erase all your game data. Not just your saves, but every trace of every ending and everything you’ve unlocked. Don’t be like me and 100% Derek and Celia and then Mason’s route, leaving this one ending/achievement for last… I just didn’t want to spoil myself by looking at guides.
I will recommend you play around on Mason’s route and figure things out for yourself a bit with the help of this guide before wiping it, so you at least don’t have to wipe everything clean more than once.
This achievement requires you to survive as long as possible without dying once – including on other routes. This will unlock both the SACRIFICE achievement and the Acolyte of Decay 성취, as it’s the same ending; You Changed.
Common Deaths
곰! – If you keep dying to the bear whenever you sleep at night and not knowing why it’s because you have something on you that is luring the bear to you; blueberries and fish. It’s not that you can’t ever have these on you ever, just be careful when you first get them and be SURE to use them well before you sleep.
Bleeding Out! – The obvious part is just trying to do everything in your power to not be hit, by saving often, reloading, and rewinding (scrolling your mouse wheel up, but you can only go back so far) when you see the dialogue “Something’s not right.” 또한, if you have been injured twice and are ‘Gravely Wounded’, you can use your pocket knife to cut strips of cloth to make a tourniquet, to slow the bleeding down back to ‘Wounded’.
Freezing to death! – Just make a habit of starting a fire before you Search the Area, or Stay Here. You will automatically snuff it out if you leave, and for Mason to find you via smoke takes a LONG time; ...을 더한, he’s in his cabin during the night so you can stay in one spot by the fire to sleep or whatever during that time. Once it reaches daylight, 그렇지만, snuff out the fire or leave since it’s been going long enough that he’ll see all the smoke relatively easily. If you see the dialogue say “The sound of the fire crackling seemed a bit hypnotic.”, rewind (see bold letters above) 또는 새로 고침.
트랩! – There are two traps; a bear trap at the rocks/creek and a snare by the large tree in the deep woods. They will start after the first night begins, often later when you try to leave the screen. You might come across these by accident, but just rewind and select Search the Area to find the trap – this will also give you an option to take the trap with you for later, to not disable it and find it later, 등. 또한, it happened to me a couple of times where I disabled/found a trap and then immediately was found and crossbow’d by Mason…I’d try to rewind, but as rewinding only takes you back a bit so I ended up having to reload if I wanted to not be ‘Wounded’. Keep this in mind as yet another reason to save often
General Tips for Survival
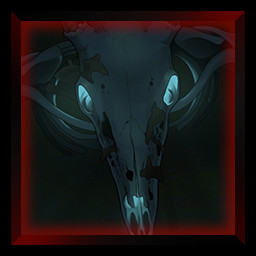
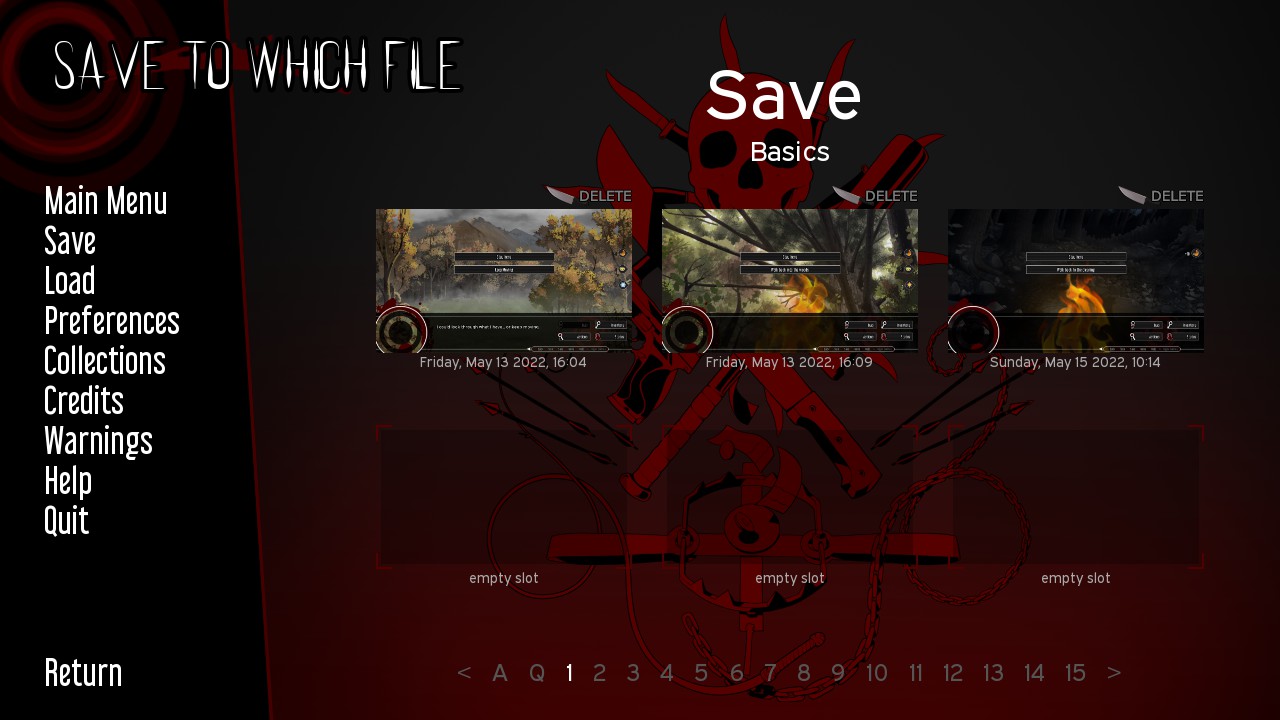
자주 저장하세요, and organize your saves. You can’t name your saves, but you CAN label the pages. I had page 1 dedicated to early saves I could always go back to so I could start past the auction or introductory, before and after the first confrontation depending on whether or not I wanted to get shot. There are a number of endings with deal with low sanity, so I had a page dedicated to that, ~도.
You might as well mark every location down on your map. At the very start of the game, after Mason tells you to run, Walk into the trees, 그 다음에 Go deeper into the woods, 그 다음에 나무에 오르다 action. This will get you away from Mason, and when you climb the tree you will automatically add 2 locations to the map in your inventory. This action takes no time, and if you find all 5 위치, you will unlock the secret black 늪 the next time you go into the trees. About the secret area… You can’t really do much here, can’t even start a fire, but it is needed for a lot of endings.
You will never starve! I’m not certain why Gatobob made that decision here, but there are still downsides. If your 🍖 is at 0, your energy will drop -3 every turn instead of -1, making you have to sleep or forcing you to pass out at inopportune spots constantly.
Try not to eat before sleeping, as you will lose a lot of hunger during your rest.
The red berries do nothing for your hunger, but they will make you lose -20 그런 다음 -10 제정신.
There are also only 3 food items in this route, all of which you can only get once, 그러니 현명하게 사용하세요.
➲ Trail mix ➼ -24 🍖
You start with them, as Mason gives them to you in a backpack that you cannot start without, even if you try not to take the backpack.
➲ 물고기 ➼ -12 🍖/ Cooked Fish ➼ -24 🍖
Found by clicking the Search Area action at the rocks/creek.
To cook it, start a fire with the flint and steel, click on the fish, and there will be an option for 요리하다.
I recommend you find AND cook AND eat this as early in the day as possible, AFTER sleeping.
➲ 블루 베리 ➼ -10 🍖
Found in the trees, alongside red berries.
Recommended that you find AND eat these in the morning, AFTER sleeping.
Only take traps when you plan to use them right away, as they will give you the ‘Encumbered’ status, which takes away -3 energy each turn… and if you are also at 0 음식, you will be losing it doesn’t combine, so you will still be losing -3 each turn.
Start fires all the time. To fend off the frost, even having one +☀︎ can make a big difference, but if your at full ☀︎, moving two screens it won’t kill you. Things like filling out the map, leaving the area, or eating do not take time and therefore will not allow you to warm up. To warm up, you will have to either do an action like 잠 또는 Search Area, 또는 Stay Here. Always start a fire before you sleep, or else you could “never wake up“, as the game says.
이것이 오늘 우리가 공유하는 모든 것입니다. The Price Of Flesh 가이드. 이 가이드는 원래 작성자가 작성하고 작성했습니다. CelestialLizzie. 이 가이드를 업데이트하지 못한 경우, 다음을 수행하여 최신 업데이트를 찾을 수 있습니다. 링크.