- 제목: 엘더스크롤 V: 스카이 림
- 출시일:
- 개발자:
- 발행자:
Information about The Elder Scrolls V: Skyrim is still incomplete. 이것을 사용하여 게임의 세부 정보를 입력할 수 있도록 도와주세요. 문의 양식.
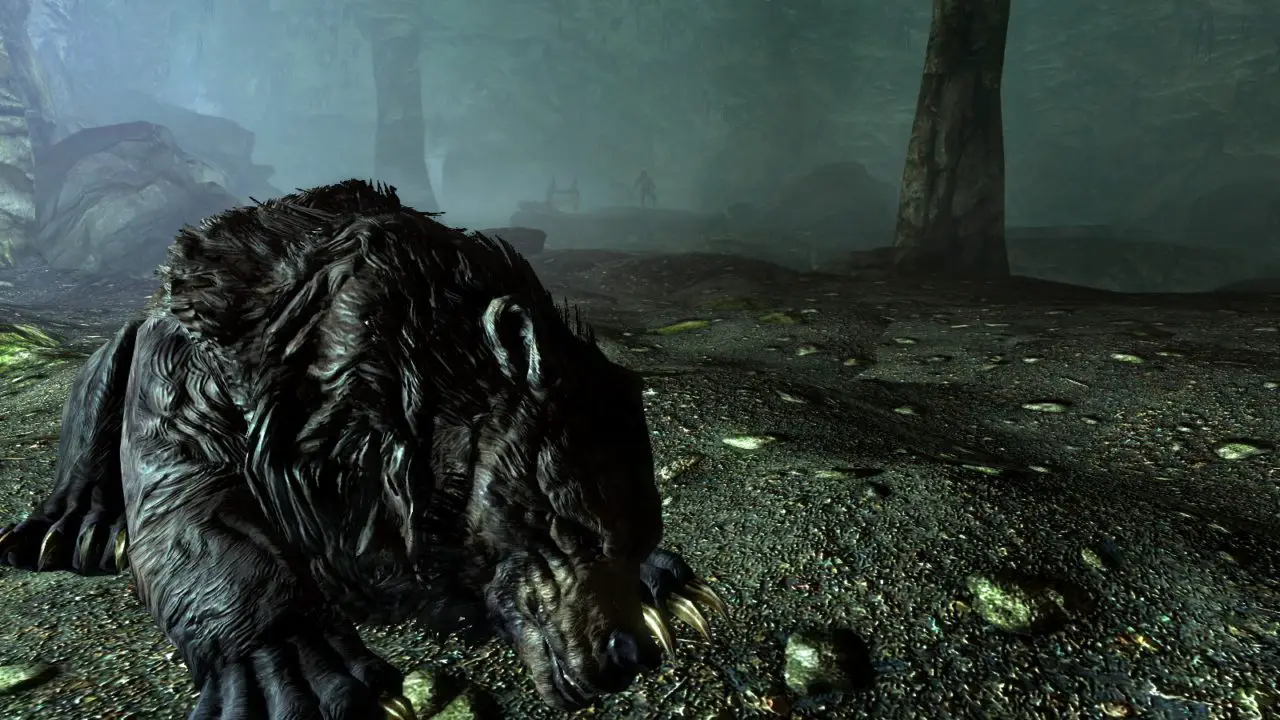
Would you really prey on a weak, lonely bear that even Ralof didn’t want to tango with?
소개
The Skyrim Bear, a marvelous, beautiful, and very powerful creature capable of causing the Dragonborn a great deal of pain is first seen once the Dragonborn heads into the caves of Helgen. In a small corner in the back of the cave just before you leave Helgen lies a bear in wait. 지금, this bear is no ordinary bear, this bear is weaker and lonelier than other bears found in Skyrim, and thus, very pitiful. Some of you may think that the best option would be to put the poor thing out of its misery, but that’s the coward’s way of dealing with the situation because respecting nature and all of its creatures is a very cool thing to do… Or something.
A Sense of Fear
As you enter the part of the cave with the bear, you’ll notice a small cart containing some misc. items before Ralof, or the imperial scumbag, will tell you that even they don’t want to tango with your mom the bear.
Now I know that might scare you because Ralof is one badass dude, but don’t let it get to you too much, that bear won’t hurt you as long as you respect it just as much as it hates you. 지금, without further ado, let’s begin our tutorial on how to respect this sleeping beauty and get out of Helgen respectfully!
Sneaking is One of the Bear Necessities
단계 1: Sneak 100
높을수록, the better as my pothead friend always says. For once, his knowledge actually paid off! Sneak will be essential for getting past our bear friend quietly, as the last thing we want to do is wake her up from her nap. We’re gonna want to get our sneak to 100 before trying to get past her to further lower our chances of waking her up, to do this, you’ll want to do the following:
Grab an Iron Dagger on your way to the caves, some imperials will drop one, but another can be found in one of the many rooms before the caves, this will be pretty essential later if you want to lower the amount of time it takes to get max sneak.

다음, you’ll want to get to this part of the cave, not too close as to spook our bear friend, but just close enough where Scumbag or Ralof are crouched and waiting on you to make your move. You’ll want to equip your dagger and crouch behind our NPC friend, from there, it gets pretty simple, but time-consuming.
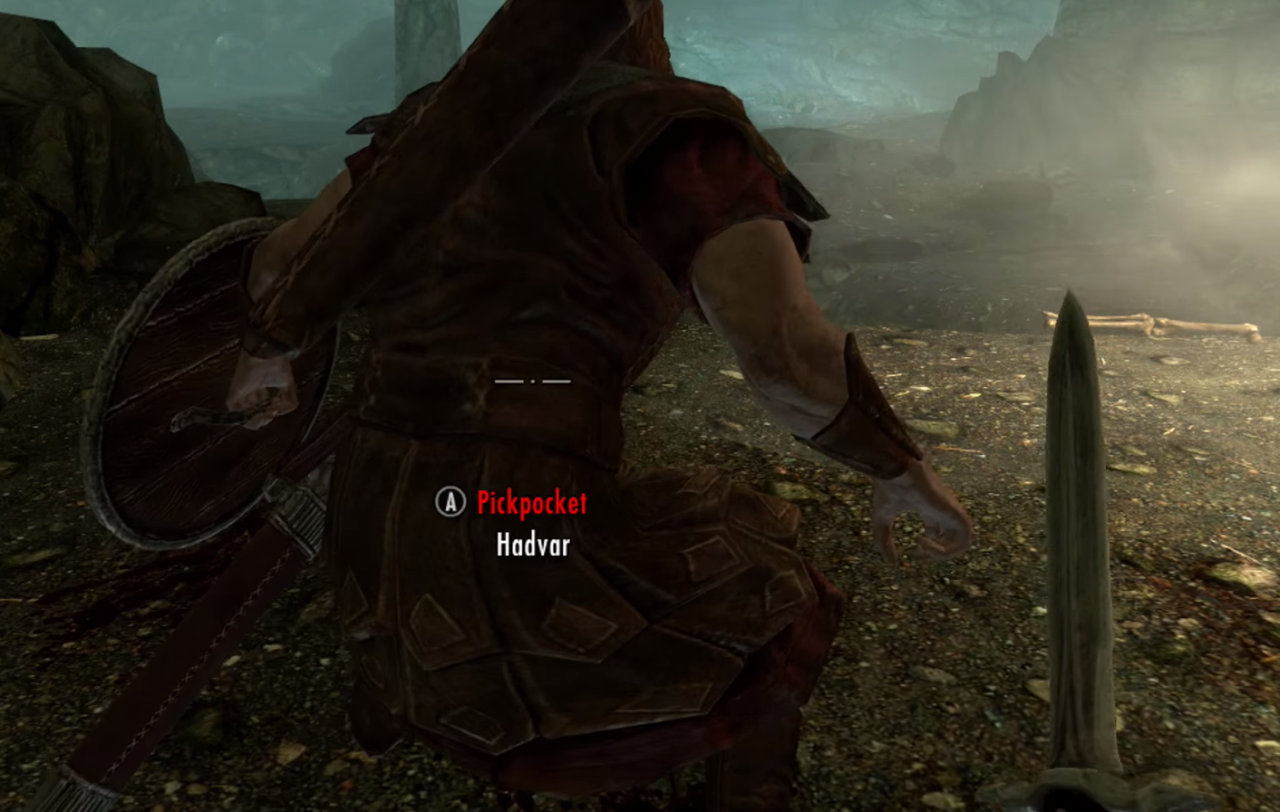
While sitting still, perform heavy attacks on the NPC’s back, this will level up your sneak and one-handed as you go, allowing for some pretty swift levels, and some useful sneak perks for later! One-handed is for chumps, so we won’t be needing those skills, plus they’re harmful to the bear.
Slowly, but surely, your sneak will go up, and you can go ahead and apply perk points as you go, feel free to level up whatever stat you plan on investing into later, whether it be magicka, 내구력, or health.

Sneak attacks will do more damage to our NPC, meaning fewer hits before they go down, they won’t die because they are essential, but you’ll have to wait until they get back up to hit them again.
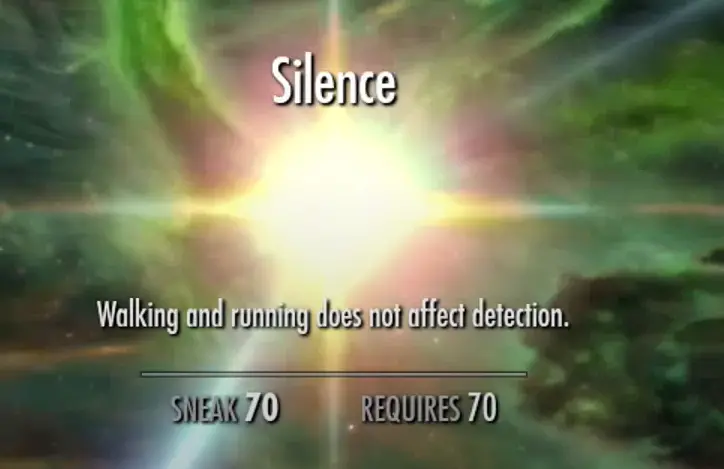
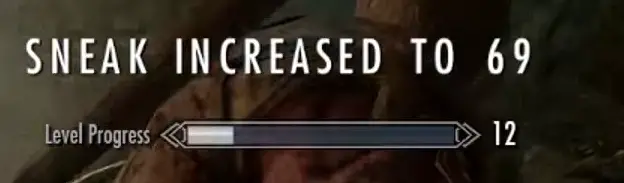
Reaching the end of step one, you’re going to want the perk Silence from sneak, if you’re going to get any perk from Sneak, make sure it’s this one, it makes our steps super silent as to not attract the attention of our friend as we swiftly make our way by them.
But what now? We have our sneak, but how do we get by the bear?
단계 2: Time to get the hell out of here!
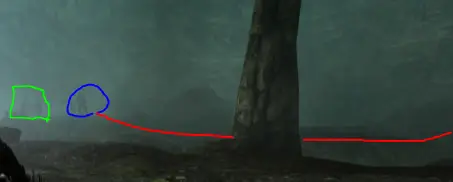
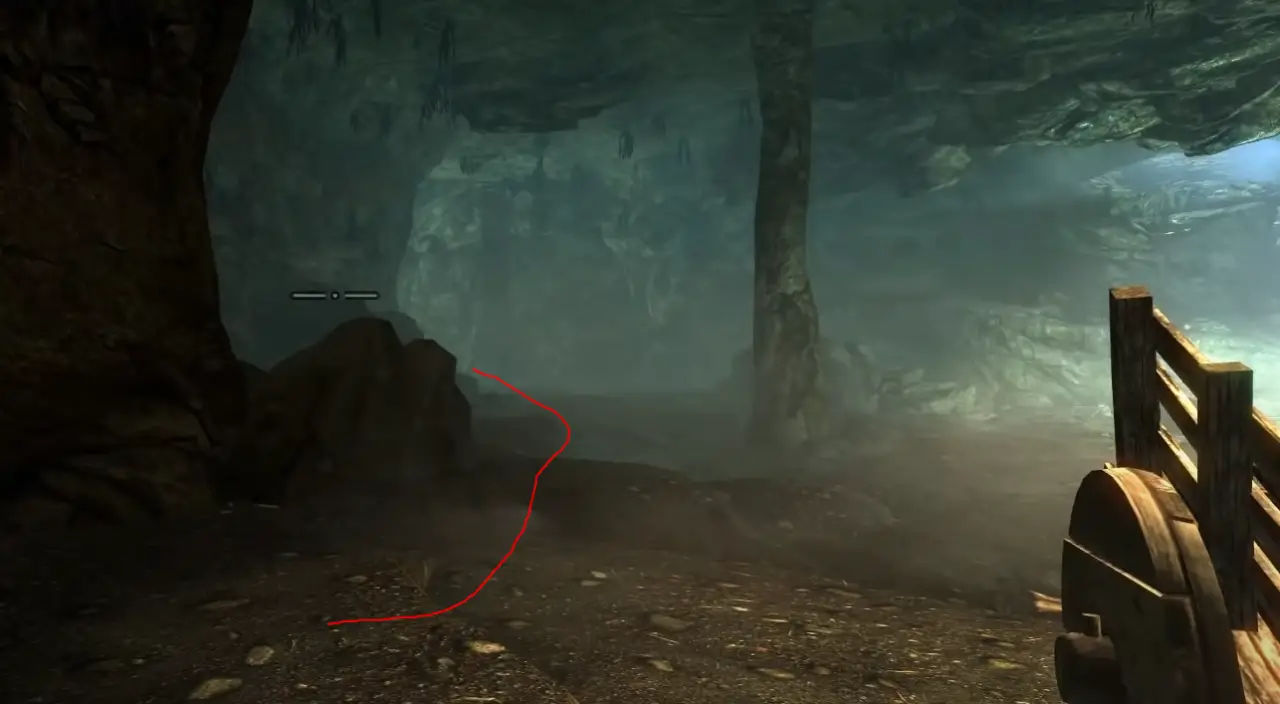
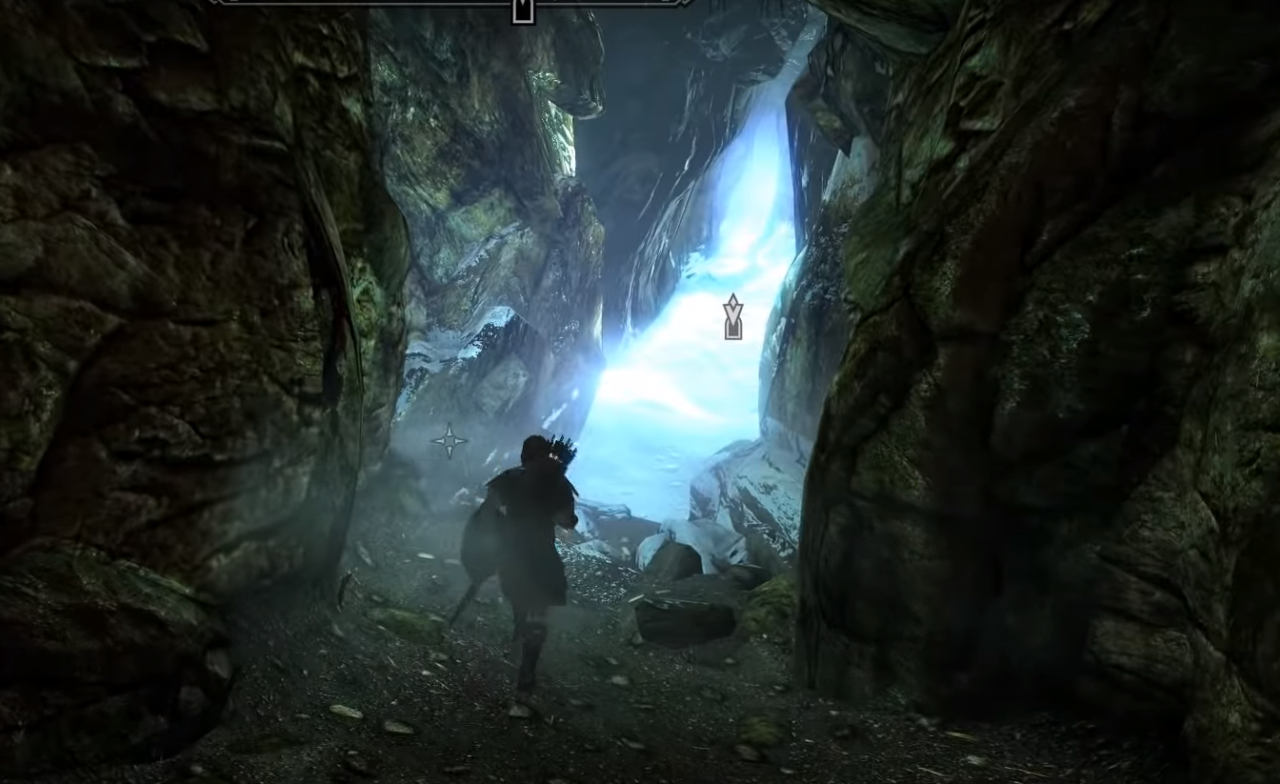
좋아요, here’s the plan. I circled the Dragonborn in blue, the cart for a landmark with green, and drew the path the Dragonborn needs to take in Red.
중요한: Notice how the line stops at the tree, that’s because you need to go BEHIND the tree, and ensure you’re crouched the ENTIRE time, it’s okay if the bear gets a little spooked and stands, so long as you slowly make your way to the exit and DON’T STOP!
당신이 해냈어요! You made it to the end of Helgen without spooking the cool and awesome bear, 축하해요, you should be happy that you didn’t kill it for some basic imperial armor and like 3 금.
이것이 오늘 우리가 공유하는 모든 것입니다. 엘더스크롤 V: 스카이 림 가이드. 이 가이드는 원래 작성자가 작성하고 작성했습니다. Moff. 이 가이드를 업데이트하지 못한 경우, 다음을 수행하여 최신 업데이트를 찾을 수 있습니다. 링크.