
- 제목: 상승
- 출시일:
- 개발자:
- 발행자:
Information about The Ascent is still incomplete. 이것을 사용하여 게임의 세부 정보를 입력할 수 있도록 도와주세요. 문의 양식.
I spent a good amount of time (a few hours) running around the map struggle to find a level 35 bounty for my final achievement for the game. I searched through many different guides and videos. Once I found my bounty, I thought it would be a good idea to throw all the information I know together in one location.
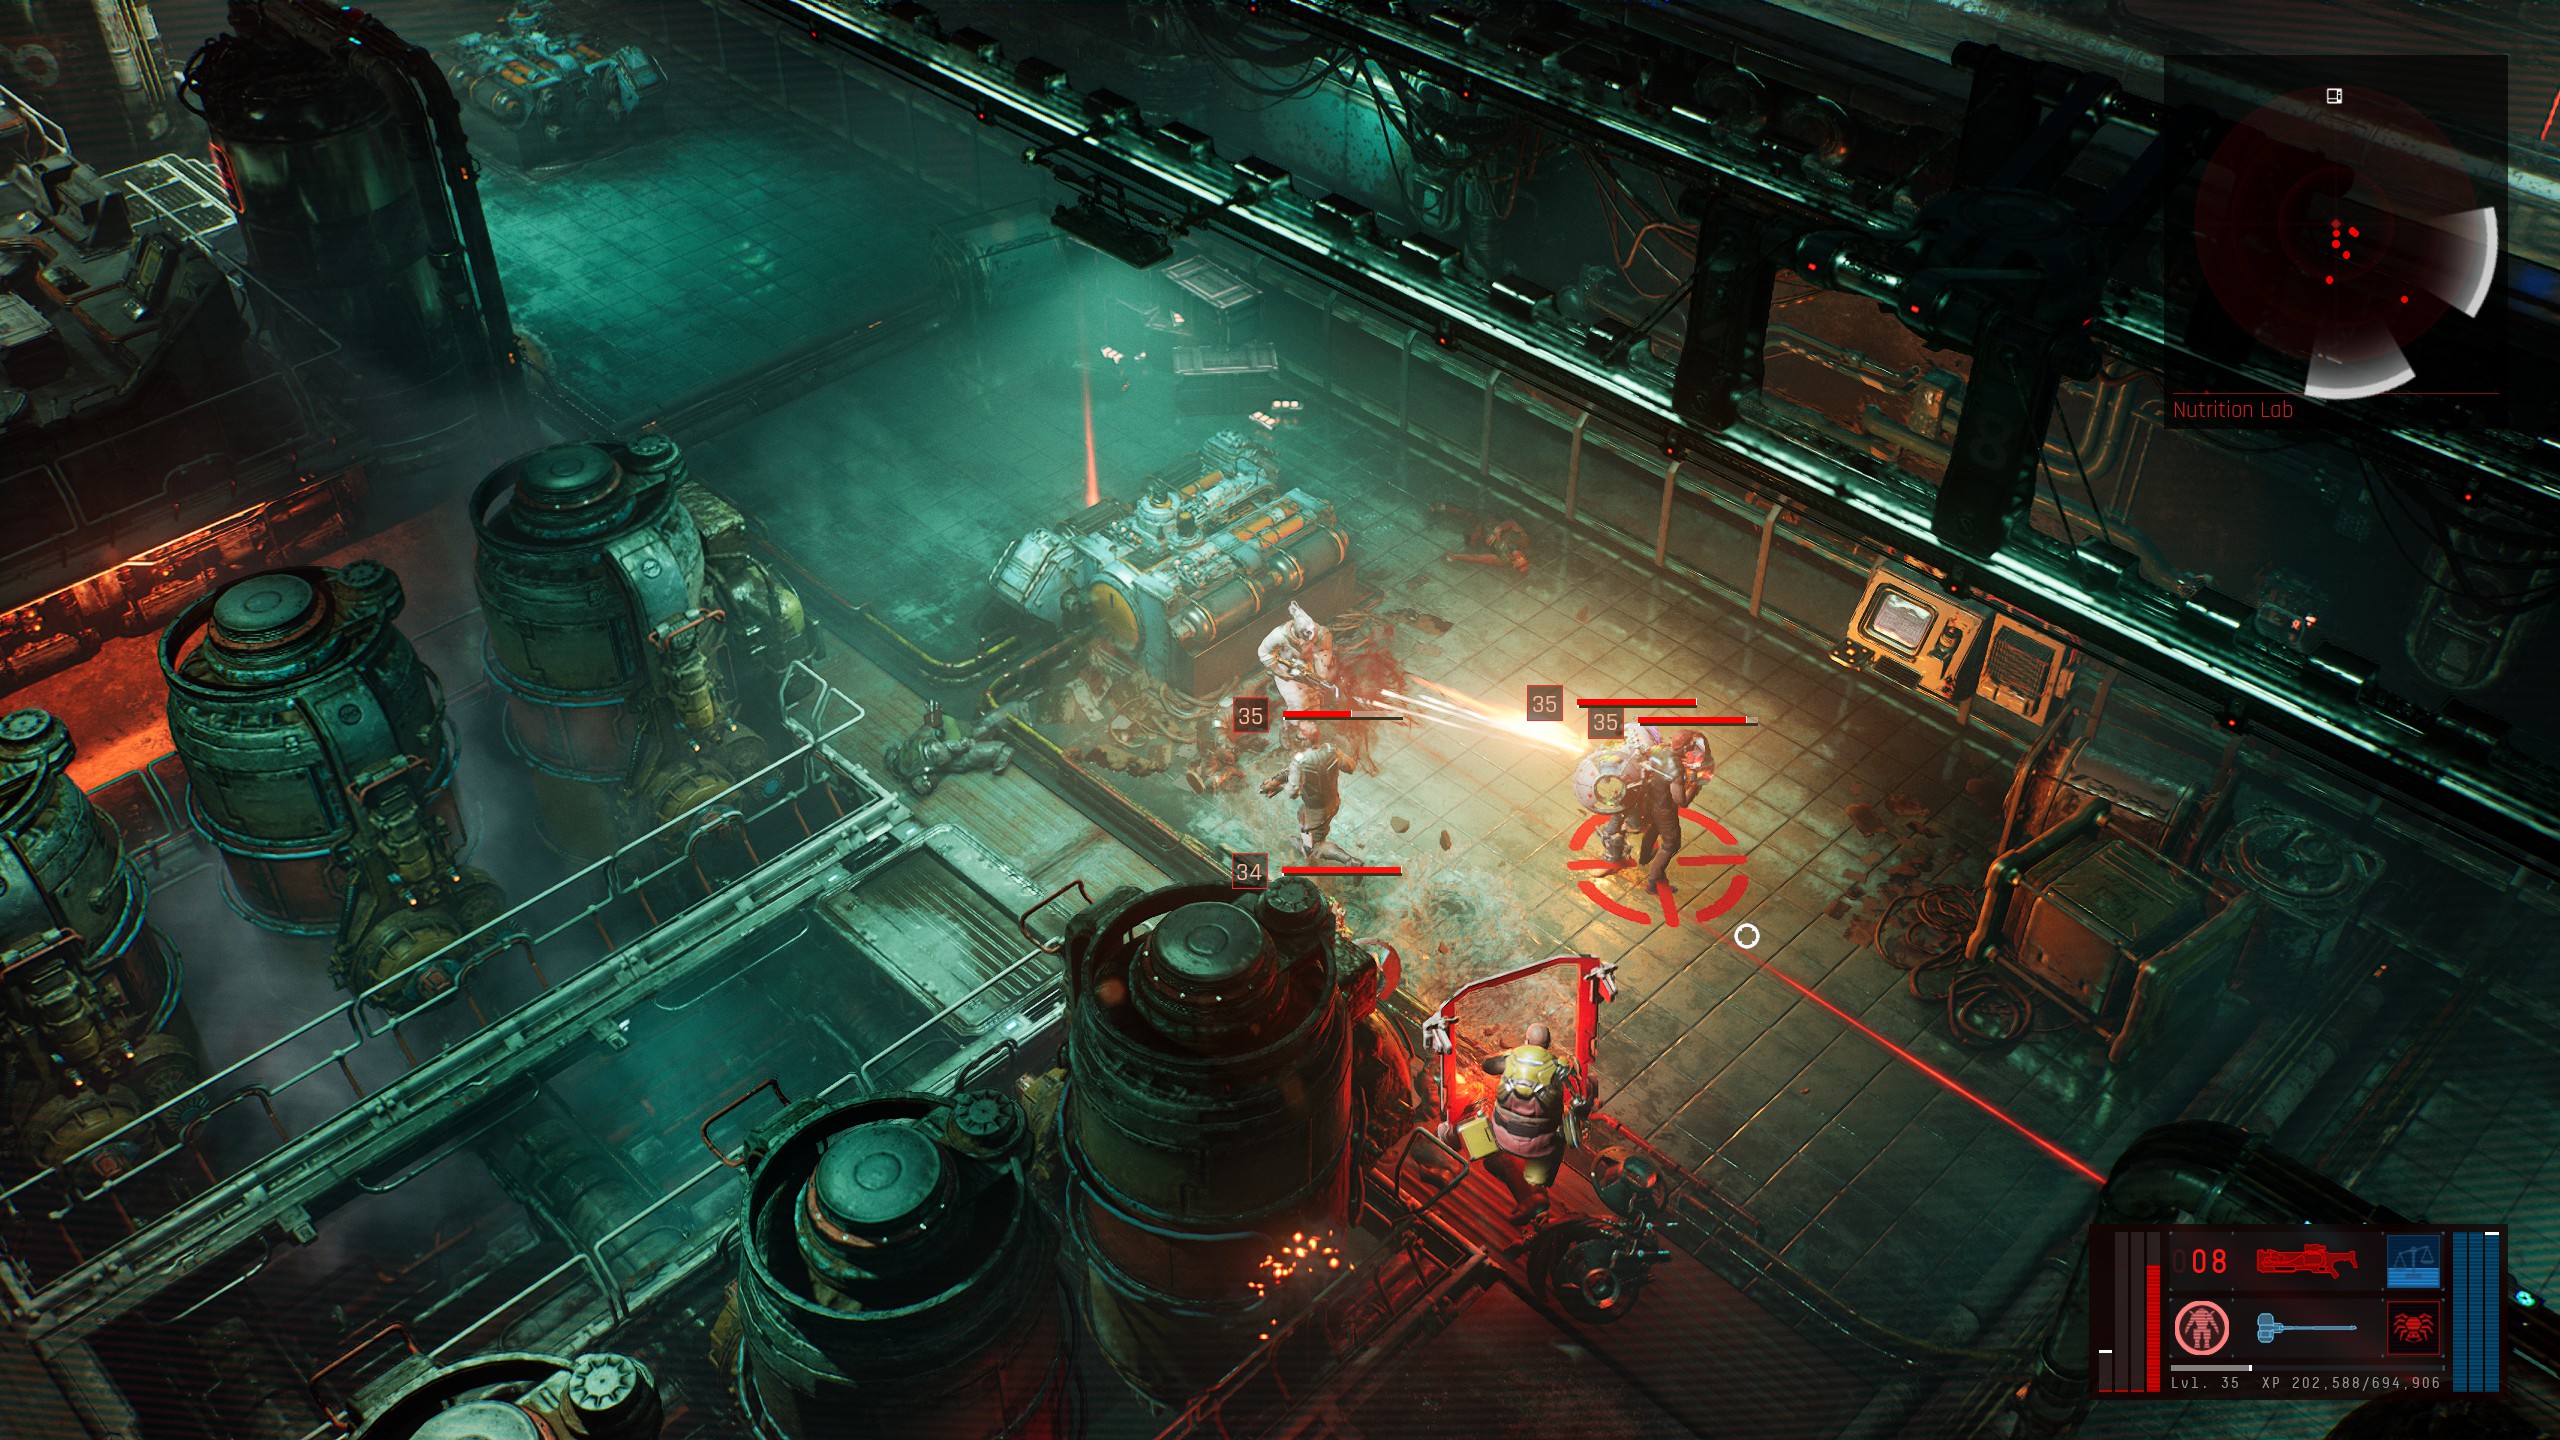
Once I found out you could enter the Nutrition Lab, I found a level 35 bounty instantly when running through the enemies in there.
위치 1 (Nutrition Lab)
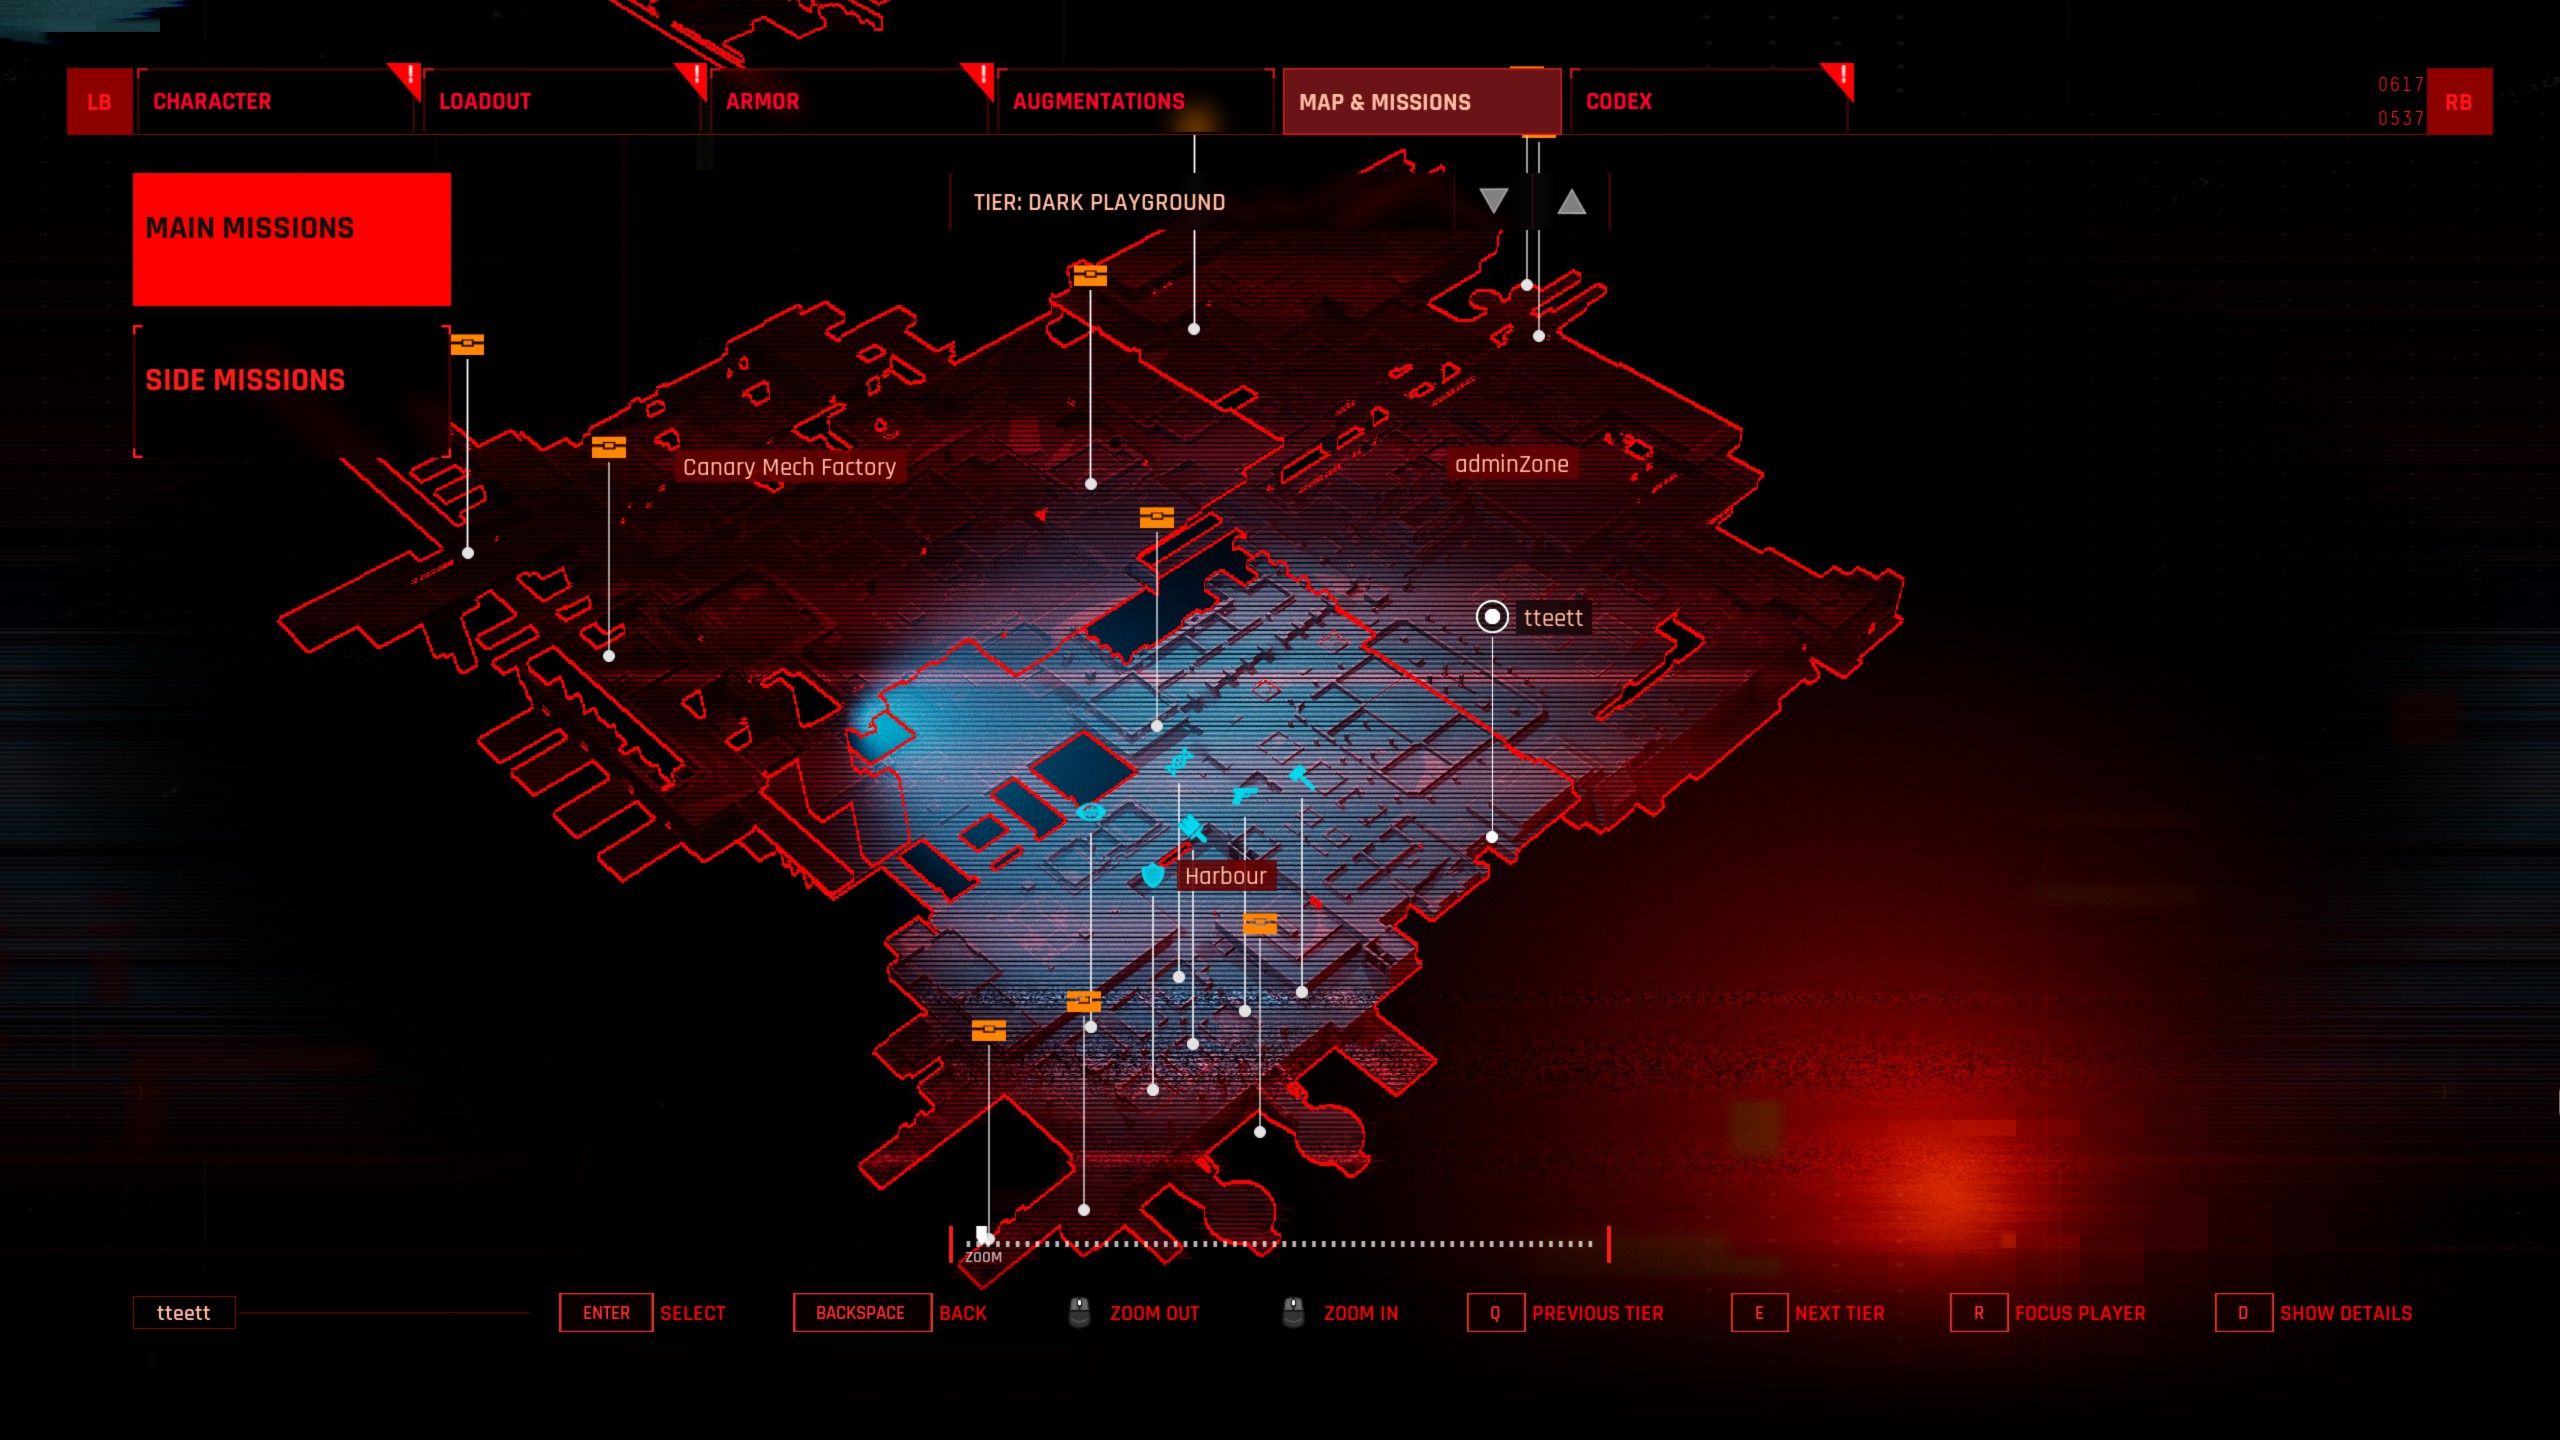
Area on map
- Harbour
There is an entrance you have to walk through to reach this location.
Once you enter, explore around the lab,
Possible for LVL 35 Bounty here!
If you don’t find a level 35 bounty, reset by dying to an enemy. Taxi to another one of these locations and search those or come back through this location.
Note from a user: This were I personally found a level 35 bounty. I spent a couple hours running through Mech Factory and MG Military Base with no luck. Once I figured out this was an area, the first run through I was able to find a bounty.
위치 2 (Canary Mech Factory)
Area on map
- Canary Mech Factory

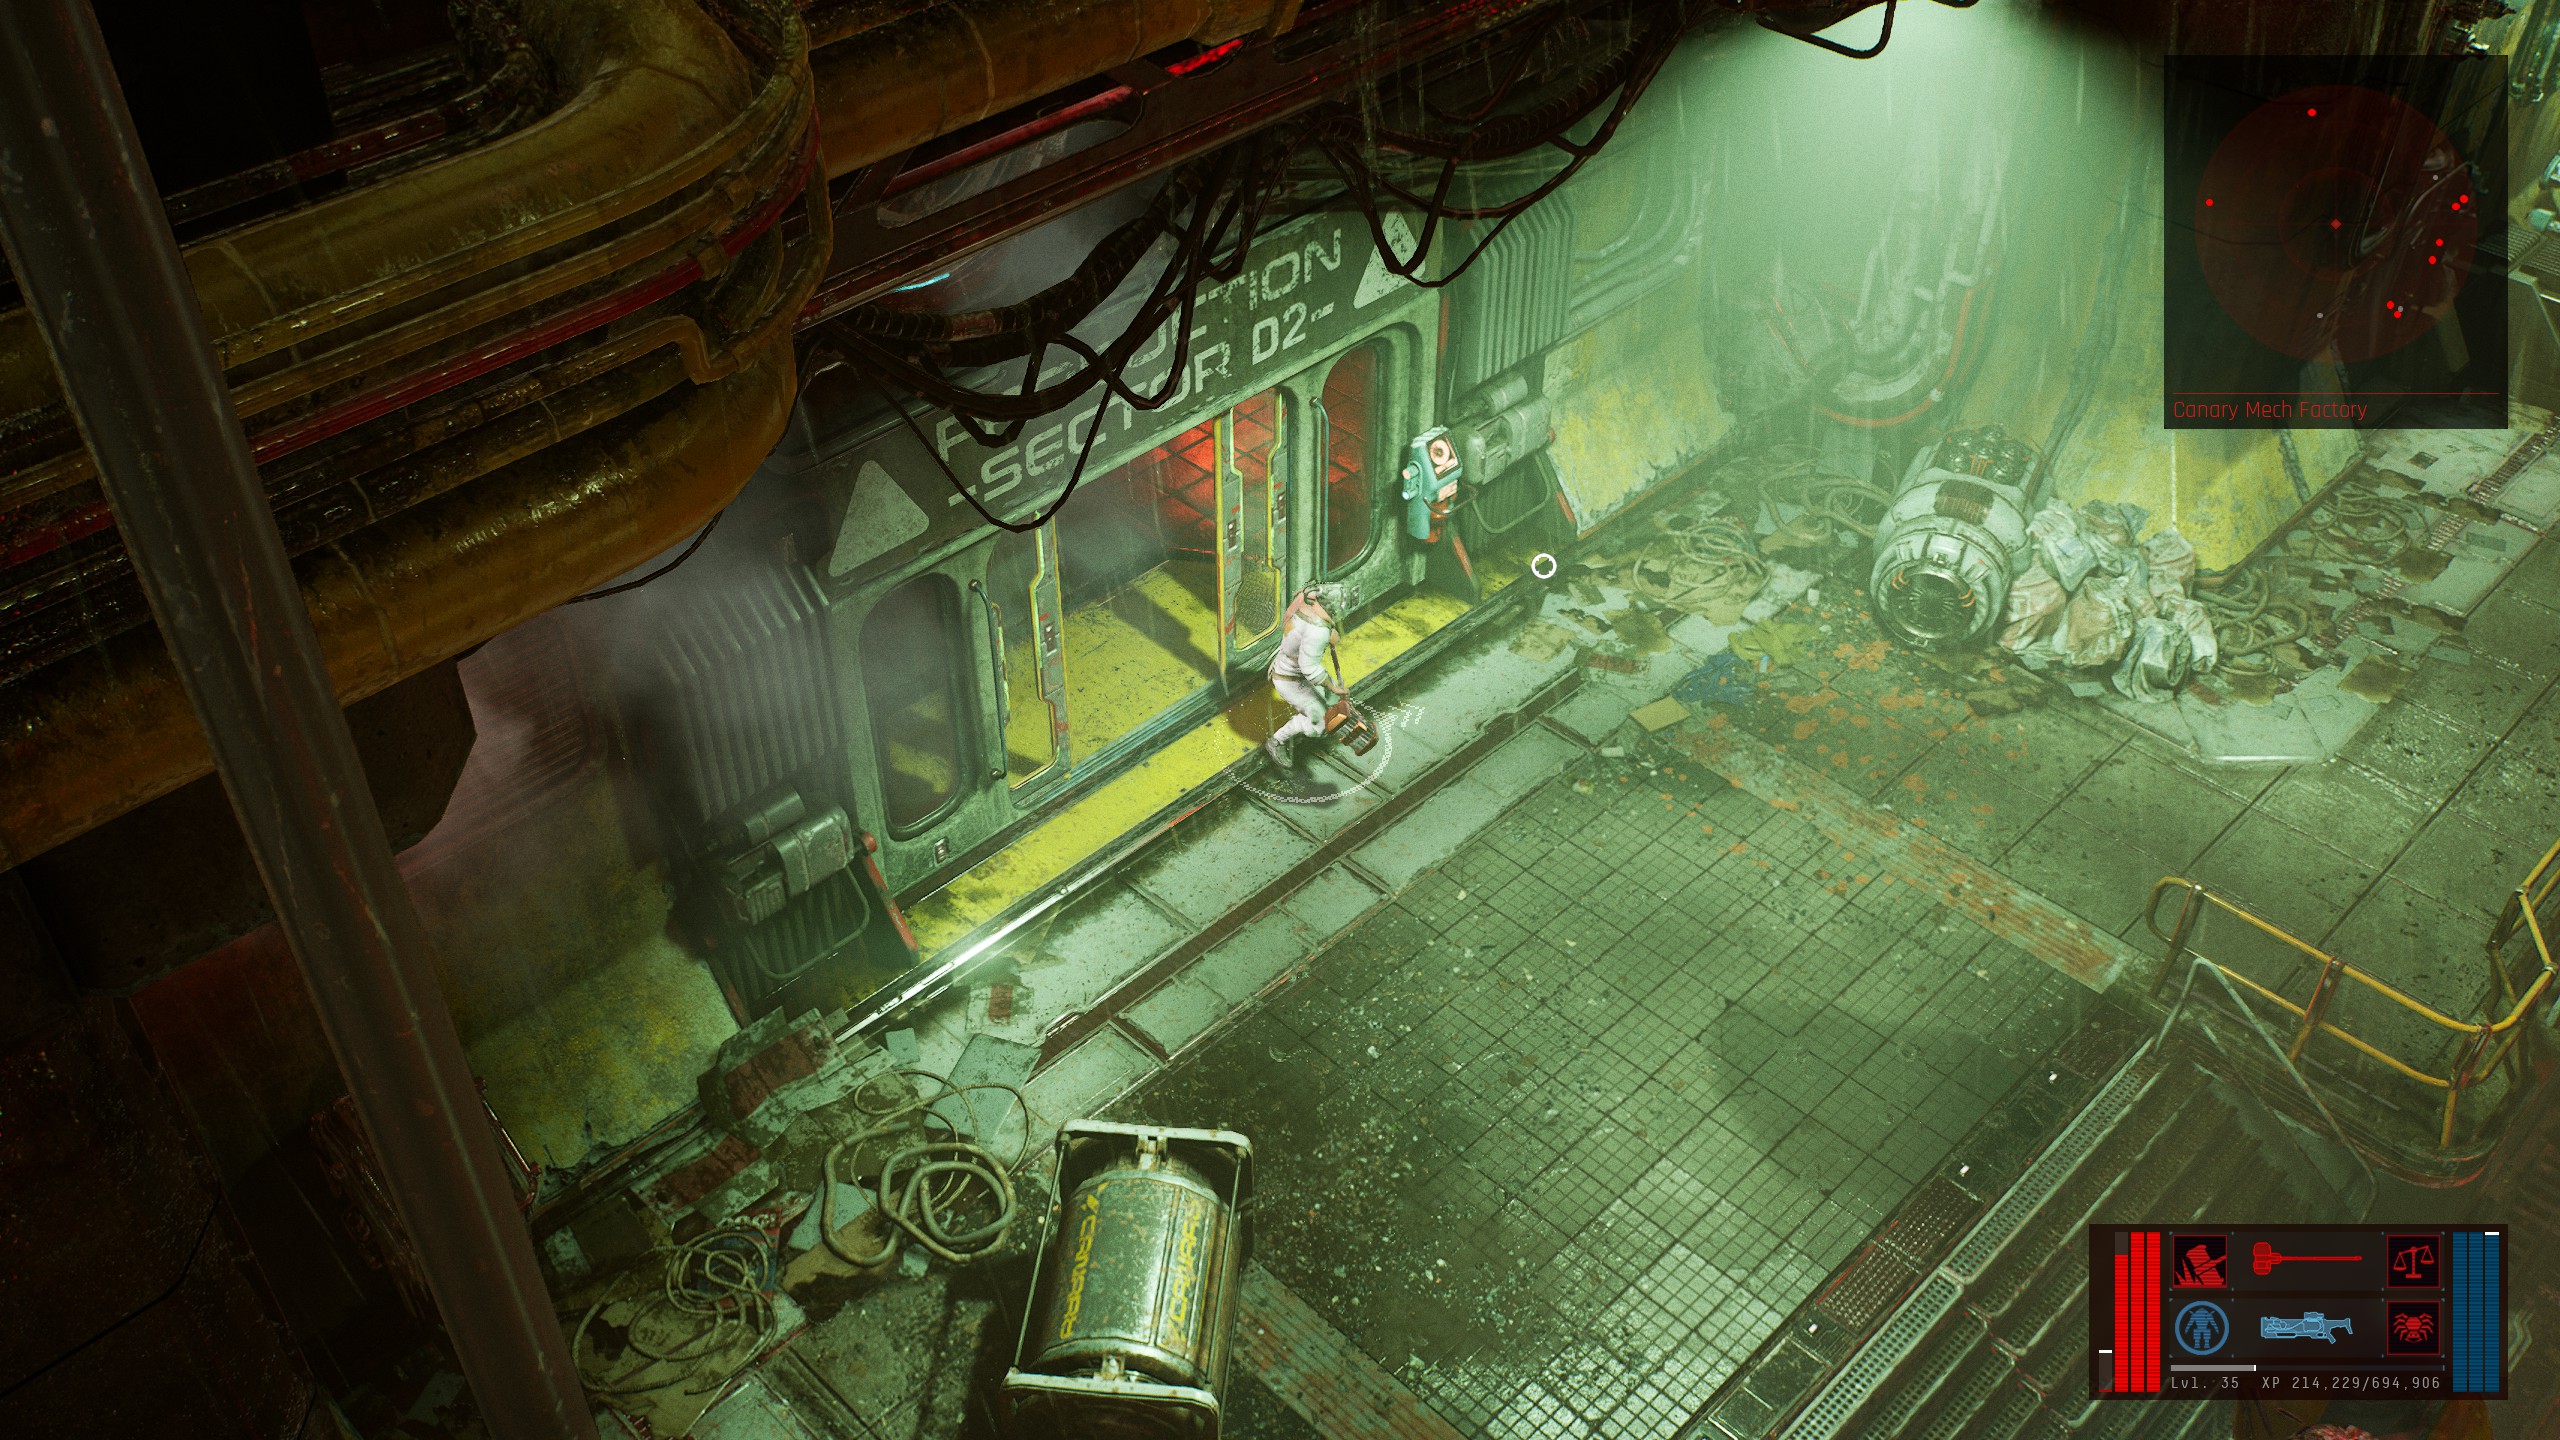
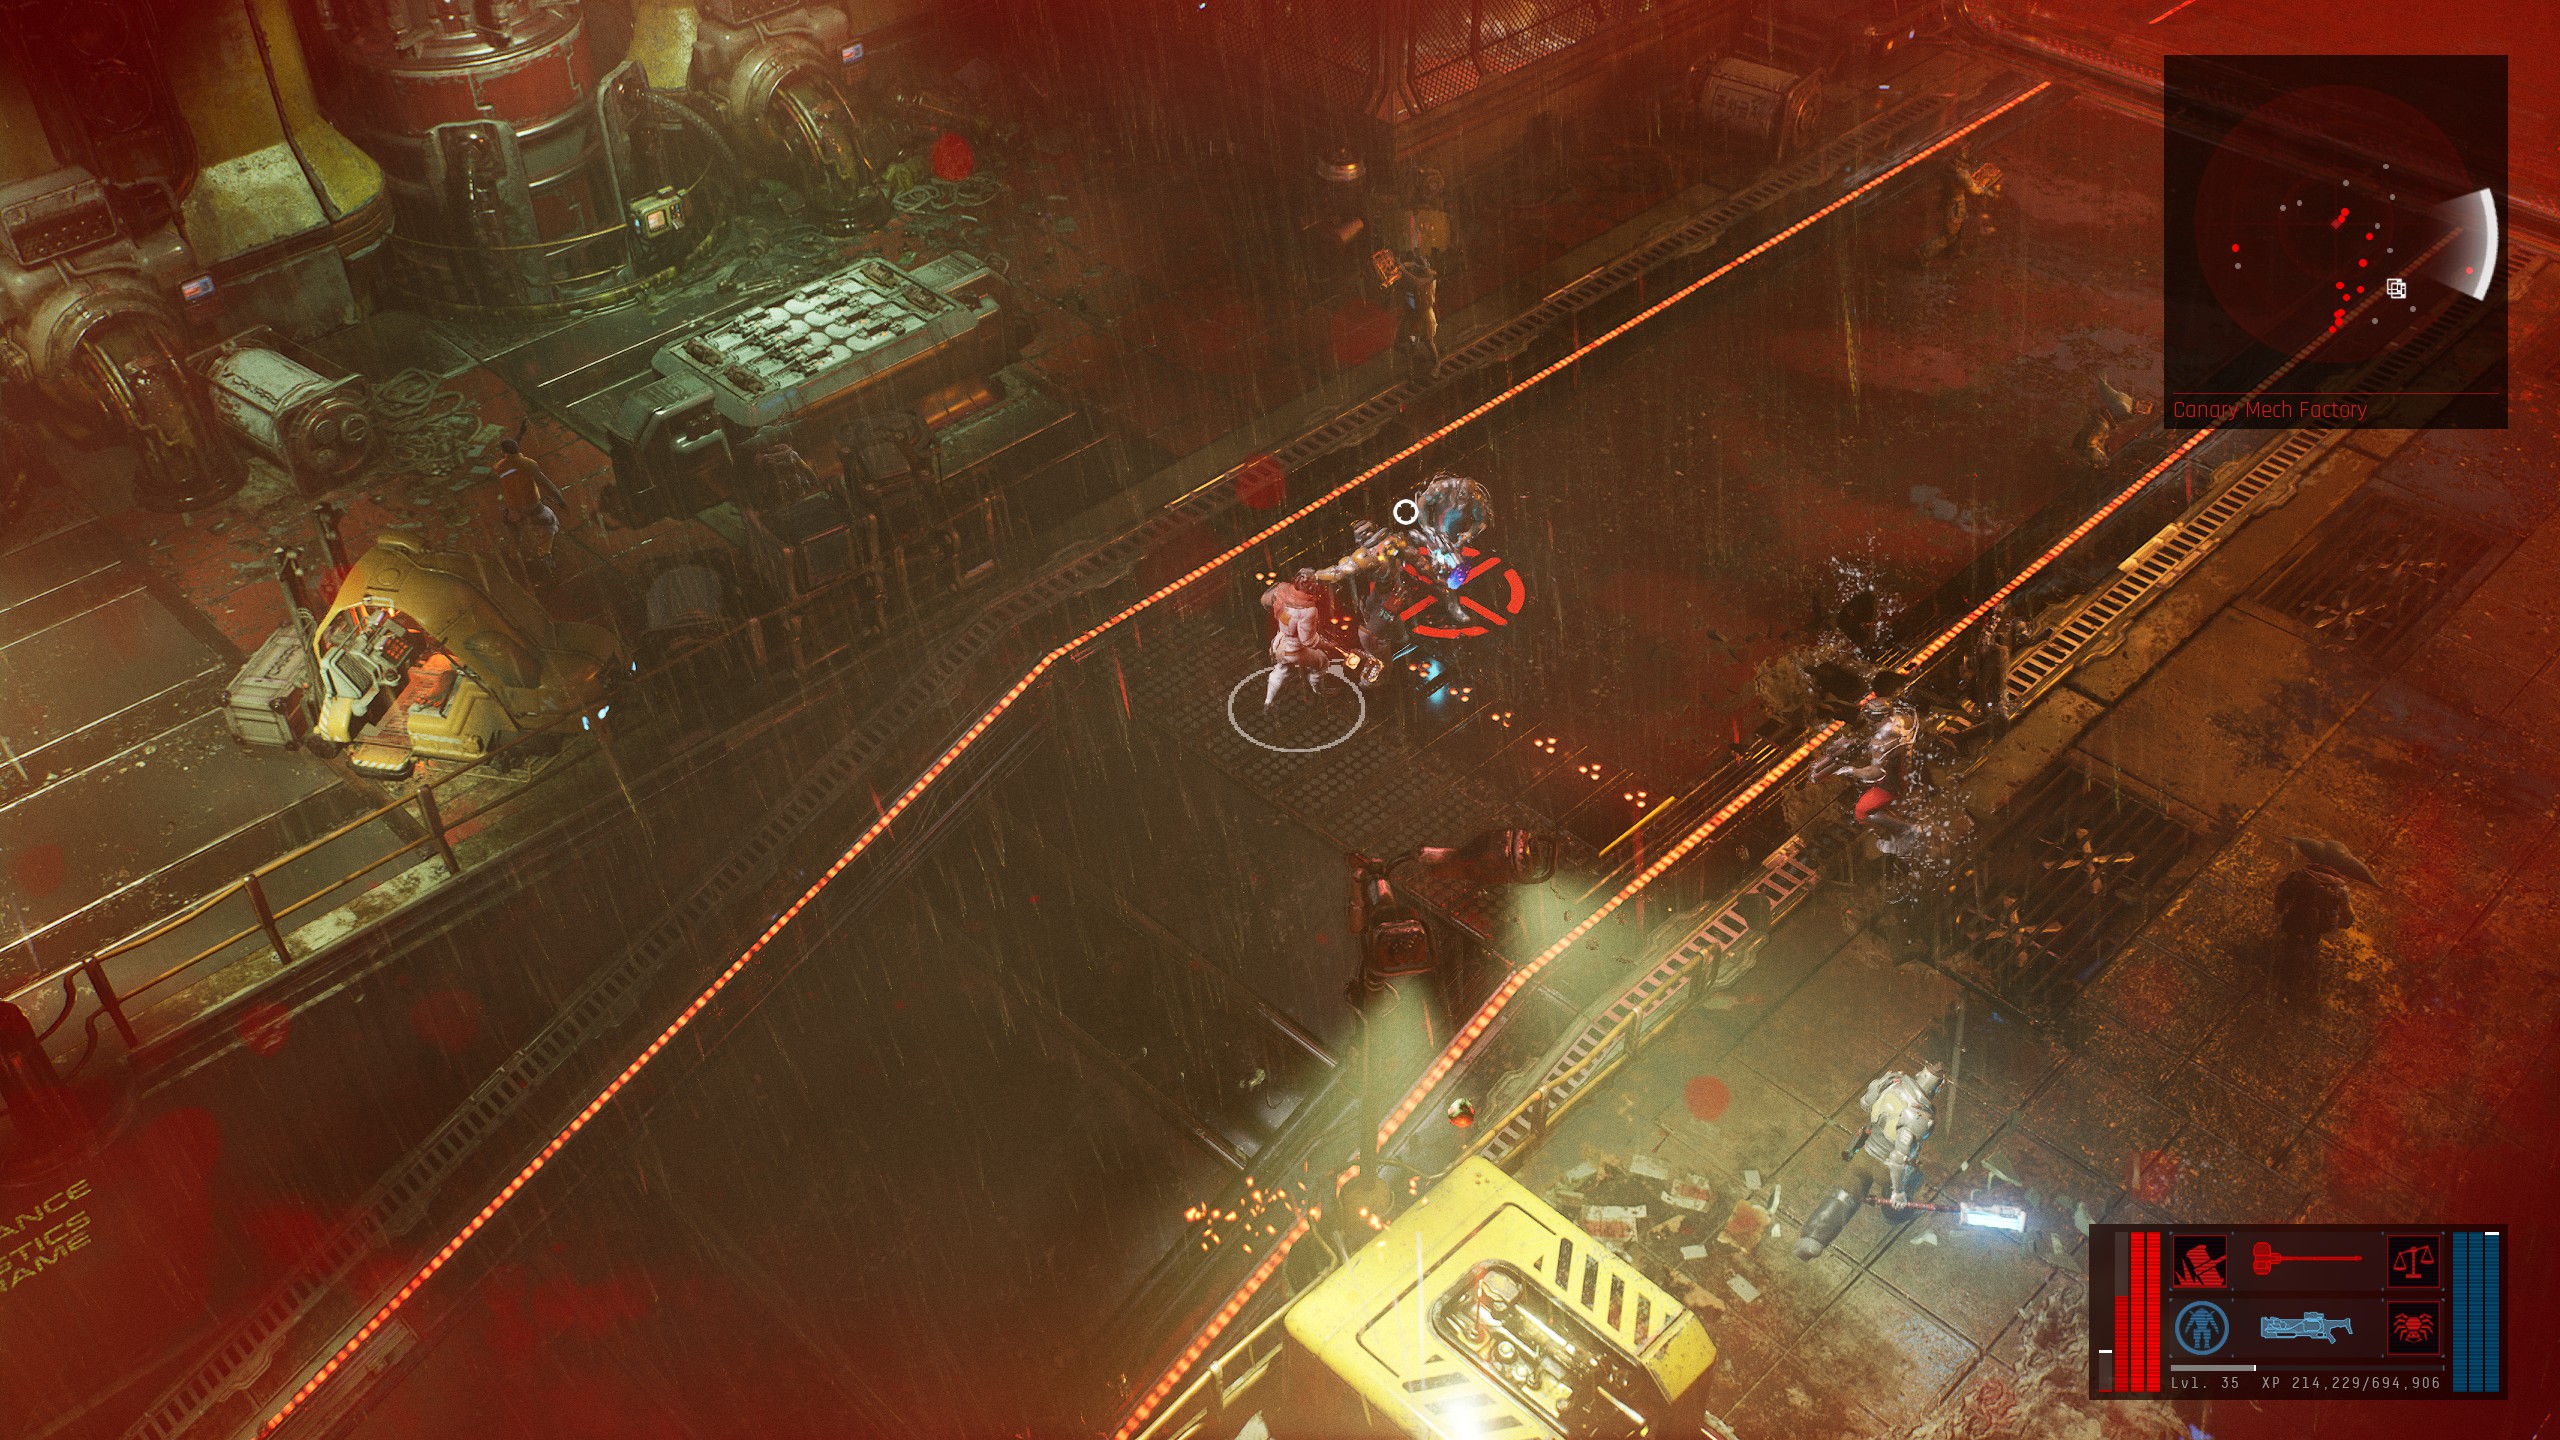
When you taxi to Canary Mech Factory, you’ll be dropped off here.
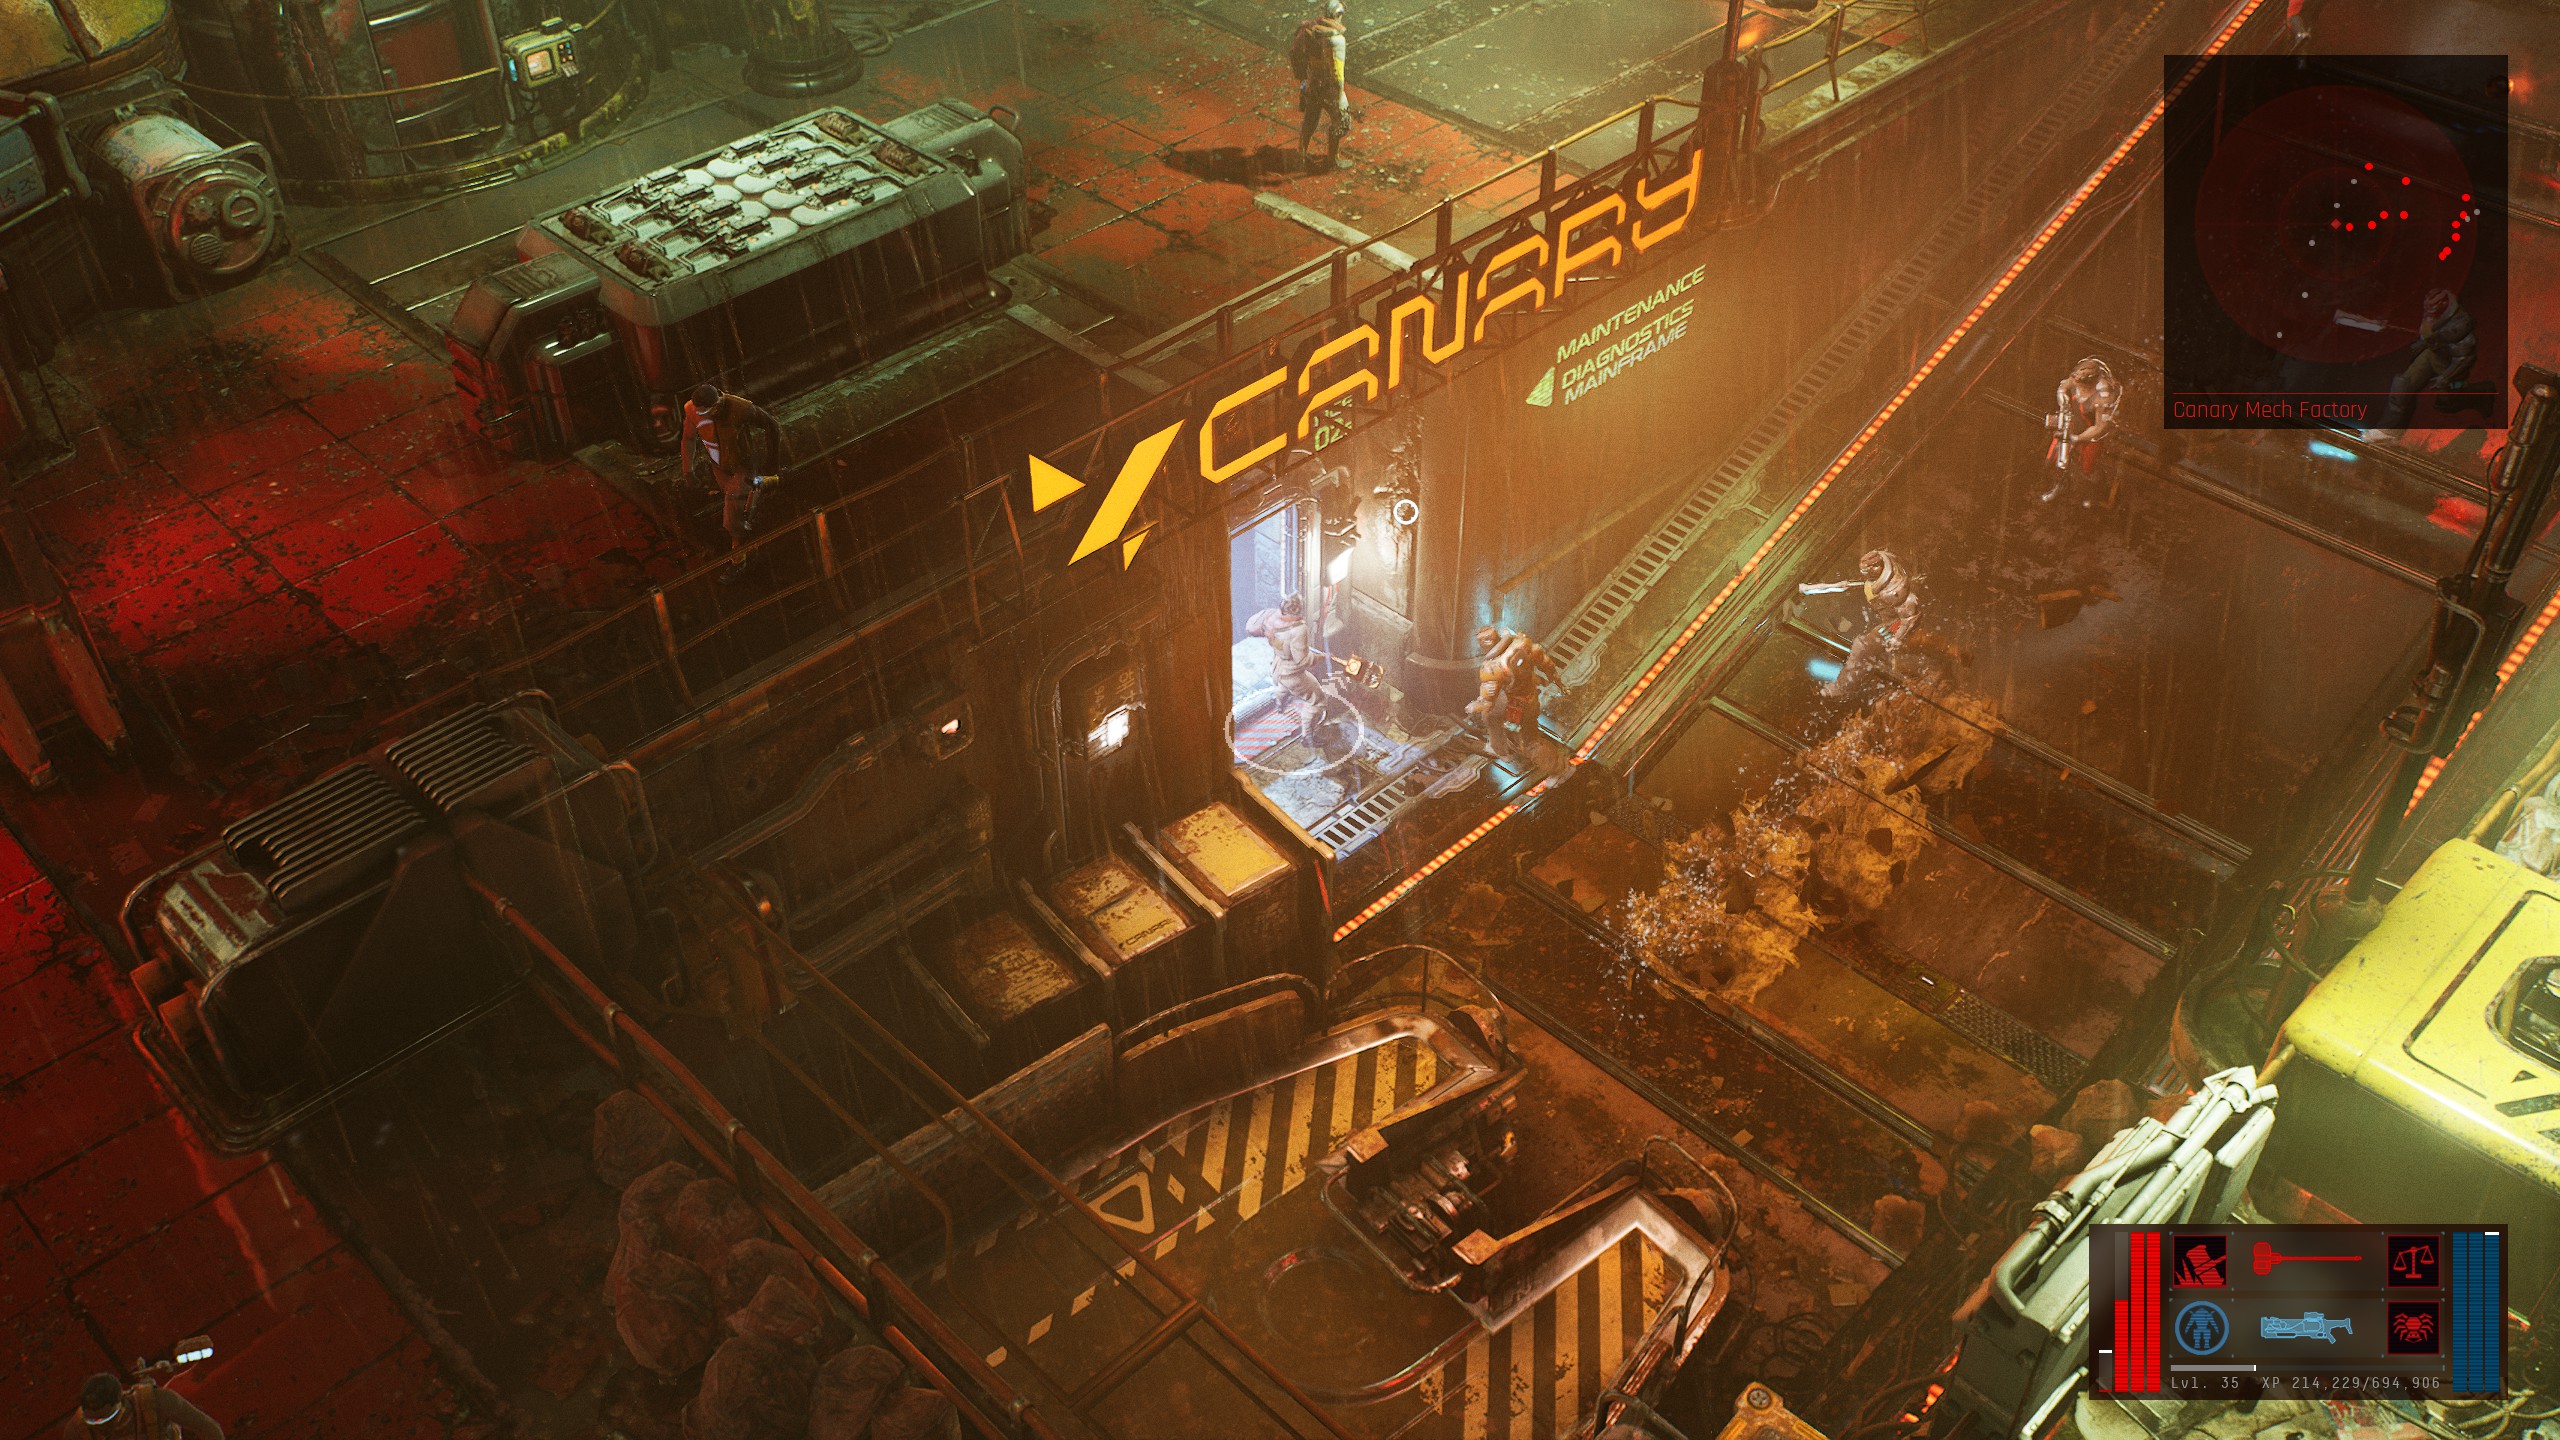
Run left in the building to this door here,
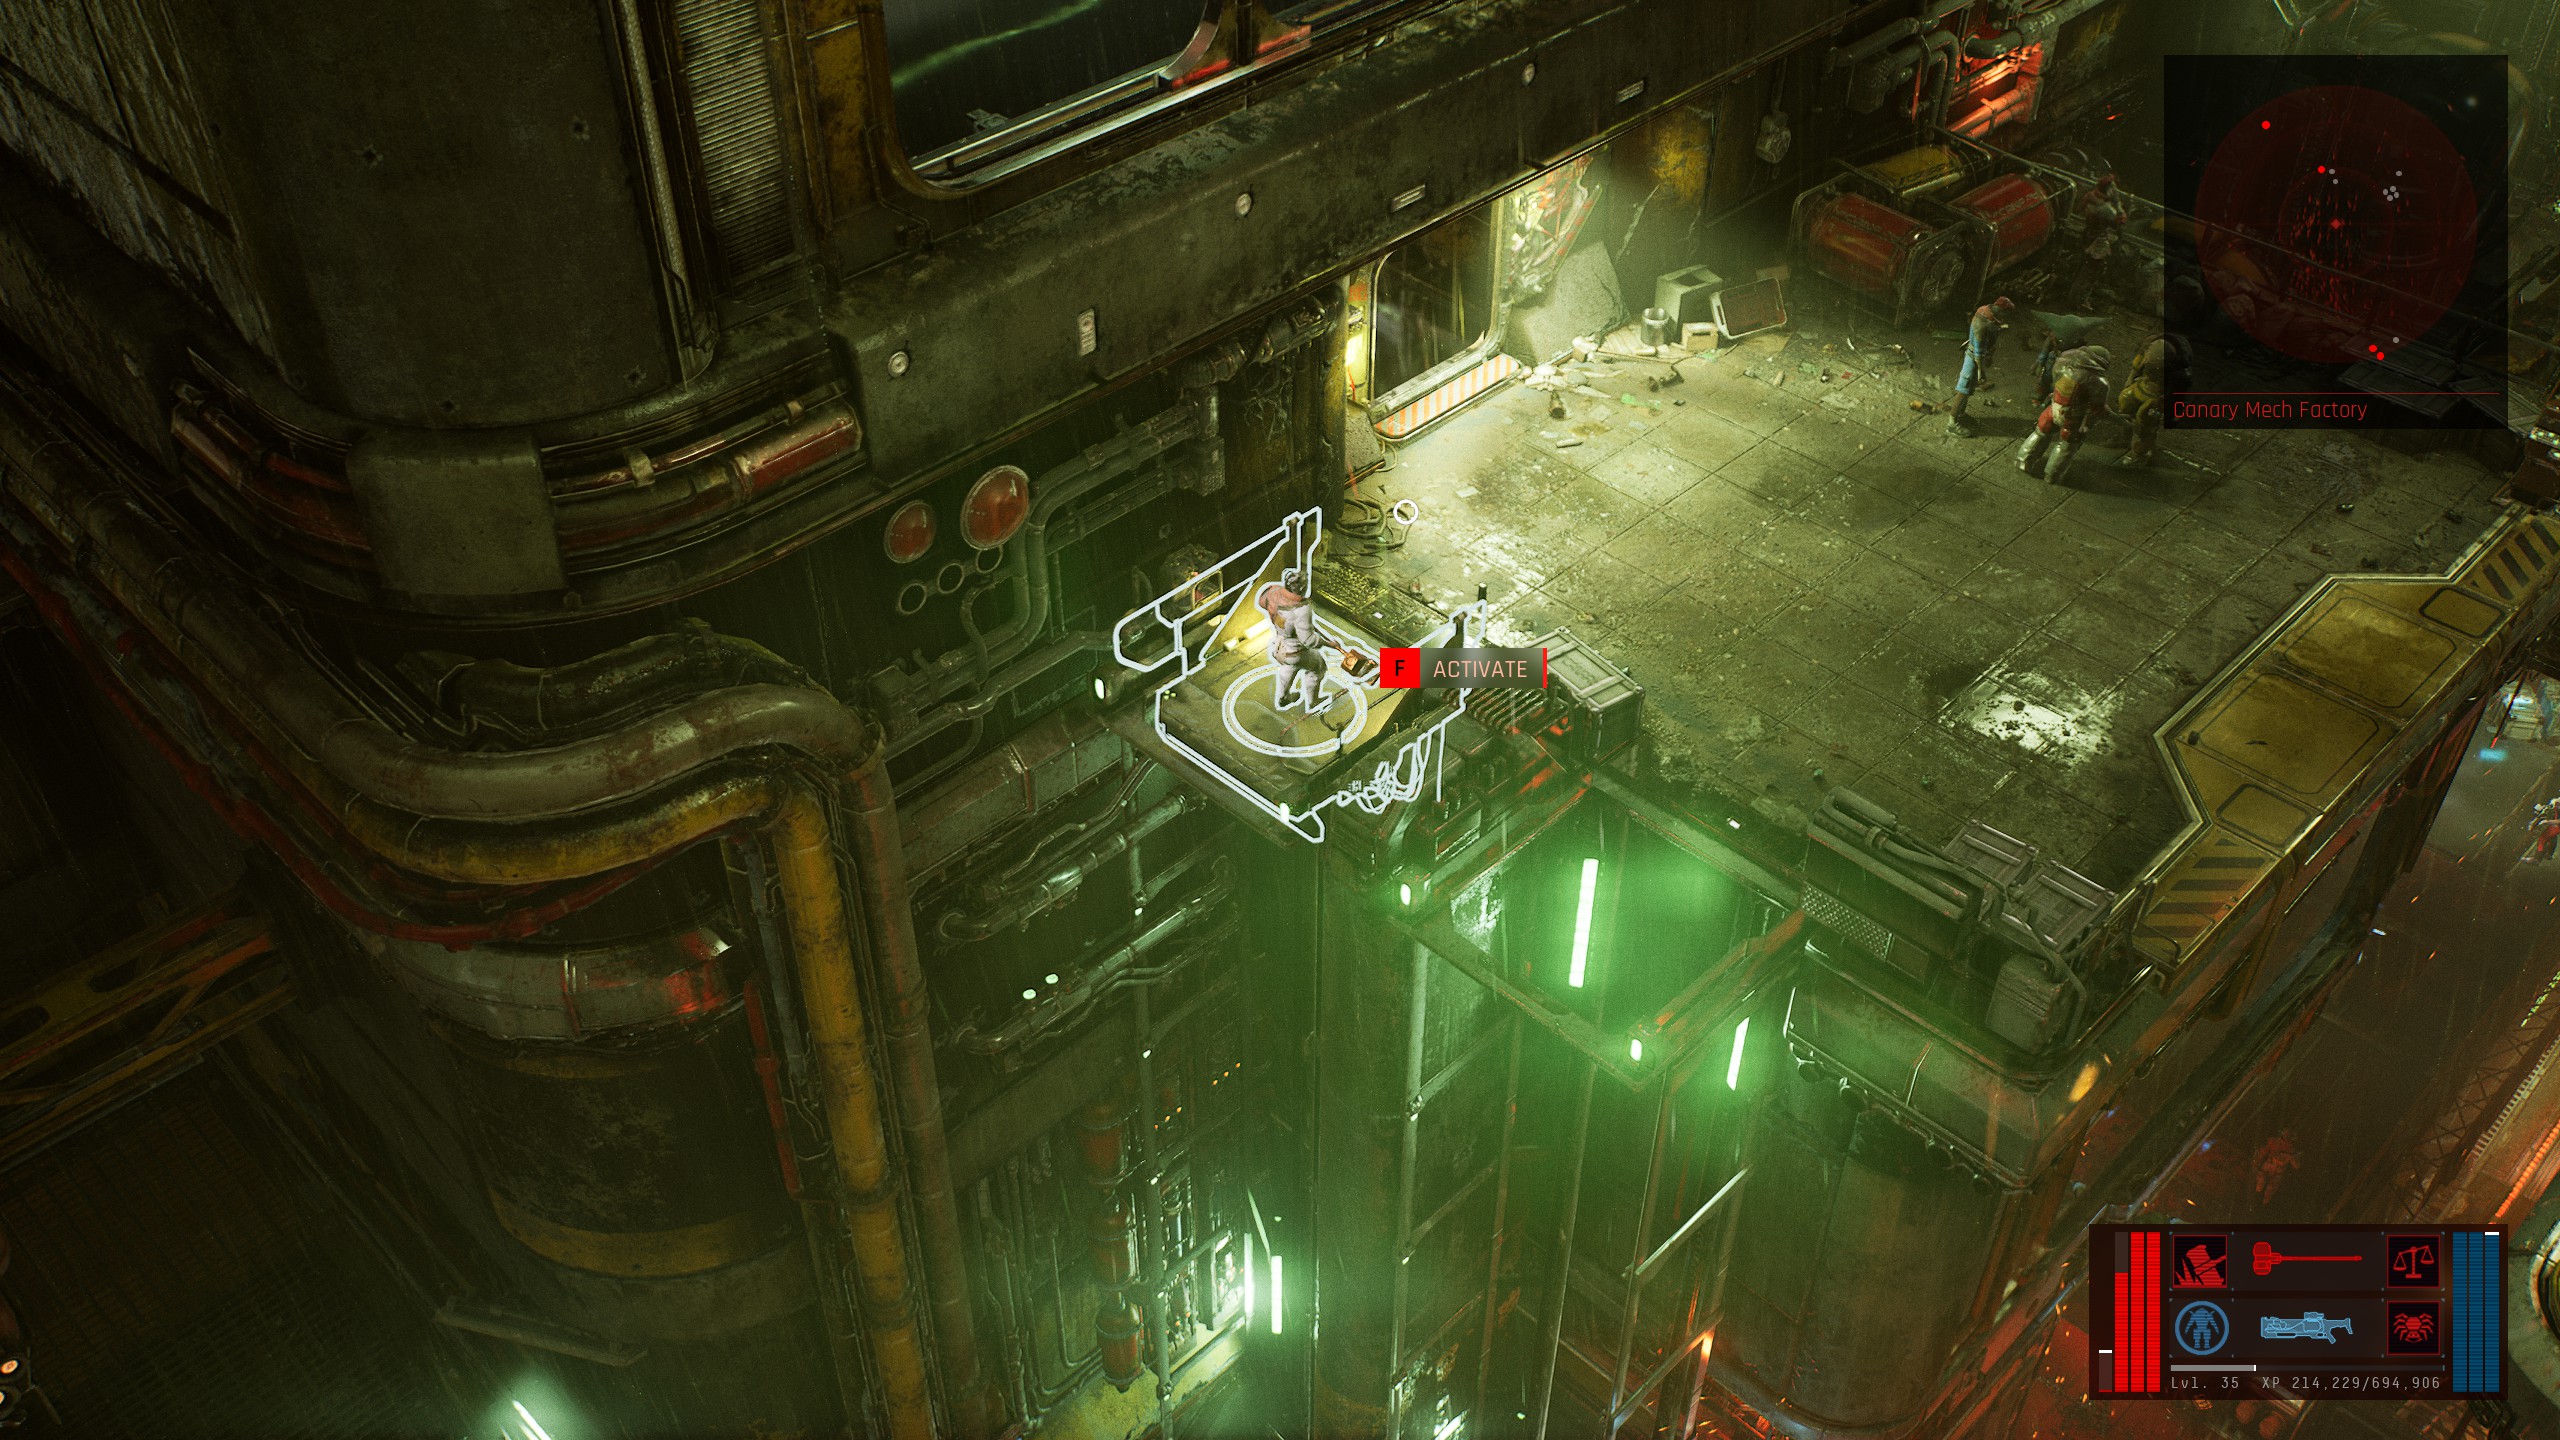
Continue through the door and head right… You’ll see this elevator. 올라가다,

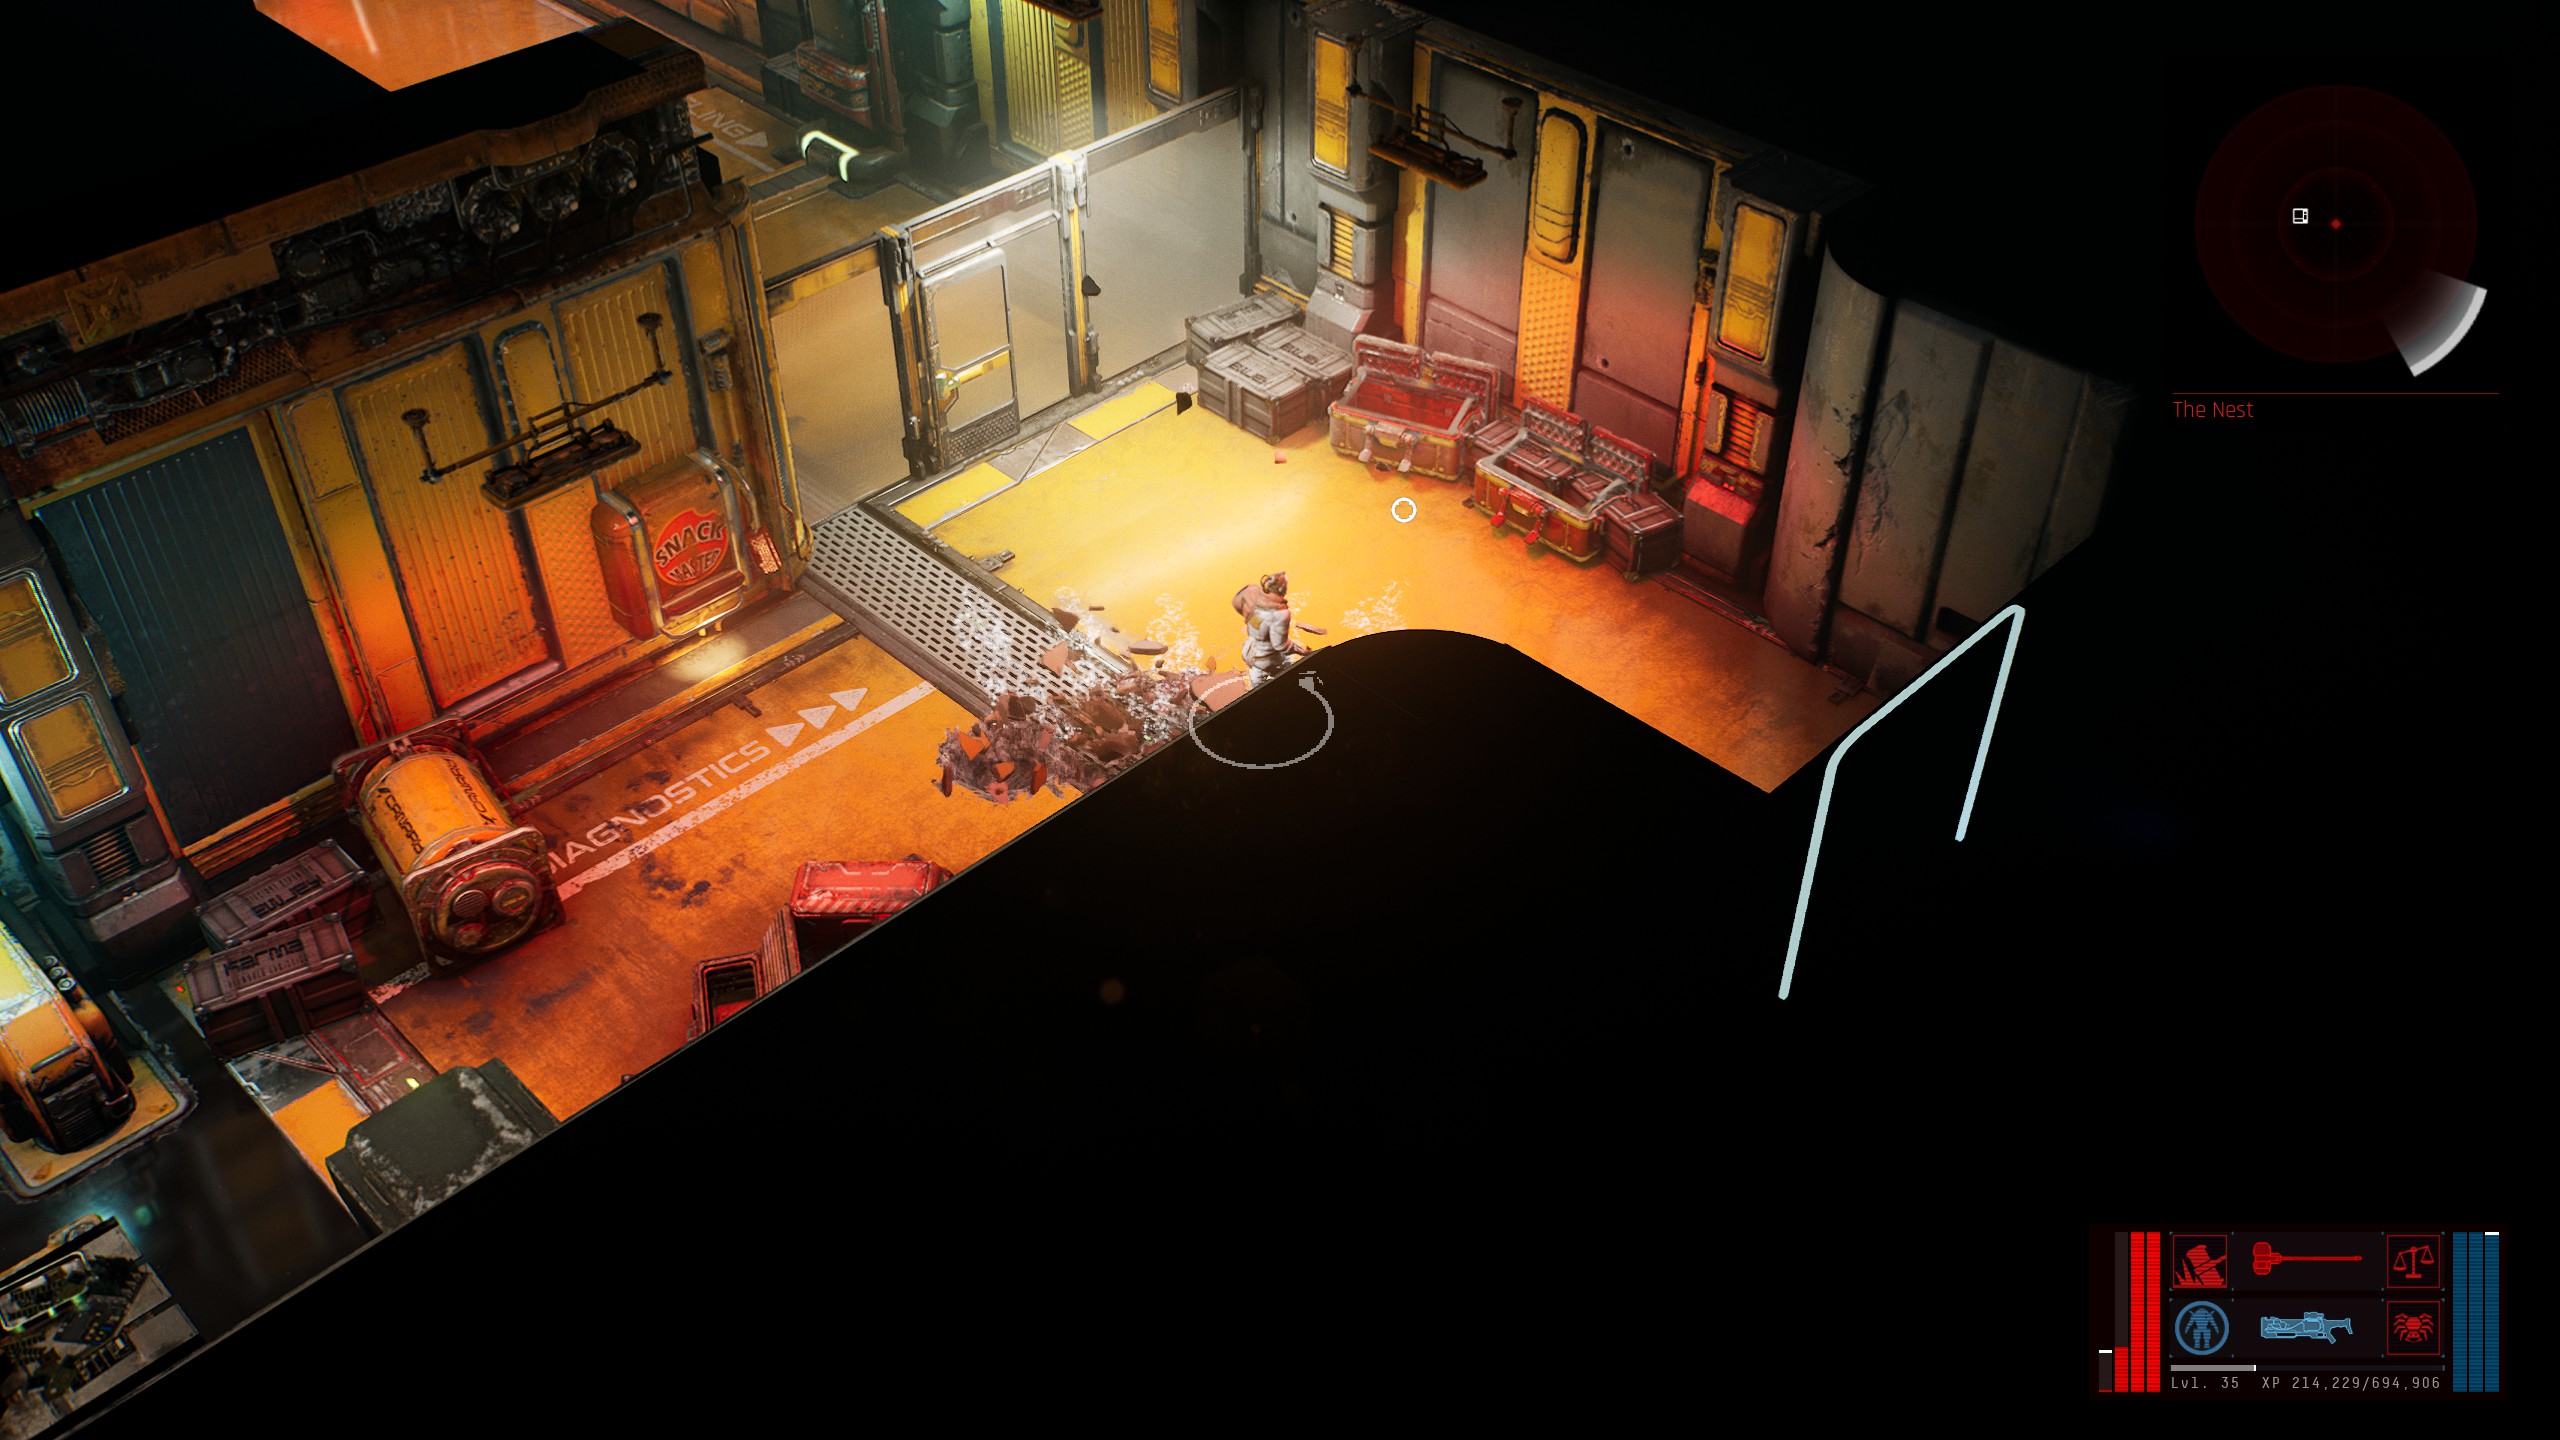
When you reach the next level, head right and you’ll reach and outside area. Go down this elevator.
When you go down the elevator, head right and you’ll see a ramp with a mech guarding and other enemies.
Possible for LVL 35 Bounty here!
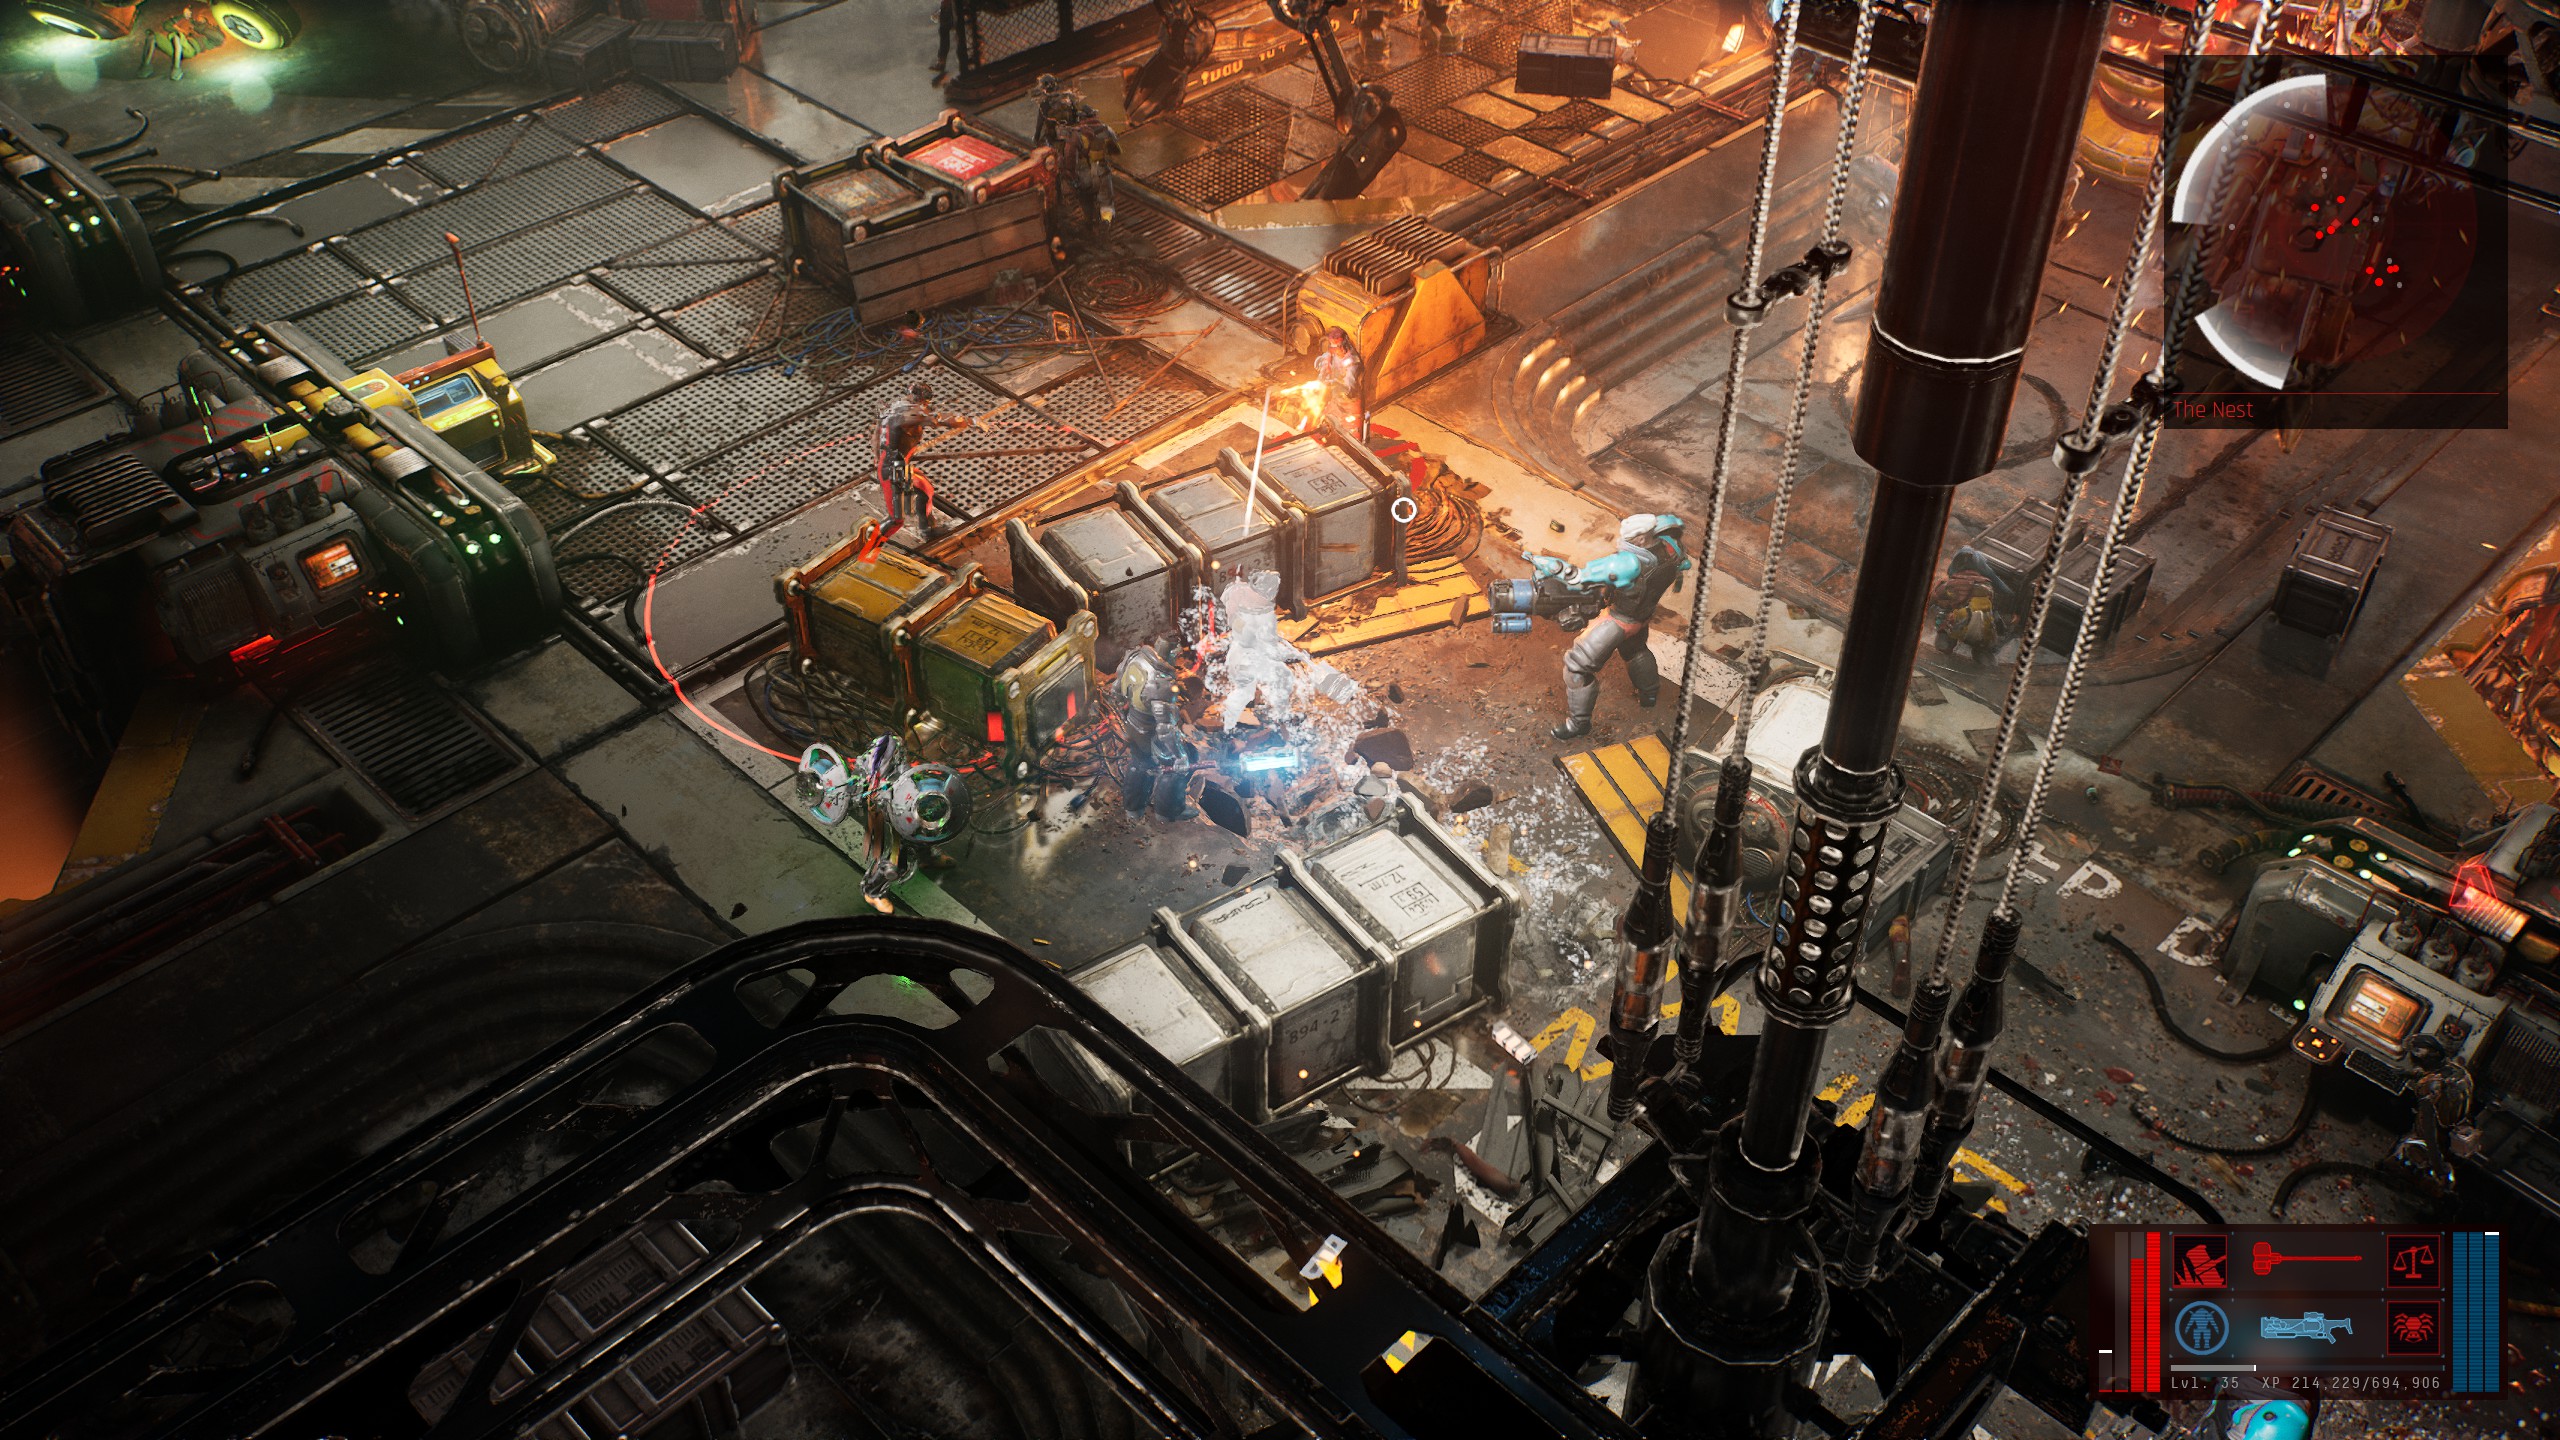
If you don’t find a level 35 bounty here, head down the ramp and you’ll reach this door… Enter the door.
Head left once you enter, and you’ll reach a large manufacturing room.
Possible for LVL 35 Bounty here!
If you don’t find a level 35 bounty, reset by dying to an enemy. Taxi to another one of these locations and search those or come back through this location.
메모: Some people have mentioned finding a level 35 bounty here. Although I didn’t have the luck when running this location for a couple of hours, I wouldn’t pass it up.
위치 3 (MG Military Base)
Area on map
- MG Military Base
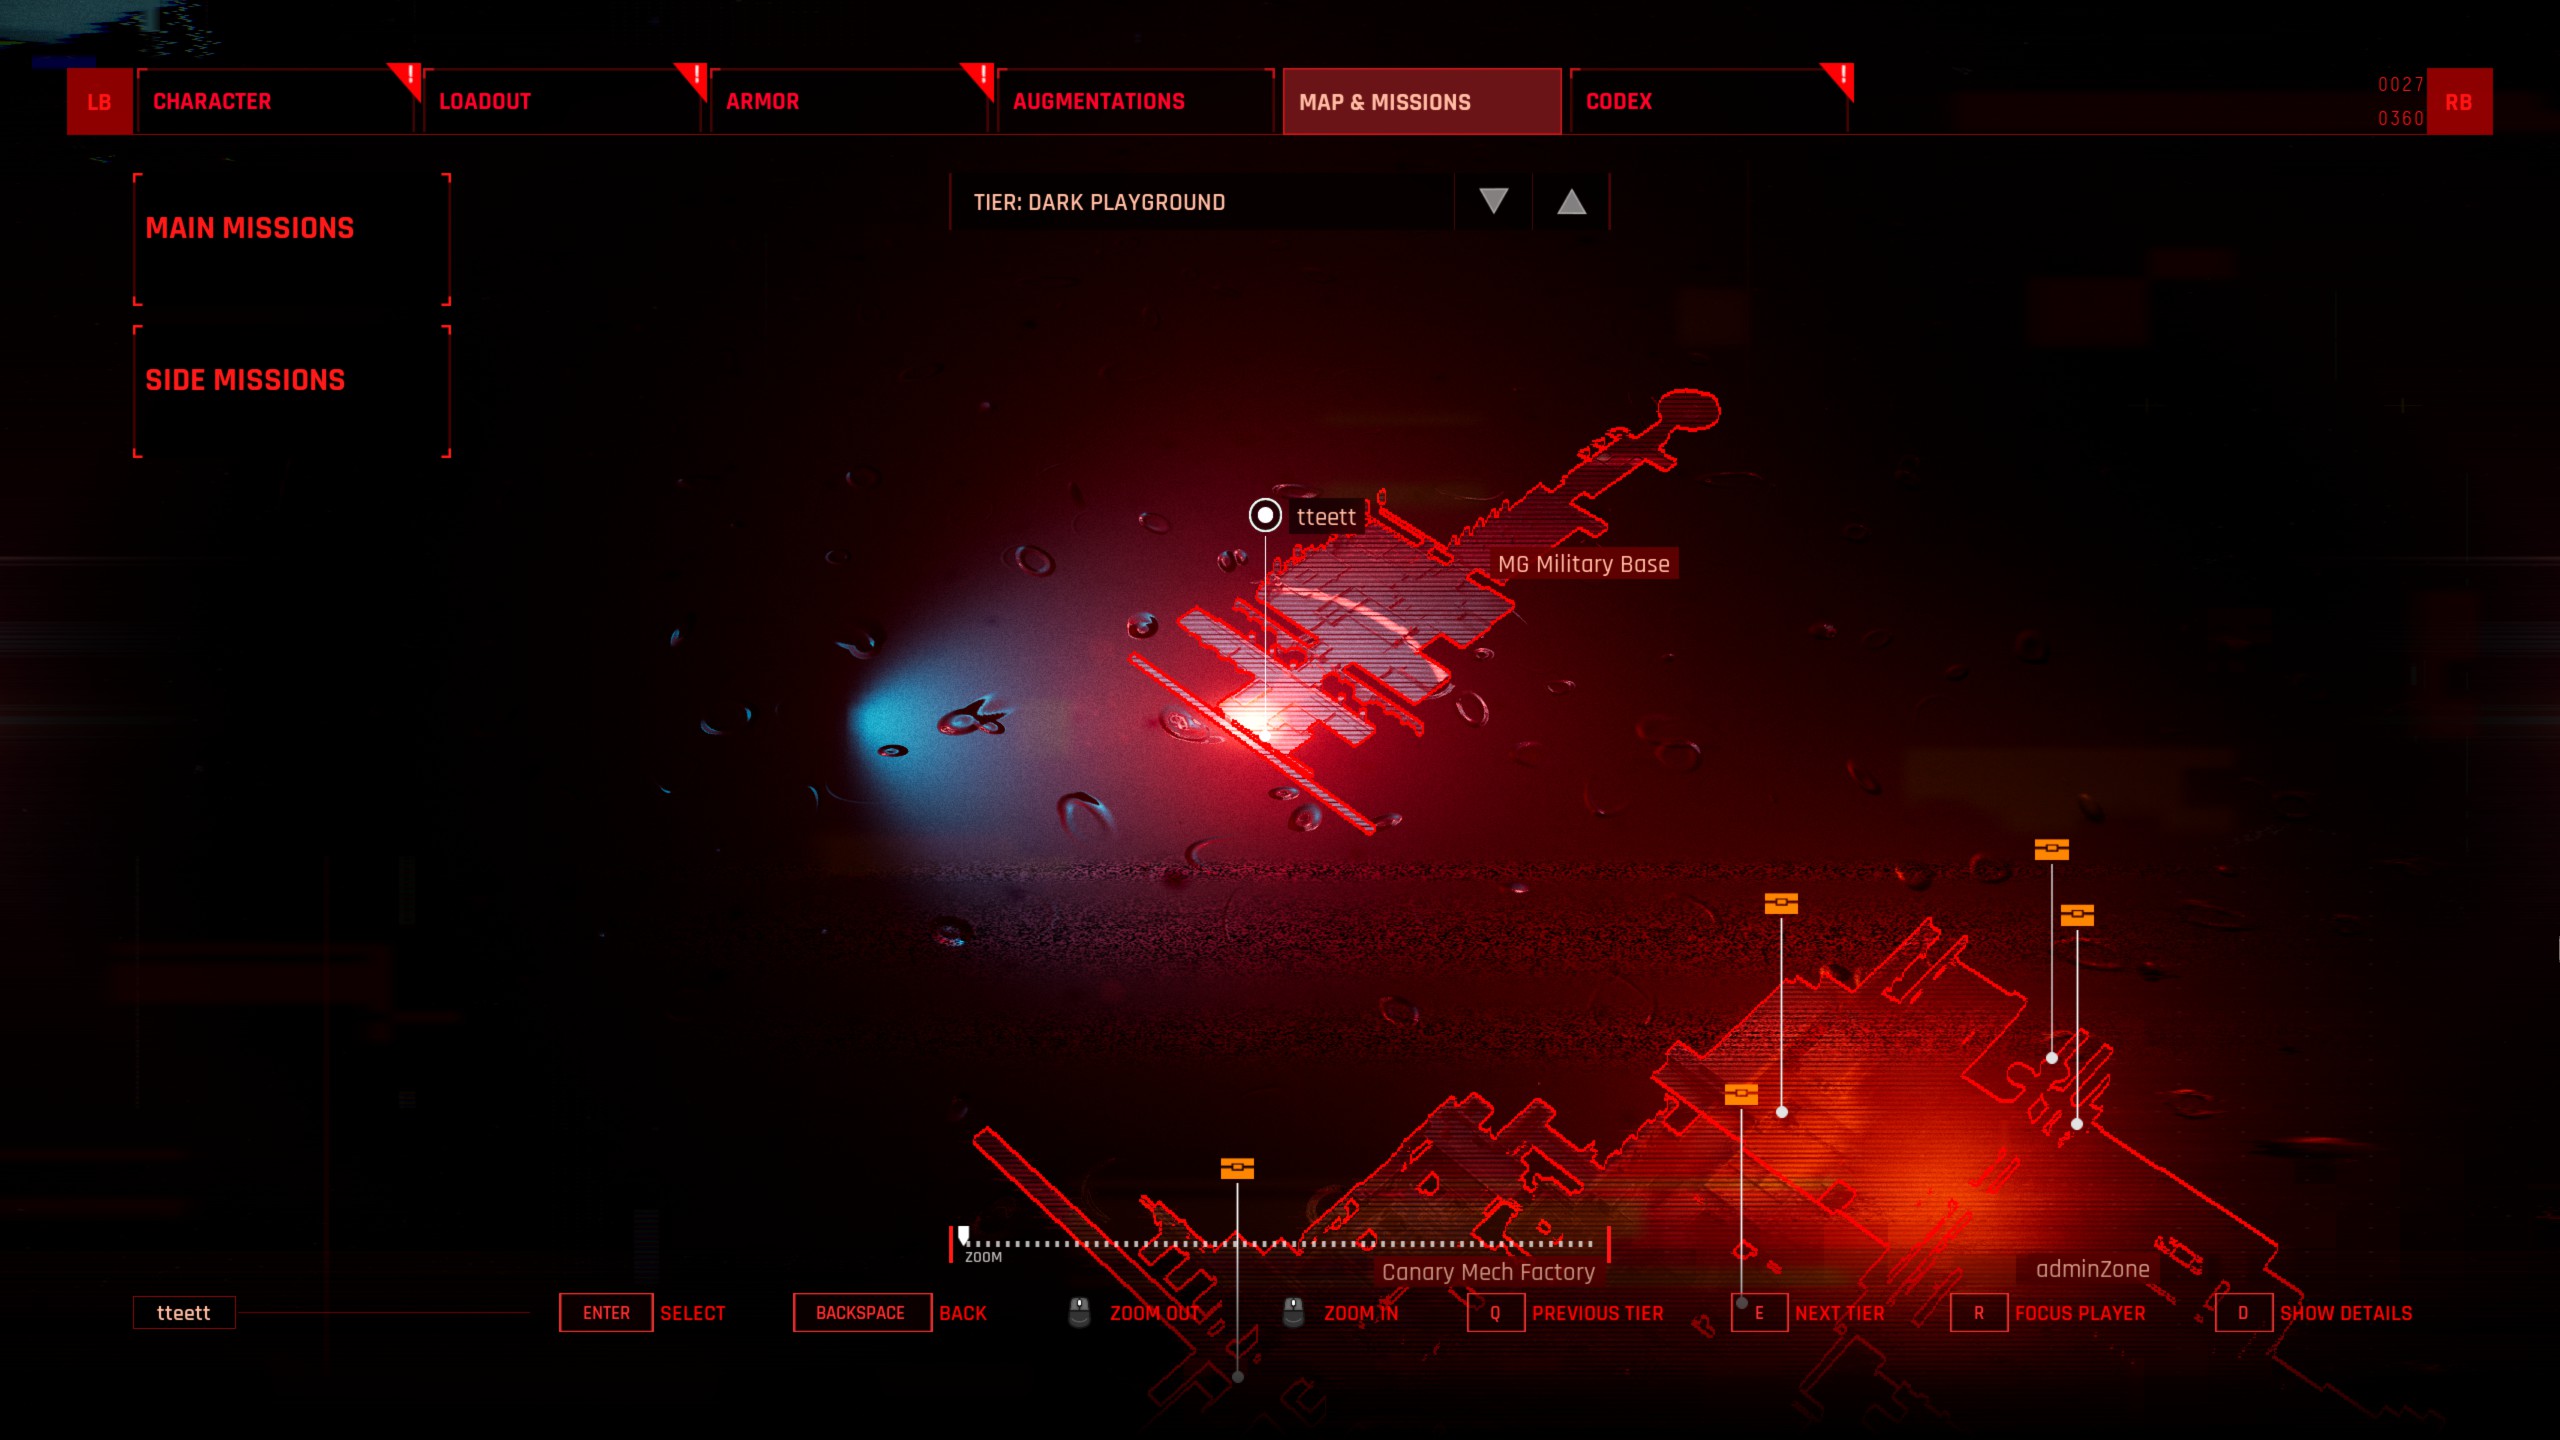
When you taxi to MG Military Base, you’ll be dropped off here.
Run up, and you’ll see a large mech and some MG guards.
Possible for LVL 35 Bounty here!

메모: Some people have mentioned finding a level 35 bounty here. Although I didn’t have the luck when running this location for a couple hours, I wouldn’t pass it up.
위치 4 (Zell Boss Fight)
When fighting Zell, guards will keep respawning as long as Zell is still alive.
Possible for LVL 35 Bounty here!

메모: Some people have mentioned finding a level 35 bounty here. Once you complete this boss fight you’re unable to run through it again.