

Got a race that you like and a ship that you don’t? Yet no one on the Workshop has made a mod to give it the ship you want? Here’s how to do it yourself.
시작하기
Tools and Organization
첫 번째, you’ll need a way to extract .paks, and to create them if you want to release the mod. While Starbound does technically come with a tool for that, a lot of people – myself among them – prefer something with a graphical interface. 나는 사용한다 PAKit Make sure to read the Guide on the site for installation and basic functionality instructions; it’s not hard, but you’ll need to point it at a few specific files.
완료되면, I recommend organization. 관찰하다:
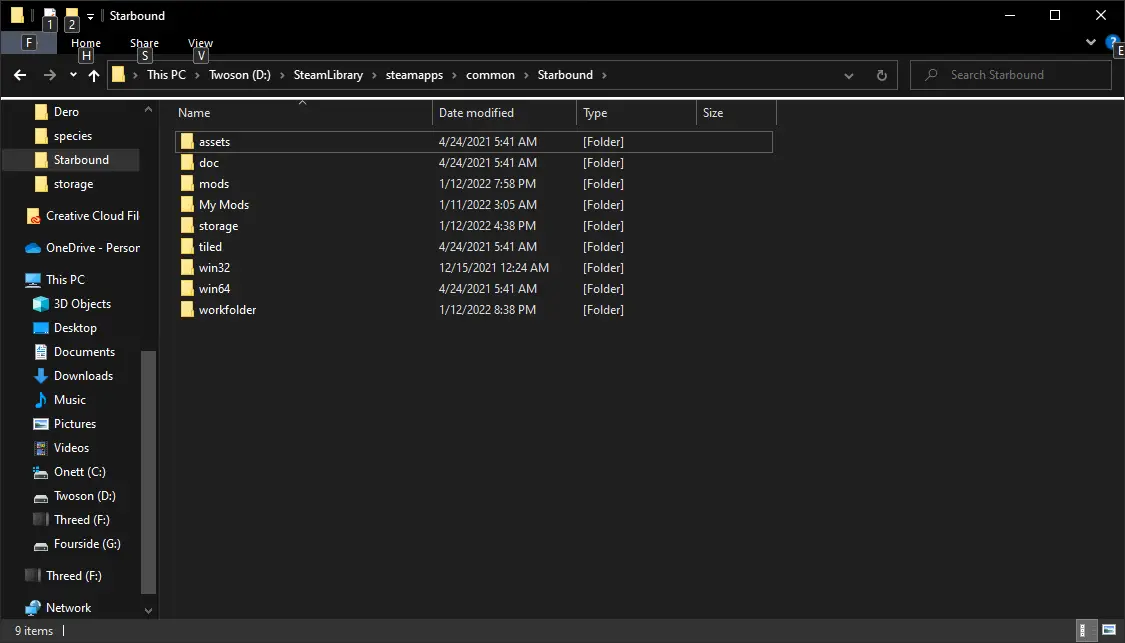
/workfolder/ is where I put extracted paks that I’m working with. /My Mods/ is where I put works-in-progress. Your own organization approach may vary, but I recommend keeping “things I’m making” separate from “things I’m extracting”.
다음, you need a race and a ship. If you’re working with a vanilla race or ship, you’ll find their content in /assets/packed.pak.
Workshop races are a trickier matter. The easiest way to find them is to middle-click on the mod in question in the workshop, to pop it out in a new window. The new window will have the URL on it:
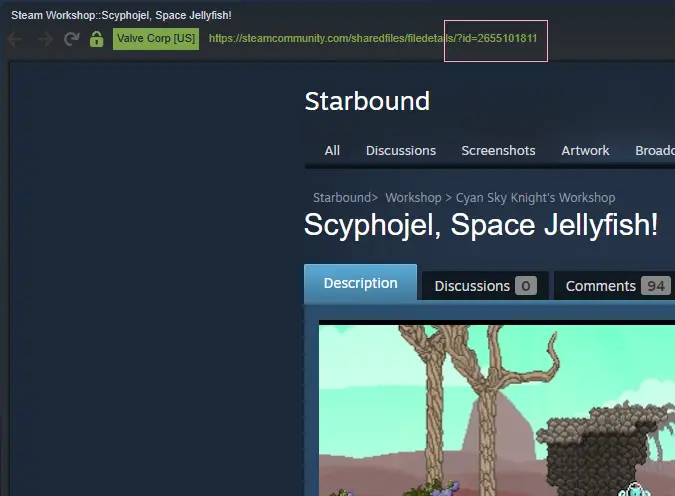
You can see it here. Look in the pink rectangle there and you’ll see a number. Copy that entire number, that’s the Workshop ID. You can also get this number by right-clicking on the workshop page and selecting Copy Page URL, but you’ll have to paste it somewhere to just get the number.
다음, go to your Steam Library on the same drive Starbound is installed to. It should look somewhat like this:
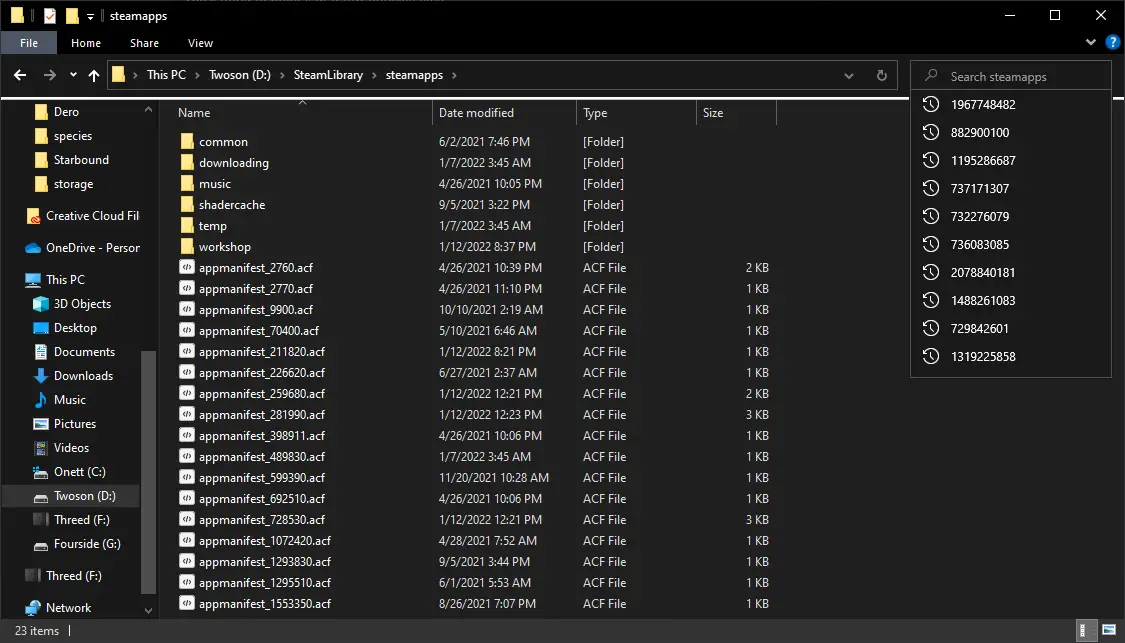
See in the top right, above all those numbers? That is where you put the Workshop ID. Hit enter, and it will search for the mod for you. It will, usually pretty quickly, find a folder with that number as its name. Enter that folder and copy the .pak elsewhere, wherever you intend to work with it at. If you’ve gotten a ship this way that you don’t intend to use in its original mod, you can unsubscribe now; you’ll still have to be subscribed to the race you’re playing, 물론.
당신이 그것을 가질 때, copy the /ships/ folders to separate locations, keeping the structure intact. 즉, don’t take /floran/ out of /ships/, move the entire /ships/ folder. Certain ships also have additional blocks in other folders, the Soma being the main one that comes to mind. If you’re working with a ship that has those, make sure you copy those folders too (and keep the folder structure intact!), or you’ll crash. 마지막으로, if you’re replacing the ship of a modded race you want to play as, copy that race’s _metadata file, and set that aside for later.
Replacing a Ship
괜찮은. Now you have your race’s original ship and your desired ship extracted. Open those folders up and take a look.
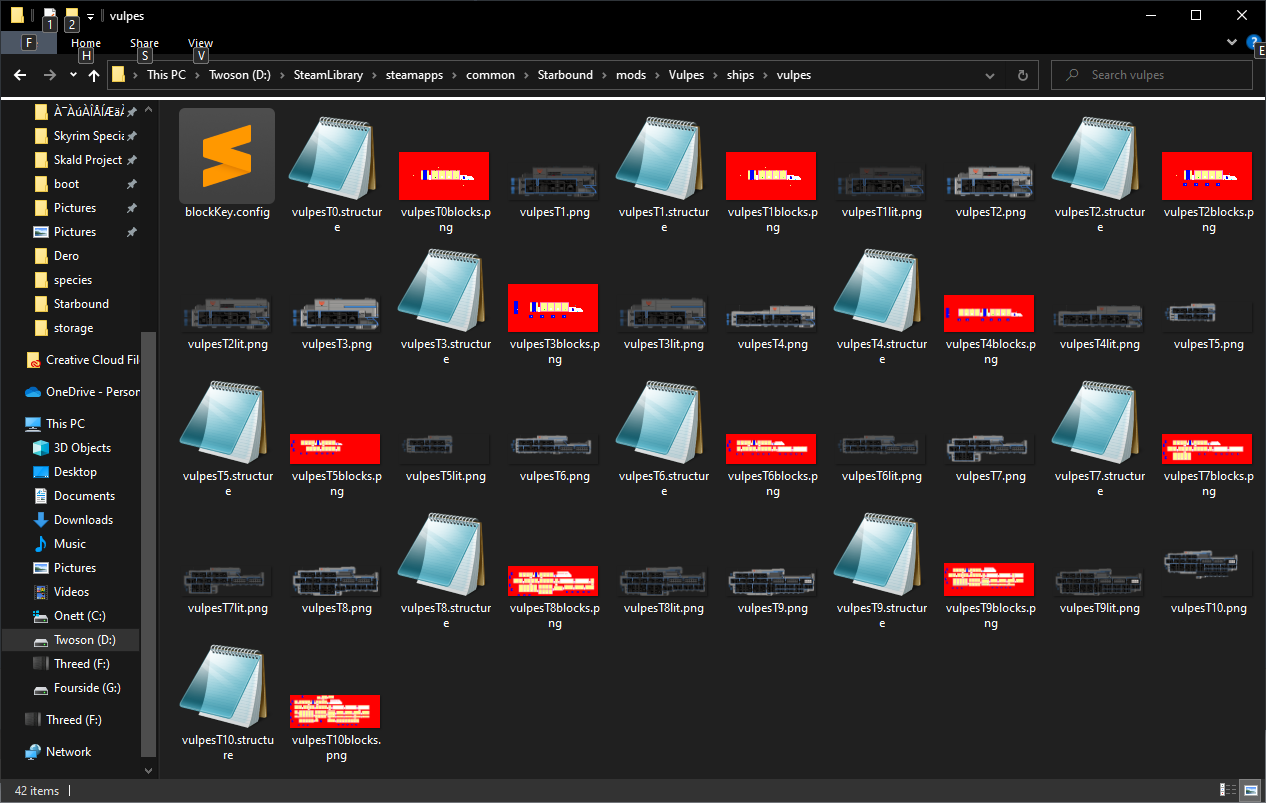
지금, this is a lot of files! The good news for you is, this is way easier than it looks. Note first how each is named. The easiest way to do this is to copy everything except blockKey.config from the ship you want over the current ship, and rename the .structure files to match what the race currently has. 이 경우, I would rename all the .structure files – but not the .pngs! – to vulpesTx.structure. The .structure files you copy will point to the names of the pngs used by the new ship, without any further editing. And because the .structure files still have the original name, the race will already be pointing to those. 이쪽으로, you don’t have to mess around with JSON .patches, which can sometimes be a pain.
There’s just one more thing to address, and that’s the blockKey.config. 지금, the easiest way to do this is simply to copy that from the new ship as-is and leave it alone. 이것, 하지만, would leave you with the new ship’s SAIL, locker, 등 – which is a problem if it’s a ship for a race you don’t have installed. 예를 들어, maybe you want that nice black-and-white Soma but you don’t use the Ningen. That’d crash because the furniture doesn’t exist, 그래서, let’s open that up before copying it over. Open the race’s original blockKey.config too.
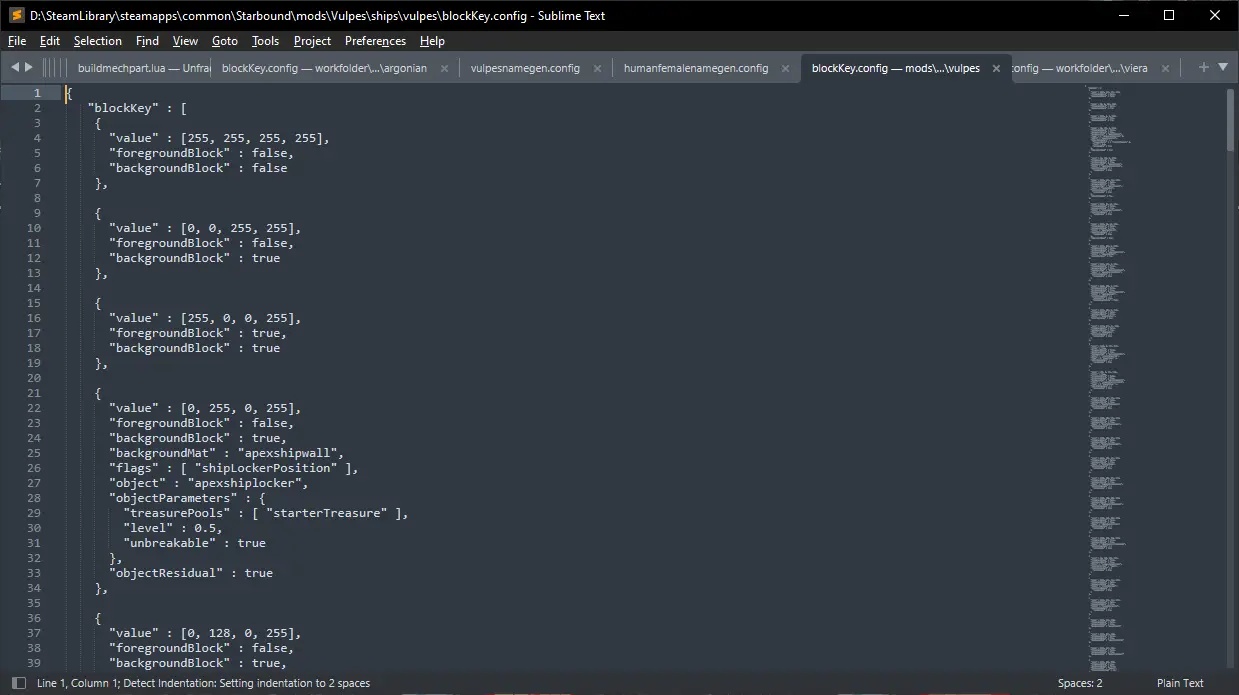
I’m using Sublime, but Notepad works just fine too. You’ll see that this ship points at Apex resources. Check the race you want to use to see how their objects are named, 그리고 – if you want to use the race’s original objects – correct the ship’s blockKey.config to match for those specific parts before you copy it over.
Creating the Mod
This part’s easy. 대개.
Go to your /mods/ folder, and create a new folder. This one can be named anything; that’s your new mod. 다음, put the /ships/ folder you’ve been editing in there. If you’re working with a ship like the Soma that also has an /objects/ folder, also put that in the main mod folder, on the same level as /ships/.
지금, this is where _metadata comes back. Open the race’s _metadata in Notepad, it’s just a plain .txt. 다음과 같이 보일 것입니다:
{
  "버전" : "알파 1.2",
  "작가" : "Khioni",
  "tags" : "Species",
  "설명" : "FF12/Tactics (Ivalician) Moogles in Starbound.",
  "이름" : "projectmooglebound",
  "friendlyName" : "The Moogles of Ivalice"
}
보시다시피, there’s both a “이름” 그리고 “friendlyName”. 그만큼 “이름” is the one you need here, as that’s the internal name used for an “includes” 부분, used to make sure it loads after the race in question so it overrides the original ship.
{
  "작가" : "Syovere",
  "설명" : "This is a sample metadata for a mod to replace the Moogle's human ship with something else.",
  "friendlyName" : "I Want A Soma, Kupo!.",
  "includes" : ["projectmooglebound"],
  "이름" : "kuposoma",
}
Your folder structure should, when you’re done, look like:
/Your Mod/ships/moogle/
/Your Mod/objects/ (필요한 경우)
/Your Mod/_metadata – make sure you haven’t left a .txt extension on it.
그것으로, you should be on your way.