
Instructions on how to use custom backdrops for scenarios in the new Scenario interface
The Jist
Recent updates to Sprocket have opened new possibilities to customization. One can see that a pre-added backdrop shows up when you cursor over a scenario in the new interface. This image can be changed and this guide will tell you how.
File walkthrough
Go to the following in your computer files:
This PC > 윈도우 (씨:) > 프로그램 파일 (x86) > 증기 > steamapps > 흔한 > 스프로켓 >
Sprocket_Data > StreamingAssets > 시나리오 > Splash
In splash, there should be a handful (nine at the time of this guide’s posting) .png files named:
매복, 십자로, 방어, (Not my misspelling, but Hammish’s) Dunes, 전지, NTL, (No Tank’s Land) 철도, SilentBorder, and Taiga. All of these .png files are 1920 엑스 1080 픽셀, so to avoid poor quality custom splash, use images of those dimensions or higher. 여기에서, get whatever custom image you want to replace the original with, (The custom image HAS to be a .png file, and it has to have the same name as the original image, else it wont work) and copy-paste it over the original image. Unless any of the above errors took place, you should have custom splash images!
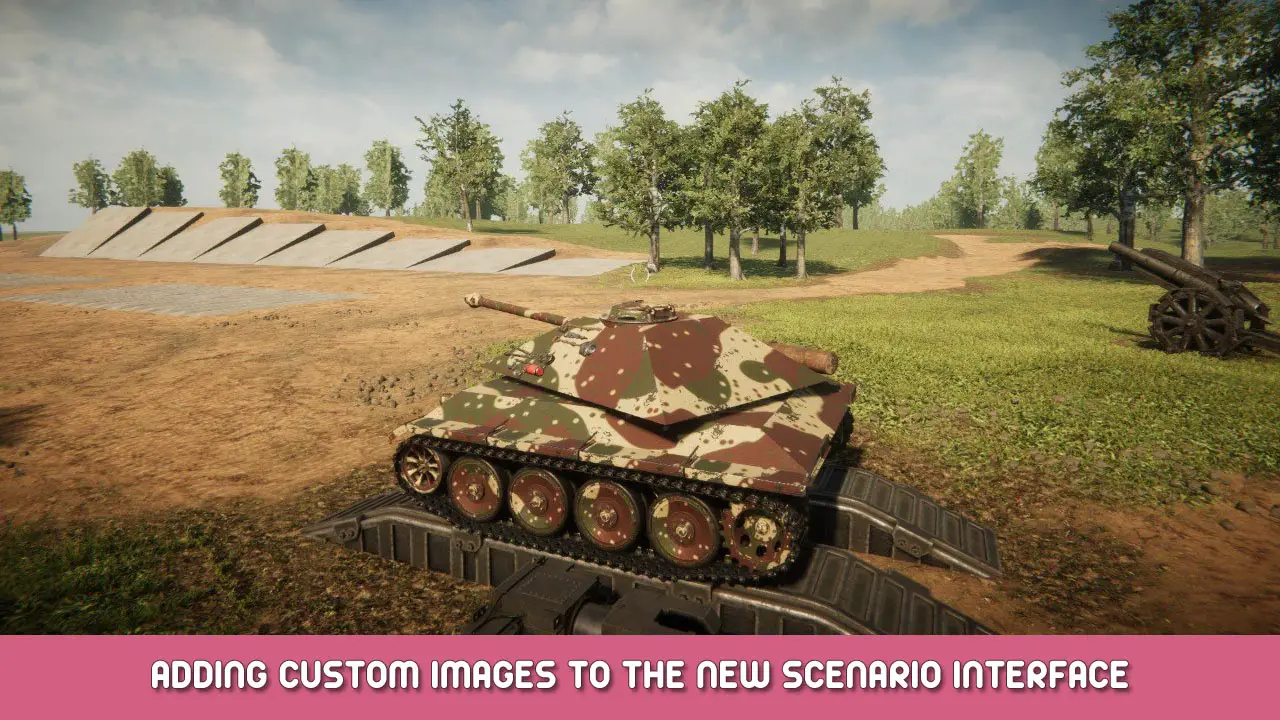
My example of the finished result

An example that I have put into my own game files: A skeptical Panther tank!
이것이 오늘 우리가 공유하는 모든 것입니다. 스프로켓 가이드. 이 가이드는 원래 작성자가 작성하고 작성했습니다. Chris Pratt "Mario". 이 가이드를 업데이트하지 못한 경우, 다음을 수행하여 최신 업데이트를 찾을 수 있습니다. 링크.