
- 제목: Selaco
- 출시일:
- 개발자:
- 발행자:
Information about Selaco is still incomplete. 이것을 사용하여 게임의 세부 정보를 입력할 수 있도록 도와주세요. 문의 양식.
This guide shows you how to get all the secrets, data pads, 업그레이드, trading cards, and cabinet cards needed for 100% 완성.
기미
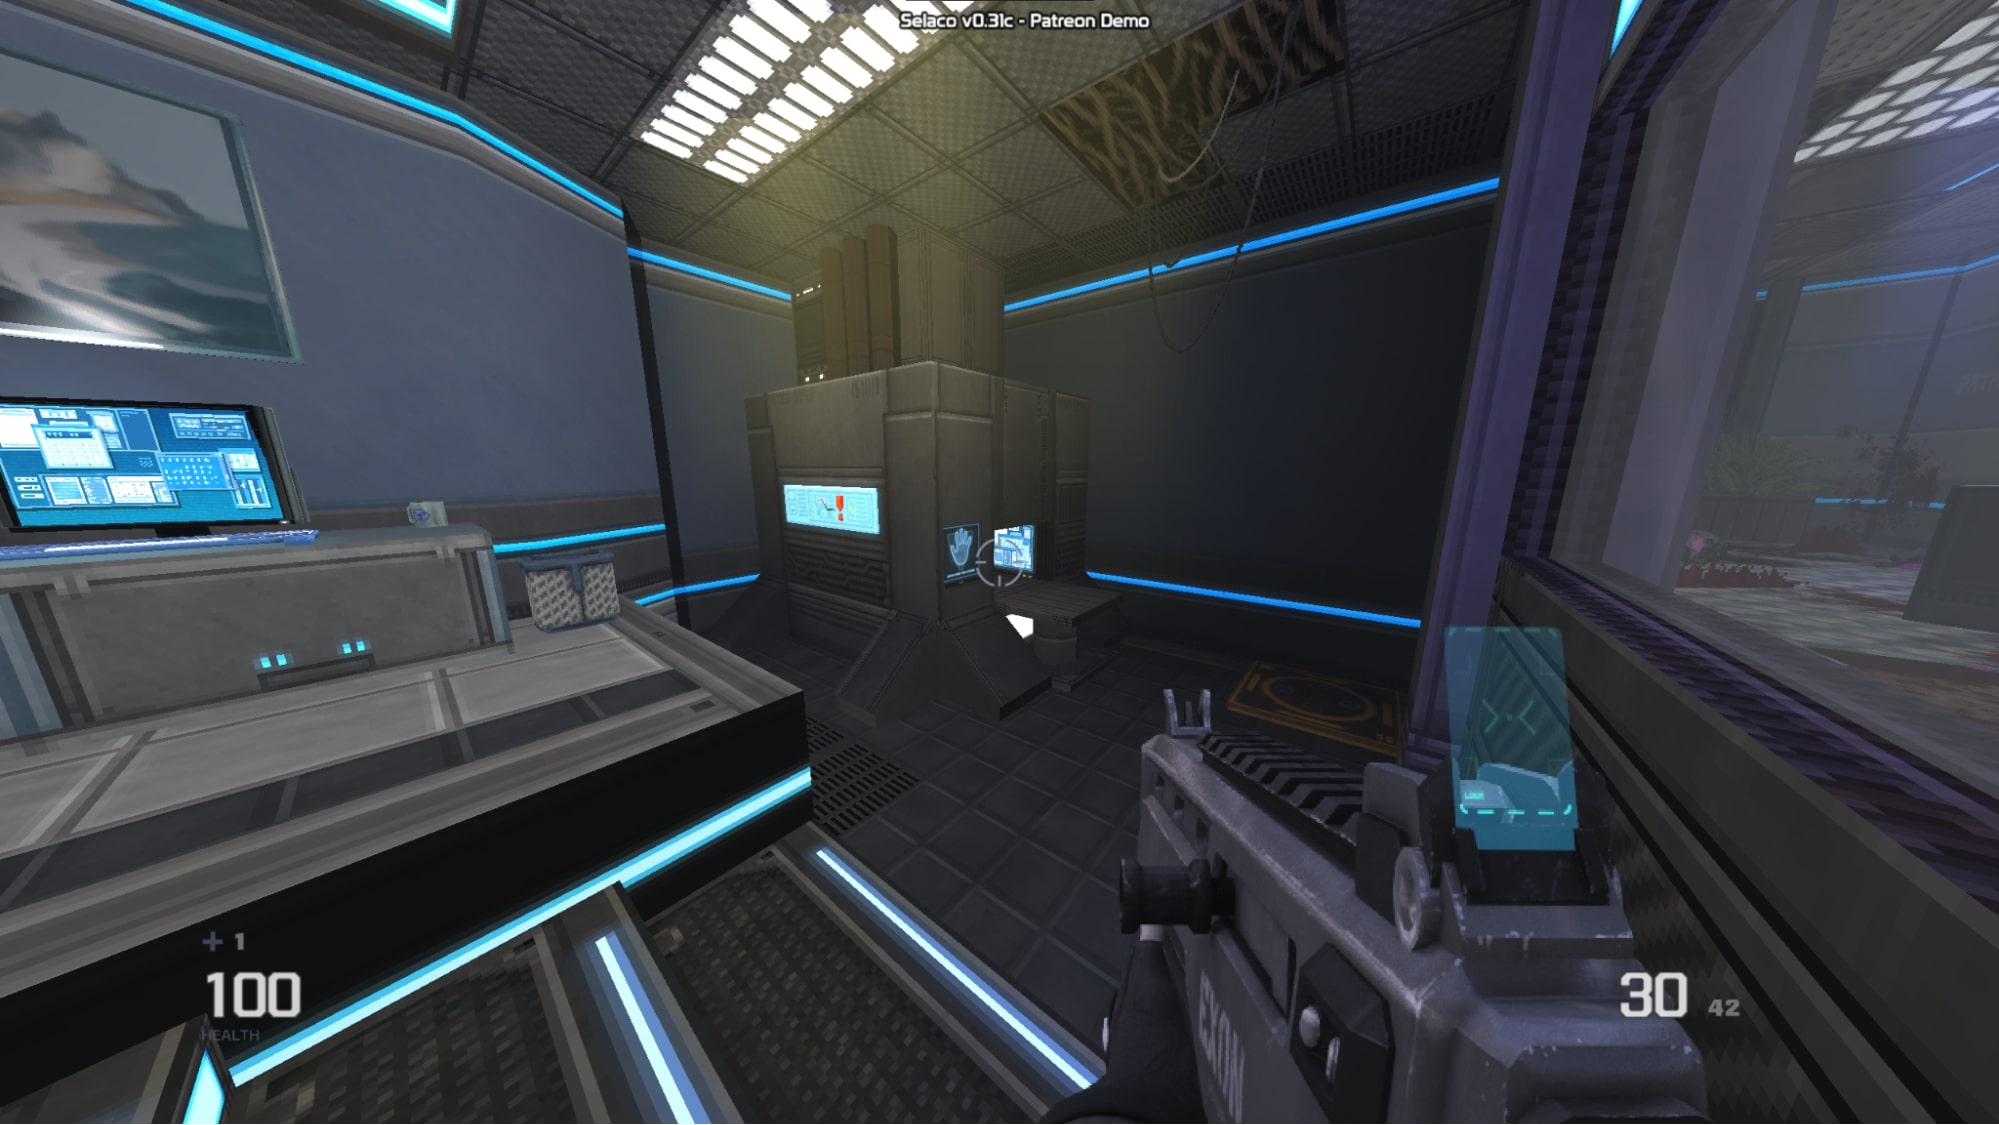
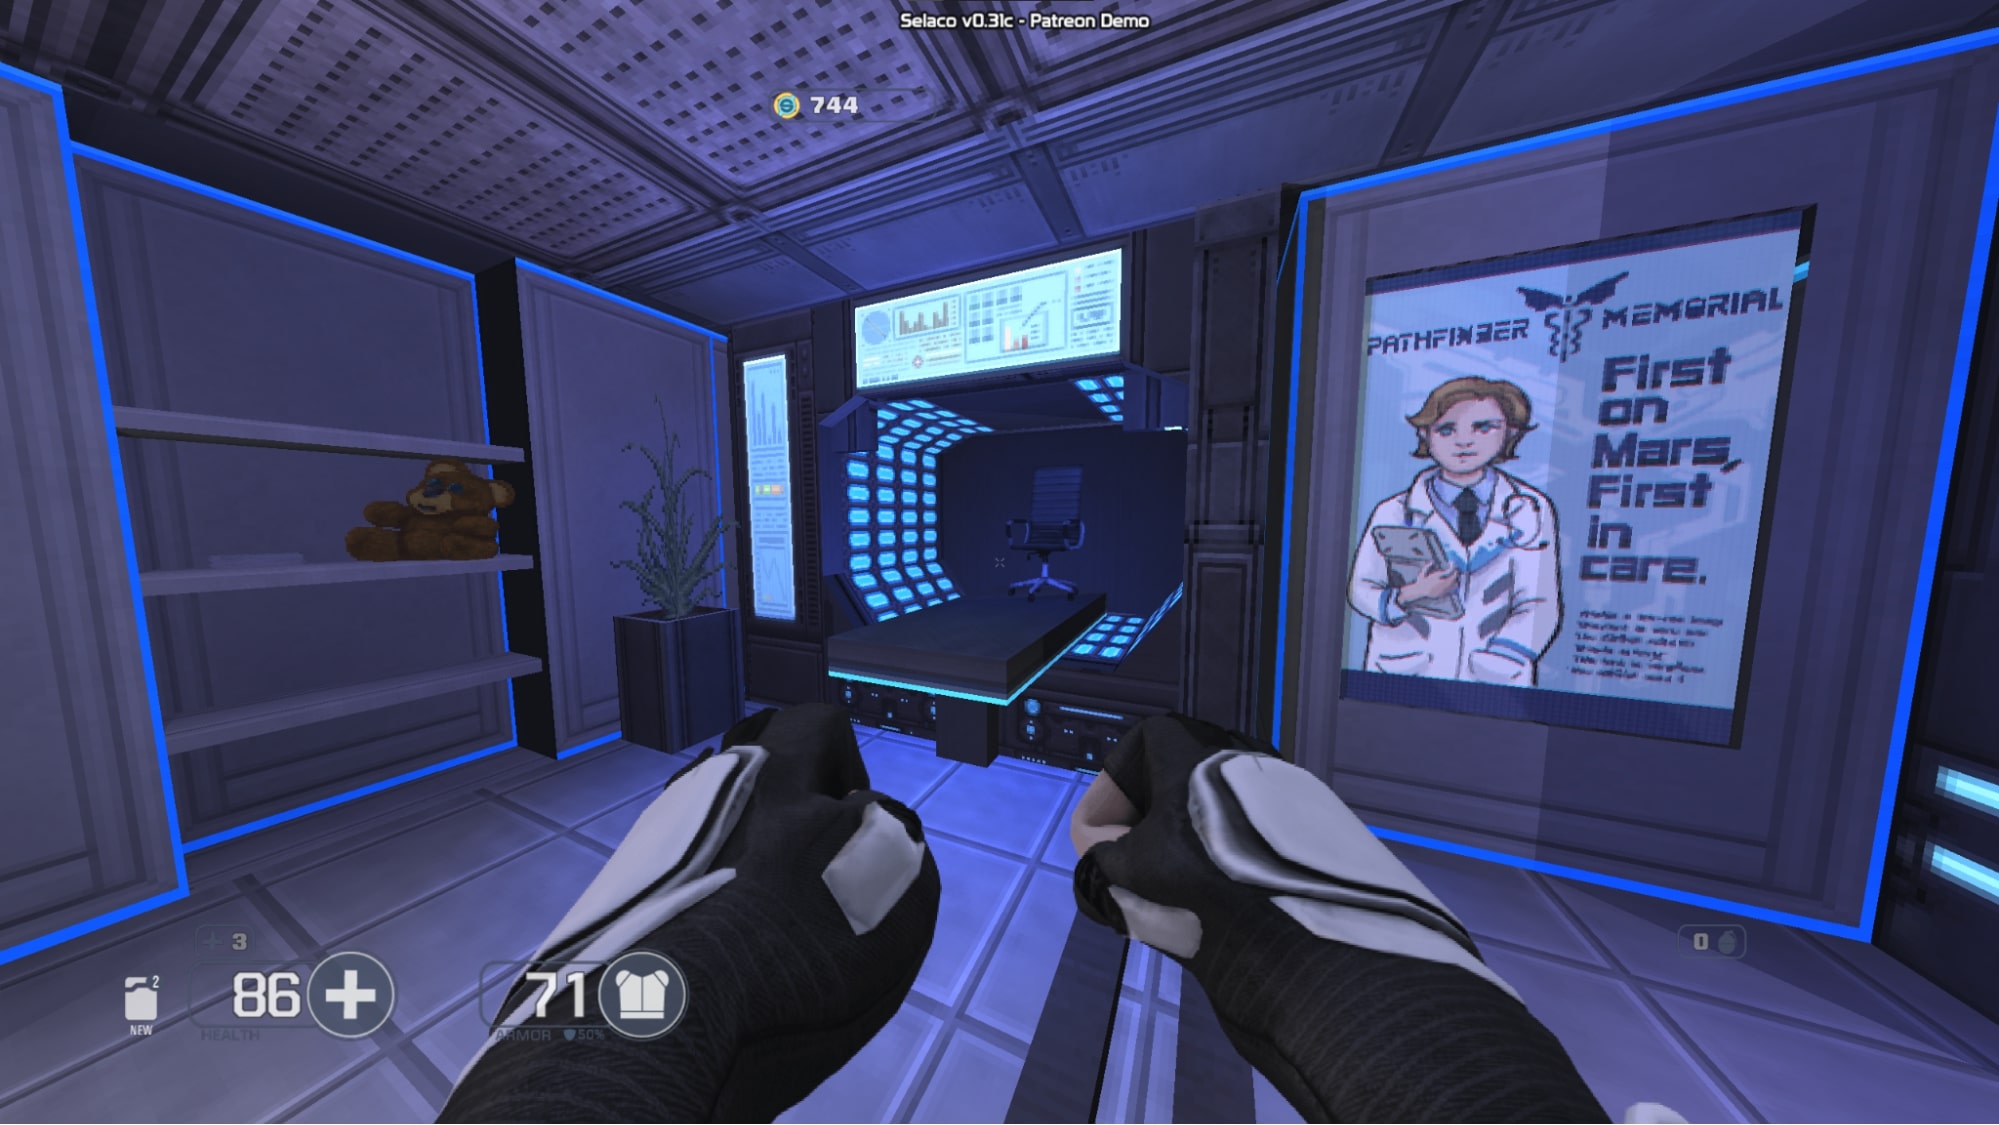
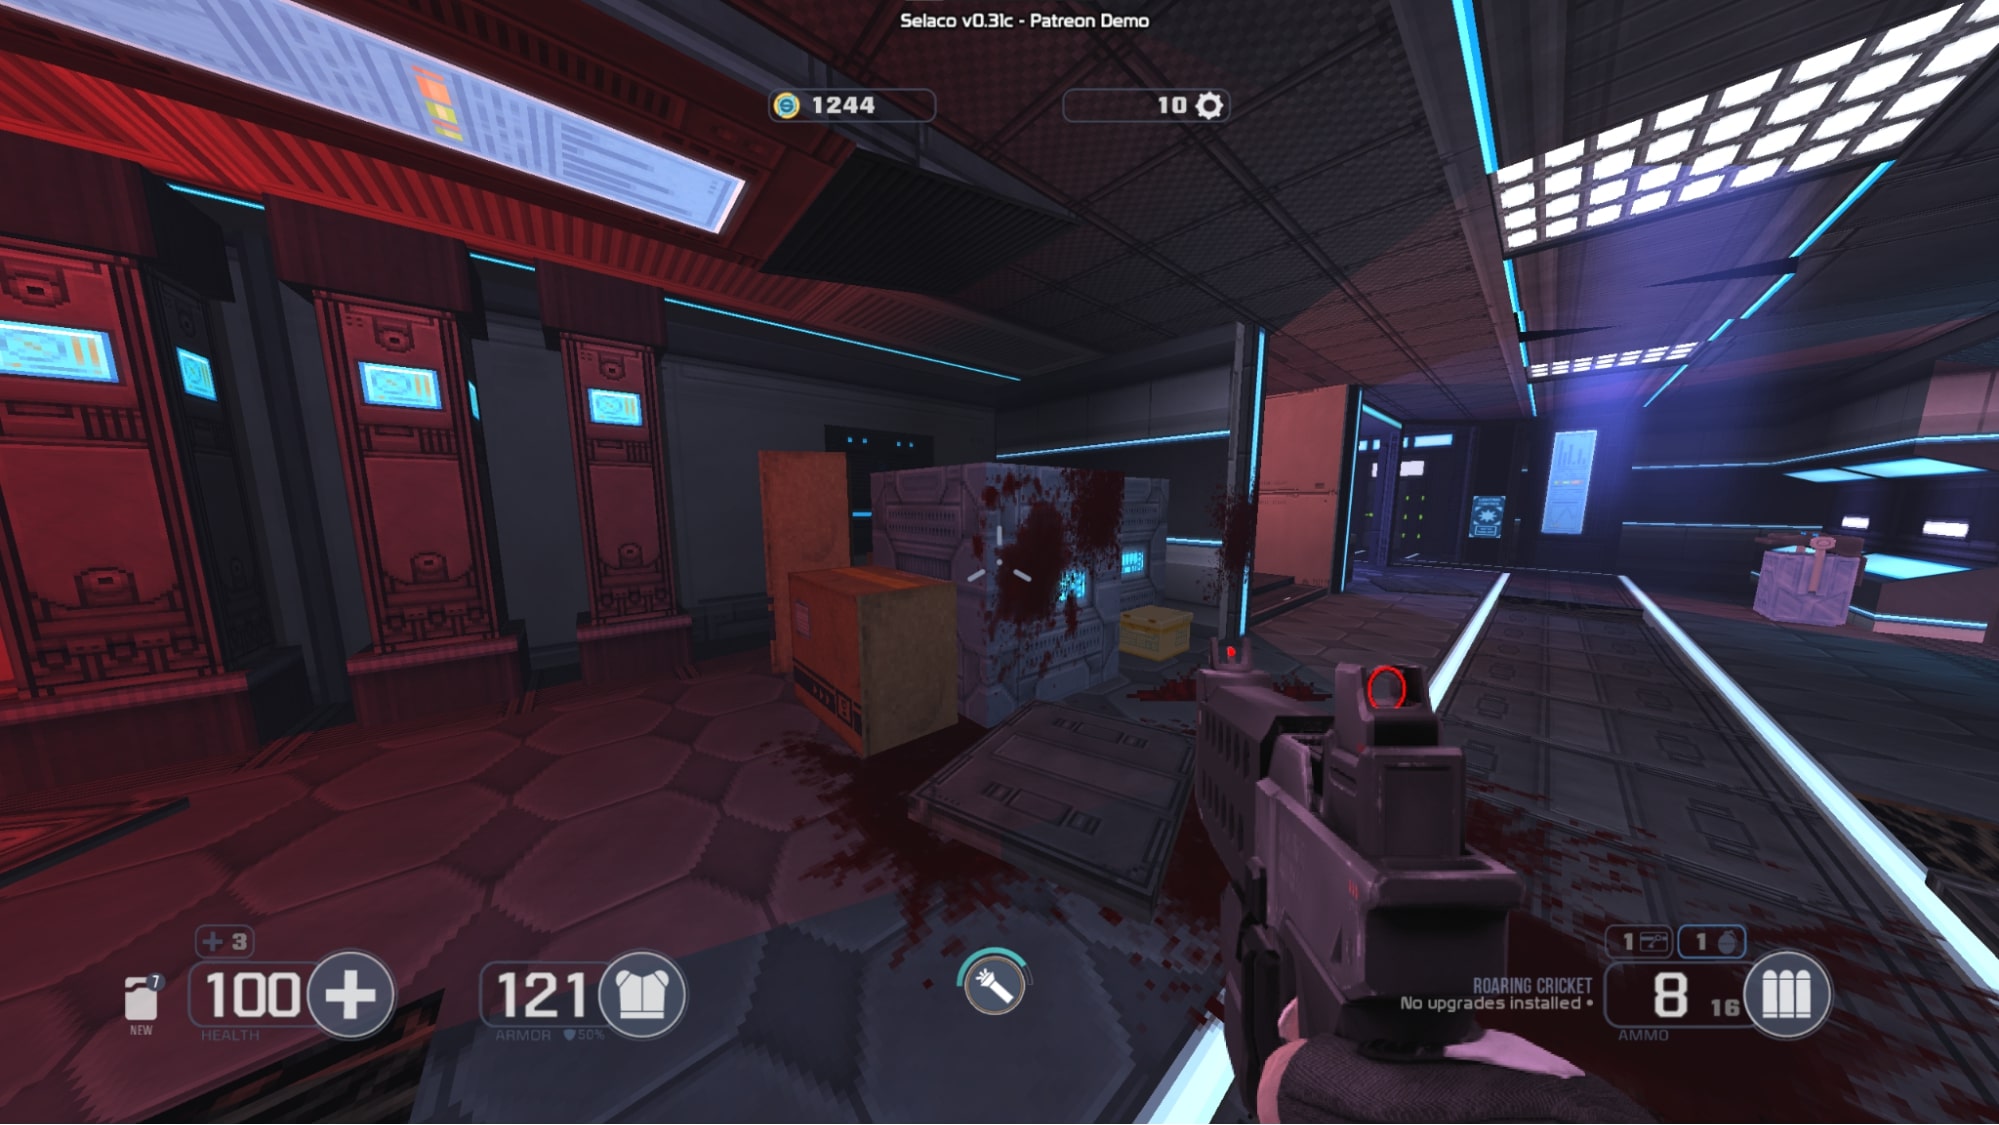
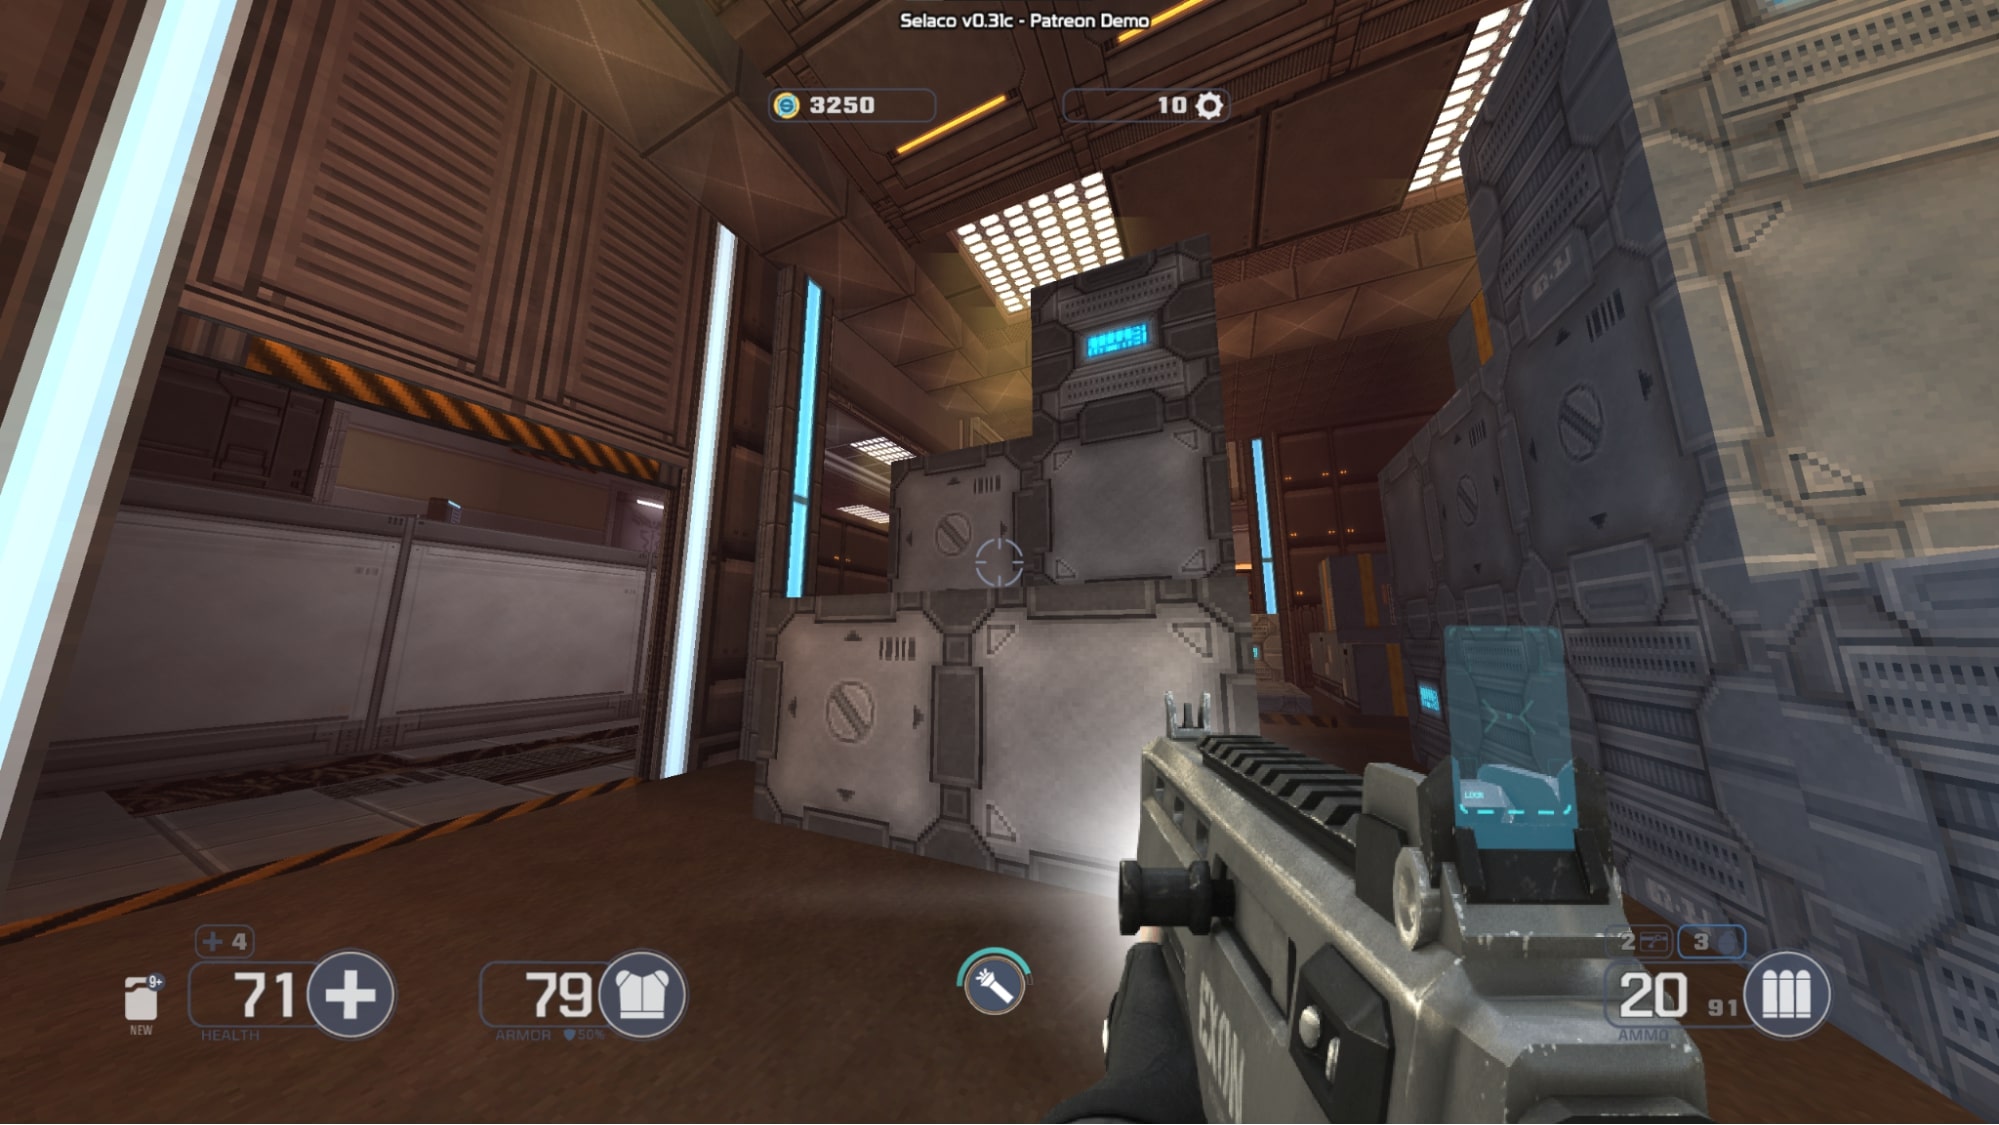
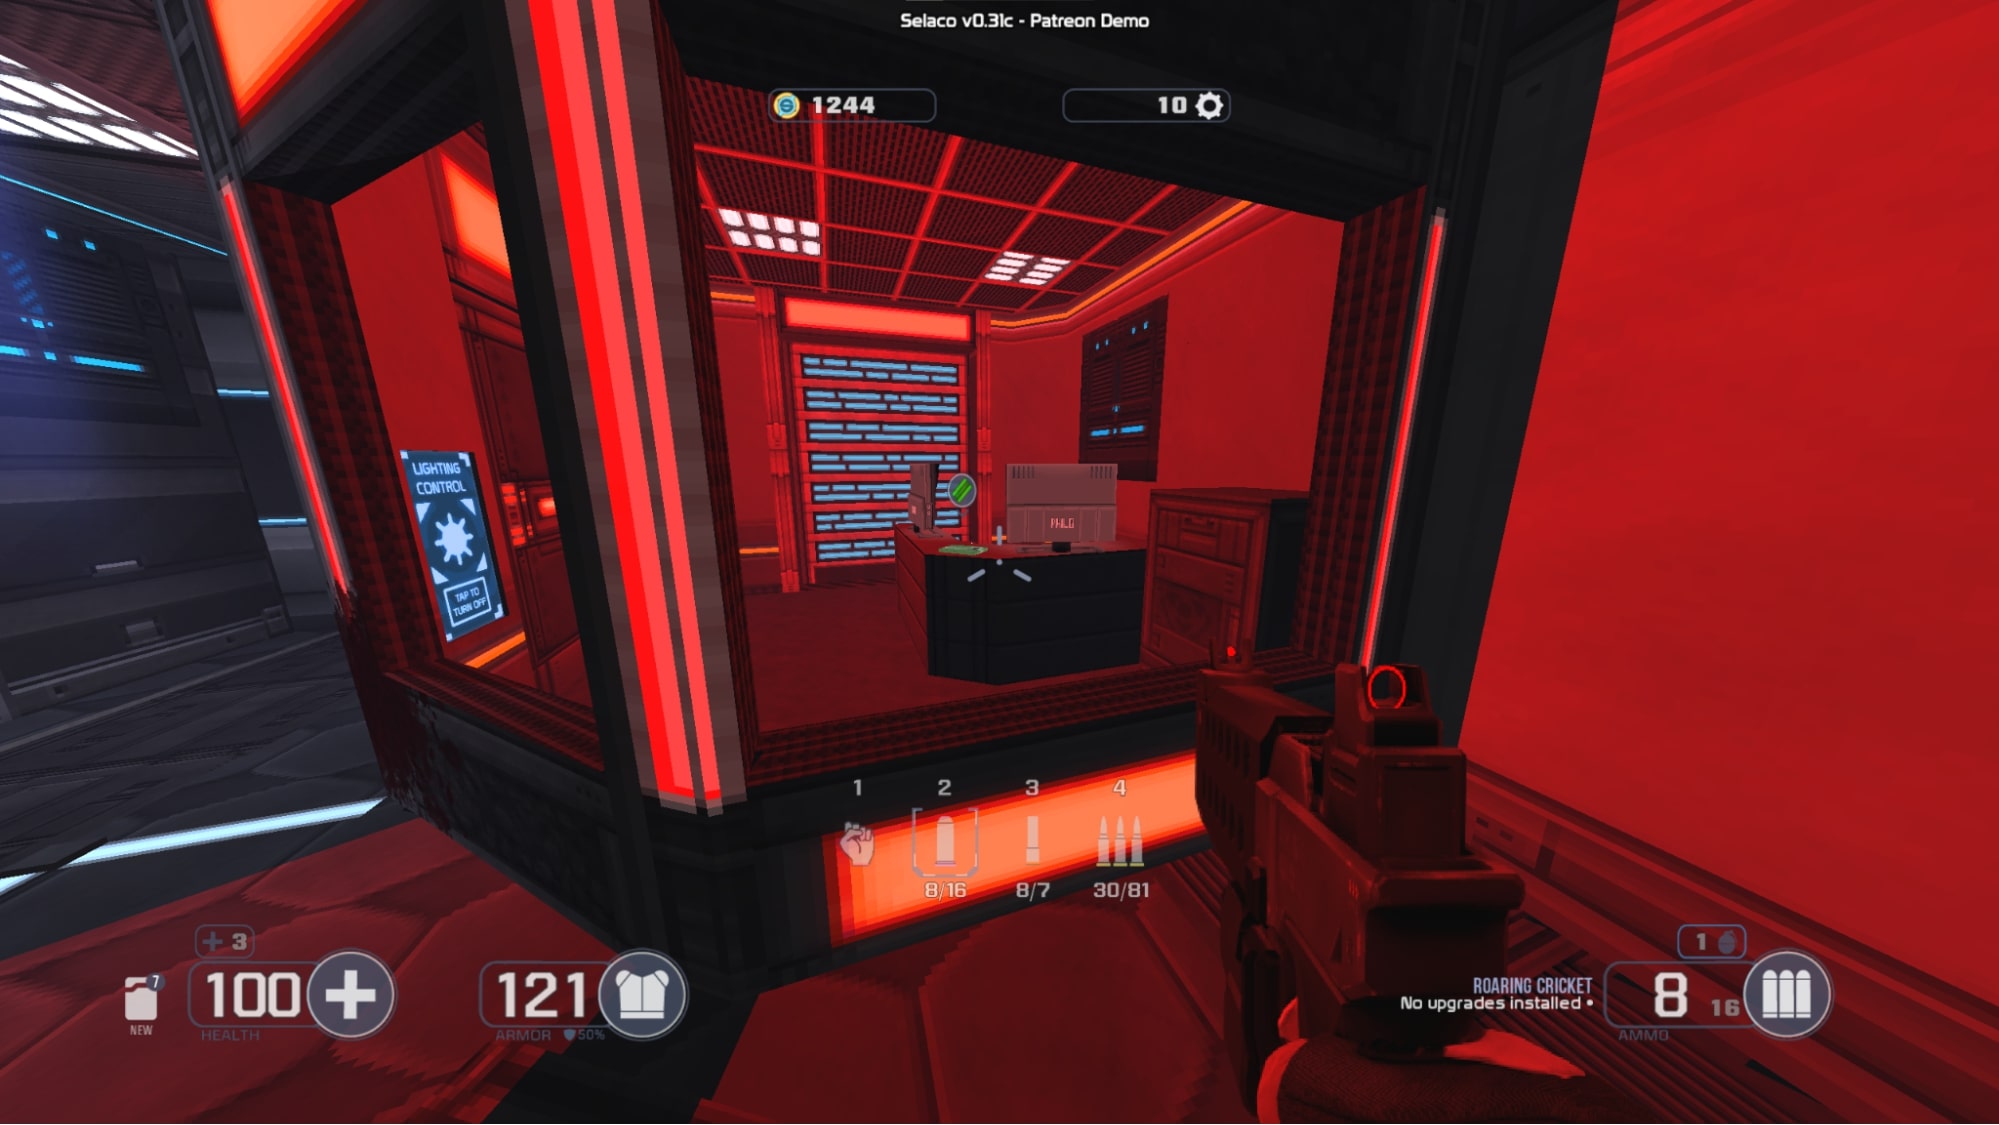
#1 – After getting the Assault Rifle, go to the first room you can enter from the hallway. It has something in there that looks like an MRI but isn’티. There is a secret switch in this room. Jump on top of the big machine in the room and go to the back side of it. When you flip that switch, a secret door just outside of the room will open
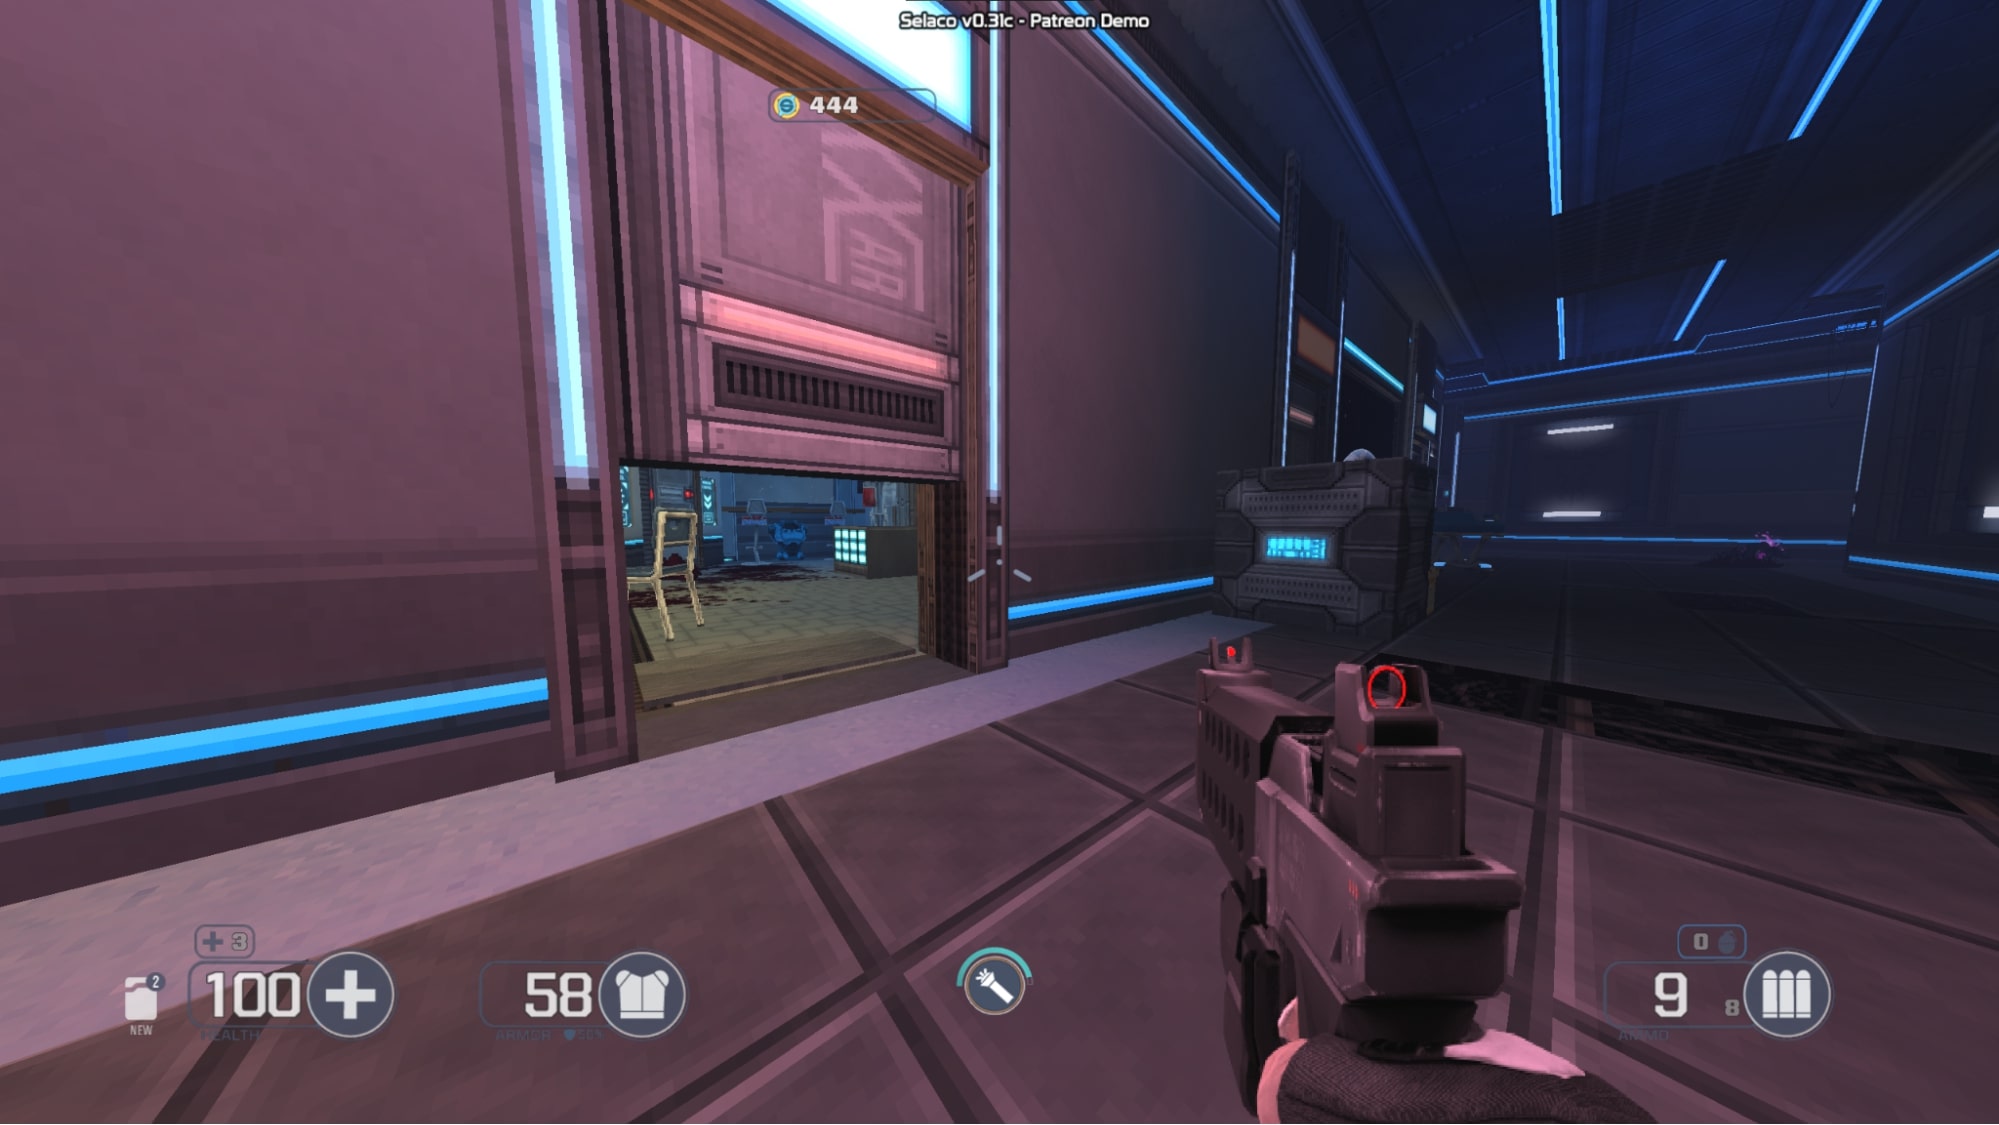
#2 – After you get Dawn’s suit and the roaring cricket, instead of sliding under the next door like the game wants you to, go down the hallway you ran through at the very start of the game, straight out from the purple door. Simply slide under this door to get this secret. There is also a trading card in this room.
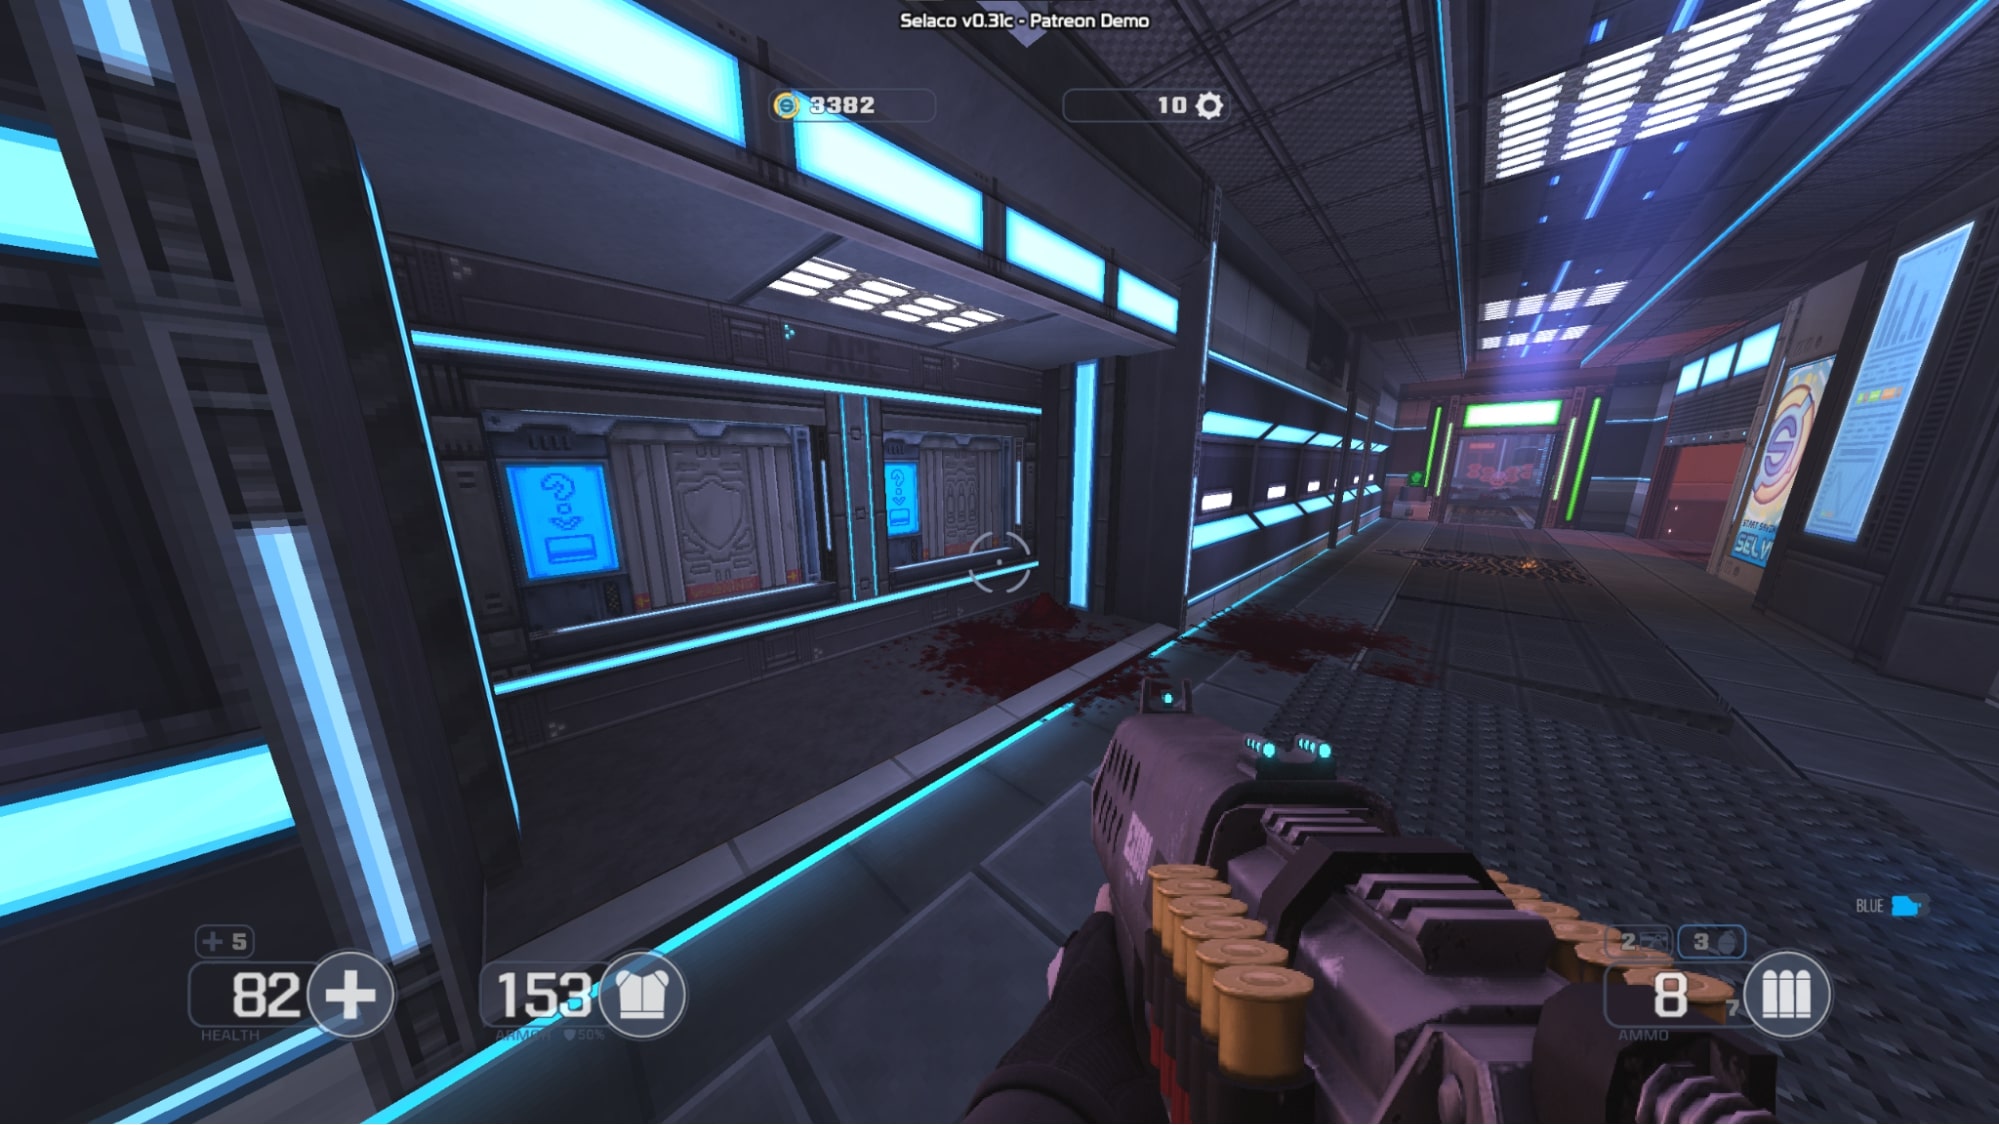
#3 – Right next to the previous secret, there is a safe with two barriers in blocking it. Destroy the two barriers then crawl into the vent in the room over to your right. You should be able to crouch under a door you couldn’t get under before. Inside this room is a bag of money and some Assault Rifle ammo.

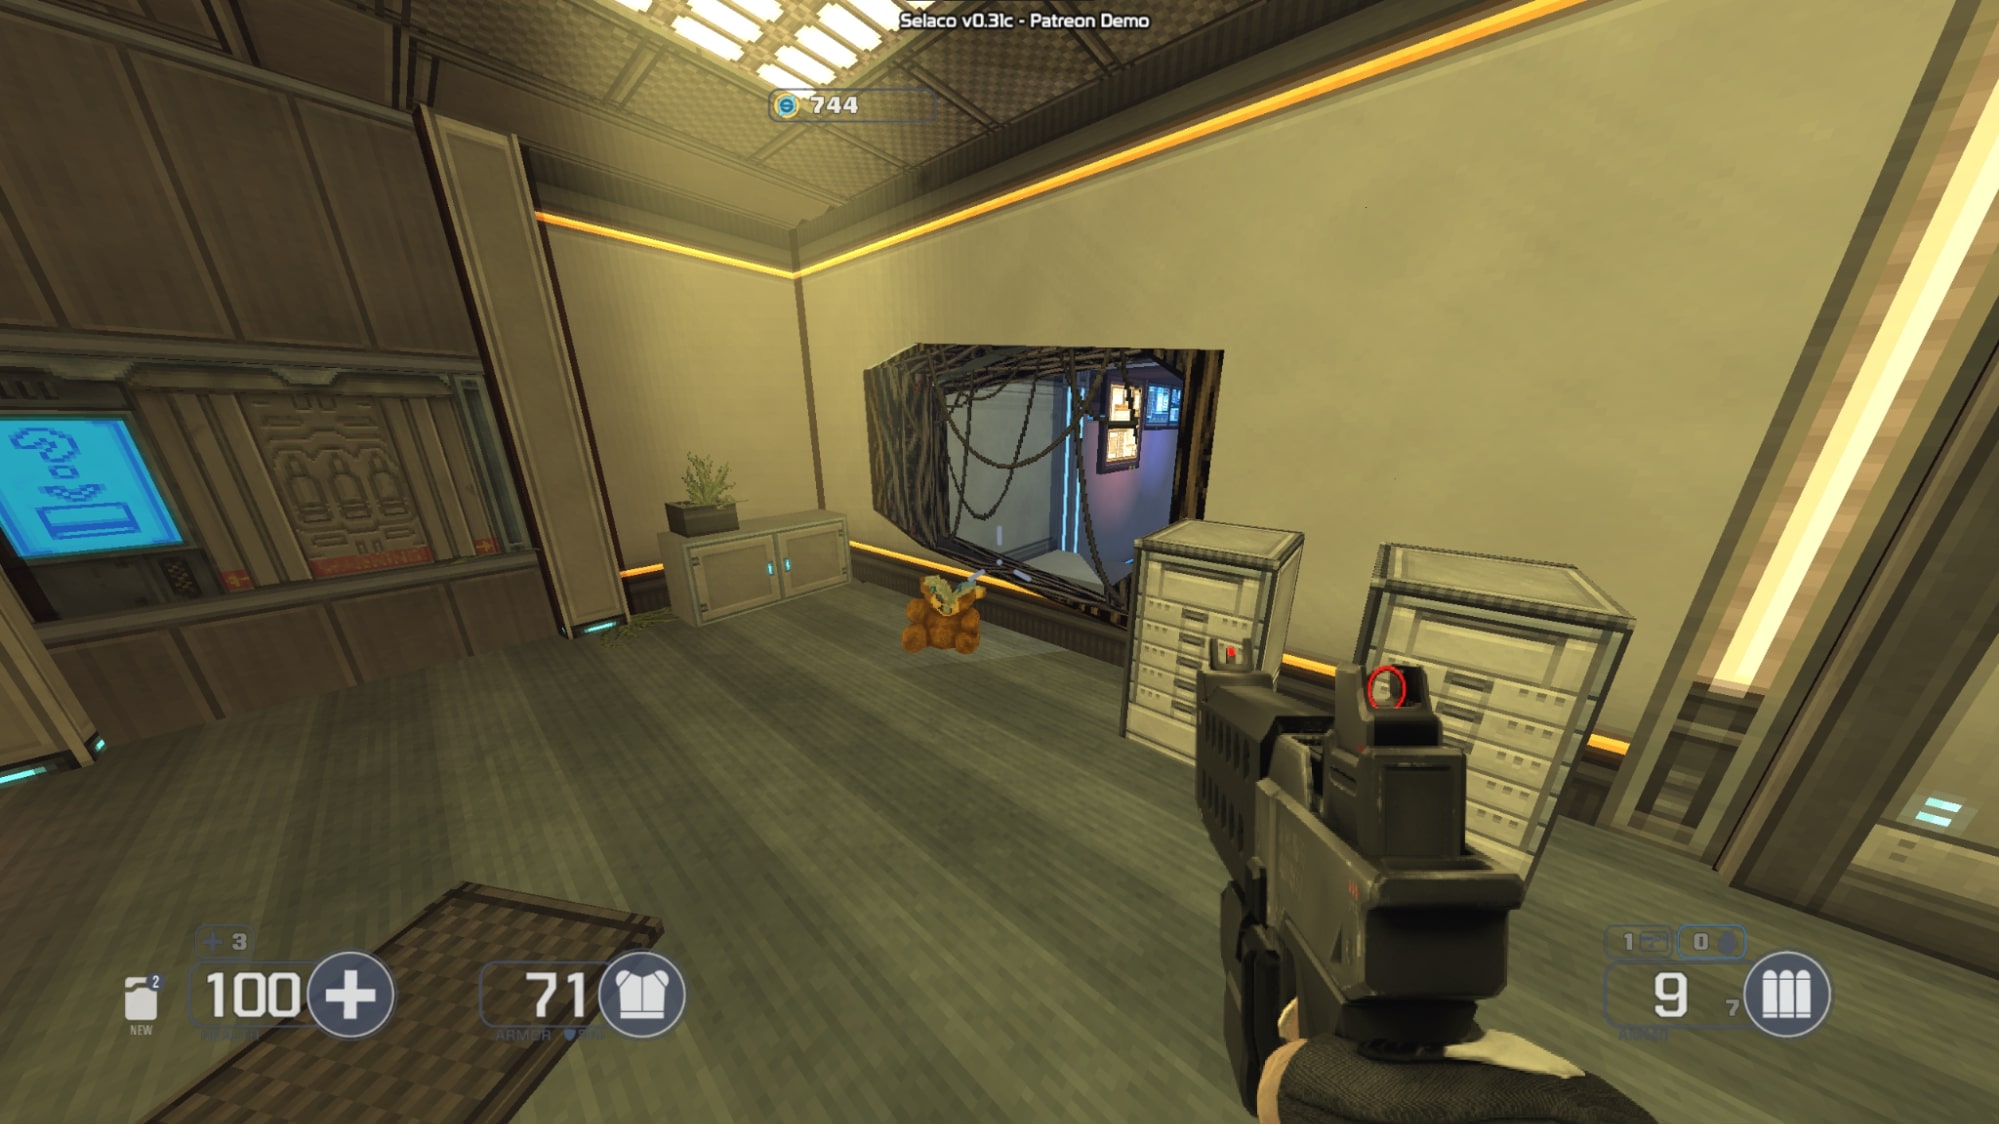
#4 – From the previous secret, go to the next room and you will see a hole in the wall blocked by two barriers. Destroy those barriers and collect the bag of money inside to complete another secret.
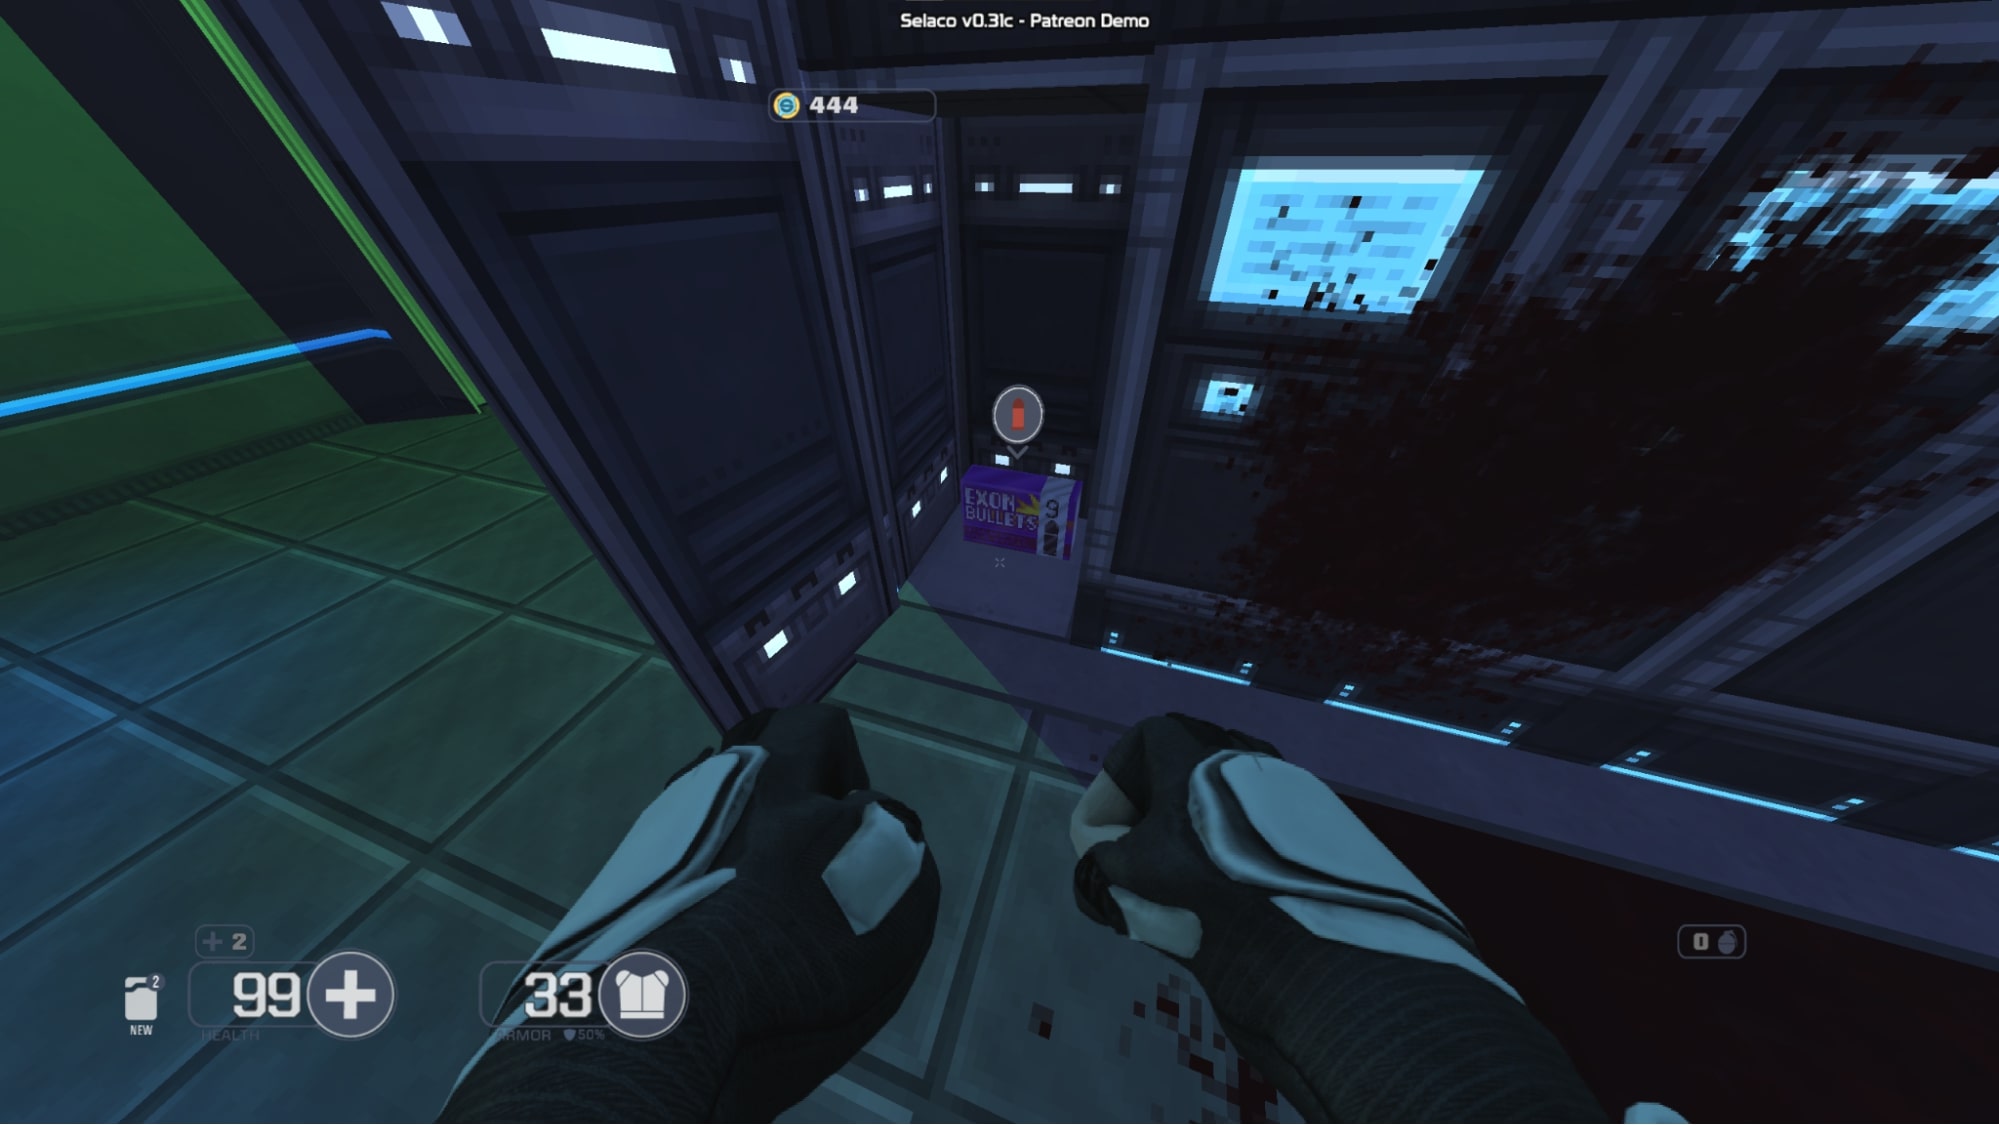
#5 – At the start of 1-2, just after fighting the group of enemies here, shoot the vent in the corner of the room. 거기에서, you can slide jump into the vent and get the secret in the room it leads to.
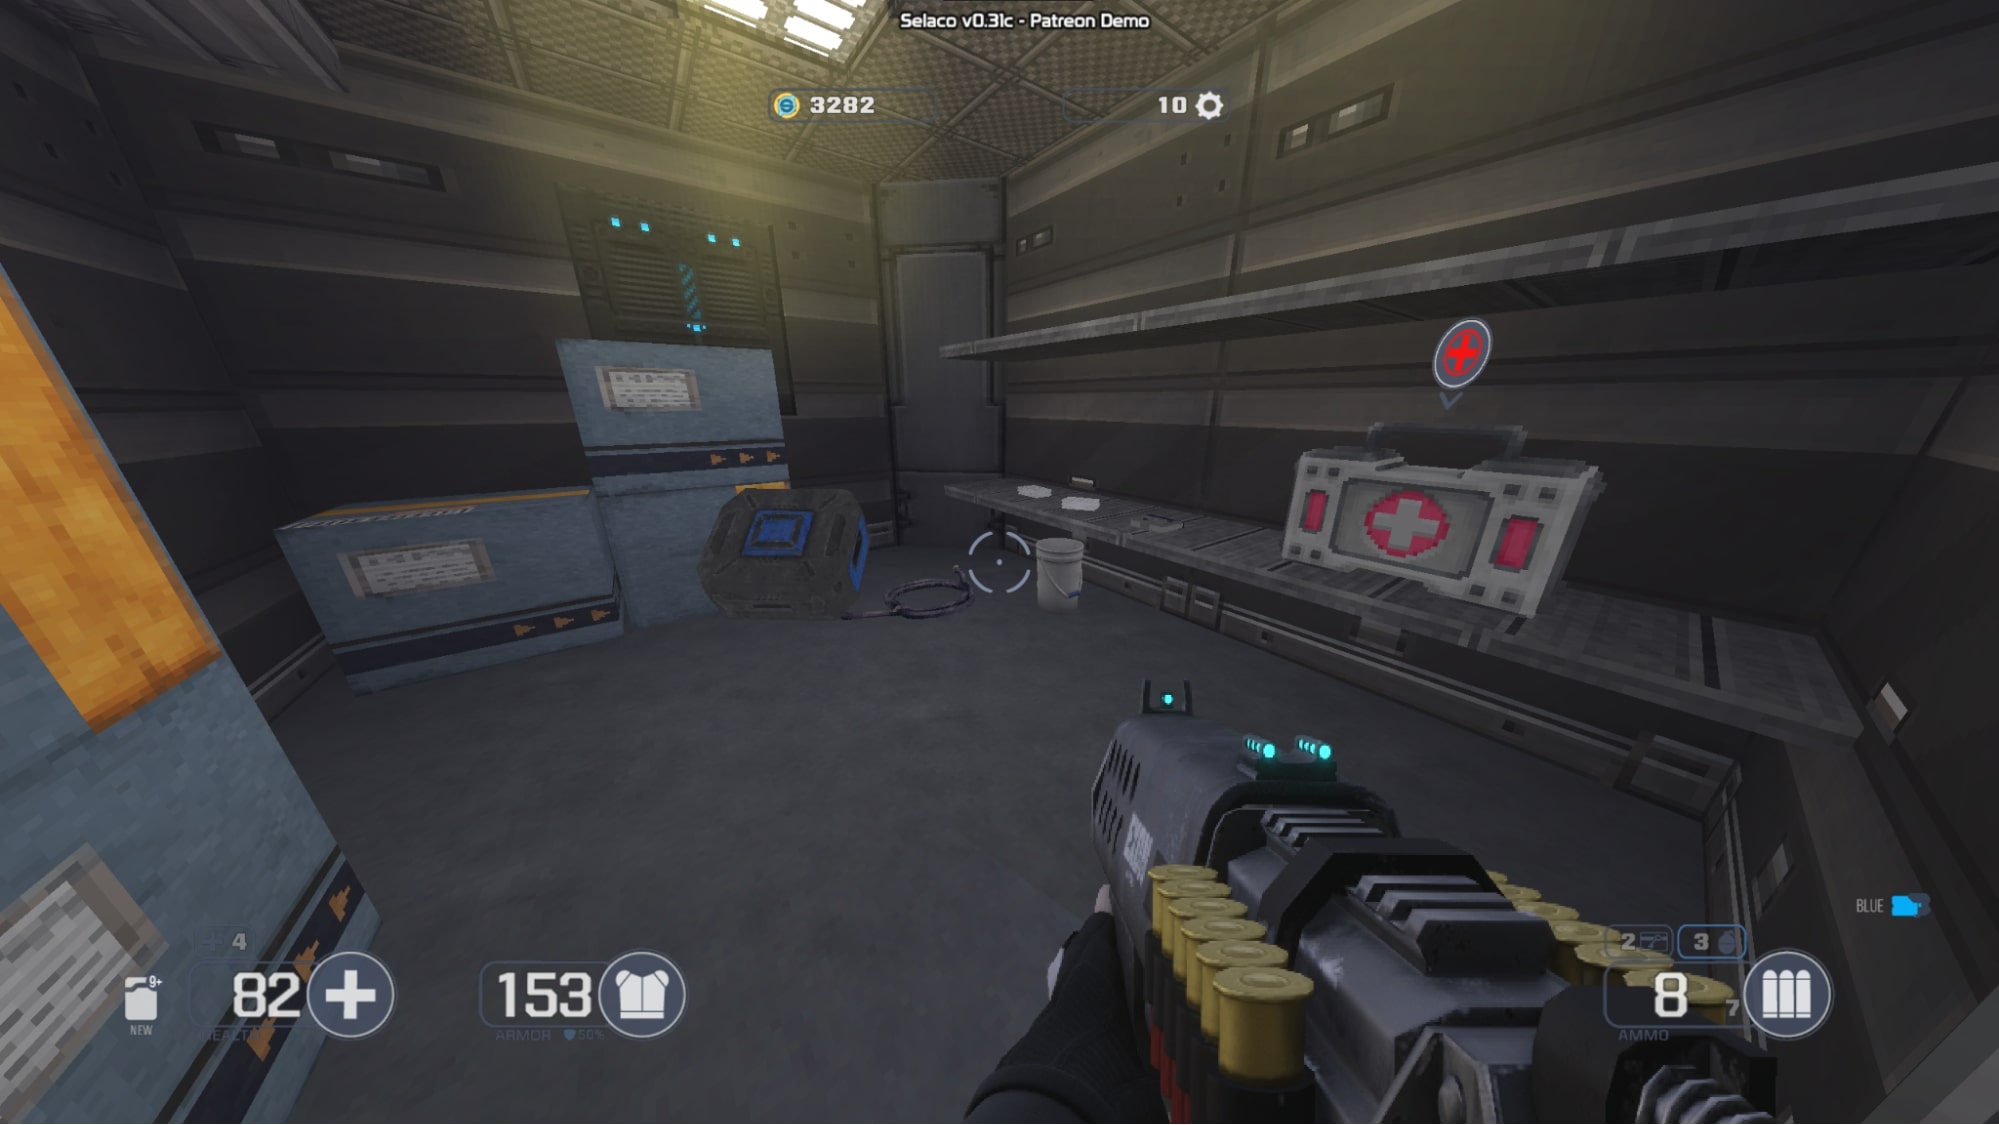
#6 – In the first room in 1-2, after killing the group of enemies in here, you will see a stack of metal boxes you can climb on. From the top of this stack of boxes, you can climb onto a small ledge near the ceiling. There is a medkit tucked away in the corner of the room.

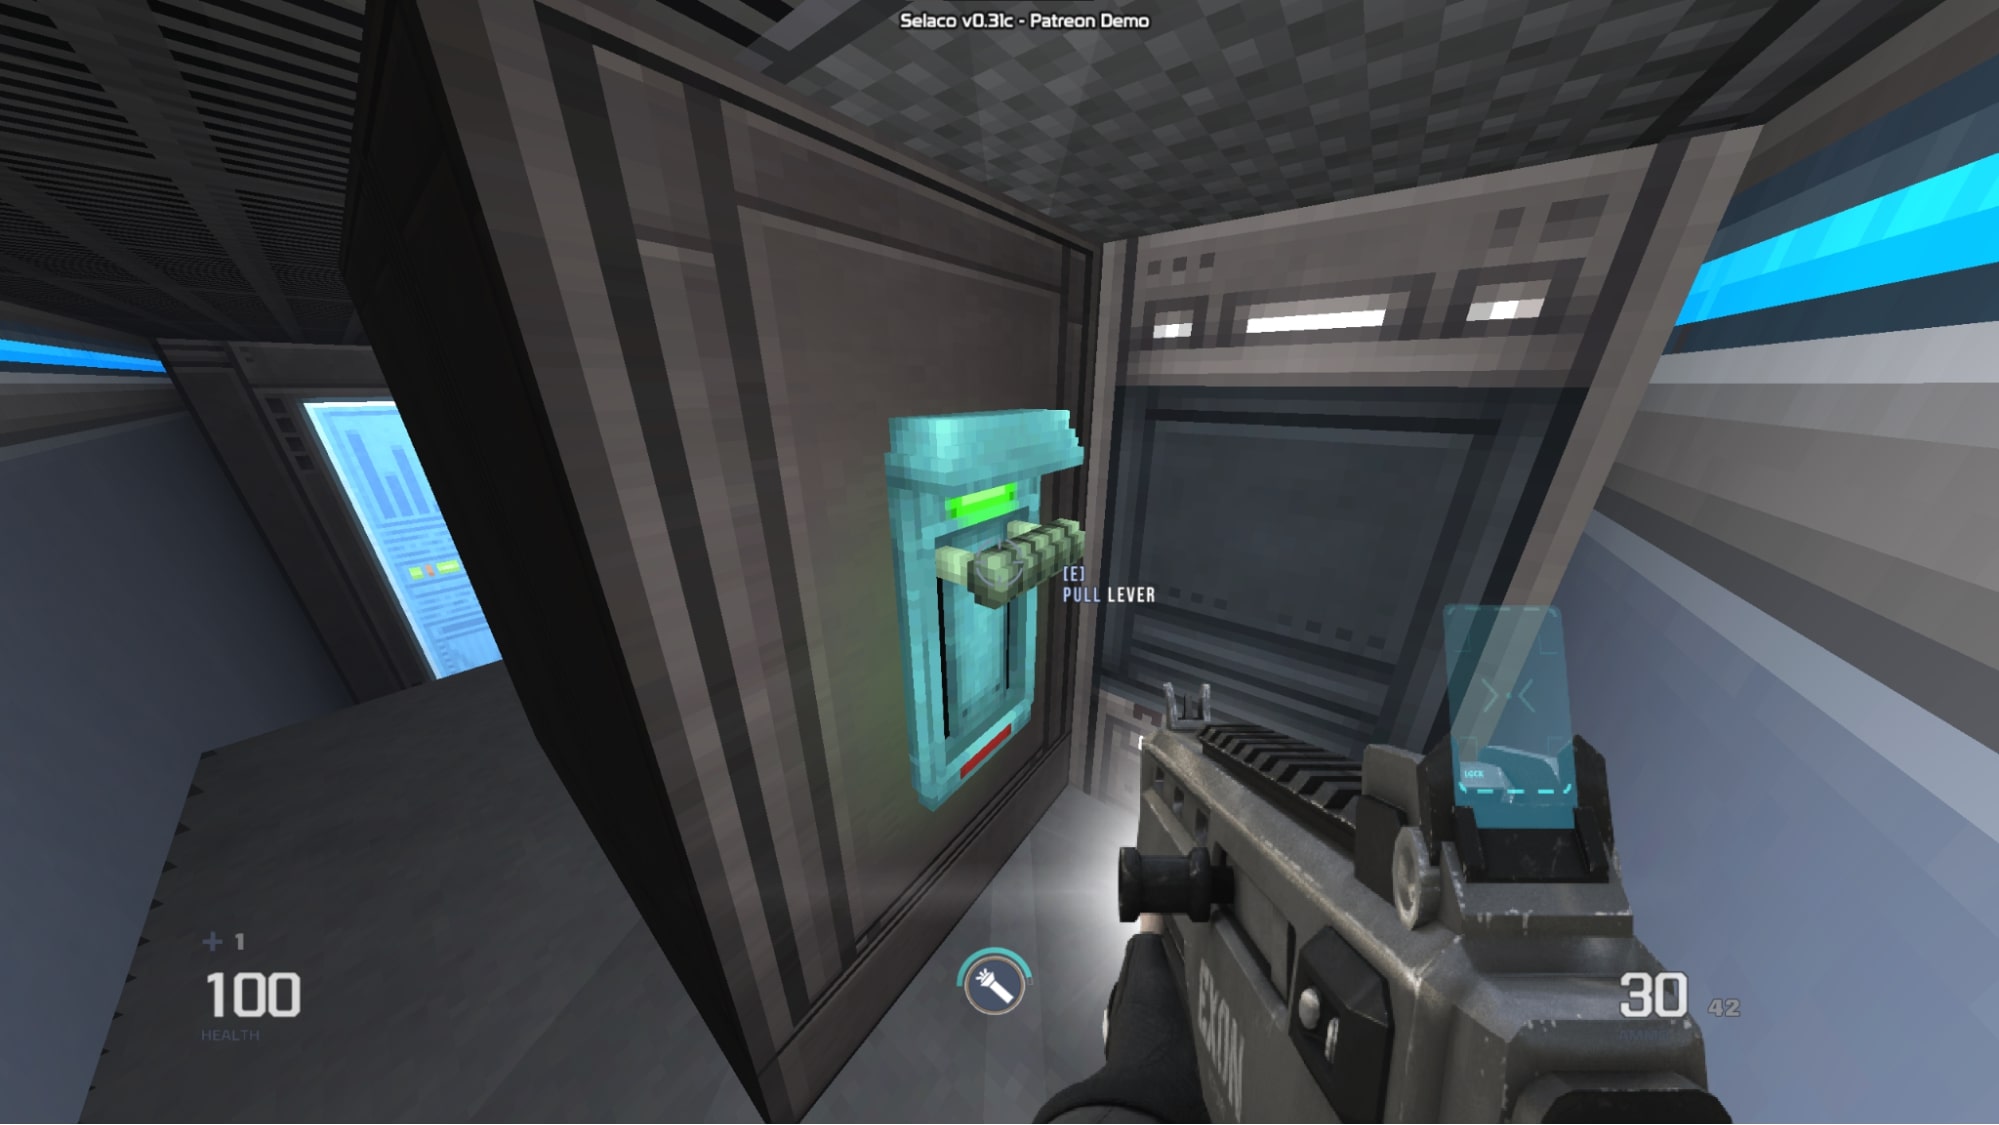
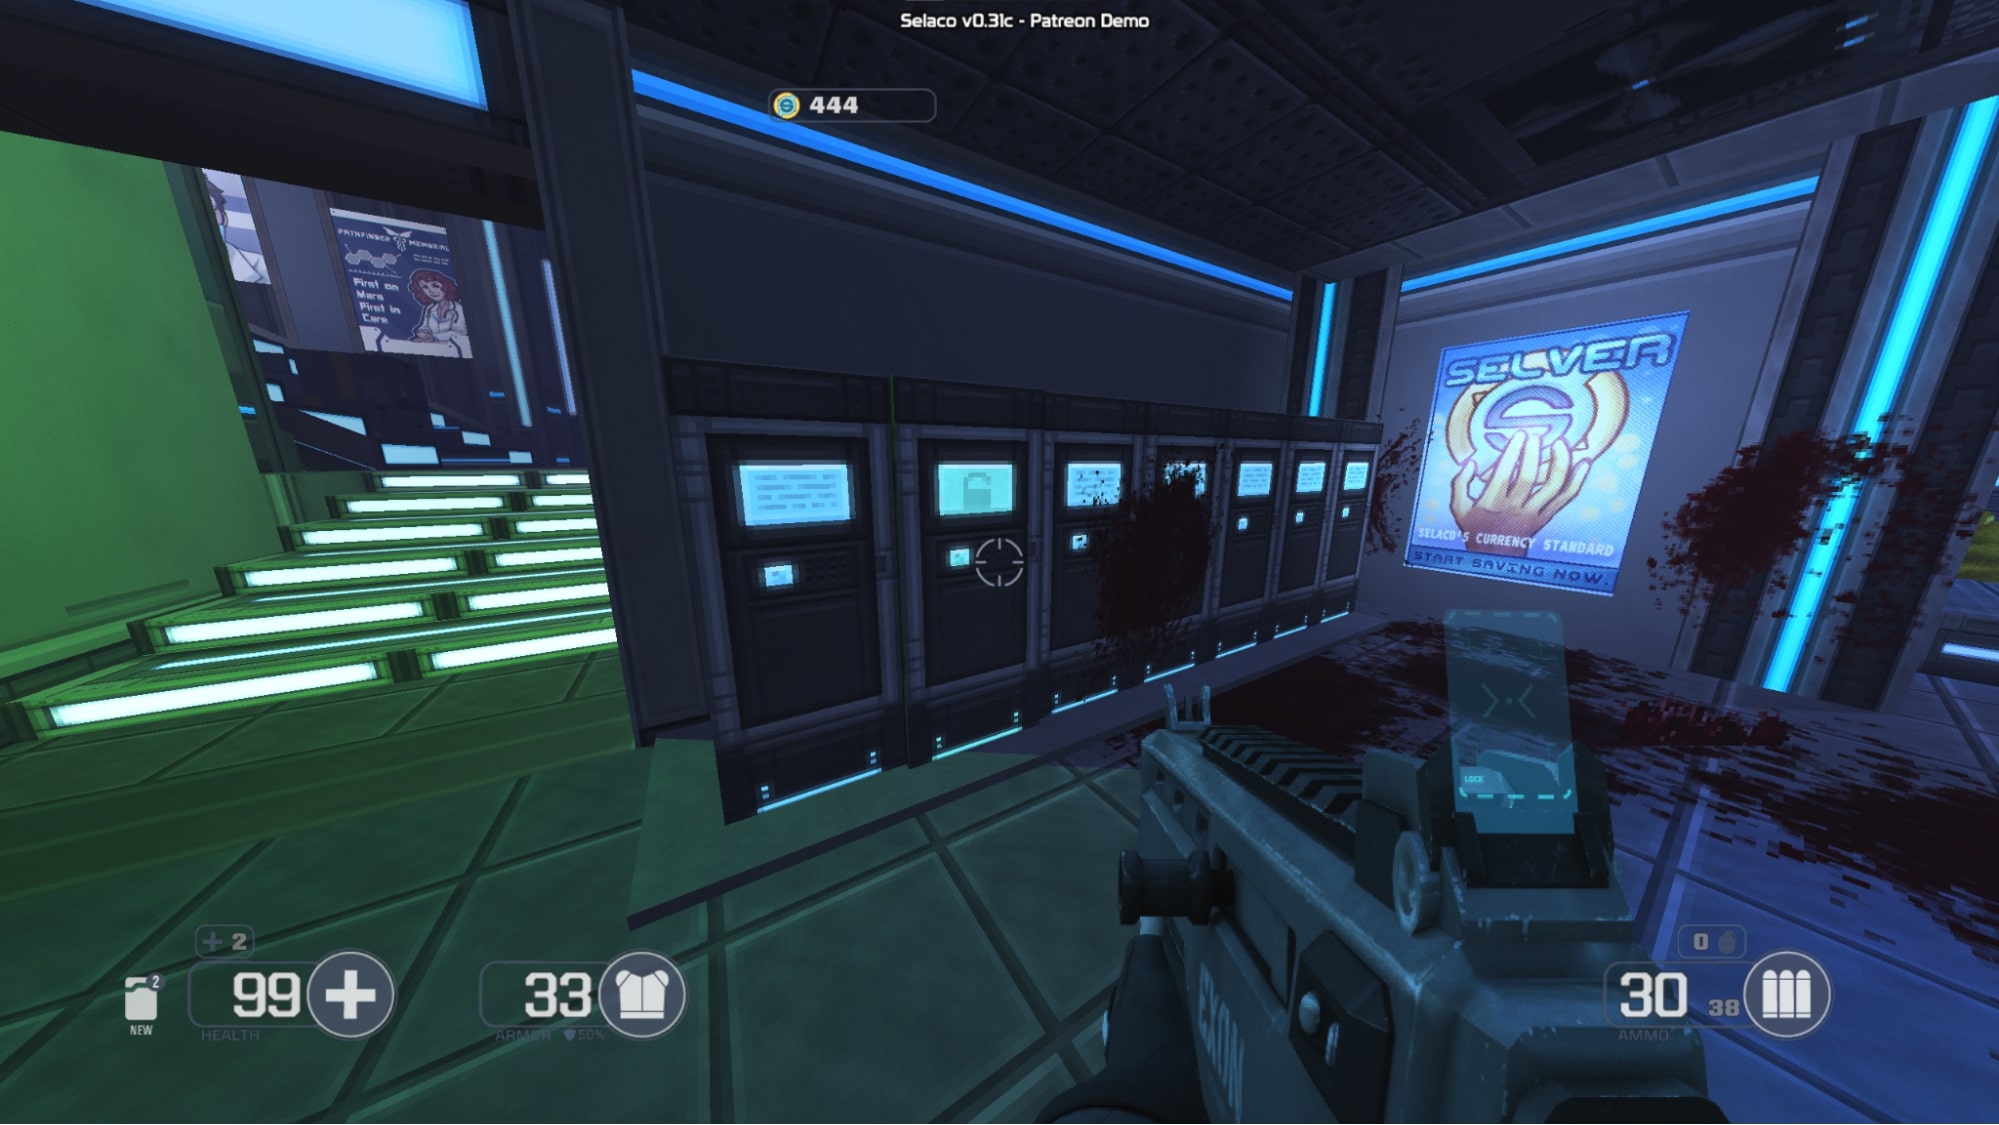
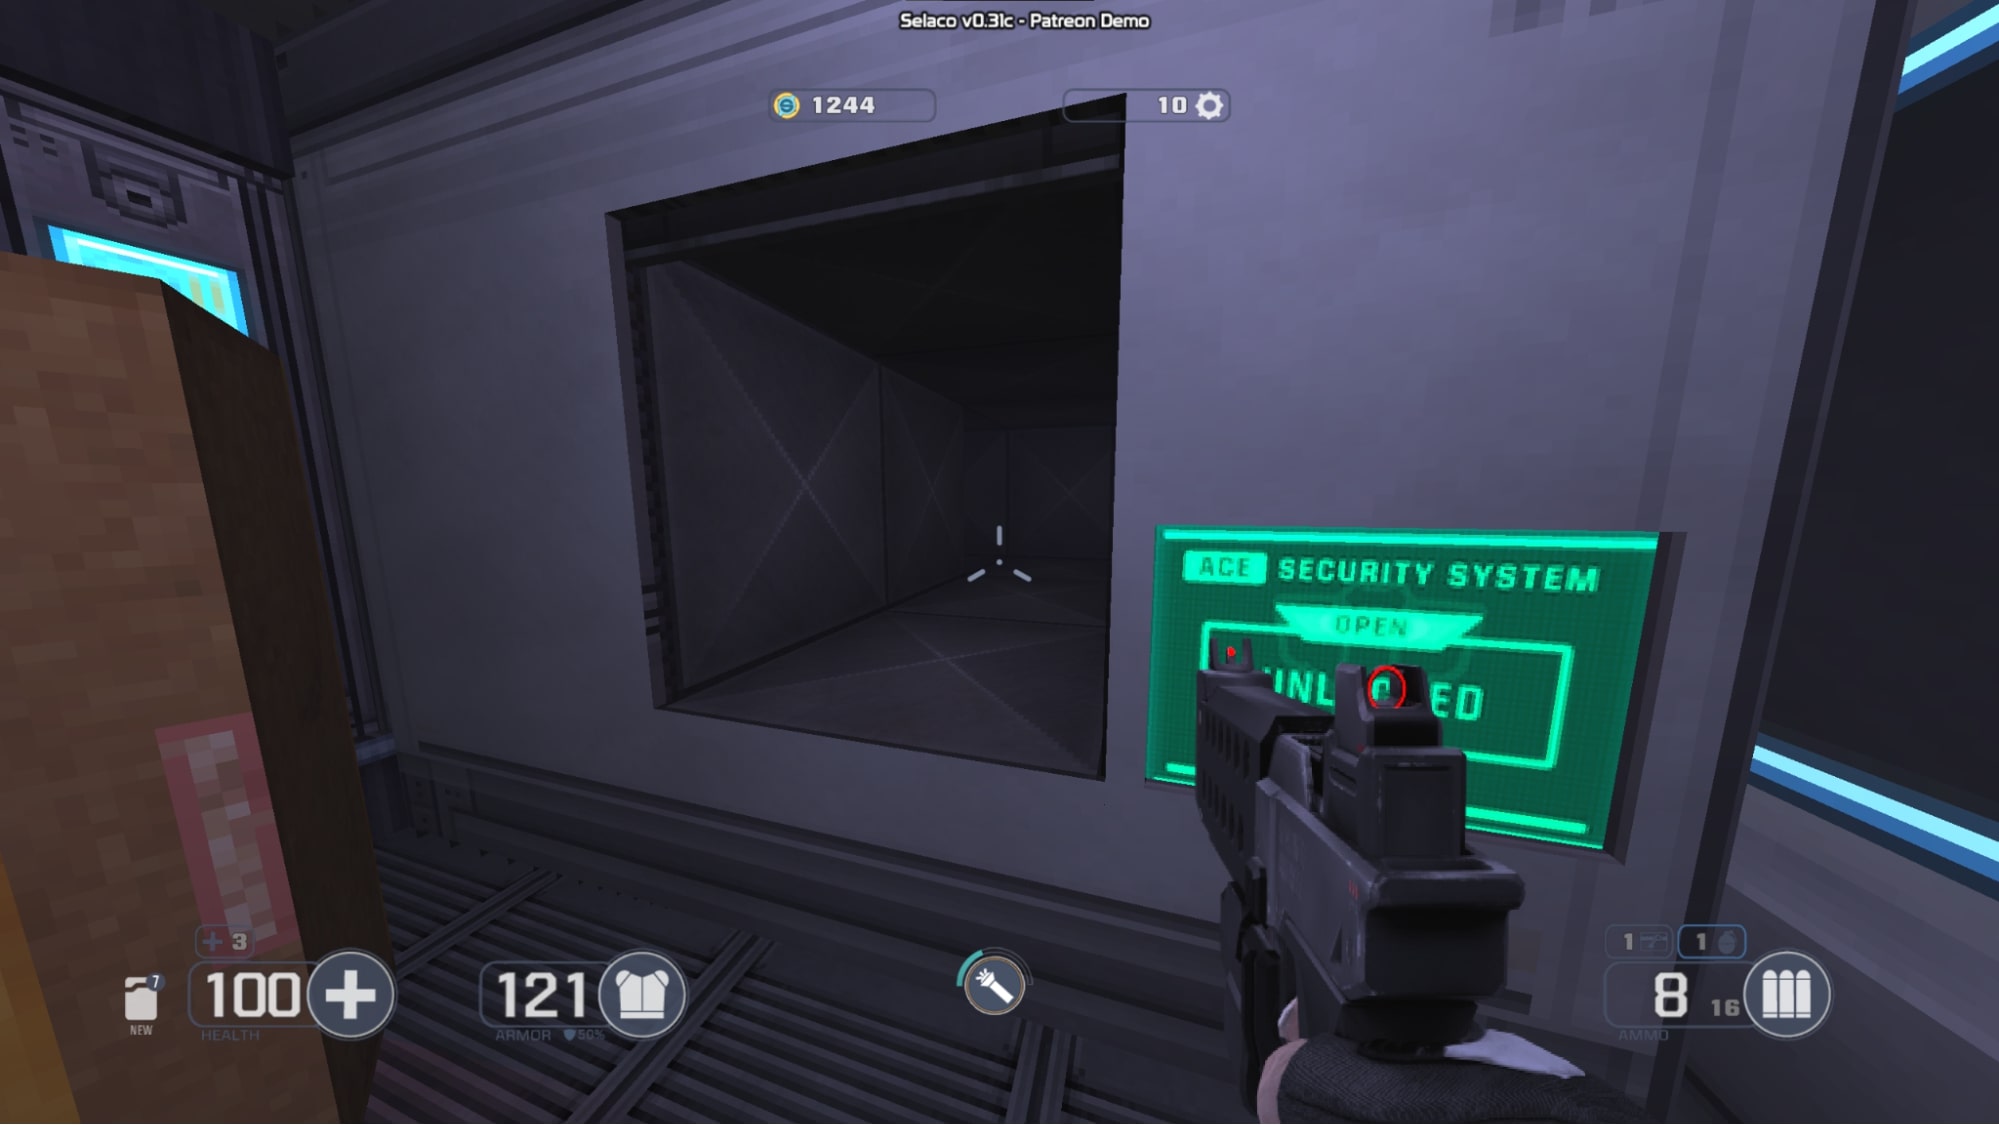
#7 – This locker has a different screen than the other ones. Open it to reveal the secret inside. The door also sticks out a bit more than the others, making it literally stand out from the rest.
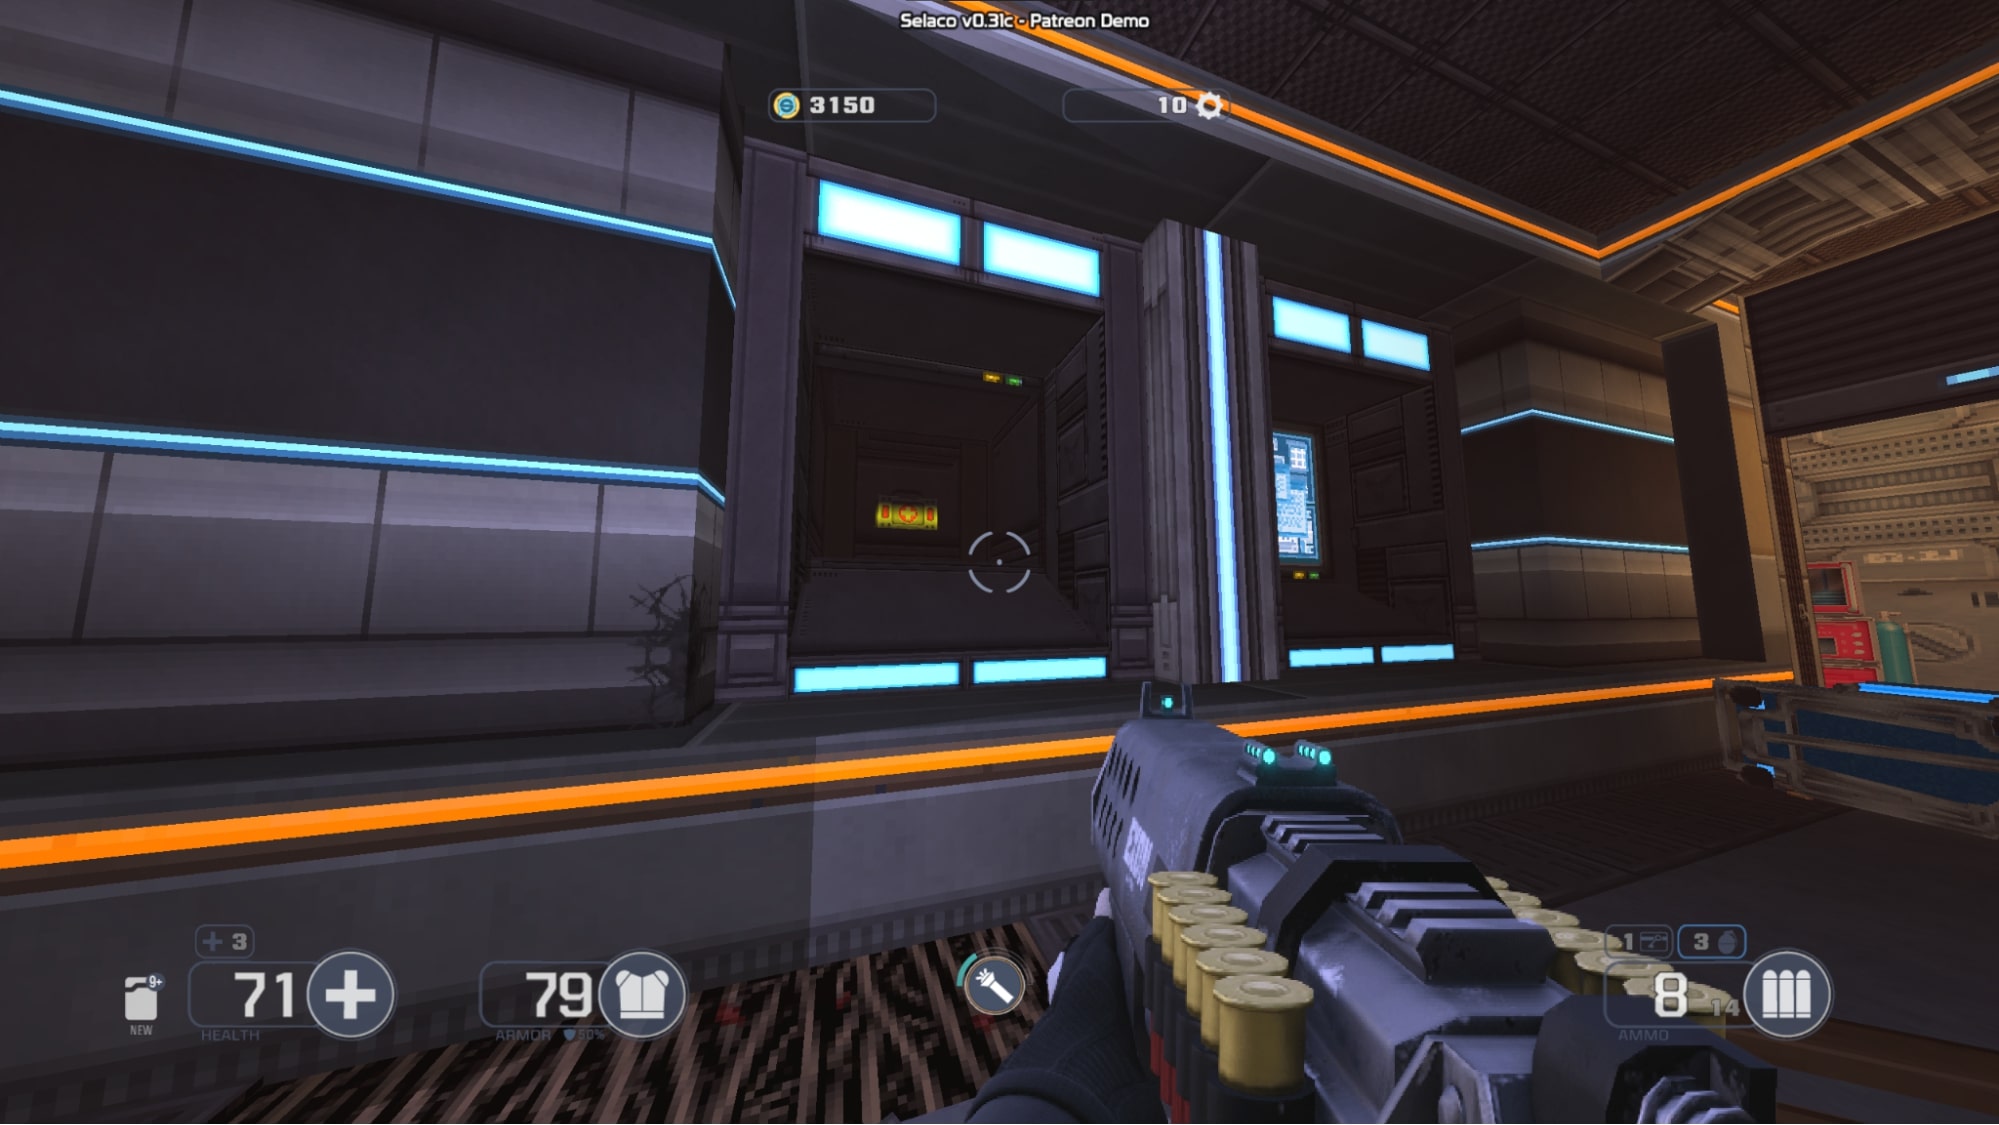
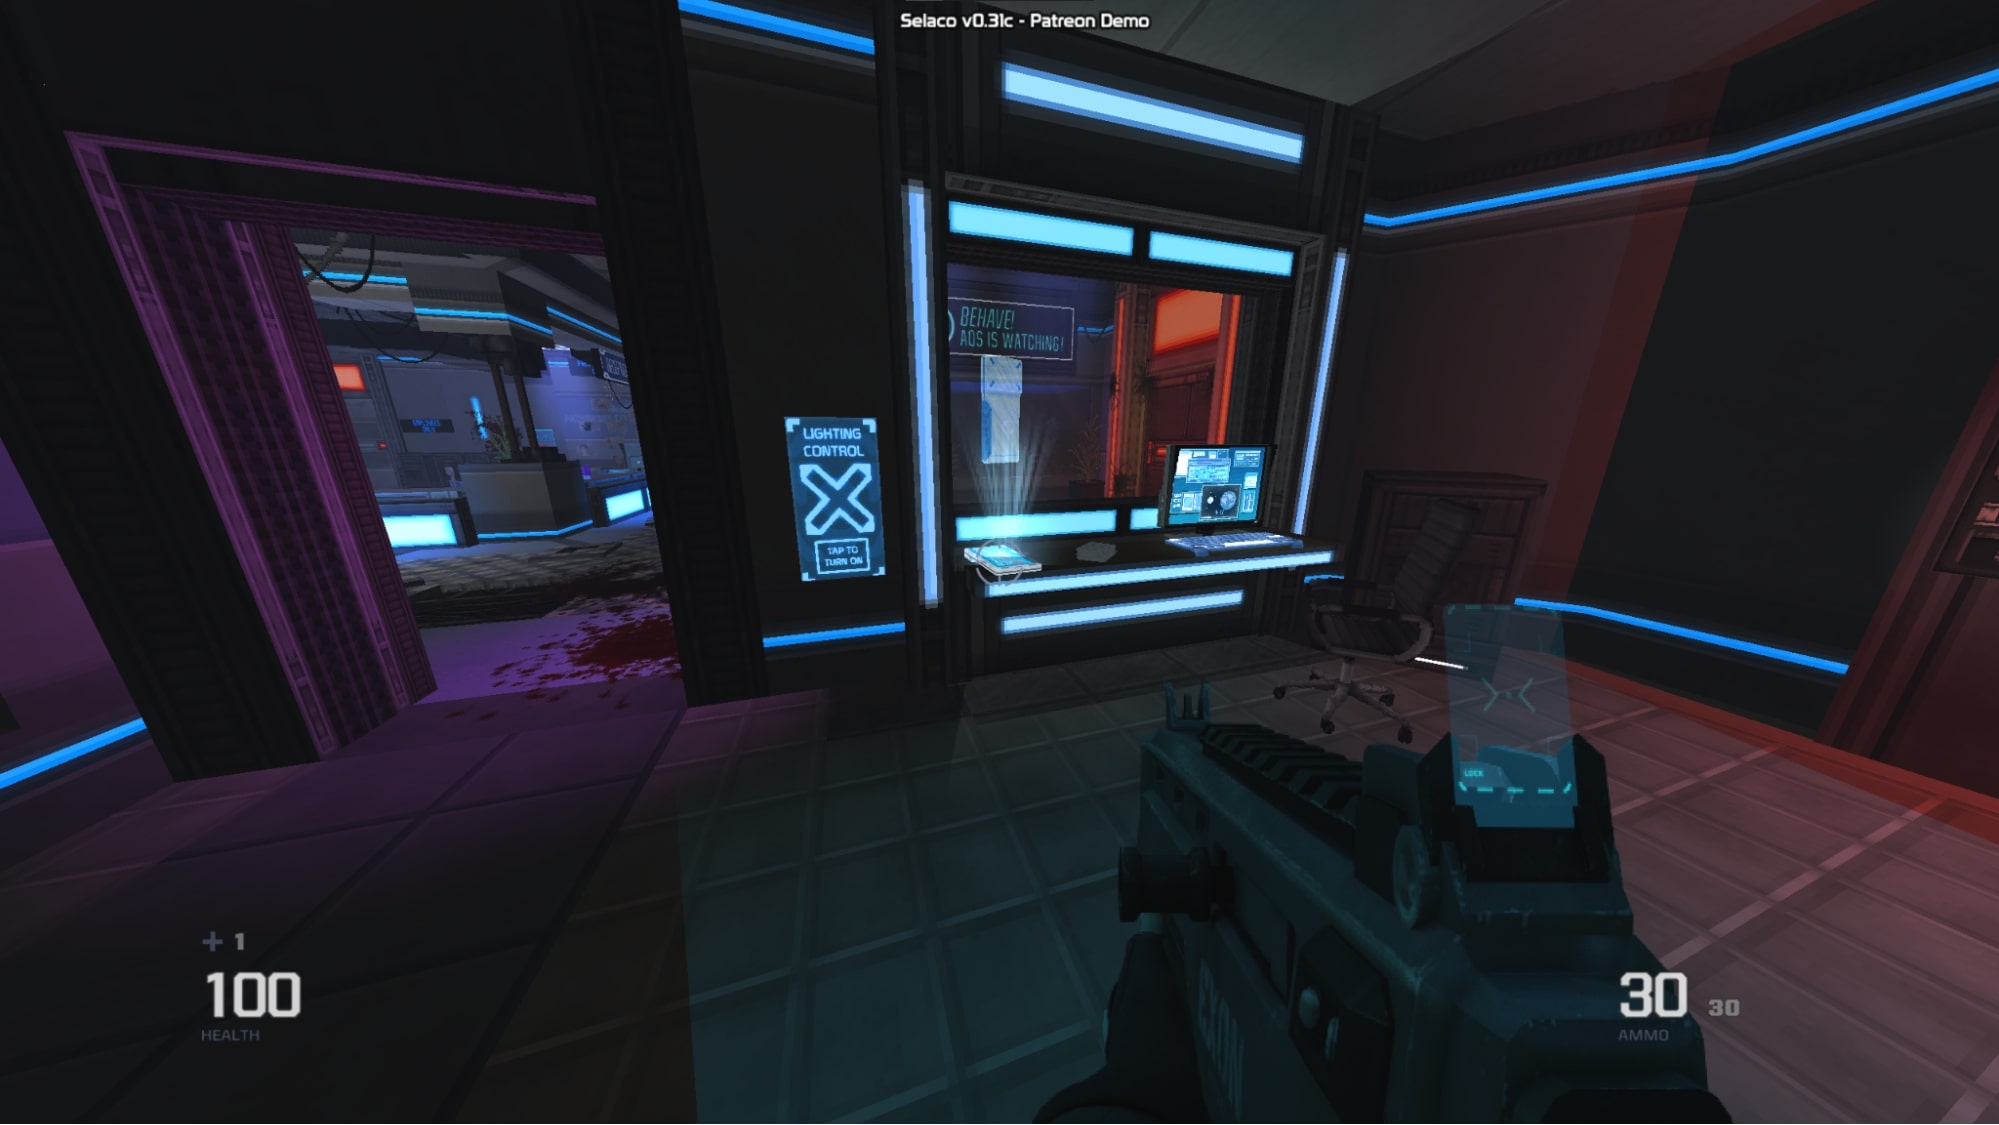
#8 – The monitor in this room looks different from the monitors in the other room. Interact with it to open a passage to a secret room with some armor in it.
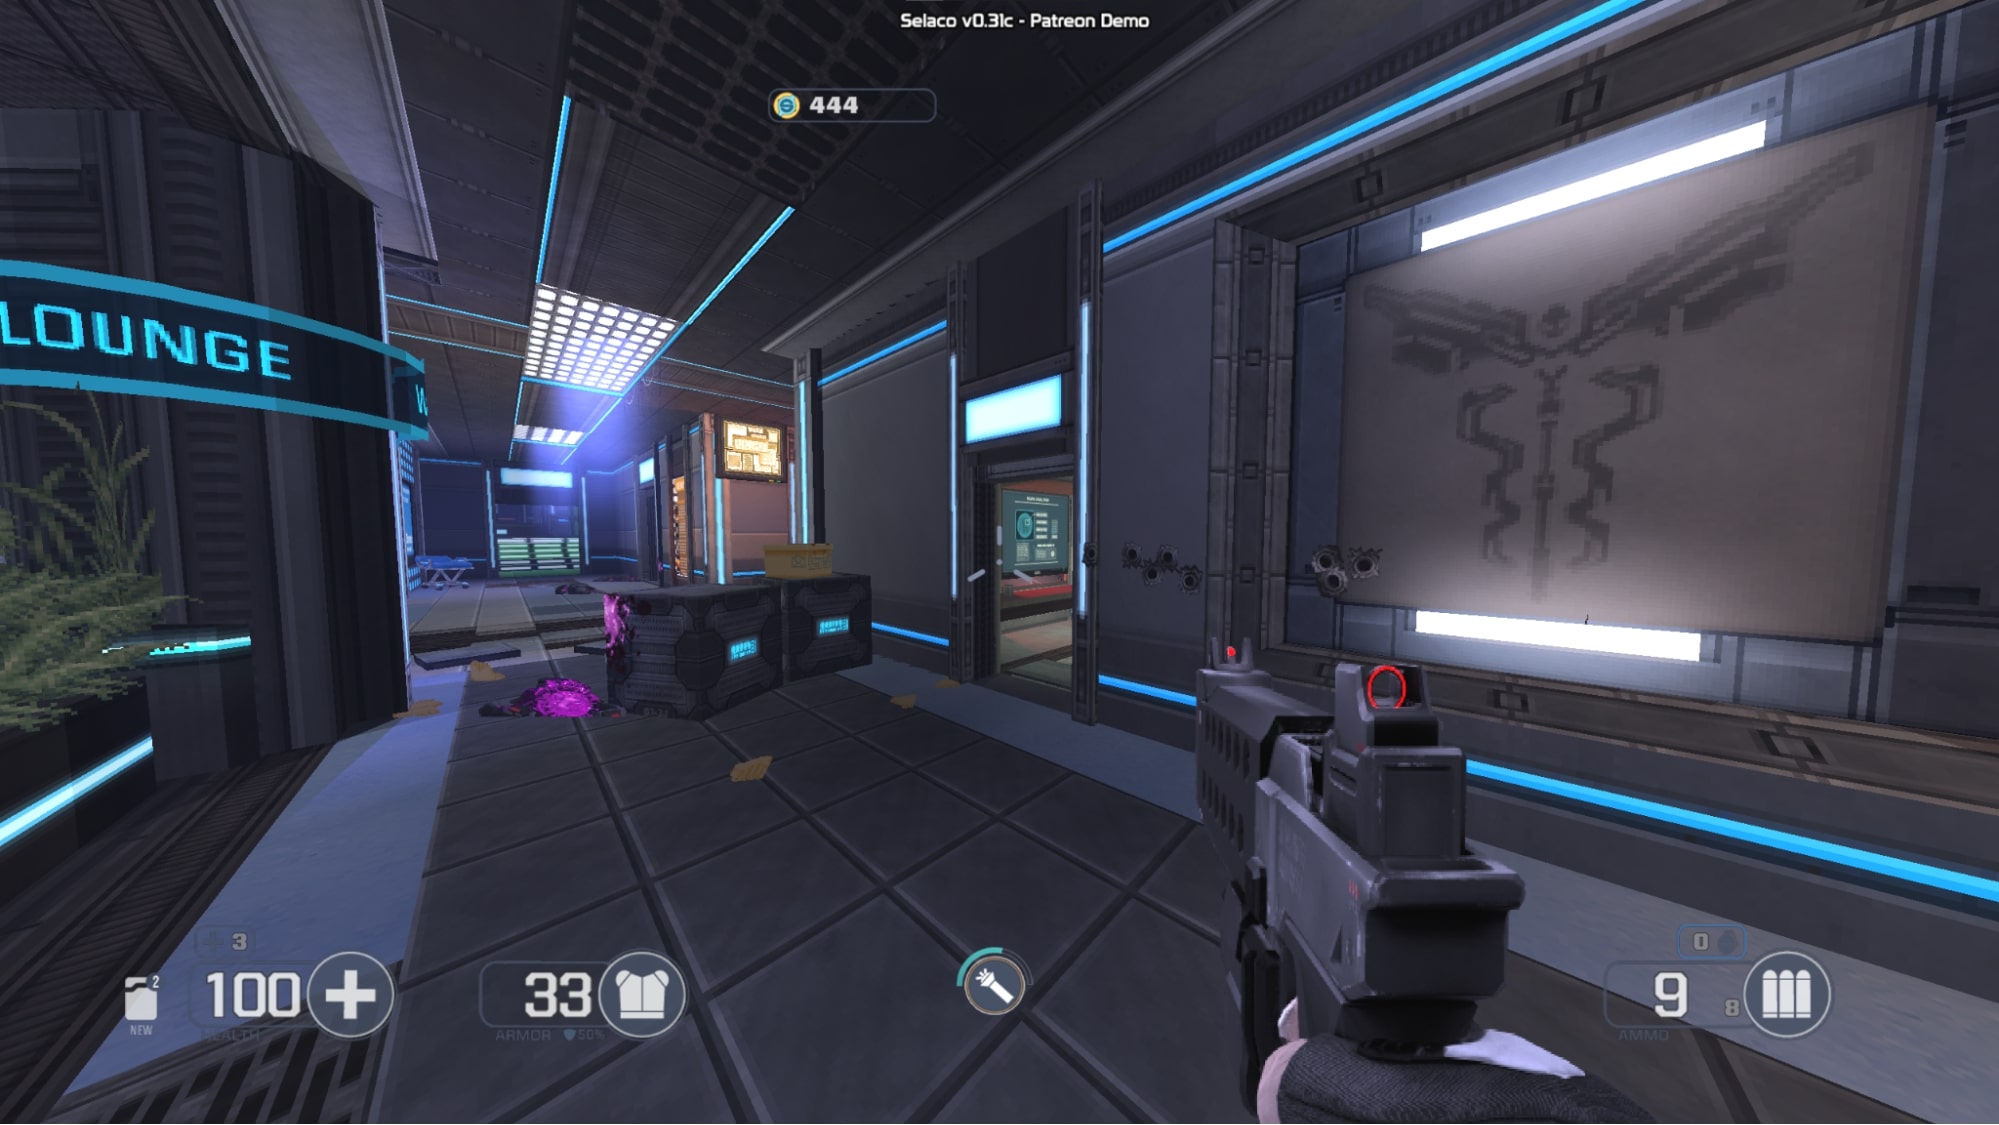
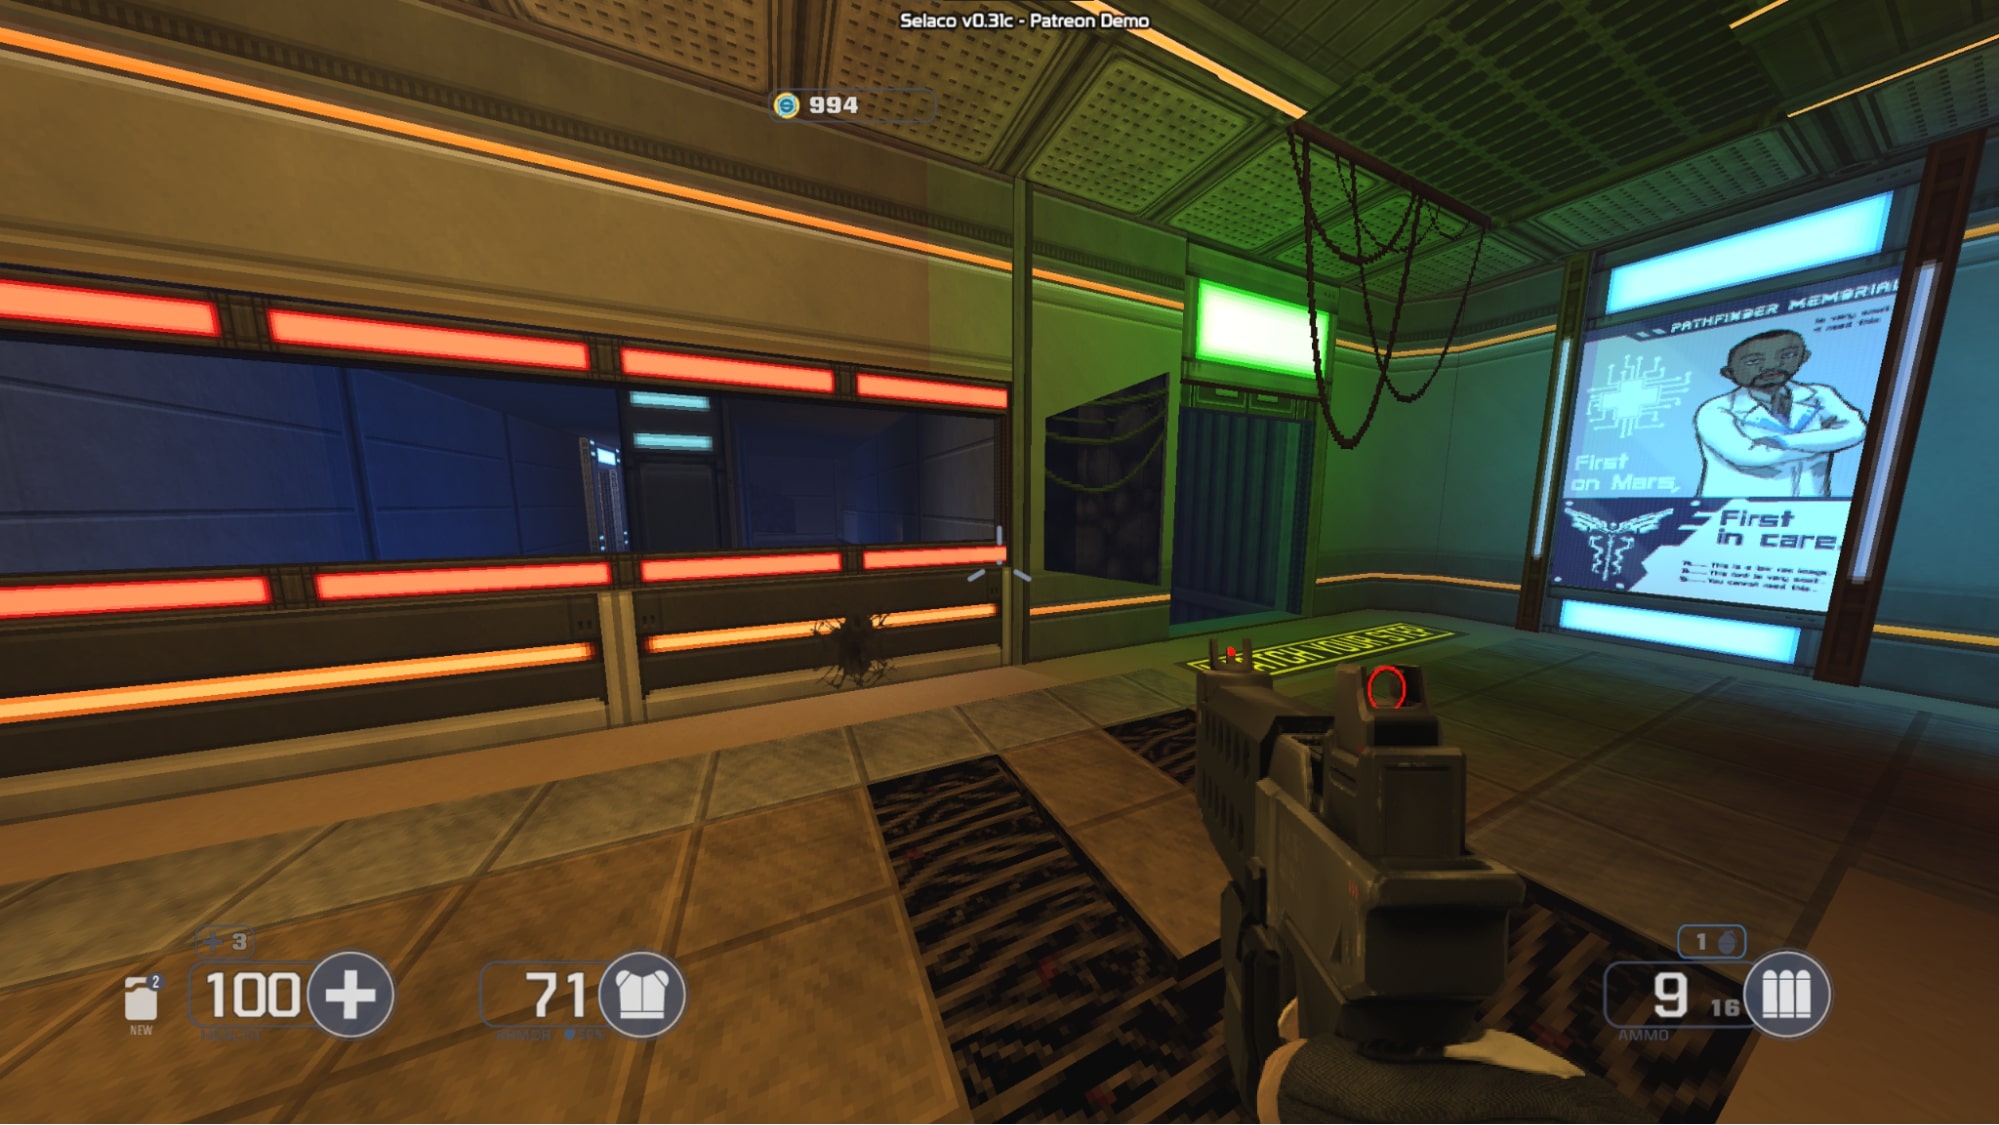
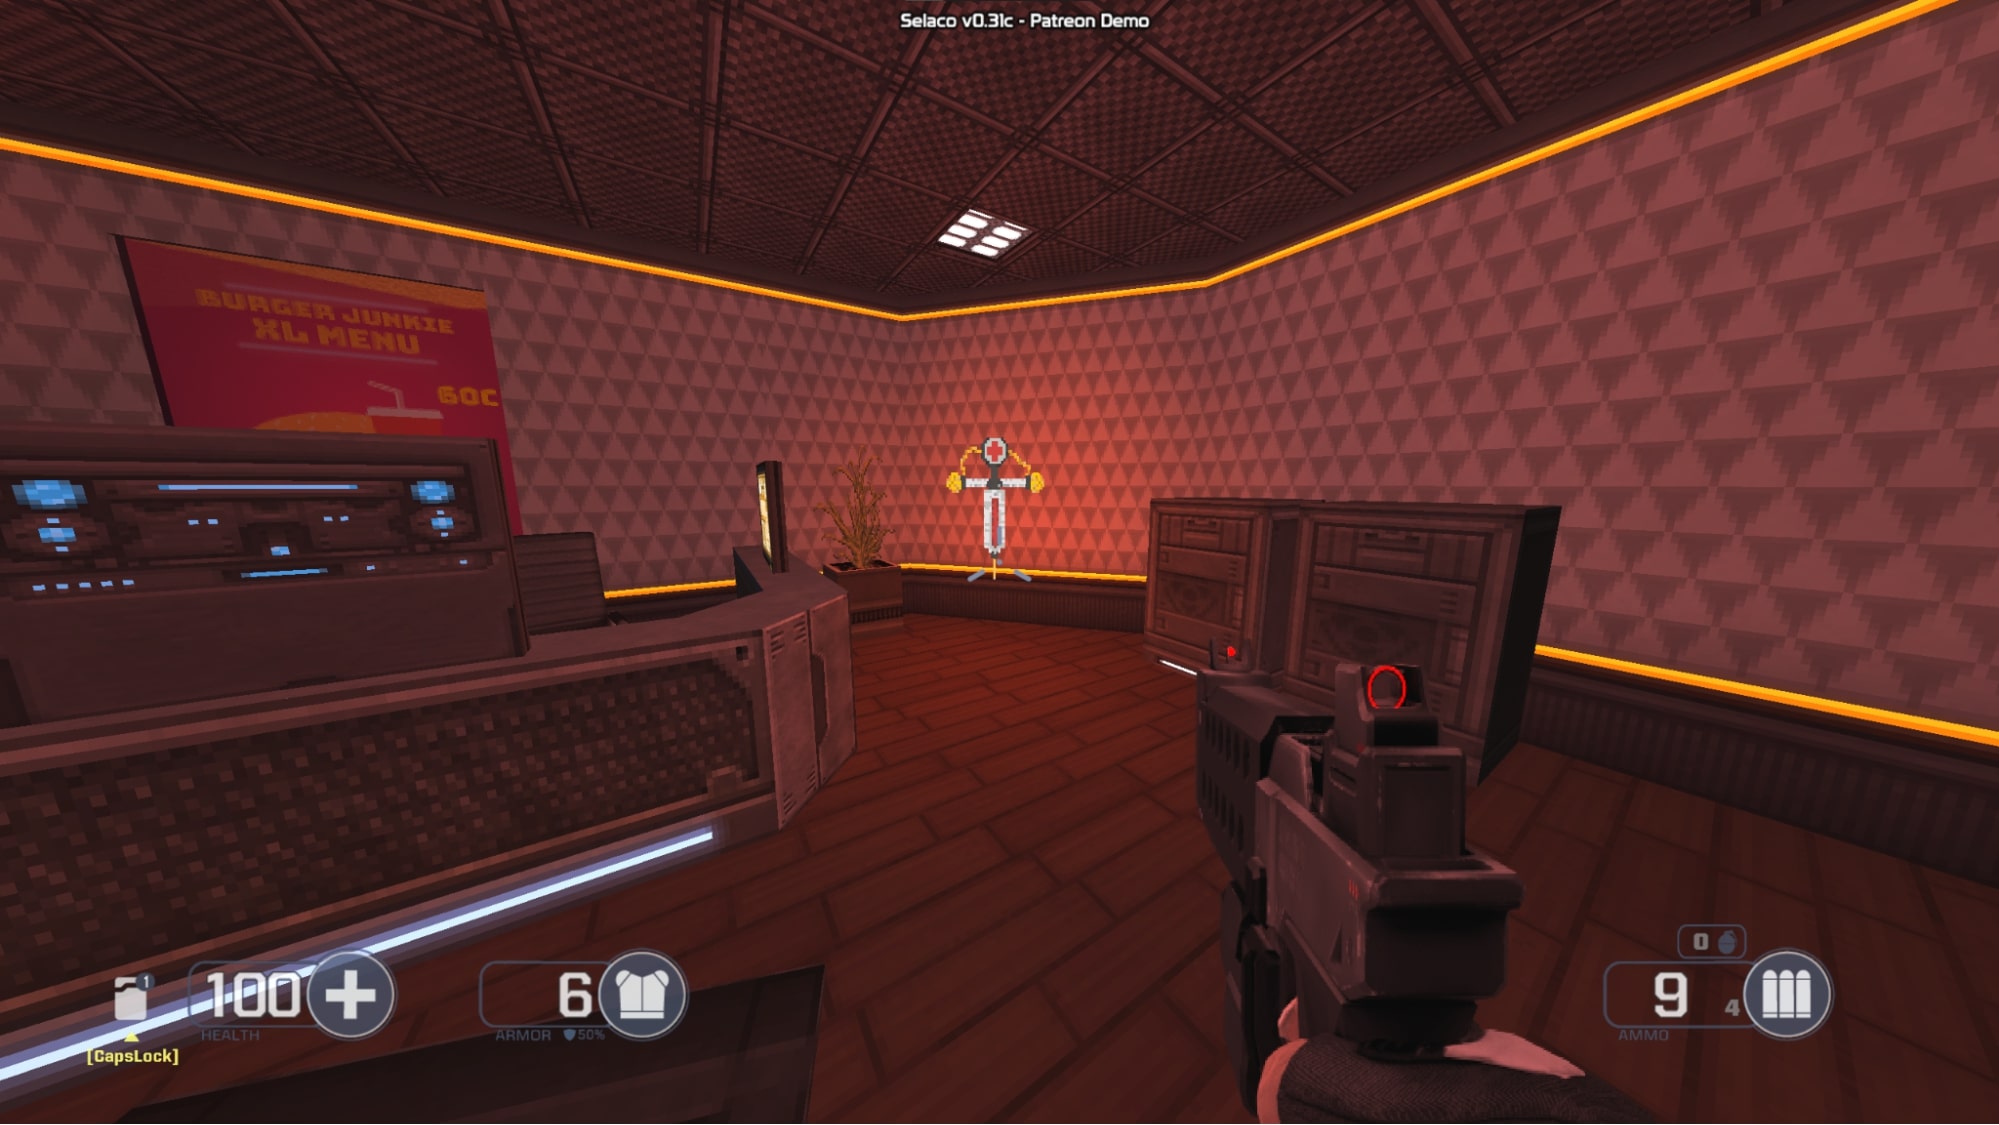
#9 – In the lounge in 1-2, There is a fuse box beside the fallen soda machine. Flip the switch inside to open a door down the hall that has a secret inside.
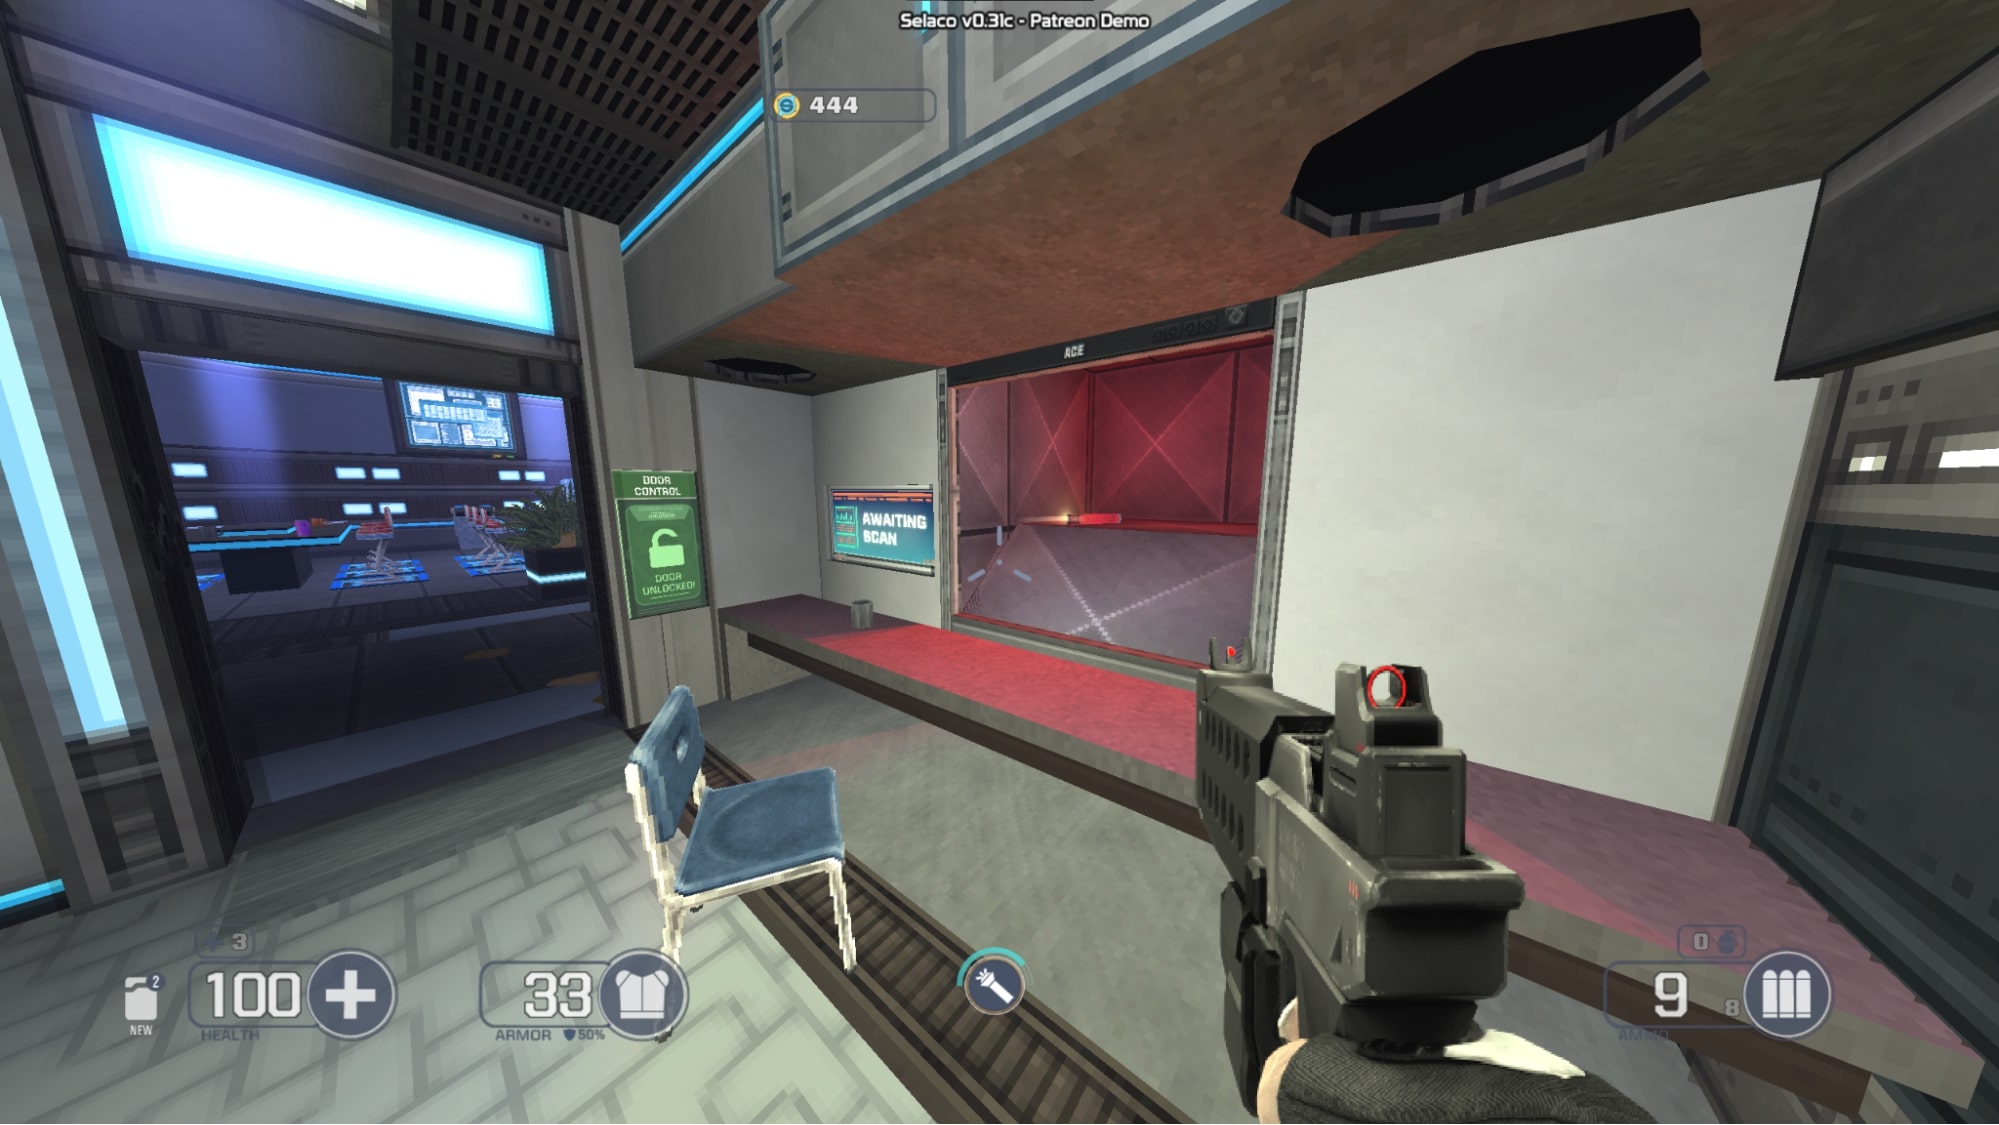
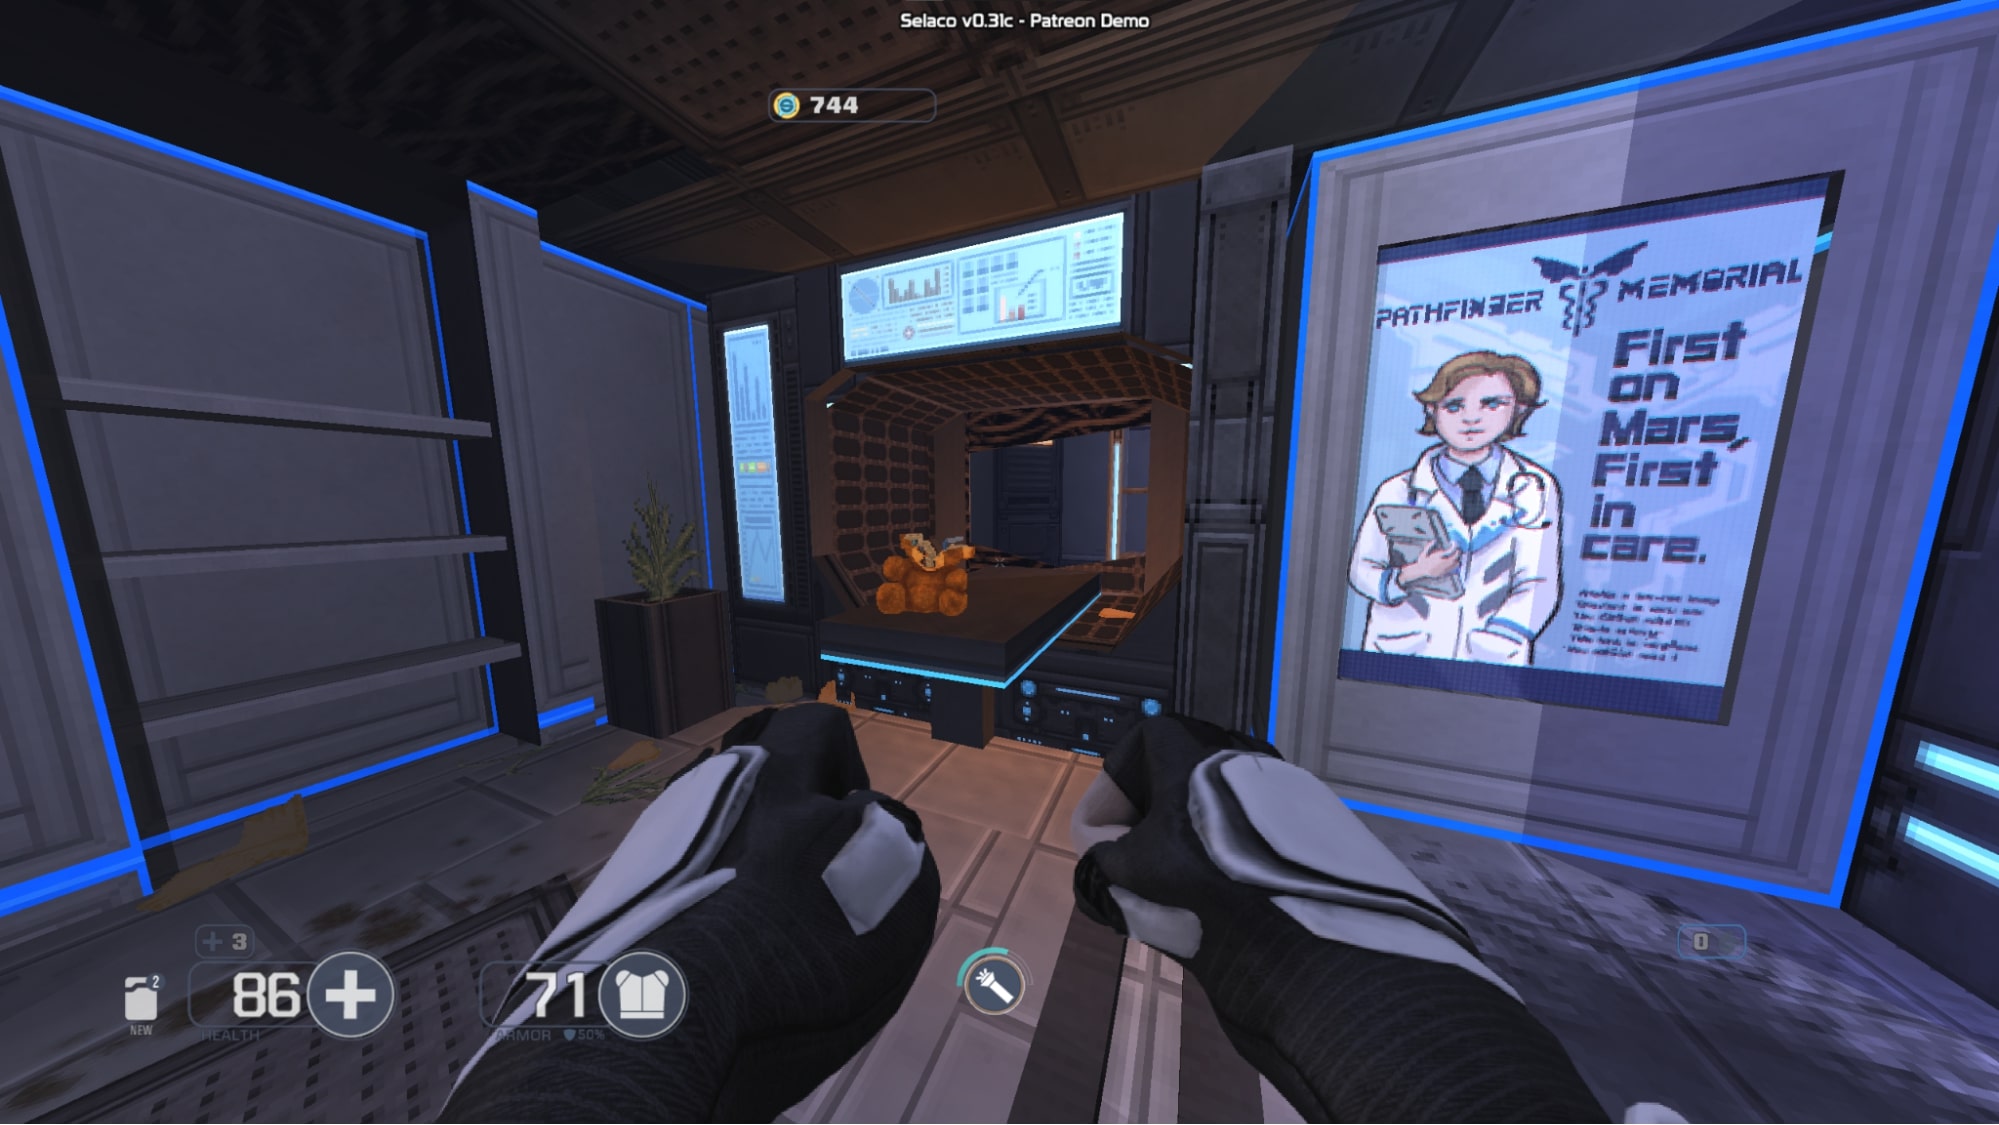
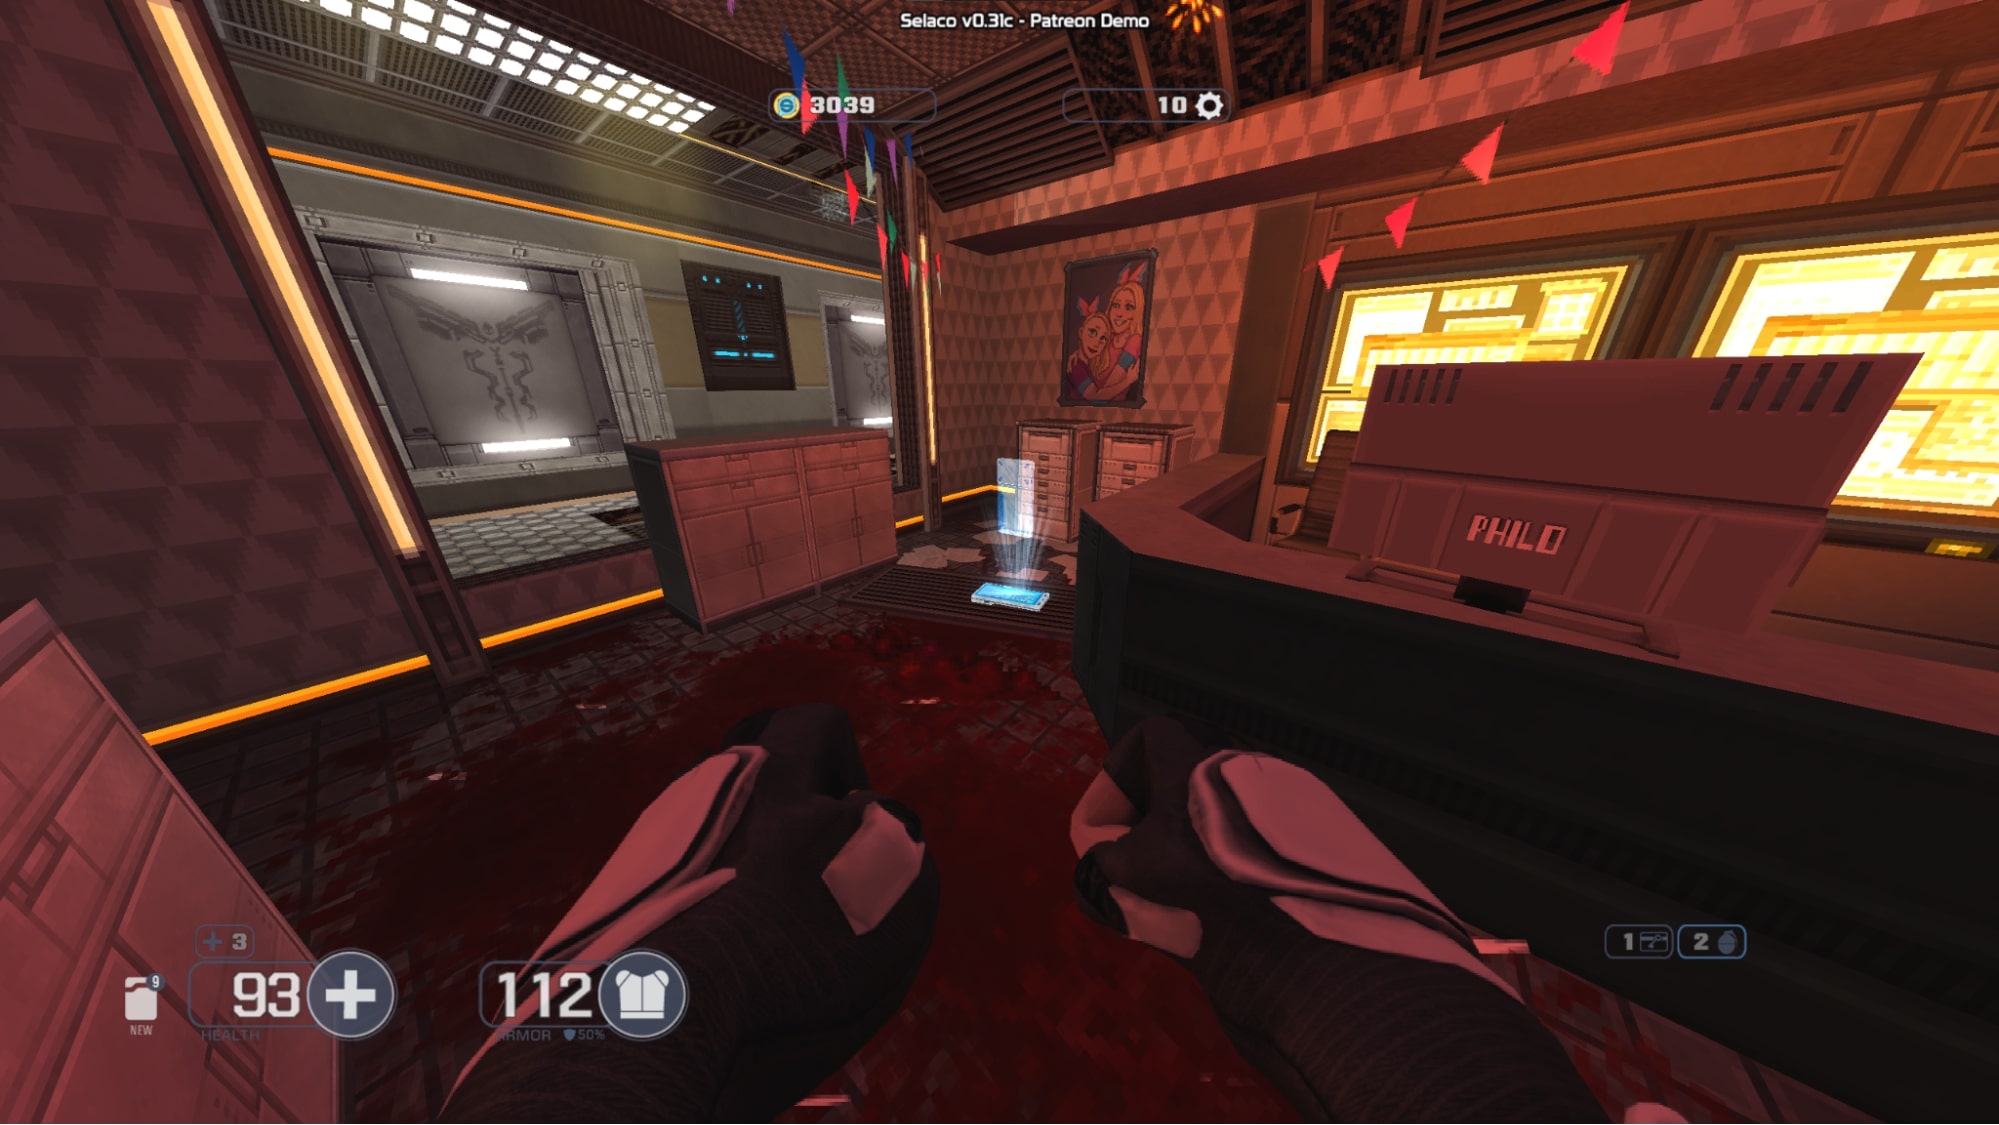
#10 – Put a chair in the MRI and it will explode, revealing a secret area in a room behind the machine. 또한, be sure to pick up the cabinet card inside this room, because you need it to open a storage cabinet later.
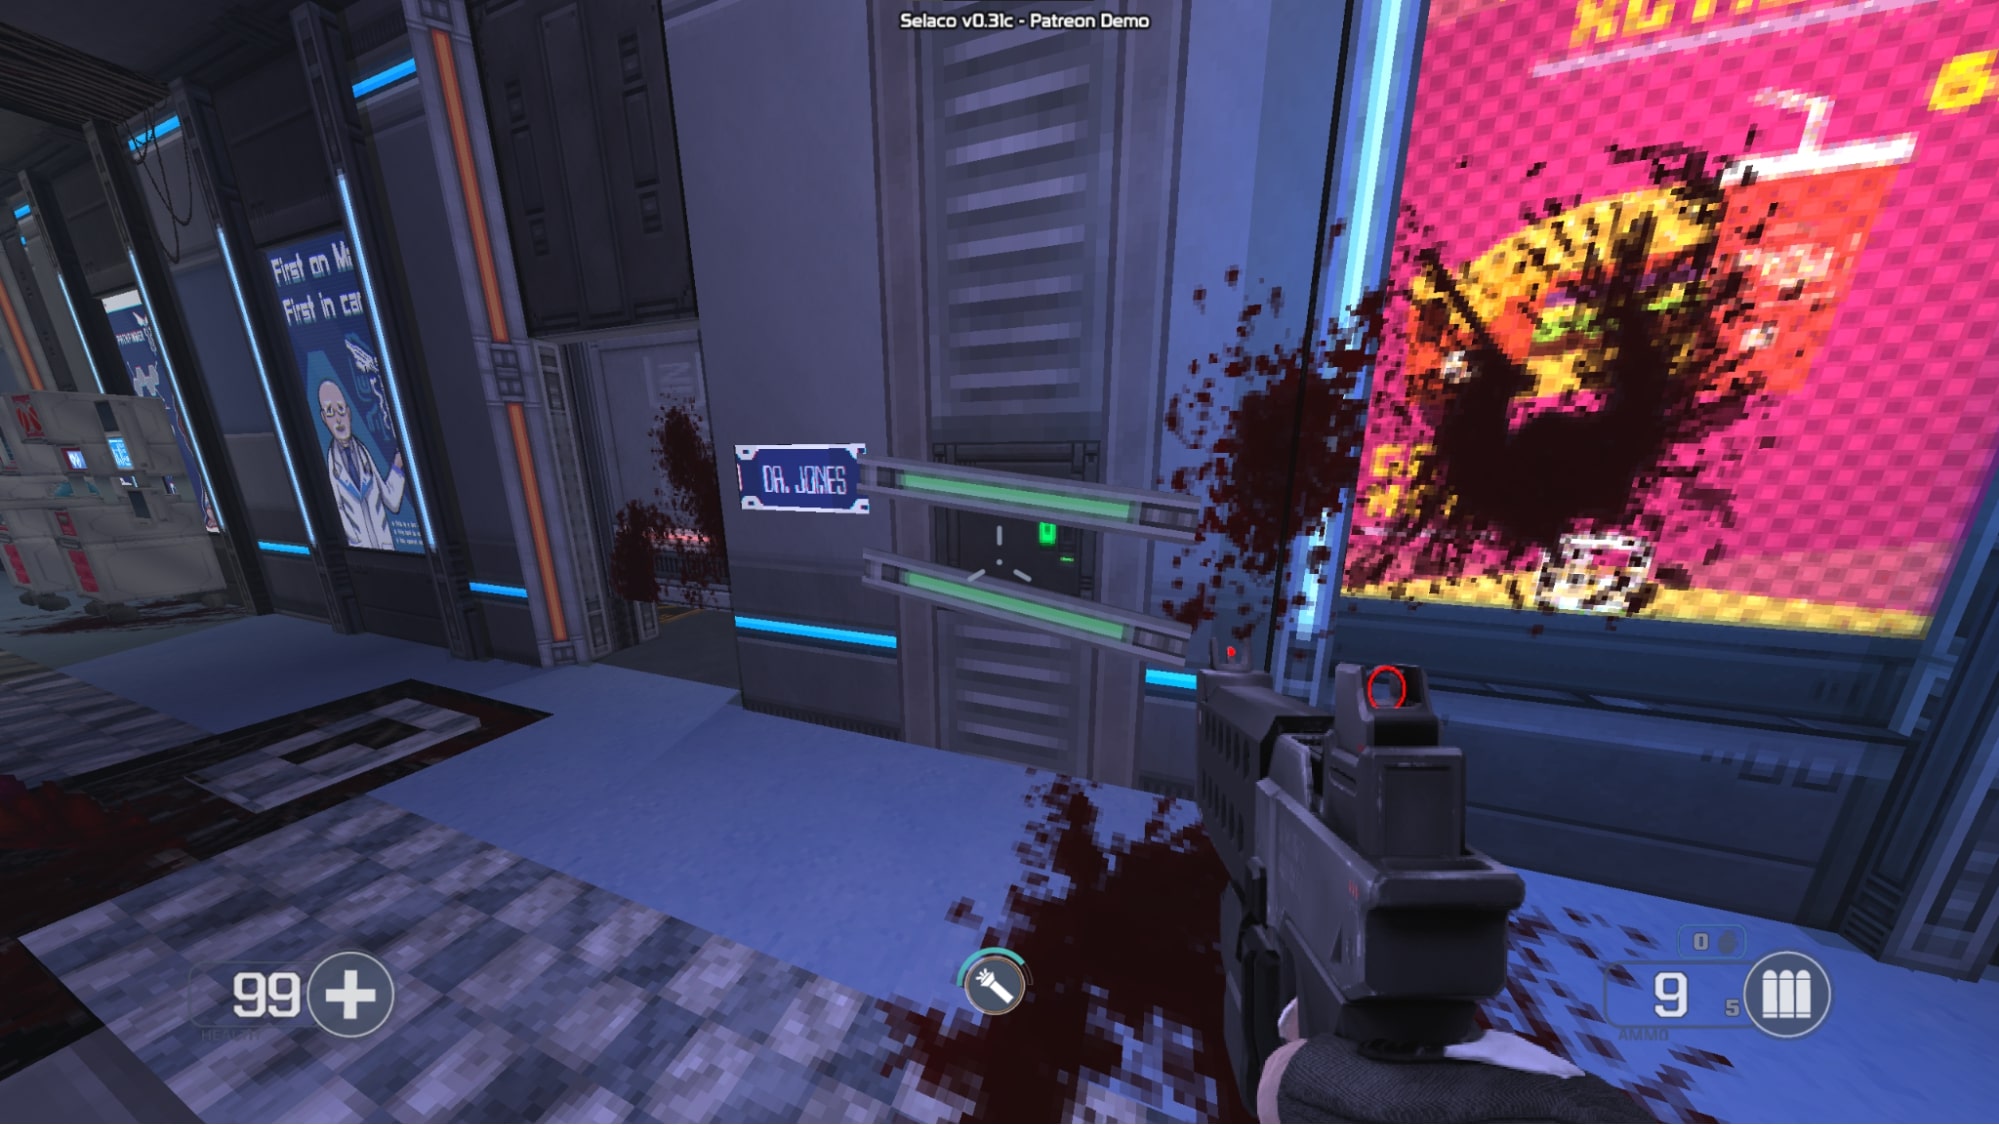
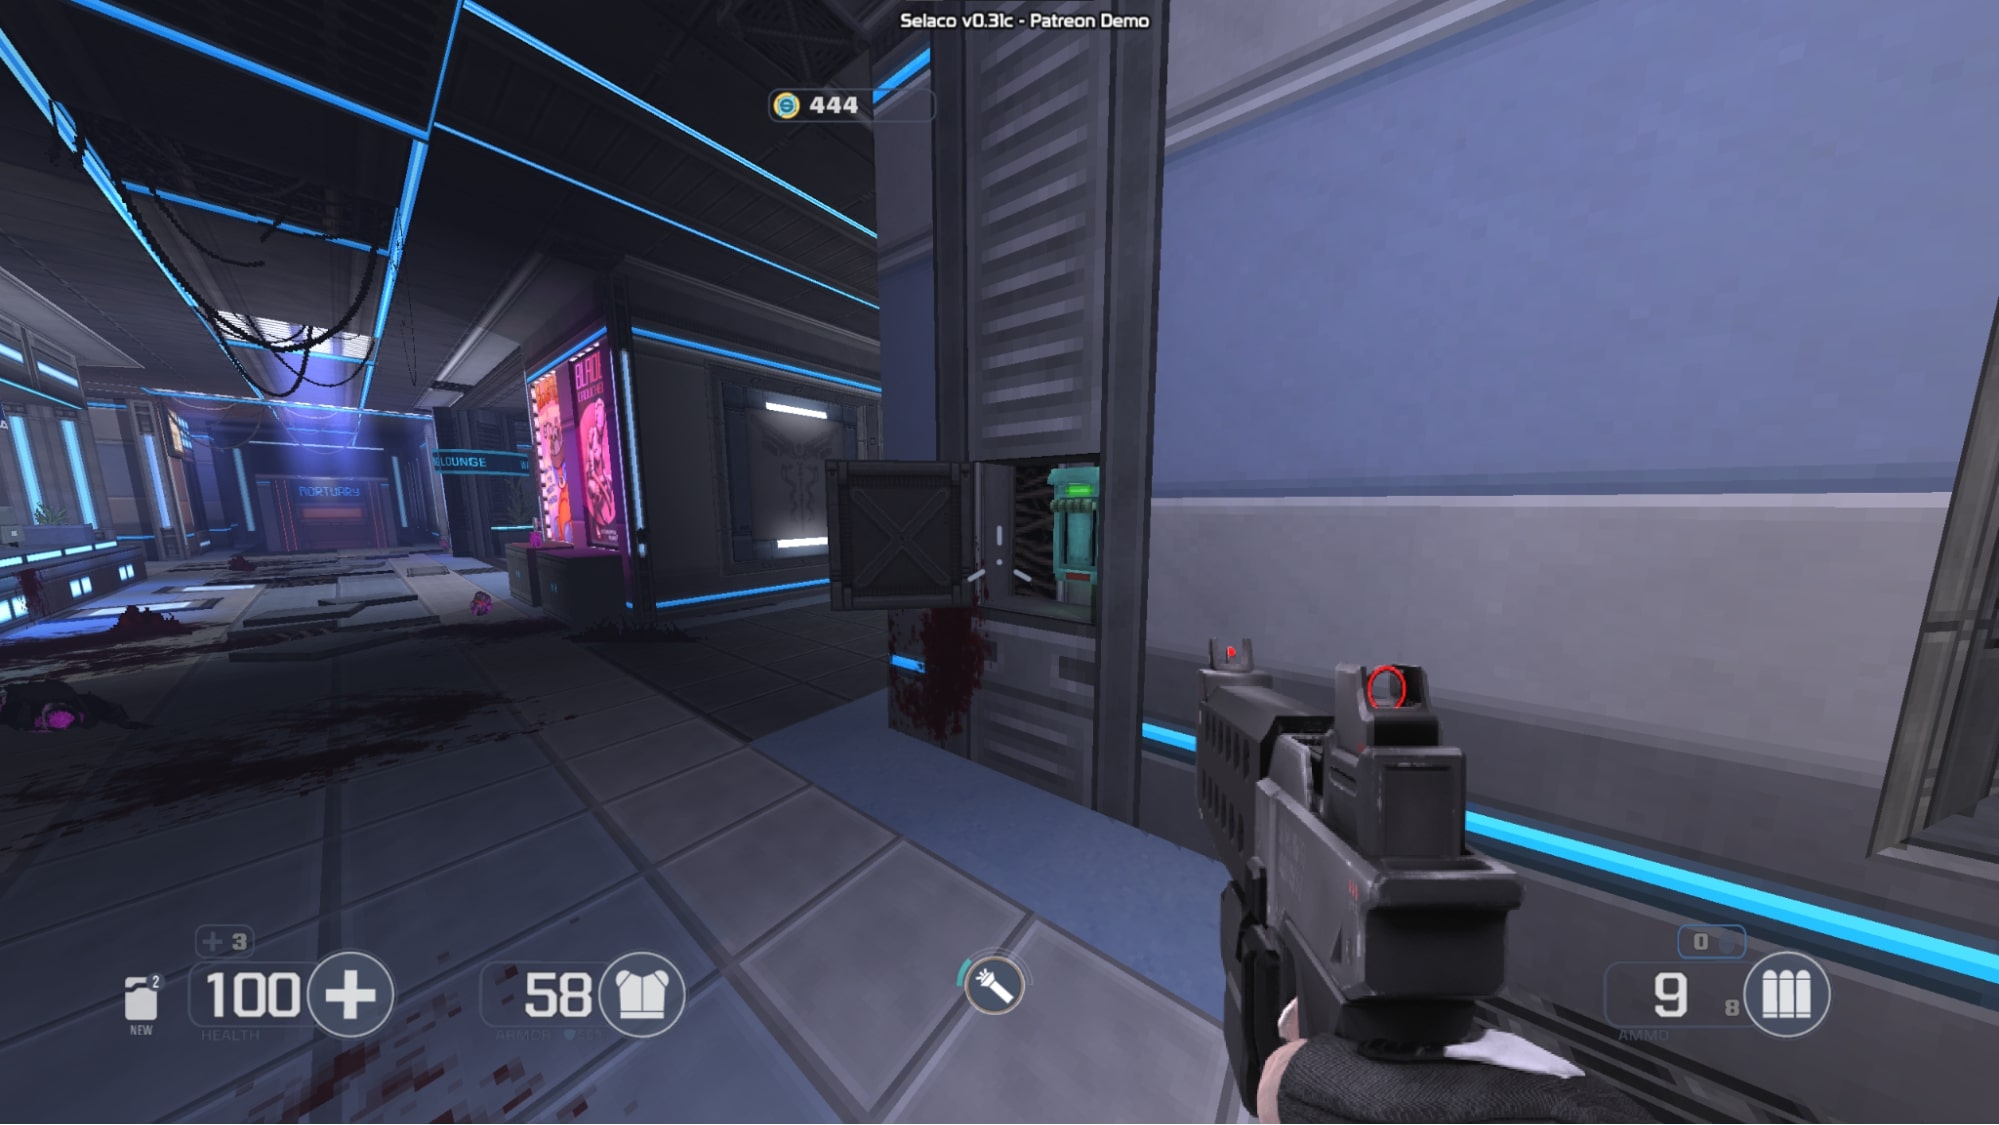
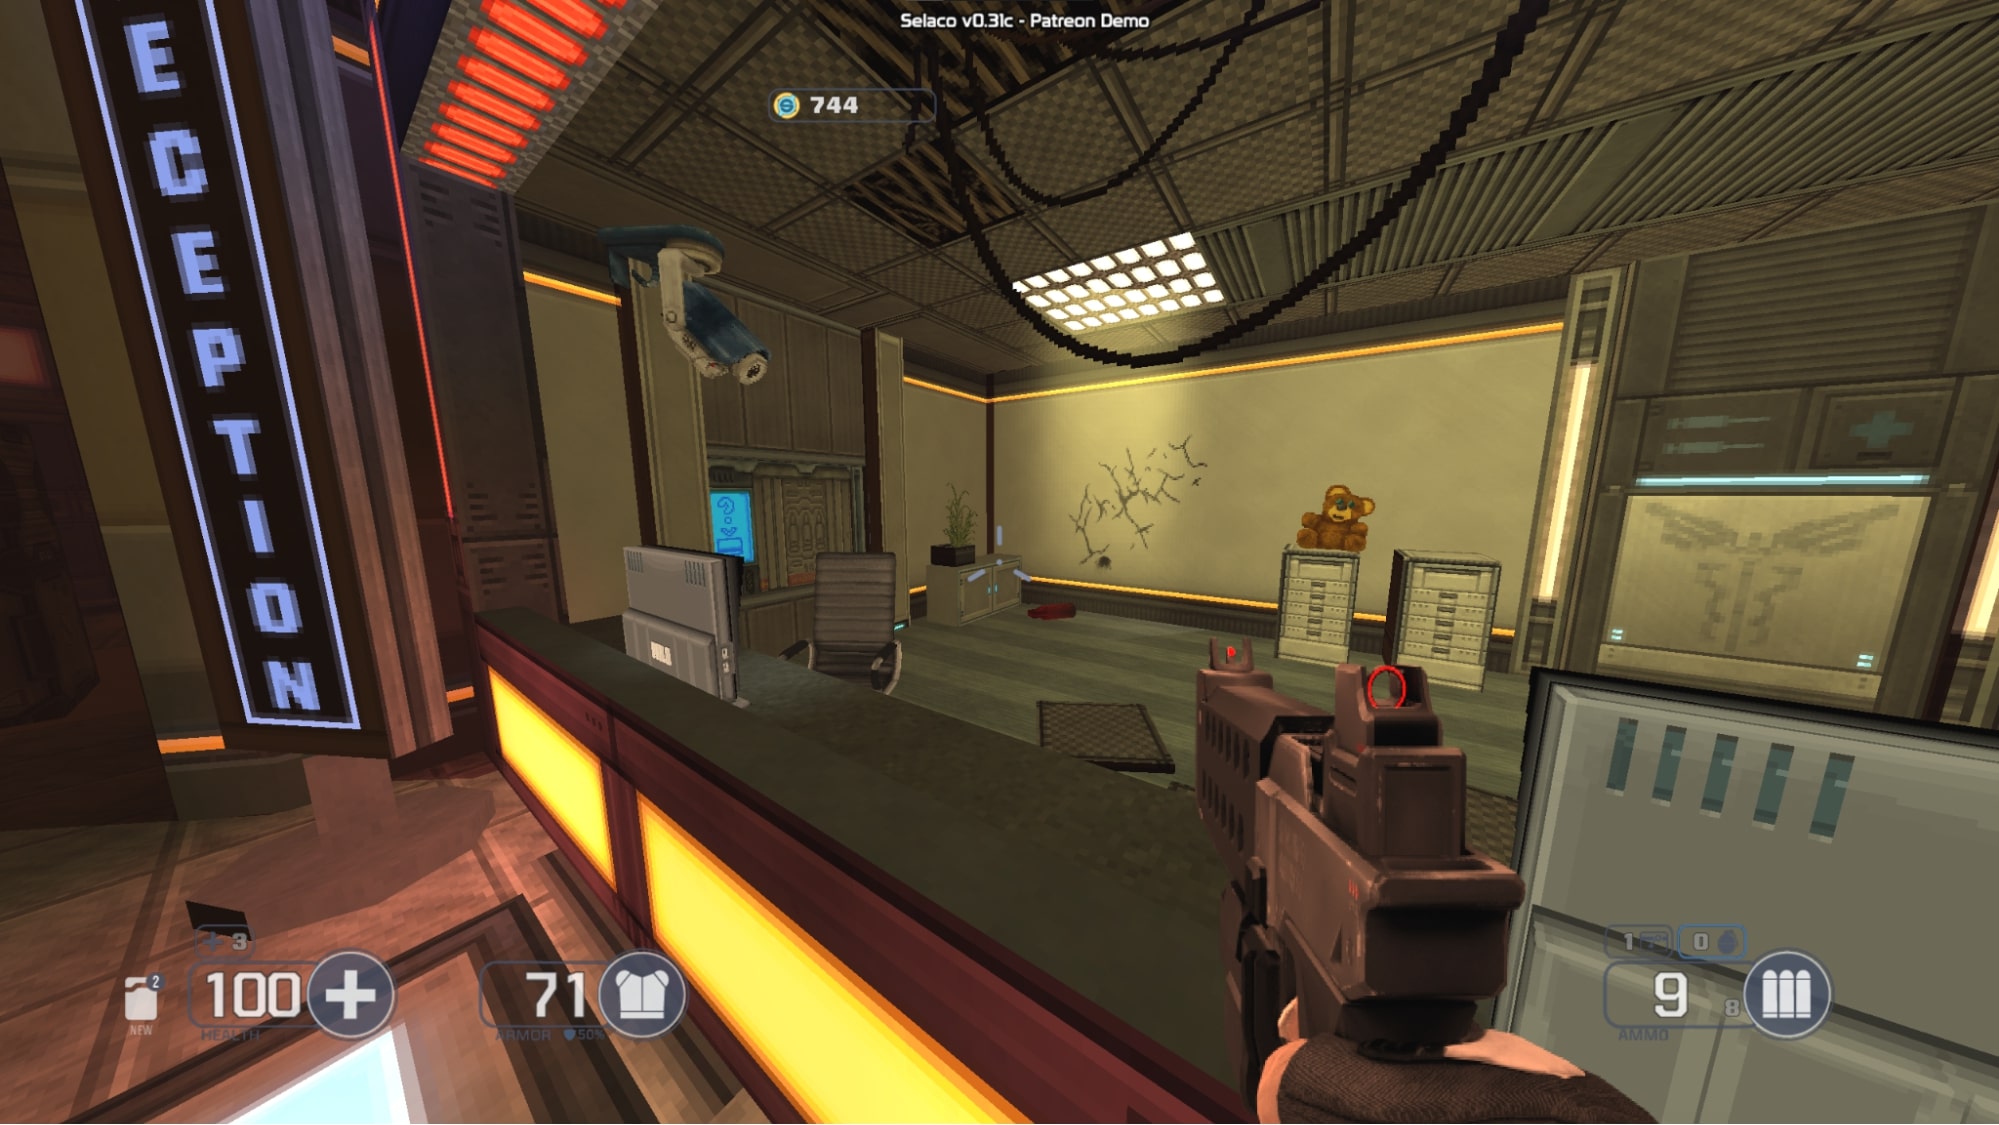
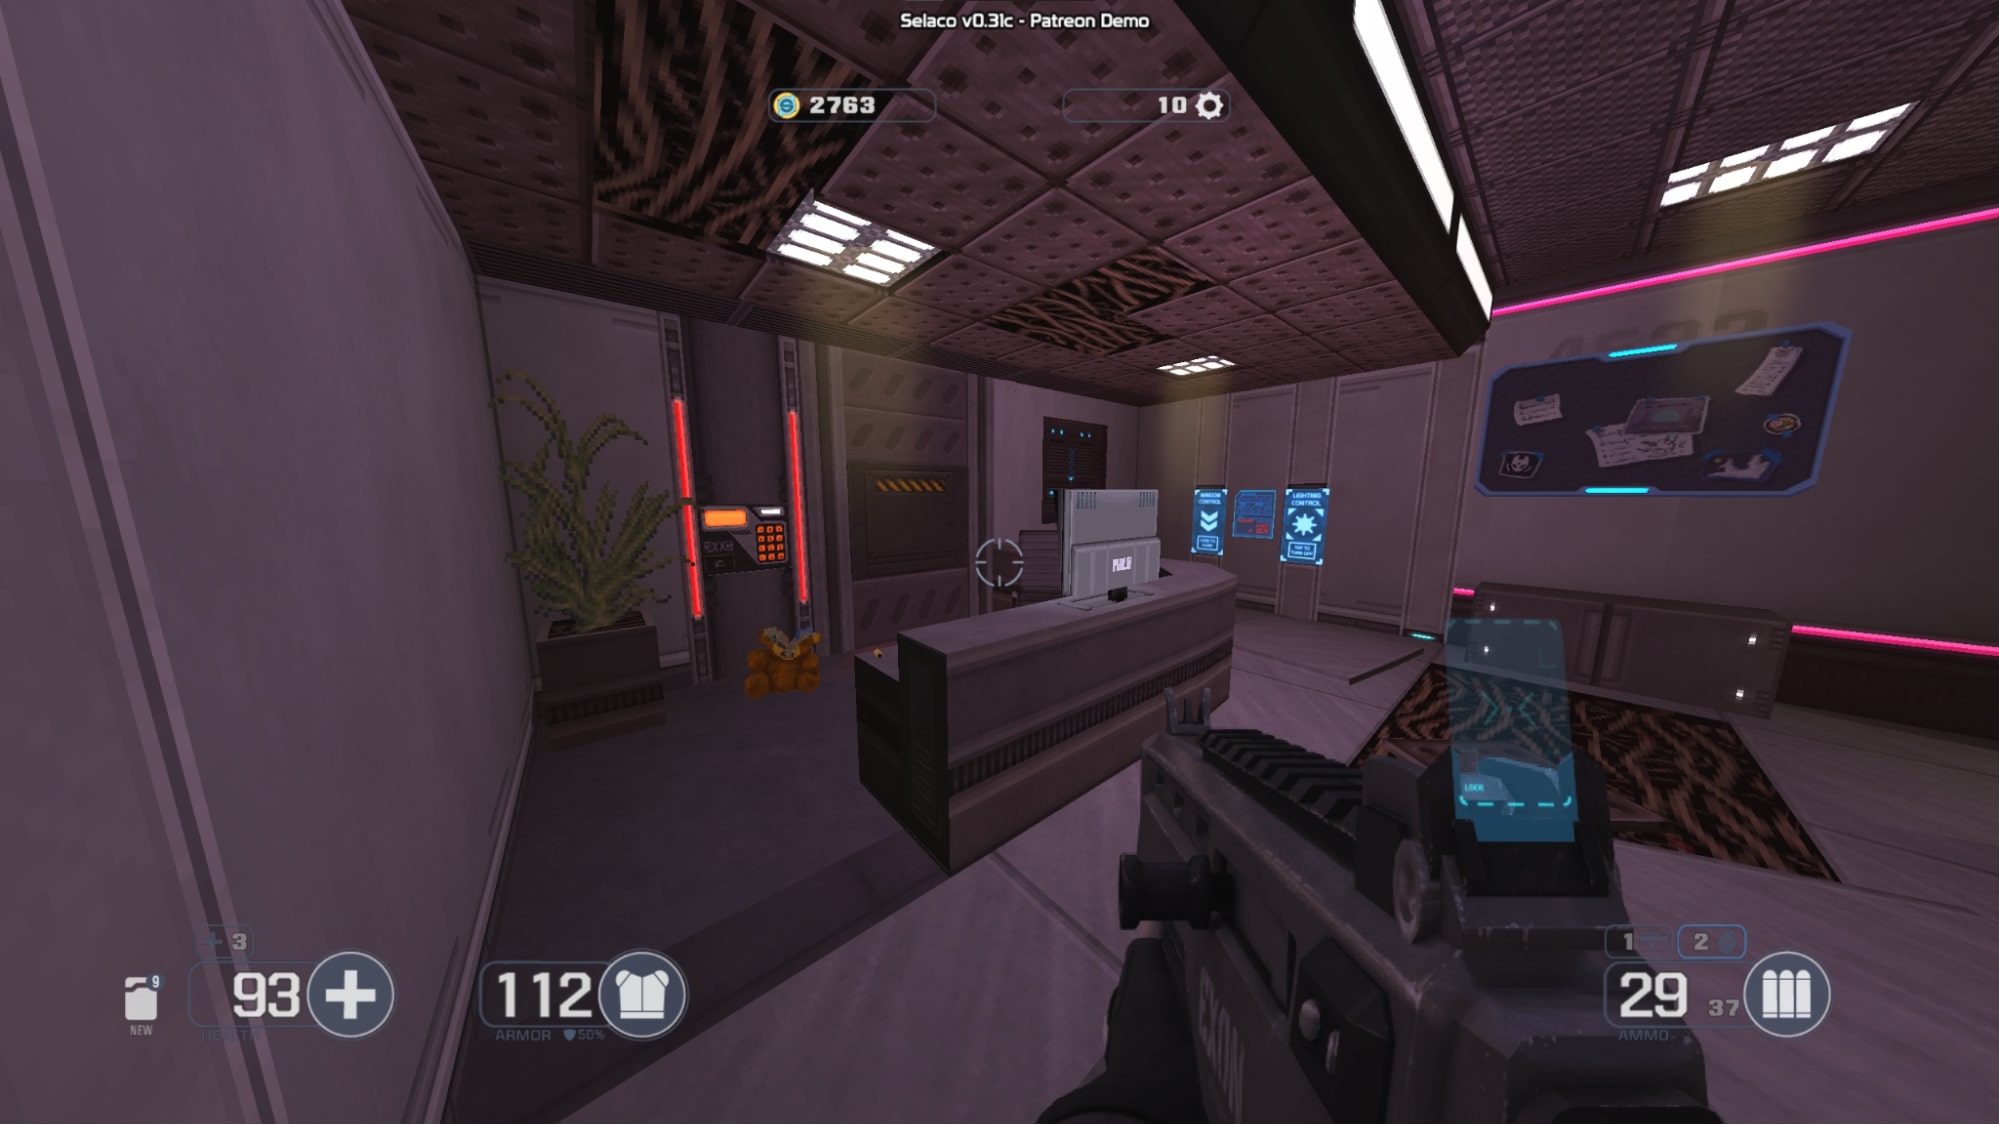
#11 – Use an explosive (like a fire extinguisher) to blow up this crack in the wall behind the reception desk.
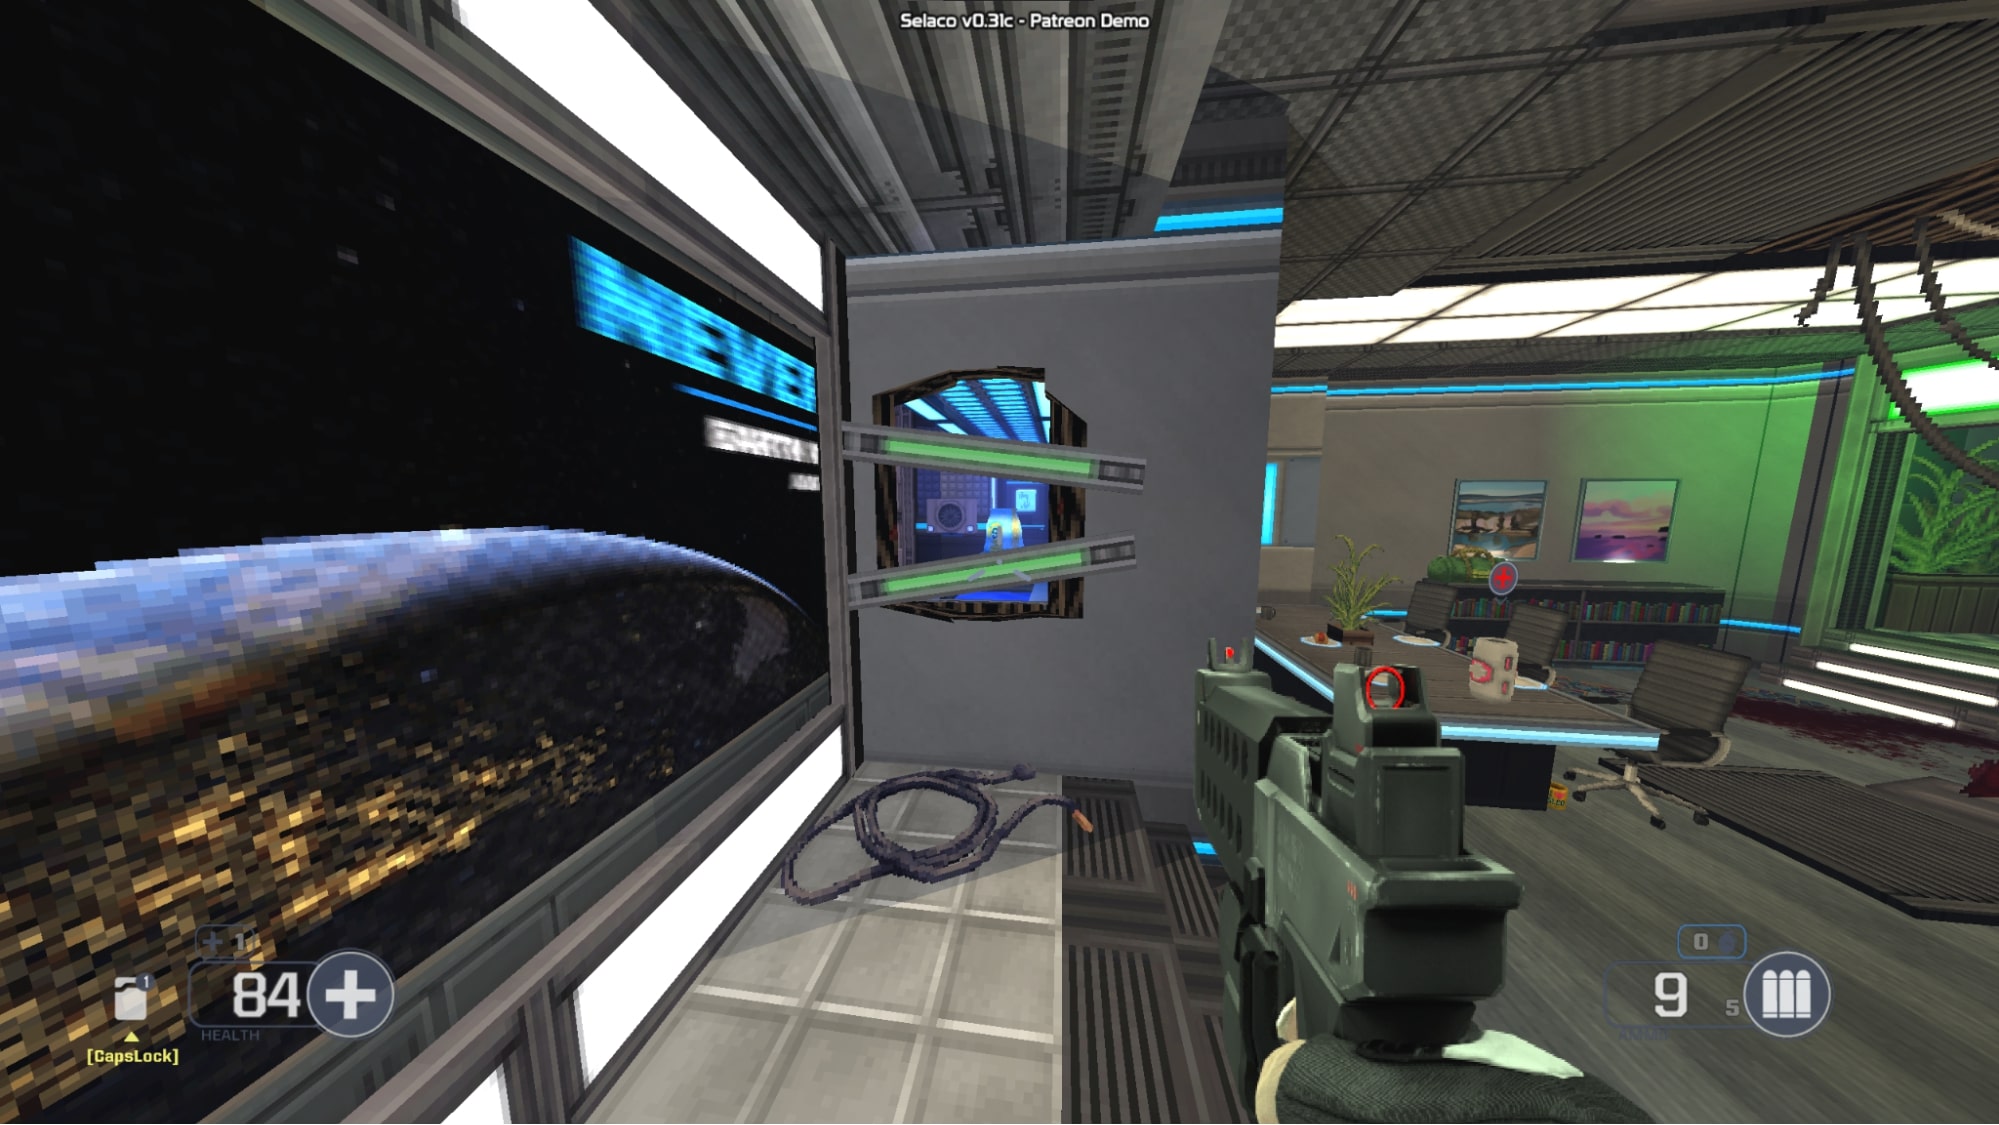
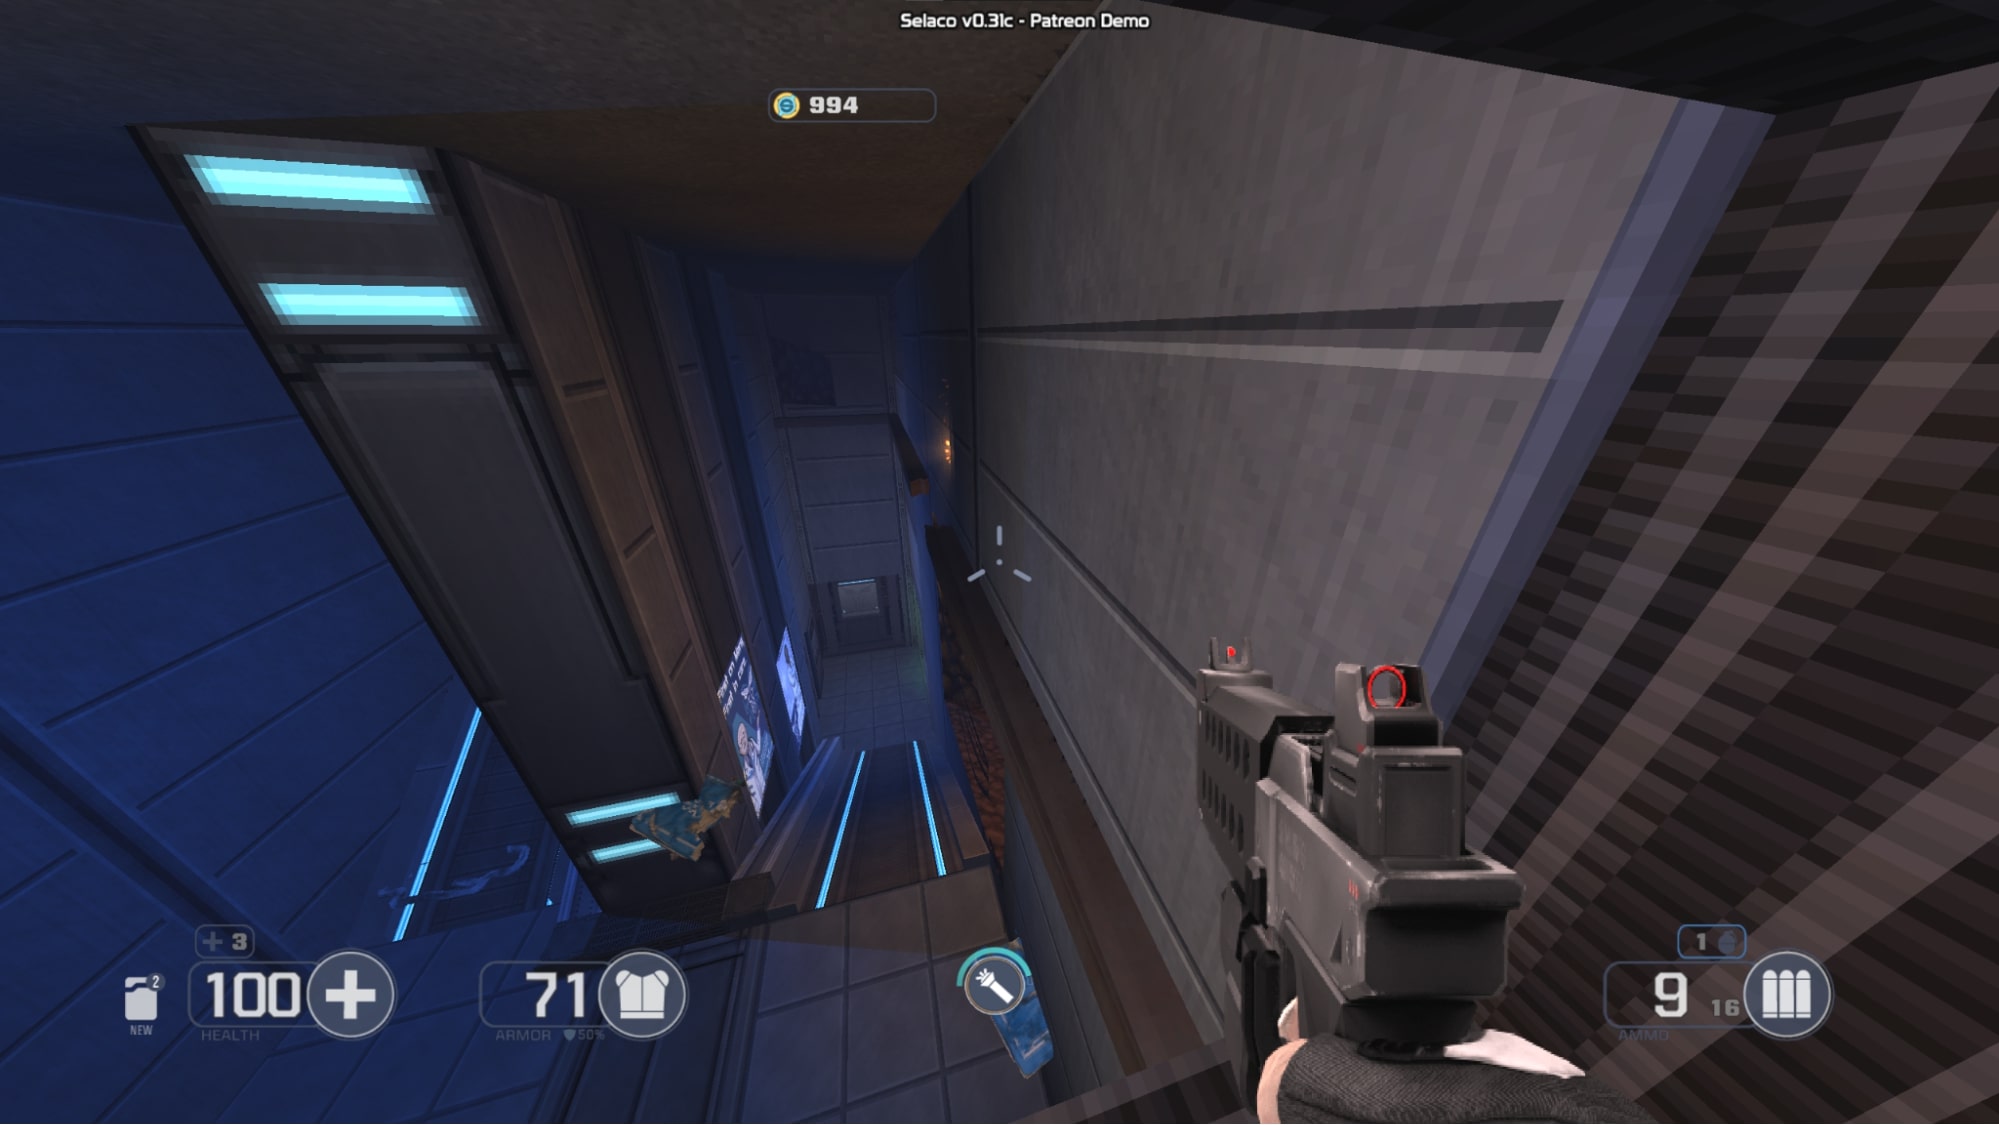
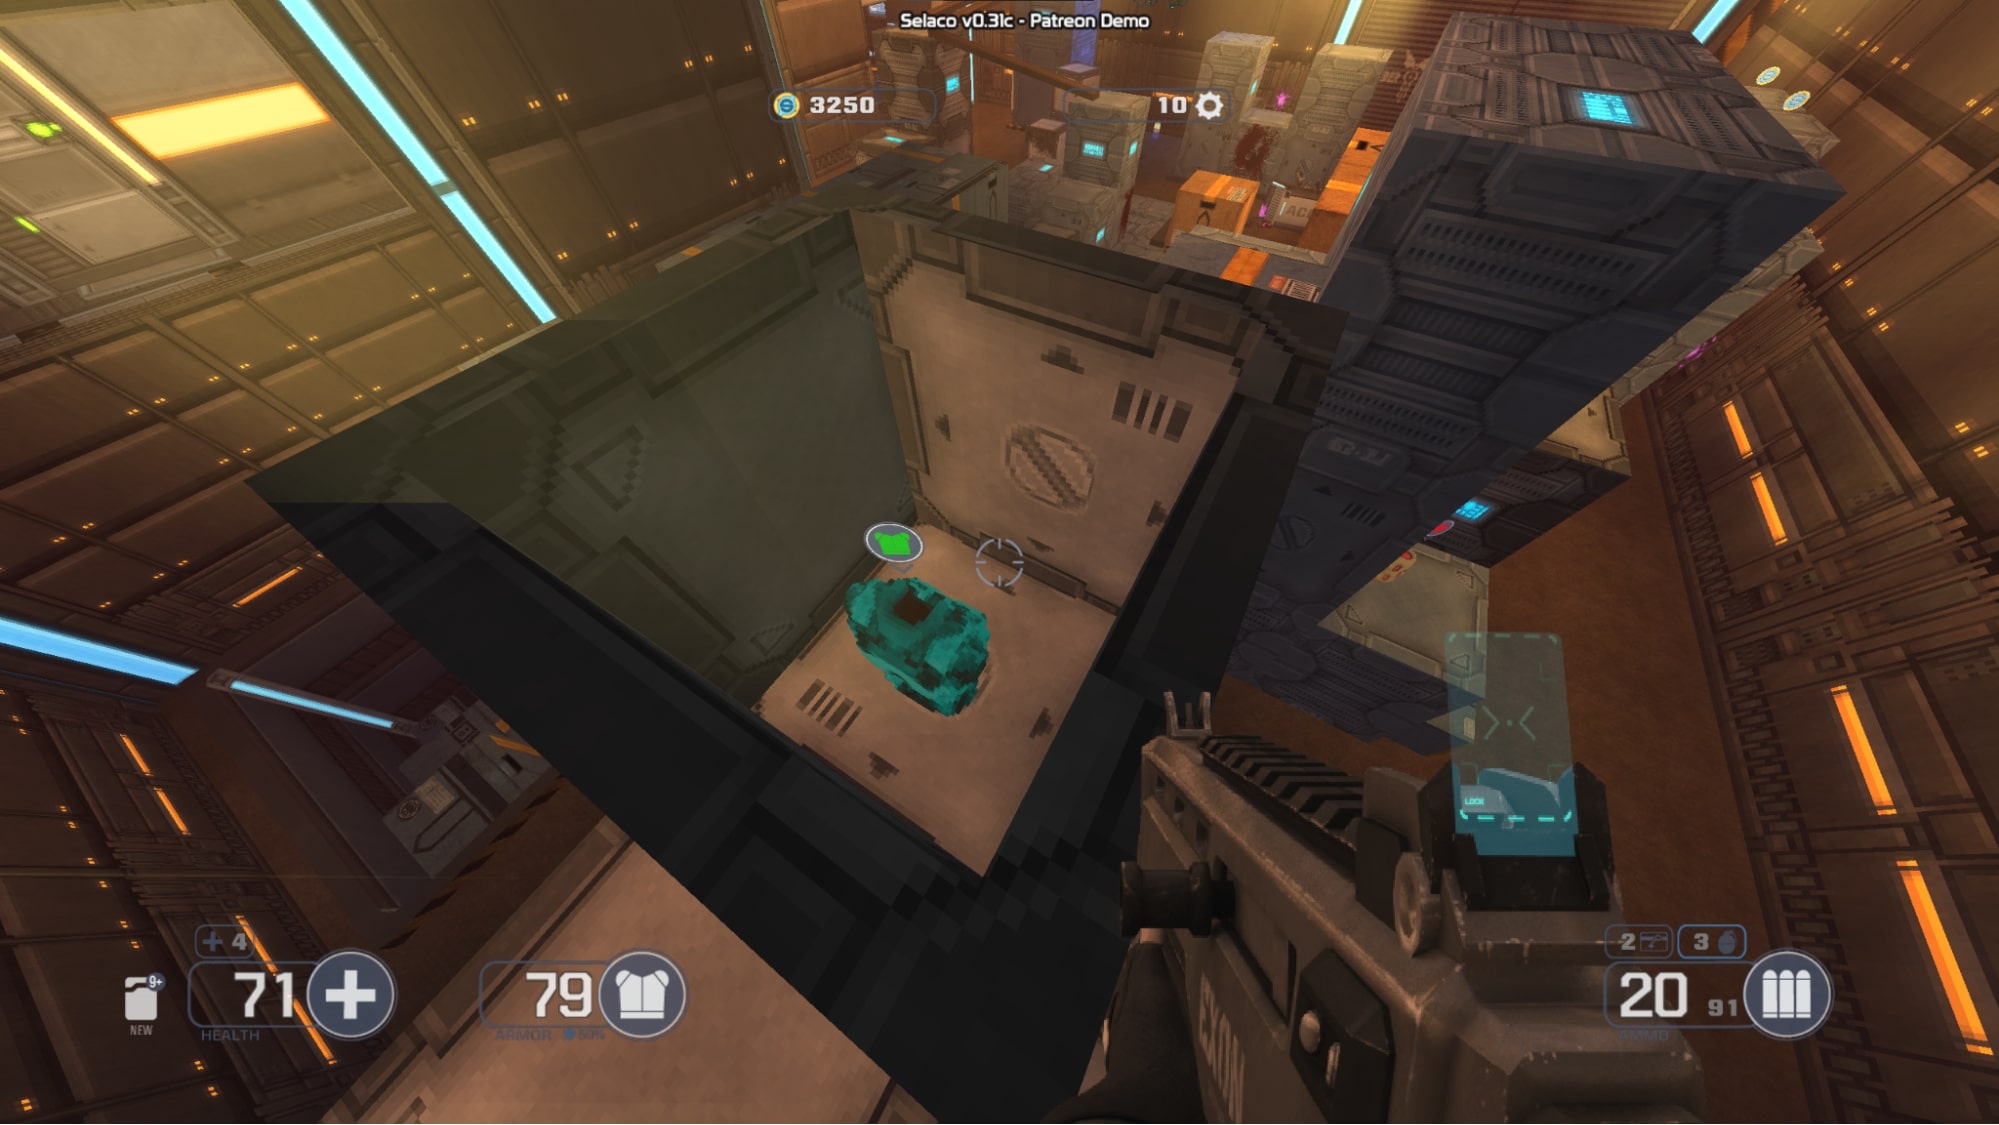
#12 – If you climb into the window to the left of the elevator in 1-2, you will find a ledge you can walk on. This ledge will take you to a secret hidden in a little cave.
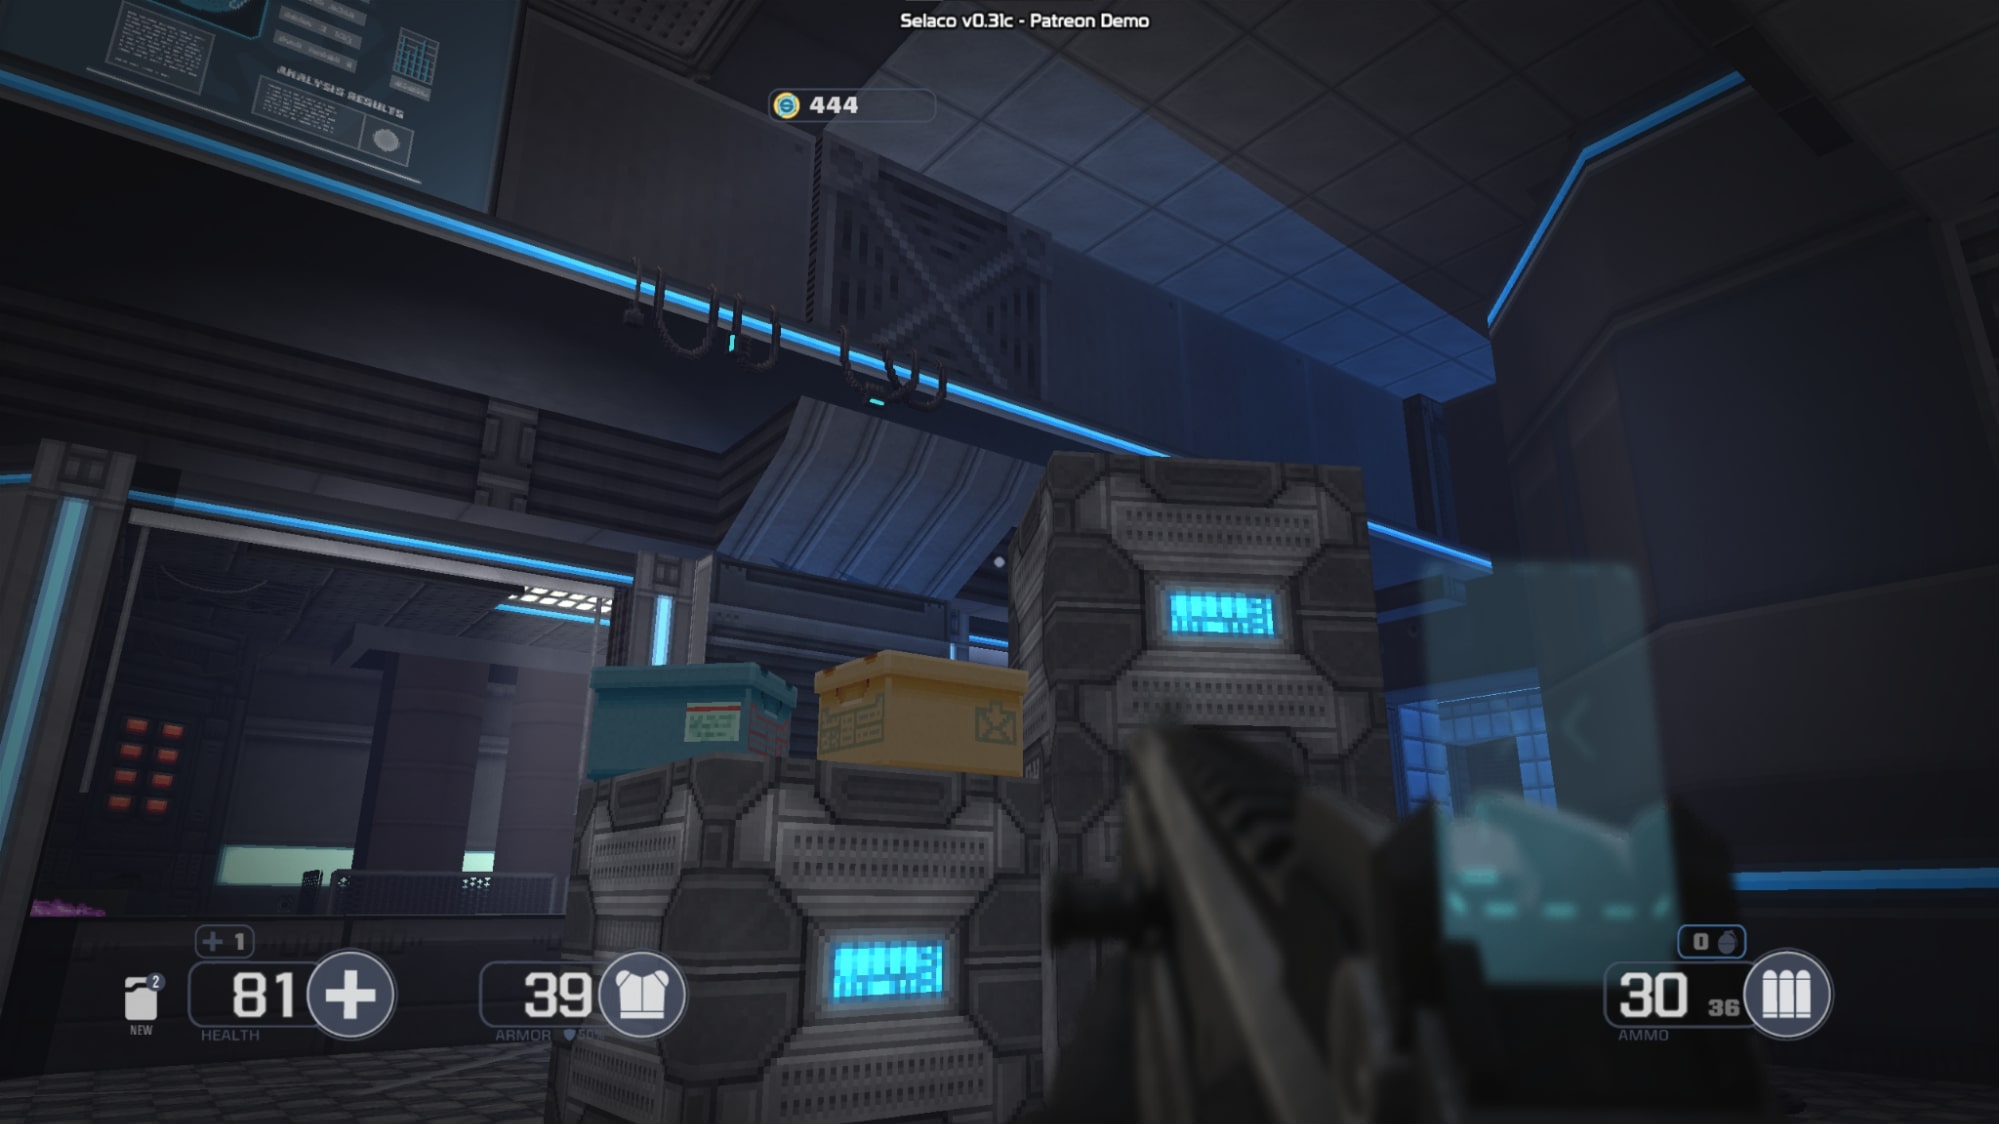
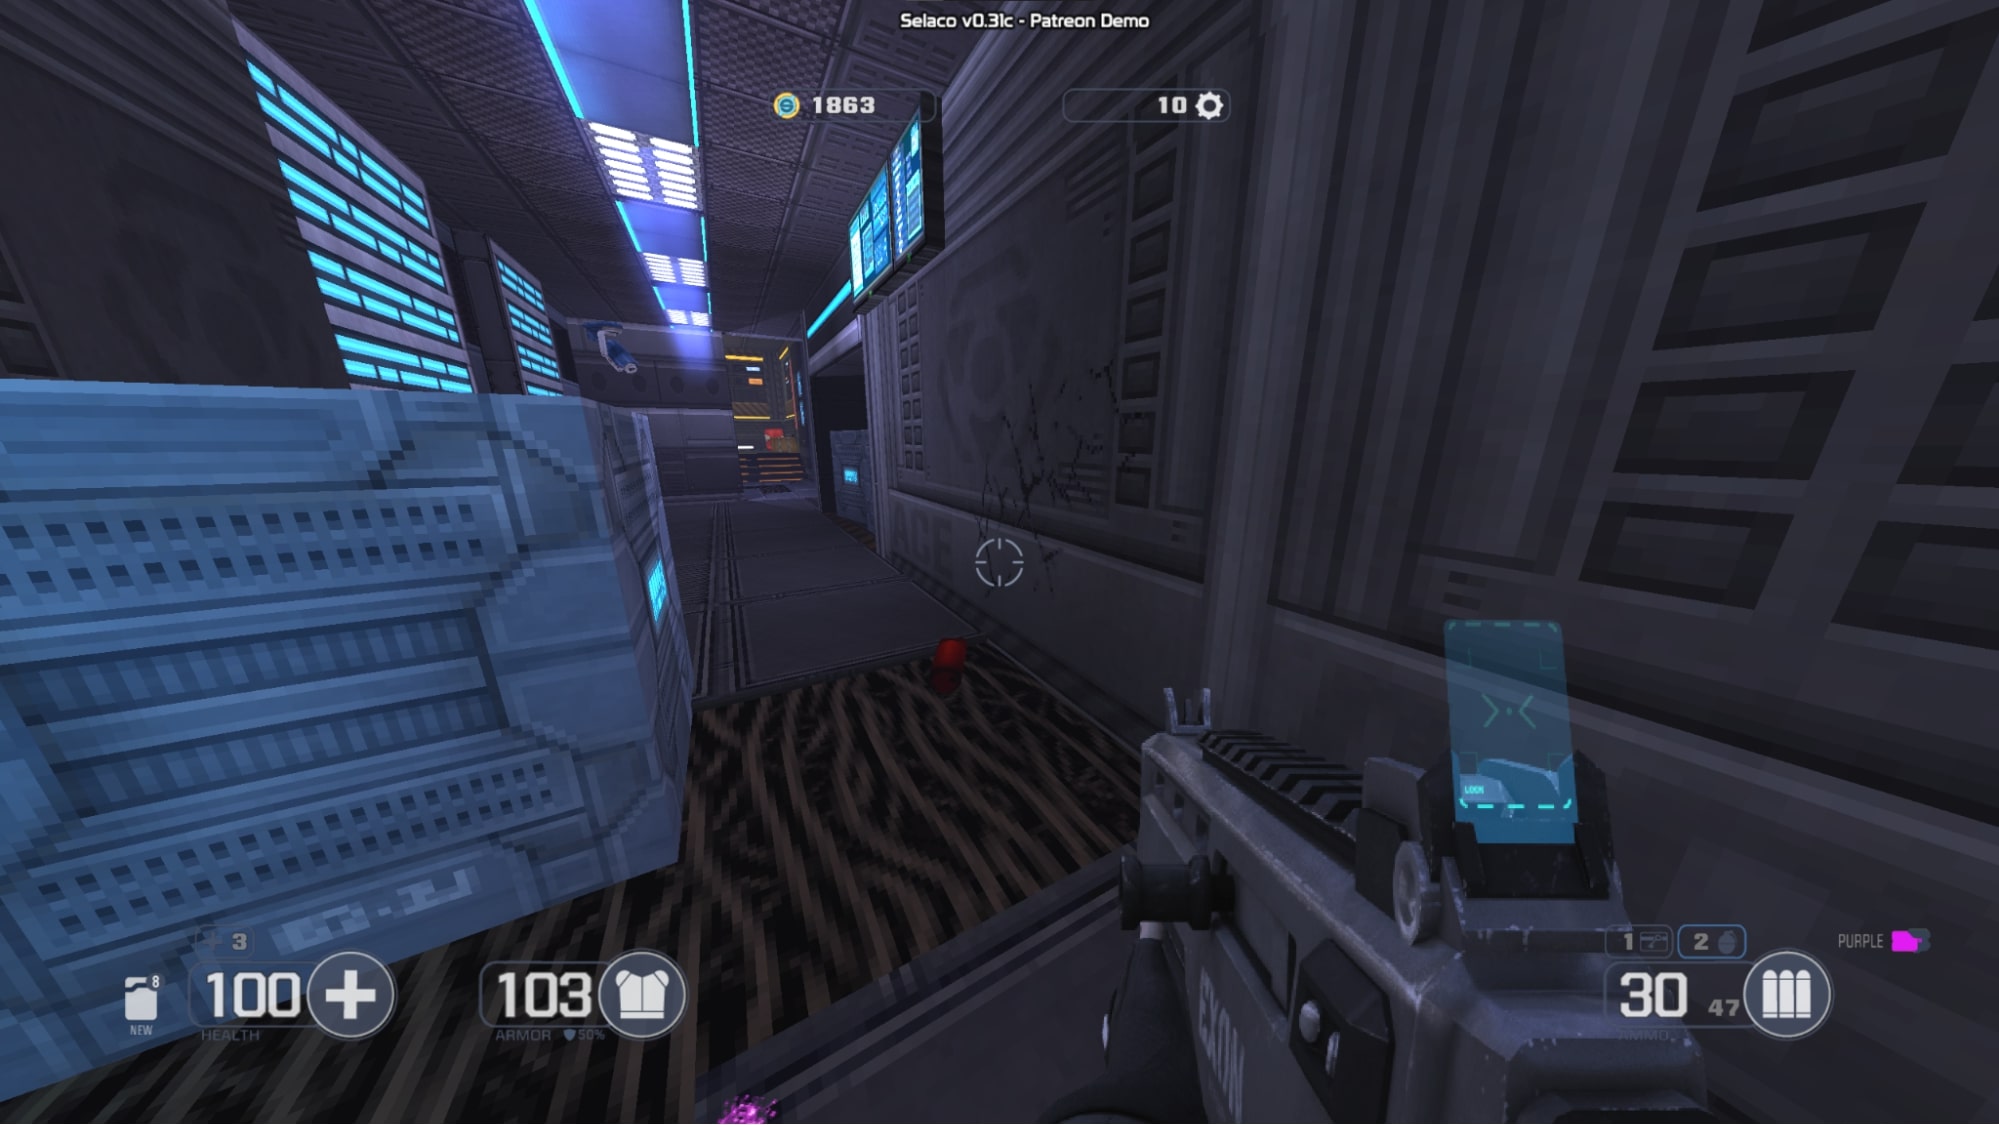
#13 – At the start of 1-3, turn to the right when you get out of the vent and you will see a stack of boxes down the hallway. Climb over them and open the vent door behind them to reveal a secret area.
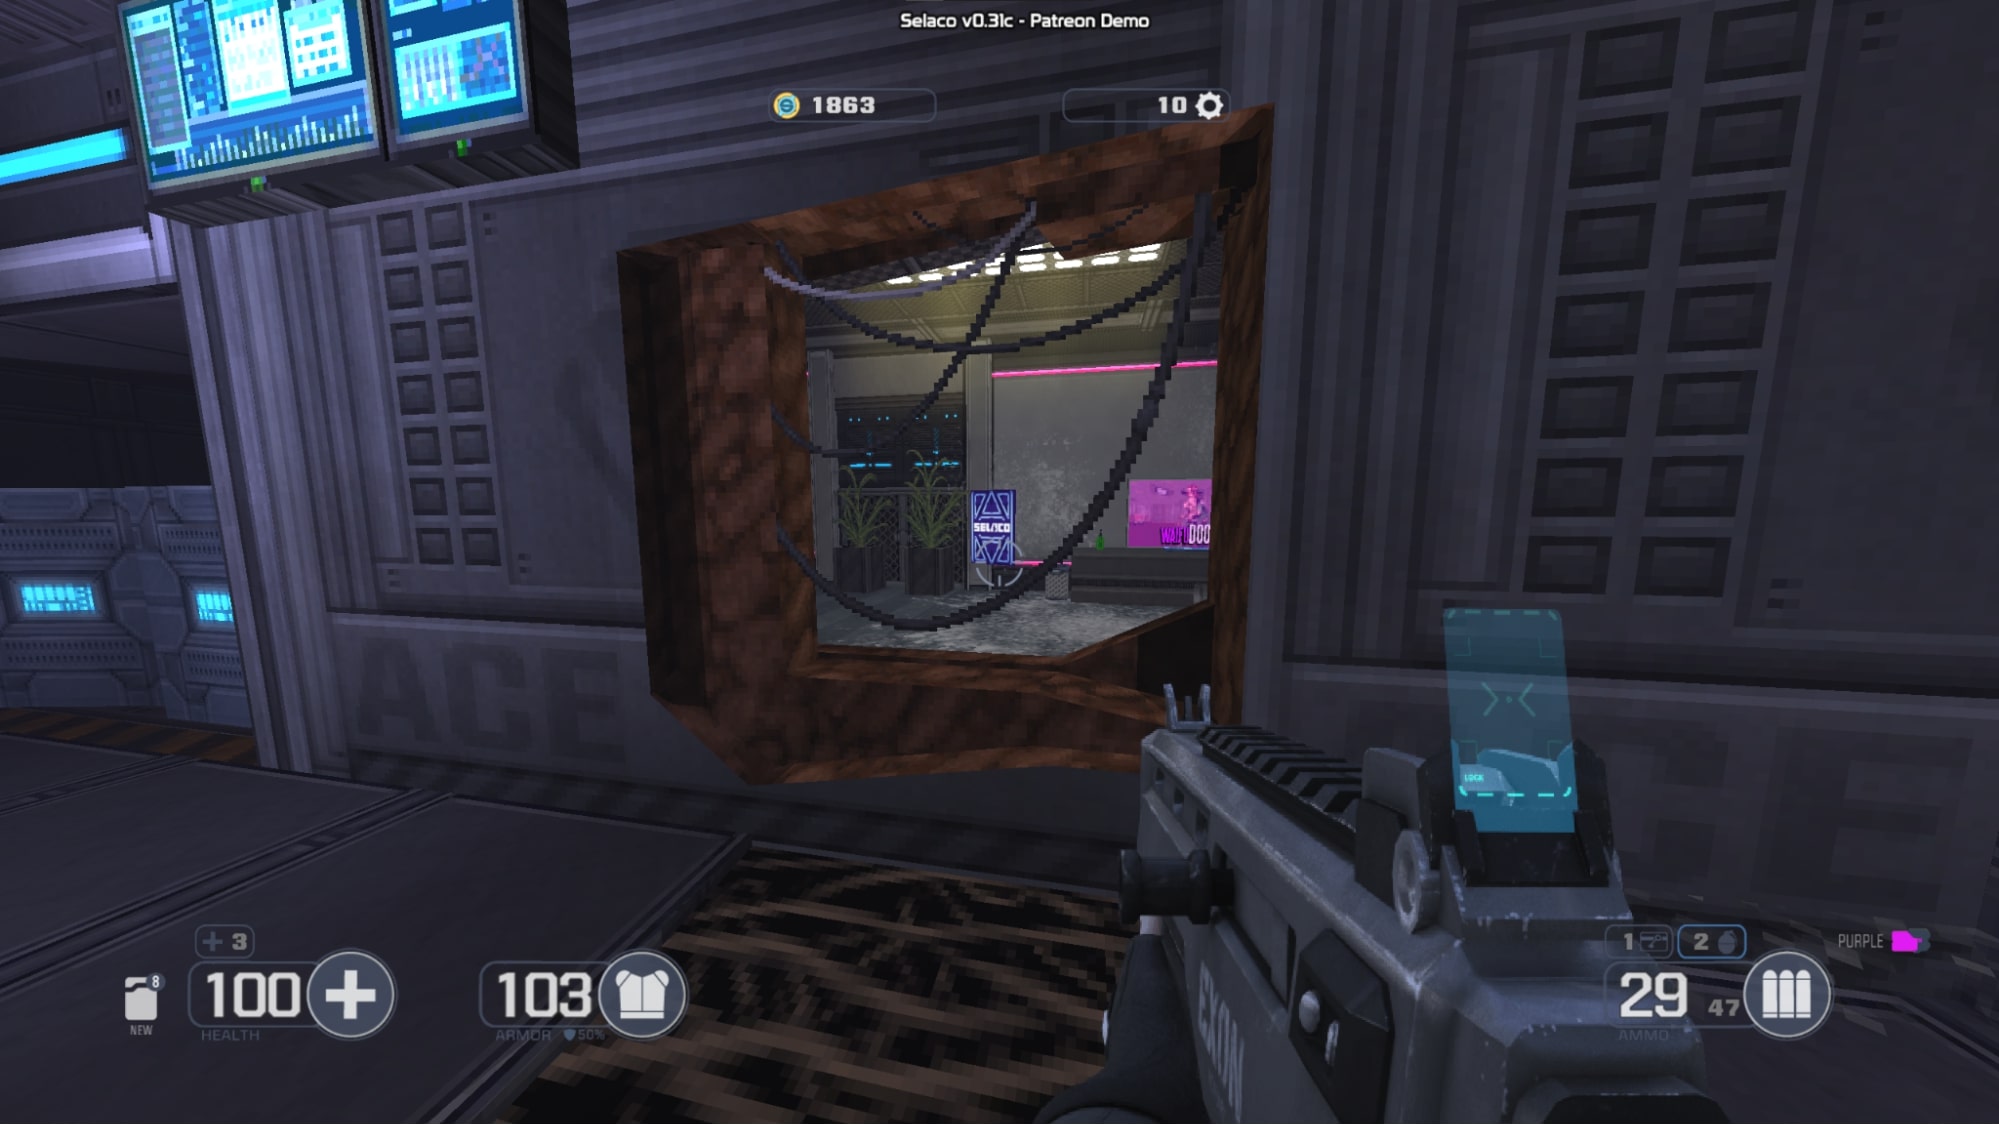
#14 – Use an explosive to blow up this crack in the wall to get to a secret room. There is also a trading card inside.
#15 – Use the level 1 키카드 (치받이 #1 이 가이드에서는) to open this door near the storage room in 1-3.


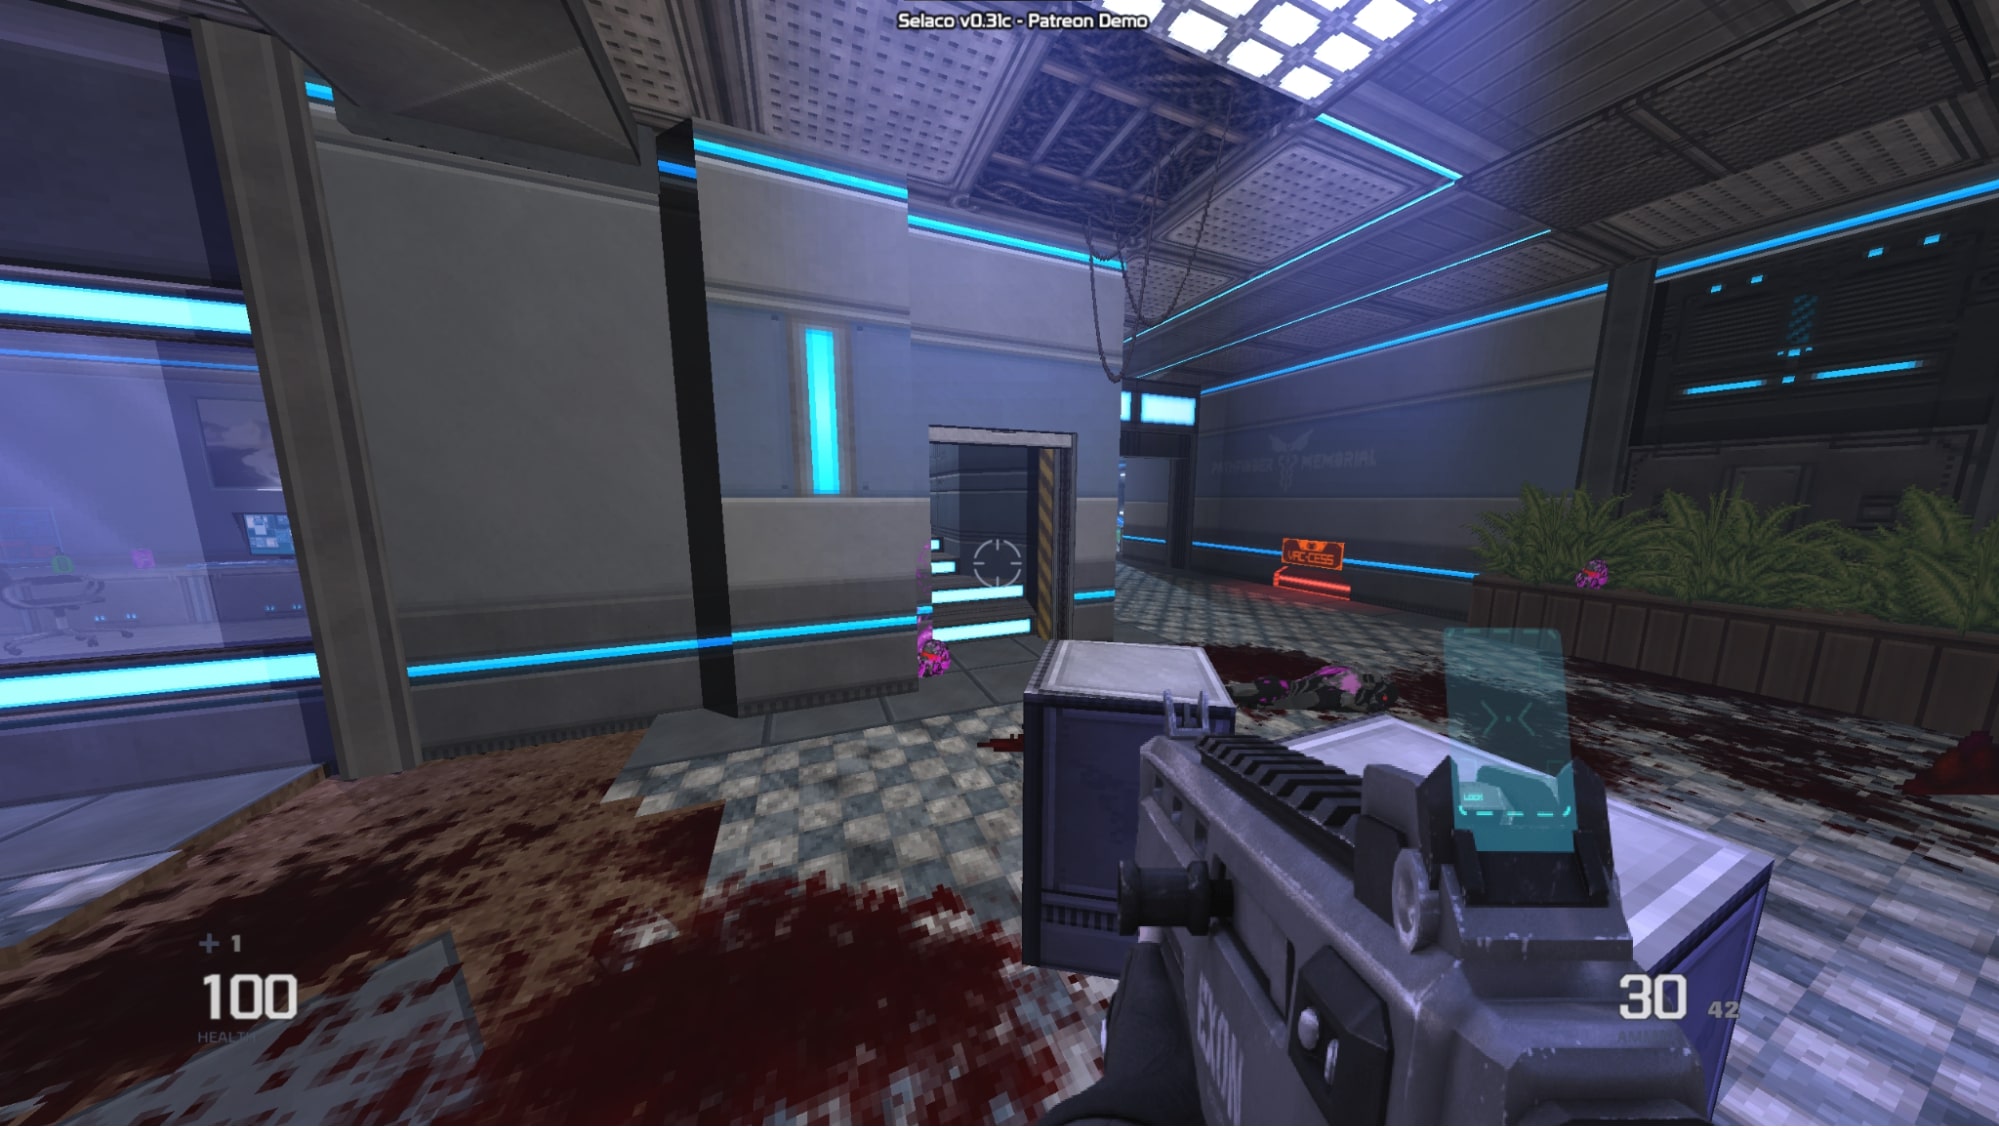
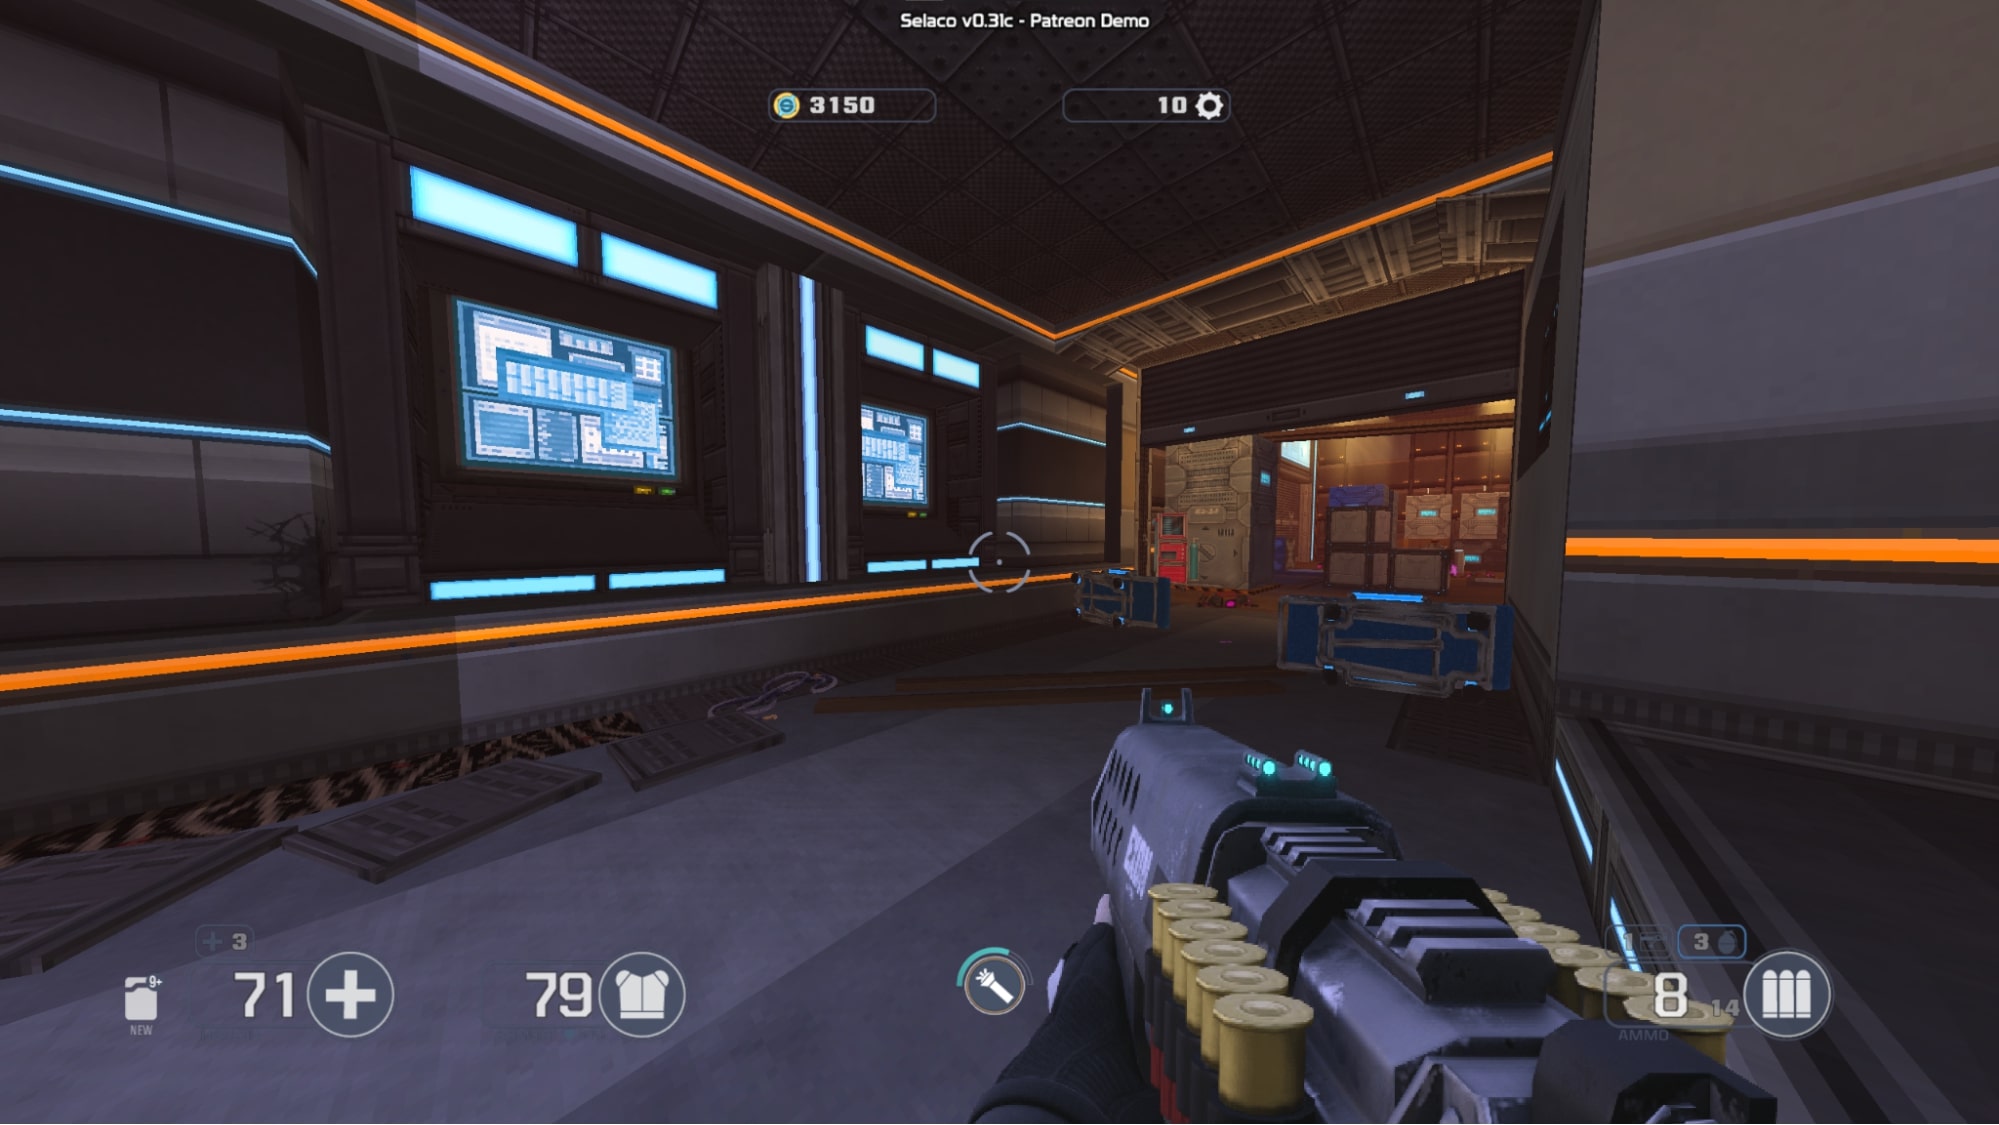
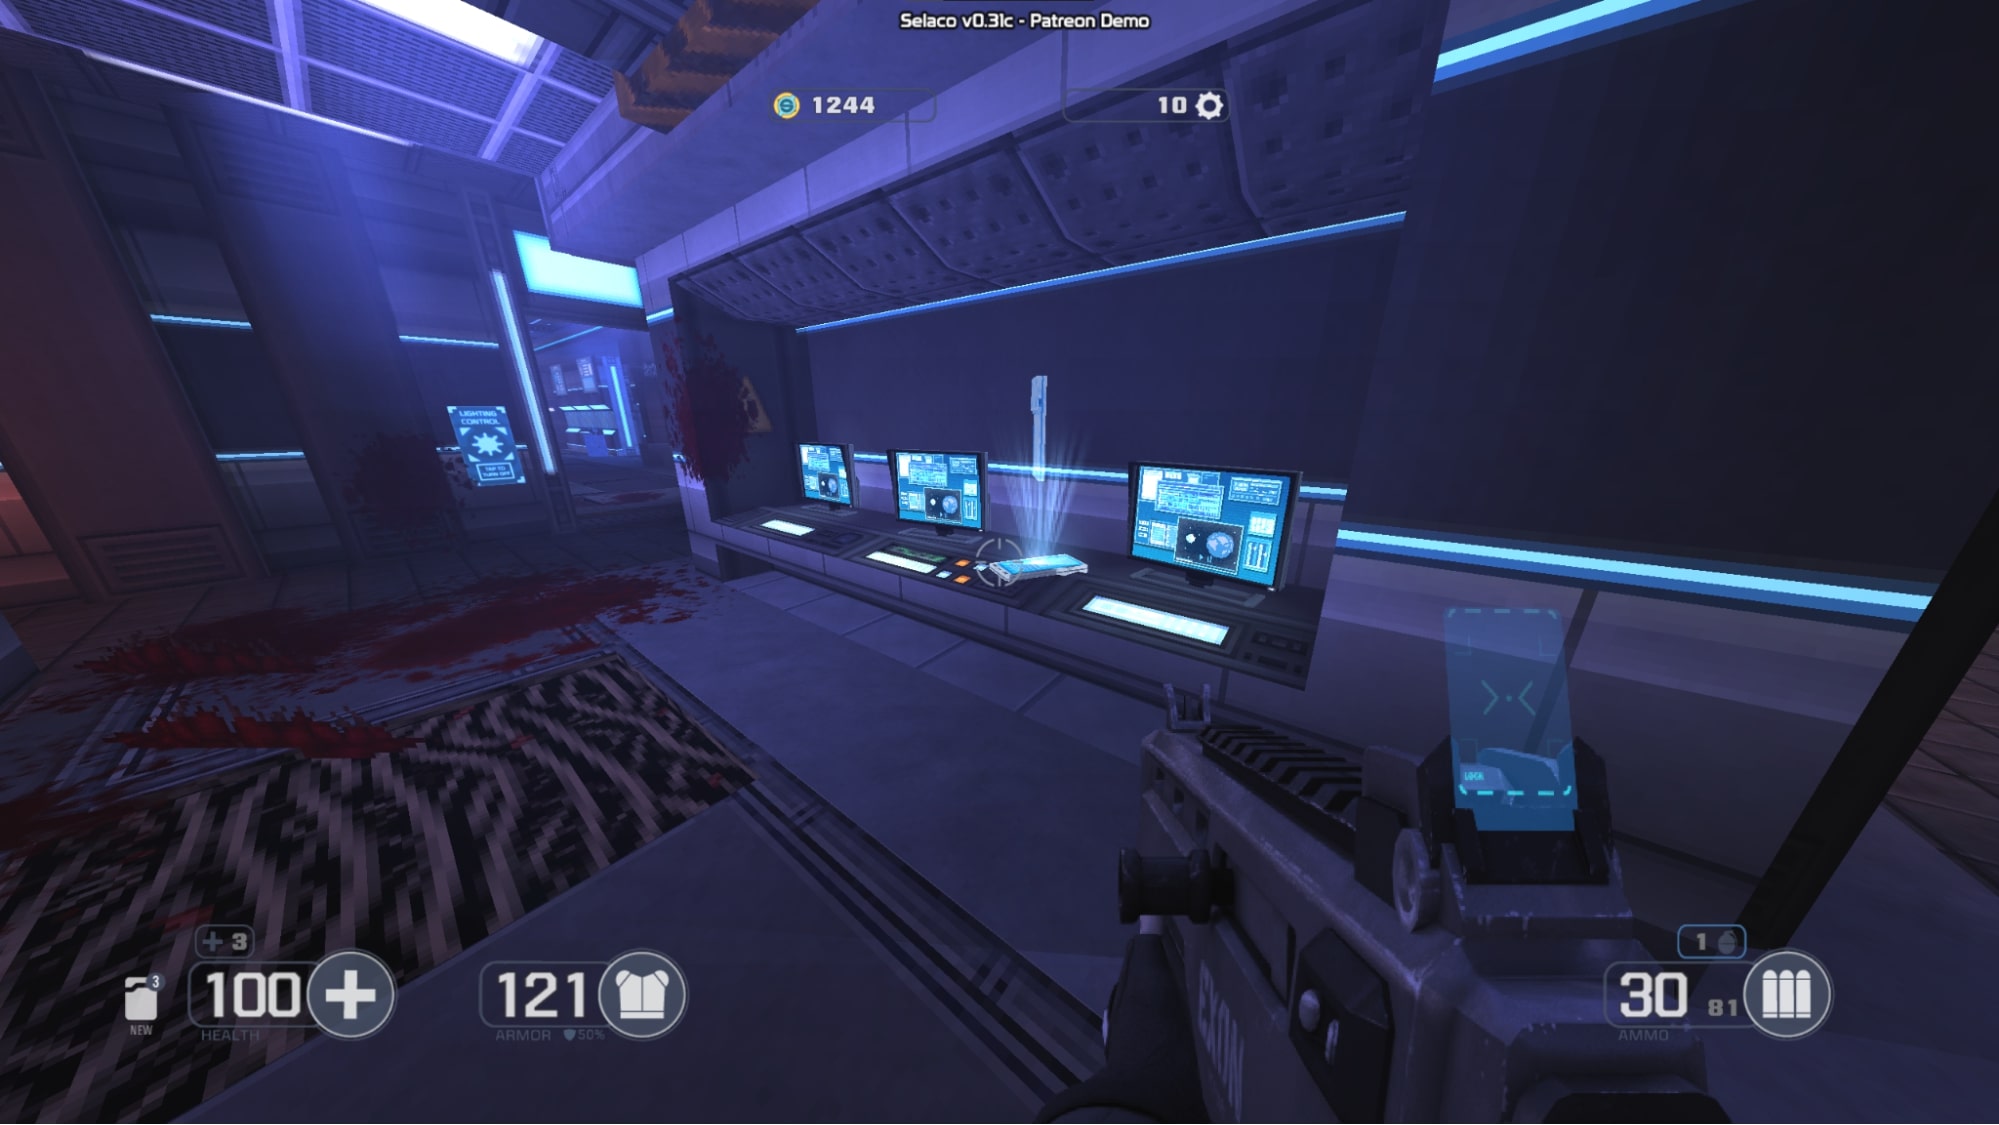
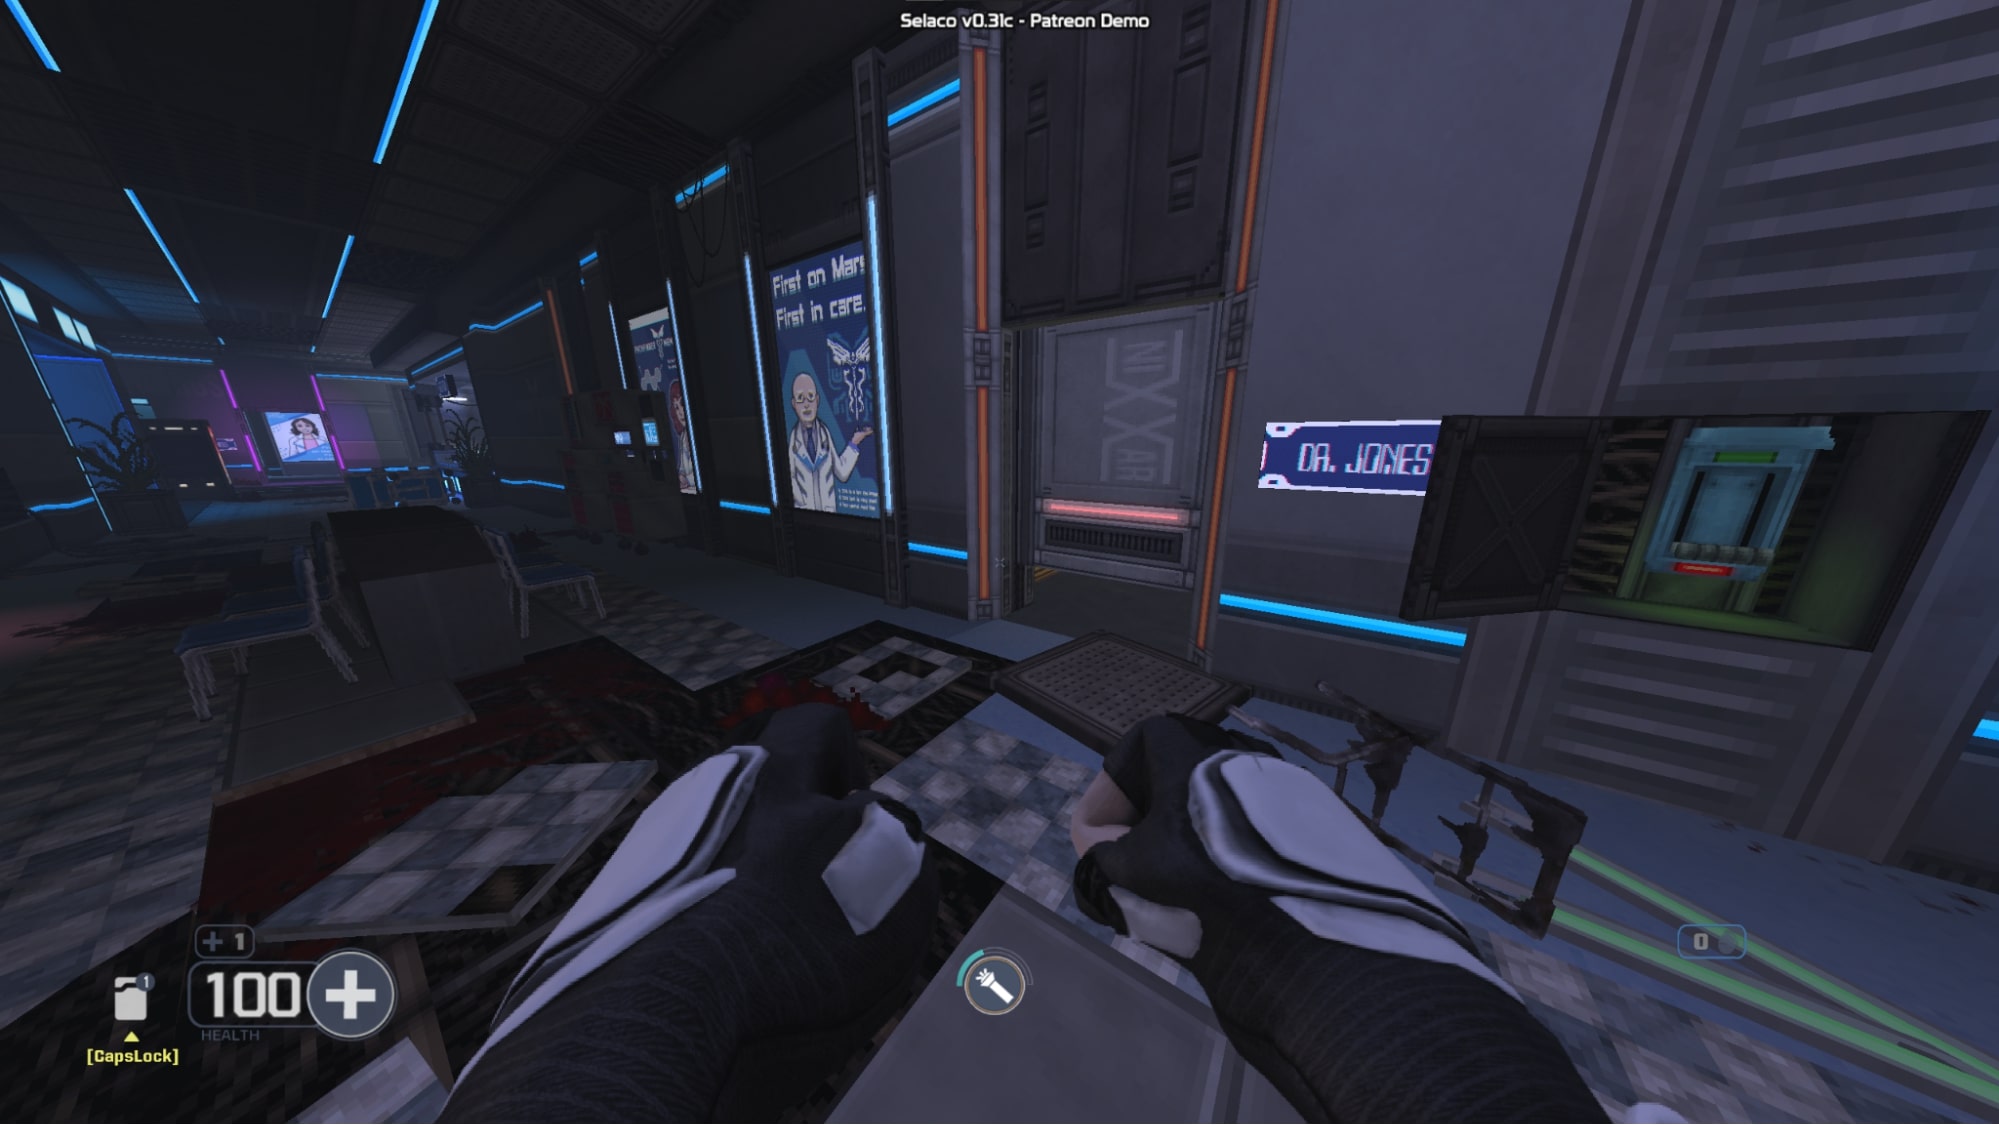
#16 – Just before you get to the storage room, go to the monitor on the left side of this screenshot and press the <사용> key to interact with it. There is a secret medkit behind it.
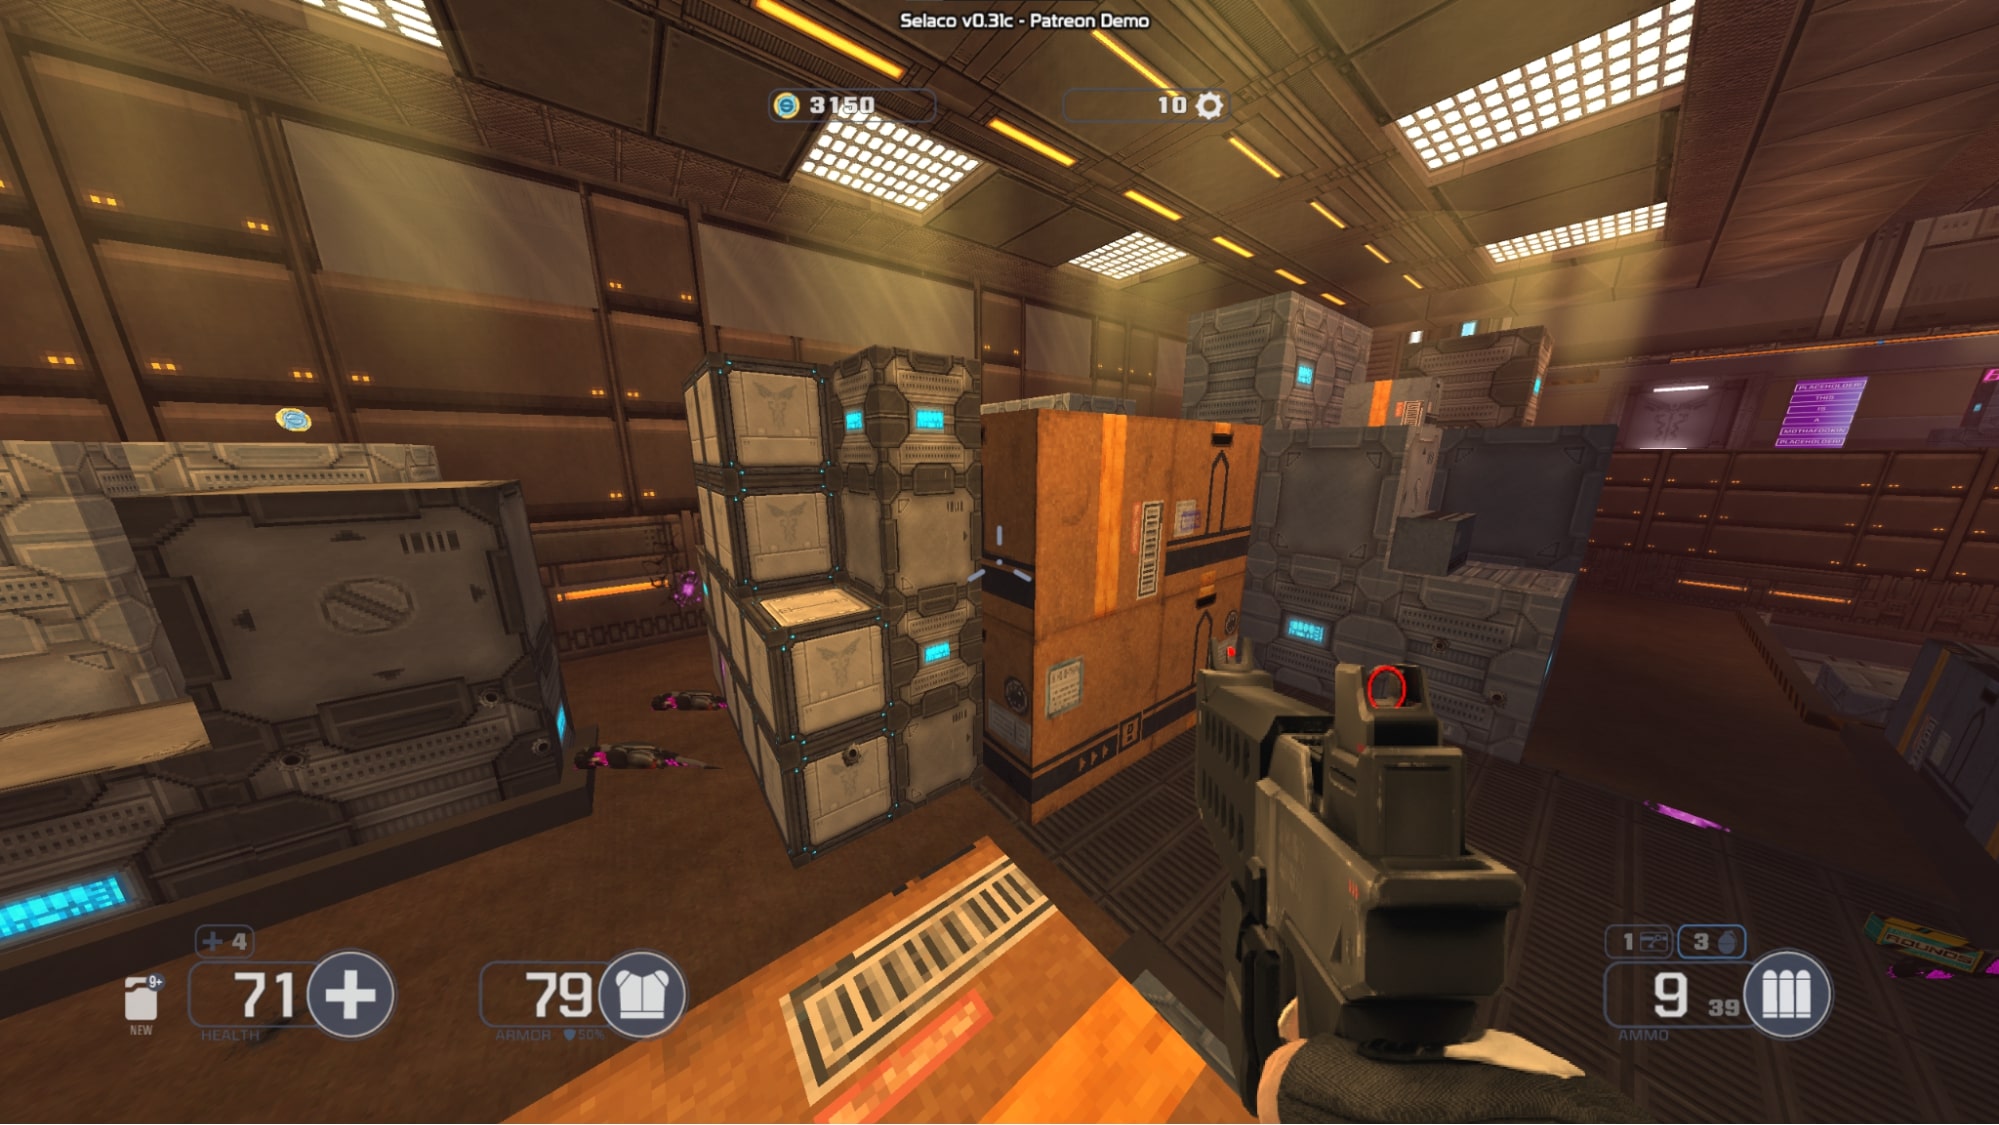
#17 – 보관실에서는, there is a stack of boxes surrounding a cabinet card. You can either climb up the boxes themselves or jump to it from a different stack of boxes.
#18 – Near the smaller entrance to the storage room, there is a stack of metal boxes you can climb up to reach a rare set of armor worth 50 armor points.
#19 – In the room immediately to the left of the Gwyn machine in 1-3, you can interact with the cabinet behind the desk to reveal a secret cave behind it.
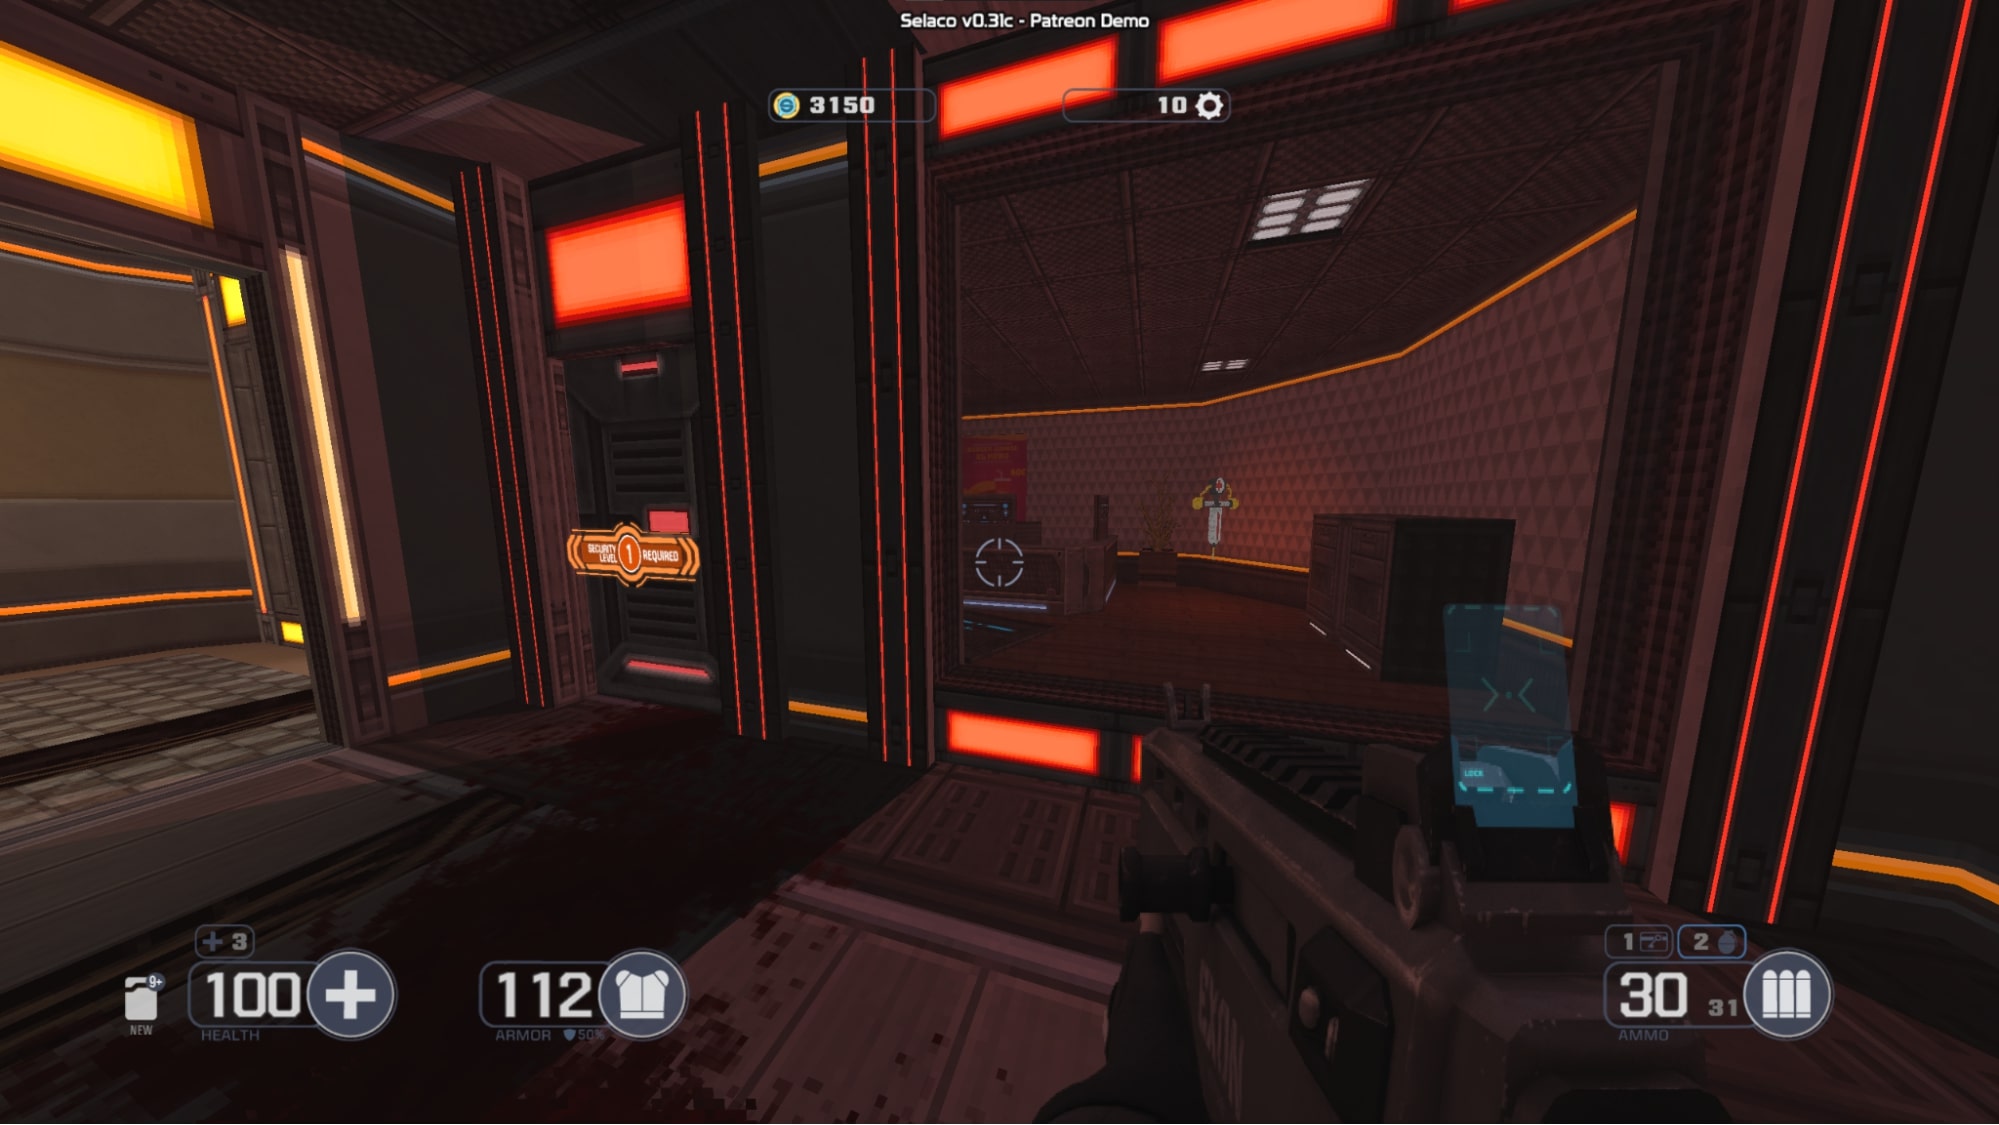
#20 – In the back corner of the long hallway in 1-3 (near the purple door), there is a door that requires a level 1 keycard to open. Get that keycard (치받이 #1 이 가이드에서는) then open this door to reveal a secret and a weapon upgrade inside.

Data Pads
#1 – in the room just before you get Dawn’s armor and pistol
#2 – On the desk in the room just before leaving 1-1
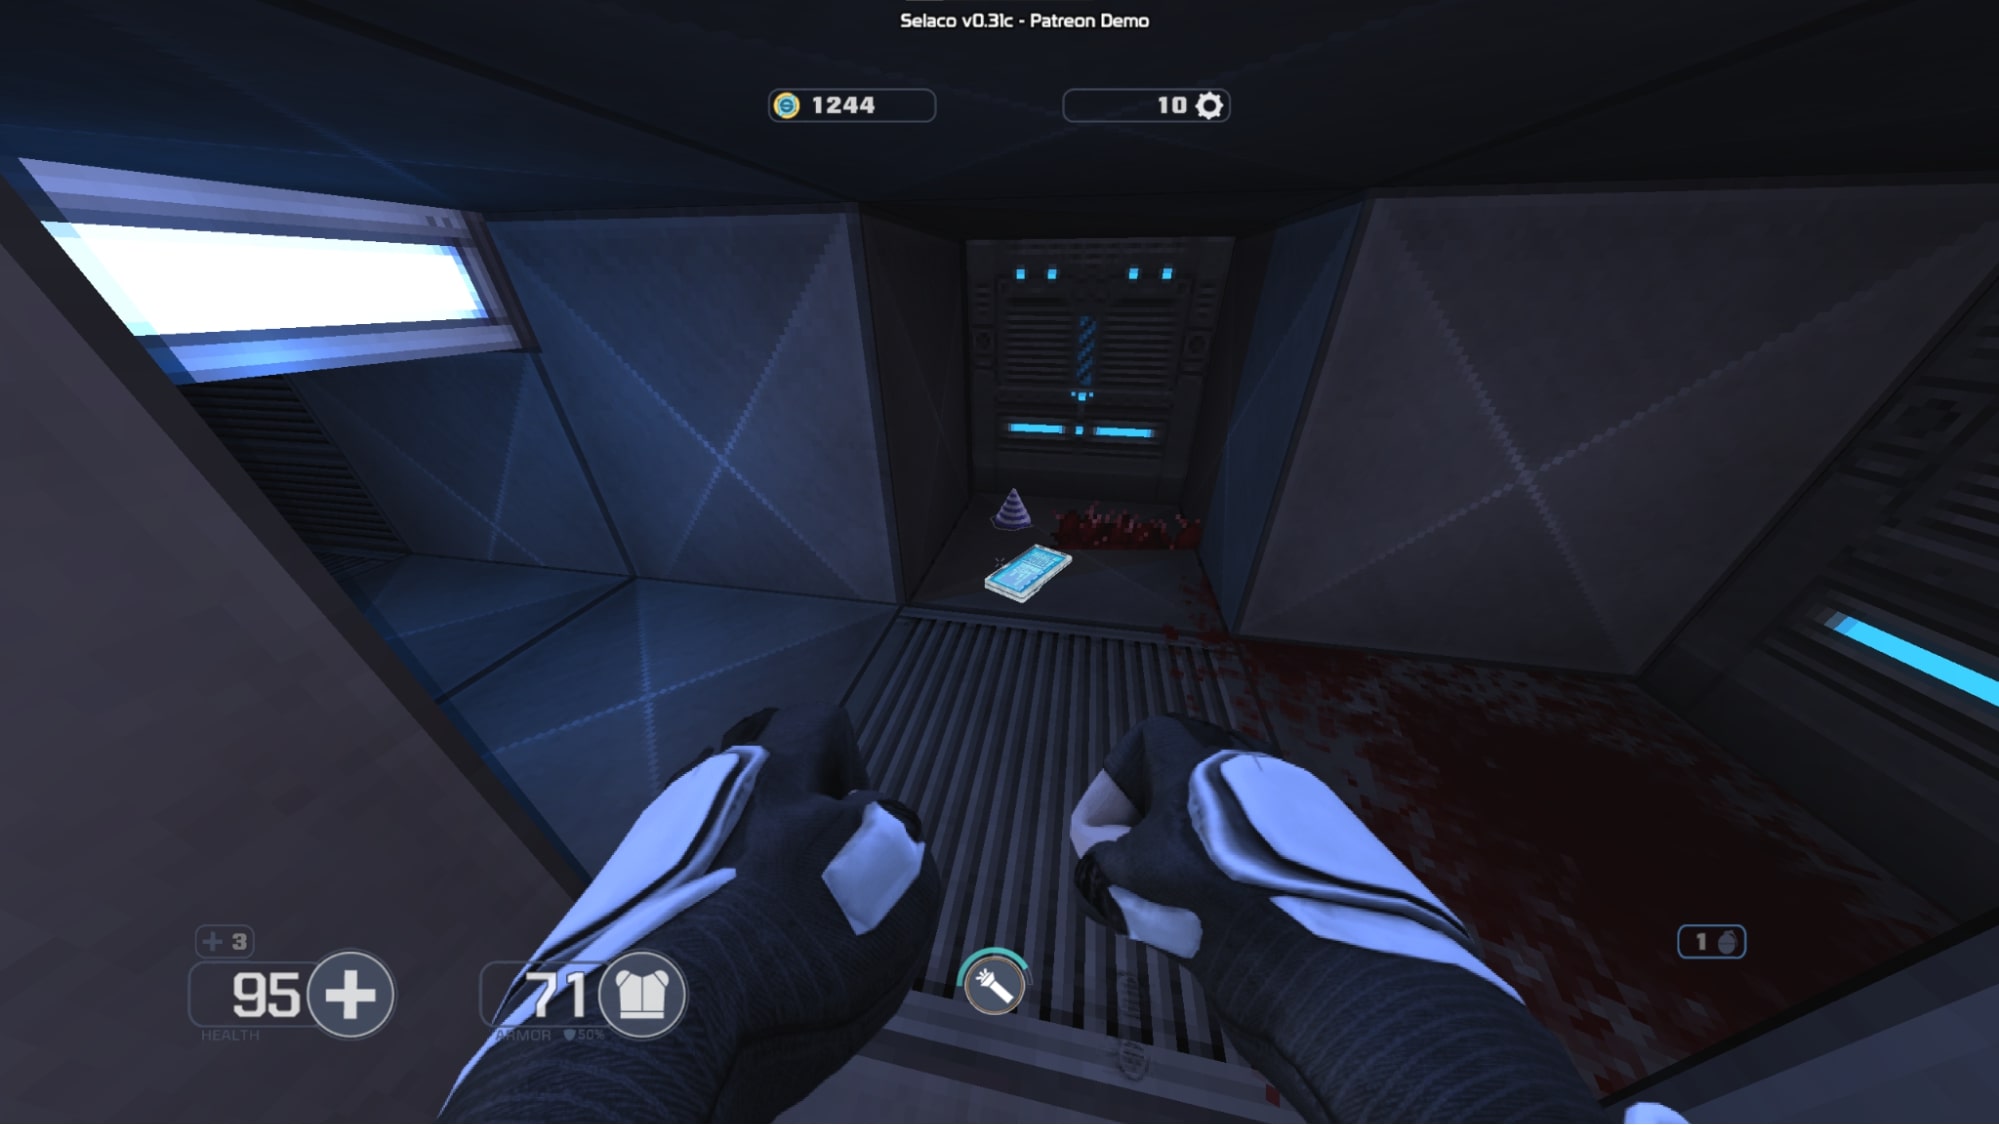
#3 – In the vent at the very end of 1-2
#4 – In the room just after exiting the vent at the start of 1-3
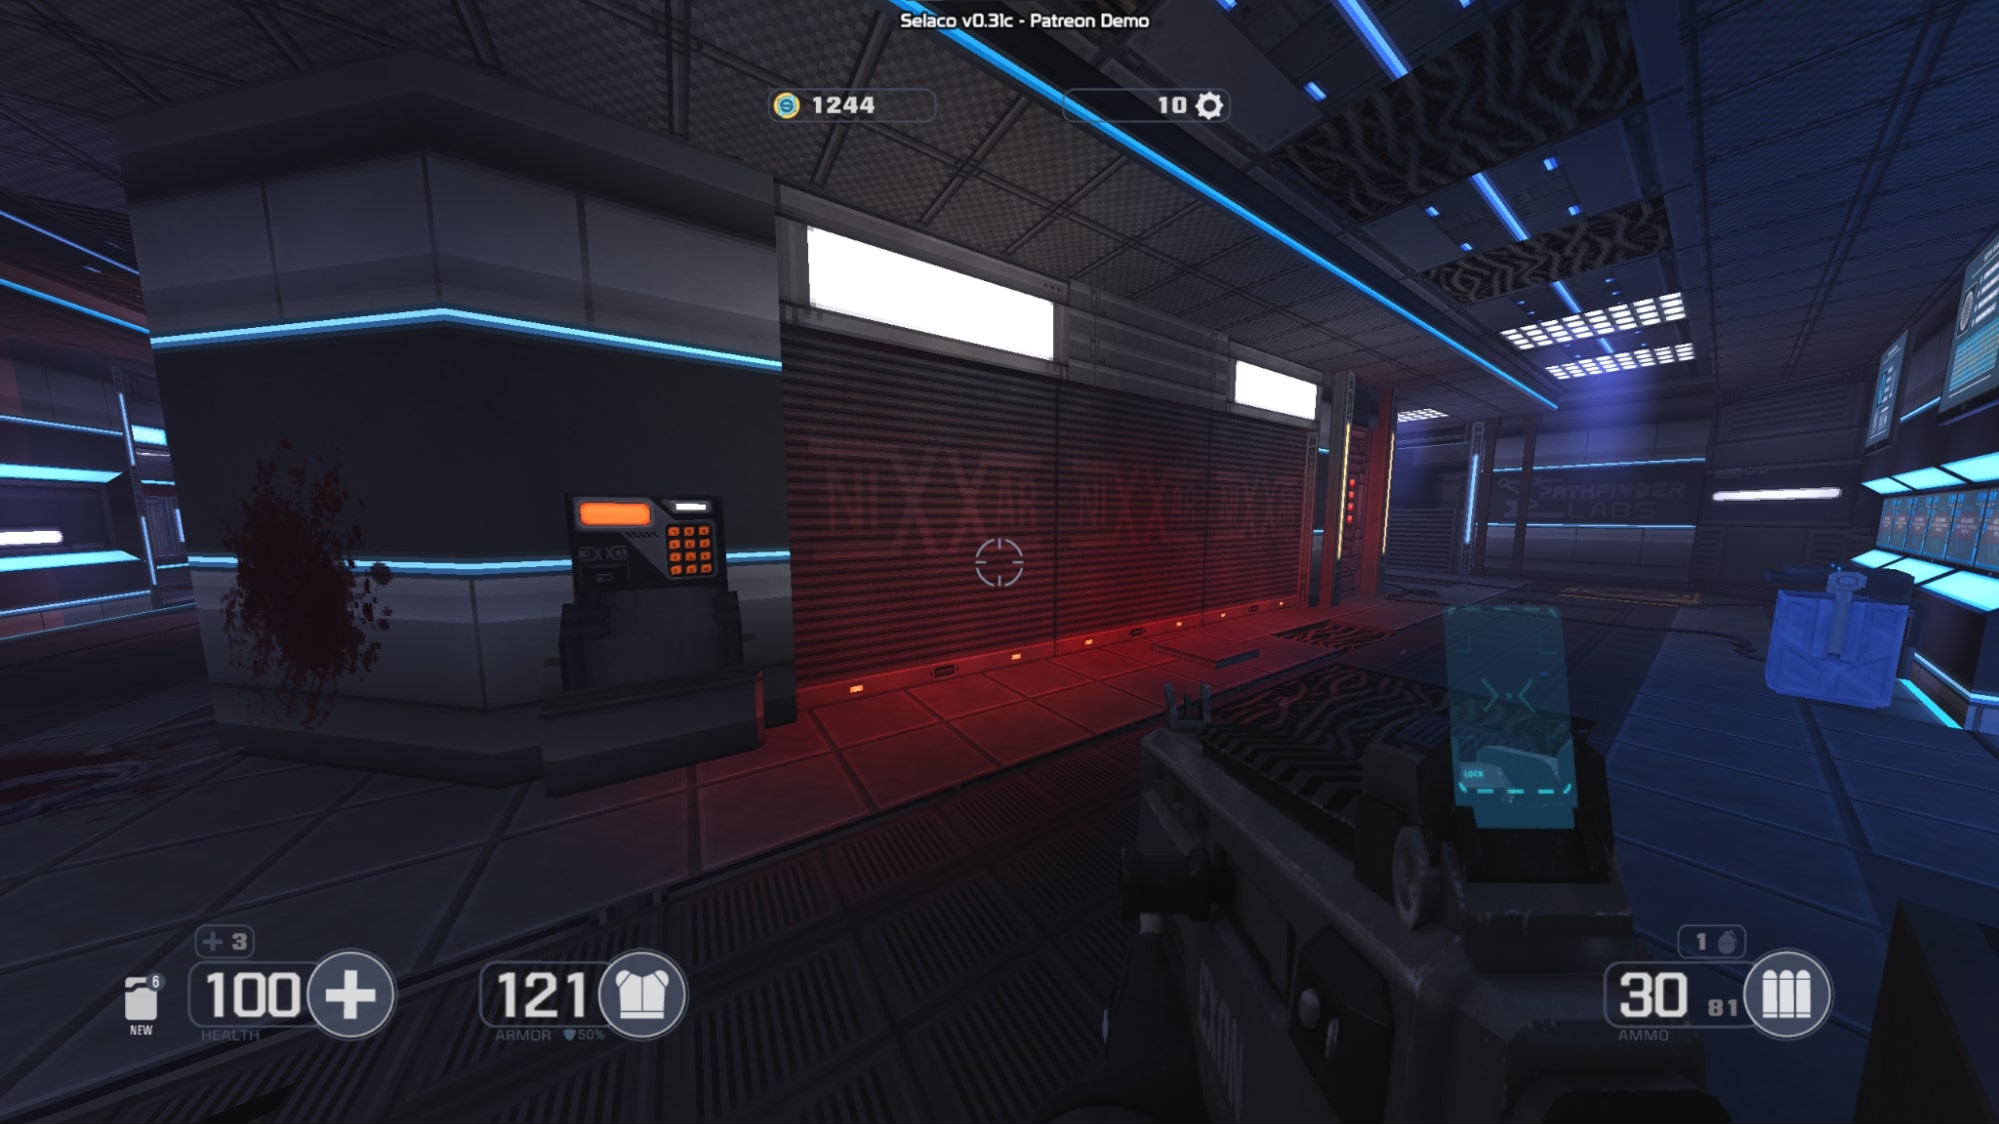
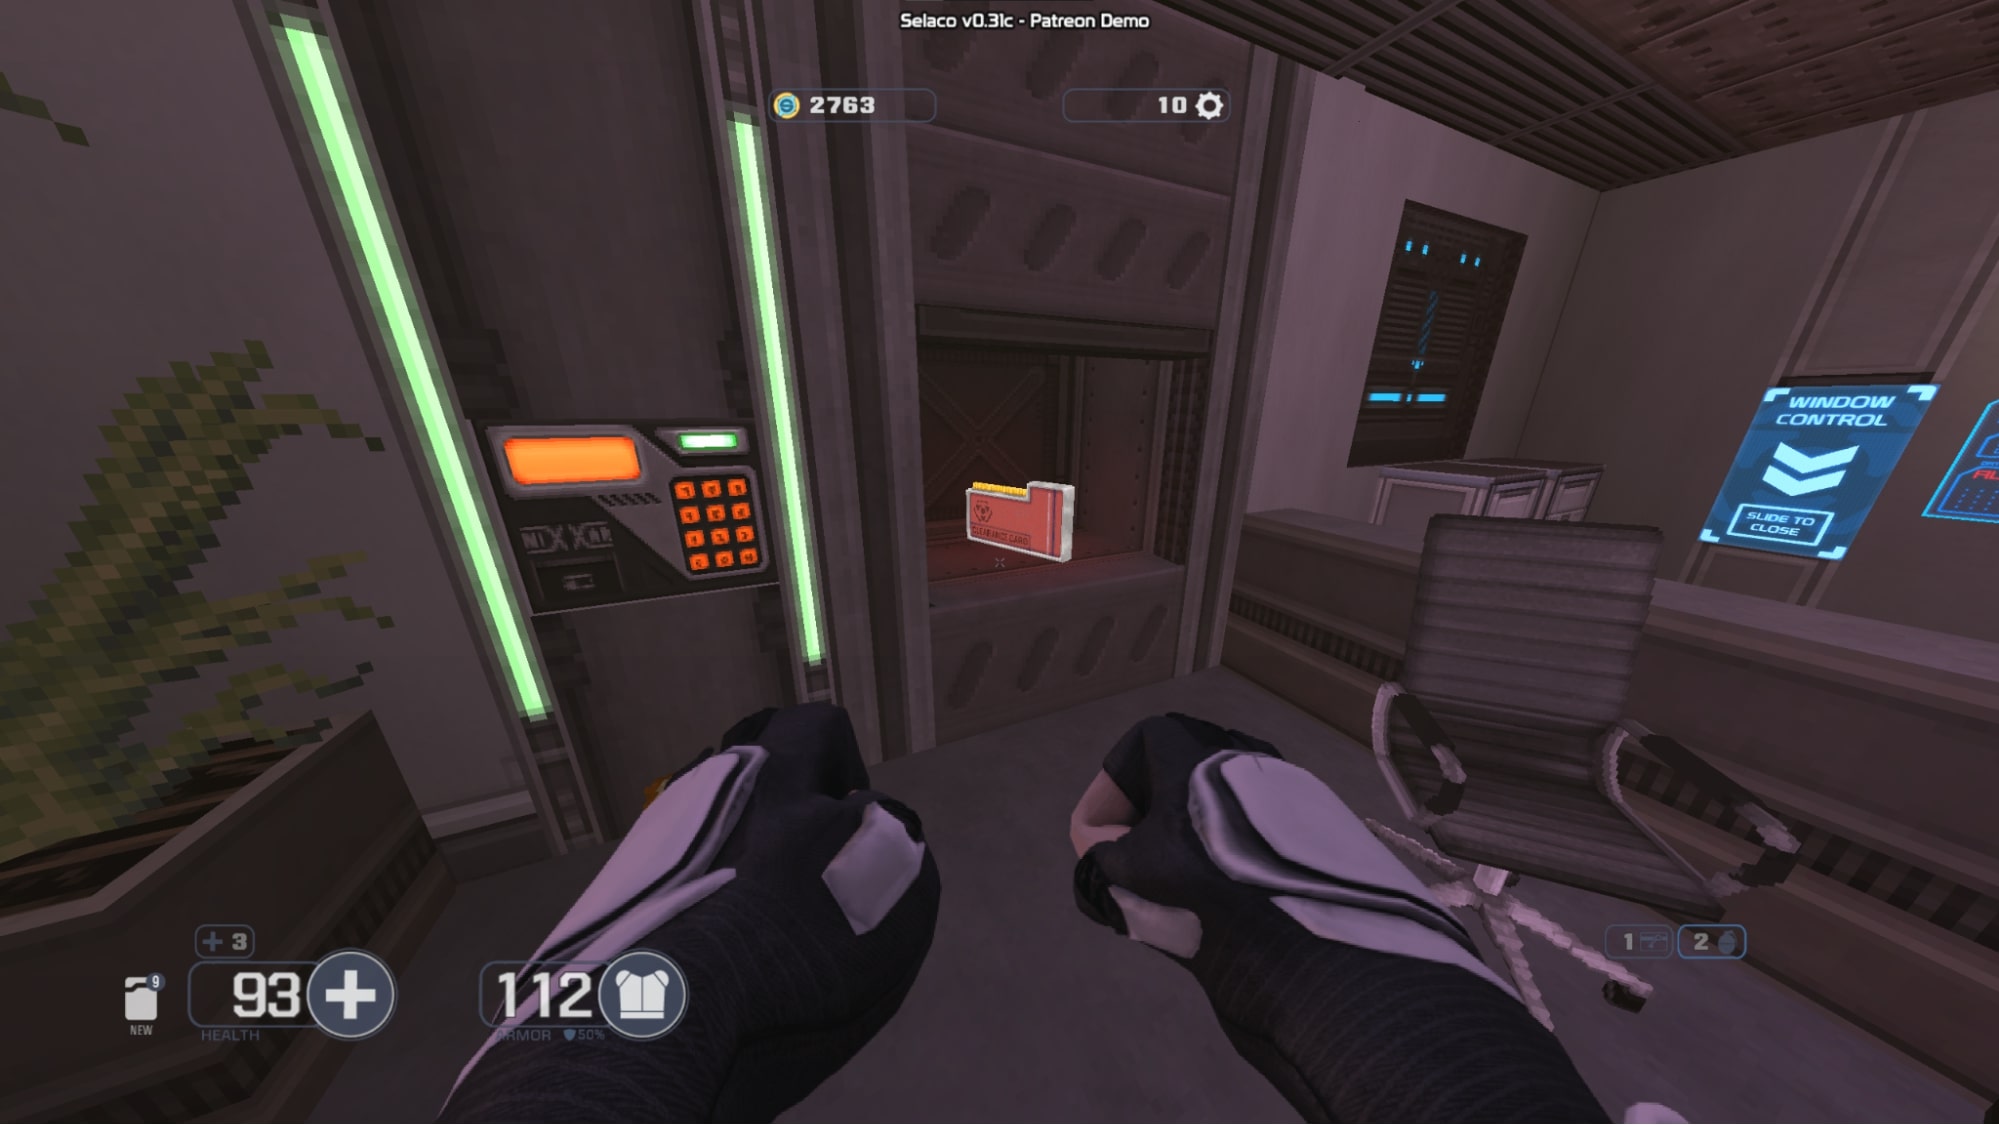
#5 – Behind this garage door (the code is 5478)

#6 – Behind the desk and next to the purple keycard in 1-3
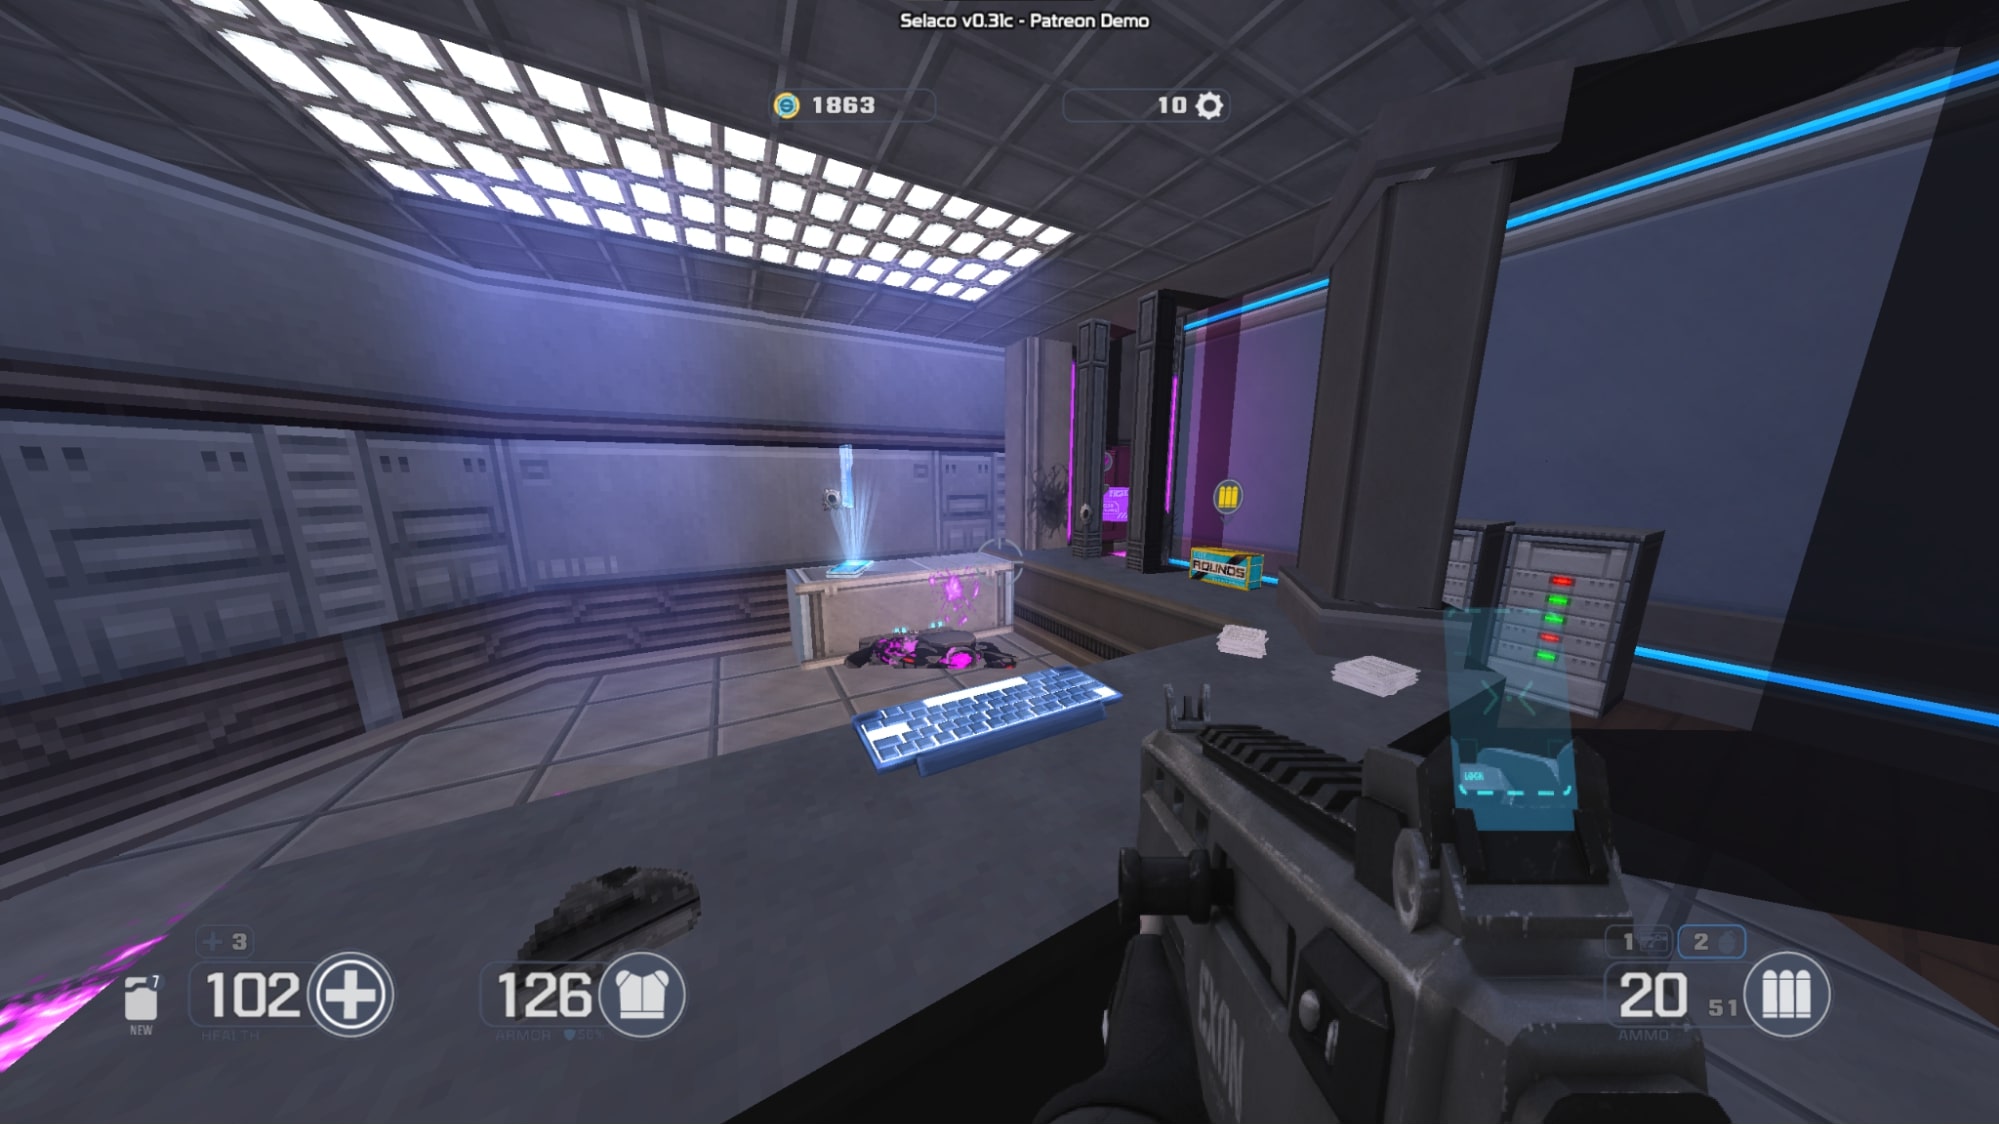
#7 – On the desk in the room to the left of the Gwyn machine in 1-3
#8 – on the ground in the office after unlocking the door before the storage room
#9 – on the desk just after opening up the blue keycard door
Trading Cards
#1 – Slide under this door in 1-1. 그것’s down the hall from where you get Dawn’s suit and the pistol.
#2 – Destroy this part of the wall in 1-3 with an explosive.

Cabinet Cards
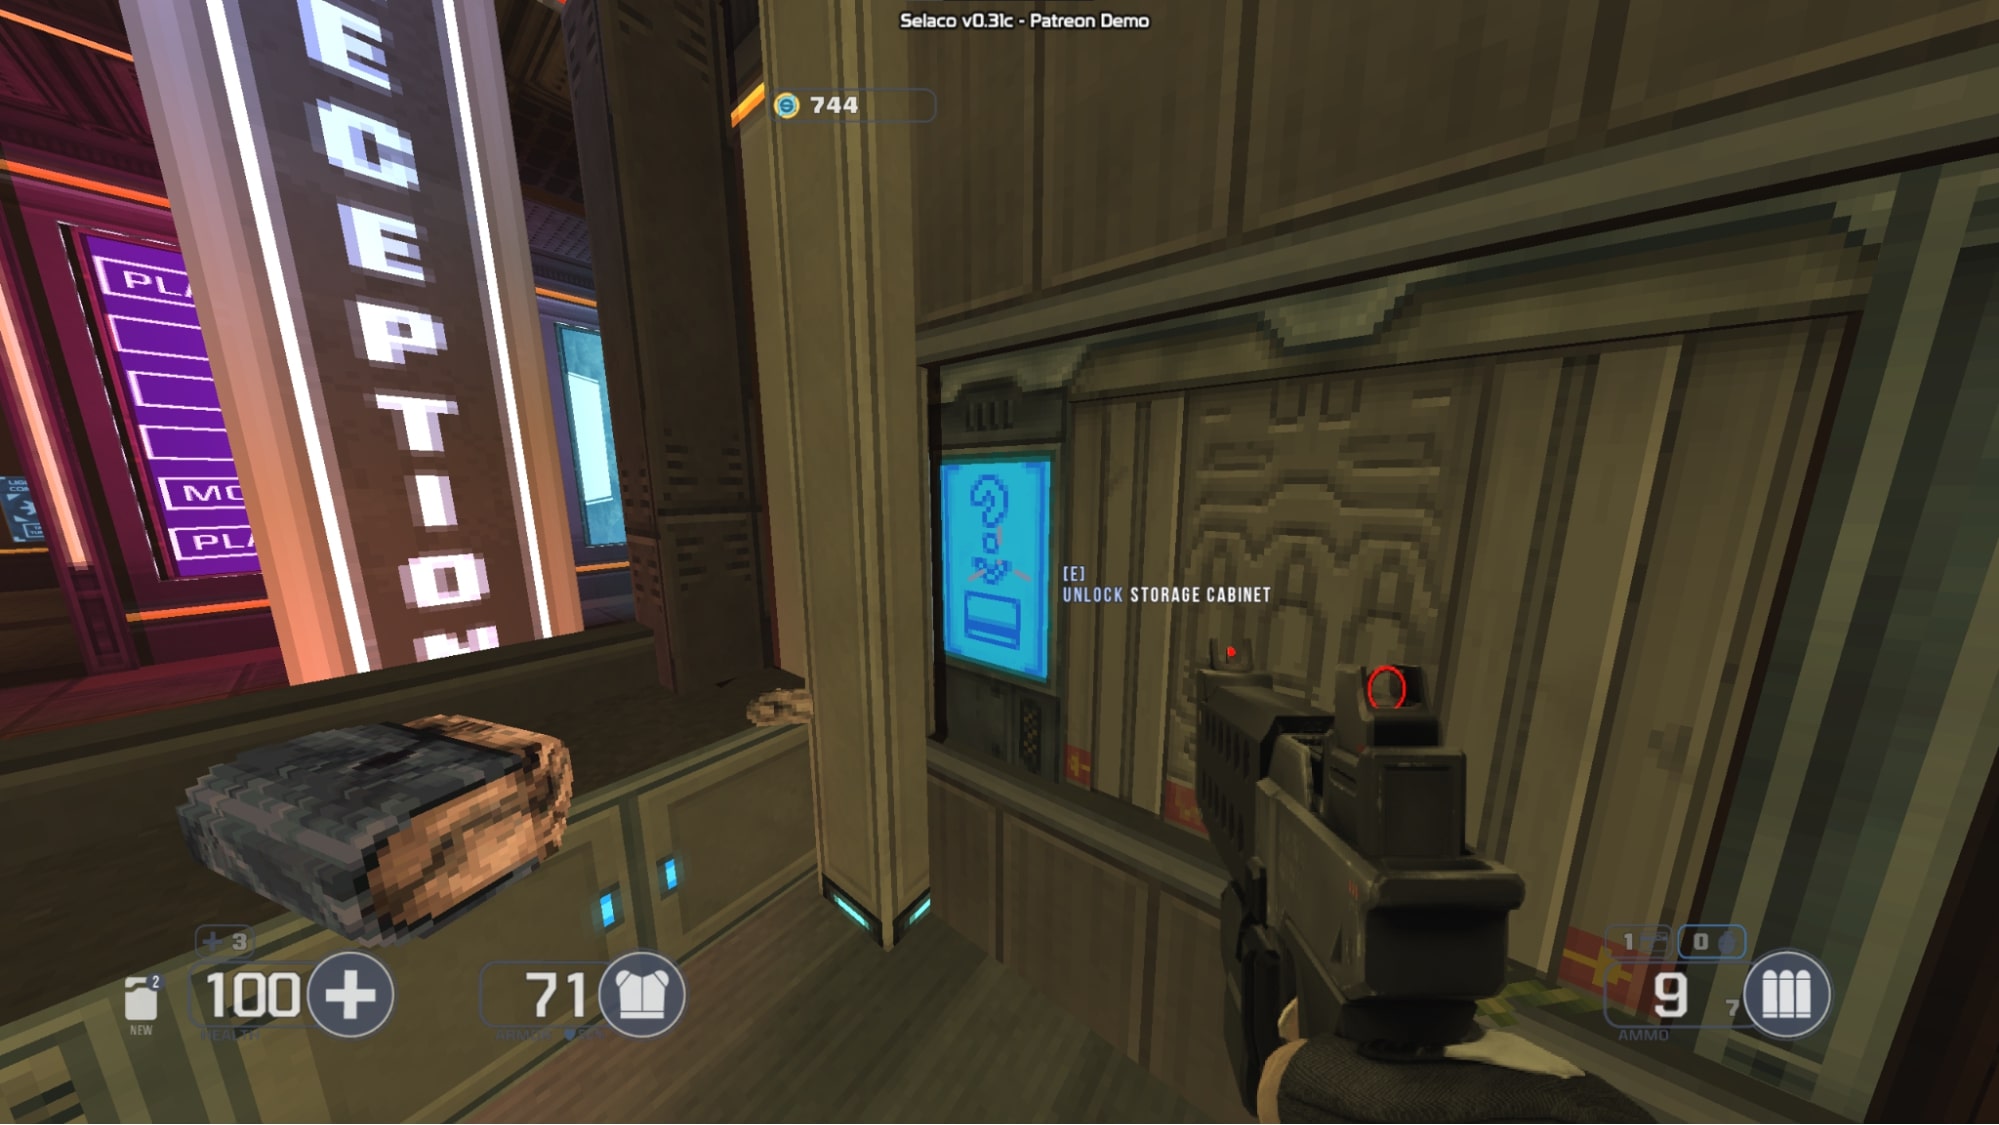
#1 – Get the MRI secret (비밀 #10 이 가이드에서는) then use the cabinet card you found there to open this storage cabinet behind the reception desk in 1-2.

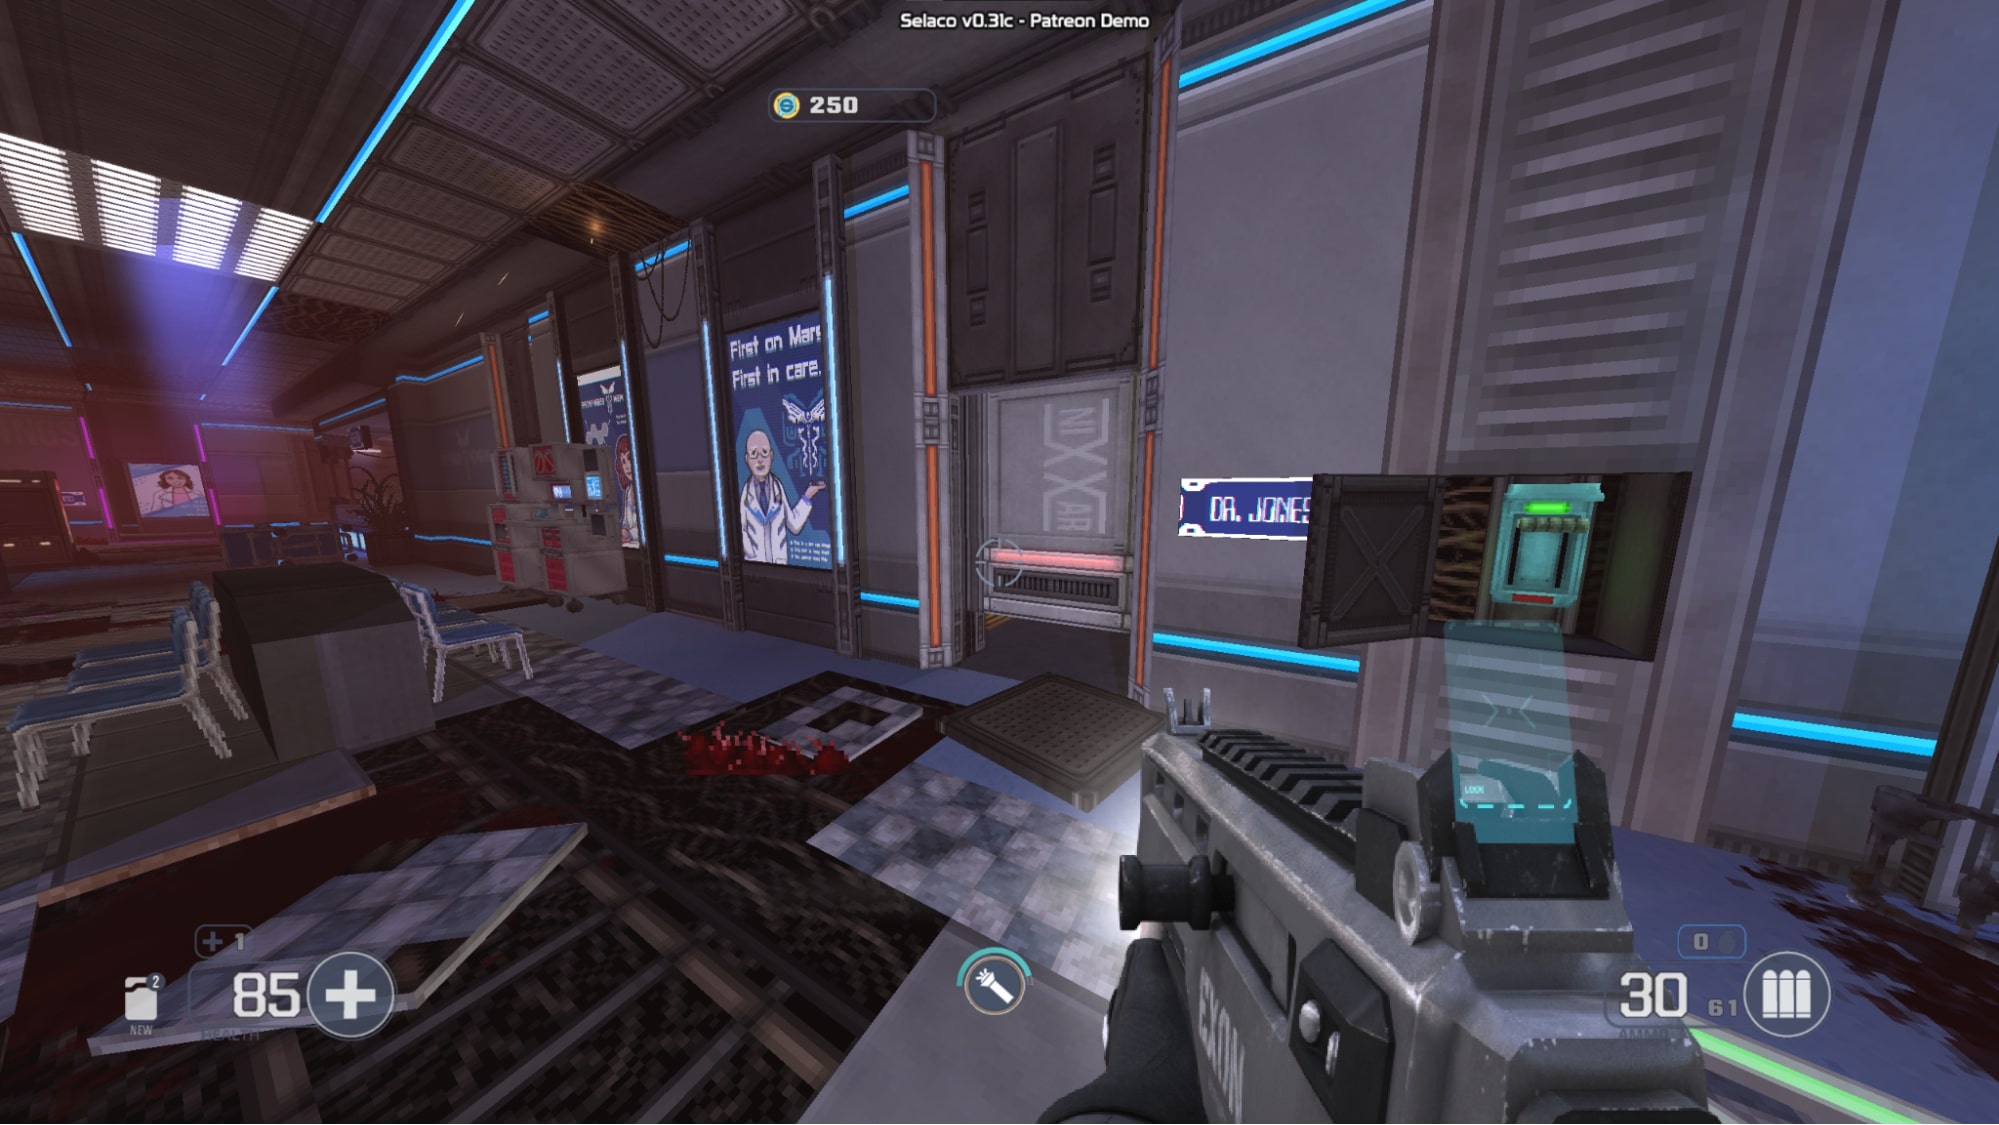
#2 – At the start of 1-3, turn to the right when you exit the vent and go down the hallway. The cabinet card is in an office in the far corner of the hallway.
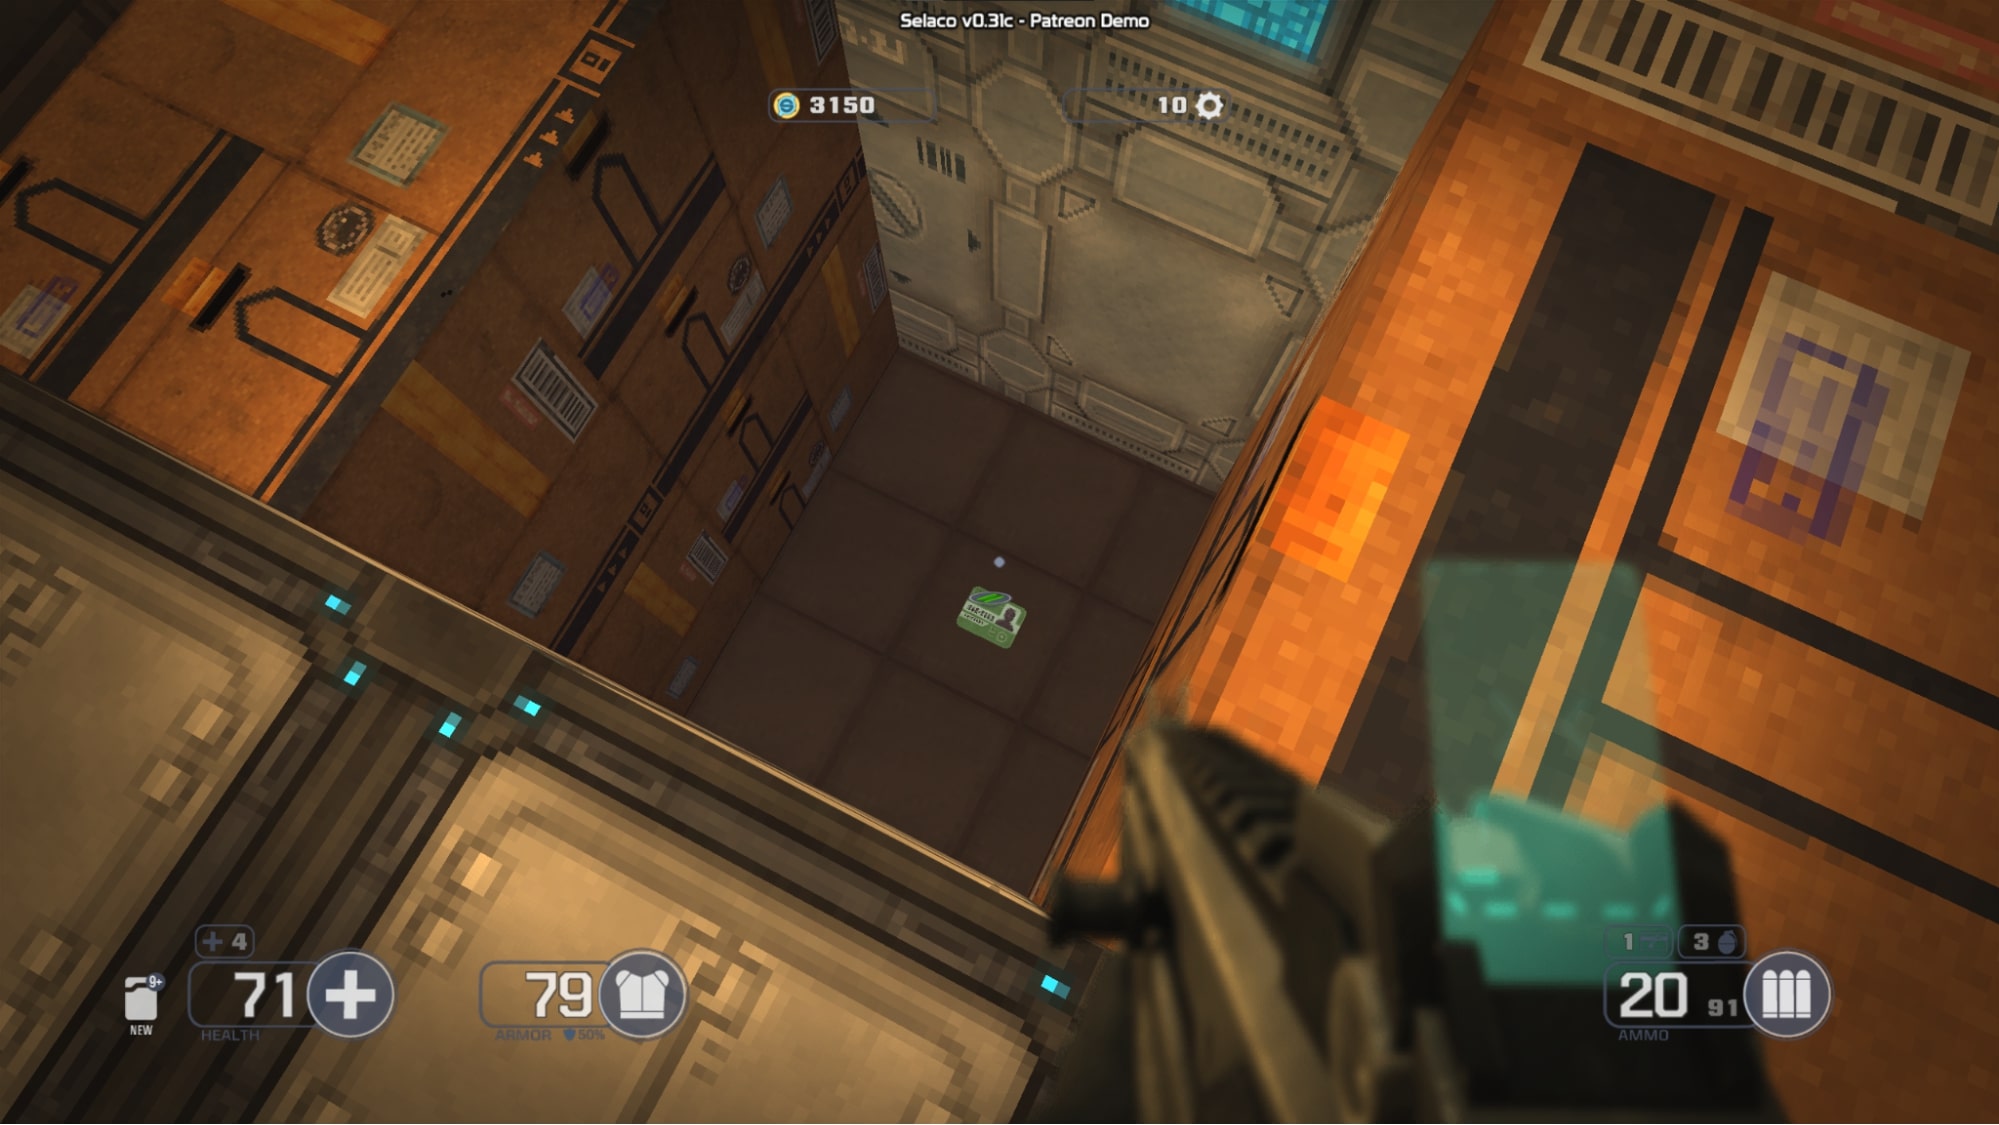
#3 – The last cabinet card is in a box fort in the storage room in 1-3. This is also Secret #17 이 가이드에서는.

Cabinet Cards #2 그리고 #3 can be used to open these storage cabinets in 1-3:
업그레이드
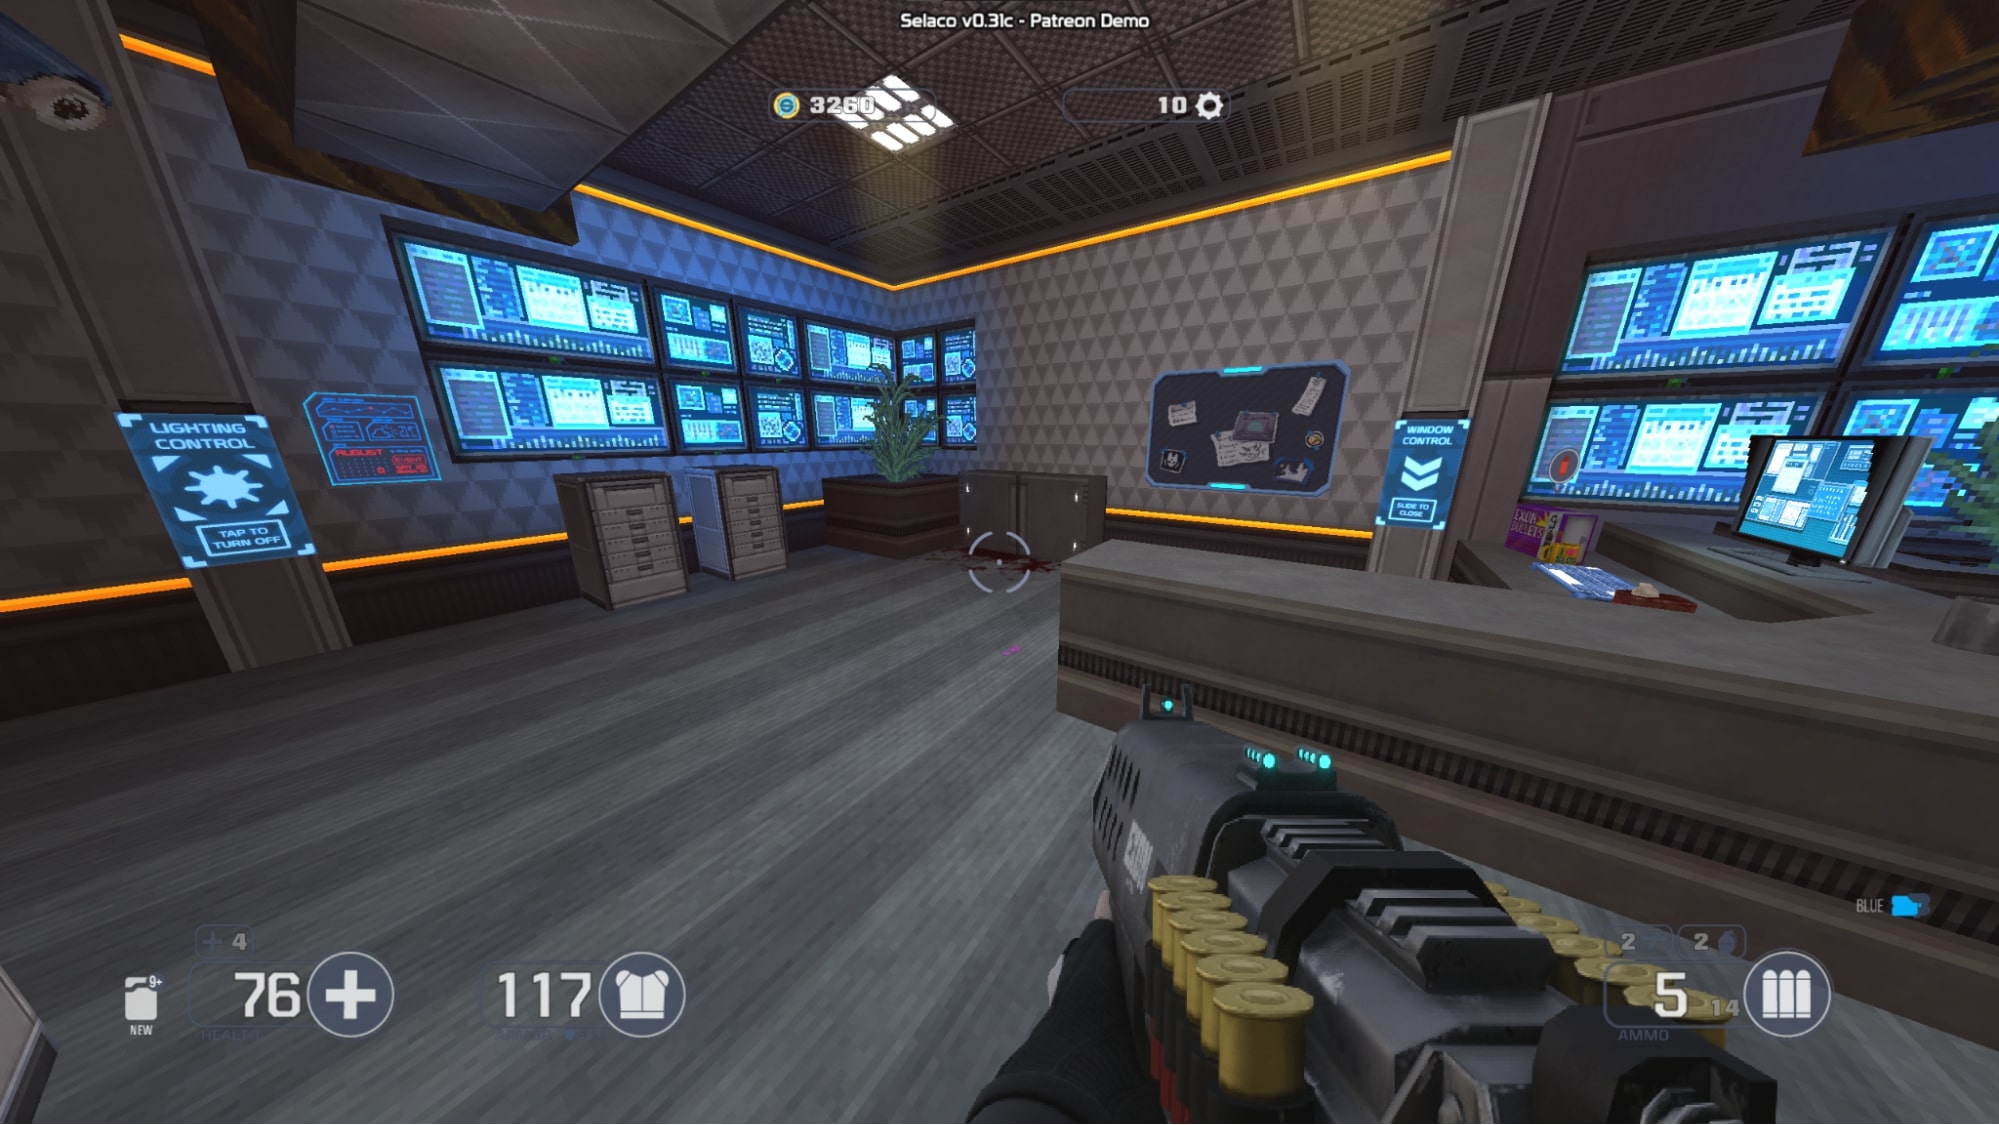
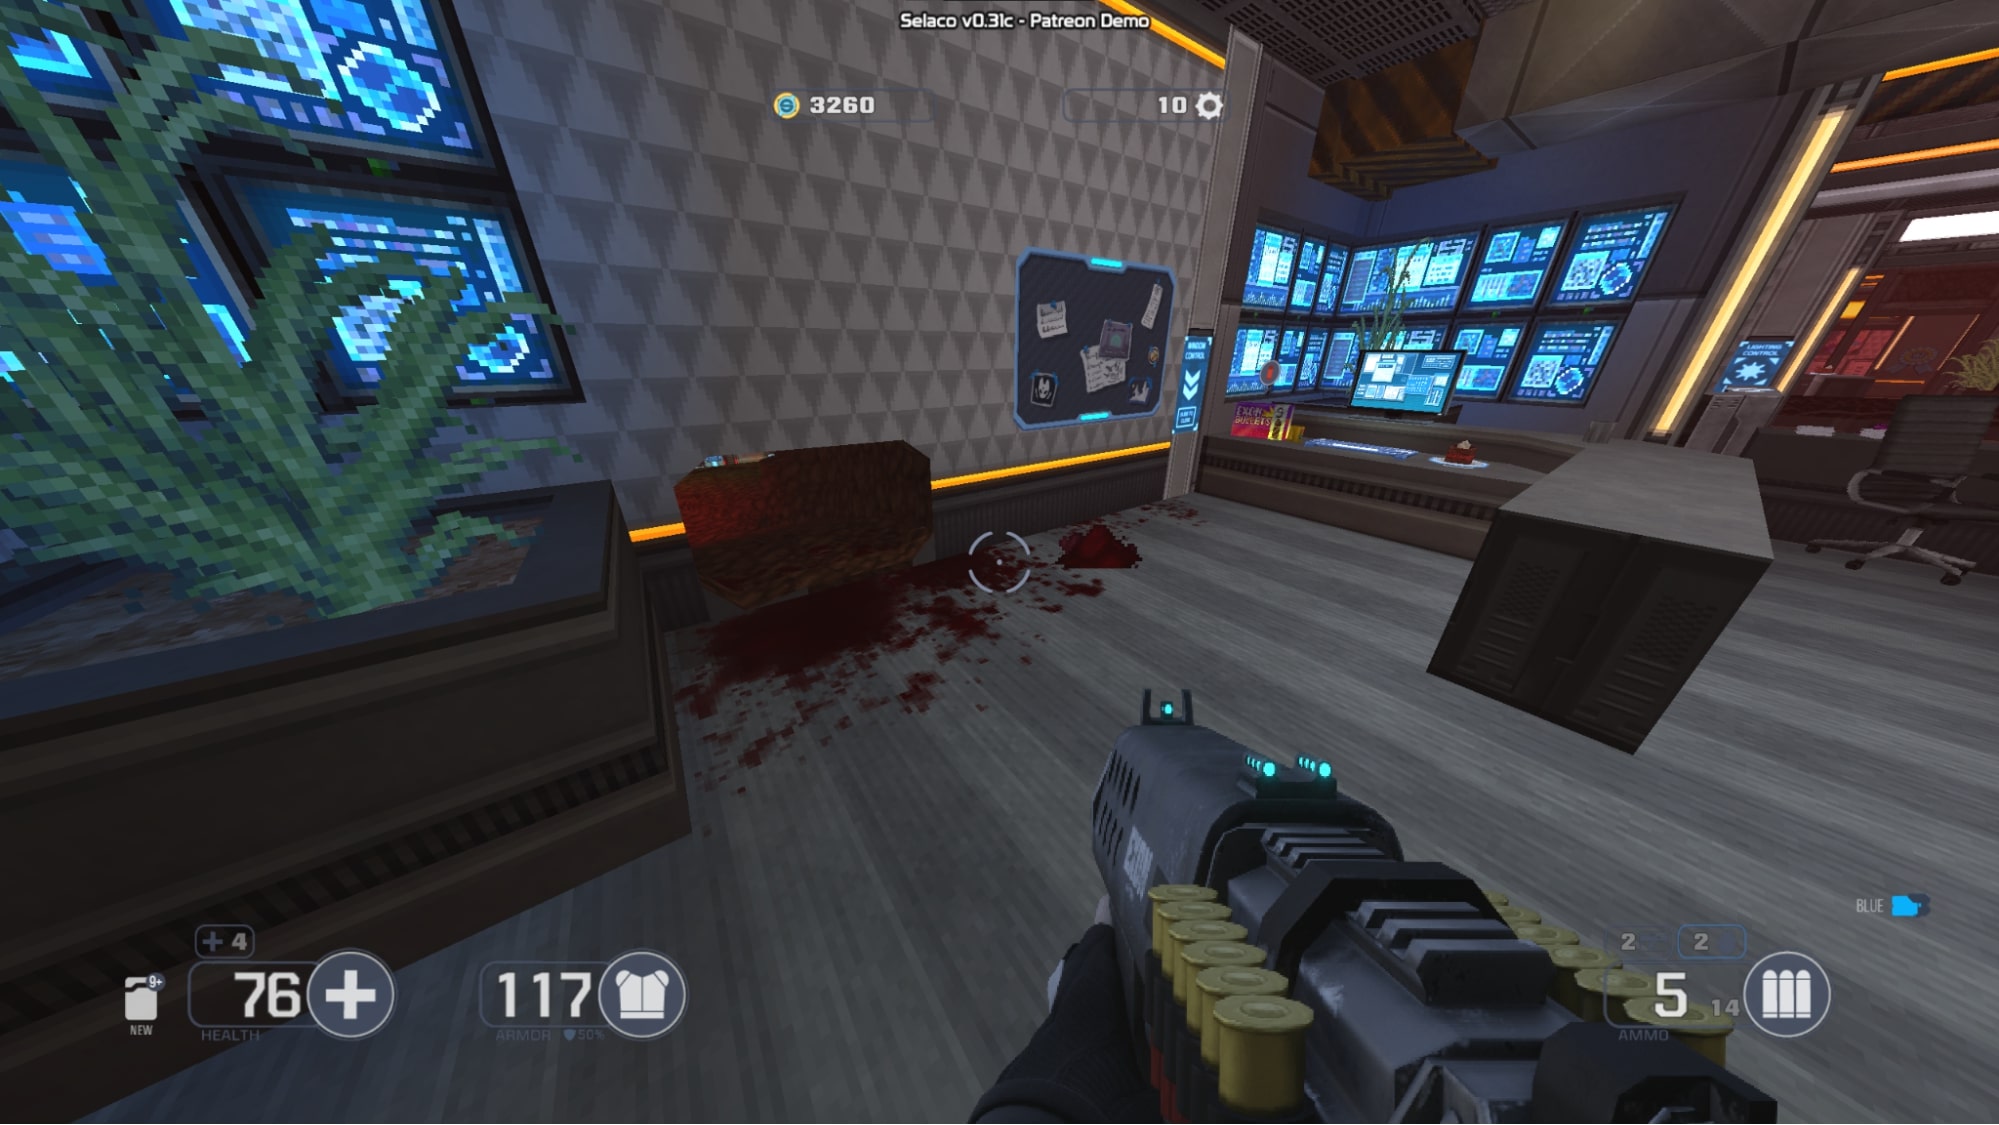
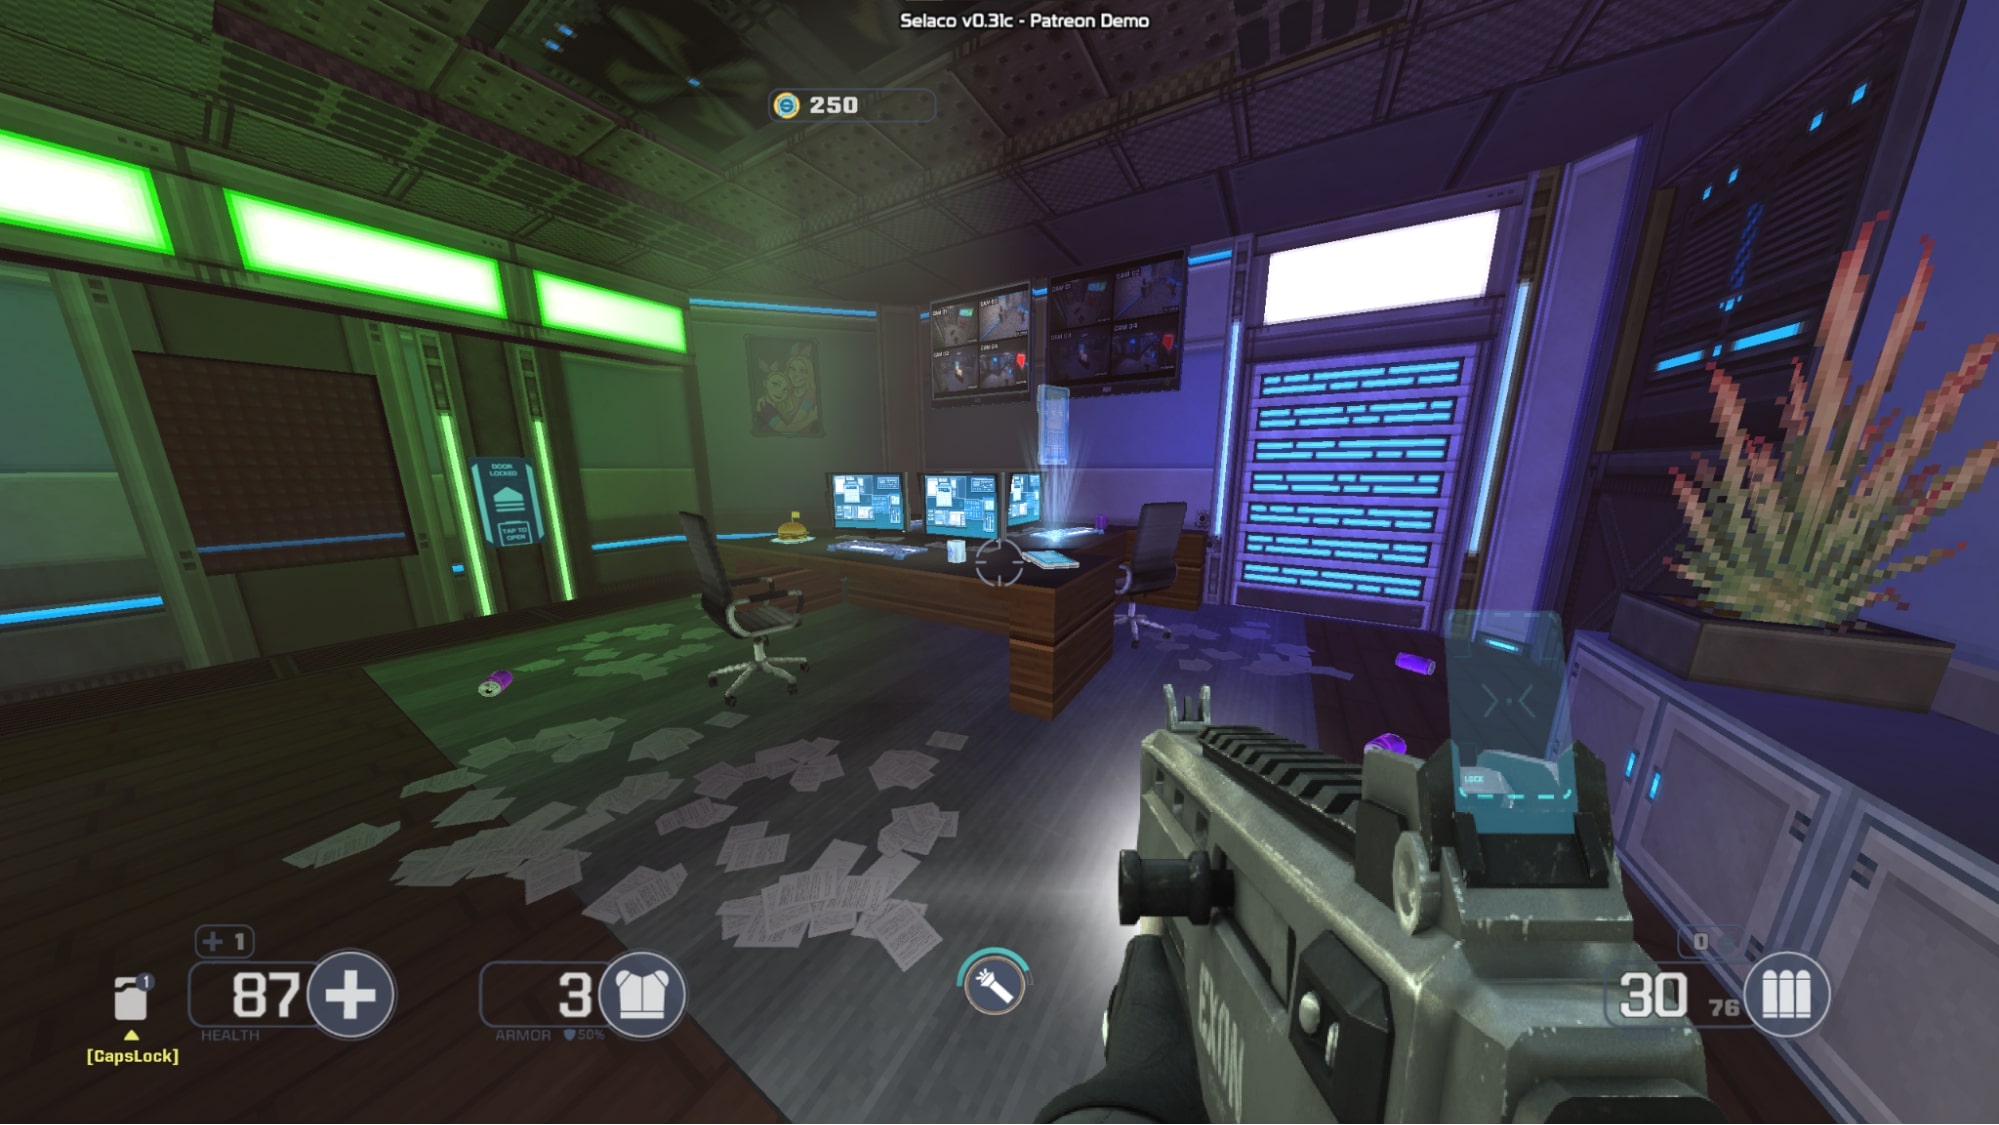
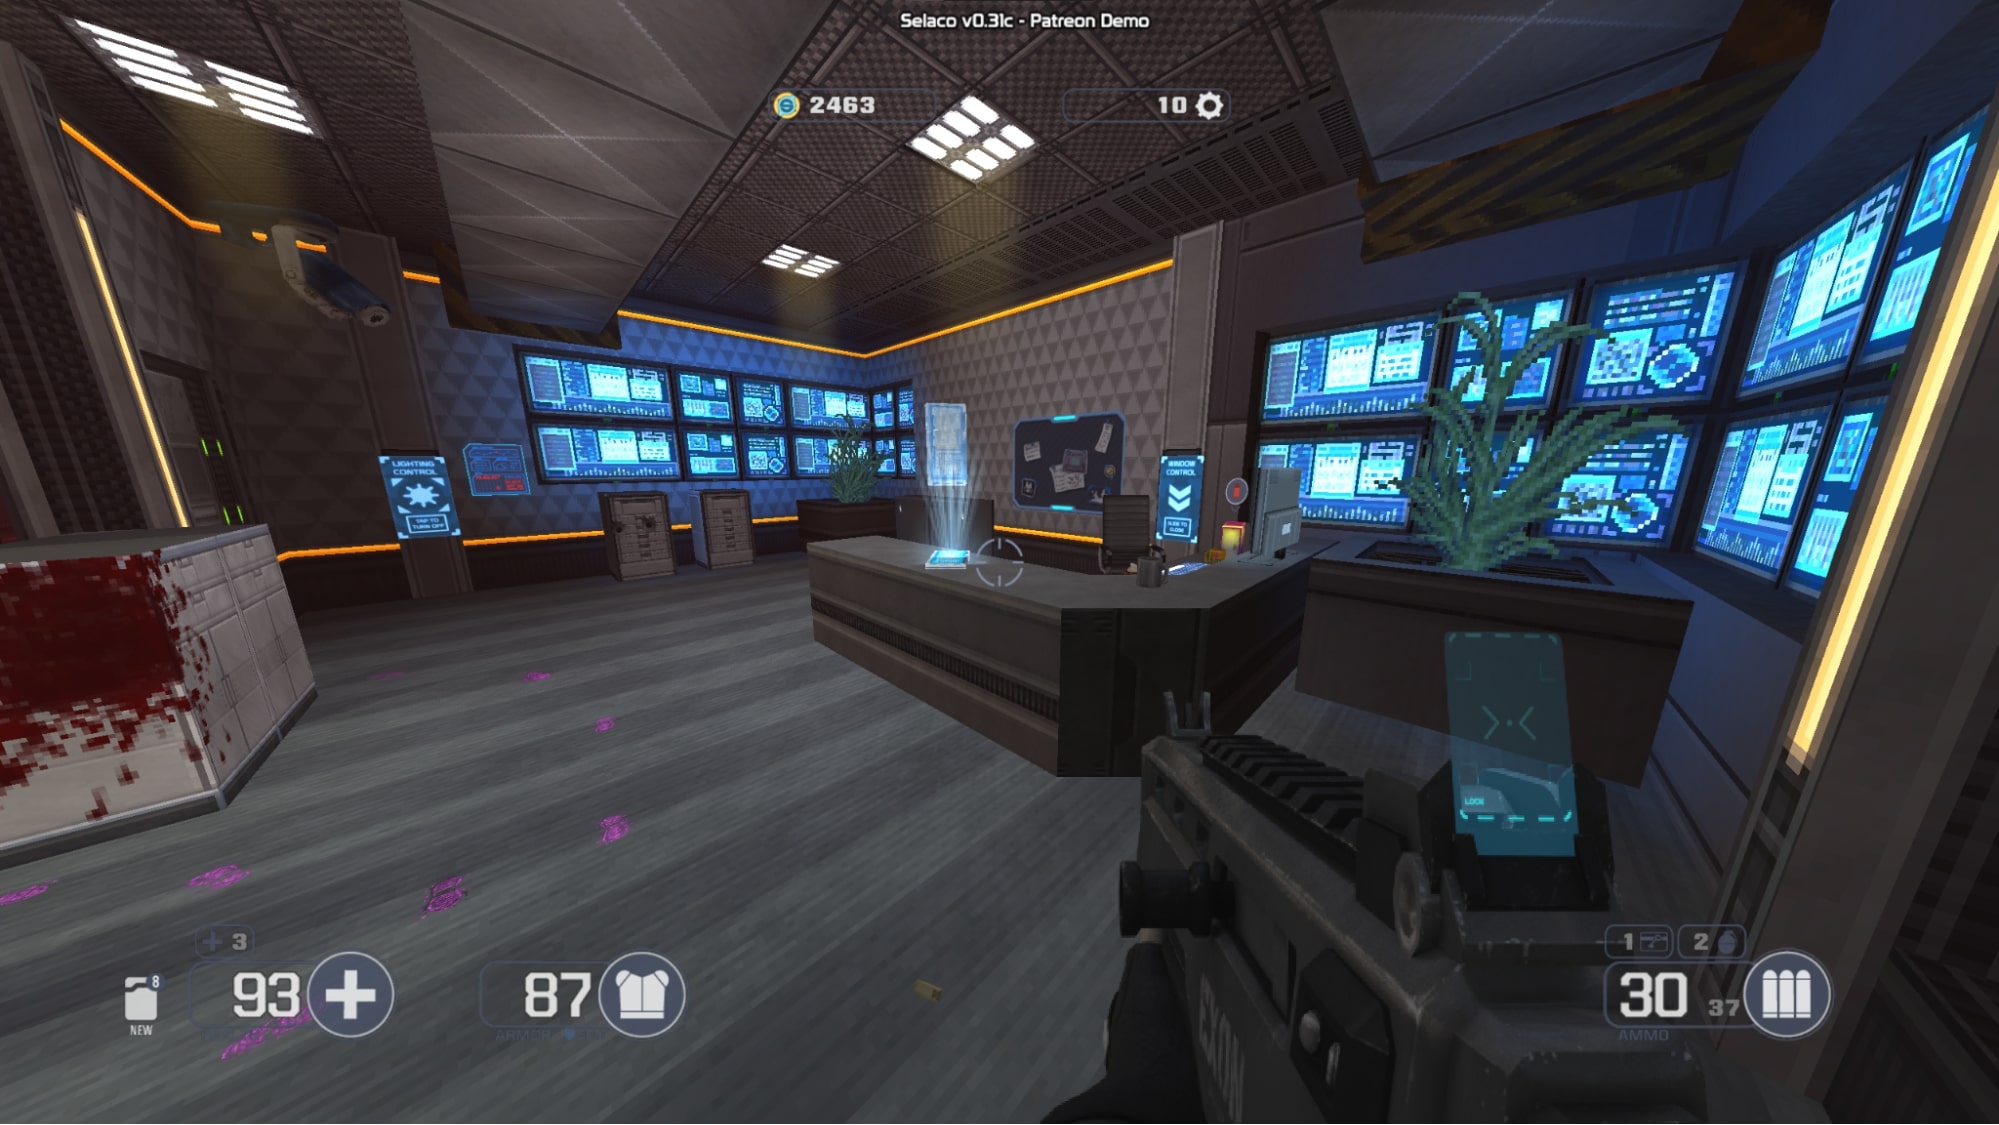
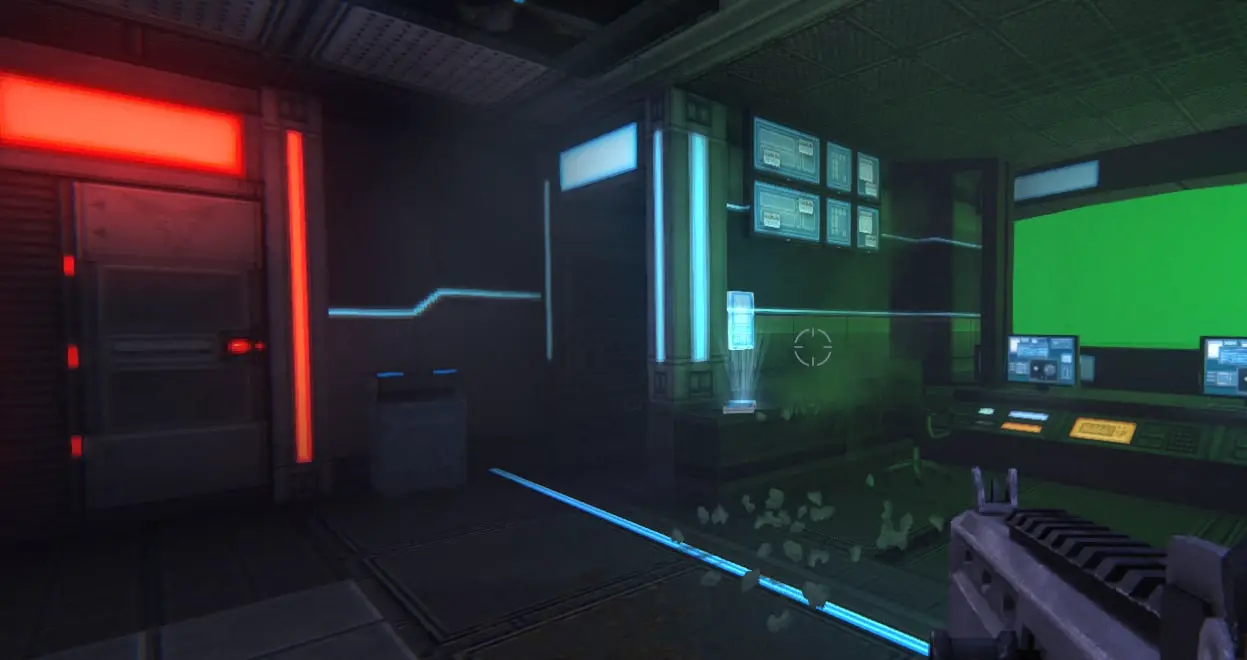
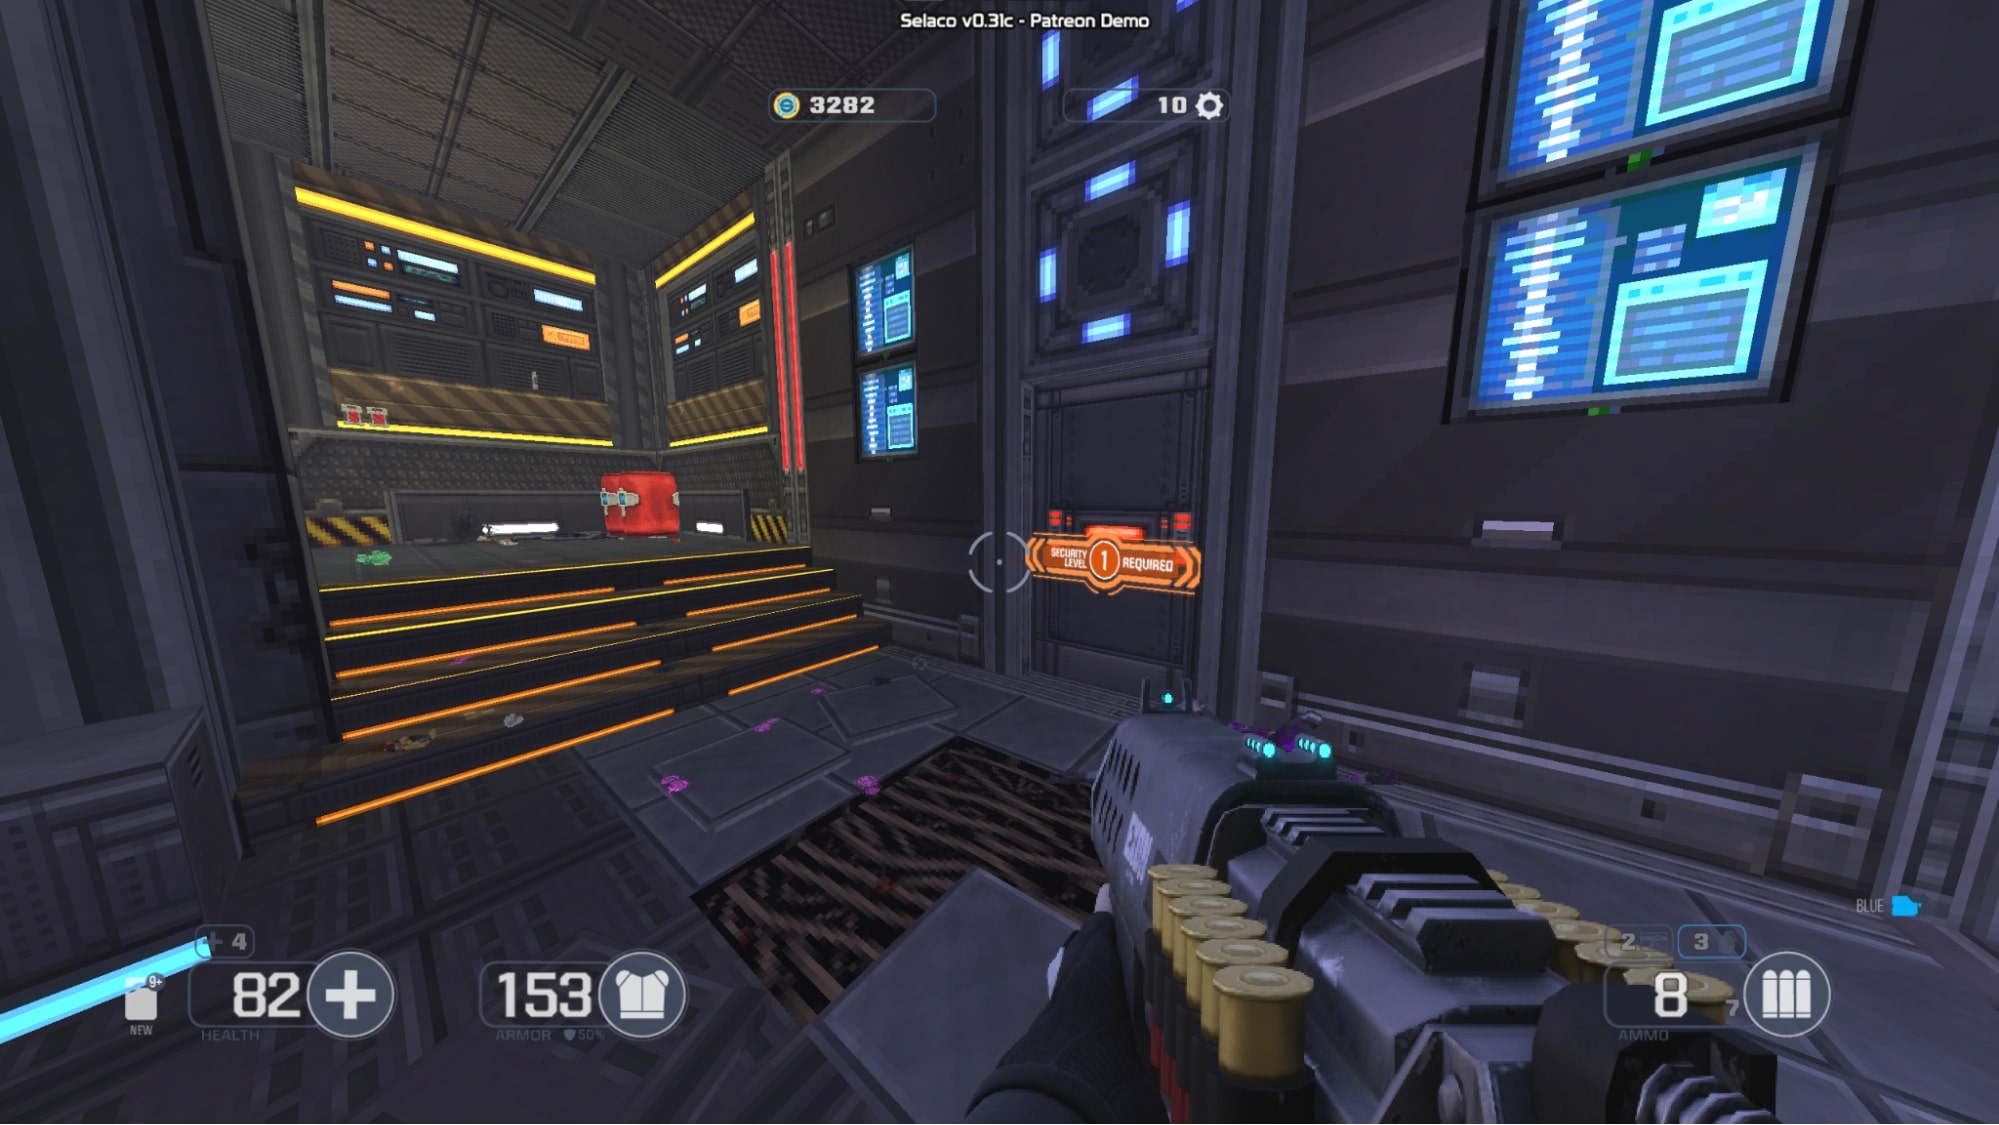
#1 – ~ 안에 1-3, after using the purple keycard, go to the security room down the hall and to the left from the Gwyn machine. There is a safe in this room that can be unlocked with a code you can find in the room. To find the code, shoot down the blue pinboard on the right side of the room. It will reveal the code, 이는 4532. The upgrade itself is the level 1 키카드, which is used to get other upgrades.
#2 – Use the level 1 keycard you got earlier (치받이 #1 이 가이드에서는) to open this door near the storage room in 1-3. This is also Secret #15 이 가이드에서는.
#3 – Use the level 1 keycard to open this door near the purple door in 1-3. This also counts as a secret.

이것이 오늘 우리가 공유하는 모든 것입니다. Selaco 가이드. 이 가이드는 원래 작성자가 작성하고 작성했습니다. FitterSpace. 이 가이드를 업데이트하지 못한 경우, 다음을 수행하여 최신 업데이트를 찾을 수 있습니다. 링크.