This guide lists armors.
They are arranged alphabetically.
There are many armors.
Various rankings are also included so that you can choose armor.
All you need is high resistance, 이동 속도, 다시 장전하다, 등.
See the rankings you want.
And wear better armor.
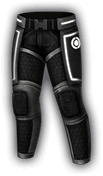
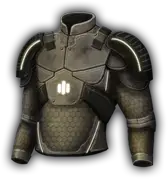
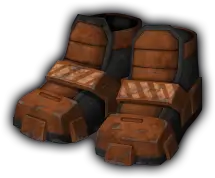
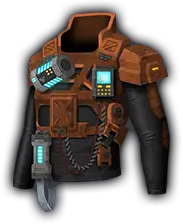
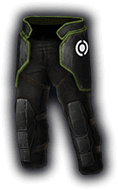
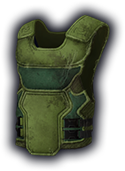
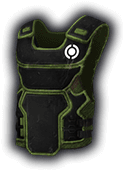
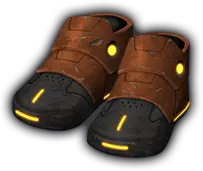
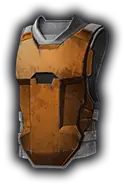
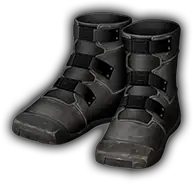
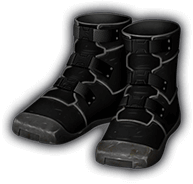
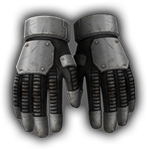
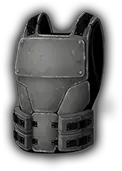
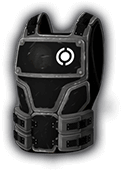
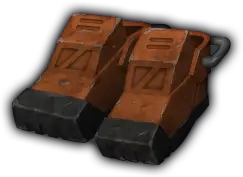
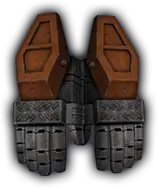
Armor C-D

(기준)
Die laughing

(기준)
Do you want a balloon?
(기준)
Ever tried juggling with live grenades?

(기준)
Bring a smile to the face of the undead

(기준)
Swimwear for toxic waste
(기준)
(검은색)
So light that full range of movement is available. Constructed with emphasis on toxic resistant materials.

(기준)
(검은색)
So light that full range of movement is available. Constructed with emphasis on toxic resistant materials.
Armor D-D

(기준)
(검은색)
Built in target and terrain analysis aids gun accuracy and movement speed.
(기준)
(검은색)
So light that full range of movement is available. Constructed with emphasis on toxic resistant materials.
(기준)

(검은색)
So light that full range of movement is available. Constructed with emphasis on toxic resistant materials.
(Faction Warfare)
Designed to protect from the cold enviroment of the Xi mining station, while also carrying plenty of reserve batteries making sure no one gets stuck out in the snow. 아래에 50% hp energy regen stops your energy regen is applied to HP instead with a 60% 보너스.
(Faction Warfare)
Designed to protect from the cold enviroment of the Xi mining station, while also carrying plenty of reserve batteries making sure no one gets stuck out in the snow. 아래에 50% hp energy regen stops your energy regen is applied to HP instead with a 60% 보너스.
(Faction Warfare)
Designed to protect from the cold enviroment of the Xi mining station, while also carrying plenty of reserve batteries making sure no one gets stuck out in the snow. 아래에 50% hp energy regen stops your energy regen is applied to HP instead with a 60% 보너스.
Armor D-G
(Faction Warfare)
Designed to protect from the cold enviroment of the Xi mining station, while also carrying plenty of reserve batteries making sure no one gets stuck out in the snow. 아래에 50% hp energy regen stops your energy regen is applied to HP instead with a 60% 보너스.
(Faction Warfare)
Designed to protect from the cold enviroment of the Xi mining station, while also carrying plenty of reserve batteries making sure no one gets stuck out in the snow. 아래에 50% hp energy regen stops your energy regen is applied to HP instead with a 60% 보너스.

(기준)
(빨간색)
(검은색)
Vital areas reinforced with thicker layers for added protection.
(기준)
(빨간색)
(검은색)
Vital areas reinforced with thicker layers for added protection.
(기준)
(빨간색)
(검은색)
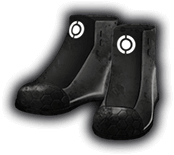
Graphene lined combat boots. Come in hard or soft sole depending on requirements.
Armor G-H

(기준)

(빨간색)

(검은색)
Comes equipped with hardened graphene goggles for near perfect unimpeded vision.

(기준)

(빨간색)
(검은색)
The protection of heavy body armor with the dexterity and flexibility of bare hands.
(기준)
(검은색)
Though many consider them too heavy for general use, the Hardplate Boots offer unparalleled resistance to pentration with a thick layer of fire retardent material.
(기준)
(검은색)
Suffers movement greatly but offers unparalleled resistance to pentration with a thick layer of fire retardent material. Engineered for maximum acoustic impedance to minimise blast trauma.
(기준)
(검은색)
Engineered for maximum accoustic impedance to minimise blast trauma, but thickness can impede gun handling.
Armor H-H #1
(기준)

(검은색)
At the cost of greatly restricted movement and gun handling, the Hardplate Helmet affords incredible all-round protection.
(기준)
(검은색)
Suffers movement greatly but offers unparalleled resistance to pentration with a thick layer of fire retardent material. Engineered for maximum acoustic impedance to minimise blast trauma.
(기준)
(검은색)
Heavy Troops Vest – the only armor to be rated full 7 for bullet proofness, explosives, cuts, stabs and impacts. Provides high protection from heat and toxic sources too.
(기준)
(검은색)
Made from carbon nanotube fibres for flexibiltiy and strength.
(기준)
(검은색)
Made from carbon nanotube fibres for flexibiltiy and strength.
Armor H-H #2

(기준)

(검은색)
Made from carbon nanotube fibres for flexibiltiy and strength.
(기준)
(검은색)
Made from carbon nanotube fibres for flexibiltiy and strength.
(기준)
(검은색)
Made from carbon nanotube fibres for flexibiltiy and strength.
(기준)
(검은색)
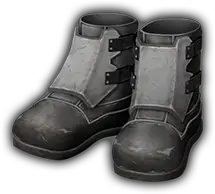
Standard issue special forces 4th Millenium Combat Boots.
(기준)
(검은색)
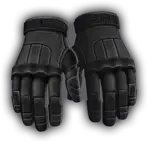
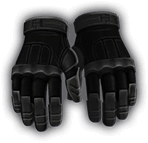
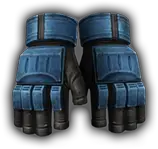
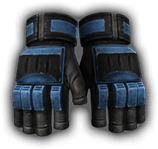
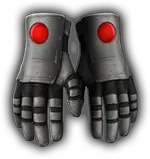
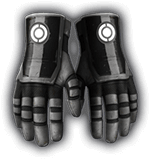
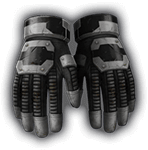
Standard issue special forces 4th Millenium Gloves.
Armor H-M

(기준)

(검은색)
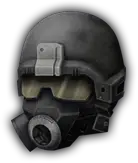
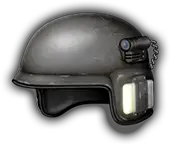
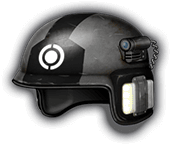
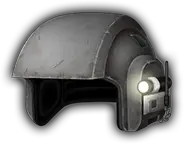
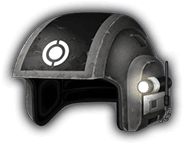
Standard issue special forces 4th Millenium Helmet.
(기준)
(검은색)
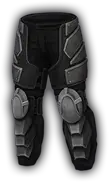
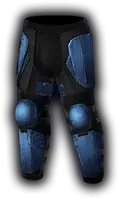
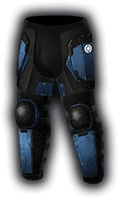
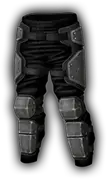
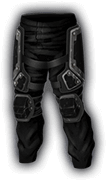
Standard issue special forces 4th Millenium Kevlar Pants.
(기준)
(검은색)
Standard issue special forces 4th Millenium Body Suit.
(Faction Warfare)
Evolved from experimental diving gear designed to grant greater manoeuvrability and protection around underwater dig sites, the divers benefited just as much on land as in water. 5% increased backpedal speed.
(Faction Warfare)
Evolved from experimental diving gear designed to grant greater manoeuvrability and protection around underwater dig sites, the divers benefited just as much on land as in water. 5% increased backpedal speed.

(Faction Warfare)
Evolved from experimental diving gear designed to grant greater manoeuvrability and protection around underwater dig sites, the divers benefited just as much on land as in water. 5% increased backpedal speed.
Armor M-M #1
(Faction Warfare)
Evolved from experimental diving gear designed to grant greater manoeuvrability and protection around underwater dig sites, the divers benefited just as much on land as in water. 5% increased backpedal speed.
(Faction Warfare)
Evolved from experimental diving gear designed to grant greater manoeuvrability and protection around underwater dig sites, the divers benefited just as much on land as in water. 5% increased backpedal speed.

(Faction Warfare)
Incredibly sturdy and with an abundance of pocket space, the Mastodon armor became the gold standard for miners venturing into the deepest caves of Epsilon. +1 level to Pay Grade skill. 10% more clip size.

(Faction Warfare)
Incredibly sturdy and with an abundance of pocket space, the Mastodon armor became the gold standard for miners venturing into the deepest caves of Epsilon. +1 level to Pay Grade skill. 5% increased chance of strongbox drops. 40% more clip size.

(Faction Warfare)
Incredibly sturdy and with an abundance of pocket space, the Mastodon armor became the gold standard for miners venturing into the deepest caves of Epsilon. +1 level to Pay Grade skill. 35% increased pickup radius. 20% more clip size.

(Faction Warfare)
Incredibly sturdy and with an abundance of pocket space, the Mastodon armor became the gold standard for miners venturing into the deepest caves of Epsilon. +1 level to Pay Grade skill. 15% increased pickup radius.
(Faction Warfare)
Incredibly sturdy and with an abundance of pocket space, the Mastodon armor became the gold standard for miners venturing into the deepest caves of Epsilon. +1 level to Pay Grade skill. 30% more clip size.
Armor M-M #2
(기준)
(검은색)
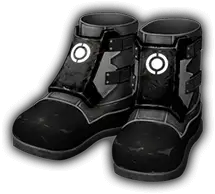
Combat boots are constructed from hardened aramid plates coated in micro basal fibres that instantly neutralize most acidic compounds on contact.
(기준)
(검은색)
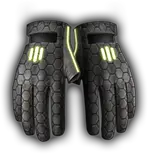
Medusa gloves are constructed from flexible aramid layers coated in micro basal fibres that instantly neutralize most acidic compounds on contact.
(기준)
(검은색)
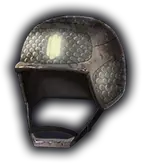
Corrosion resistant visor with built in respirator provides excellent toxic damage mitigation, inbuilt graphical display provides reload assistance.
(기준)
(검은색)
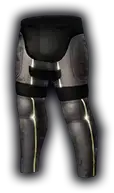
Combat pants are constructed from hardened aramid plates coated in micro basal fibres that instantly neutralize most acidic compounds on contact.
(기준)
(검은색)
Vest is constructed of hardened aramid plates coated in micro basal fibres that instantly neutralize most acidic compounds on contact.
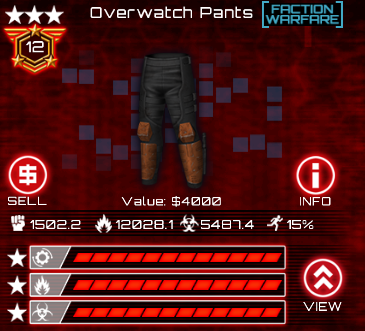
Armor O-R
(Faction Warfare)
With built in compensators for high powered weaponry and target aquisition modes, Overwatch became a favourite of guards on Omicron’s high flying gas platforms.
(Faction Warfare)
With built in compensators for high powered weaponry and target aquisition modes, Overwatch became a favourite of guards on Omicron’s high flying gas platforms.
(Faction Warfare)
With built in compensators for high powered weaponry and target aquisition modes, Overwatch became a favourite of guards on Omicron’s high flying gas platforms.

(Faction Warfare)
With built in compensators for high powered weaponry and target aquisition modes, Overwatch became a favourite of guards on Omicron’s high flying gas platforms.
(Faction Warfare)
With built in compensators for high powered weaponry and target aquisition modes, Overwatch became a favourite of guards on Omicron’s high flying gas platforms.

(기준)

(검은색)
Dynamic heat and light reflectivity adjusts to the conditions keeping the wearer comfortable and safe under extreme heat conditions.
Armor R-R
(기준)
(검은색)
8 Alternating layers of bullet proof and impact resistant material with heat proof mesh mean this vest will keep just about anything out.
(기준)
(검은색)
Flame proof, bullet proof but still flexible and tight fitting.
(기준)
(검은색)
6 Alternating layers of bullet proof and impact resistant material with heat proof mesh results in a flexible but effective piece of armour.
(기준)
(검은색)
Rated to 1700 Kelvin heat resistance, the wearer could walk through molten steel with minimal foot injury.
(기준)
(검은색)
Power assisted suit allows for faster movement than normal while still providing excellent body armour protection.
Armor S-S #1
(기준)
(검은색)
Hummingbird series armor uses Shotlite’s “Solid Air” technology to create incredibly light armour pieces with high physical and thermal resilience.
(기준)

(검은색)
Hummingbird series armor uses Shotlite’s “Solid Air” technology to create incredibly light armour pieces with high physical and thermal resilience.
(기준)
(검은색)
Hummingbird series armor uses Shotlite’s “Solid Air” technology to create incredibly light armour pieces with high physical and thermal resilience.
(기준)
(검은색)
Hummingbird series armor uses Shotlite’s “Solid Air” technology to create incredibly light armour pieces with high physical and thermal resilience.
(기준)
(검은색)
Nanotechnology gives slight running performance enhancement.
Armor S-S #2
(기준)
(검은색)
부츠 – Rated 7A for bullet proofness, explosives, cuts, stabs and impacts. Provides medium level protection from heat and toxic sources too.
(기준)
(검은색)
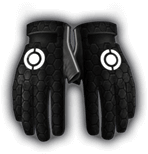
장갑 – Rated 7A for bullet proofness, explosives, cuts, stabs and impacts. Provides medium level protection from heat and toxic sources too.
(기준)
(검은색)
헬멧 – Rated 7A for bullet proofness, explosives, cuts, stabs and impacts. Provides medium level protection from heat and toxic sources too.
(기준)
(검은색)
바지 – Rated 7A for bullet proofness, explosives, cuts, stabs and impacts. Provides medium level protection from heat and toxic sources too.
(기준)
(검은색)
조끼 – Rated 7A for bullet proofness, explosives, cuts, stabs and impacts. Provides medium level protection from heat and toxic sources too.
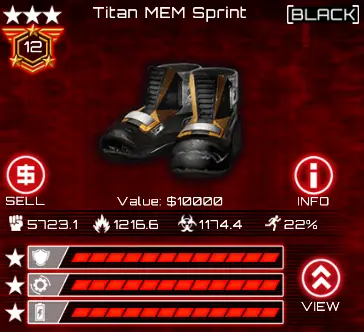
Armor T-T #1

(기준)
(검은색)
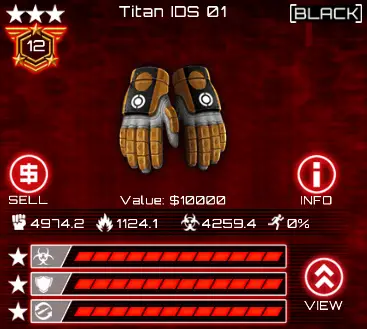
Intuitive Dexterity System enables good hand protection and faster reload of weapons.
(기준)

(검은색)
Iris Responsive Nano Heads Up Display provides zoom and auto target priority assessment.
(기준)
(검은색)
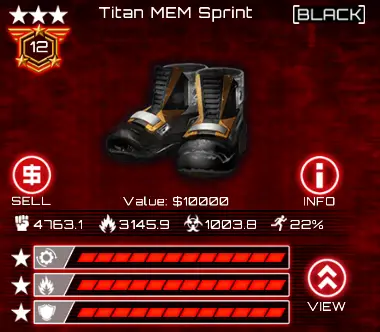
Titan Mechanically Enhanced Movement Sprint includes biocalibrated foam allowing for much faster movement.

(기준)
(검은색)
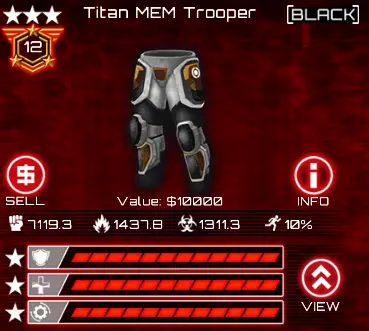
Titan Mechanically Enhanced Movement nullifies the bulk of this superior leg armour.
(기준)

(검은색)
Delivers deadly electric charge to anything making physical contact.
Armor T-T #2
(기준)
(검은색)
부츠 – Rated 4A for bullet proofness, explosives, cuts, stabs and impacts.
(기준)
(검은색)
장갑 – Rated 4A for bullet proofness, explosives, cuts, stabs and impacts.
(기준)
(검은색)
헬멧 – Rated 4A for bullet proofness, explosives, cuts, stabs and impacts.

(기준)
(검은색)
바지 – Rated 4A for bullet proofness, explosives, cuts, stabs and impacts.
(기준)
(검은색)
조끼 – Rated 4A for bullet proofness, explosives, cuts, stabs and impacts.
Armor V-V
(Faction Warfare)
Offering protection against the heat of Zeta’s volcanos, its cooling gel layer proved to keep miners on their feet much longer than other armors available. -15% projectile damage taken.
(Faction Warfare)
Offering protection against the heat of Zeta’s volcanos, its cooling gel layer proved to keep miners on their feet much longer than other armors available. -15% projectile damage taken.

(Faction Warfare)
Offering protection against the heat of Zeta’s volcanos, its cooling gel layer proved to keep miners on their feet much longer than other armors available. -15% projectile damage taken.
(Faction Warfare)
Offering protection against the heat of Zeta’s volcanos, its cooling gel layer proved to keep miners on their feet much longer than other armors available. -15% projectile damage taken.
(Faction Warfare)
Offering protection against the heat of Zeta’s volcanos, its cooling gel layer proved to keep miners on their feet much longer than other armors available. -15% projectile damage taken.
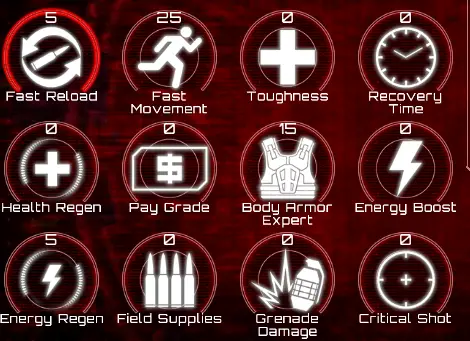
Total Resist Rank 1-70
This is the ranking of Resist which is the sum of Physical, Thermal and Toxic.
You’ll find items that allow you to gain resistance more efficiently.
Total Resist Rank 71-140
Total Resist Rank 141-201
Physical Resist Rank 1-70
This is the ranking of Physical Resist.
Physical Resist Rank 71-140
Physical Resist Rank 141-201
Thermal Resist Rank 1-70
This is the ranking of Thermal Resist.
Thermal Resist Rank 71-140
Thermal Resist Rank 141-201
Toxic Resist Rank 1-70
This is the ranking of Toxic Resist.
Toxic Resist Rank 71-140
Toxic Resist Rank 141-201
Movement Modifier Rank
This is the ranking of Movement Modifier.
Items that are not ranked have a value of 0.
Reload Bonus Rank
This is the ranking of Reload Bonus.
Items that are not ranked have a value of 0.
Crit Chance Rank
This is the ranking of Crit Chance.
Items that are not ranked have a value of 0.
Damage Bonus Rank
This is the ranking of Damage Bonus.
Items that are not ranked have a value of 0.
Energy Bonus Rank
This is the ranking of Energy Bonus.
Items that are not ranked have a value of 0.
Energy Regeneration Rank
This is the ranking of Energy Regeneration.
Items that are not ranked have a value of 0.
Health Bonus Rank
This is the ranking of Health Bonus.
Items that are not ranked have a value of 0.
Health Regeneration Rank
This is the ranking of Health Regeneration.
Items that are not ranked have a value of 0.
Recovery Time Mod Rank
This is the ranking of Recovery Time.
Items that are not ranked have a value of 0.
Contact Damage Rank
This is the ranking of Contact Damage.
Items that are not ranked have a value of 0.
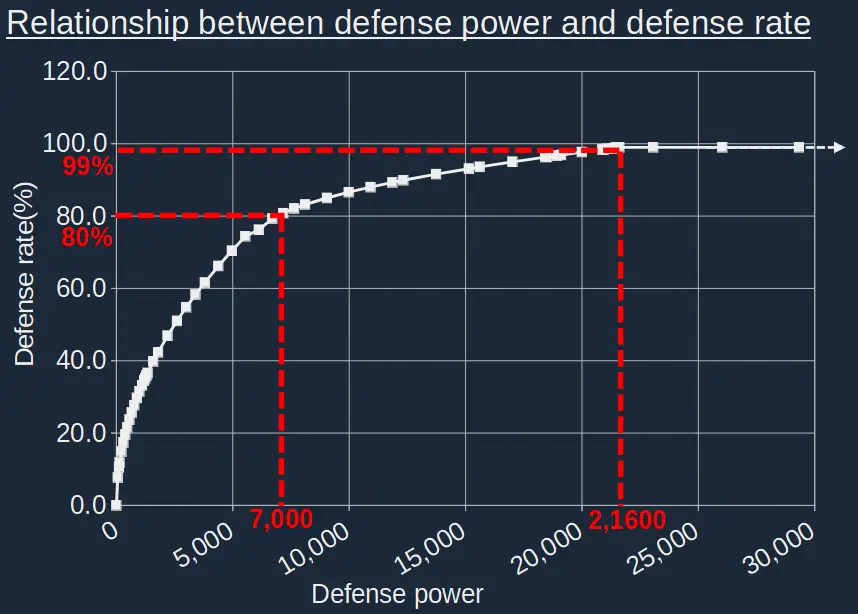
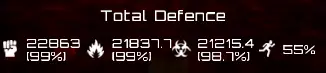
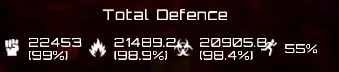
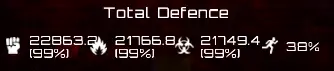
Defense Power and Rate
Shows the relationship between defense power and defense rate.
See the graph below.
Defense rate reaches 80% when defense power is around 7000, and after that it becomes difficult to increase.
그 다음에, the maximum defense rate is 99% 주위에 21600 방어.
얻는 방법 99% defense rate
Aim for a defense rate of 99% for all attributes.
If a boss has 100,000 attack power. ~에 99% defense rate, you only take 1,000 손상.
So what should we do?
첫 번째, get armor with high defense.
Check which armor is in the ranking above.
그 다음에, increases armor defense effectively.
Enhance attributes with high base defense.
다시 말해서, the higher the defense of the base, the higher the rising power when enhancing.
Internal calculations consist of multiplications.
예를 들어, for armor with Physical 1000, Thermal 500 and Toxic 100 defense power,
Physical should be enhanced preferentially.
추가적으로, add points to skill “Body Armor Expert” to increase the rate of increase in defense power.
How to deal with dark minion
Zombies with dark minion attributes ignore your defense.
This is an awkward situation.
Here are some ways to deal with it.
If you have twice as much HP, you will live twice as long.
그렇게 하려면, do the following.
Use armor with “Health Bonus”.
예를 들어, Titan MEM Trooper (빨간색) increases your HP by 15%.
Enhance your armor with “Body Fueling”.
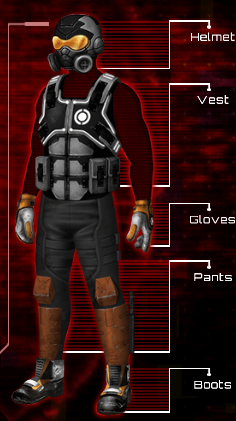
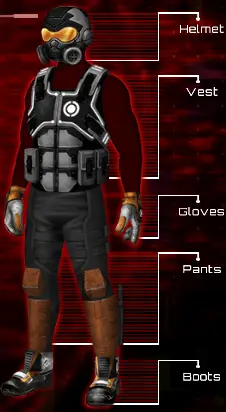
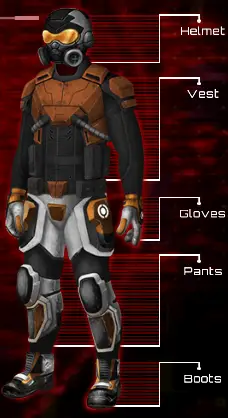
헬멧, Vest and Pants can apply it.
게다가, add points to Base Skill “강인함”.
Learn Armor Vest Mastery 4.
그런 식으로, 당신은 있습니다 10% chance of not taking damage from zombies.
Beginners want to get closer to zombies.
Then you will easily fall prey to zombies.
Stay away from zombies.
추가적으로, slow down zombies by:
- Cyro Grenade
- Cyro Turret
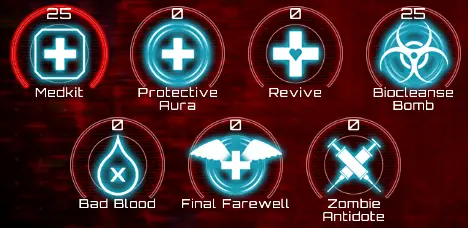
- Biocleanse Bomb (Medic Skill)
Heavy has the best defense of all classes.
Because Heavy has the following skills:
- Tough Body (Reduces damage up to 54%)
- Die Another Day (Reduces damage by 90% for a short time)
What is the best armor set
Here are some of the best armor sets.
Use it as a reference for your armor.
You can add your own customizations.
하지만, the following conditions must be met.
- 새로고침 80% (effective maximum)
- All defense rate is 99%
- Max cored
- Fast Movement 25
- Have all armor mastery 5
- Have all standard and red armor collection rewards
Each class is shown below.
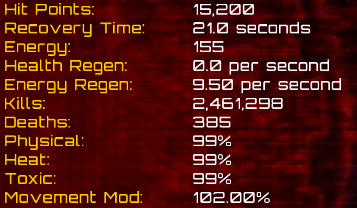
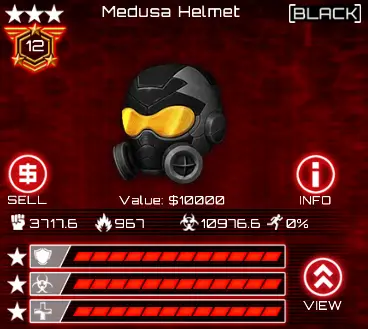
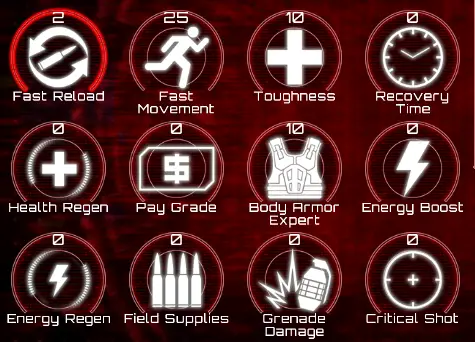
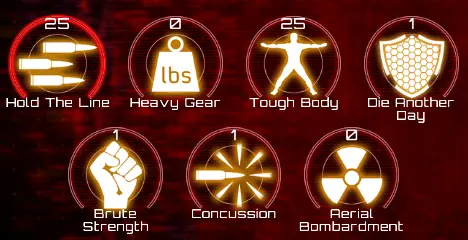
첫 번째, take a look at the stats for this Assault in the screenshot below.


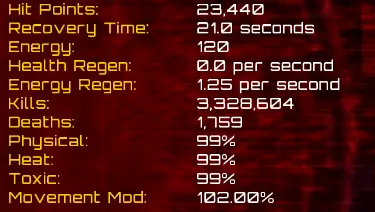
- Fast Reload: 5
- Body Armor Expert: 15
It doesn’t hit 99% on the Totl Defense screen, but hits 99% on the character info screen.
This difference is probably due to the inclusion of Masteries and Collection Rewards.
Getting Armor Black Collection Rewards will reduce Body Armor Expert to 14.
This Assault has 102% 이동 속도.
Use Adrenaline (Assault Skill) to move faster.
He will be an efficient point earner in Virus Samples event.
You can also use Titan IRN HUD to get Damage Bonus.
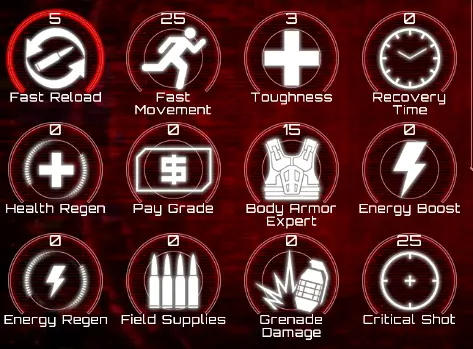
Needs reloading and movement speed adjustments.


- Fast Reload: 5
- Body Armor Expert: 15
This Medic has the same armor as the Assault above.
The difference is that it has Energy Bonus and Energy Regeneration.
Even when he uses his Biocleanse Bomb and Medkit skills, his energy is less likely to go empty.
He can help other players.
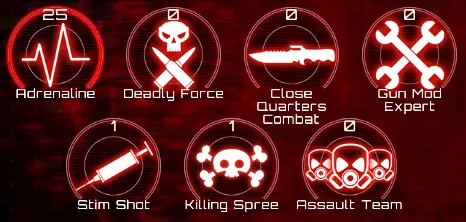
- Fast Reload: 2
- Body Armor Expert: 10
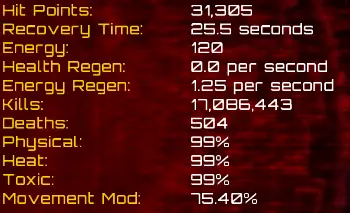
This Heavy almost never dies.
Because it has more than 30,000 HP.
헬멧, 조끼, and Pants are all enhanced with “Body Fueling”.
Titan MEM Trooper(검은색) 가지다 15% Health Bonus.
He will survive Apocalypse event for a long time.
He will also beat many of his rivals in Last Man Standing event.
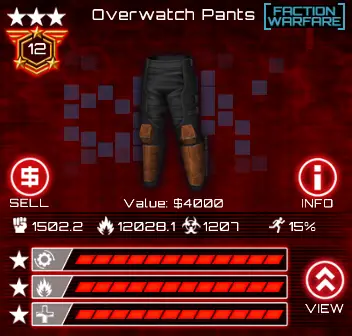
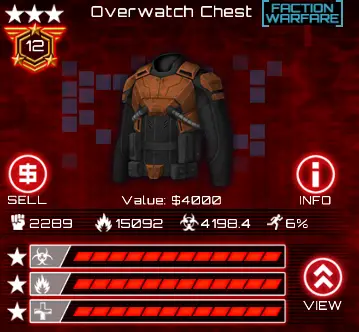
He wears Overwatch Chest that ranks high in total defense.
The Reload Bonus 9% is also attractive.
This gives him the best Defense (99%) and Reload (80%) for as few skill points as Body Armor Expert 10 and Fast Reload 2.
이것이 오늘 우리가 공유하는 모든 것입니다. SAS: Zombie Assault 4 가이드. 이 가이드는 원래 작성자가 작성하고 작성했습니다. xxx. 이 가이드를 업데이트하지 못한 경우, 다음을 수행하여 최신 업데이트를 찾을 수 있습니다. 링크.