A quick, simple guide as the game in its current state doesn’t have a tutorial of any kind. This is meant for brand new players, although some tips may still be helpful to experienced ones.
Before You Play
- The first thing you should do is check the keybinds in the options menu, a lot are unbound and/or bound to keys you may not use often, knowing the basic controls is key when you’re in the middle of a firefight. (팁! 그만큼 “hold low-ready” action in the interaction tab can be bound to the shift key to allow you to walk faster during missions.)
- 둘째, choose your loadout depending on what situation you’re going to be in (lethal/non-lethal). For a lethal loadout, I’d recommend the SA-58 as your primary, 에이 taser as your secondary, 에이 ballistic shield or battering ram as your long tactical, heavy armour, 에이 ballistic facemask 그리고 grenades and tactical devices of your choosing. For a non-lethal loadout, I’d recommend the Beanbag Shotgun or TAC700 as your primary, 그만큼 57 USG as your secondary, 에이 Mirrorgun as your long tactical, light armour, 에이 CBRN Riot Gasmask, NVGs or the anti-flash goggles 그리고 grenades and tactical devices of your choosing.
- 셋째, I’d recommend doing a run of The Shoothouse (check map layout) with your lethal and non-lethal loadouts to get used to the gunplay, if you take more than a second to kill an enemy, you’re realisticly dead, so keep going until you’re confident in your skills.
- 마지막으로, customise your character, you wanna look sick while you’re busting bad guys.
Map Layout

The game doesn’t provide any maps, so here’s a layout of the lobby, as well as the available blueprints for a few maps.
Lobby
The lobby is huge, and you’ll most likely want to look around, but there arer only 4 areas you need to know.
The Locker Room.
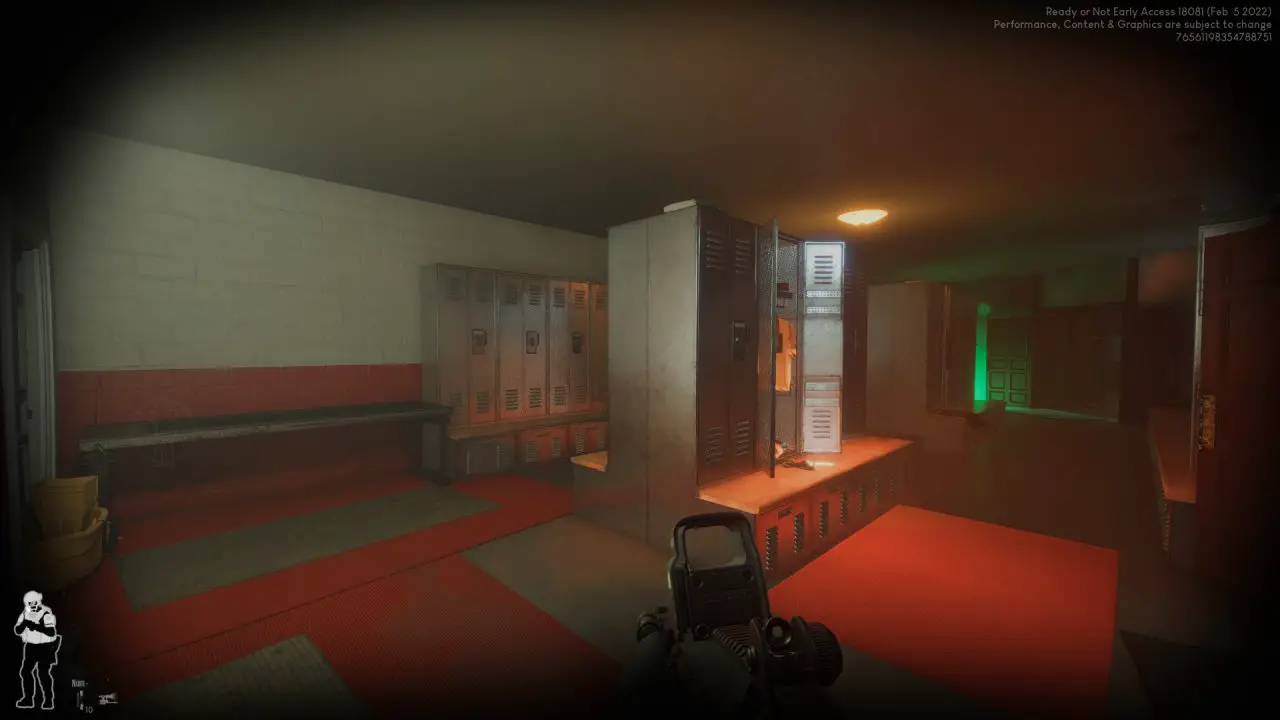
Provides areas to modify your loadout, as well as your character.
The Ready Room.

Choose your mission and ready up here.
The Gun Range.

Test out weapons and attachments here.
The Shoothouse.
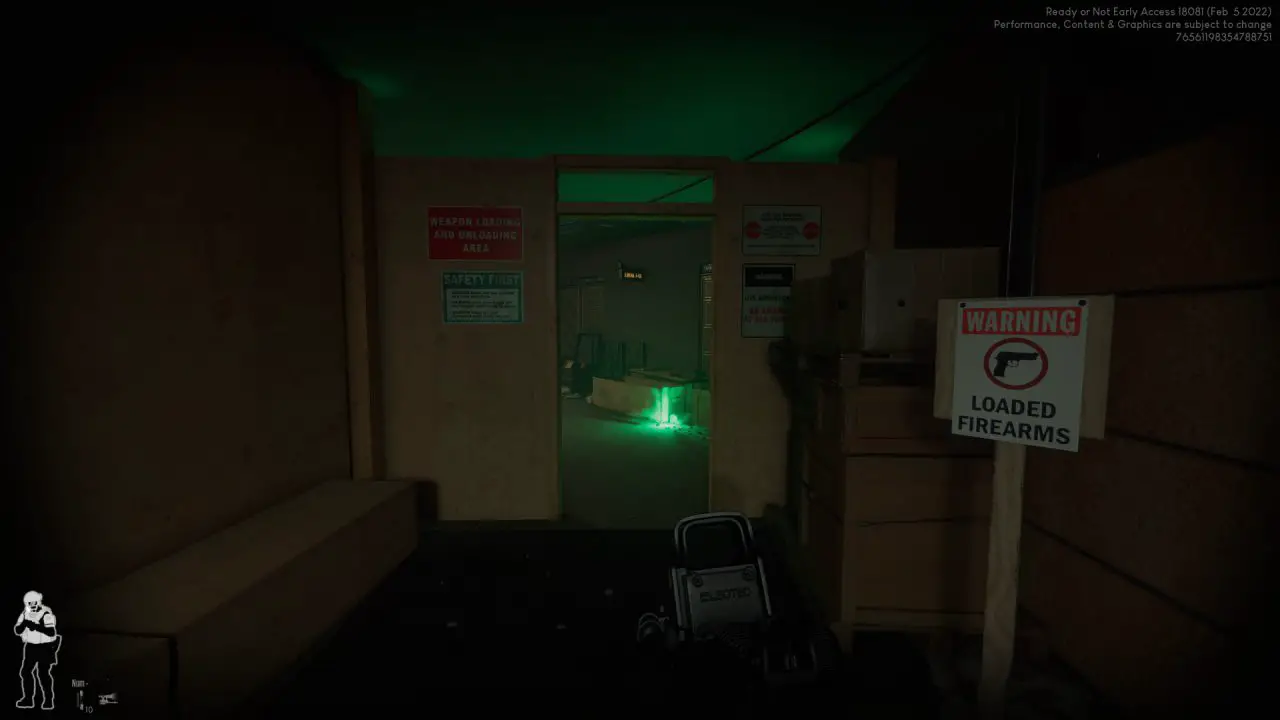
Practice clearing rooms and killing bad guys in record time.
Your First Mission

그래서, you’ve rebound your keys, optimized your loadout, killed some cardboard people and you’re lookin’ fly as heck, what now?
As a starting mission, 나는 추천하고 싶다 213 파크 홈스 “Twisted Nerve”. This map is fairly small and, although it has a few outer buildings in which NPC’s can spawn, it should be a nice easy starting point.
Unless you’re playing an “Active Shooter” 또는 “습격” 사명, suspects should be arrested if at all possible, this gets you a higher score at the end, but don’t be afraid to shoot someone between the eyes if they start firing first. (On any mission, arresting suspects gets you a higher score, this is just harder on the aforementioned missions and should be avoided at the start of the game.)
Now that you’ve chosen your mission, stand on the red carpet to begin, here are a few tips to help out in the field.
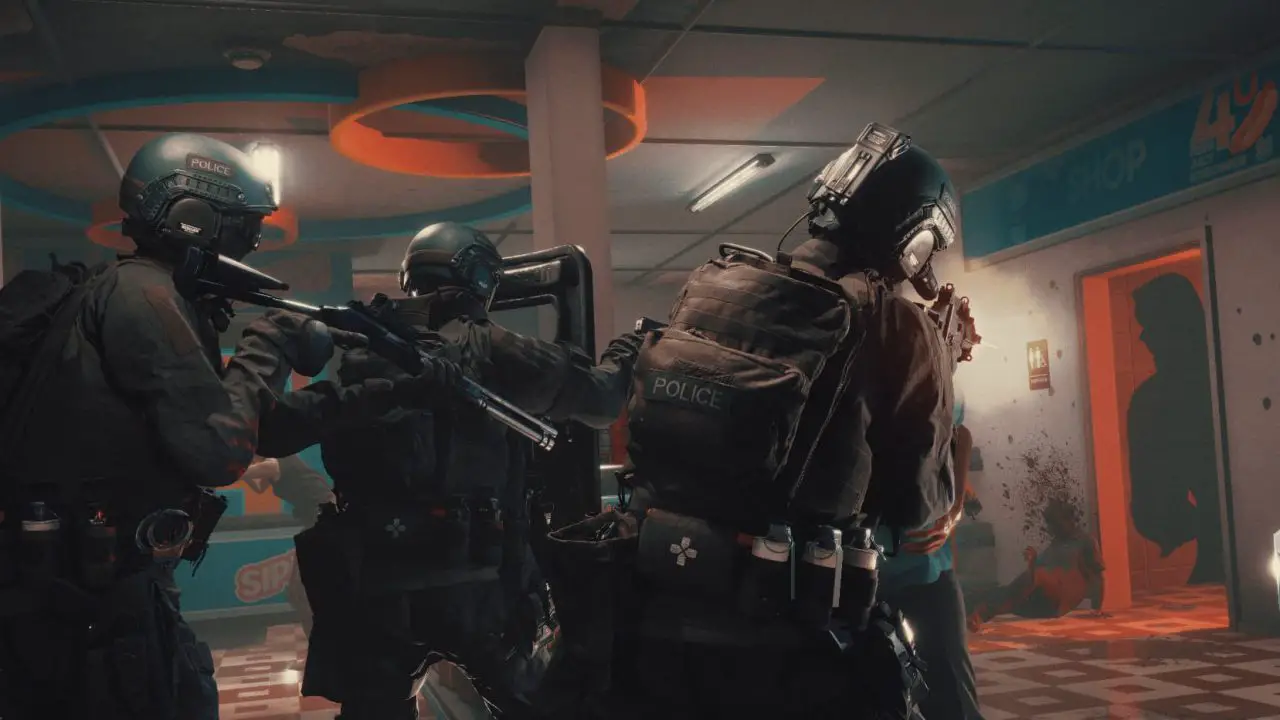
- Use your team! This is a huge thing that some players may forget when starting, using your team is just as important as any other aspect of the game and can be the deciding factor between winning and losing. My biggest tip is to give each team a separate loadout (blue for non-lethal, red for lethal), this means you’re already equipped for any mission and you won’t need to mess around in the loadout menu again. Use the middle mouse button to bring up the command interface, use this to issue commands to your teammates, be sure to use the appropriate team to stack up against doors, clear rooms, and keep watch.
- 시간을 가지세요! The last thing you want to do is run into a room with several armed suspects and die immediately, unless you’re in an active shooter scenario, you should take your time clearing rooms and arrest/reporting suspects.
- Check your objectives! Pressing TAB will open up a current objectives menu, this is very helpful in seeing what you’ve done, and what you have left to do.
Additional Tips
Here are some extra random tips that come in handy.
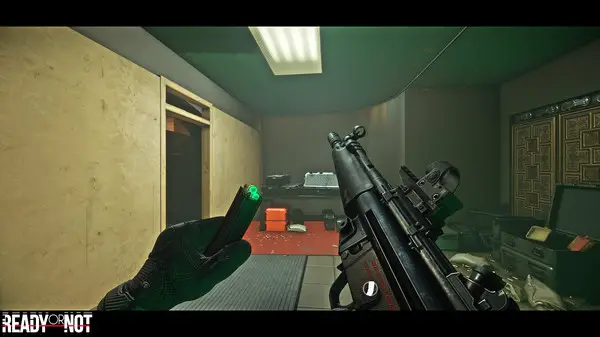
- You can check how much ammo you have left by holding R by default!
- You can kick doors down by repeatedly kicking them, they’ll open on the 2nd to 4th kick, 하지만, if you peek through the door first, you can kick it open instantly to knock back anyone on the other side, or just to surprise the suspects.
- 그만큼 “hold low-ready” action in the interaction tab can be bound to the shift key to allow you to walk faster during missions.
- You can reload while using a magazine that still has rounds in it, your character will automatically save this magazine and use it again when needed. Empty magazines are discarded.
- Can’t figure out where to get torches or scopes? Check the locker room or down the stairs next to the shoothouse for a workbench, you can get attachments here.
- If you’re in a hallway or a room with multiple doors, 사용하다 door wedge to reassure yourself that nobody’s going to sneak up on you.