
- 제목: Pavlov VR
- 출시일:
- 개발자:
- 발행자:
Information about Pavlov VR is still incomplete. 이것을 사용하여 게임의 세부 정보를 입력할 수 있도록 도와주세요. 문의 양식.
This is a guide on how to get the pack-a-punch weapons in the community-ported Shi No Numa call of duty zombies map.
소개
Most call-of-duty zombies maps have the pack-a-punch upgrade machine to give your weapons extra stopping power, which can be very useful in the late game for survival. Some have the machine locked behind a couple of barriers, others require multiple in-game steps to unlock and then power the device, this map takes a slightly different approach.
Instead of upgrading an existing weapon, it upgrades the weapons that come from the mystery box. The downside of this is, that even if you obtain a weapon you like, it cannot be upgraded. The upside is that it forces you to play with different upgraded weapons and brings something new to the gameplay.
It is worth noting that although the progression through the map is similar to the original game, there are some slight differences to make it work in Pavlov VR.
One important thing to note is that if you are playing alone, or with a team and are finding it hard, it’s worth setting the difficulty to easy, enabling unlimited ammo and increasing the damage multipliers at the start of the match so you can get a feel for how to complete this map.
단계 1 – Get points and starting weapons
You will spawn upstairs in the central hut as normal. If you’re playing on a private session, as soon as the game starts, the host will have the chance to change the difficulty.
You should start the game by completing a few rounds upstairs to gain points. Headshots will give you more, and using the knife seems to get the most.
Before you get to the round with dogs, you’ll want to open the first barrier leading to downstairs.
This will give you access to some more powerful weapons and the mystery box.
Stay in this area and keep buying weapons from the mystery box until it disappears. This is very important, as you wont be able to get the pack a punch weapons without exhausting the mystery box. It will also give your team a chance to get some good weapons.
단계 2 – Hunt for the fuses.
Before opening one of the four barriers to the rest of the map, take a look around the corner from where the first mystery box is. You will see a panel on the opposite side of the wall with the familiar pack a punch logo.
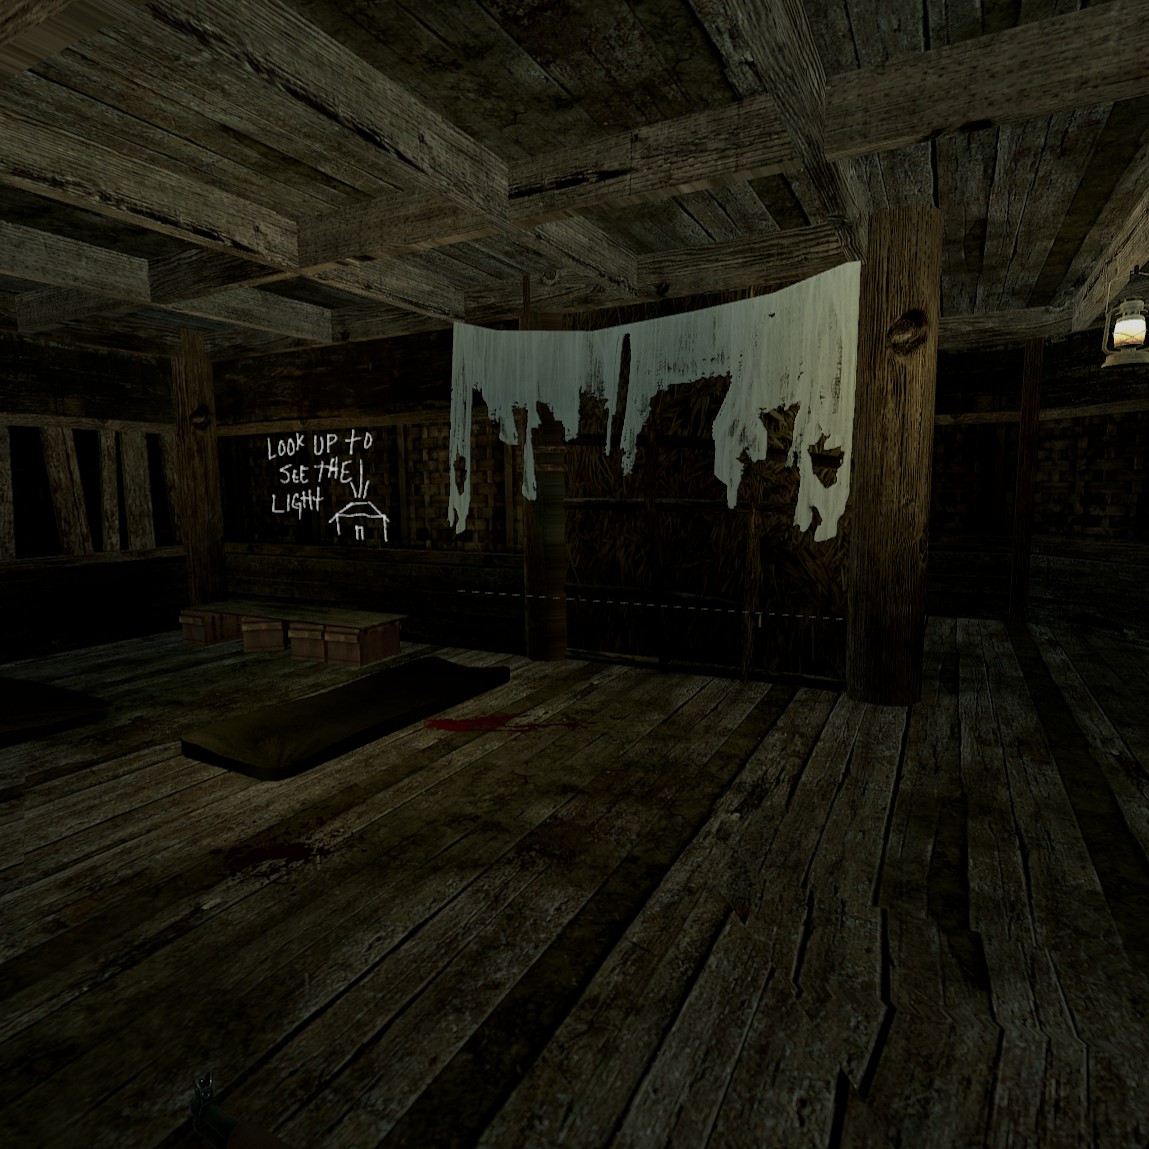
This panel will have 4 sockets and some text to indicate which location the socket corresponds to. You will have to visit these locations in order to find the fuses to unlock pack a punch.
There is no specific order to which one you should complete first, as it is up to RNG where the mystery box will appear next. But you should coordinate with your team and go to each location together so whilst someone is completing the hunt for the fuses, the others can defend them.
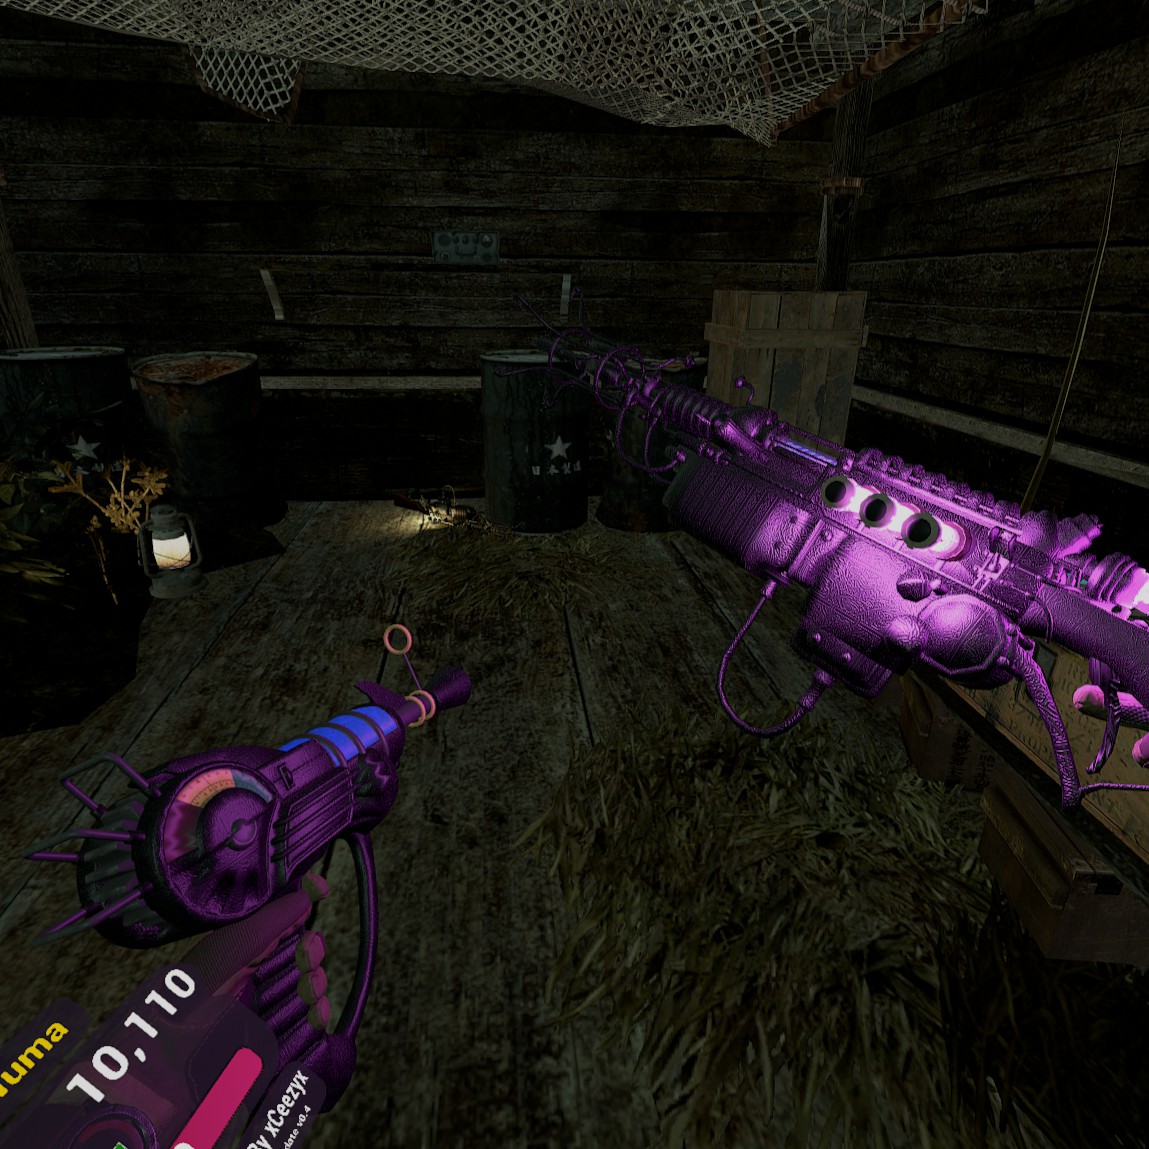
이 외에도, each of the power ups will randomise on opening each location. To use power ups in this map, besides having enough points to buy one, you need to pop the cap off with a free hand using the trigger then manually drink it. I highly recommend getting each of these, especially the jugger-nog.
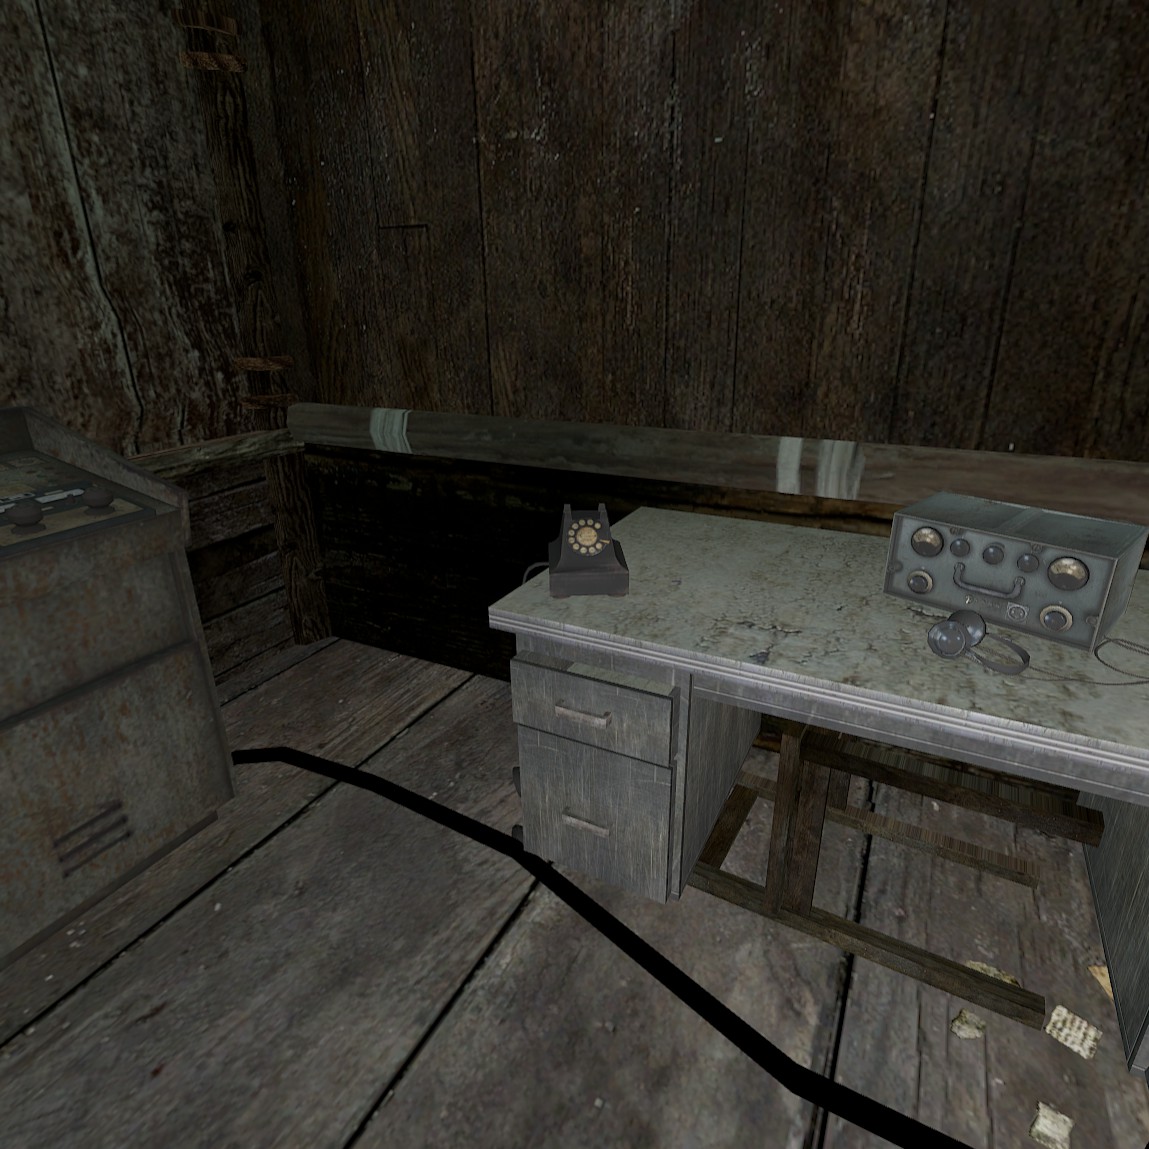
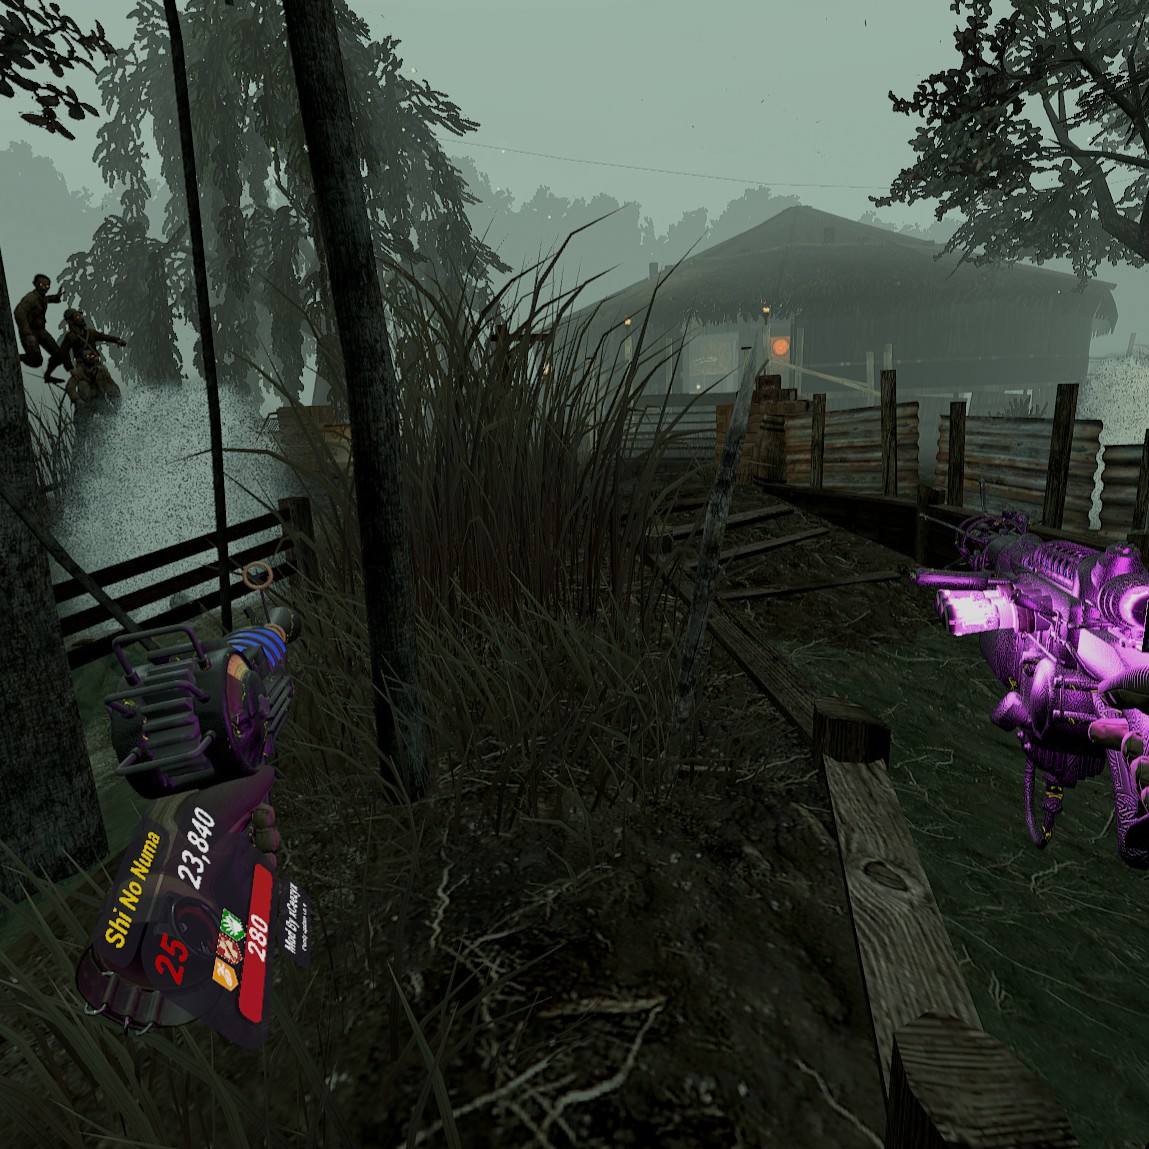
Comms room :
In one of the rooms you will find an old rotary telephone with the handset hanging by its cord. Interact with the handset repeatedly until you hear a voice coming from the phone then a song will play.
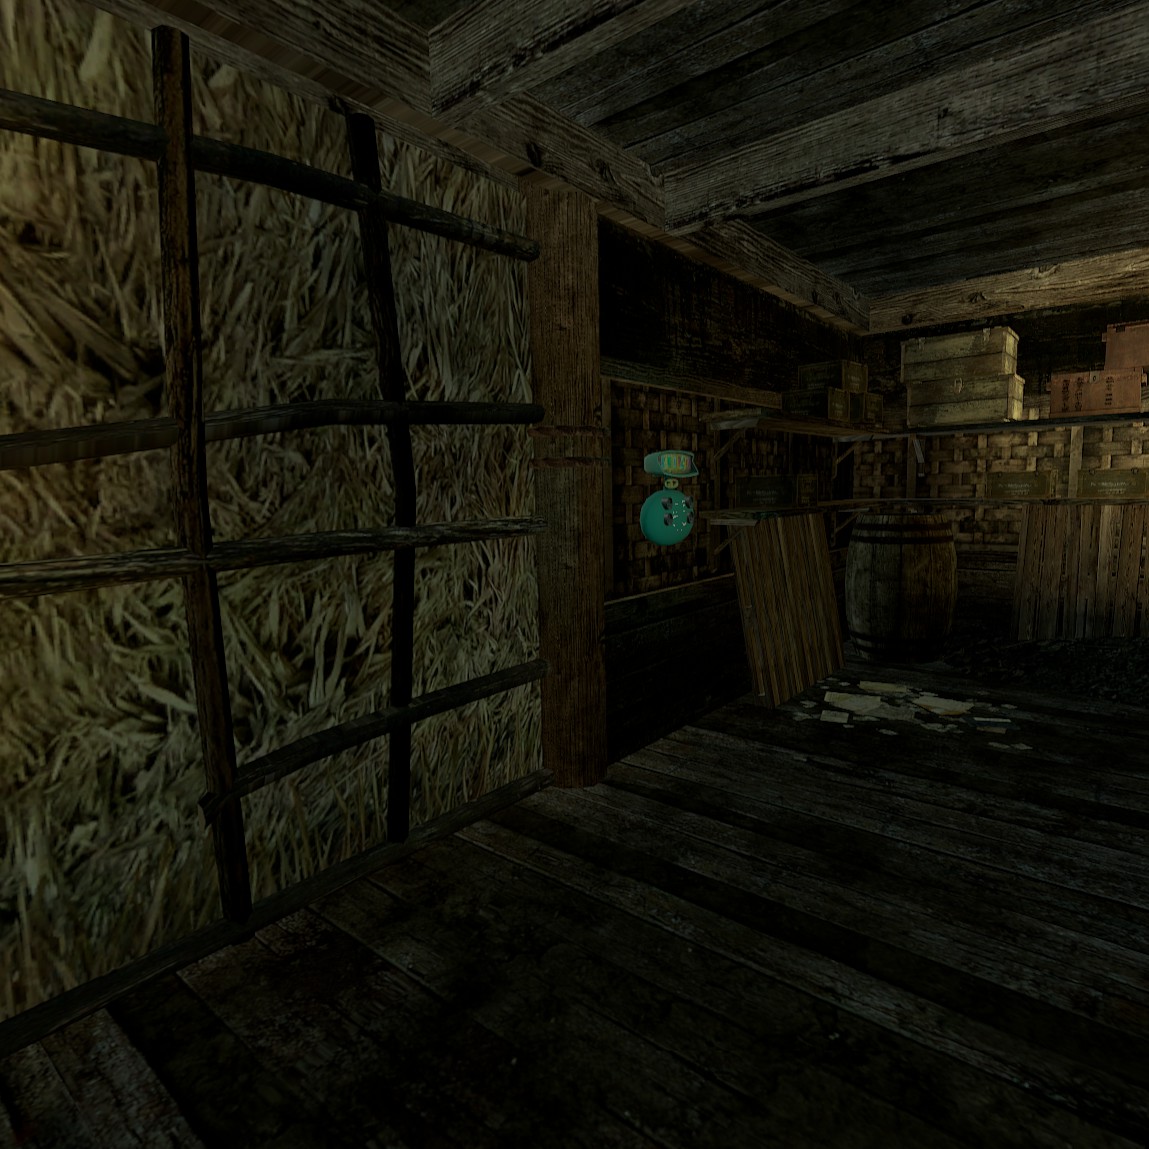
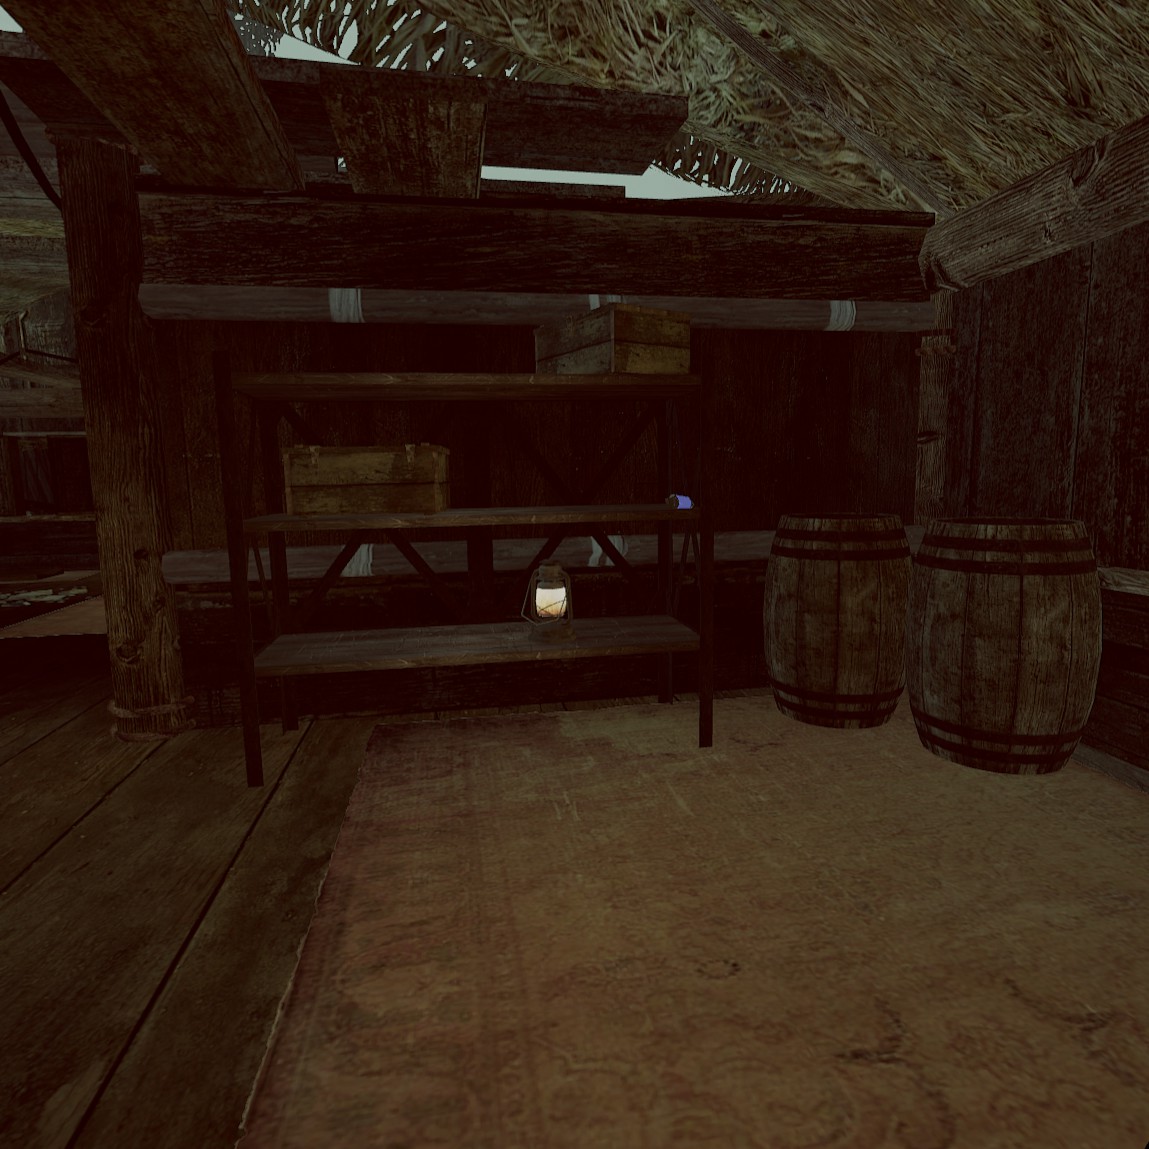
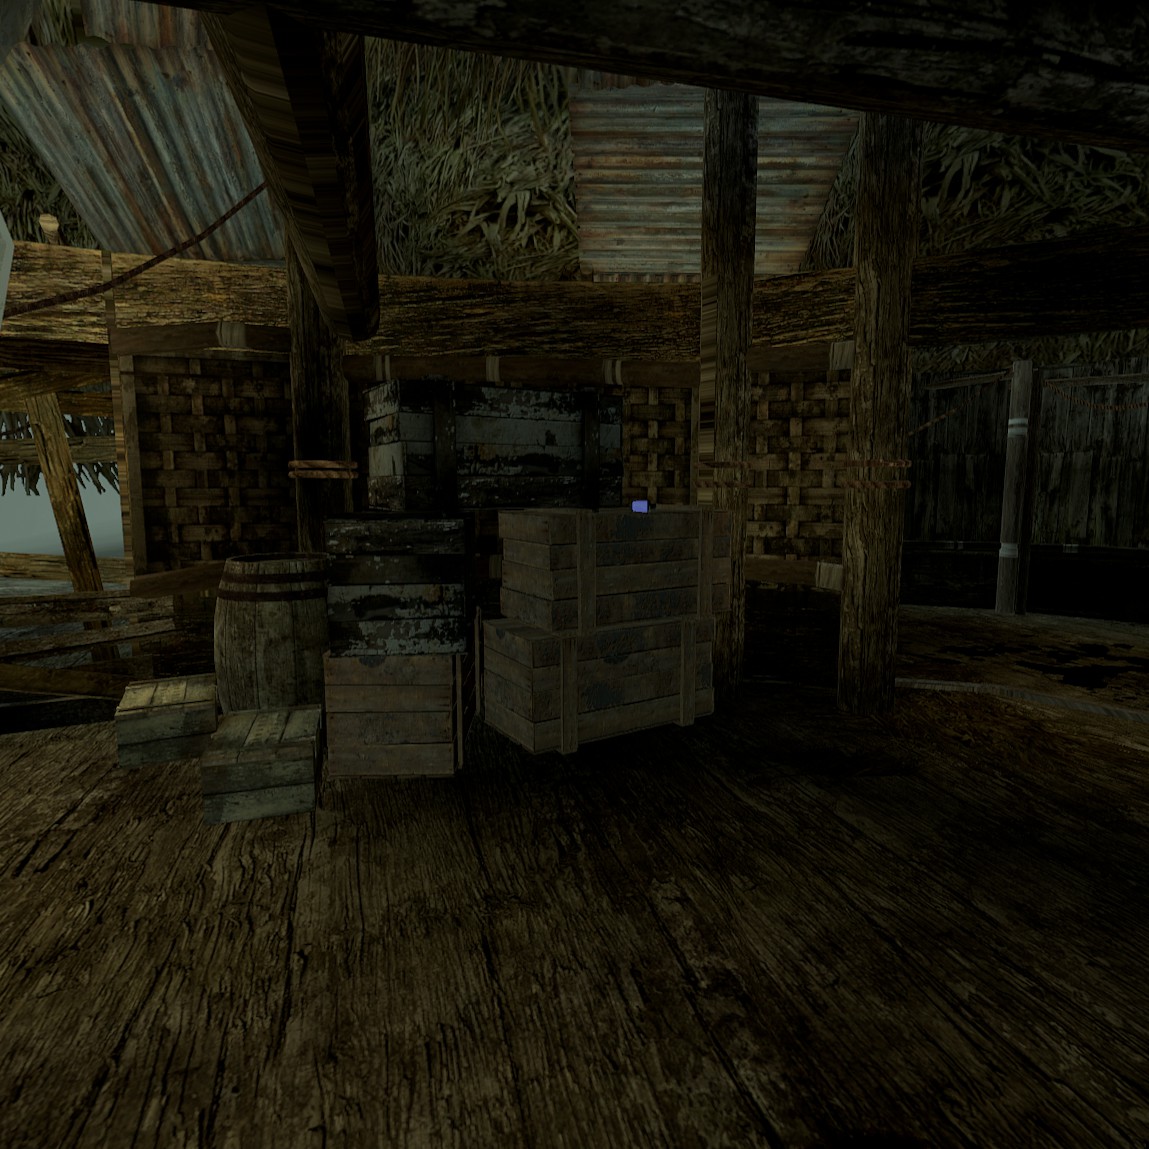
Spam the mystery box until it disappears, keeping any weapons you like. Then scour the building for a fuse. It will look like a blue light bulb. In my most recent play through, found it on the set of shelves next to two barrels and a lantern on its lower shelf.
잡아, pin it to your chest and run back to the hut to plug it in.
Doctors quarters :
As you run in, check the bookshelf on the left. Interact with it and you should get an audio response.
Spam the mystery box until it disappears and you should find the fuse has appeared on another book shelf. Return it to the main hut.
저장 :
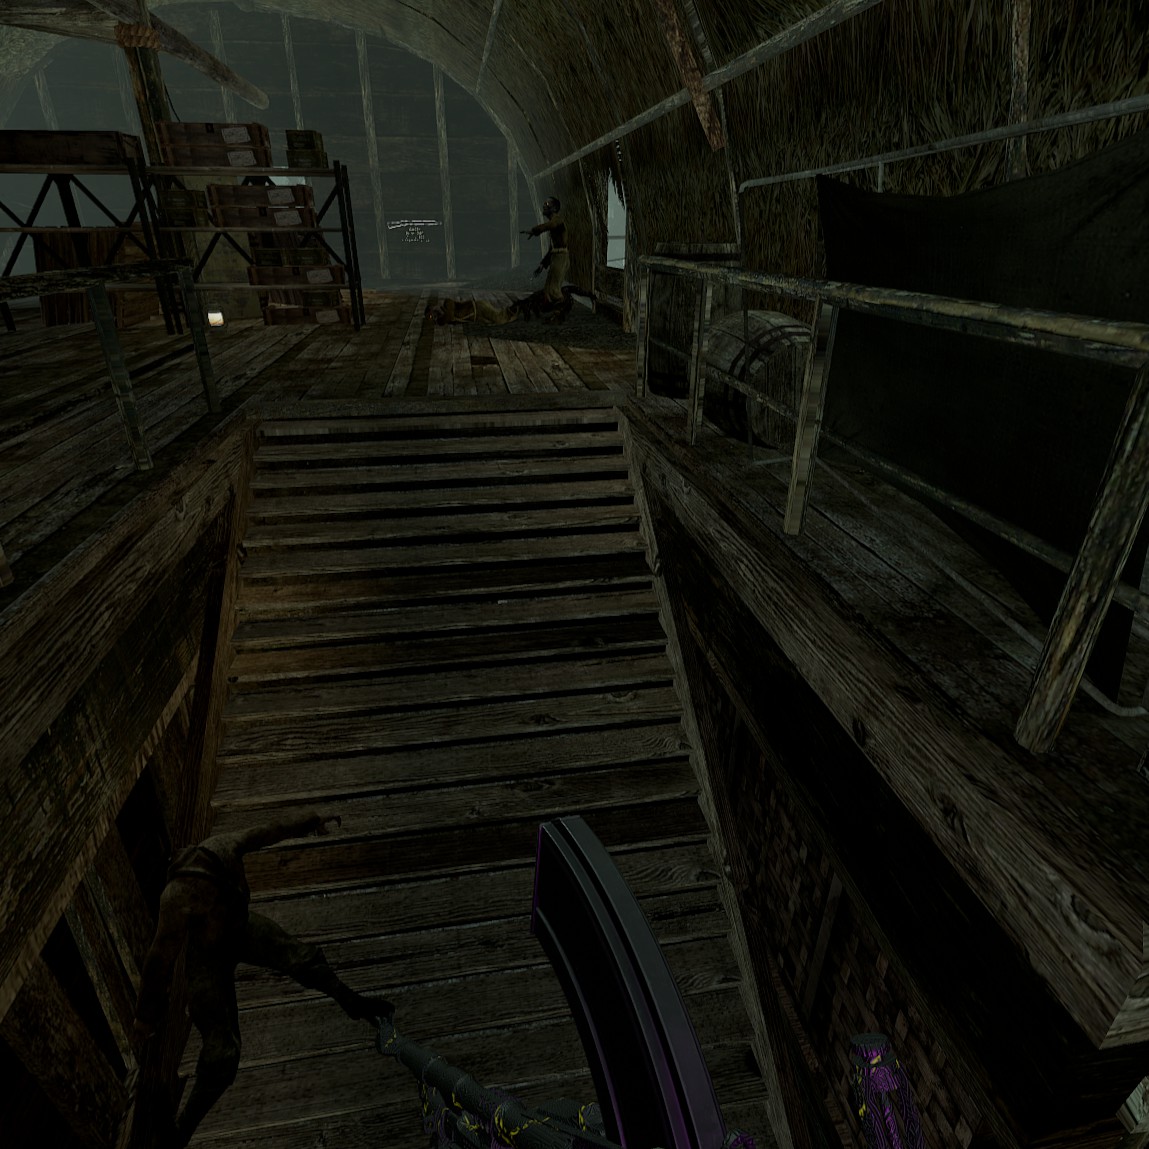
Make your way to the storage building, spam the mystery box then scour the building for the fuse. Return it to the main hut.
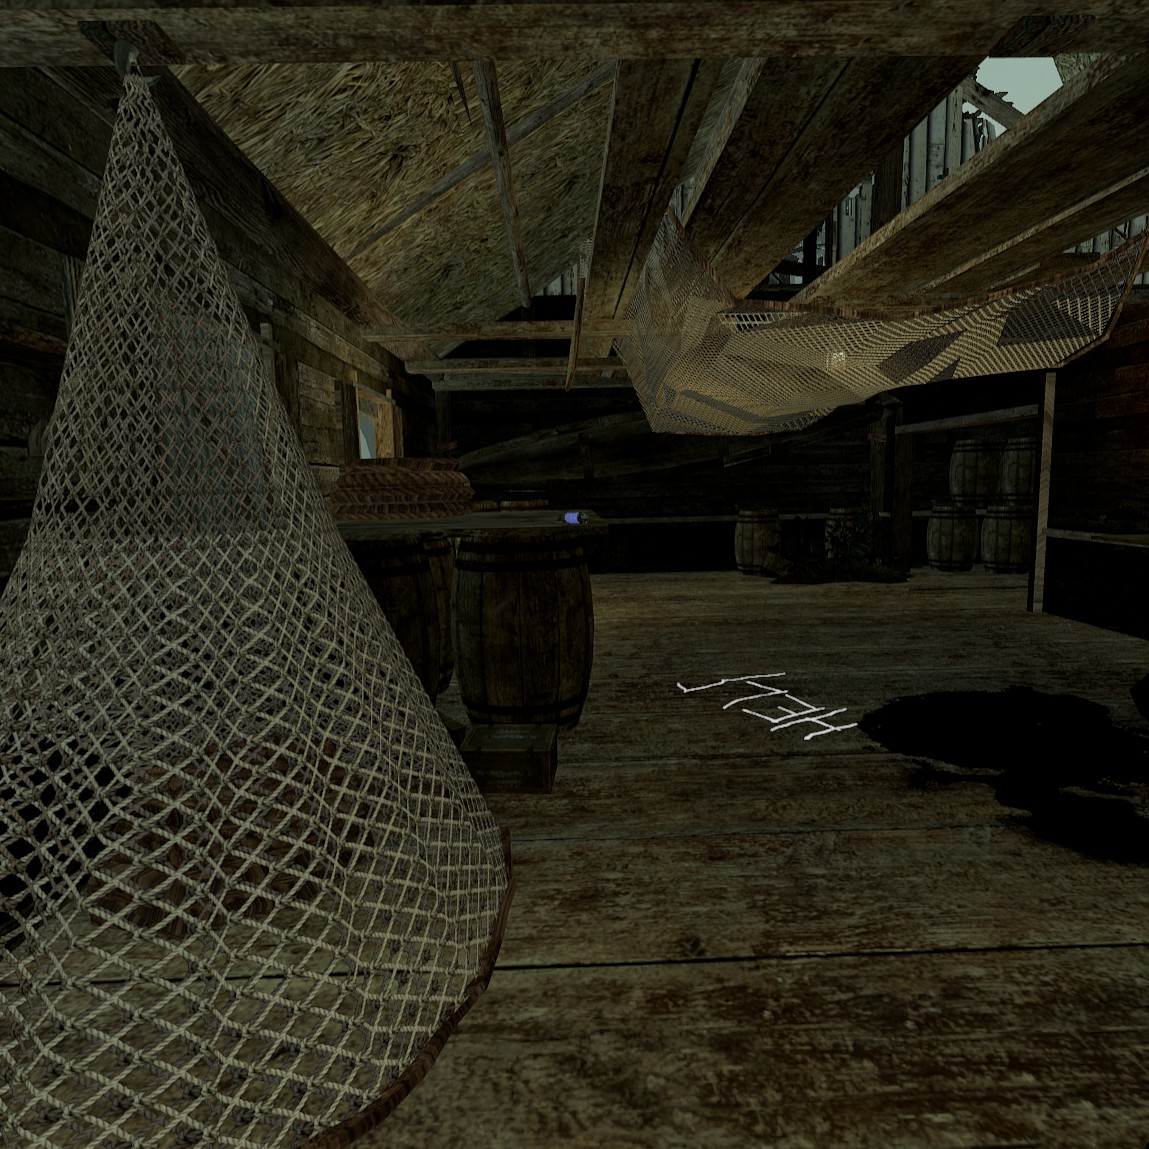
Fishing hut :
입력하다, spam the mystery box and look around inside the hut. In my most recent playthrough, I found the fuse on a chest next to a fishing net inside the hut, but I’m certain that I’ve seen it near the fishing rod on the porch. Grab it and head back.
I have had varying experiences with this, but it’s worth noting that sometimes when I’ve reached the final location, which ever that was, I didn’t need to spam the mystery box to unlock the fuse. If this happens to be the Storage or Fishing hut for you, just head straight to the fuse as it may already be there, thus saving you thousands of points on the mystery box.
After plugging in the final fuse, you should get an audio cue.
축하해요, you have now unlocked pack a punch weapons.
단계 3 – 생존하다!
Unlike other maps with a dedicated machine for upgrading your weapons, you can only get random ones from the mystery box. But it still beats not having one and makes the late game more interesting, especially if you have limited ammo on. You will find yourself trying new weapons rather than slogging out wave after wave listening to the same gun fire audio.
Final word
This map allows the use of the infection mode game play. When a player fully dies and can no longer be revived, they rejoin the game as a playable enemy. This will remain until the rest of the survivors die, and the match is over. Leaving and rejoining will still place you on the zombies team. Only select this if you are okay with being a zombie.
There is also a couple of places in the map you can escape to for a break, be it that you need to reload your MG 42, or you just need to adjust your headset, get a drink, 무엇이든.
메모: these may get patched by the creators of the map.
The first is in the main hut where you spawn upstairs. Face the stairs as if you’re going down, keep to the left and you should be able to walk on the thin ledge on the upper floor inside the stairwell. Move to the far back and you should be safe.
The other safe location is on the way to one of the fuse locations. I’m pretty sure its the comms room. This path has 3 lanes you can take, 2 in the water, and one that has a hut then ends with water. Go to the building that has the fuse, then turn around to face back at the main hut.
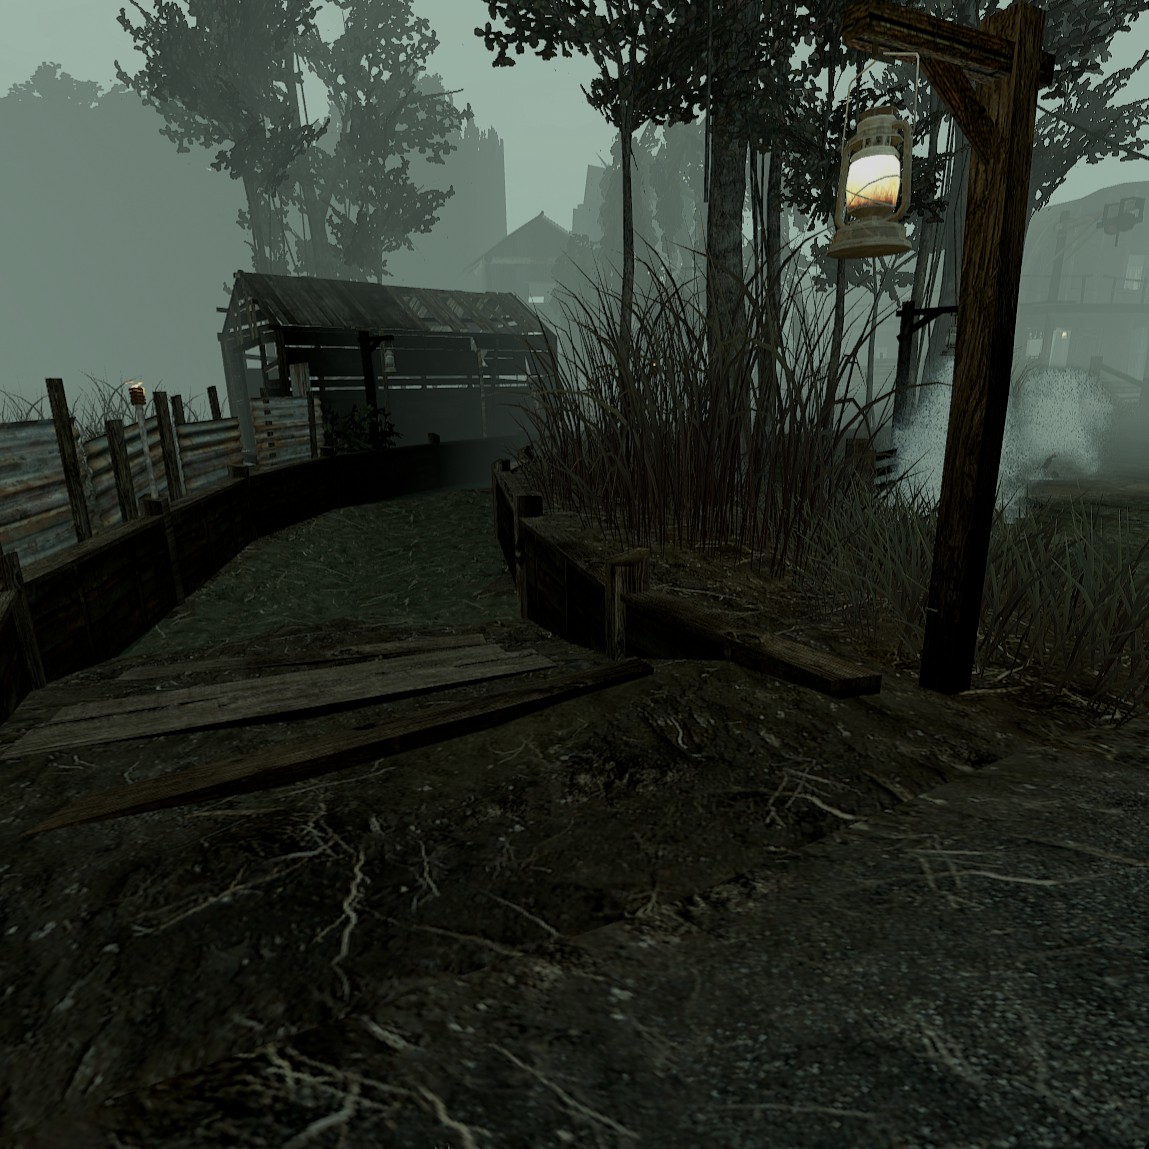
Go to the middle lane and hug the right hand side where the wooden ledge is. Continue walking along this until you end up on the raised section between the lanes. Immediately turn to face the way you came and gun down any zombies that followed you then you should be safe indefinitely.
Whilst you are there, zombies will not be able to find a path to you, and they will despawn.
To leave this safety zone, just walk to the edge of the raised area near the central hut and you will be able to hop off the edge.