
- 제목: 오메가 스트라이커
- 출시일:
- 개발자:
- 발행자:
Information about Omega Strikers is still incomplete. 이것을 사용하여 게임의 세부 정보를 입력할 수 있도록 도와주세요. 문의 양식.
A set of tips and tricks to help you play smarter, especially as a goalie
Things to know before we start
Whilst the game is far simpler compared to other MOBAs, there are of course different stats and interactions that are good to know about. This section will help you understand some of the official terminology, the systems, and some terminology I’m making up on the spot.
가장 먼저, you can find almost all the official terms in-game by clicking the little book in the top-left corner and scrolling down. 이것은 “Playbook” which explains most things briefly, but well. Giving the glossary a brief reading is very much recommended before continuing this guide.
The top bar has the basic glossary, and clicking on any striker will allow you to get to know their specific kit better.

Some new terminology
Every character is unique and has different ranges. I like to divide these ranges, or areas, into three categories.
Controlled area: The area that you can directly hit with your basic strike (M1), is uniquely always influenced by size.
Influenced area: The area that your abilities can reach.
Denied area: The area that one or more of your abilities has made inaccessible.
All three of these are always increasing and decreasing depending on if one’s abilities are on cooldown or not.
Shoving 그리고 Invading are two terms I made up for when someone is trying to push the ball through the Controlled area of an enemy. These two terms are not mutually exclusive.
- Shoving: When a player uses an ability to try to push the core through an enemy’s controlled area whilst that enemy’s basic strike is on cooldown or the enemy is stunned.
- Invading: When a player walks up to an enemy, so that their controlled areas overlap. An attempt at timing your basic strike right after your enemy’s to force the core through them.
Preparing to be a goalie
As a goalie your purpose is not only to keep the core away from your own goal, but also to keep the core away from your enemies. Every goalie work with these two basic principles, and which one each striker focuses on is what I like to call their Archetype. 이들은 Wardens 그리고 Backliners.
A Warden’s specialty is to deny and control area around the goal. Good examples for this kind of goalie are Dubu, Asher and Atlas. These three have poor movement options, but thrive on being larger in size, and using their abilties to directly obstruct the goal. Their area denial and large size make them great at handling both shoving 그리고 invading. However positioning is extremely important to them, since their influenced area is typically small.
A Backliner’s specialty is to rather keep the core as far away from the goal as possible and either buffing their team-mates or debuffing/obstructing their enemies. Examples of this kind of goalie are Luna, Era and Juno. These three have many long-range and large area abilities. They also have a decent movement option that let’s them rapidly re-postition themselves. Backliners are much more dependant on their abilities, and thus either range or cooldown-rate. Inverse to Wardens they have a much harder time if and enemy is attempting to shove 또는 invade.
There is another guide that explains trainings in more detail, so this part will be brief.
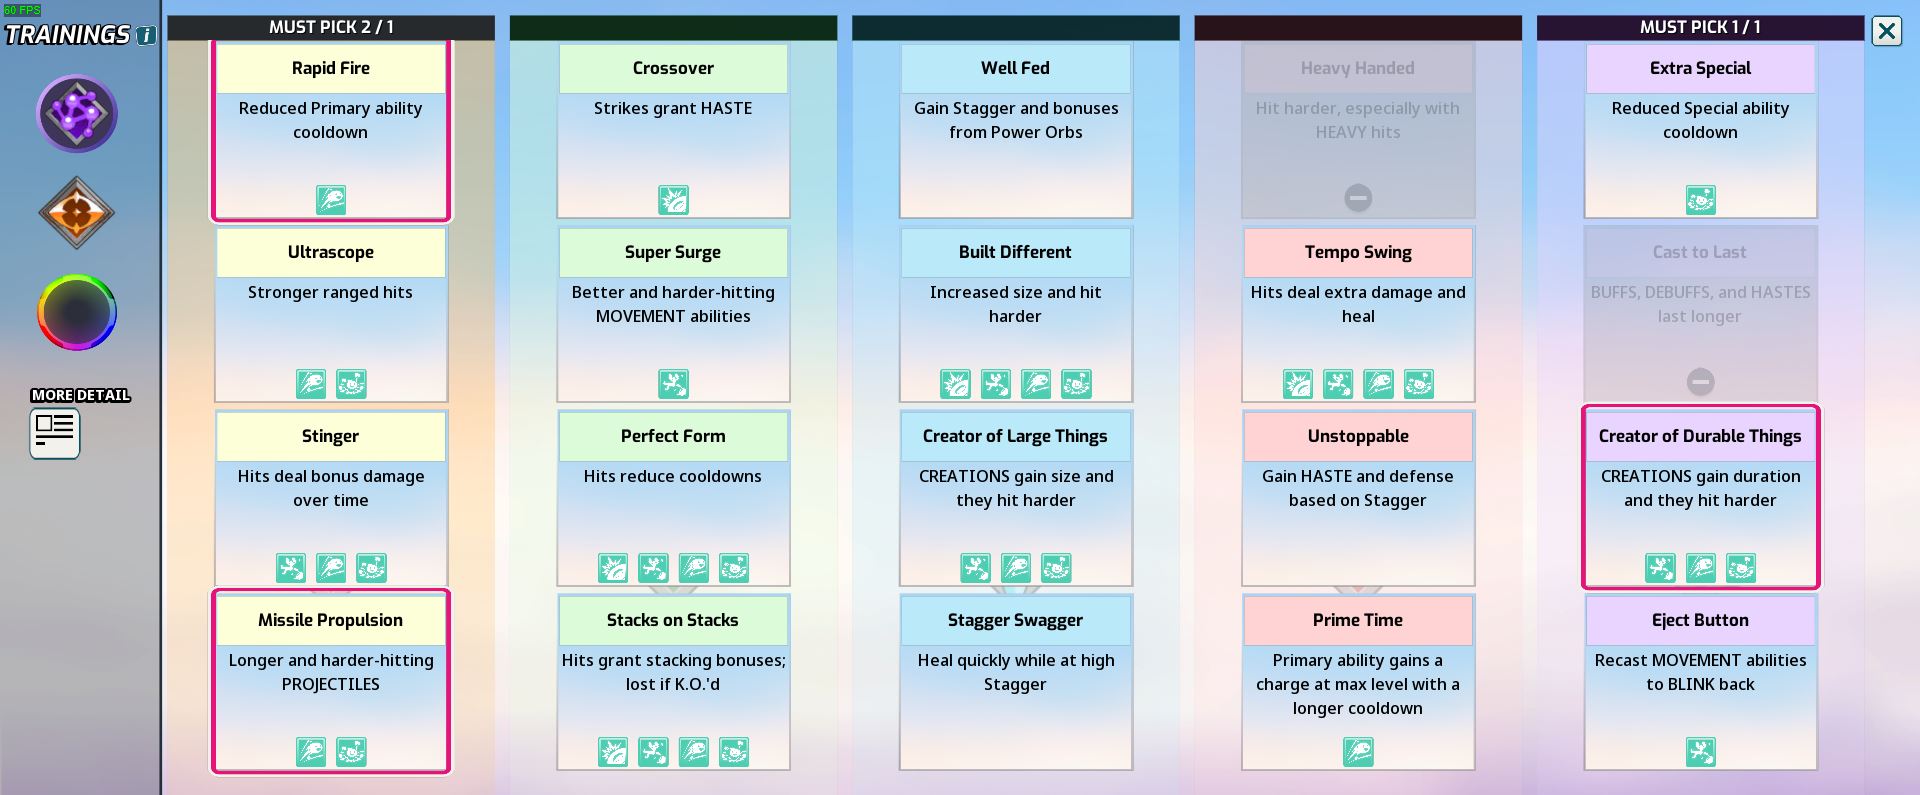
Trainings are small bonuses that you can select before the game which can greatly compliment your play-style. There are five categories of trainings, these being range (Yellow eye), haste/speed (green wing), stagger/defence (blue shield), power/attack (red fist) and ability (purple blobs). In trainings selection they are also in this order, 범위, 서두름, stagger, power and ability.
It is very important to know about these categories and know which ones your striker of choice has pre-set. Using Juno as an example, she has one set for ability, one set for range, and one open. You can see this for each individual striker in the playbook by clicking on the striker, and looking at the top of their page, just under their name. Do also try to remember the icons for each ability.
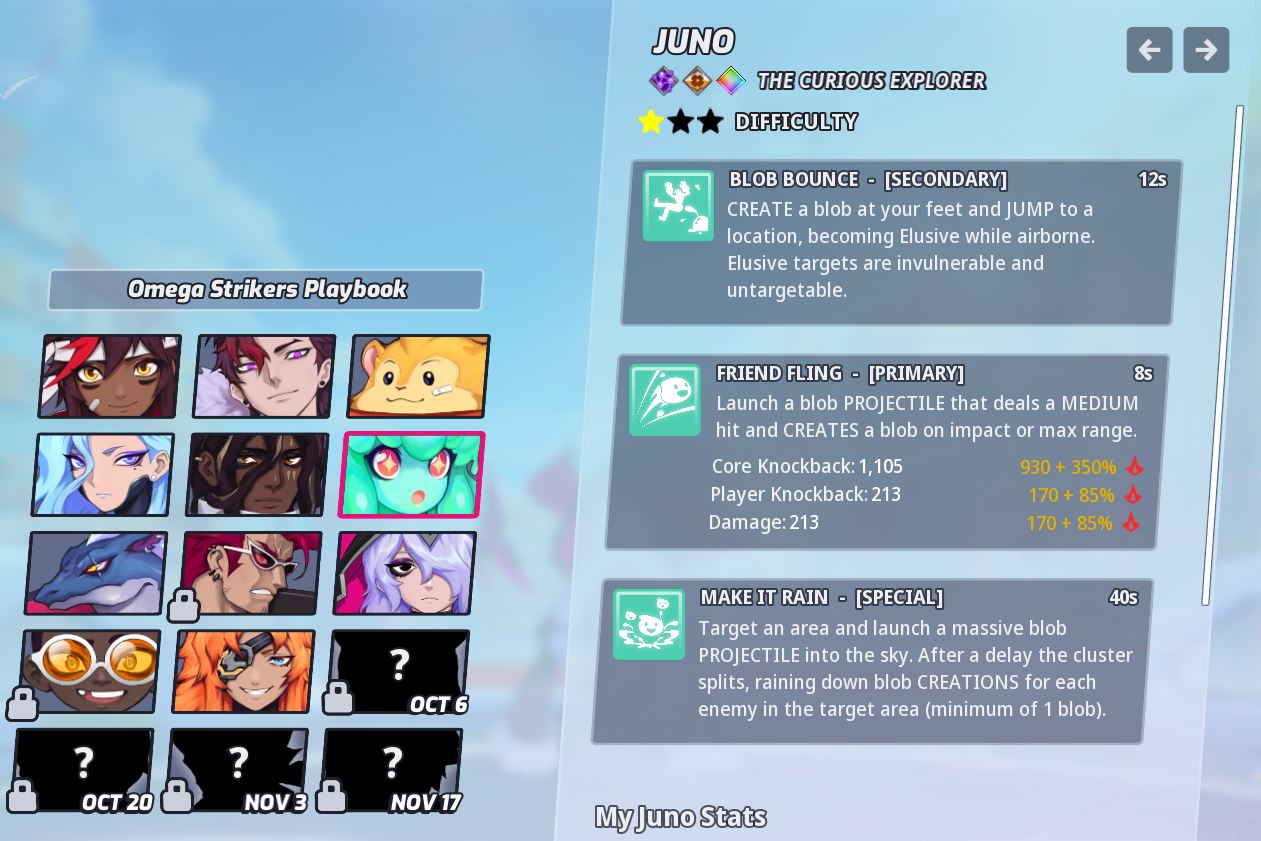
But the very most important part is understanding how and what trainings influence among your abilities. When selecting your tranings for your striker of choice you will also see some small icons which tells you if an ability is enhanced by the specific training. In this example Juno is selected. In the range category there is “missile propulsion”. By the icons we can tell it affects her primary and special abilities, but not her secondary. Looking at the keywords in Juno’s character page we can understand why. “Friend fling” 그리고 “비를 내리게 해라” has the keyword “발사체” in them, so missile propulsion will increase the range of these abilities. Whilst her secondary leaves a blob behind, it does not count as a projectile, and is not affected.
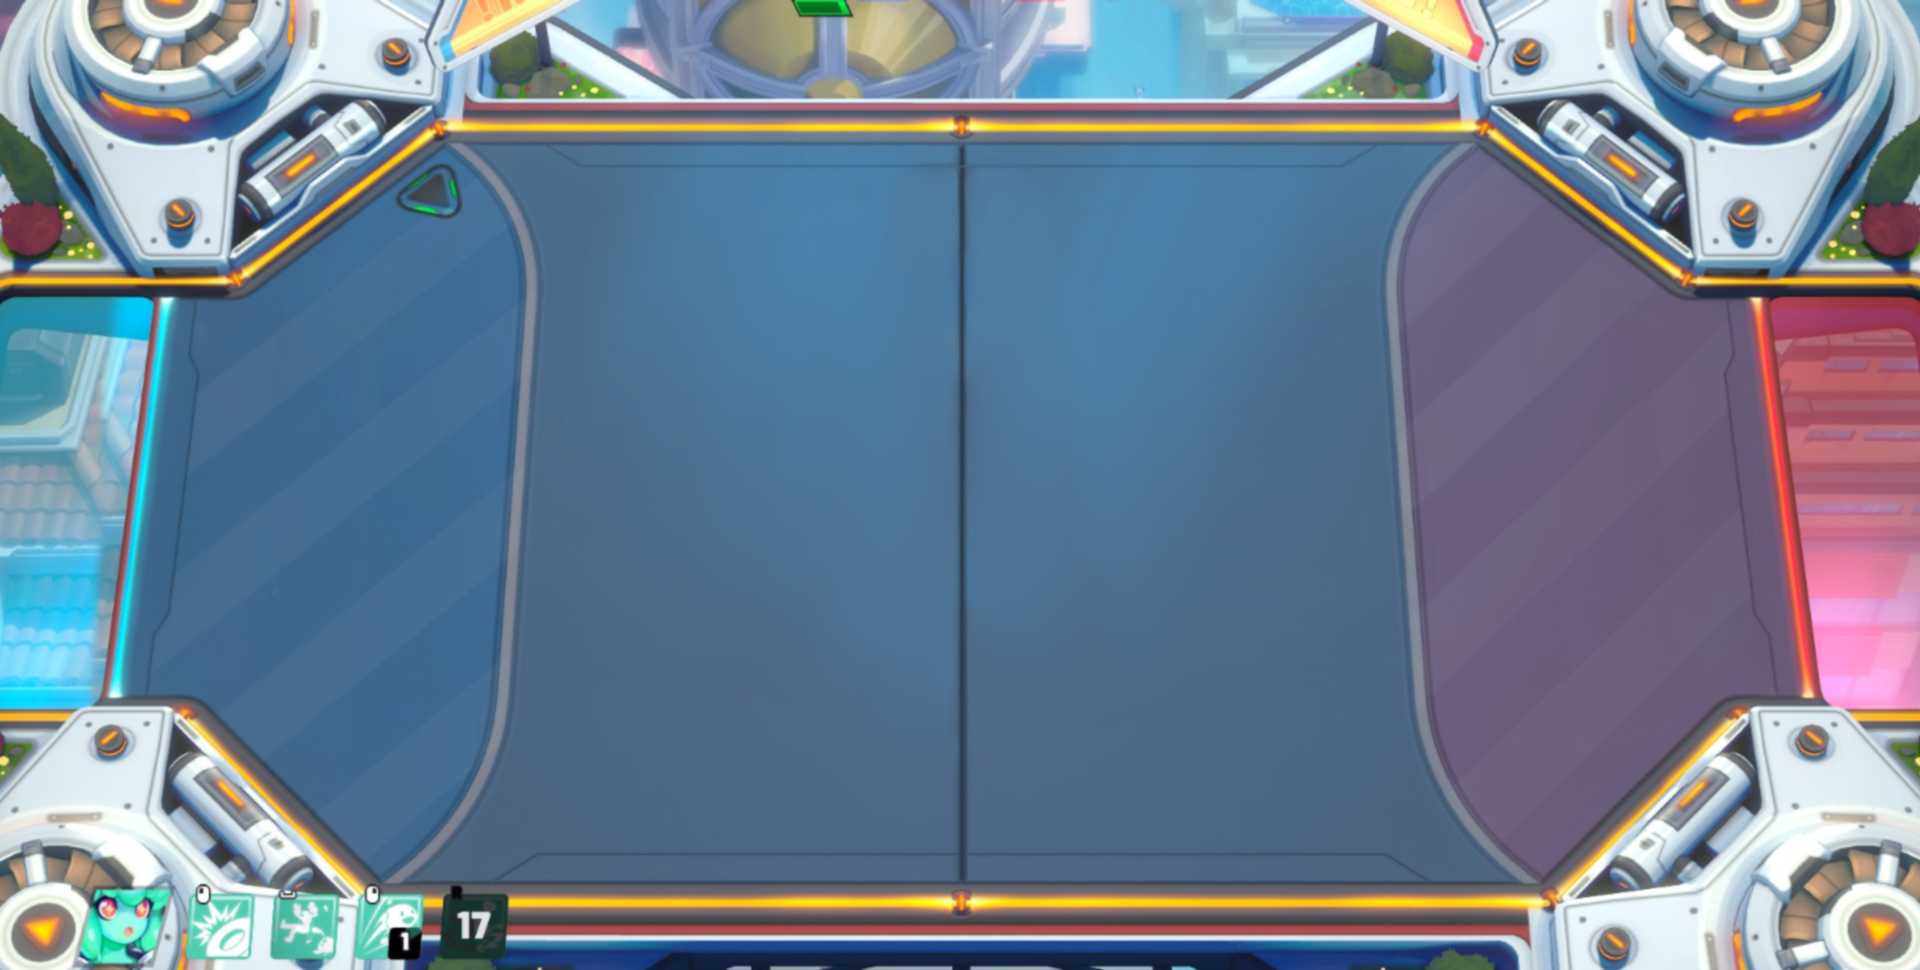
Your place in the arena
Now to understand your place in the arena. This does of course depend on which archetype your striker of choice falls into, but it is generally the same.
- For all goalies you generally want to be within the goal arc, but not in the area your goal gates fill. Hugging the back of the goal makes you extremely vulnerable to getting knocked out, whilst being outside the goal arc makes it very hard to intercept the core.
- Just to make it clear, as long as your basic strike hits the core, the core will go in the direction your mouse is no matter where in your controlled area it is hit. Keep your mouse on the right side of the screen as much as possible.
- Try to avoid passing the core to any enemies. The highest priority, regardless of archetype is not letting the enemy get close.
- It is often good to make the core bounce of the side of the arena in order to get as much distance from the goal, whilst making sure the enemies cannot reach the core.
- Whilst passing the core to a team-mate is great, make sure it is safe. If there is an enemy between you and the teammate, don’t risk passing it to them. If there is an enemy behind your teammate, it is better to shoot it up-field rather than risking the enemy just shoving the core back at you.
- At the top of your screen, on the right side of the score-counter you can see how long until your teammates respawn. They always respawn in the same spot, on the top-side of your goal arc. Account for that when deciding where to send the ball.
- Don’t neglect orbs. Orbs can spawn in one of two spots in your goal arc. Any downtime you have can be used to get them and level up.
Wardens are hefty enough to throw their weight around, here are some tips to do that.
- As a warden you will want to keep close to your goal, and almost exclusively inside your goal arc. Typically you will have a massive stagger bar, so you will be fine keeping towards the back of the goal arc. But since you won’t have too much range and little to no extra mobility, you don’t have much incentive to be too far forwards either.
- Use your area denial pre-emptively to not trap the core within your goal arc. If you are large in size you have the advantage when someone is invading you, but still try to divert the core away from them.
- If a super aggressive player tries to walk up to you and bully you, you should be largely fine but do try to stay away from edges still. Feel free to use your area denial if the core is on the other side of the arena. Position at your own discretion in relation to them. Be very weary of potentially being stunned however.
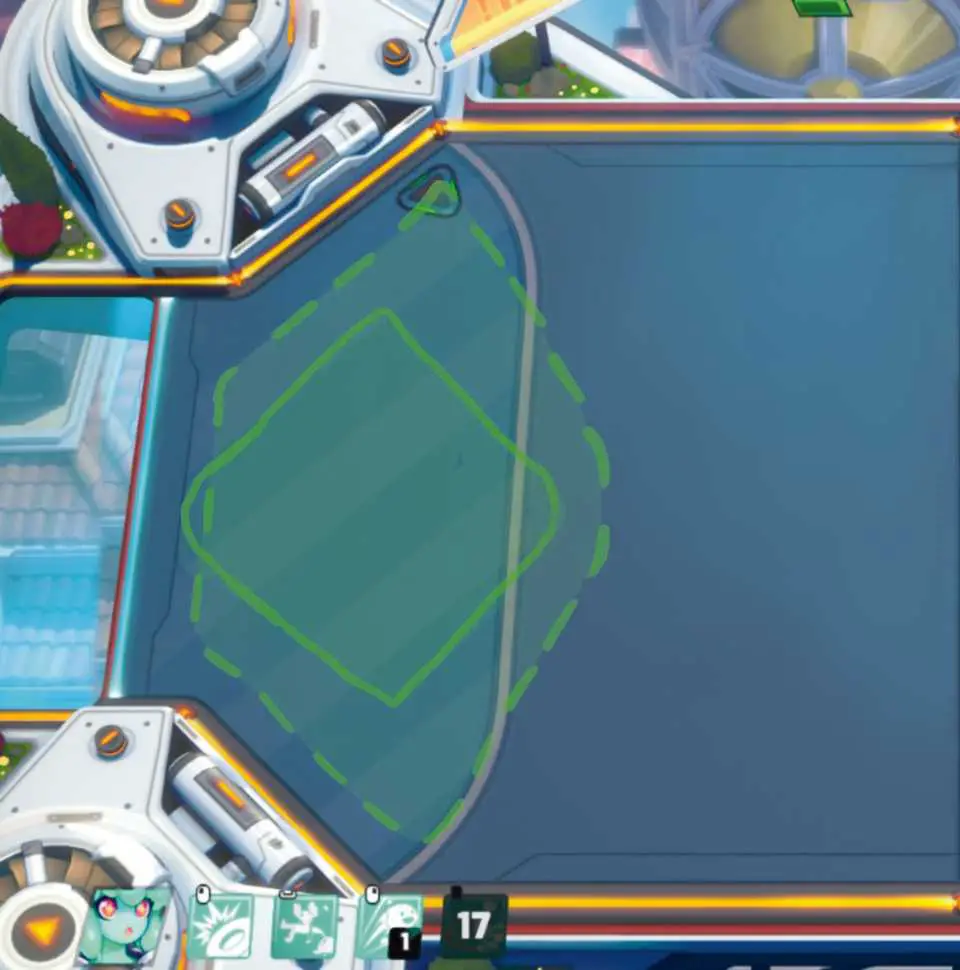
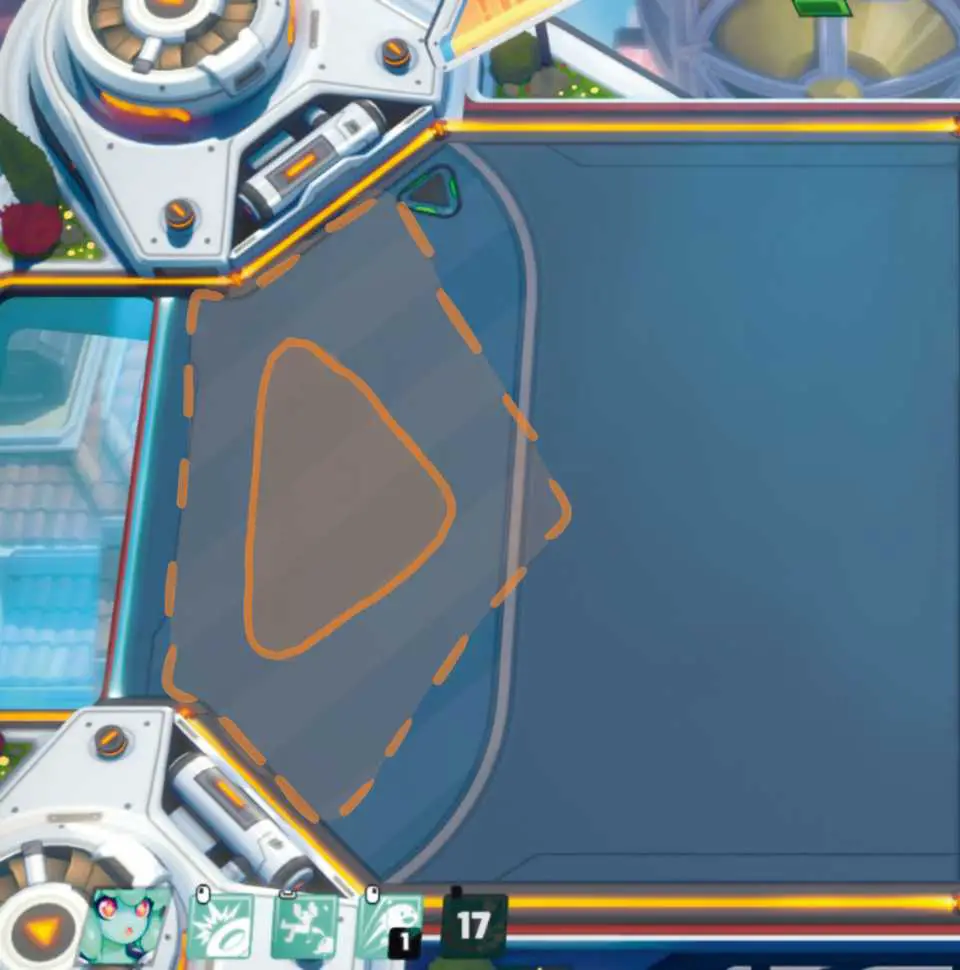
Here is a recommendation for which areas you should keep to as a warden goalie. Solid outline is the ideal area, whilst the dashed area is alright. This is by no means a strict rule, just a recommendation out of my experience.
- Backliners can influence the field from very far away, here are some tips to do that.
- As a backliner you will want to stay a little further forwards in your goal arc, and rarely going outside. You are in all likely hood very squishy, making the edges even more dangerous for you, so stay away.
- Your long range is your bread and butter, so utilize it. As long as you can disrupt the enemy or aid your allies having just one of your abilities on cooldown isn’t that much of a big deal.
- You are very vulnerable to invading and shoving, so keeping the core at the other side of the arena is in your best interest.
- From time to time a super aggressive player will just walk up to you and bully you, and depending on which striker you are there isn’t much you can do. Try to hit them whilst keeping focus on positioning further forwards than them. Then pray that your teammates will come help you.
Here is a recommendation for which areas you should keep to as a backliner goalie. Solid outline is the ideal area, whilst the dashed area is alright. This is by no means a strict rule, just a recommendation out of my experience.