
- 제목: 오메가 스트라이커
- 출시일:
- 개발자:
- 발행자:
Information about Omega Strikers is still incomplete. 이것을 사용하여 게임의 세부 정보를 입력할 수 있도록 도와주세요. 문의 양식.
이 가이드에서는, 게임 패드 구성에 대해 논의 할 것입니다 + 마우스 설정. 트리거 버튼을 설정하는 동안 어려움을 겪은 경우, 이 안내서가 도움이 될 것입니다.
Objective Overview
The objective of this guide is to provide you with the necessary steps to play Omega Strikers using a combination of Gamepad and Mouse.
이 안내서를 따르면, you will be able to utilize your gamepad for character movement and casting primary and secondary abilities. 추가적으로, your mouse will be used for targeting abilities, canceling actions, and performing special and normal strikes.
While you are free to use your own layout, we will provide an example layout that covers various types of gamepad buttons, including normal buttons, triggers, and sticks.
이 안내서의 목적을 위해, an 8bitdo controller and a Logitech G502 mouse will be used as examples. 하지만, please note that any controller and mouse should work effectively.
If you have encountered issues specifically related to configuring the trigger buttons, please follow these steps:
- Controller Support
- Triggers
- To address the problem, remove all commands assigned to the desired trigger and reassign them. This should resolve the issue you are facing.
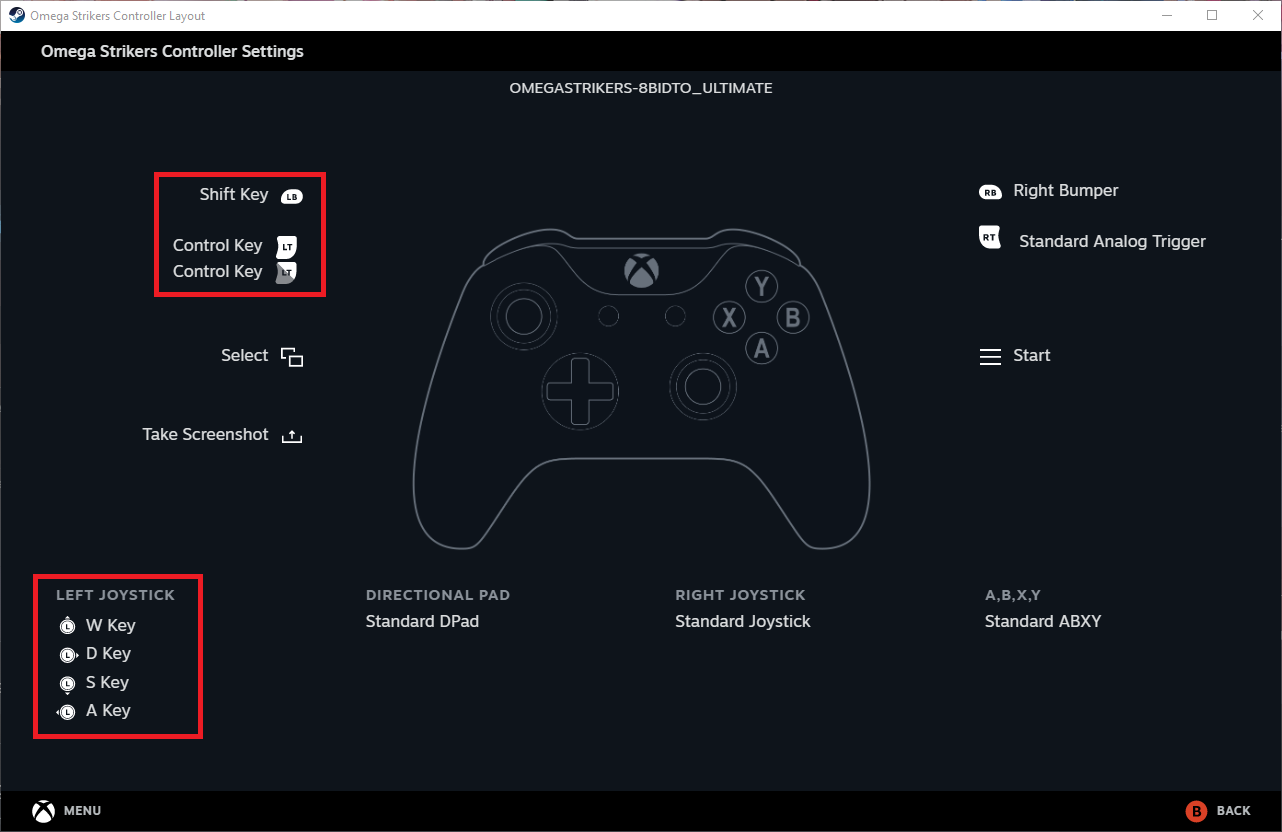
My Layout
앞서 언급했듯이, you have the flexibility to use your own layout. 하지만, for the purpose of this guide, a simple layout will be presented as an example:
On the gamepad:
- Use the left stick for character movement (mapped to WASD keyboard keys)
- L1 button – Secondary ability (mapped to the SHIFT keyboard key)
- L2 button – Primary ability (mapped to the CONTROL keyboard key)
On the mouse:
- 왼쪽 클릭 – 스트라이크
- 마우스 오른쪽 버튼을 클릭하세요. – Evade/Core flip
- Middle click – Ability cancel
- Left button 1 – 특별한
- Left button 2 – Ability cancel
Please note that these configurations are provided as examples and can be customized according to your preferences.
In-game settings
이 섹션에서는, we will utilize Steam Controller Support to map your gamepad to specific keyboard keys.
Within the game, navigate to Settings > CONTROL. If you solely play using a gamepad, it is important to map the desired keys for your mouse, as keyboard mapping is not necessary. I recommend using the WASD keys instead of the MOBA layout.
내 경우에는, I have mapped the following configurations:
- Core Strike: Mapped to the left mouse button.
- Evade/Core flip: Mapped to the right mouse button.
- Special Ability: Mapped to the left mouse button 1.
- Ability Cancel: Mapped to the middle mouse button and left mouse button 2.
- Primary Ability: Mapped to the left control key.
- Secondary Ability: Mapped to the left shift key.
뿐만 아니라, in the game’s Settings > GAMEPAD section, it is advised to remove all keybinds. Please note that it is not mandatory to remove all keybinds, but it is crucial to be cautious. Bumping into any gamepad key that is not mapped to a corresponding keyboard key via Steam Controller Support may result in unresponsive behavior from your gamepad while playing the game.
Steam Controller Support Settings
Open the Controller Support
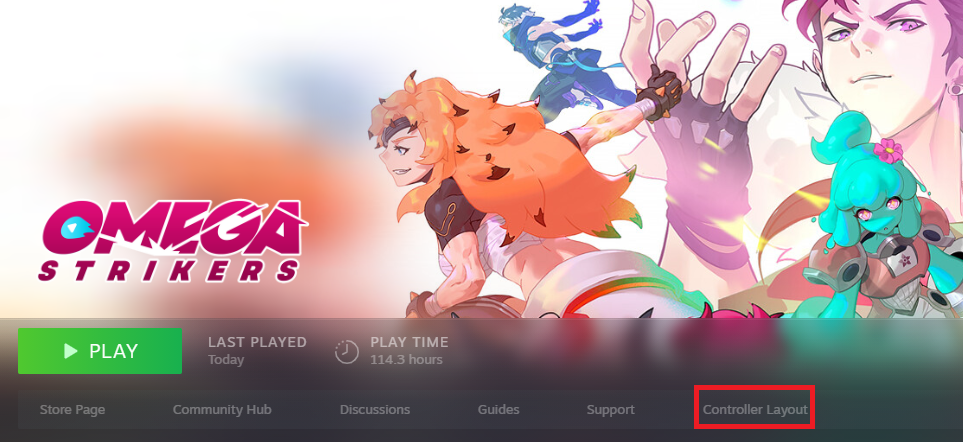
On your Steam library, go to Omega Strikers and click on Controller Support
Make sure your gamepad is connected to your pc otherwise Controller Support should not be visible on your Steam library.
Click on Edit Layout

Button Mapping:
To map a button, simply click on the desired button and select the keys you want to assign to it. 예를 들어, you can map the L1 button to the Left Shift keyboard key.
Stick Mapping:
To map the directions of your stick, choose the desired keyboard keys for each direction. 예를 들어, you can map the stick directions to WASD.
Trigger Mapping:
There is a known bug with trigger mapping. If you don’t reset the trigger mapping in Steam or Omega Strikers, the game will still recognize the button press as an in-game command, causing unresponsive behavior from your gamepad after pressing the trigger in Omega Strikers. To resolve this issue, 다음 단계를 따르세요:
- On the desired stick, map the hard and soft press according to your preferences.
- Click on the gear icon for the desired stick and remove all commands.
- 다시 한 번, map the hard and soft press on the desired stick as desired. This should resolve the bug.
이러한 변경을 수행한 후, remember to close the Controller Support. You can also save your settings and load them on other gamepads if needed.