- 제목: 문스톤 아일랜드
- 출시일:
- 개발자:
- 발행자:
Information about Moonstone Island is still incomplete. 이것을 사용하여 게임의 세부 정보를 입력할 수 있도록 도와주세요. 문의 양식.
This guide will be showing you the steps on how to create and play the best poison deck in Moonstone Island.
What can this deck do?
If you put it together just right, this deck should be able to beat anything, even the toughest boss. 이상적으로는, when it’s your turn to play, it won’t stop until you’ve completely defeated your opponents. When you’re facing multiple enemies, it’s not a perfect never-ending cycle, but you’ll have plenty of energy to finish the fight without any problems. But if you’re up against just one enemy, this deck turns into a real never-ending combo, and you can pile up poison as much as you want.
I wanted to find out if there’s a limit to how much poison you can stack. I can confirm that the cap isn’t 9999.
Team Composition
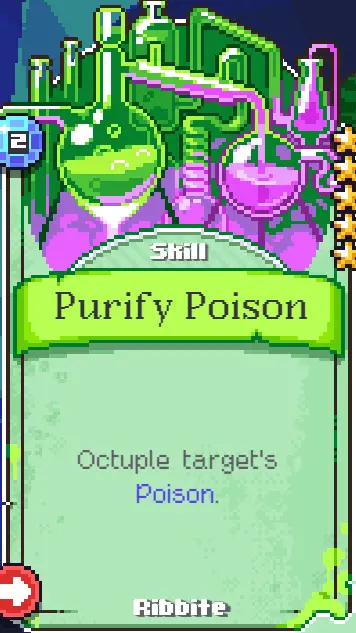
The MVP: Ribbite
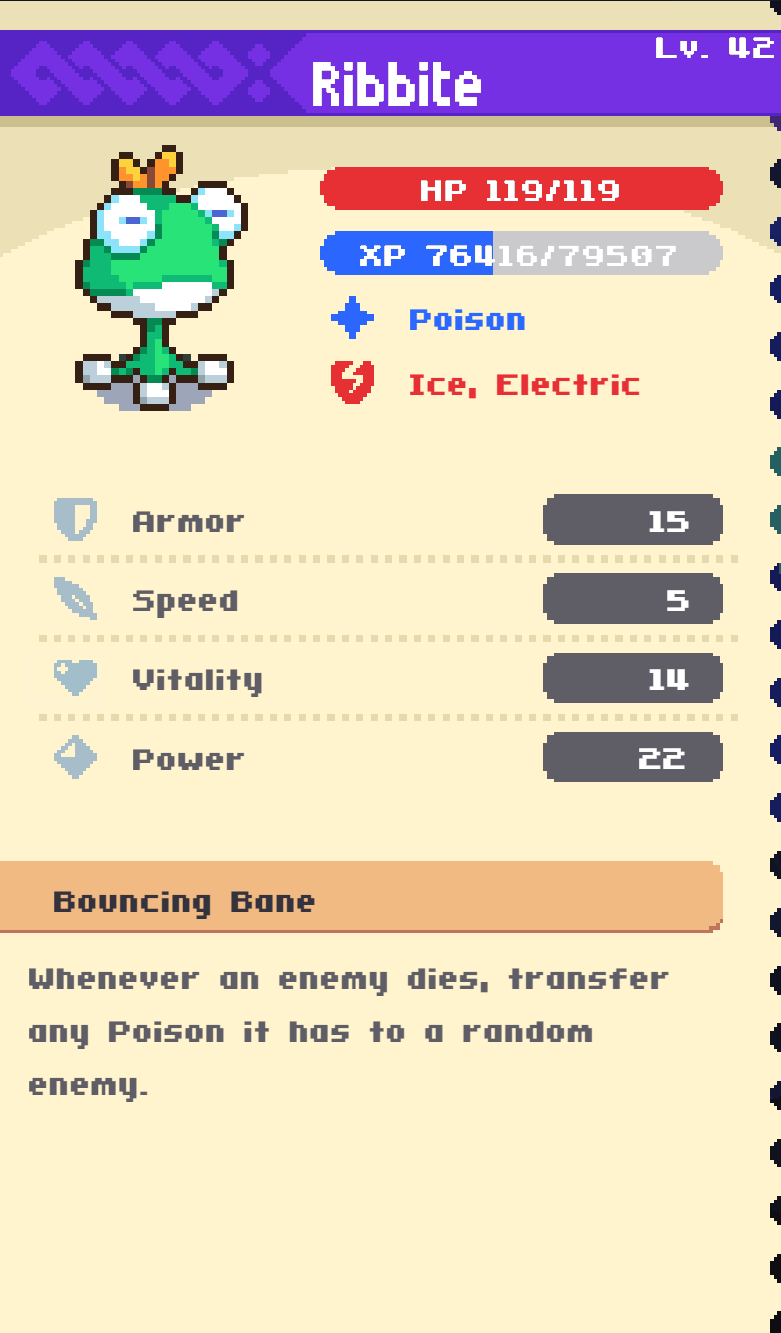
This little guy Ribbite is the star of the show and a must-have on your team. His Bouncing Bane ability helps you clear the board faster and more consistently, which is super handy if you have bad luck with your card draws and need to set up your poison strategy.
지금, a note about Bouncing Bane: Even though it says “무작위의” in the ability description, I’ve discovered that it actually follows a specific order when triggered. It first affects the first enemy, then the third, and finally the middle one. This detail is crucial, and I’ll explain why in the playstyle section.
Stat Priorities:
You should aim to get your power to a level you feel comfortable with. You can choose to ignore power and focus on survivability, but it will take longer to build up poison to defeat your foes. I got my power to 22 and then started investing in armor and vitality. Both of these stats are important. 기억하다, poison bypasses armor, so you don’t need to worry about speed.
Ribbite’s Cards:
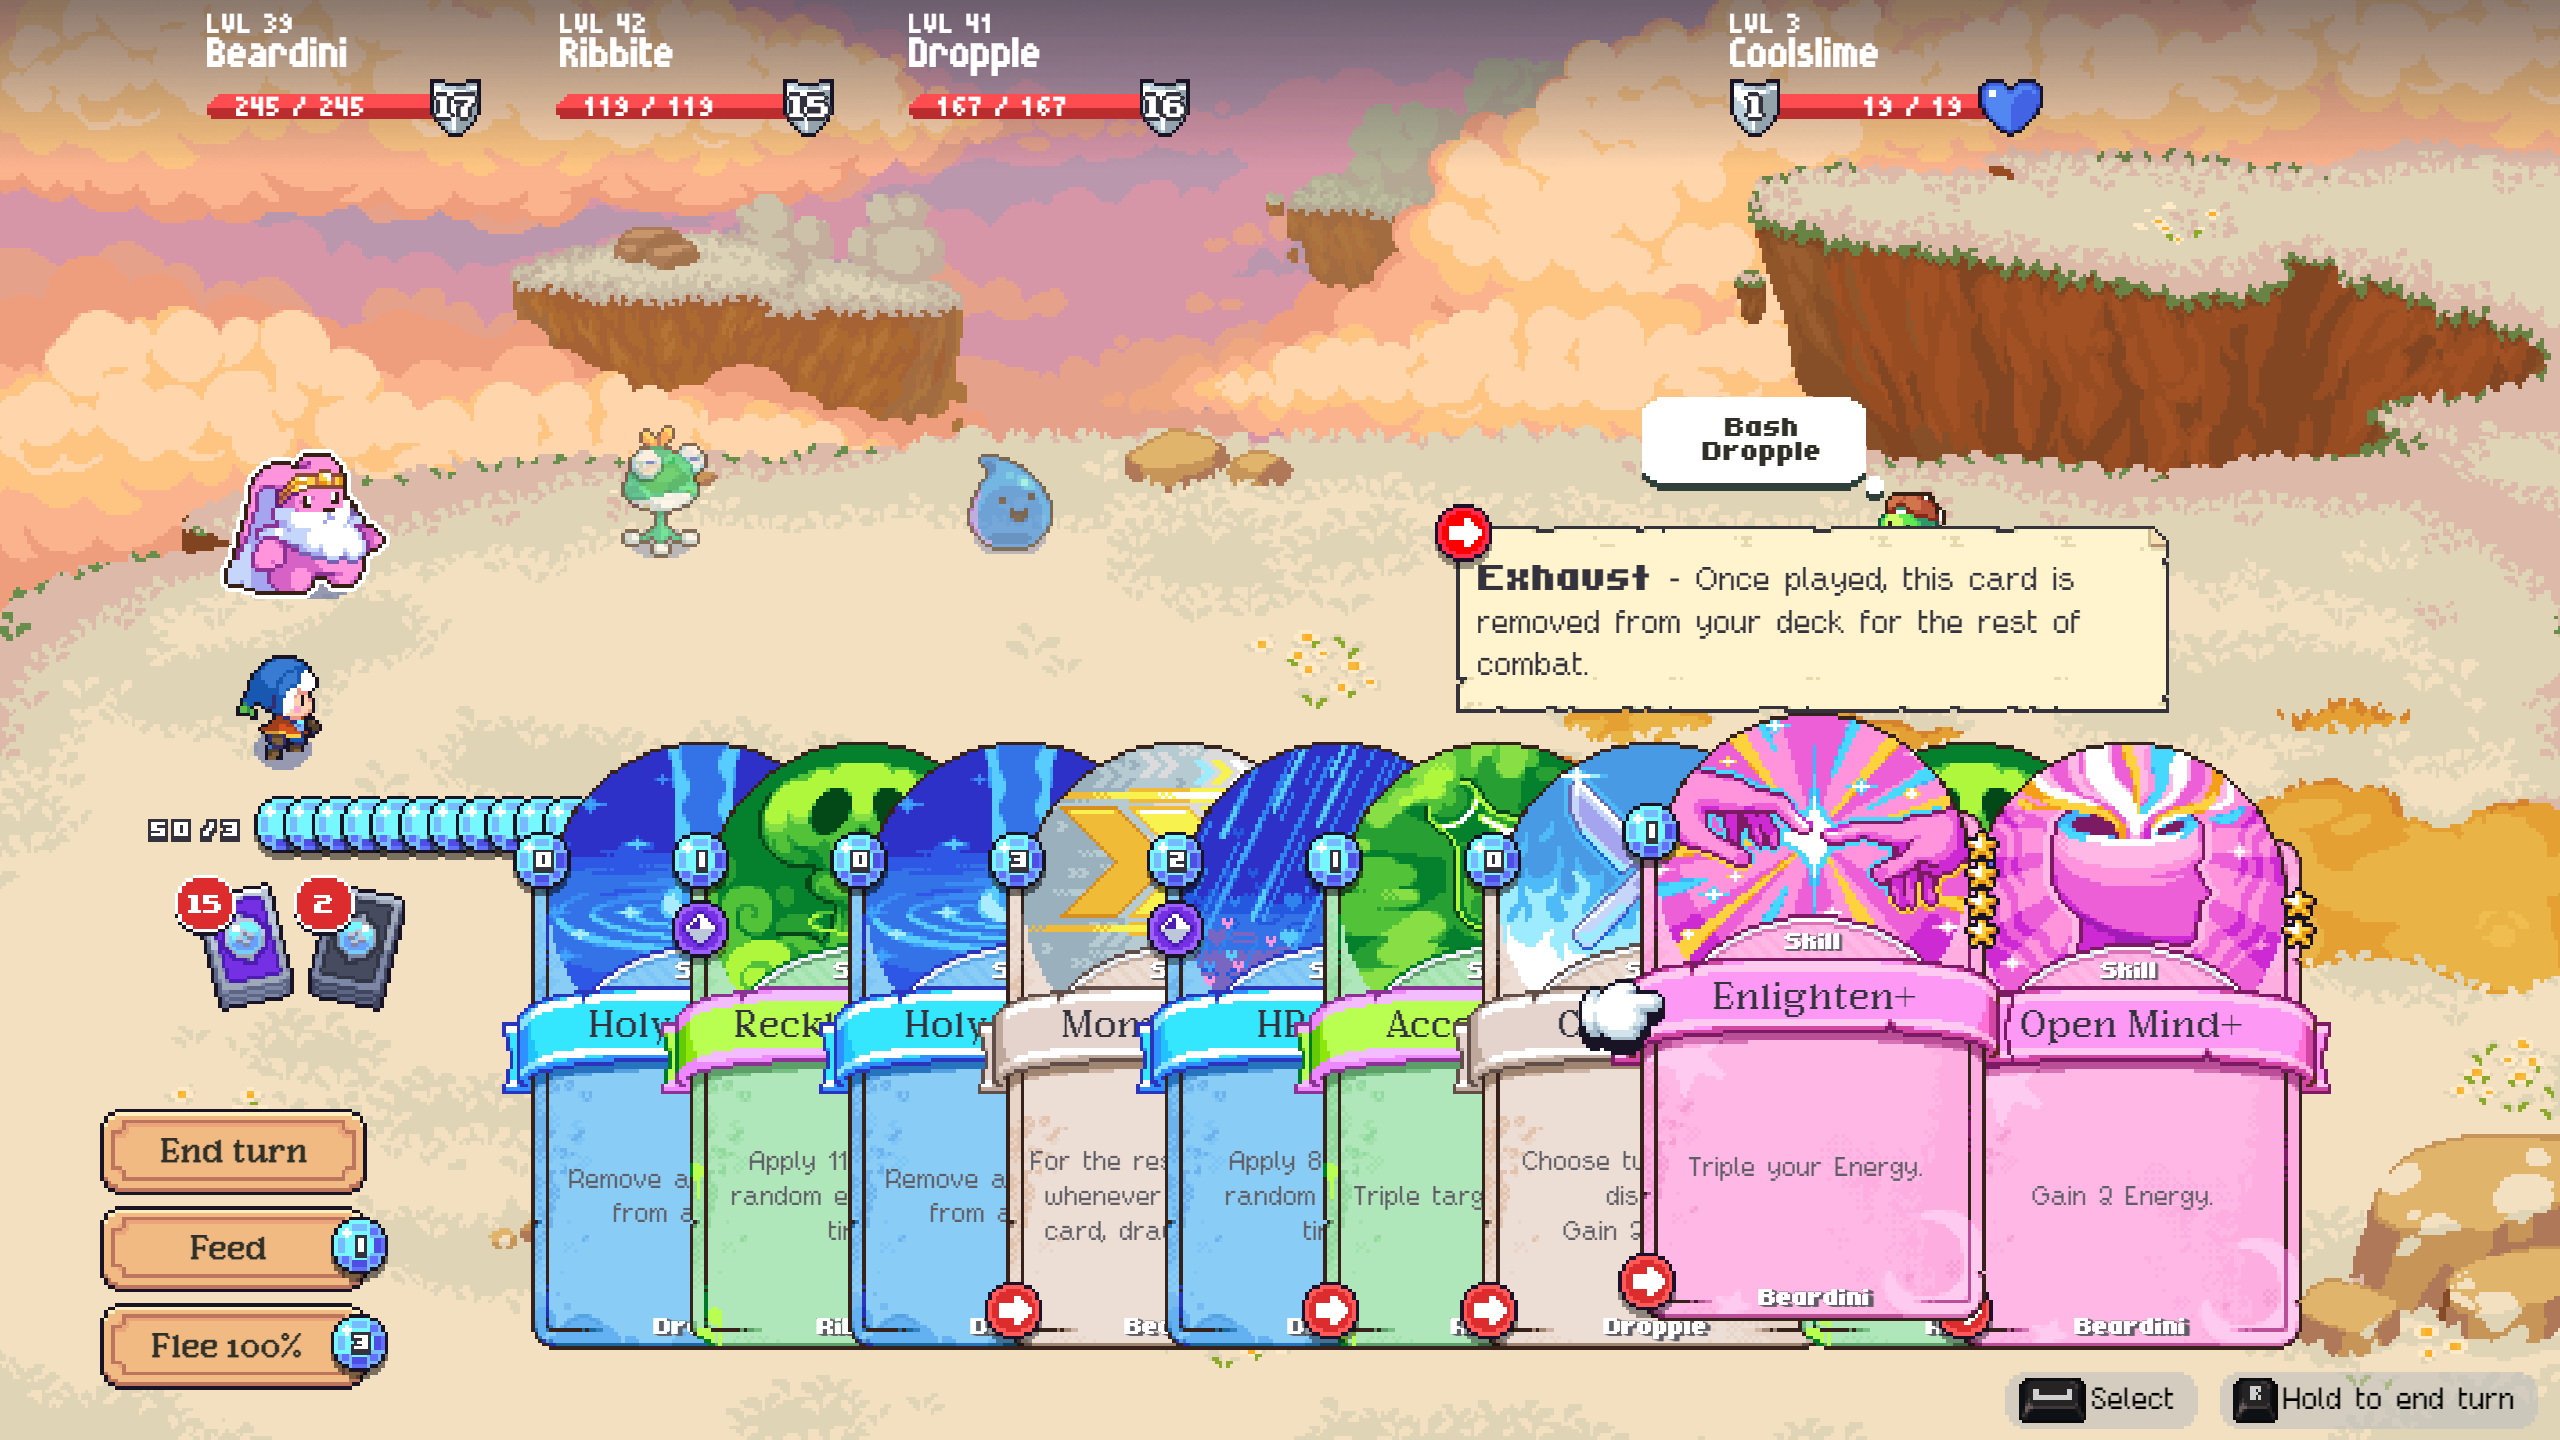
- Accelerant+: This card speeds up your deck and, when upgraded, can triple the poison on an enemy.
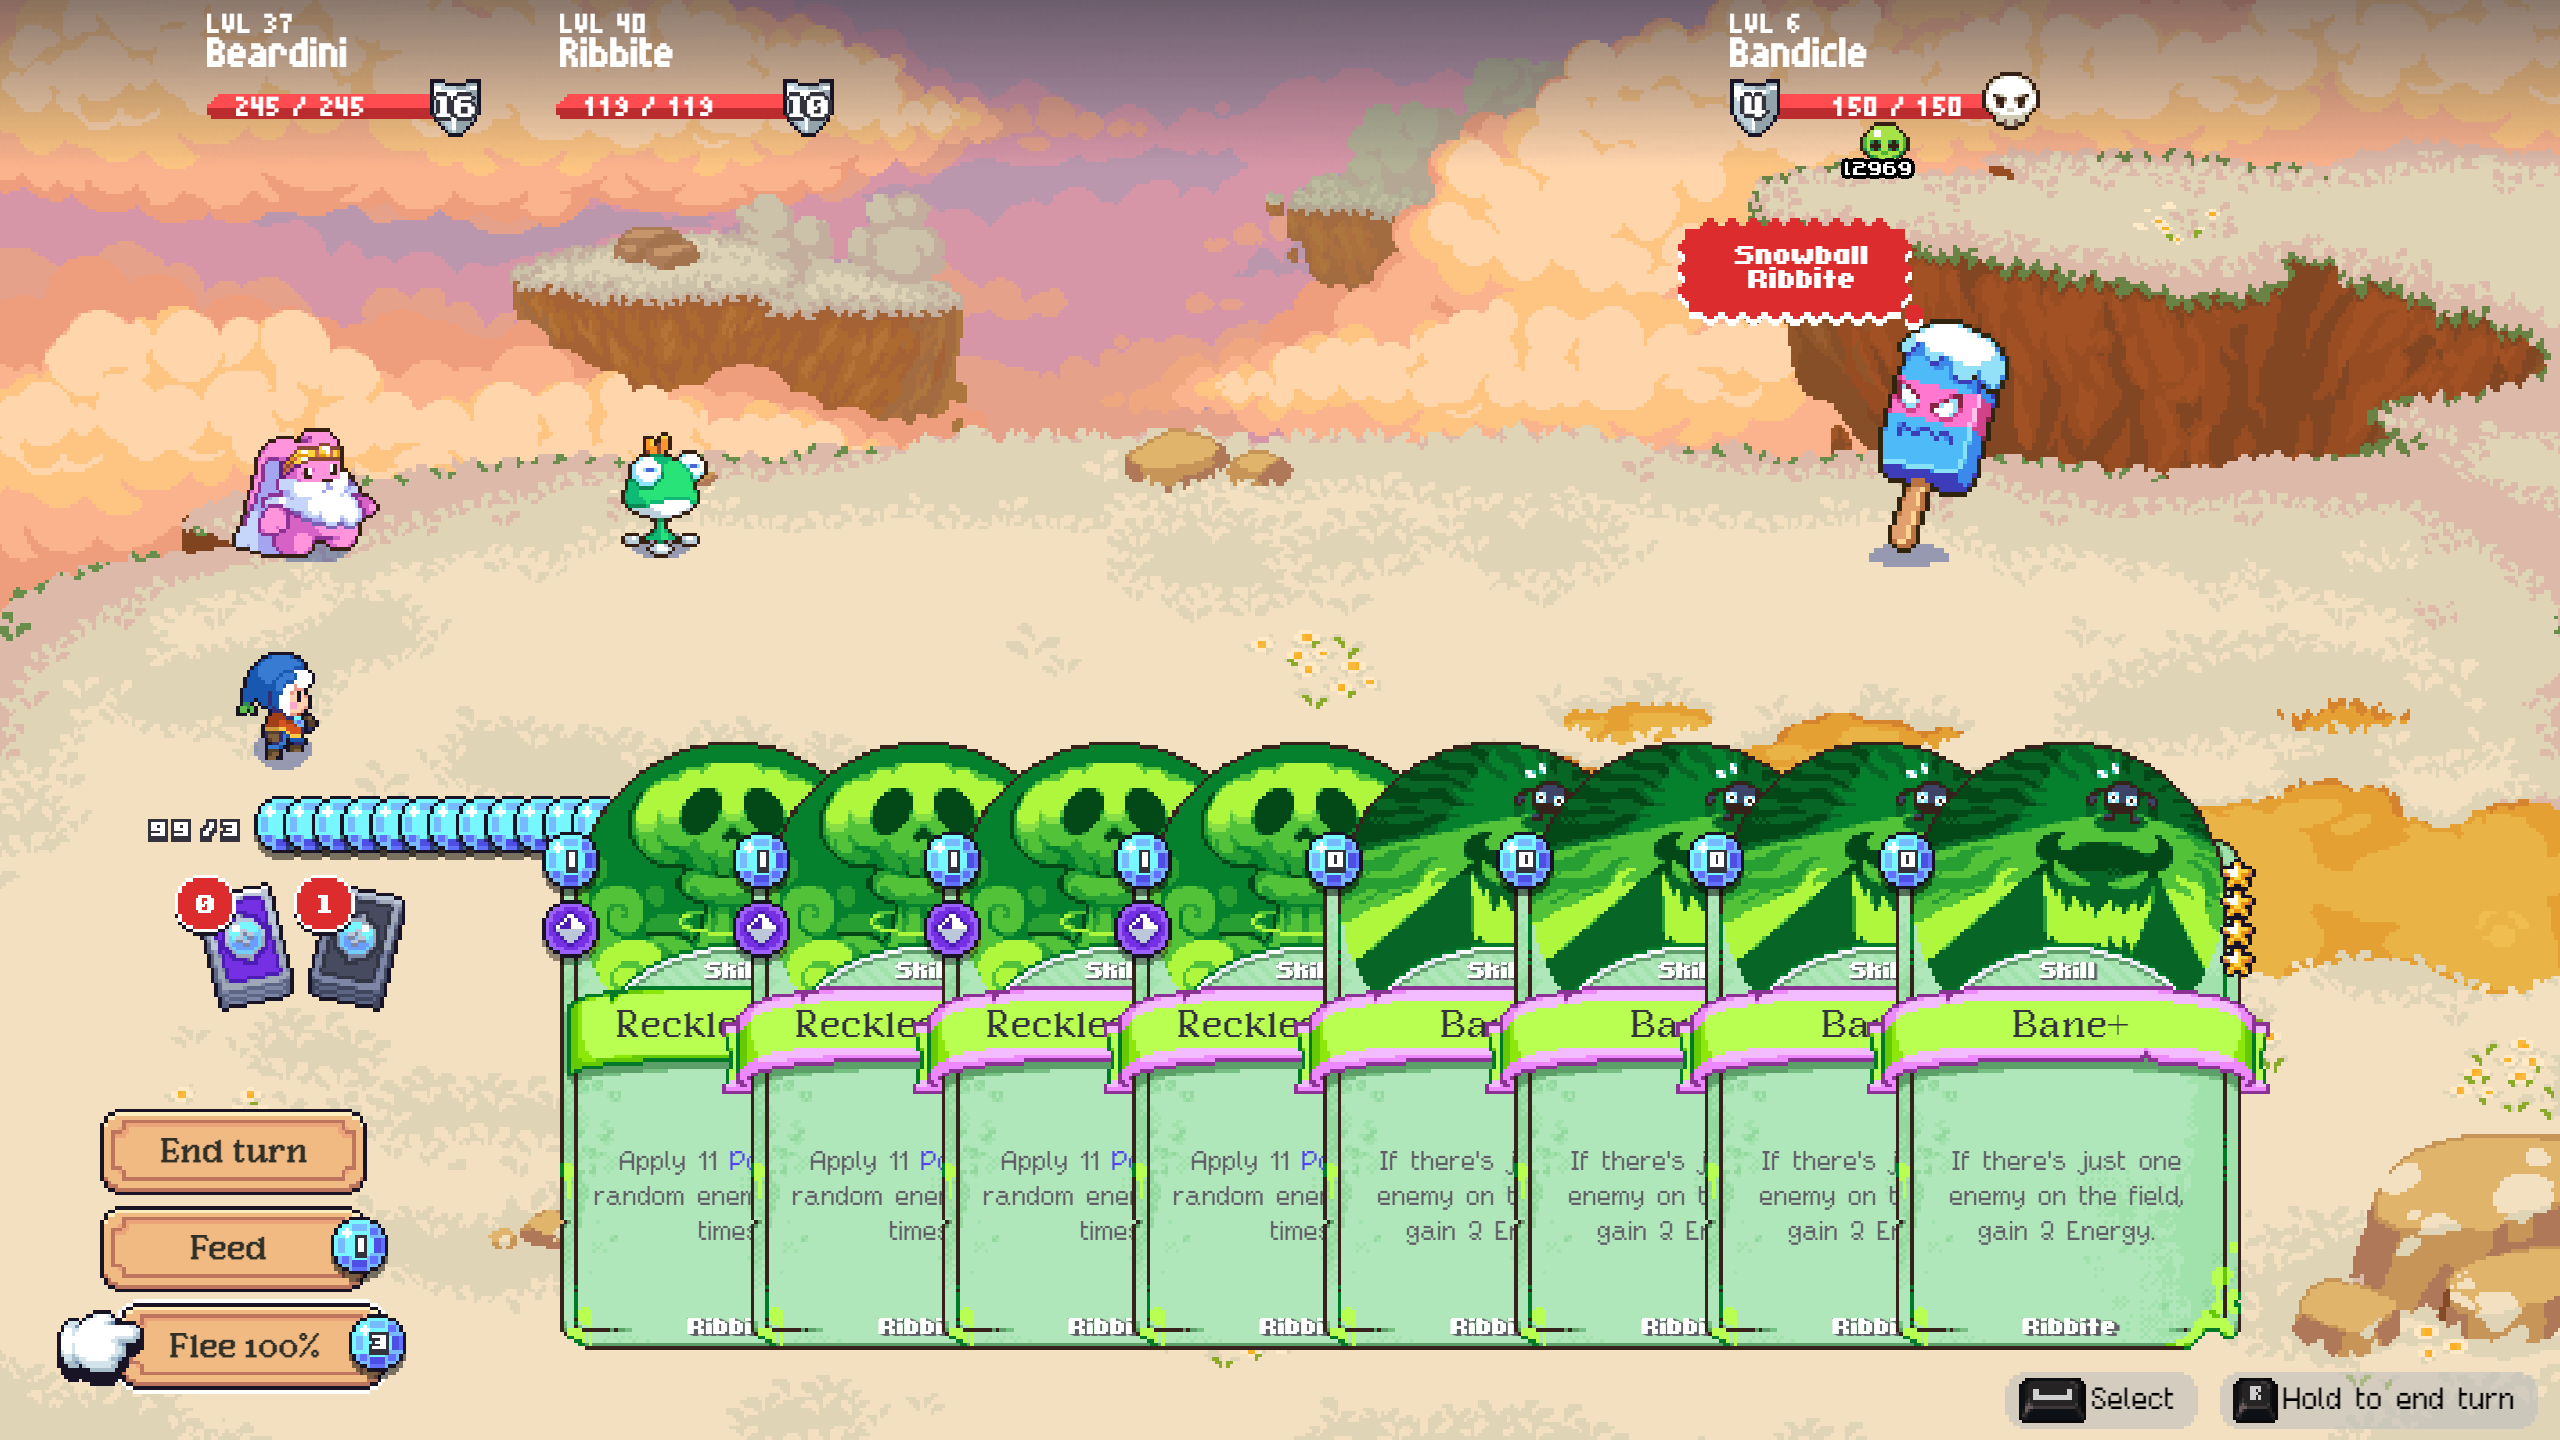
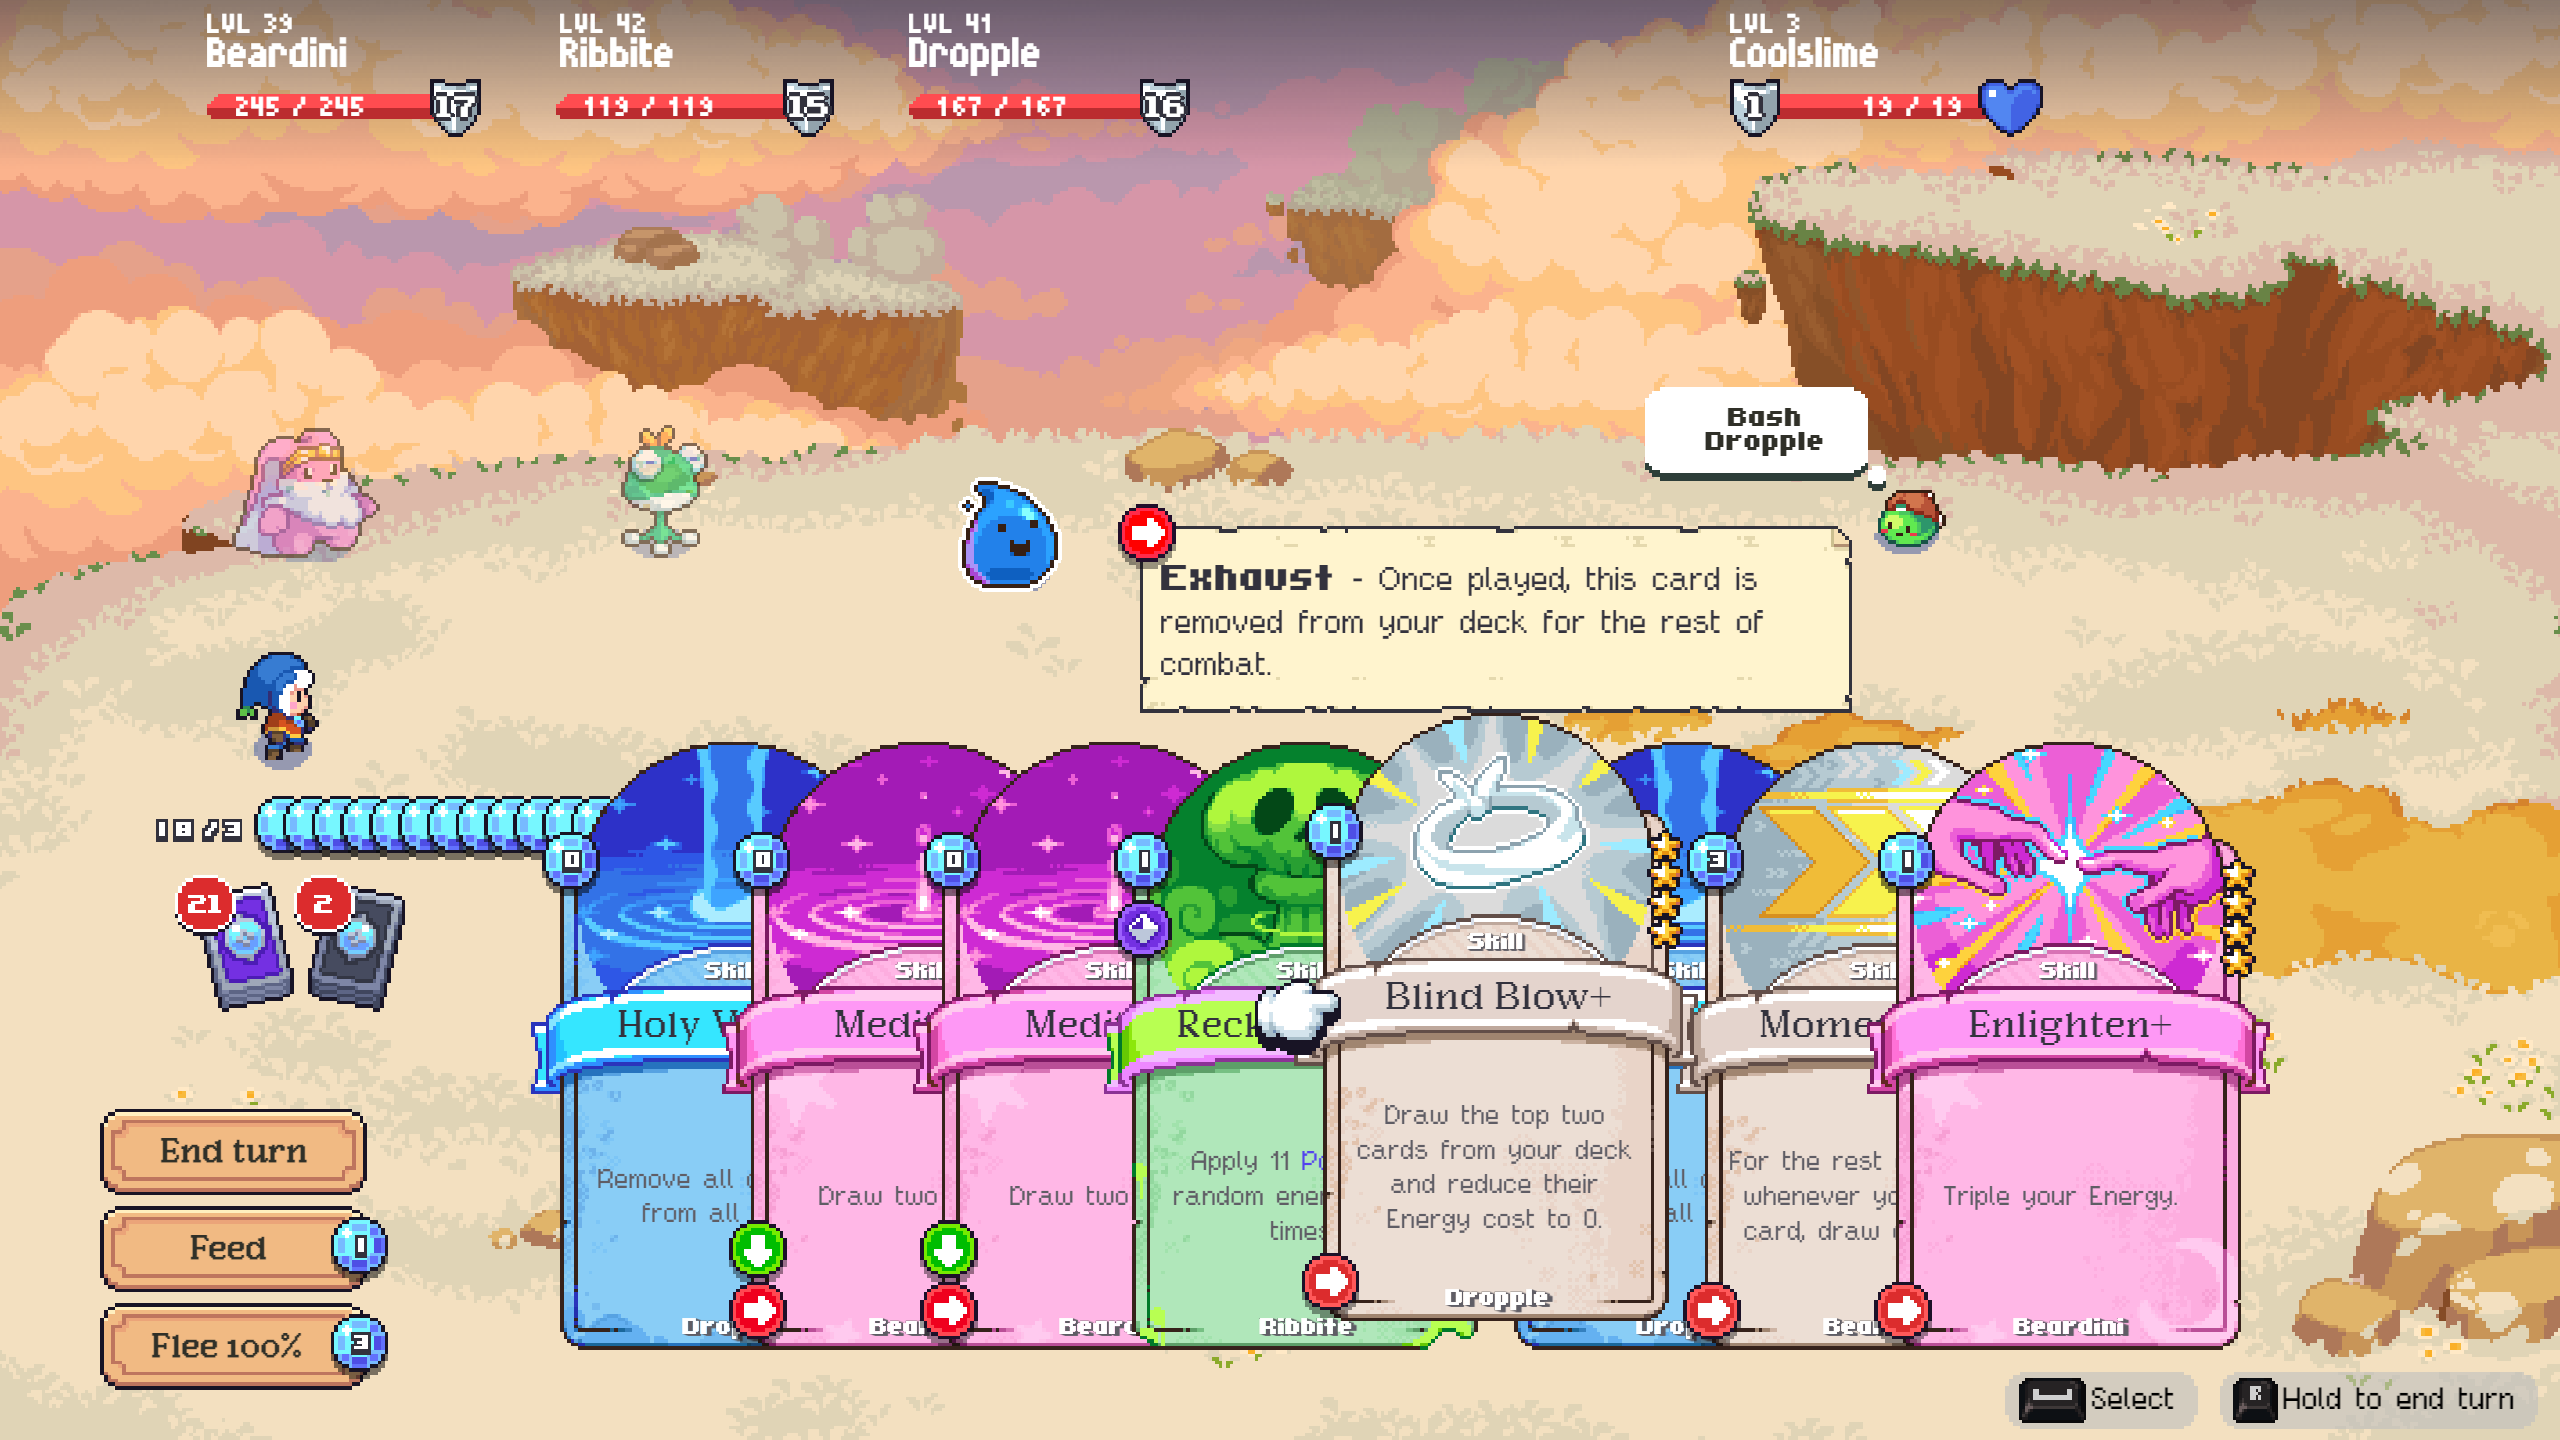
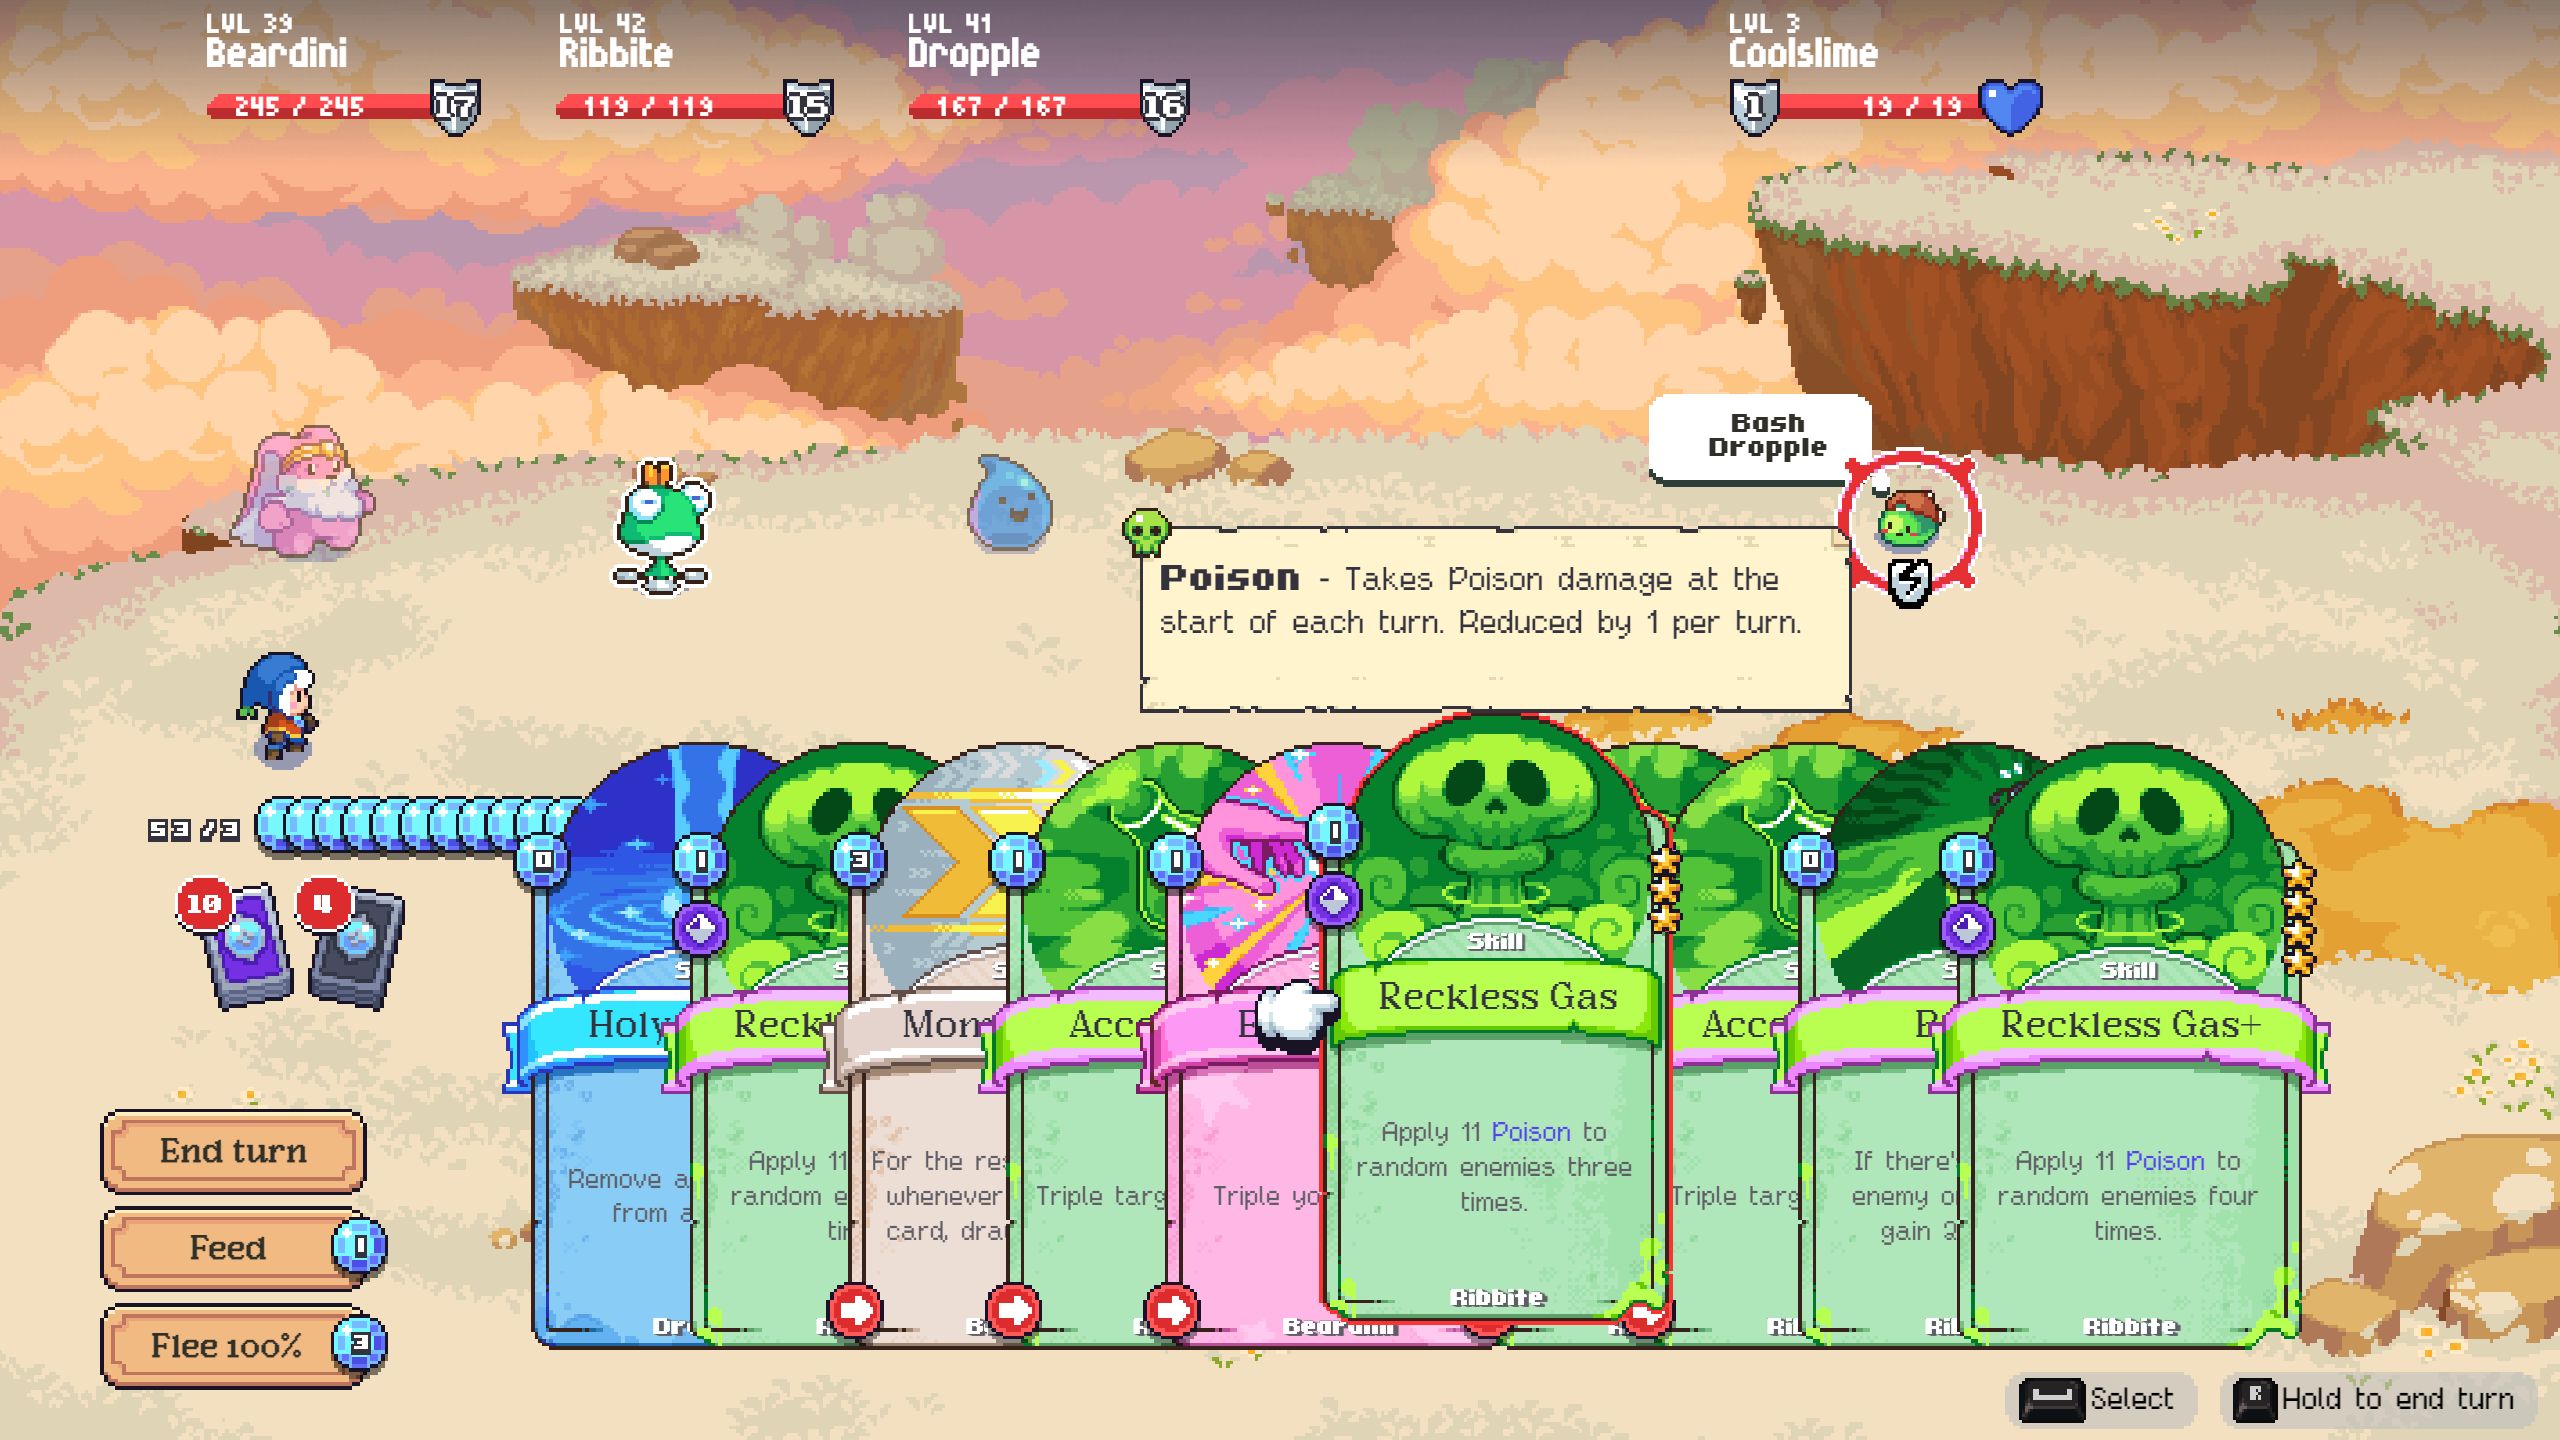
- Reckless Gas+: This is your primary poison application card. 업그레이드 시, it adds X poison to a random enemy four times. With my power at 22, it deals a whopping 11 poison per use. This 1-cost card can be quite ridiculous.
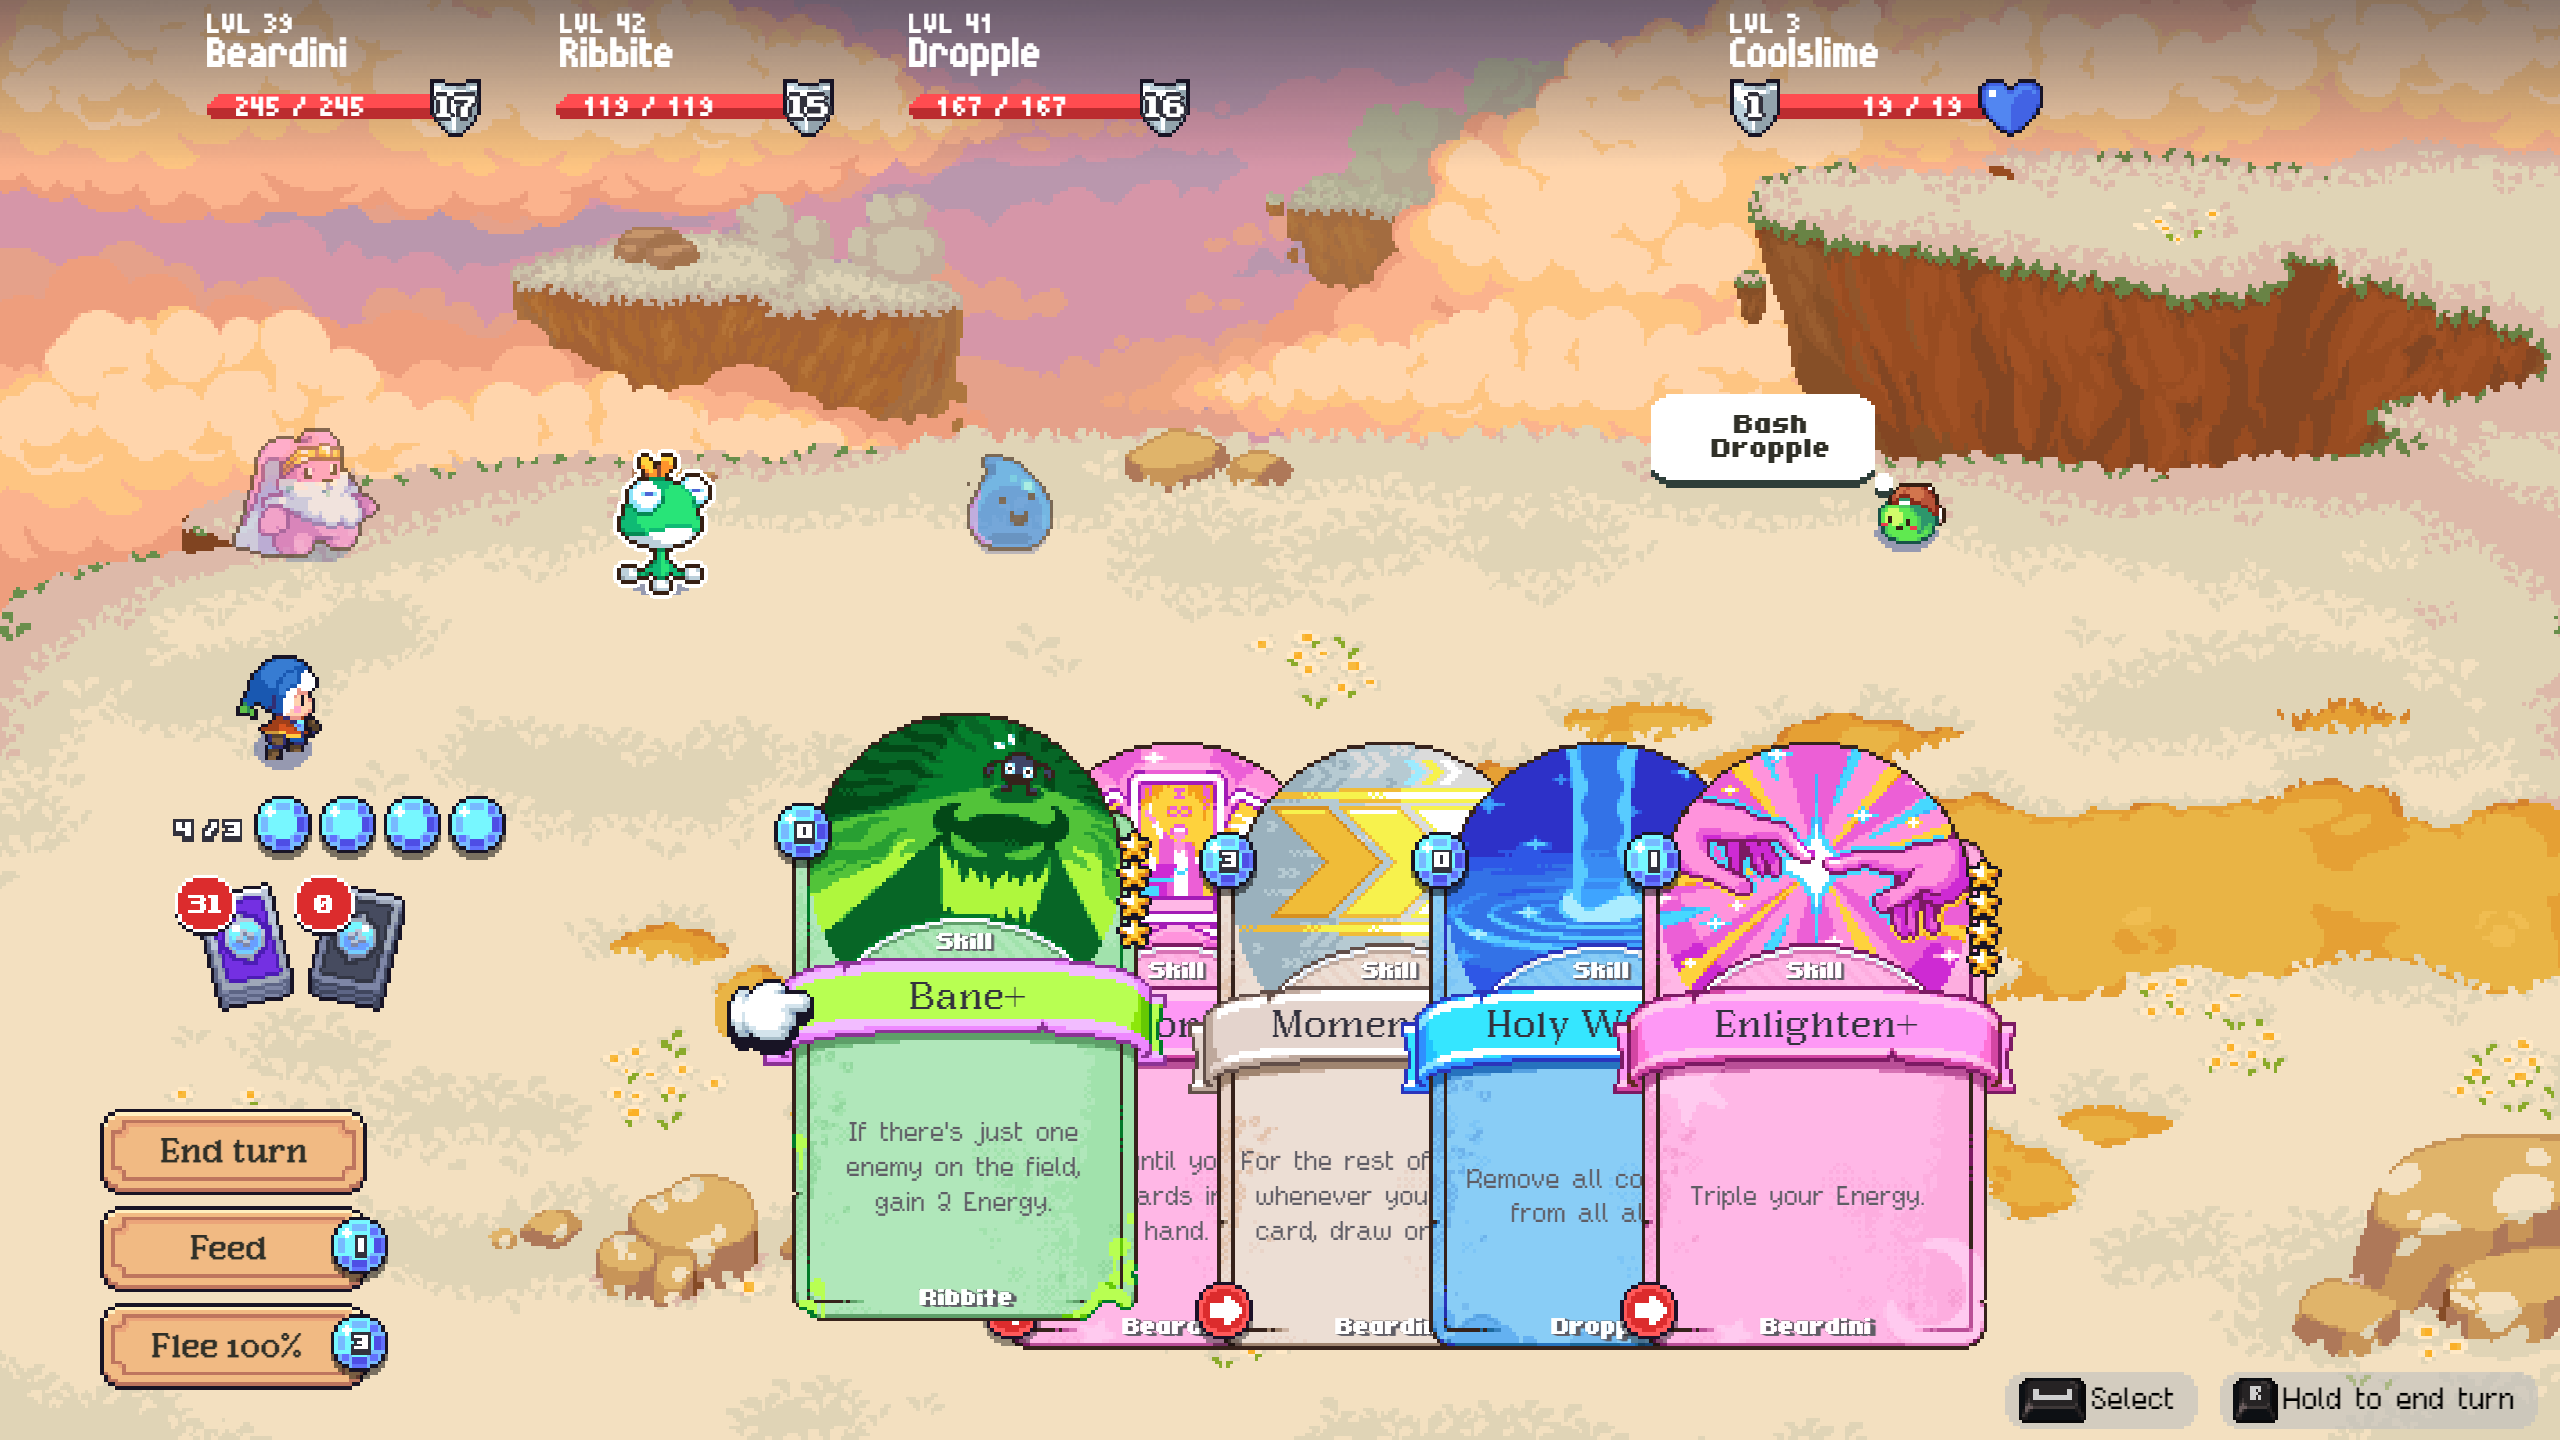
- Bane+: 업그레이드 시, it becomes a 0-cost card that grants you 2 energy when there’s only one enemy on the map. This is what allows you to go infinite against a single foe.
The number of each card you keep in your deck can vary based on your comfort level. Just remember that you must have at least 8 cards per spirit. 몸소, 나는 사용한다 3 Accelerants, 4 Reckless Gases, 그리고 4 Banes. I’m working toward reducing it to 3 of each, 합산 9 cards for Ribbite.
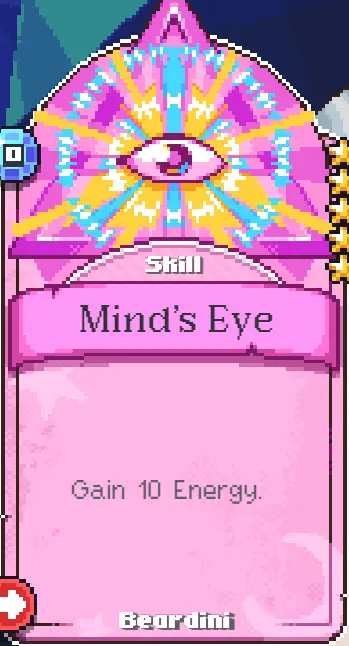
The Battery: 무당
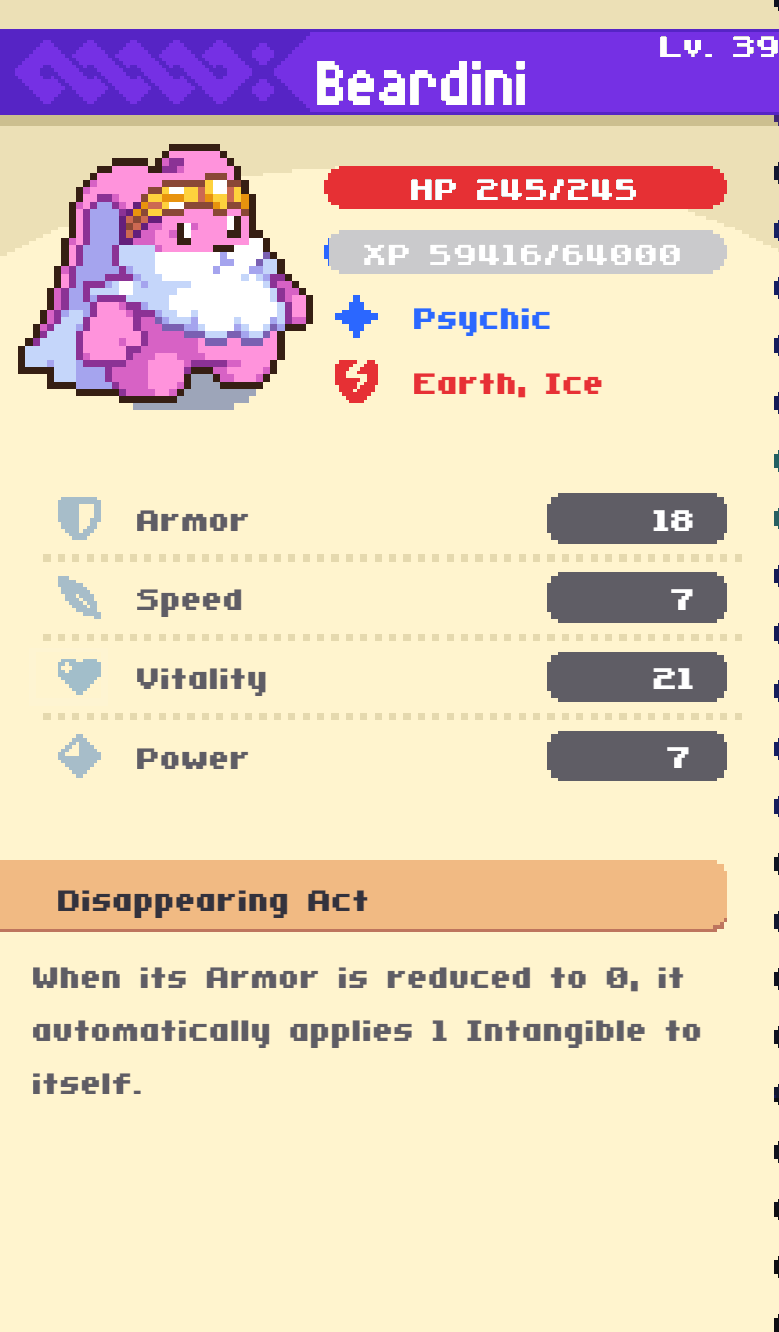
Any psychic-type spirit can fit here. I’m using Beardini, but it’s not necessarily the best choice. I’m working on replacing Beardini with Mystislime, which has the Slime Skill: Whenever you play 5 skills in one turn, 얻다 1 에너지.
The absolute best choice, if you can get one, is Minoot with the Shuffle Time skill: 얻다 1 Energy every time you shuffle your discard pile into your draw pile. 안타깝게도, Minoot is only obtainable through egg hatching. 그래서, until I find a Minoot, Mystislime is filling in.
I don’t recommend Magicat because its skill isn’t very useful, given that you can upgrade everything with enough talismans. 하지만, keep in mind that the Psychic’s ability doesn’t significantly affect this deck, so you can choose your favorite psychic spirit.
Stat Priorities:
Focus on armor and vitality. The psychic is all about tanky support.
Psychic’s Cards:
- Enlighten+: A handy 1-cost card that triples your energy. It exhausts itself, which is actually beneficial considering the other psychic cards you’ll be using.
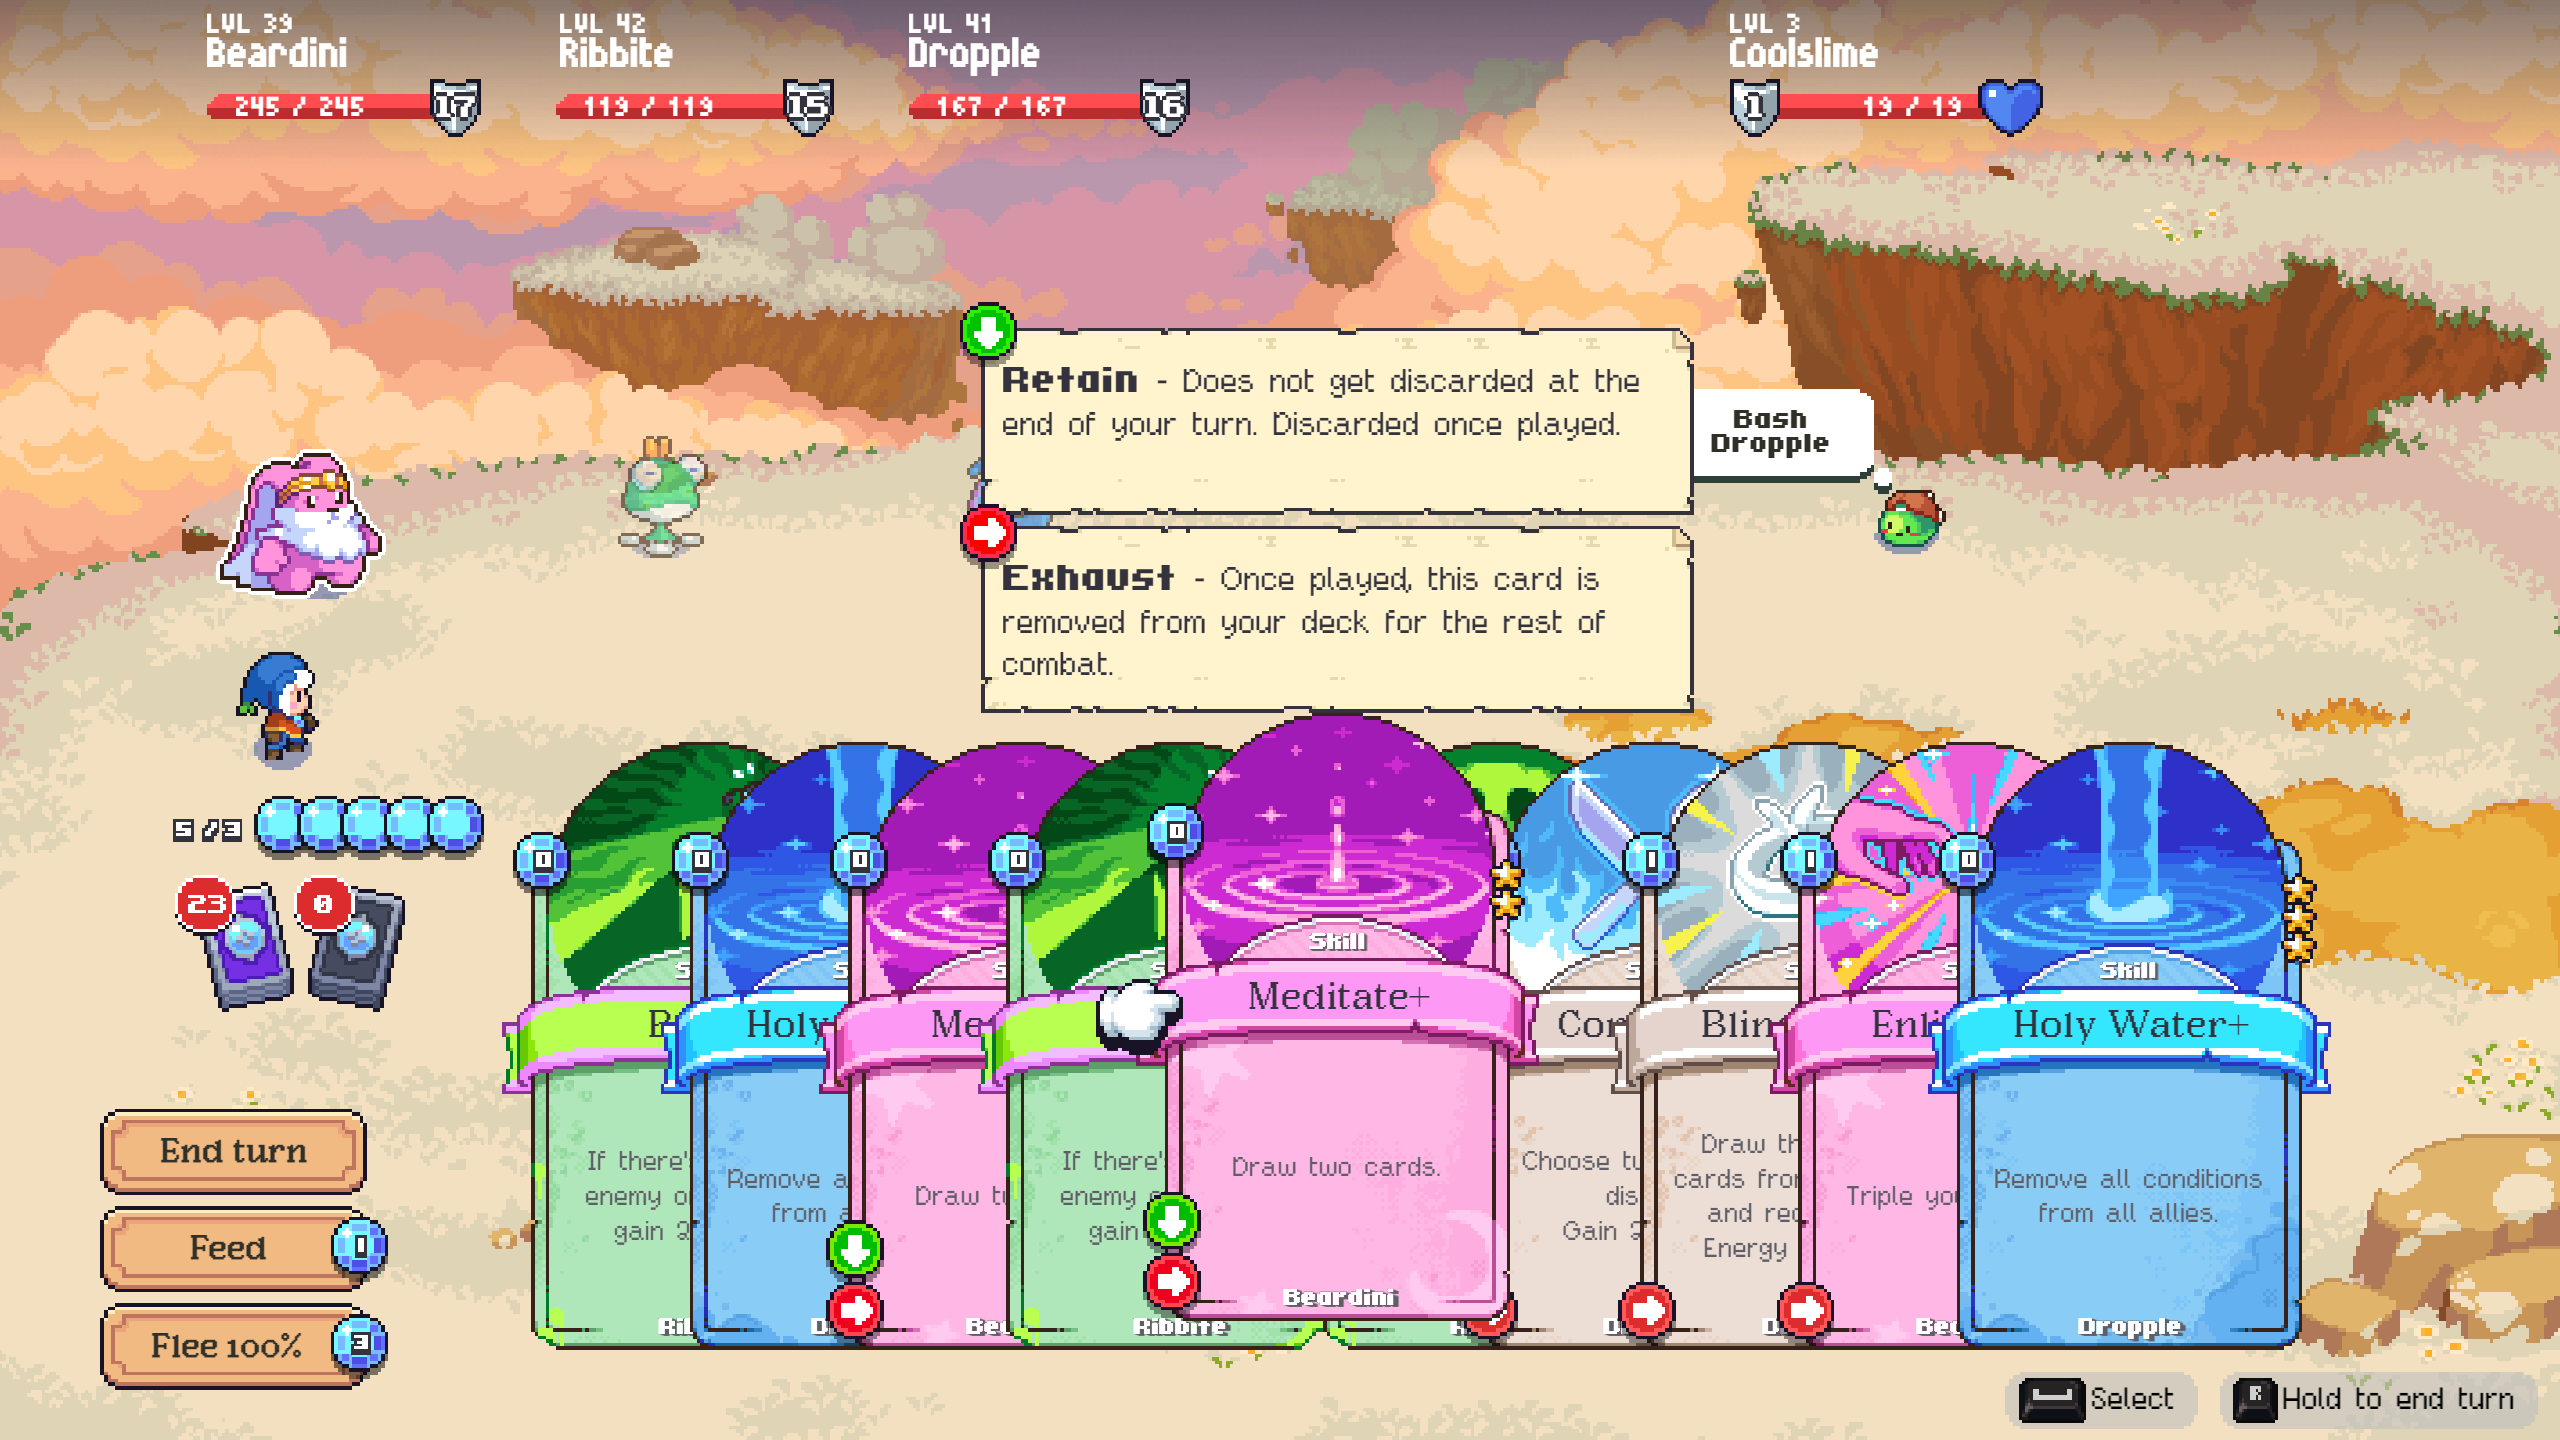
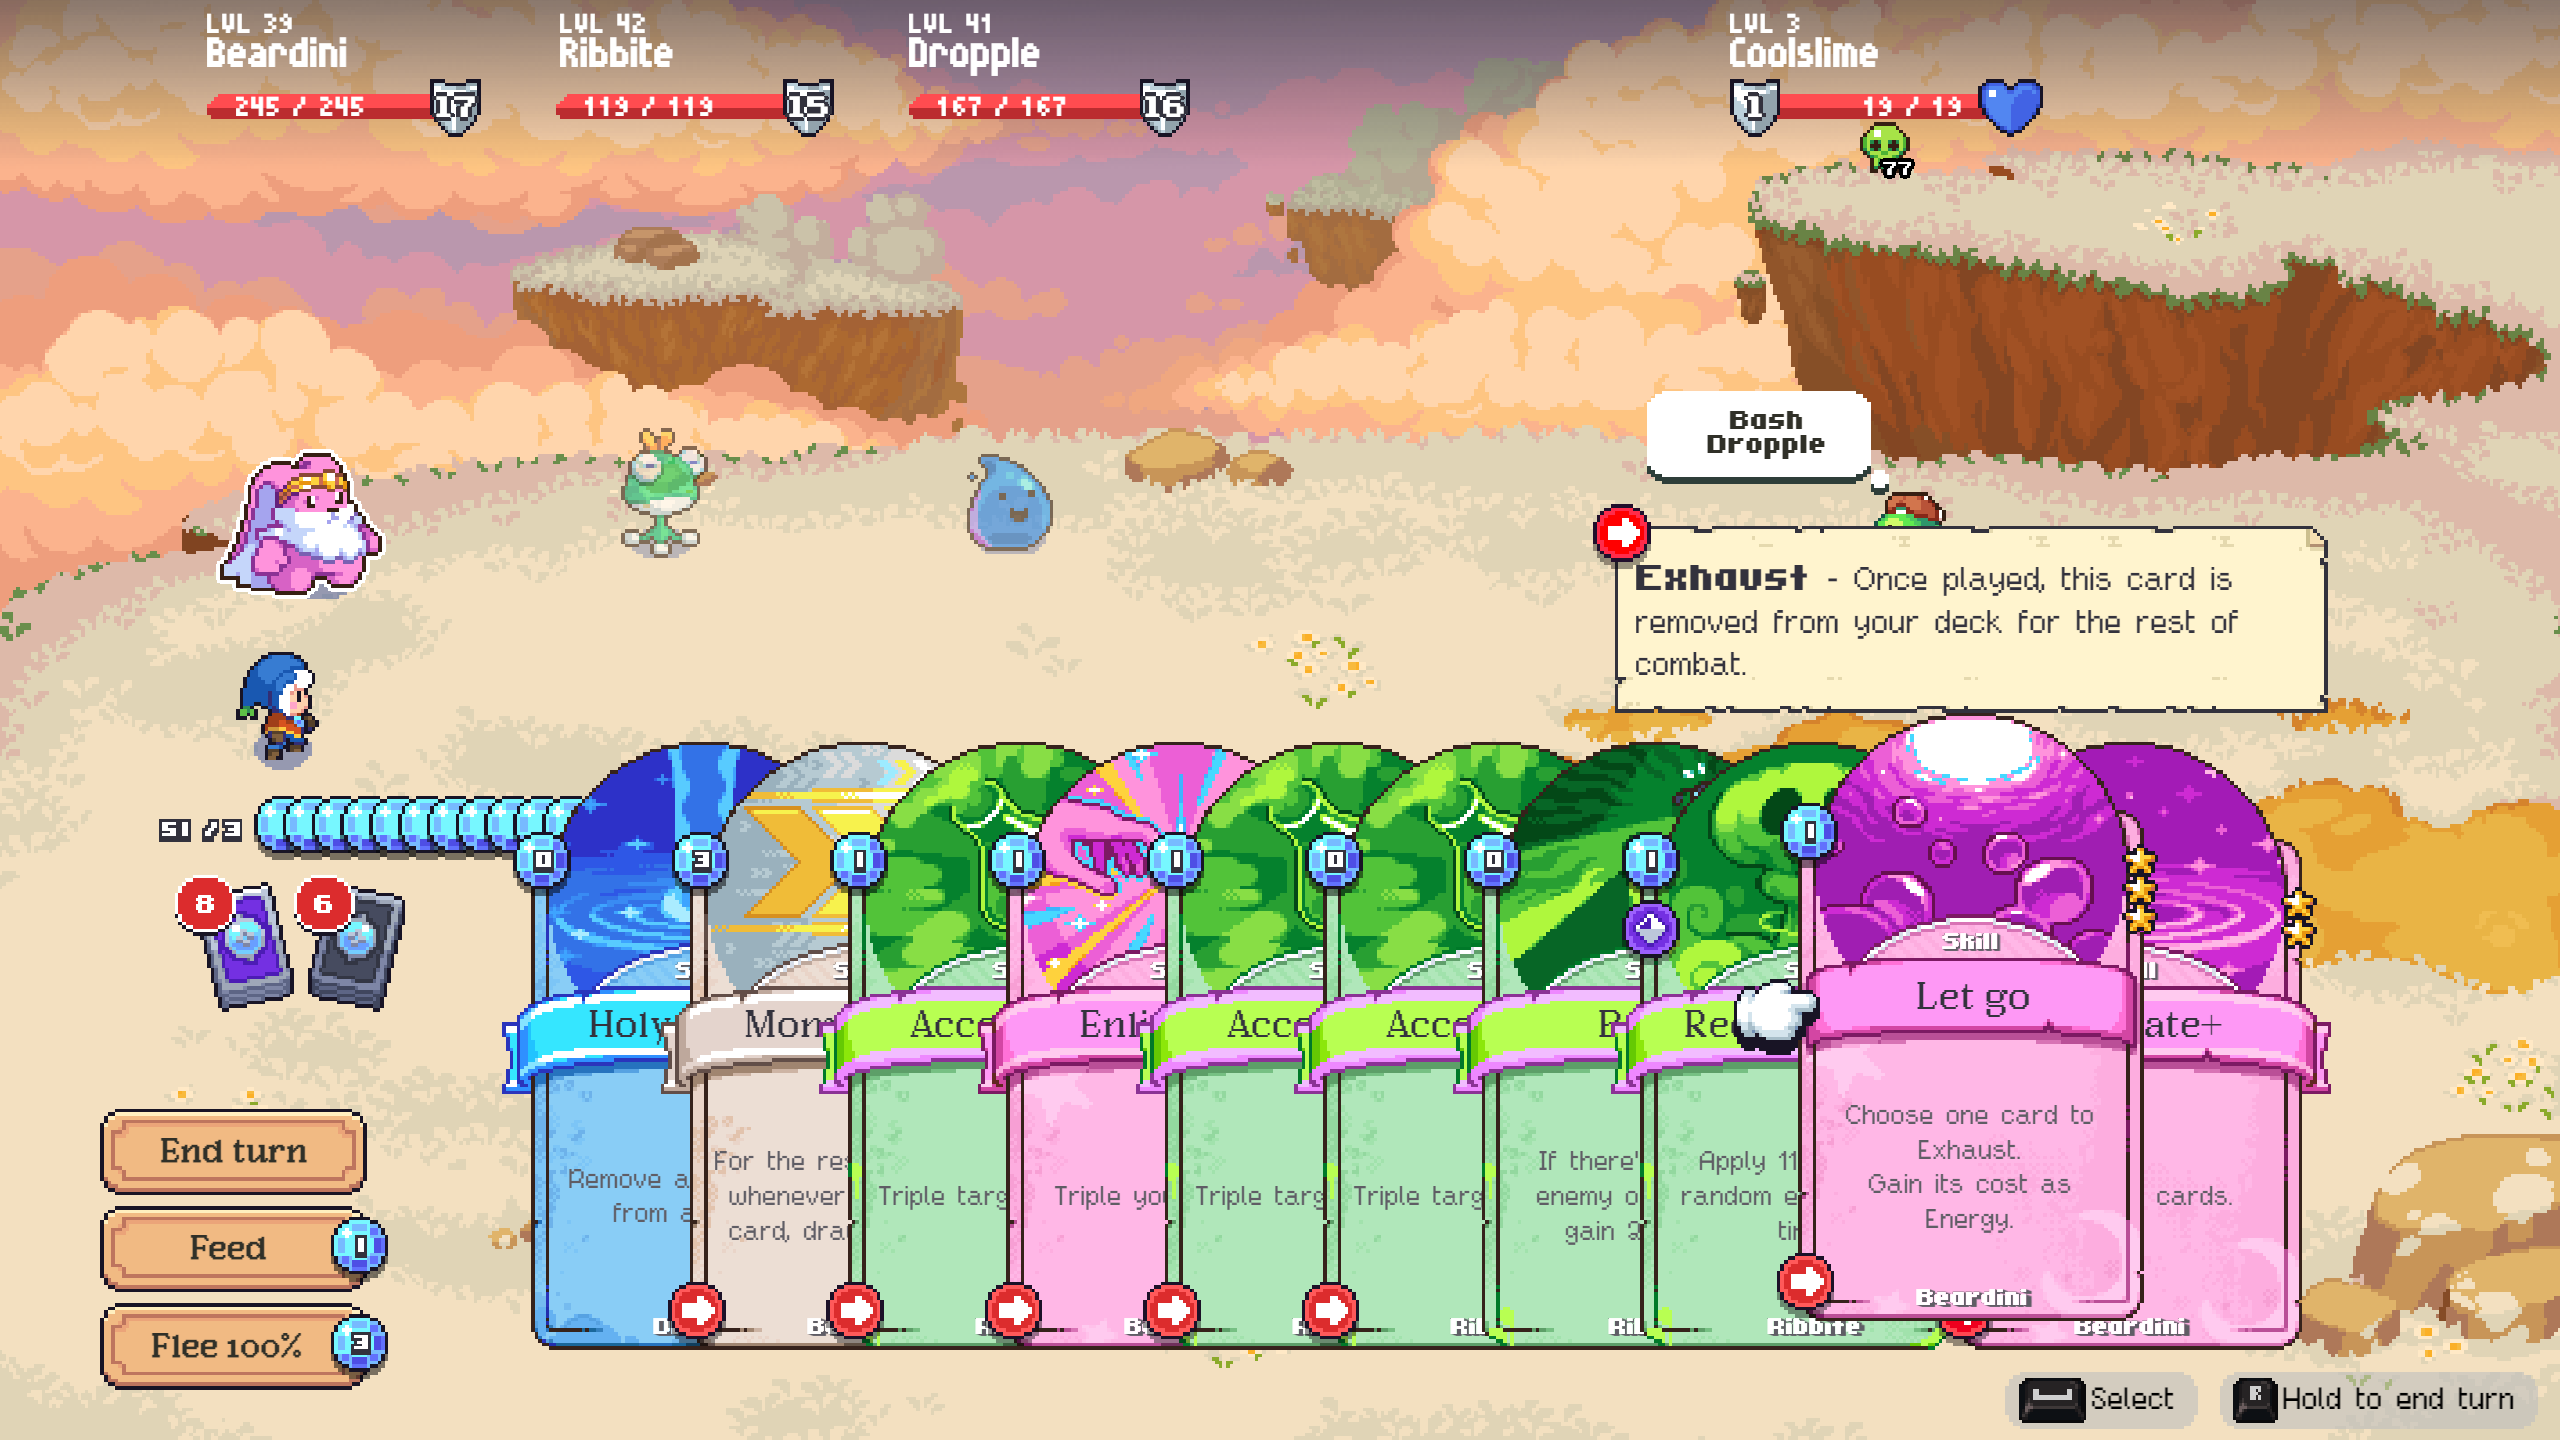
- Let Go: This card is an exception, and you don’t want to upgrade it. I’ll explain its importance later. It allows you to choose a card to exhaust and gain its energy cost.
- Meditate+: A 0-cost card that draws 2 cards and exhausts itself.
- Open Mind+: Another 0-cost card that exhausts itself and provides 2 에너지.
- Premonition+: A 1-cost card that keeps drawing until you have 9 cards in your hand and then exhausts itself.
The number of these cards in your deck can be adjusted as you play and find what feels most comfortable and consistent for you, except for Let Go. You keep Let Go specifically to get rid of another core card I’ll introduce with the last member of this team composition. In my deck, I run 5 Enlightens, 3 Meditates, 2 Open Minds, 그리고 1 Premonition. Don’t worry too much about maintaining exactly 8 카드, as they all exhaust. Just remember that having more cards can make it harder to set up initially.
The Fill
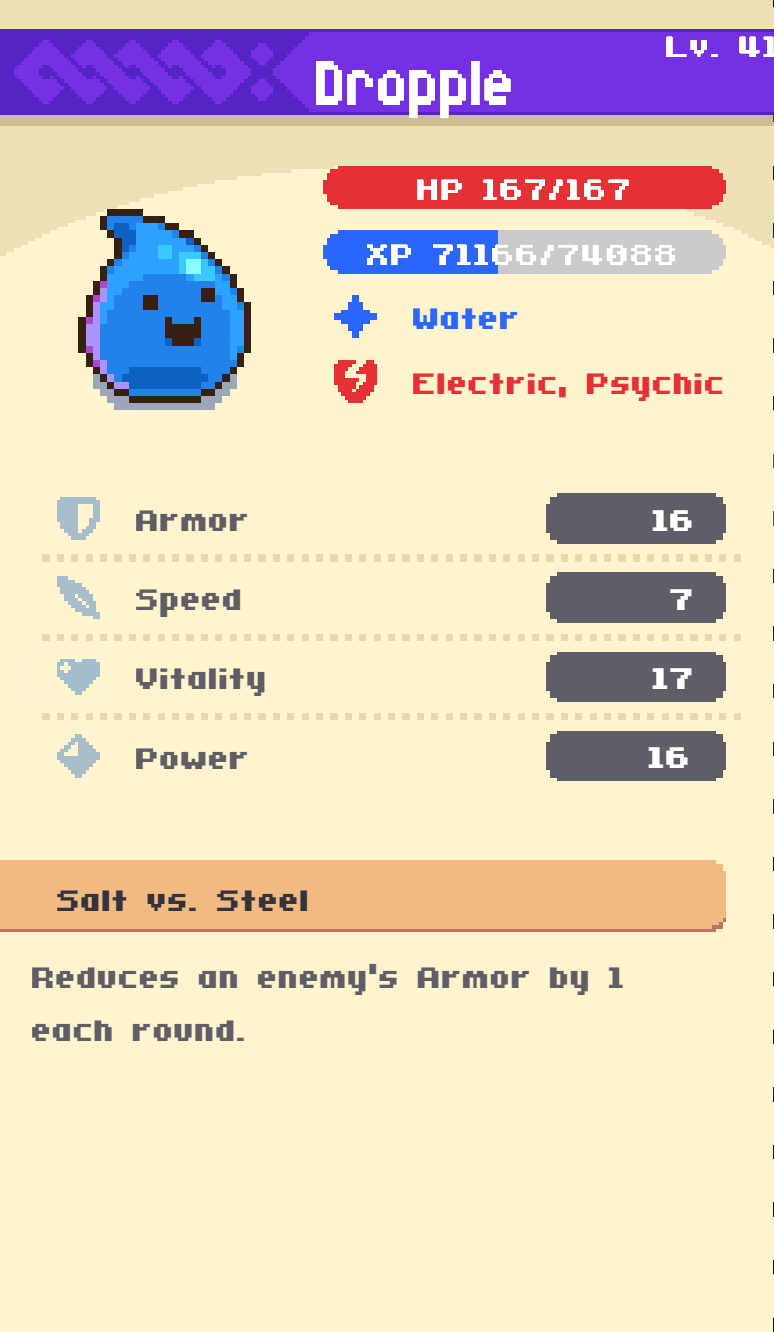
I use Dropple as a healer. It doesn’t come back to my team often, but the most valuable thing about having a water-type spirit is Holy Water+. This 0-cost skill card removes all conditions from all allies, which is especially useful for clearing conditions that hinder your skill usage, like Tangle. It can also help clear burn and poison from your own team, although it shouldn’t return to your turn often enough for you to take damage. If you don’t think this is necessary, you can choose other spirits like fire or dark for more damage or simply your favorite spirit. If you’re using Mystislime as a psychic, you can pick Coolslime to work toward the “Terraria Forever” 성취.
The key role of the spirit in this slot is to hold neutral cards and provide something that complements the team.
Stat Priorities:
It depends on your choice for this slot. A basher benefits from speed, while an additional damage source or healer benefits from power. 하지만, it’s crucial to ensure this spirit has a good amount of armor.
Important Filler Cards:
These neutral cards can actually be placed on any of your other two spirits as well. I put them on my filler because of the 8-card minimum limit. These neutral cards are all self-exhausting, which eventually leaves your non-psychic spirit with nearly no cards, leaving you with only Ribbite cards.
- Momentum+: This is the most important card for maintaining your turn. No matter how much energy you have, it’s useless without cards to play. Momentum costs 3 그리고, when played, allows you to draw a card whenever you play another card for the rest of the combat. It also exhausts itself. Because this card is essential, it’s crucial to get it in your first turn. 나는 가지고있다 3 copies of Momentum+ in my deck. You may notice there’s no reason to play additional Momentums after the first one, which is where the psychic card Let Go comes into play. You use Let Go to exhaust any additional Momentums, so you should have one less Let Go than the number of Momentums you take. 당신이 복용하는 경우 3 Momentums, include 2 Let Gos.
- Refresh+: This card allows you to discard your hand and then draw the same number of cards. It’s great when you’re looking for Momentum or your energy cards. It’s best played after other card draw cards.
Less Important Filler Cards:
These cards offer extra help in card draw and energy management but aren’t as critical. I include them in my deck to streamline it further because they also exhaust.
- Blind Blow+: This 1-cost card draws 2 cards and reduces their cost to 0. It feels great when it hits Momentum.
- Consume+: This 0-cost card lets you choose 2 cards to discard in exchange for gaining 2 에너지. It’s handy when your hand gets really full and is especially helpful during the setup phase.
플레이 스타일
앞서 언급했듯이, getting Momentum into play is crucial, along with ensuring your energy is in a healthy state.
In my first turn, I had both Momentum, Enlighten, and Premonition in hand. 다행스럽게도, I drew one of my three Momentums. If I didn’t draw Momentum, I’d use Enlighten first and then use any card draw I had in hand to search for Momentum. This is where 0-cost or energy-positive card draw, like Blind Blow, becomes important. It’s also why it’s crucial not to make your deck too big.
After playing Enlighten -> Momentum -> Premonition, I no longer need to worry about card draw, thanks to Momentum being in play. My next priority is increasing my energy. I’ll use Consume on two cards to bring my energy to 7, then use Enlighten to triple it to 18. (It becomes 18 because Enlighten uses 1 energy first and then triples your remaining energy. Playing Enlighten with only 1 energy is useless.) 현재, I’m fighting only one enemy (for the sake of this guide), but let’s imagine there are more, which is typically harder. 그래서, 지금은, let’s pretend my Banes are not useful and use them to fuel Consume.
오, look, another Enlighten and Momentum. Let’s clean up our hand by tripling our energy again and using our card draws.
여기요, another Enlighten! 잘, I don’t need to play it right now. If I triple my 50 에너지, it’ll go above 99. 그래서, I’ll use Consume and Open Mind instead. 이 시점에서, I don’t need the energy, but I’m just using up my exhaustible cards, except for Accelerant. Keep that Enlighten for when I reach 33 에너지. This is particularly important for fights with more than one enemy since your Banes won’t give you energy.
Since I haven’t gotten my Let Gos yet, let’s start applying some poison. You don’t have to use your Accelerants until you’re ready. Let’s imagine this slime has two buddies, and they all have 1000 HP.
아, there’s my Let Go. I’ll use it on the Momentum I’m still holding and use up any other energy/card draw that pops up and can be exhausted. If another Momentum appears, I’ll wait for Let Go to get rid of that one too. Note that you can use the 0-cost Banes as card draw when you have Momentum in play. Even if there are multiple enemies and they don’t do anything, you can just cycle them out.
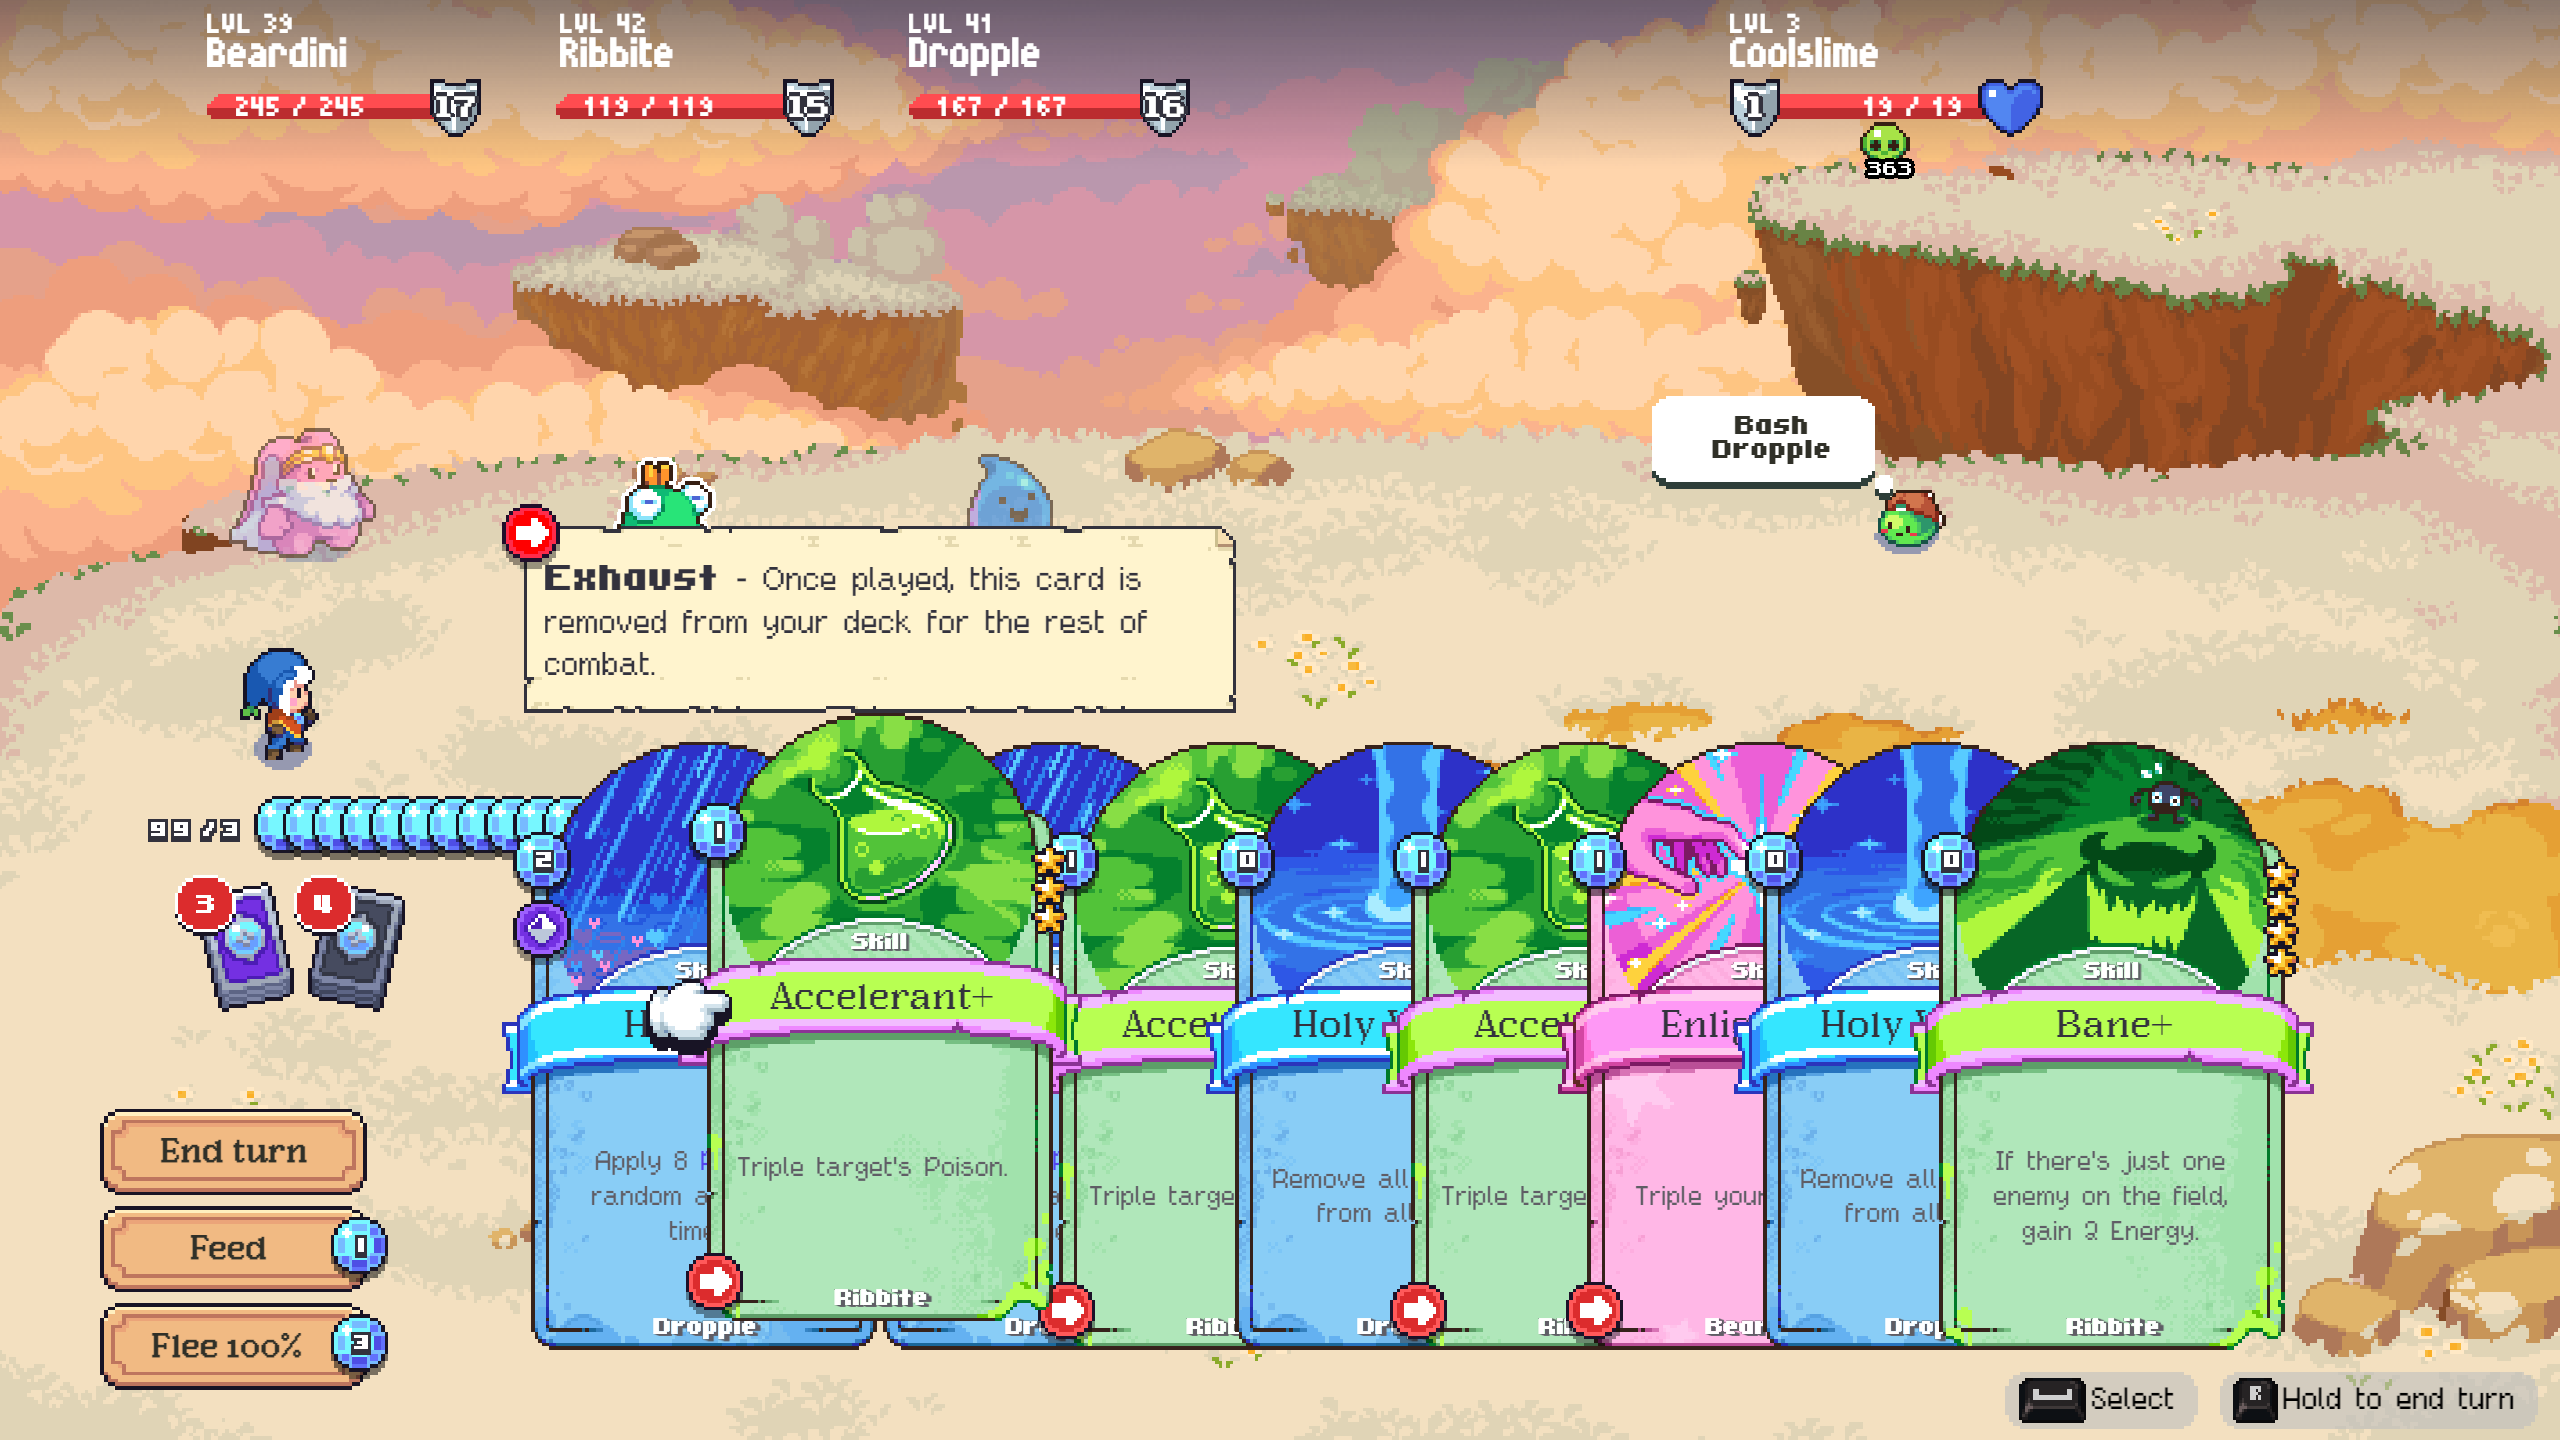
이 시점에서, you can keep playing Relentless Gas if you want, but let’s pretend this slime has 1000 HP and currently has 363 독. Three Accelerants should be more than enough to deal with it. If there are three enemies, always use Accelerants on the first enemy first. Make sure the poison is enough to kill it, then you can use Accelerants elsewhere. Once the first one dies, thanks to Ribbite’s ability, the poison will bounce to the third enemy. 그 다음에, if the third enemy dies, the poison will bounce to the second enemy. 이쪽으로, you can chain the poison deaths. (If there are two enemies, the one in the back takes poison damage first.)
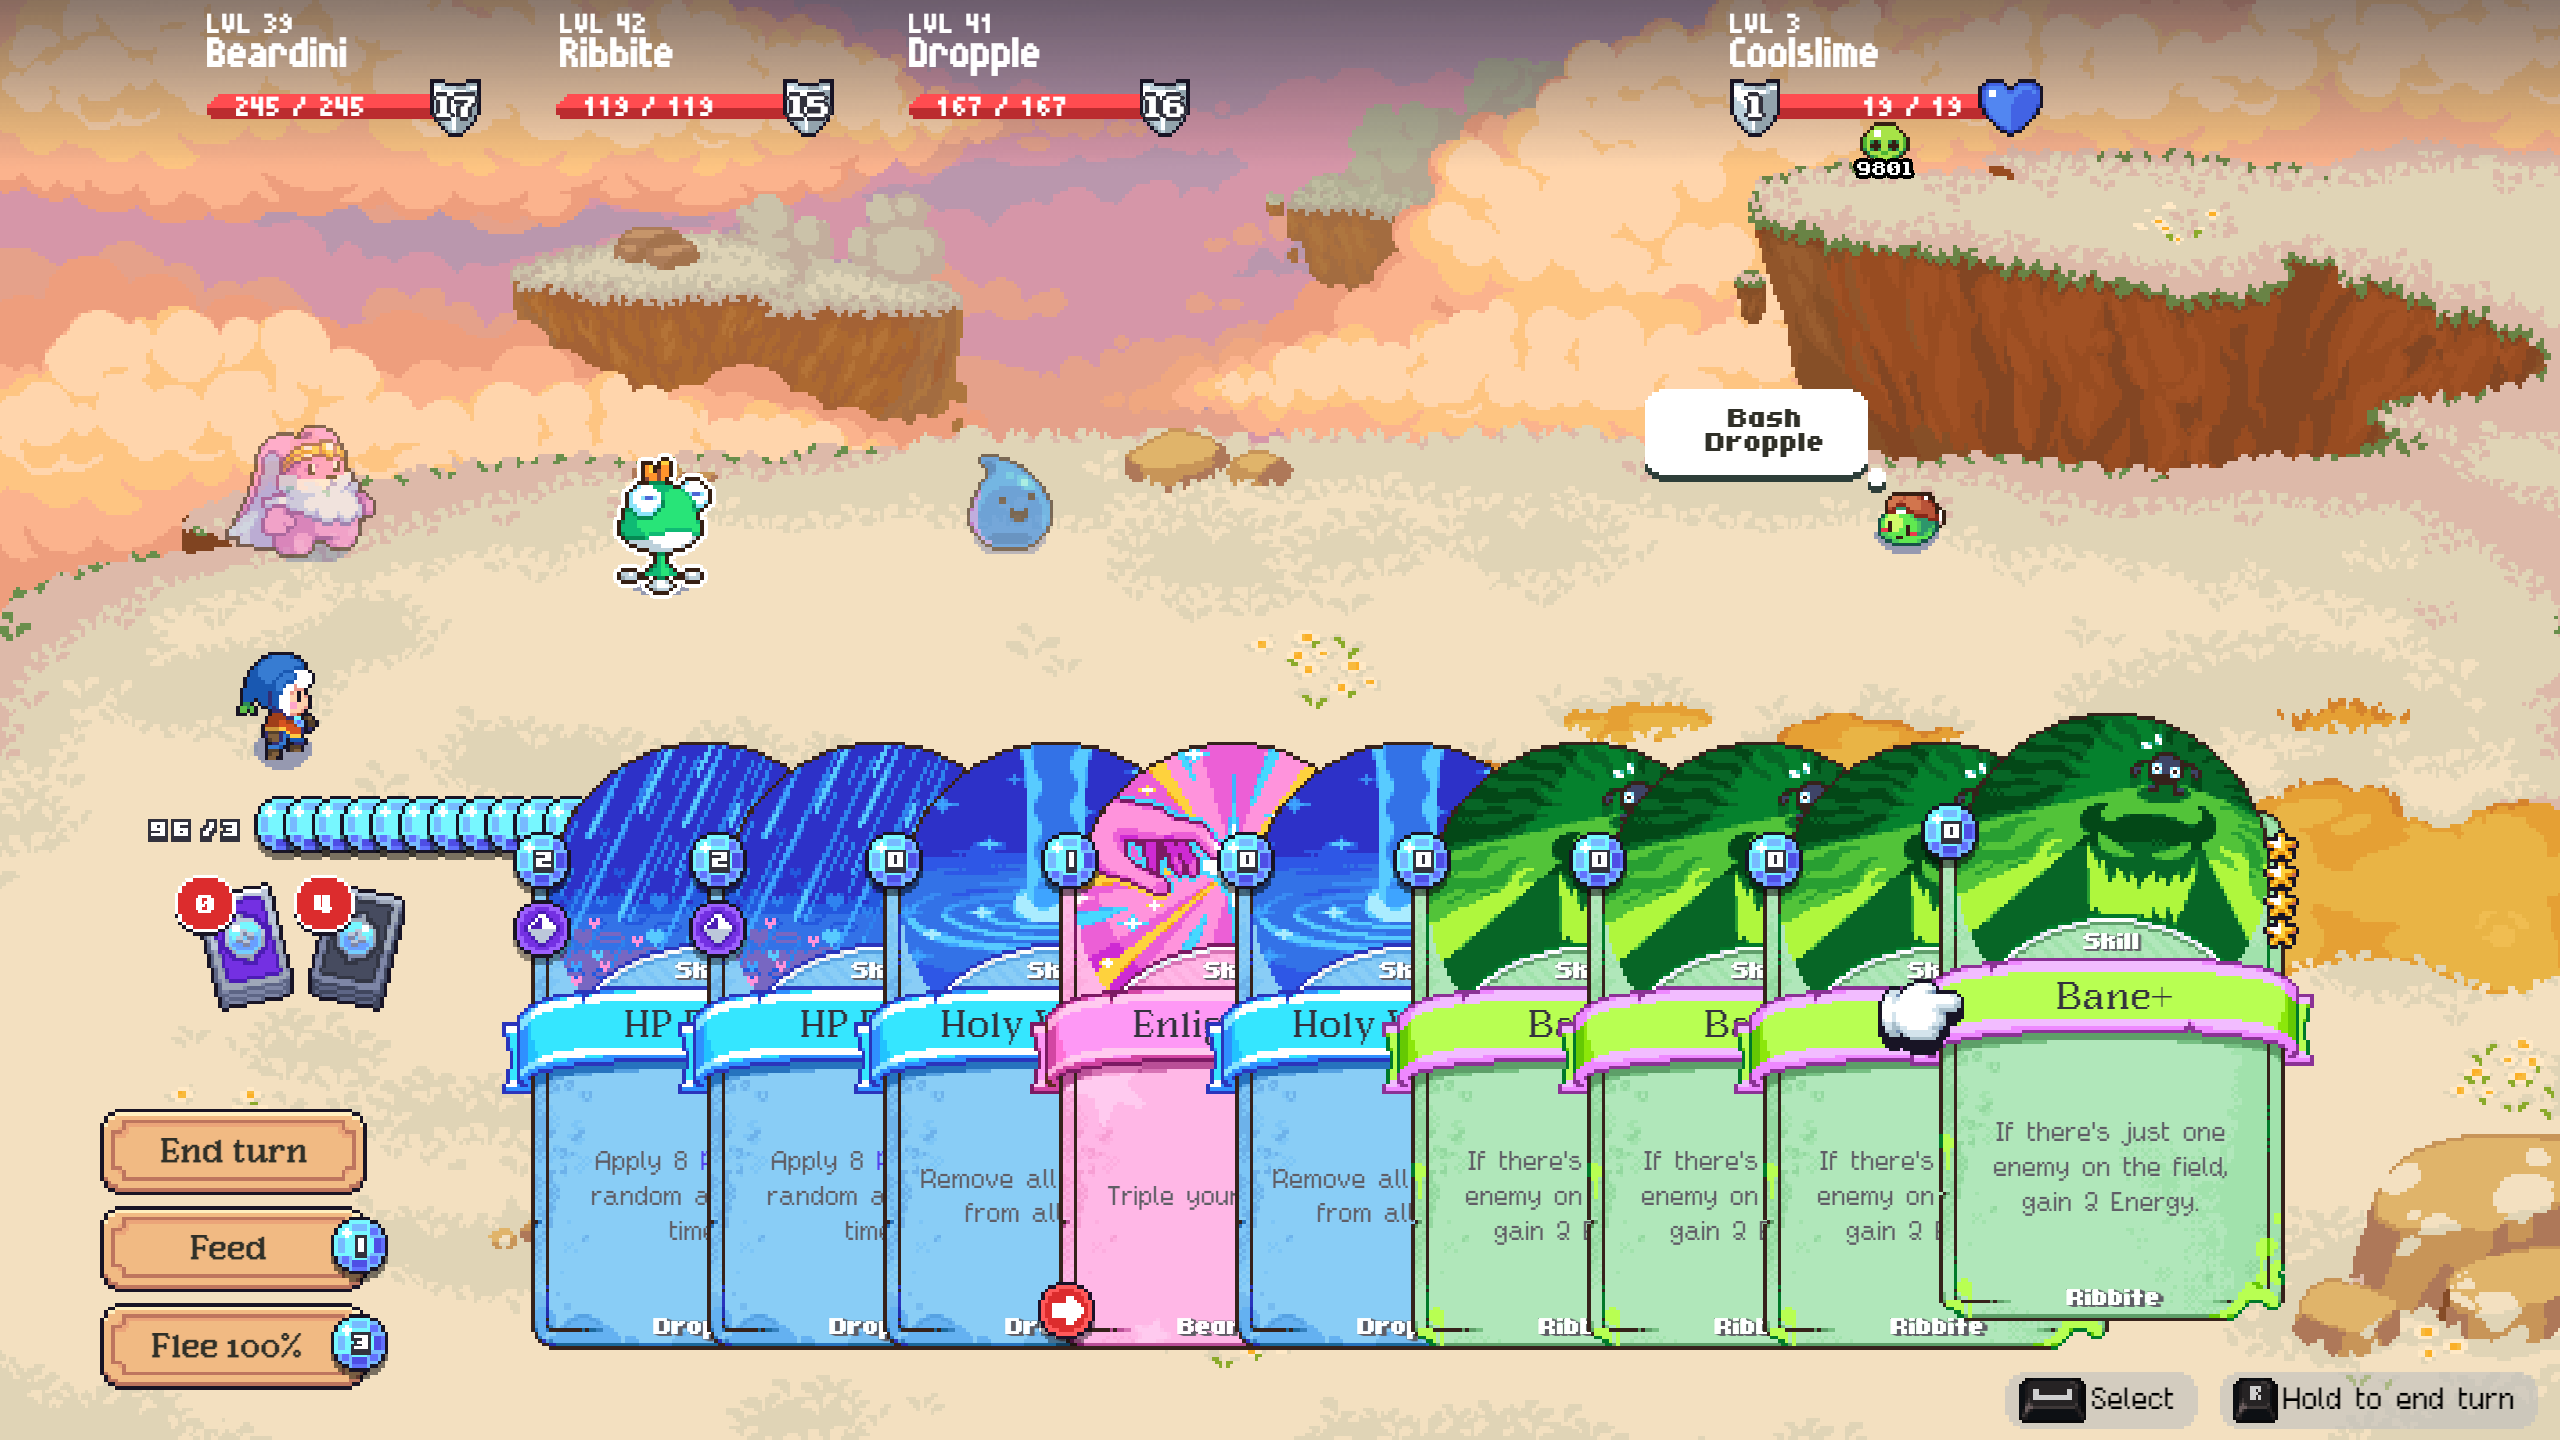
That should be enough to kill it, with plenty of energy to spare. 보시다시피, 나는 가지고있다 9 cards in hand and 4 left in my deck. I’m still trimming down my deck, 그리고 결국, I want it to be reduced to 0 또는 1 card left in the deck. This is important if I’m going to use Minoot, which gives you an energy each time you shuffle the deck. With this setup, that would be after every card you play.
All of this was accomplished in a single turn. 물론, if you’re very unlucky with your initial draw and can’t find energy or Momentum, it may take you more turns to set up like this. 하지만, such cases shouldn’t occur often with a well-built deck. If it happens too frequently, consider removing non-essential cards and adding more 0-cost card draw (Meditate+) and 0-cost energy (Open Mind+). Or get more Momentums/Let Gos. Find the right balance for you.
If you’re not trying to banish the spirit, it’s fine to set yourself up with 99 energy anyway so you can repeatedly attempt to tame it. I’ve used this strategy to tame many level 50+ Dark-type spirits. If you’re fighting enemies much higher in level than you, the most important thing is to survive the first turn without your armor breaking.
That’s why vitality and armor are the most important stats by far. As long as you can survive the initial assault, you’ll win.
I hope this guide helps you create your own team compositions! Let me know what you like to use as a filler!
추신: If you’re a big fan of Magicat and can’t bear to use any other psychic spirit, go ahead and use Magicat. You’ll just have to manually play the unused Momentums to exhaust them. Once you have a ridiculous amount of energy, it shouldn’t matter too much anyway.
업데이트
I stumbled upon a remarkable discovery in Magic Man’s shop – a 5-star card that I’ve never seen before in my 42 levels of training Ribbite, especially with the secret cards unlocked in my skill tree. 재미있게, this card cannot be upgraded, but it seems incredibly valuable. 결과적으로, I’ve decided to replace one of my Accelerants with this new card. If I come across more of these, I’ll consider swapping out all of my Accelerants.
In addition to this find, I’ve also uncovered another secret card. This one has led me to the decision to replace my Open Minds with it. I’m starting to suspect that these special cards might only become available after defeating [REDACTED]. The mysteries of the card world continue to unfold!