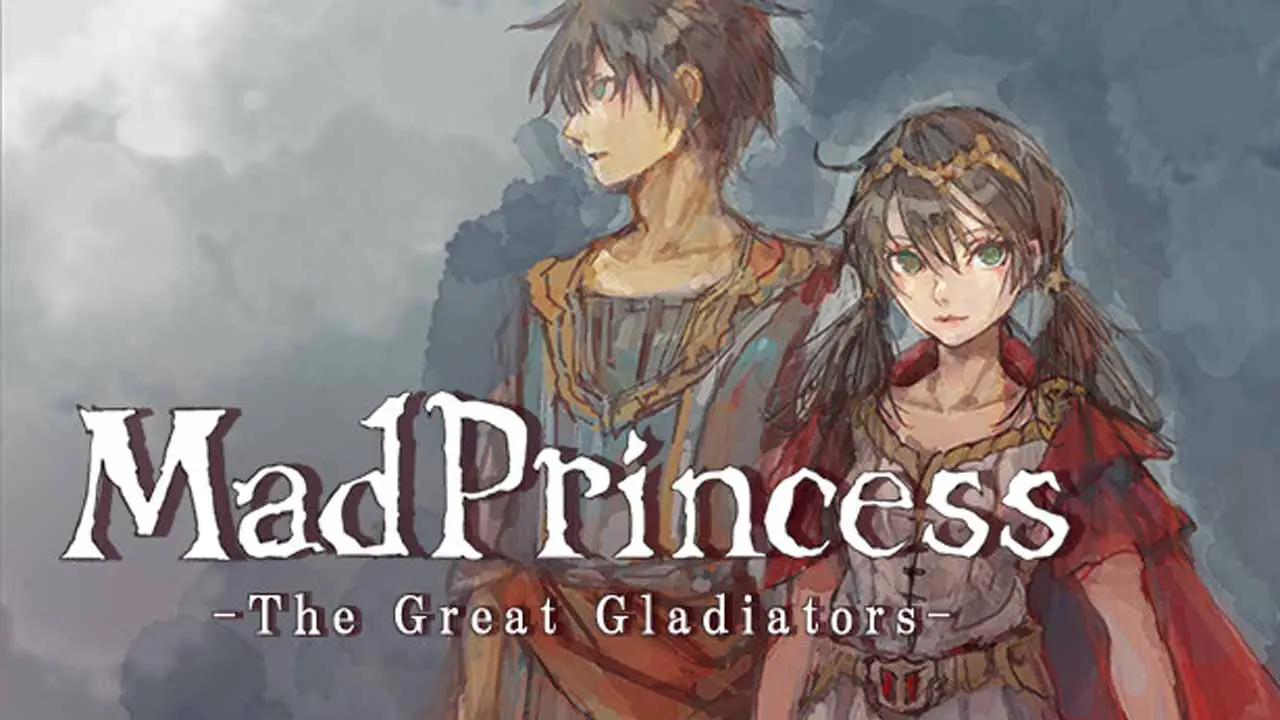
- 제목: Mad Princess: The Great Gladiators
- 출시일:
- 개발자:
- 발행자:
Information about Mad Princess: The Great Gladiators is still incomplete. 이것을 사용하여 게임의 세부 정보를 입력할 수 있도록 도와주세요. 문의 양식.
A guide that may help as a reference for learning how to get the most out of Mad Princess: The Great Gladiators.
소개
Mad Princess: The Great Gladiators is a “Gladiator Training RPG” set in a fantasy world that appears to be loosely based on Roman-occupied Europe. The player takes control of a convict whose punishment is to be enslaved and forced to fight in gladiatorial matches against beasts and other gladiators but is soon given a measure of freedom after being taken into the training camp of a noble in the empire. 여기에서, the player can explore the land and participate in gladiatorial combat to raise the money to pay off their debts, eventually earning their freedom.
While there are many story events, some of which are mandatory, the game becomes much more open after the first few in-game days. This guide is meant to be more of a reference than a walkthrough, as many events can be done in various orders as long as the requirements are met.
초기 게임
During the first few days of the game, the player is slowly introduced to game mechanics and the setting through a linear chain of story events. The player starts with only a sword and basic armor (방패, 갑옷, helmet) and must fight at least once per day. It’s best to always do the easier fights first to gain XP, then make use of skills to survive the harder fights. 며칠 후, more options are added to the available fights, but these more difficult options are not mandatory as long as you fight at least once or twice a day.
In addition to fights, it is possible to spend money to upgrade equipment. On a first playthrough, this may help greatly in surviving the early game and unlocking the other weapon types.
On the final day of this section, the player is forced to perform a team deathmatch with one of the other convicts. (Refusing will just delay this event and prevent friendship gain.)
At the end of this section, Lutharia will recruit the player to her camp. The player is taken to Lutharia’s base, which becomes a home base for the player for the rest of the game. The debt of 1,000,000 gold is introduced and the player is given a level of freedom to go out and seek work to raise these funds.
Notes on the Main Story and Coliseum
The main story of the game often takes place in cut-away events that depict the leadership of the local branch of the empire. These events take place automatically as time passes, potentially locking off certain event chains if not started early.
게다가, some characters and events will not begin until a certain amount of time has passed since the start of the game or other events are seen.
The coliseum always has the option of fights against beasts (either solo or as a team), but themed tournaments are timed events. Aside from the final tournament at the end of the main story, tournaments are missable.
통계, 수업, and Equipment
The basic stats for the player are:
- HP, amount of damage a character can take
- 활기, a percentage value that affects attack damage and is used for skills
- 힘, the base damage of the character
- 지구력, the base defense of the character
All stats except vigor raise with level, which is raised by gaining experience. Vigor is always capped at 100%.
The player’s class is determined by their current weapon. The player starts with a sword but can gain other weapons throughout the game. Each weapon/class has its own skill set.
- 검: 전사 (can use shields)
- 창: Velite
- Spatha: 해커
- Saber: Saberist
- Large Ax: Axer
- 삼지창: Retiarius
- 절하다: 궁수
- 메이스: Samnite (can use shields)
- 건틀릿: 싸움꾼
In addition to weapons, the player can equip armor. This includes the main armor piece, a helmet, and potentially a shield (based on class). Each armor piece has its own skill from a set tied to that armor slot.
When a new piece of equipment is obtained for a slot that is already filled, the player gets several options on what to do with the new equipment:
- Trade the old equipment for the new equipment
- Use the equipment to boost the attack/defense of the equipment being kept by 1 (up to a limit per equipment tier)
- Sell the equipment for gold based on the equipment tier
Aside from the attack/defense, 기능, and potential special effects on a piece of equipment, there is also a tier based on the player level. Each tier sells for more gold, costs more gold to buy, and has a higher maximum attack/defense.
New equipment can be purchased from a specific store in the city, but the cost becomes high very quickly. The best way to acquire new equipment is by using keys to unlock chests in dungeons.
Partners also have the equipment, but cannot change their main weapon. Their gear can be upgraded when acquiring new equipment. If their friendship reaches ~900 or higher, they may also allow the player to freely swap equipment with them.
Time and Resting
Time passes as the player moves and with certain actions. Some characters will change locations based on the time of day, and some services are only open during certain hours.
Resting at an inn is the main way to recover vigor, and it also passes time. Most inn rooms have an hourly rate based on the quality of rest, but not all rooms are available in every town. The player’s room at Lutharia’s base is always free.
Items and Stores
Each town usually has a trader (lets the player sell items) and a number of specific merchants. Each merchant has a set list of goods that will refresh after time has passed. Some towns also have special merchants or activities that grant items.
There are many types of items, though most can be consumed for healing or thrown in the battle for damage. Using items in battle does not end the turn.
There are some items that are special to exploring dungeons, many of which can be found at “장비” merchants. 이들은:
- 열쇠, which unlock chests with equipment in them. Better keys are needed for better chests.
- 폭탄, which are used for mining.
- Hammers, which are used to make new paths in certain dungeons.
- Shovels, which are used to dig up fields and gardens.
- Torches and Herbs, which are used to light up dark areas or reduce vigor damage from dungeon effects.
There are also some special versions of dungeon items that have stronger effects, as well as unique items that grant specific bonuses when in the inventory.
Taverns and Requests
Many towns have a tavern or equivalent, which usually has a food merchant (“주문하다”) and the option to “Buy Food/Alcohol”. Buying food/alcohol will spend some time and grant some friendship to all characters in the tavern.
Taverns and some other locations also have a list of requests. These are optional missions that have a time limit but grant gold and popularity for completing.
- 탐구: Reach the specified area of the specified dungeon.
- Elimination: Defeat the specified enemies in the specified dungeon.
- 배달: Collect the specified items. May collect some or all items before accepting the request.
After the objective is complete, the request can be completed from the request menu, even without returning to town. Any delivery items will be removed. Failing to complete a request in time will lower popularity.
Debt and Training
Paying off the debt is a major aspect of the game, with a number of benefits early on. The debt can be paid in 10,000 gold increments or to the next threshold in Lutharia’s office.
The first few payment thresholds will reduce travel time between nodes on the world map, while the second-to-last payment will upgrade the bed in Lutharia’s base. The final payment unlocks “Initialize”, the option to reset all training points.
Training points are gained from leveling up and completing “tasks” listed in the character and training screens. They can be used at Lutharia’s camp to upgrade certain stats or gain specific bonuses to things like weapon skill damage or item damage.
Travel and Dungeons
To reach other locations, the player must travel on the world map. Left-clicking will set a waypoint (allowing for complex paths with multiple clicks), while right-clicking will clear the waypoints. Some locations are locked by story events, but land travel past these locations is still possible.
Every node that does not have a town or dungeon will trigger a battle against beasts unless the player has a specific item, but these battles can be run from at the cost of vigor.
Within a dungeon, the player’s goal is to reach area 10. Each area has an infinite number of randomly generated rooms, with each room linking to 1-2 other rooms. Each room has certain features or effects, each with a star rating. Every interaction with these features increases the progress through an area, which spawns the exit to the next area once a threshold is met. Some features always trigger (beasts or ailments) while others must be interacted with (가슴).
After reaching area 10, filling the completion meter will clear the dungeon and the “보호자” will appear in rooms. Fighting and defeating the guardian will mark the dungeon with a checkmark on the world map. Returning to a dungeon will reduce the threshold for progress between areas for all previously-finished areas, making repeat trips quicker.
Friends and Partners
The player can befriend most named characters, including some not involved in the story. (Some major characters do not appear in places where you may speak to them.) 하지만, some characters’ friendship meters will lock at certain thresholds until certain events are seen.
The main ways to befriend characters are to talk to them and give them items as gifts. 첫 번째, the player must find them in town (available characters in the top right corner) or a sub-area in town. The player may also duel characters and buy items from them.
Once characters reach a certain friendship level [unconfirmed level] or join through story events, they may be taken on as a partner, replacing any current partner.
Some characters can become “comrades” through story events. These characters will appear in most towns or inns, allowing quick swapping between these characters as partners.
Main Story Event Chains
The main story progresses as time passes, lasting up to day 75 of the game calendar. Some event chains will be locked if not finished during their section of the main story.
Prison Arc
- 낮 4: Thelma choice, 2500G for agreeing.
- 낮 6: Shanna choice, tiny friendship boost for refusing, small friendship boost for agreeing.
- 낮 8: Gladiator and Deathmatch battles added to prison tournament.
- 낮 11: Annalee choice, agree at the first opportunity for friendship boost. After deathmatch, leave prison.
Pre-Founder’s Forest Arc
- 낮 12-13: Tournaments (XX Cups) introduced; 11 tournaments lasting about 5-6(?) days each until ~Day 73.
Founder’s Forest Arc
- 낮 ??: Athena asked to lead gladiators into Founder’s Forest. (If the player’s friendship with Athena is high, receive an invitation to the campaign after next inn rest during this arc.)
Frontier Arc
- 낮 ??: Athena asked to lead gladiators into Frontier. (If the player’s friendship with Athena is high, receive an invitation to the campaign after next inn rest during this arc.)
Finale Arc
- 낮 ??: Athena returns from Frontier; Imperial Army is called in. Claude is approached by Fergus to assassinate Delilah. [Events requiring Glen, Athena, and Delilah are no longer available.]
- 낮 ??: Homer leaves to try to assassinate Delilah before Claude.
- 낮 ??: Homer is captured and killed. [Events requiring Homer no longer available.]
- 낮 ??: Fergus is assassinated. [Events requiring Fergus no longer available.]
- 낮 75: Mad Princess Cup begins, with no time limit. Reaching first place will immediately start the final battle.
Other Event Chains
Many story event chains can unlock certain characters, 서비스, or dungeons. Some have requirements that can be broken if certain missions are refused or too much time passes.
Lanca Joins Lutharia’s Camp
- When leaving the city (낮 ??), Lanca will ask to be allowed to join Lutharia’s camp as a new gladiator. Agree to continue this event chain.
- Go to Lutharia’s office. After the event, Lanca will join Lutharia’s camp and become a comrade.
Iris as Ally
- 요구사항: Lanca joined Lutharia’s camp?
Alexandra and Her Fans
- Go to the post town and visit the tavern until you meet the twins. Agree to deliver their gifts to Alexandra.
- Visit the coliseum to see an event with Alexandra.
- Return to the post-town tavern. (Can choose to refuse reward money.)
- 며칠 후, visit the city forum to see an event and get tickets. (Requires Fergus.)
- Return to the post-town tavern and give the tickets to the twins.
- Go to the coliseum (after doing several Eraldo events) to see an event. 기후, Alexandra becomes a comrade.
Eraldo the Blacksmith
- Go to the southern port town’s tavern to hear rumors of Eraldo.
- On a later day, return to the same tavern to see an event introducing Eraldo and his daughter Sylvia.
- Raise friendship with Eraldo and Sylvia and visit the camp a few times. 후에 2-3 이벤트, Sylvia will ask the player to speak with Alexandra.
- Go to the coliseum, where Alexandra will give tickets for Sylvia and Eraldo.
- Deliver the tickets to Sylvia, then Eraldo.
- Visit the coliseum to see the battle (once post-town twins have tickets). After the event, return to Eraldo’s camp.
- A day later, visit Eraldo’s smithy. Eraldo and Sylvia become comrades, and the enhancement service becomes available.
Delilah’s Travels
- 요구사항: Delilah available (before final story arc).
- Visit each town area during the day, with no other events active. Attempt to help Delilah to gain friendship.
- After seeing all events, go to Woodfolk Dwelling to see another event.
Khalin and Regina
- When in the city at night (~Day ??), an event where Homer attempts to attack Woodfolk occurs. Help them for a fight against guards and a friendship boost with Khalin.
- Go to Woodfolk Fortress, strategy room. (Gain gold if helped them before.)
- Boost friendship with Khalin then finishes the first few orphanage events.
Orphanage
- Boost friendship with Irene and Khalin, then visit the orphanage during the day.
- After the first few events are finished, an event with Khalin at the Fortress (strategy room?) unlocks the Empty Watchtower.
- Save Irene at the Empty Watchtower, then return to the Fortress. Visit her and Khalin again to unlock them as comrades.
Regina’s Hunt
- After finishing Khalin and Regina events, go to Woodfolk Fortress strategy room. Dragon’s Volcano unlocked.
- Regina events occur as the player progresses through the Dragon’s Volcano, up to floor 9.
- Return to the strategy room during the day to unlock Regina as a comrade.
Lutharia as Comrade
- Fully pay off the debt. This unlocks Lutharia as a comrade and unlocks her friendship meter.
Athena’s Friendship
This event chain ties into the main story.
- Boost Athena’s friendship and go to the Imperial Camp to see her events.
- When asked to join each campaign, agree and finish the story battles before the end of the event.
- Respond positively to Athena in her final events to unlock her epilogue.
Clara and Annalee
- Go to the Imperial Camp and raise friendship with both characters to advance their events. (One early event requires Homer.)
- When Clara says that Annalee has left to train, go to each location mentioned. Fight alongside Annalee each time.
- Return to the Imperial Camp to unlock Annalee as a comrade.
- Finish Athena’s storyline while seeing Clara’s events to unlock Clara as a comrade.
Minor Partners
- Named characters whose friendship can be boosted to 1000 without doing events can be recruited as companions at a certain friendship level.
- Some of these characters (such as Momomi) have epilogues, but most do not.
- These characters must be recruited from their home locations, as they are not comrades.
Claude’s Research
- After the Imperial Academy is unlocked, raise friendship with Claude and Gervine and visit the laboratory during the day to see their events. (Gervine only gets friendship from talking and beast materials.)
- Complete the first section of this event chain before the final arc to unlock the Old Charon Castle.
- Complete the Old Charon Castle before the final arc to unlock the rest of the event chain, as well as Claude and Gervine as comrades.
해적
- Visit the tower near Lutharia’s camp and tell the pirates to get reinforcements. Reach the final floor and aid the pirates.
- Go to Piscatri Port and speak with the pirates, then agree to help fight the jellyfish.
- Return in the evening to fight the jellyfish, granting a Dragon Treasure and access to the pirate ship.
- In each of the pirate-exclusive dungeons, aid the pirate who is in trouble to get them as a comrade.
- Raise Rosemary’s friendship and visit the pirate ship’s pier to see her events. Save both pirates and finish her event chain to unlock her as a comrade.
Luciana and the Illegal Coliseum
- Raise friendship and visit the town/coliseum to trigger events.
- Agree to save Luciana, then see events in town and Lutharia’s camp to unlock Luciana.
새 게임+
게임 클리어 후, game completion data is saved after the credits roll. All possible epilogues will be saved to the Ending List (now available from the main menu). 새 게임 시작하기 (대신에 “계속하다”) will allow importing equipment from the most recent completion data, as well as an option to allow NPC gear to carry over.
On a second run, with or without equipment importing, the Training Palace will unlock. This exploration dungeon awards Dragon’s Tears and Enhancement Stones and gives early access to equipment enhancement. This dungeon also awards the strongest equipment tier in the game. This dungeon uses a special mechanic called “부패” which must be managed to scale difficulty and rewards, and each floor requires a specific condition to unlock the boss guarding the next floor.
이것이 오늘 우리가 공유하는 모든 것입니다. Mad Princess: The Great Gladiators 가이드. 이 가이드는 원래 작성자가 작성하고 작성했습니다. Jackkel Dragon. 이 가이드를 업데이트하지 못한 경우, 다음을 수행하여 최신 업데이트를 찾을 수 있습니다. 링크.