- 제목: 리치 돔: 전함
- 출시일:
- 개발자:
- 발행자:
Information about Lichdom: Battlemage is still incomplete. 이것을 사용하여 게임의 세부 정보를 입력할 수 있도록 도와주세요. 문의 양식.
NO missable Achievements
This guide is about achievements
This guide is NOT supposed to give you any real information on how to actually play the game.
The intention is to tell you about the achievements, and nothing else. There are superb guides out there to teach the game to you, so check out those, if you need help.
그것은 말한다, I do want to give you 3 essential quickfire tips:
- There’s actually an ingame journal with lots of explanations, especially on what the different Sigils do. You can open it with the [제이] 단추.
- 있다 3 different kinds of shields. The type of shield you’ve equipped determines how many dashes you can chain together. The default one you start the game with will only allows 3 한 번에. But there’s also an “Agile Shield”, which allows for infinite chaining. Depending on your playstyle, this’ll massively boost your survivability AND allows you to travel way faster.
- For every crafted spell, you have to pick, whether it’s supposed to deal damage (“Destruction”), lock the enemy in place (“제어”) or apply a debuff on enemies to boost received damage (“지배”). The game will show you tutorial videos for more information. The message I want you to know is:Do NOT sleep on applying Mastery!We’re not talking about 10% 또는 20% 더 많은 피해. It’s starting out with a multiplier of roughly x2 at the very start, then continually goes up until you deal like 20x the damage in a single spell in the endgame.
이야기, 보스 & Difficulty Setting


이것들 5 are directly story related and will unlock along the way, mostly right at the end of a level.


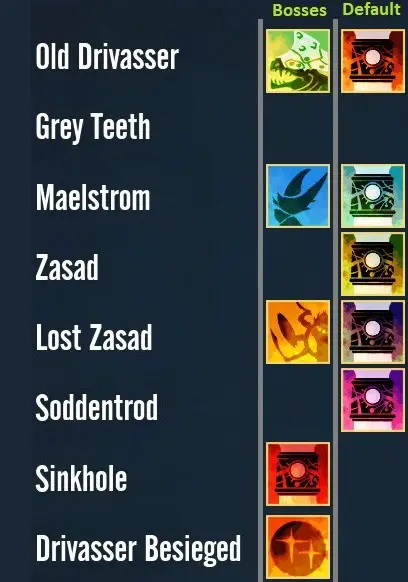
그래서, every boss has 3 available achievements.
One unlocks per default upon defeating the bosses, the other 2 are tied to defeating the bosses on the difficulties “전함” 그리고 “Badass”.
This game is very generous regarding the difficulty achievements though.
- 우선, they are downward compatible.
Beat them on “Badass” and all 3 터놓다. - 둘째, you can change the difficulty even midfight! All the bosses actually have health bars at the bottom of the screen.
Once that bar is low, just open the menu, change difficulty to “Badass” and make sure to click that “적용하다” 단추, instead of leaving via [Esc]. - 마지막으로, bosses respawn. Just use fast travel to go to the last checkpoint of a given level, approach the boss room again, and the boss will respawn, still unlock the harder versions of the achievements.

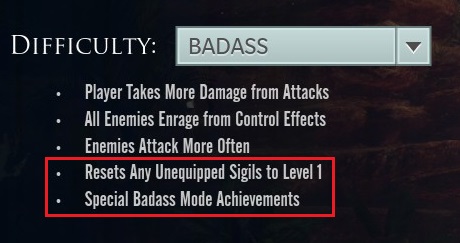
그래도 참고, that changing the difficulty to “Badass” will reset the levels of all currently unequipped sigils back to 1.
The terribly misnamed “뉴게임 플러스”


괜찮아요, “Complete an entire New Game Plus sequence” does actually NOT mean, that you have to complete all 8 areas again. Far from it, 실제로.
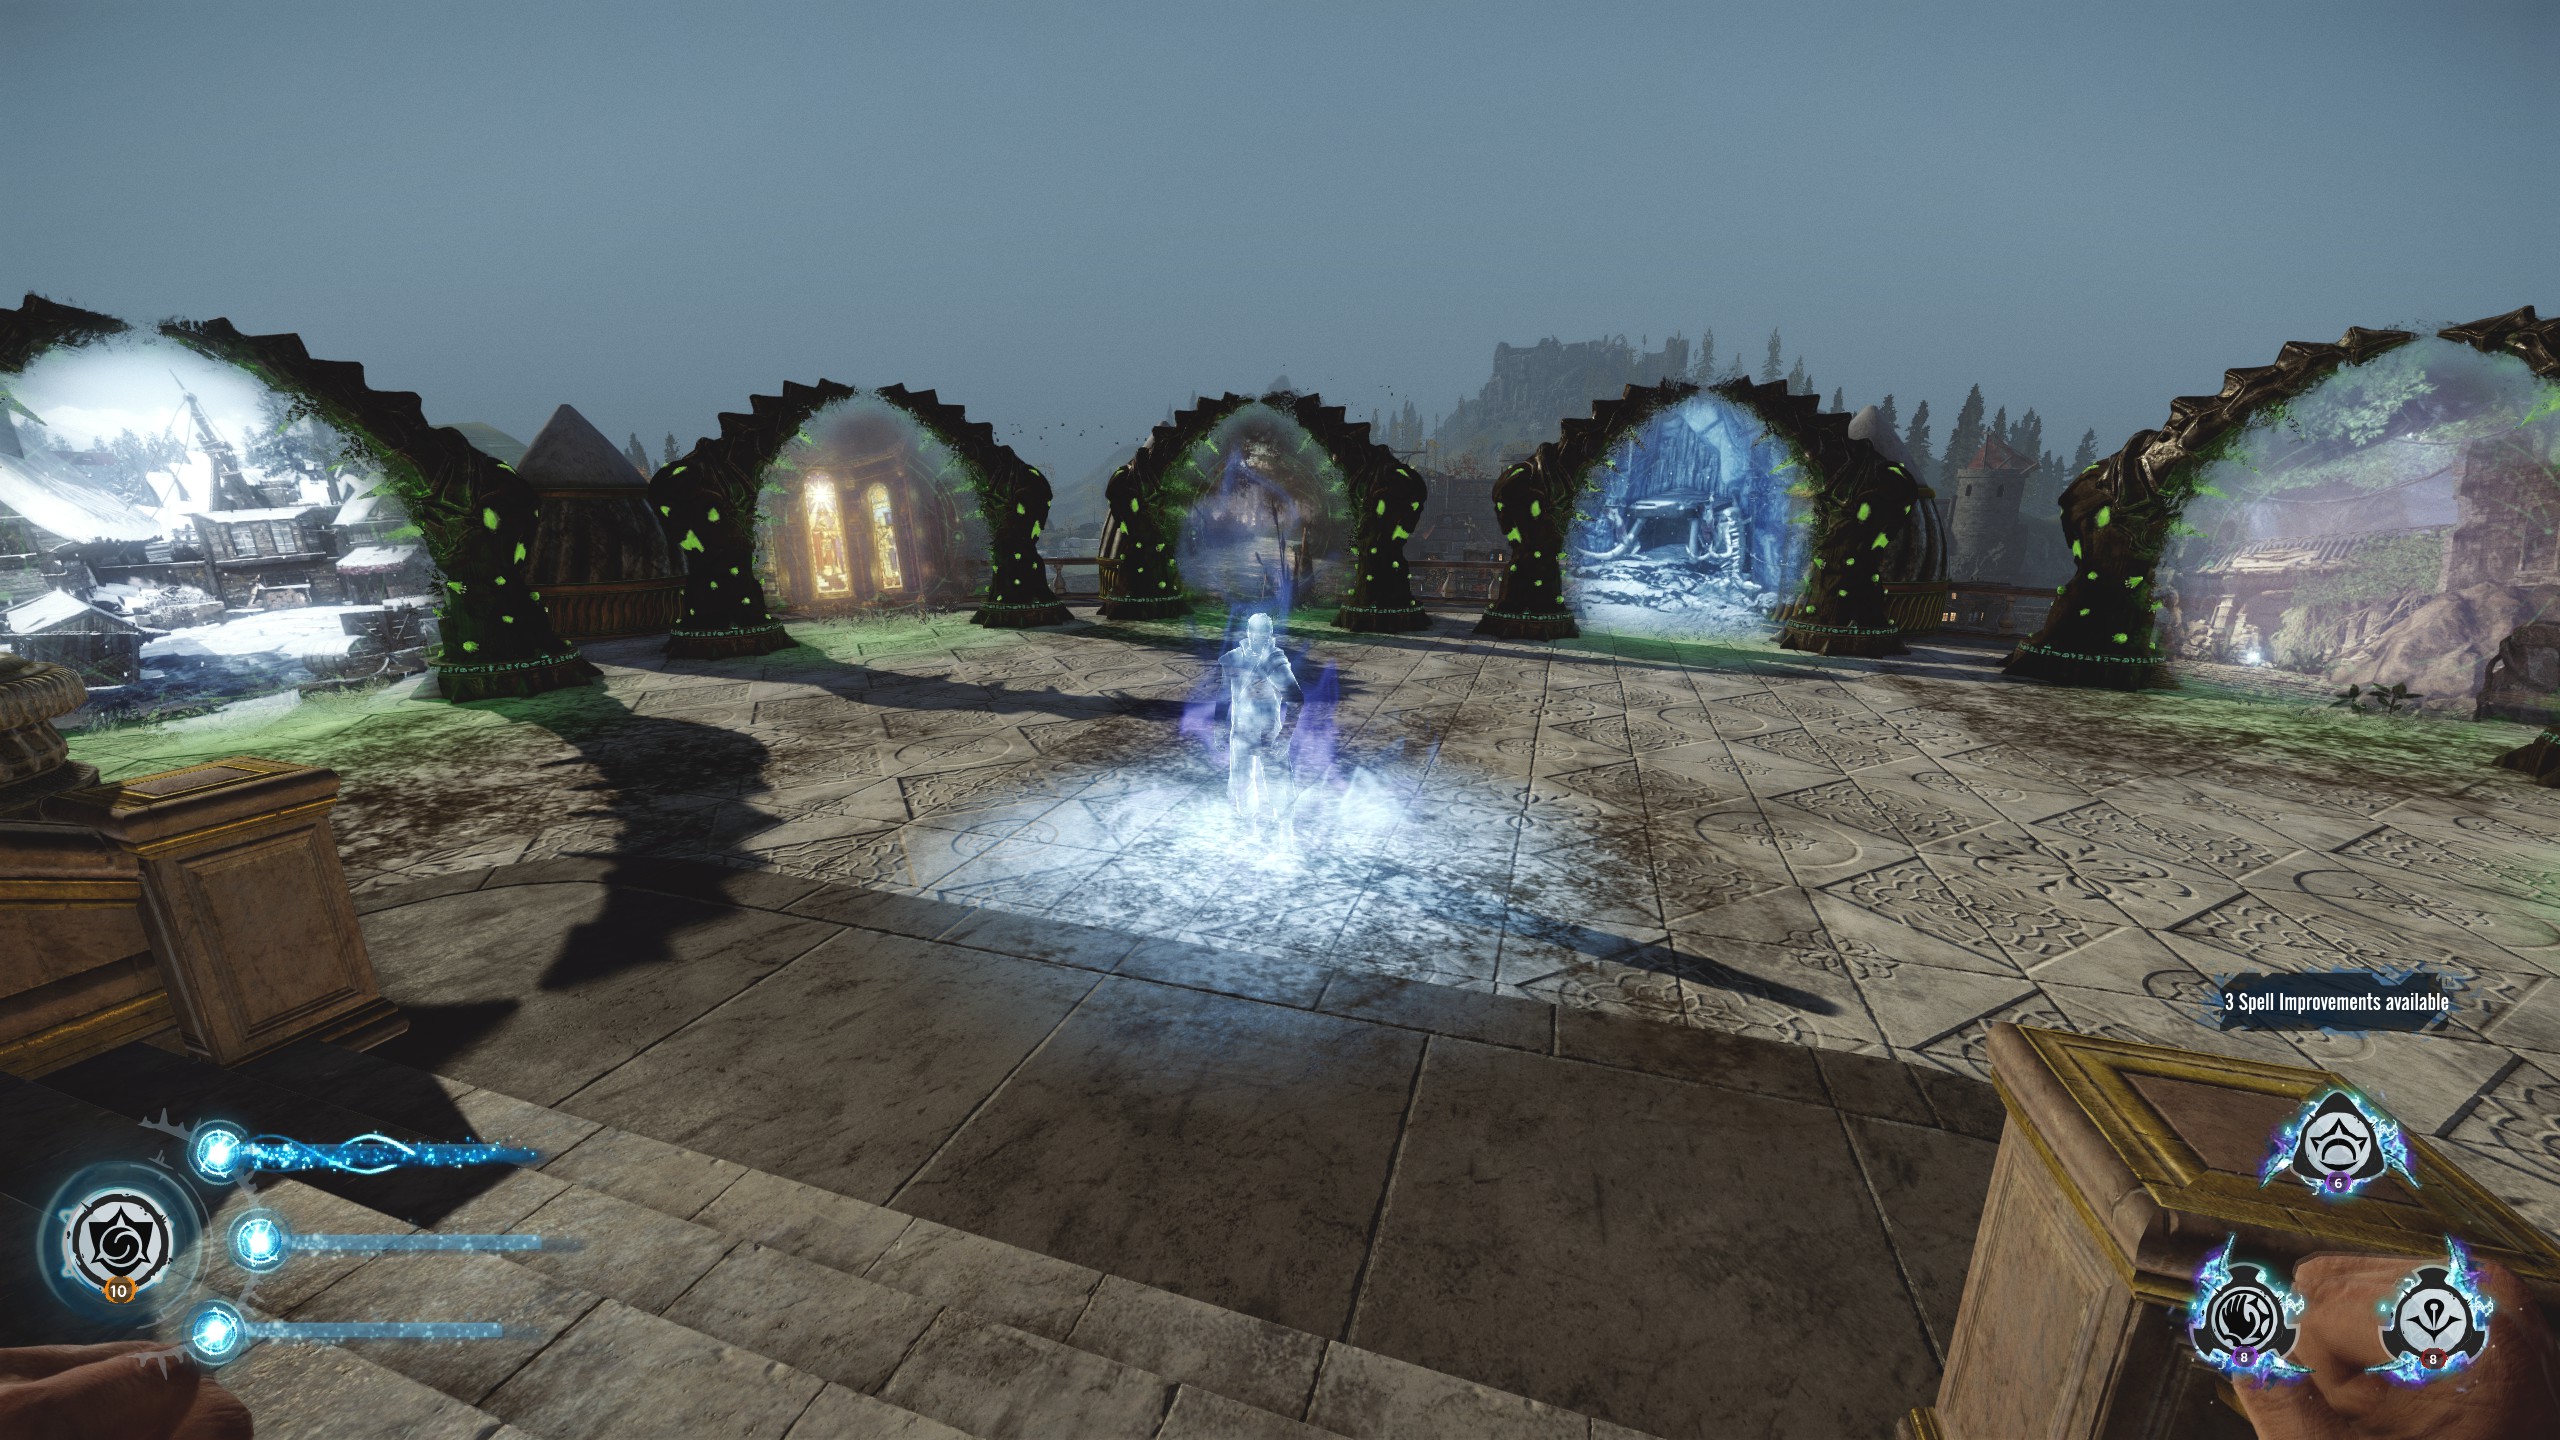
After you’ve finished off Shax, you’ll get access to a “New Game Plus Hub”. That hub consists of nothing else but a balcony with 6 portals.
Those portals have you replay a small part of any of the 8 지역, 으로 분할 3 kinds of portals:
- “Skirmish”: Just reach the end of the level.
- “사냥”: Defeat x groups of enemies.
- “장애를 입히다”: Kind of a tower defense mode.
One set of portals will take about 30 에게 60 분, depending on how many skirmishes you receive, and whether or not you just run to the end with an Agile Shield or not.


Grab a sheet of paper and keep note of which portals you’ve already completed. After you’ve finished the required 3 sets for one of the achievements above, you’ll probably run into the problem of being given portals you’ve already completed. Not a problem for skirmishes, but annoying for the other 2.
If you run into that problem, just go back to the Main Menu, and upon resuming, choose to reset portals. Repeat this, until you get the portals you’re missing.
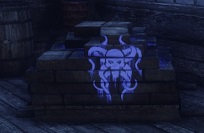
Plaques & Loot Machines

있다 8 “탐침” 업적, which need you to “Find all of the Plaques in [게임]”.
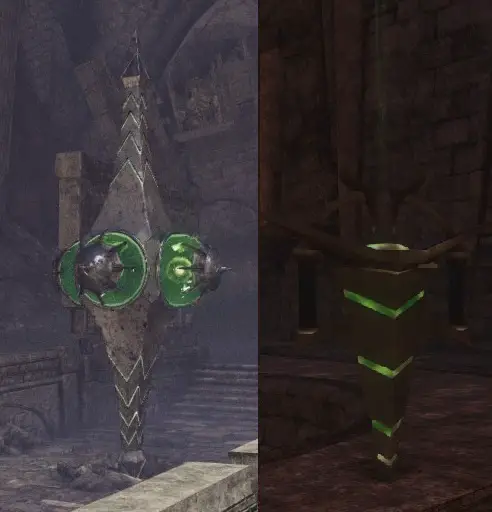

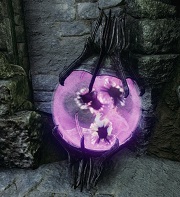
And another 4 achievements for completing up to 20 loot machines.
있다 30 of them hidden in the game and finding 20 of them shouldn’t pose a problem.
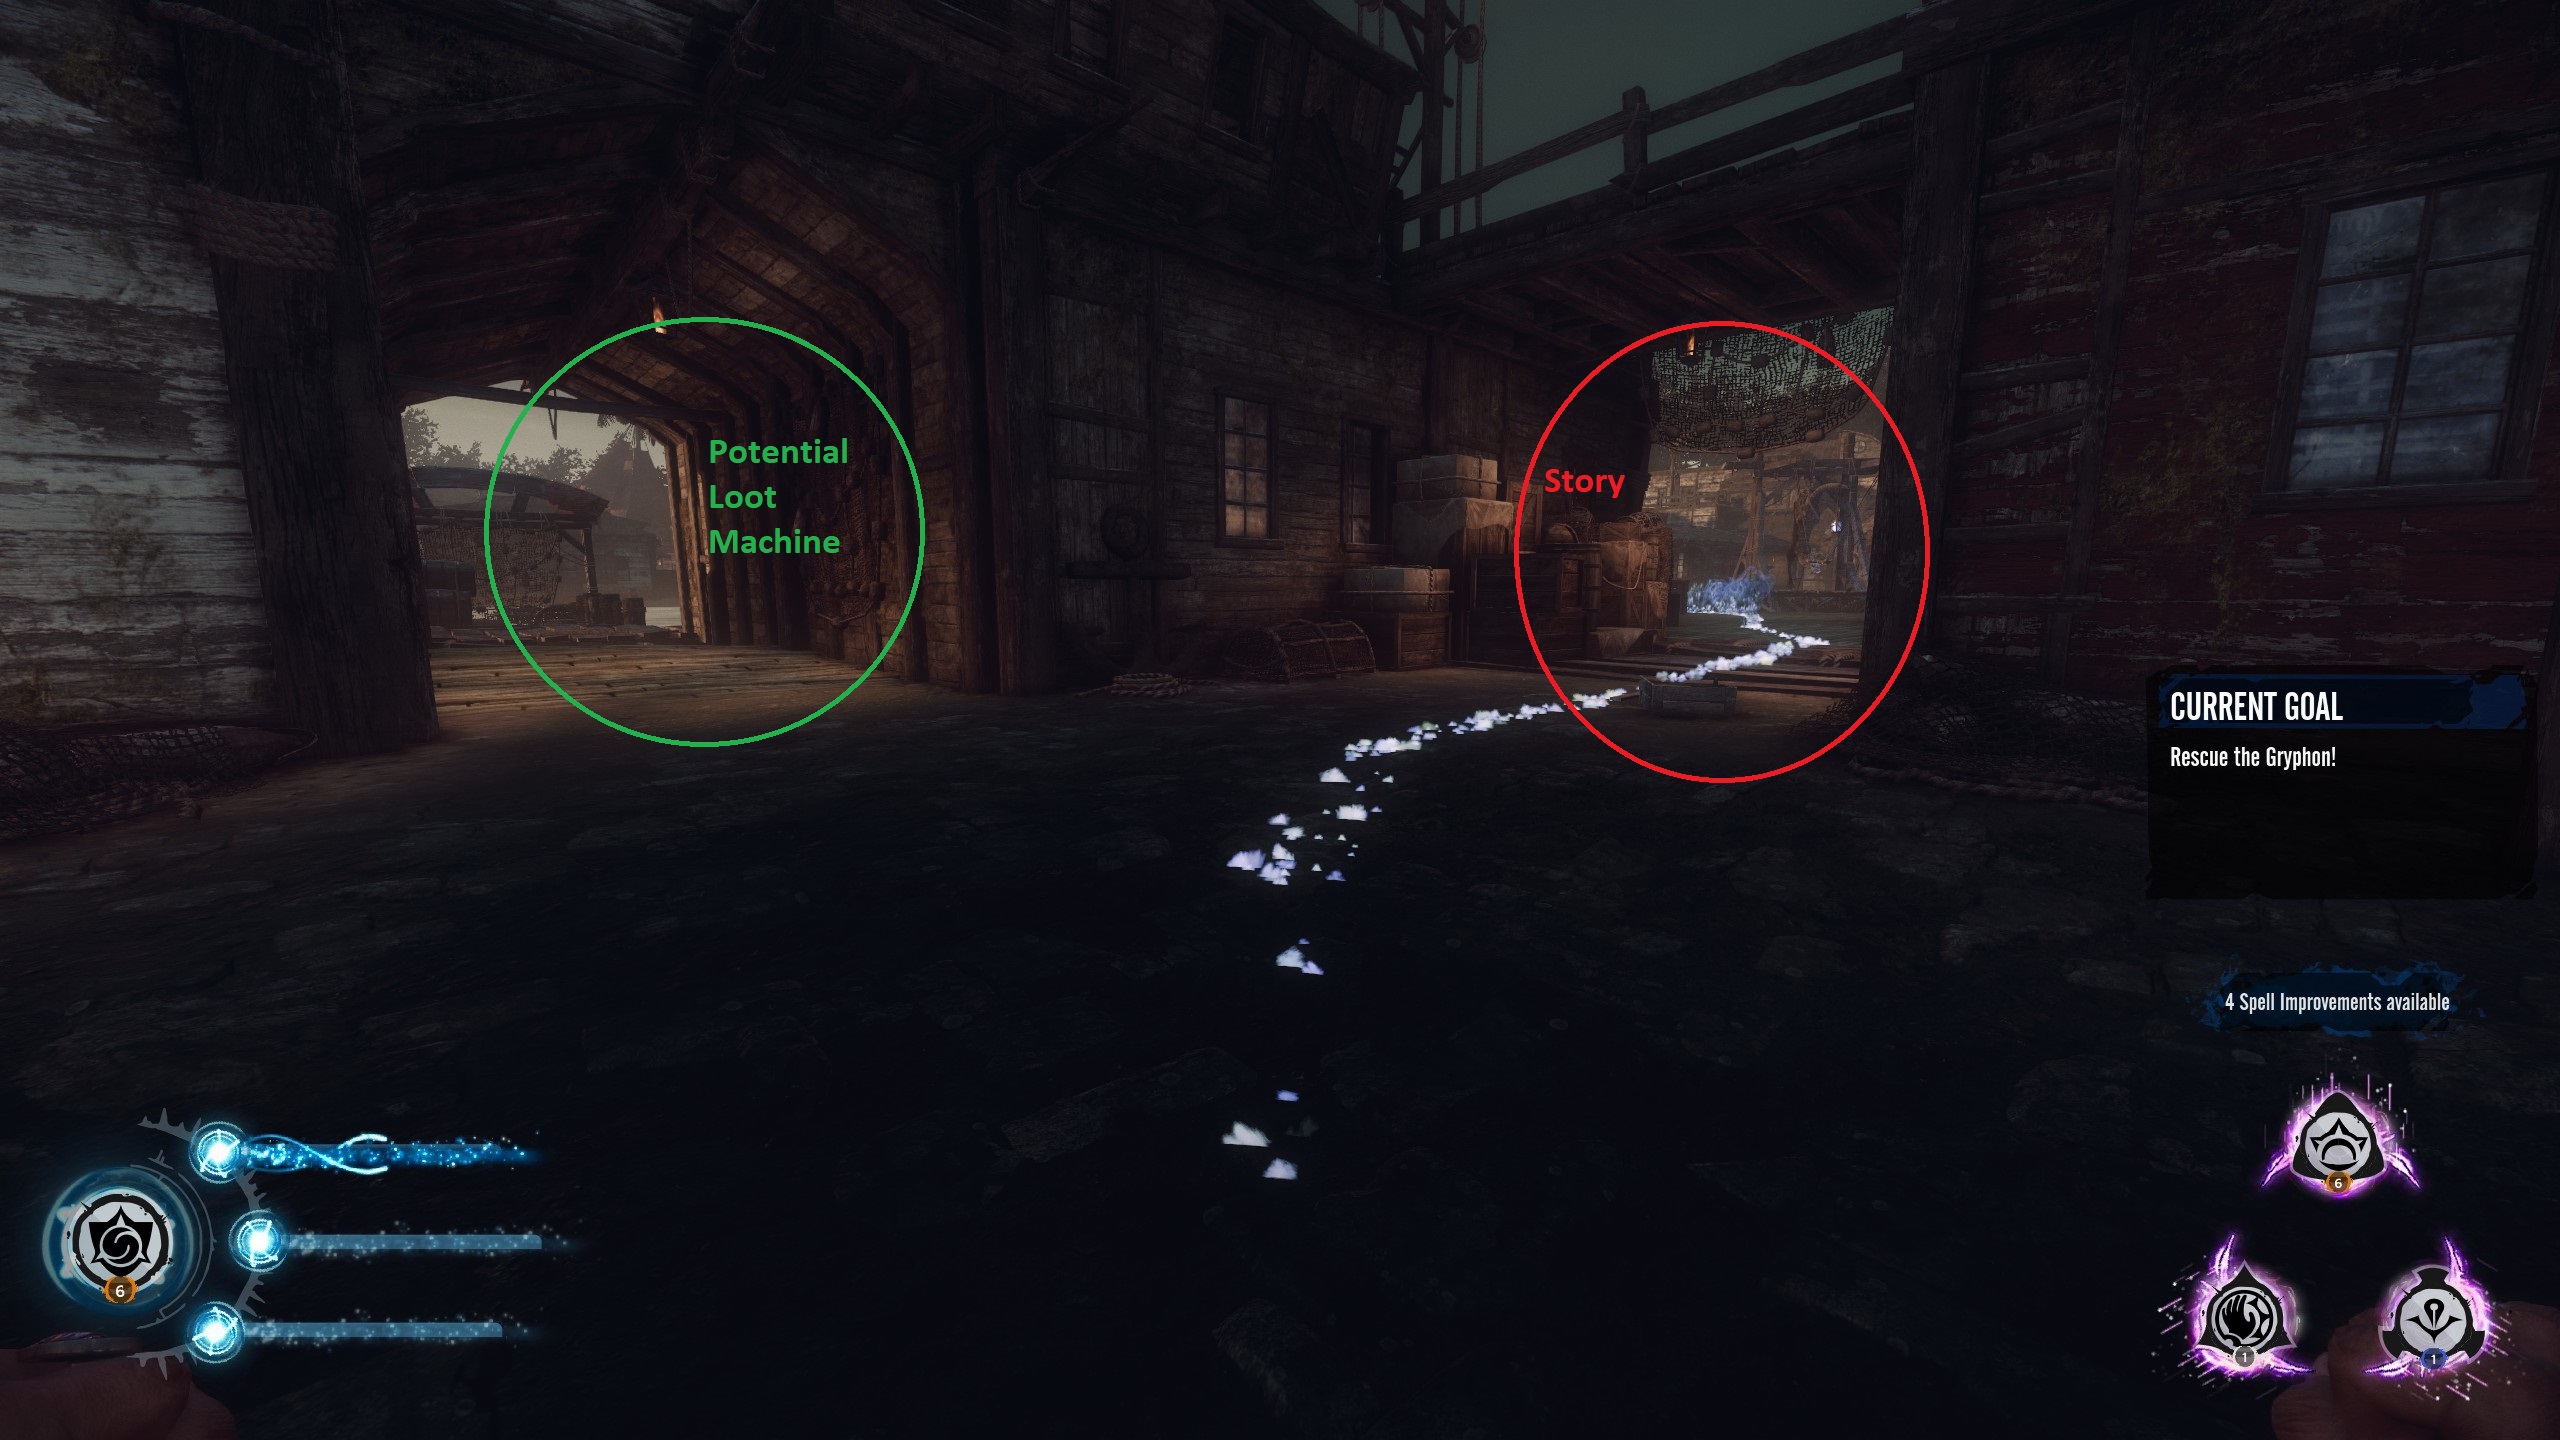
Once you’ve found a loot machine, just shoot any spell at it to initiate it.
- They are almost always at a dead end. So if the path splits in front of you, just press the [다섯] button on your keyboard and follow whichever path gets NOT marked.
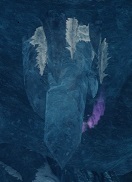
수집품

This Was My Dream, My Wish
There’s like 200 of them in the game, available in all 8 지역.
Drivasser

The vast majority of these is in Drivasser. There’s about a handful in the final area, but you should sort this one out in the beginning.
Grey Teeth & Maelstrom

Within the two areas, there are waaay more than 20, so this won’t be a problem.


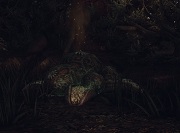
It’s Comin’ Outta Me Like Lava!
Fall in the lava in the Maelstrom
While you’re in Maelstrom, just jump into the lava once.

Zasad & Lost ZasadNothing achievement related here.
Though you may destroy these containers for their loot.Soddentrod

You Took Too Much
crates in Soddentrod


Waving a Razor-sharp
Hunting Knife In Your Eye
These crates don’t actually drop any loot. You’ve got to destroy 20 of them anyway.
The other two achievements unlock, if you destroy one of these crates while I) you and II) an enemy are directly next to it.
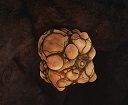
Soddentrod & SinkholeSoddentrod already has the crates just above, but there’s also these plants as the local destroyable loot container.
No achievement related to them, 그렇지만.
Spellcrafting

충분히 쉽습니다, go into your inventory by pressing the [엘] Button, go to crafting and just mash some ingredients together. Doesn’t need to be useful to earn the achievement.

This can not be unlocked until after beating the final boss. While progressing through the 8 areas of the game, each area increases the tier of dropped materials by 1.
Once the story is done, you’ll unlock Vortex Portals – see the NG+ chapter above.
The tier of ingredients dropped in a given portal is written in the portals “이름”, before you enter it. Just keep crafting & equipping higher tier spells and the portal tiers will increase.


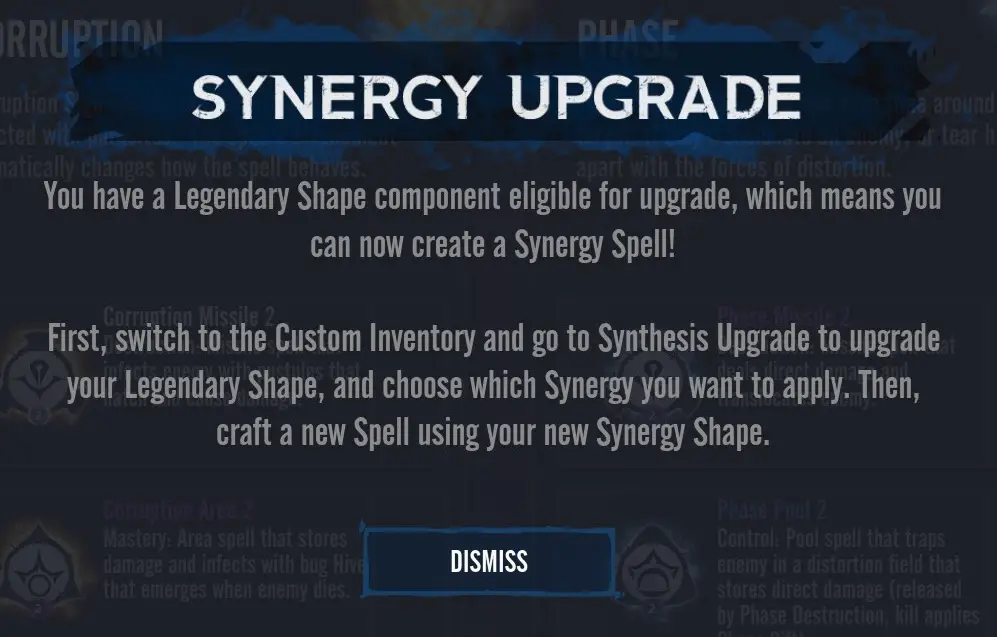
Just keep auto-upgrading materials via the “Smart Inventory”, until the message on the right appears.
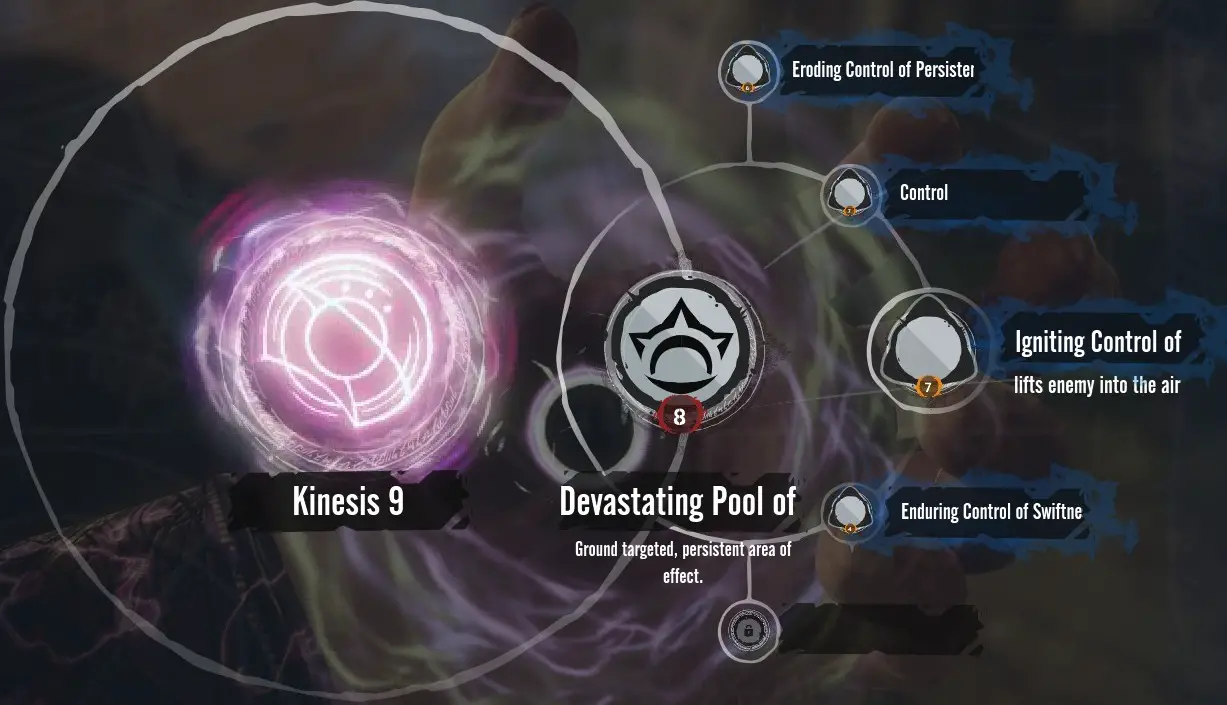
This indicates, that you have an upgradable legendary shape. So switch to custom inventory, 가다 “Synthesis” -> “치받이” and upgrade those non greyed out legendary shapes.
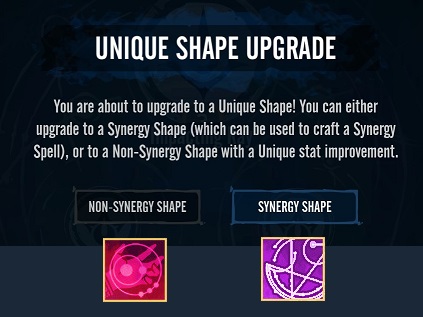
Synergy spells do count as unique spells, but you can equip a maximum of 3 in your loadout, so you’ll have to craft 6 “non-synergy” shapes.
You might need to actually equip every of the 12 unique synergy spells, in order for the game/achievement to register it.

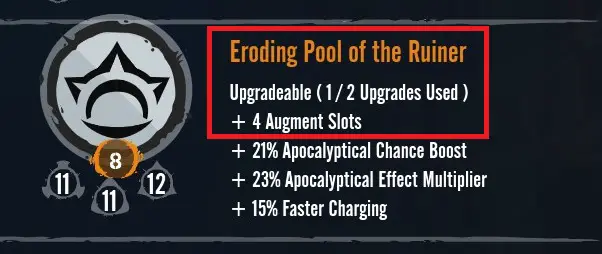
This one is entirely RNG based. It might take quite a while to get a working shape for this one, but it’s very likely to drop before you’ve completed all the other achievements.
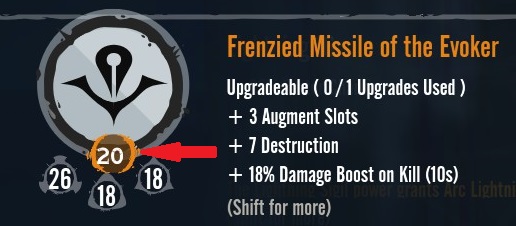
What you need is a legendary shape, that can still be upgraded and already has the
“+4 Augment Slots”
거기에서, upgrade it to a “Non-Synergy Shape” and while crafting a spell, throw 4 legendary augments at it.
Sigil Leveling

Level all your Sigils to 16.
이것이 오늘 우리가 공유하는 모든 것입니다. 리치 돔: 전함 가이드. 이 가이드는 원래 작성자가 작성하고 작성했습니다. Brachragon. 이 가이드를 업데이트하지 못한 경우, 다음을 수행하여 최신 업데이트를 찾을 수 있습니다. 링크.