- 제목: 감염자 3: 묵시
- 출시일:
- 개발자:
- 발행자:
Information about Infectonator 3: Apocalypse is still incomplete. 이것을 사용하여 게임의 세부 정보를 입력할 수 있도록 도와주세요. 문의 양식.
So this is a simple guide to what you need to know in order to conquer humanity. There are a few different efficient builds you can reasonably do and this is the standard to have a strong basic zombie build, which can allow you to get onto the leaderboards.
Your Starting Location
The fewer standard zombie mutation types you have, the more spread out your upgraded zombies will be, and low-level zombies are trash zombies in any part of the game. Starting with gold is a good option for your first playthrough until you have a general idea of what you want from your zombie build.
Stat Upgrades
DO NOT BUY STAT UPGRADE PAST Lv. 2 3 (You can leave mutation at 0 원한다면) until you’ve determined how you want your initial infection attack to interact with the support items. Once you’ve mastered the basics of infection, you can start leveling up your stats in any way you want. These all add very small increases to their costs and are essentially a money sink, and should be considered secondary to the support. You may want to spend some money on this, especially if you see a 50% off sale.
Support Items – Initial Infection
Your ultimate goal money-wise is to get Virulent Chain, so that your initial hit can start you with 0~20 zombies, then get an additional transmission vector capped so that you can raise that to 0~72 starting zombies. You might want to invest in a few points of transmission vectors before getting a virulent chain, just to make clearing the maps easier and get the bonus rewards a little easier. I’m serious, 당신은 얻을 수 있습니다 72 starting infections with this combo. 이후, put points into Permeable walls and, 원한다면, go to Virus Explosion and Virus Spill to boost the power of your initial attack.
Support Items – Actual Items
Keep 3~4 grenades and 3~4 mines equipped at all times. Use mines to wipe out ZIT troopers when they begin to spawn and grenades to pick off groups that are out of the way and you have no zombies to kill them or can not reach them. A canister is a god-send and you should have two in your building for emergencies, wiping out a group of soldiers or police all at once, turning them into zombies. This then leaves you with one slot left to have either a burger or goop. Toss three down and let civilians walk into them to be turned while also DoTing enemies. Burgers, 반면에, aren’t very useful. 솔직히, just pulling some into it transforms them.
특수 좀비
중요한 것 먼저, make sure to upgrade your common zombies as much as you can and keep your mutations at roughly half the level of your common ones. This is where the true stat upgrades come from. Special levels don’t really matter because they’re expensive and just a point sink once you’ve leveled up your primary mutations; they’re mostly for their AoE buffs/debuffs, with the exception of damage dealers like Yeti, Dracula, 그리고 다른 사람들. On the subject of special infections, you will receive two for free early on.
Freddy & Jason. They both function as AoE buffs. Keep them in your bar as they’re both very useful support for your other infected people. If you defeat the Canadian boss, you will get the Disco Zombie, which is undoubtedly the most powerful infection because of his time-stop ability, which disables cooldowns. He’s a very useful infection. My common tactic is to drop a Disco Zombie into the initial infection attack, then toss a Freddy down immediately in the center of it, and then a Jason while time is starting to resume. Your initial zombies will be super-fast and durable killing machines for a while. My bar is generally a Disco Zombie, something fun, such as Dracula if I get him, or Freddy and Jason.
추신: Zomblins may not sound like a useful unit, but they can work as a good distraction. They home in on coins when they drop and have a very high damage resistance, so they will eventually start distracting ZIT and other enemies with guns as they’re drawn to the fallen coins and soak up the damage while your colleagues come over slowly to devour them. It’s probably better to get a more useful unit instead, especially if you’re starting out. They will also find hidden stashes of coins on the maps as well, which sometimes have well over 10,000 coins in them, 놀랍게도.
DNA Upgrades
Every time you buy a DNA upgrade, the next upgrades will be more expensive, so shuffle and focus on getting the Common Zombie upgrades unlocked first, with the mutation trait being optional depending on if you want more common or more specials to spawn. 또한, save up for an upgrade; it will be beneficial in the long run. Make sure to choose wisely which mutations you want to unlock, because each mutation will, 물론, lower your overall killing power as you’ll need to spend money on zombies to upgrade them. The Swarmers are a pretty good combo. They grab and hold their prey and spawn in groups of three when they do spawn. 을 더한, you get the Biker, which is also a 3 unit spawn, and the standard grabber as well. With that combination, you’ll have to level up with five different mutations in addition to your commons. But that is still a reasonable amount of units to level up. You can experiment with different builds to see which ones you like best, and then adjust your mutation percentage to fit the style of your build.
지도
My advice is to begin by clearing tier 1 of each map tile and focusing whenever a research station appears; things get too difficult in the 40kill them all sections; 그 다음에, feel free to do some tier 2s and tier 3s to level up your zombies and initial infection. Research labs generate research very slowly with only one vial, but if you see more than one ~ you will want to stock up on 4~ 5 grenades and mine weapons and smash them with your Freddy & Jason combo and mine-bombing the backup. Once you’ve mastered ‘Kill them all,’ go ahead and kill the bosses for some extra buffs and specials.
노트
- May make the game a bit less fun as you’ll just be steamrolling everything, with even a couple of your teammates being able to wipe out a ZIT squad within the first 15~28 seconds.
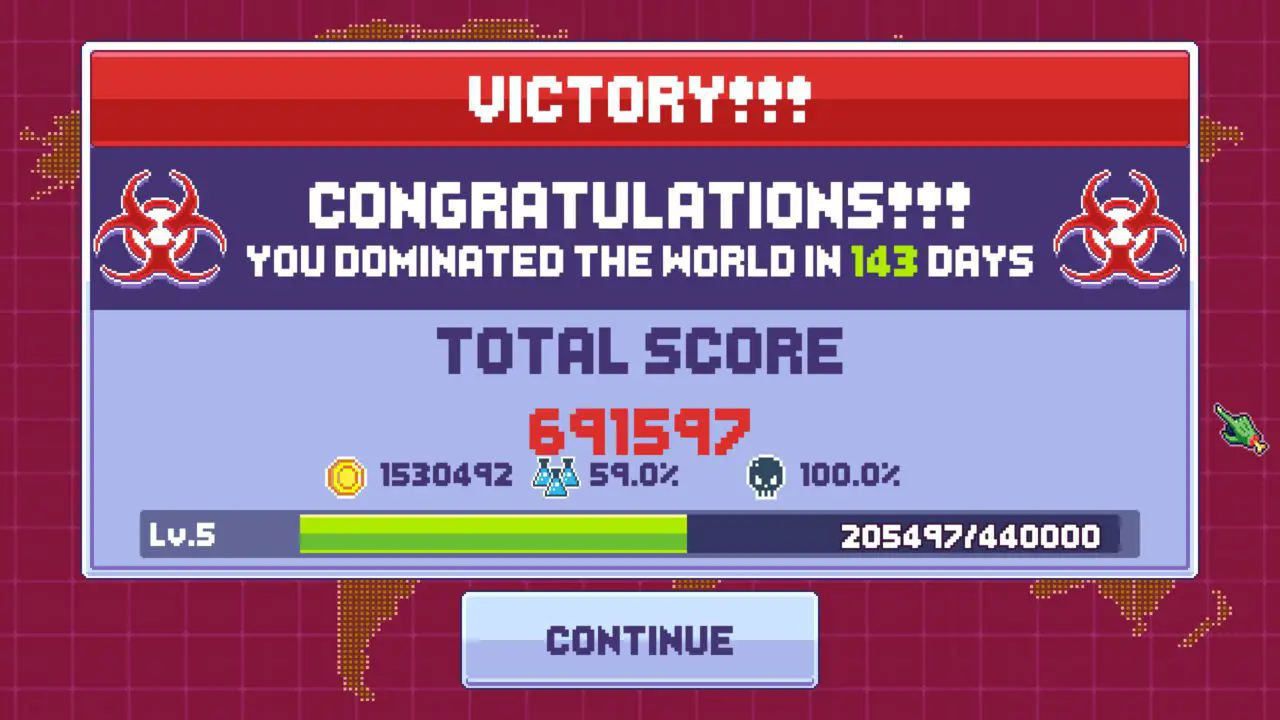
- Do not expect to actually get on the global leaderboard. It is impossible. Even if you perfect every single map with a score modifier, you will not break into the 700k bracket.