

- 제목: Hands of Necromancy
- 출시일:
- 개발자:
- 발행자:
Information about Hands of Necromancy is still incomplete. 이것을 사용하여 게임의 세부 정보를 입력할 수 있도록 도와주세요. 문의 양식.
Each episode of Hands of Necromancy consists of seven maps. The first of these serves as the hub for the episode, wherein lies five portals to following five maps. Four of these maps are connected with each other progression wise, 즉. the six different keys are shared between them and the Necromancer needs to visit most of them more than once, carrying the needed keys from one another. He also gains access to four different transformations throughout the course of his adventure. These transformations come with their own combat and exploration abilities and are also required for progression within the episode.
Fully completing the requirements of the first four maps within an episode lets the Necromancer access the sixth map of the episode in question from the related hub. The sixth maps are self-contained. They mark points of no return and serve as an intermediary level between the hub and the final map of the episode. 마지막 (or the seventh) map of each episode is also a self-contained affair, culminating in a boss battle with one of the Undead Kings. The only exception to this system is the final map of the third episode, which leaves aside the ordinary level build-up and places the Necromancer directly in an arena where he battles the last Undead King.
There are not any secret maps in the game. Even though starting from the second or the third episode grants the Necromancer the transformations he should have gained by that point, it is recommended to start from the first episode if it is your first playthrough.
This guide lists the secrets in order of the map numbers. 아직, considering the hub based progression, the actual order of tackling the levels may highly differ. If a transformation is required to reach a certain secret, the guide tells it in brackets.
All the screenshots are slightly gamma tweaked outside of the game for better clarity.
삽화 2: The Realm of Chaos
The game collects and offers hints on a key press. In case things get confusing, here is the optimal order of progression through the episode:
- Clear out the Forest, get the lay of the land and find the secrets.
- Get the Wind Key from the City of Despair.
- Get the Skull Key and the Snake Key from the Cemetery.
- Return to City of Despair and get the Dragon Key.
- Get the Hell Burner transformation and the Fire Key from Church in Hell.
- Get the Iron Key from the Ice Cave.
- Return to the Forest, raise the bridge and enter the Earthen Depths.
- Fight your way through the Earthen Depths to reach the Frozen Fortress.
- Fight your way through the Frozen Fortress to confront the second Undead King.
The Realm of Chaos contains a total of 18 기미.
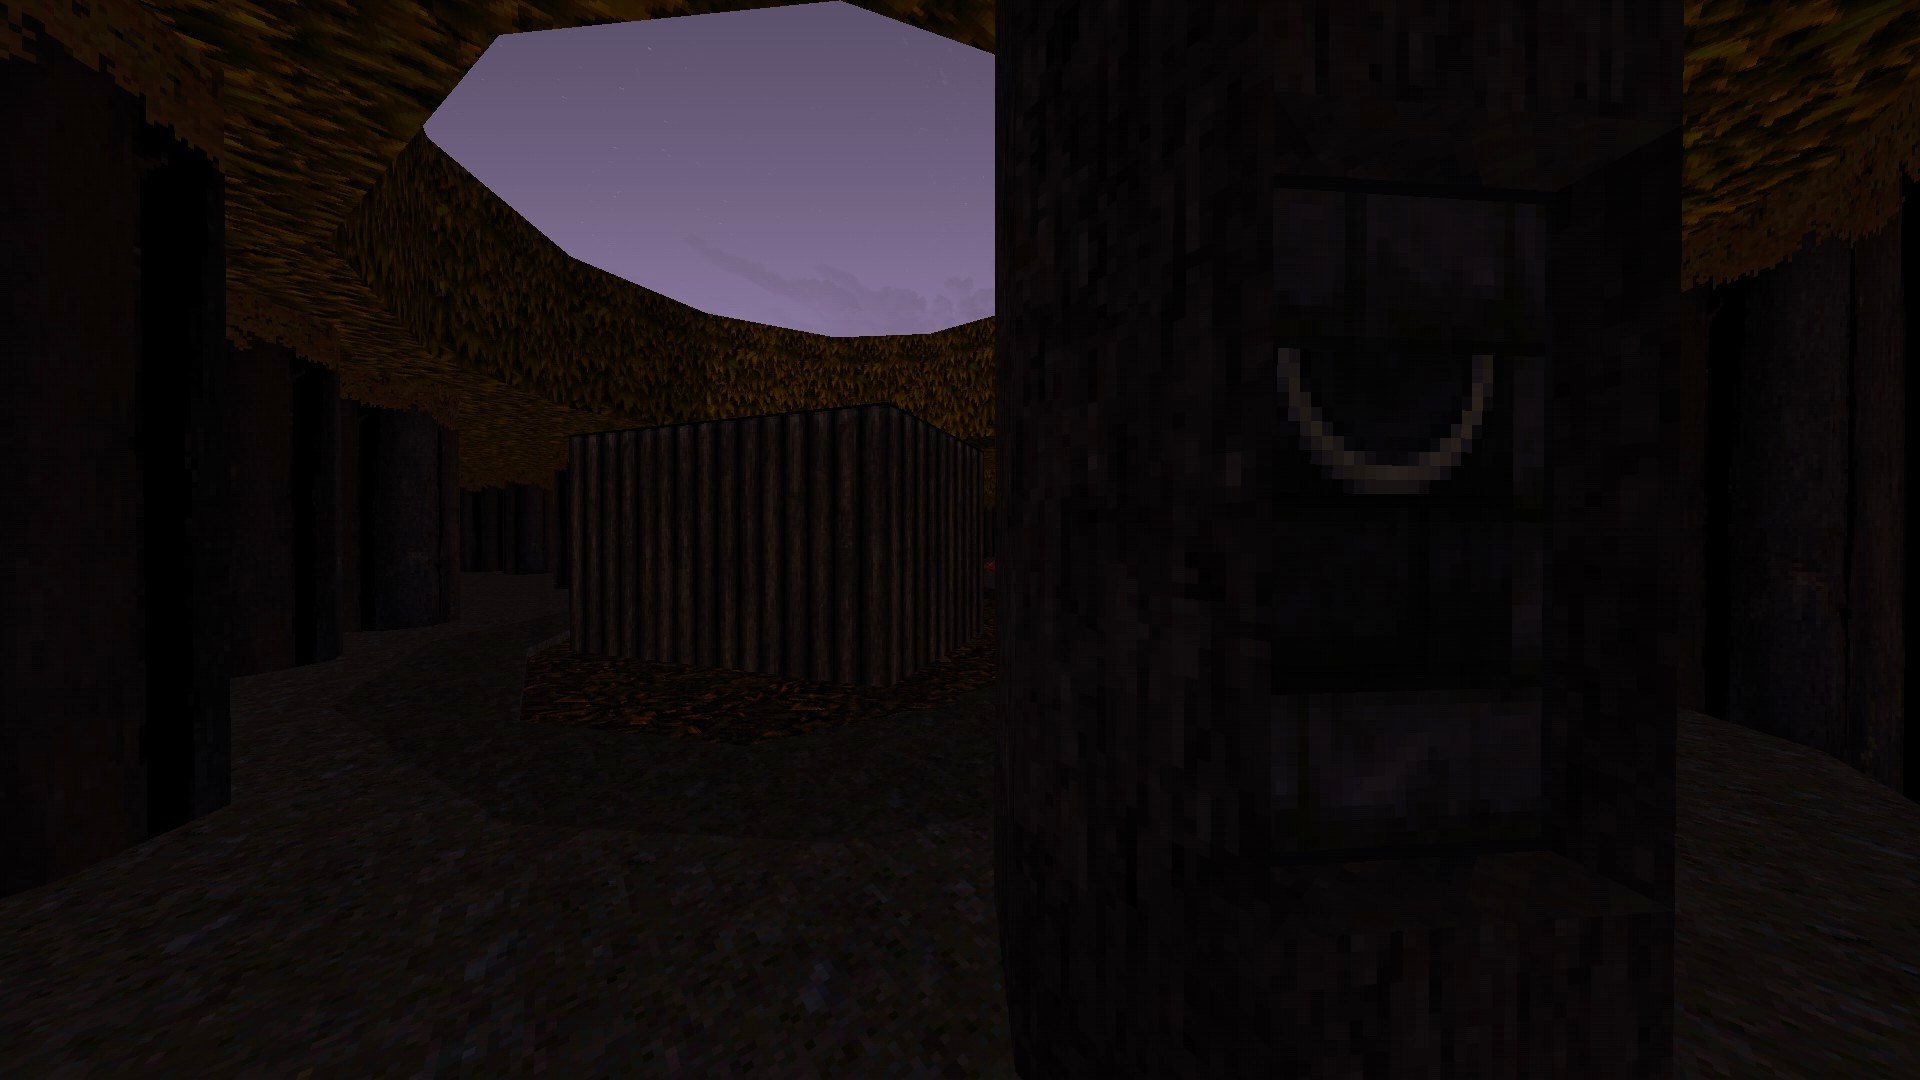
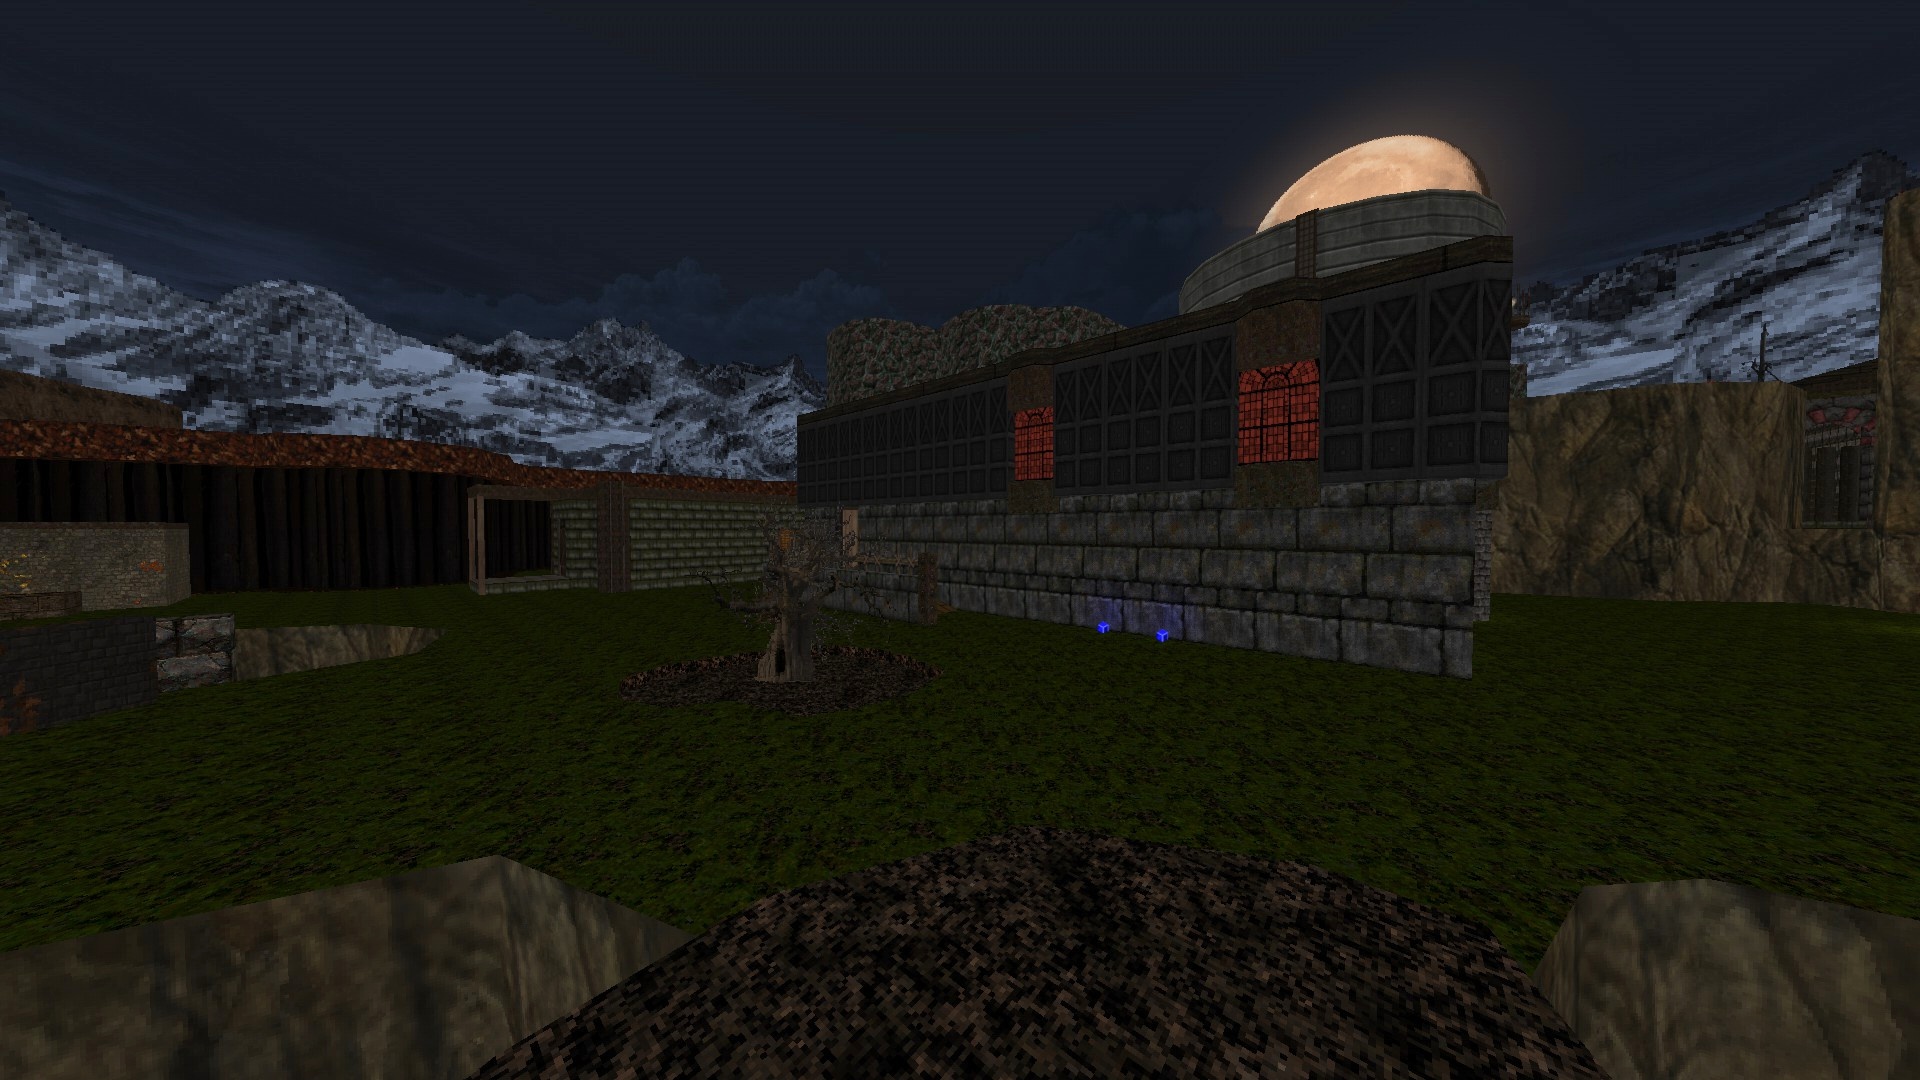
M08: 숲 (Hub)
This map contains 2 기미.
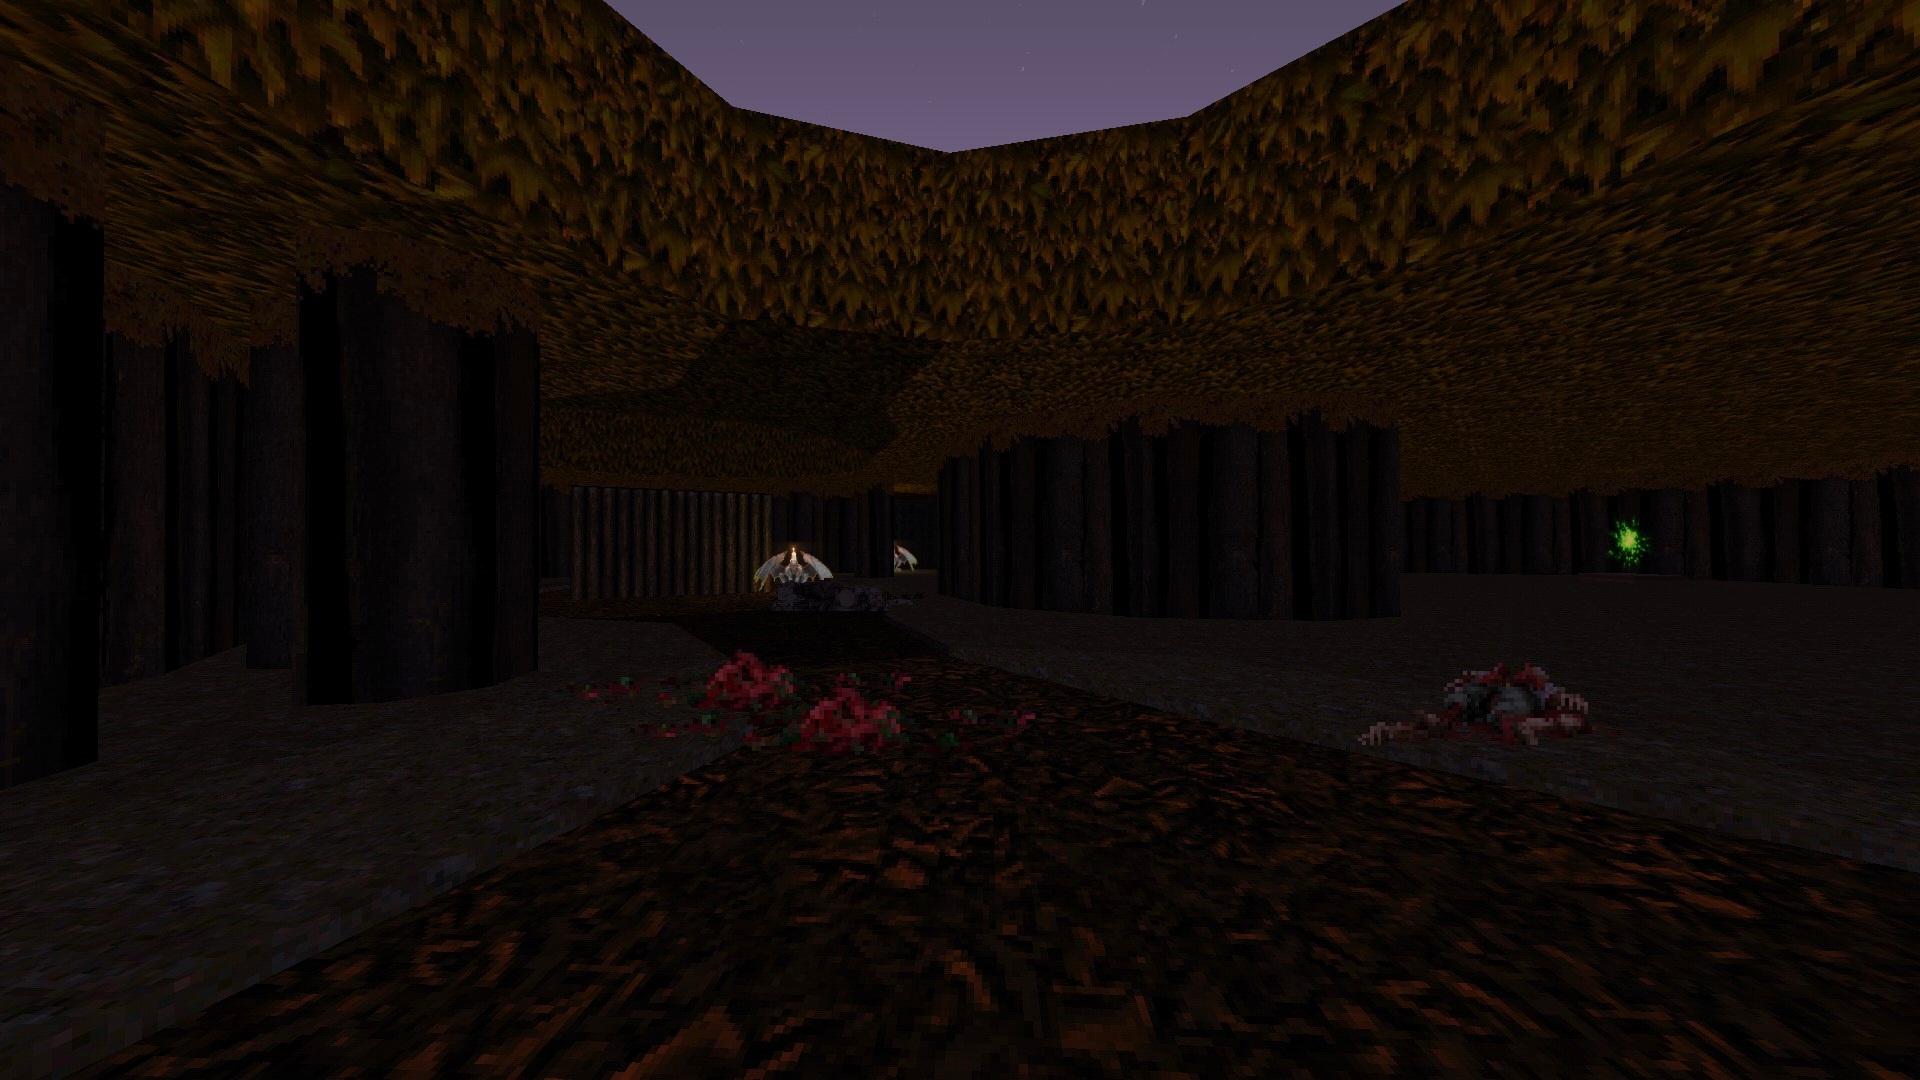
1/2 – On the path that leads to the Church in Hell, look for a switch hidden within a tree to reveal two out of sight items.
2/2 – (Swamp Serpent) Look for an opening that you can fit through on the path that connects the Cemetary entrance to the bridge that requires three keys to reach a hidden weapon.
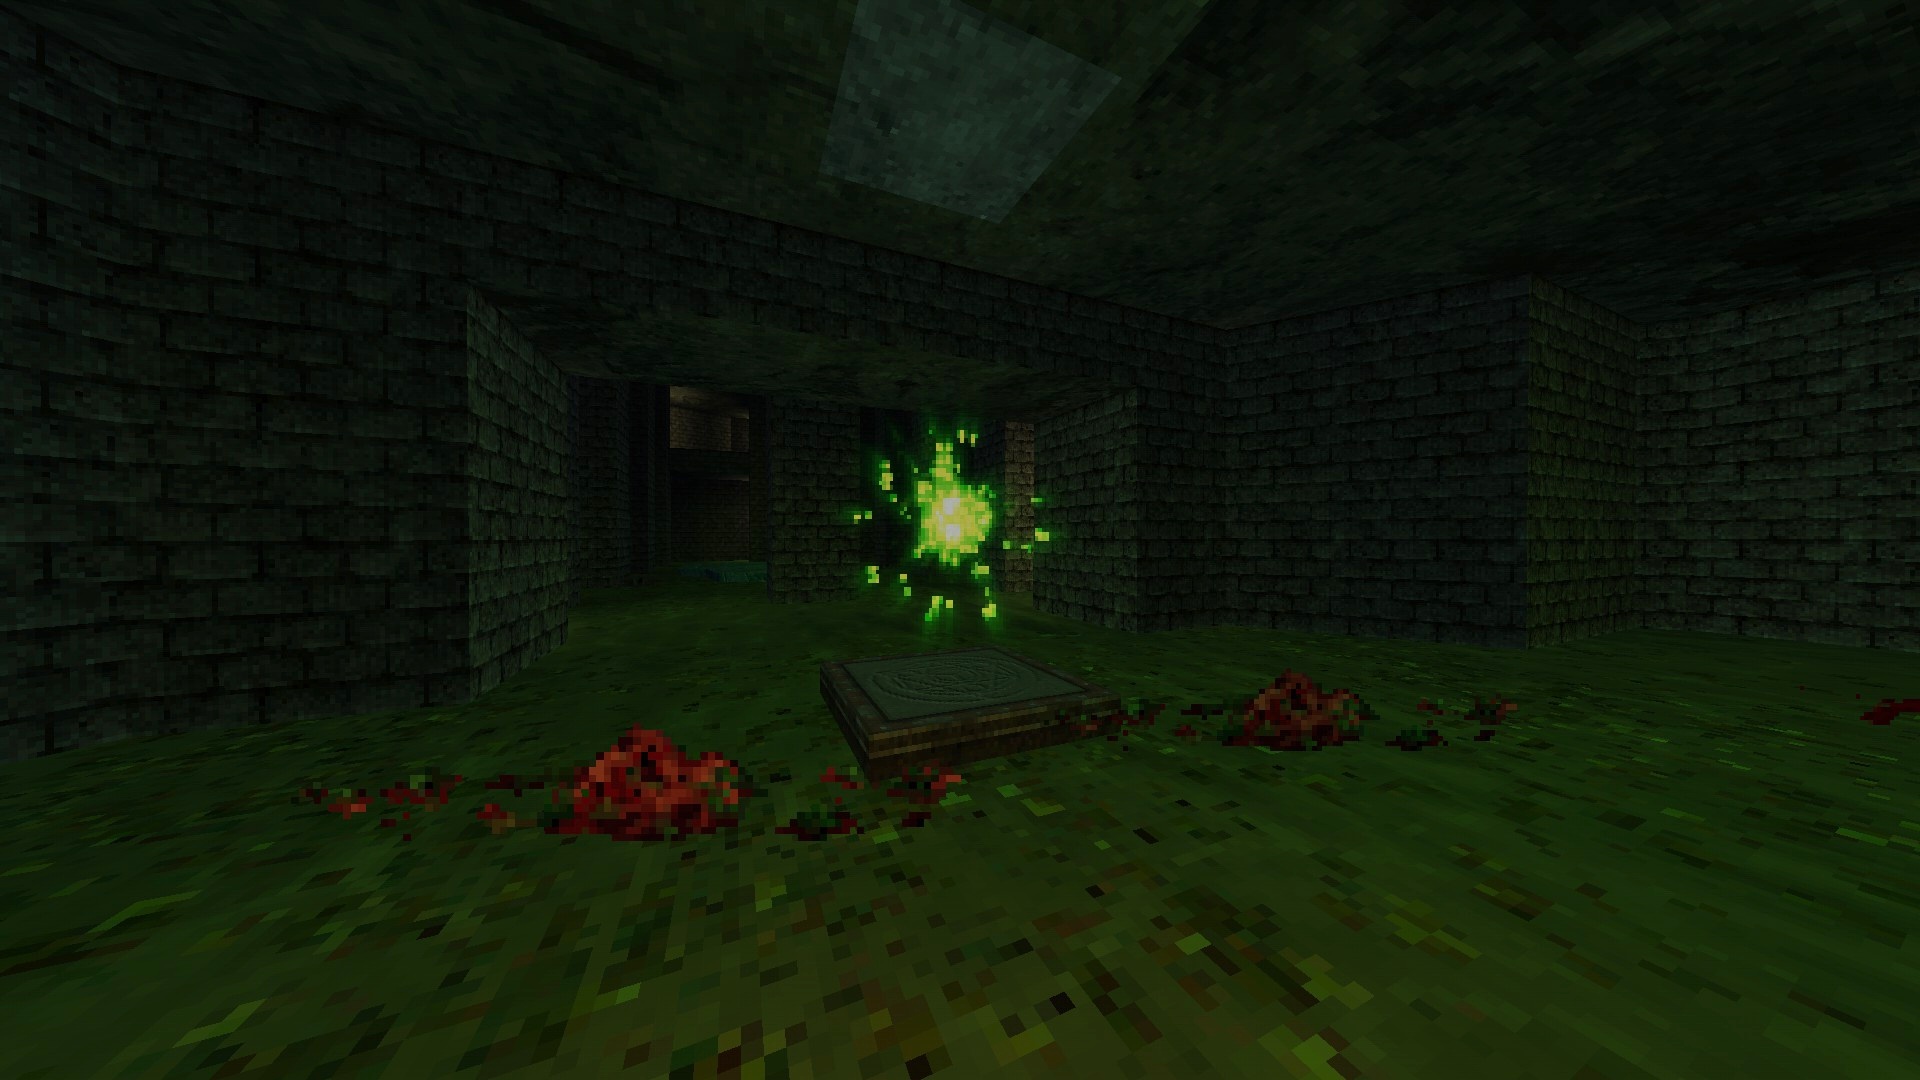
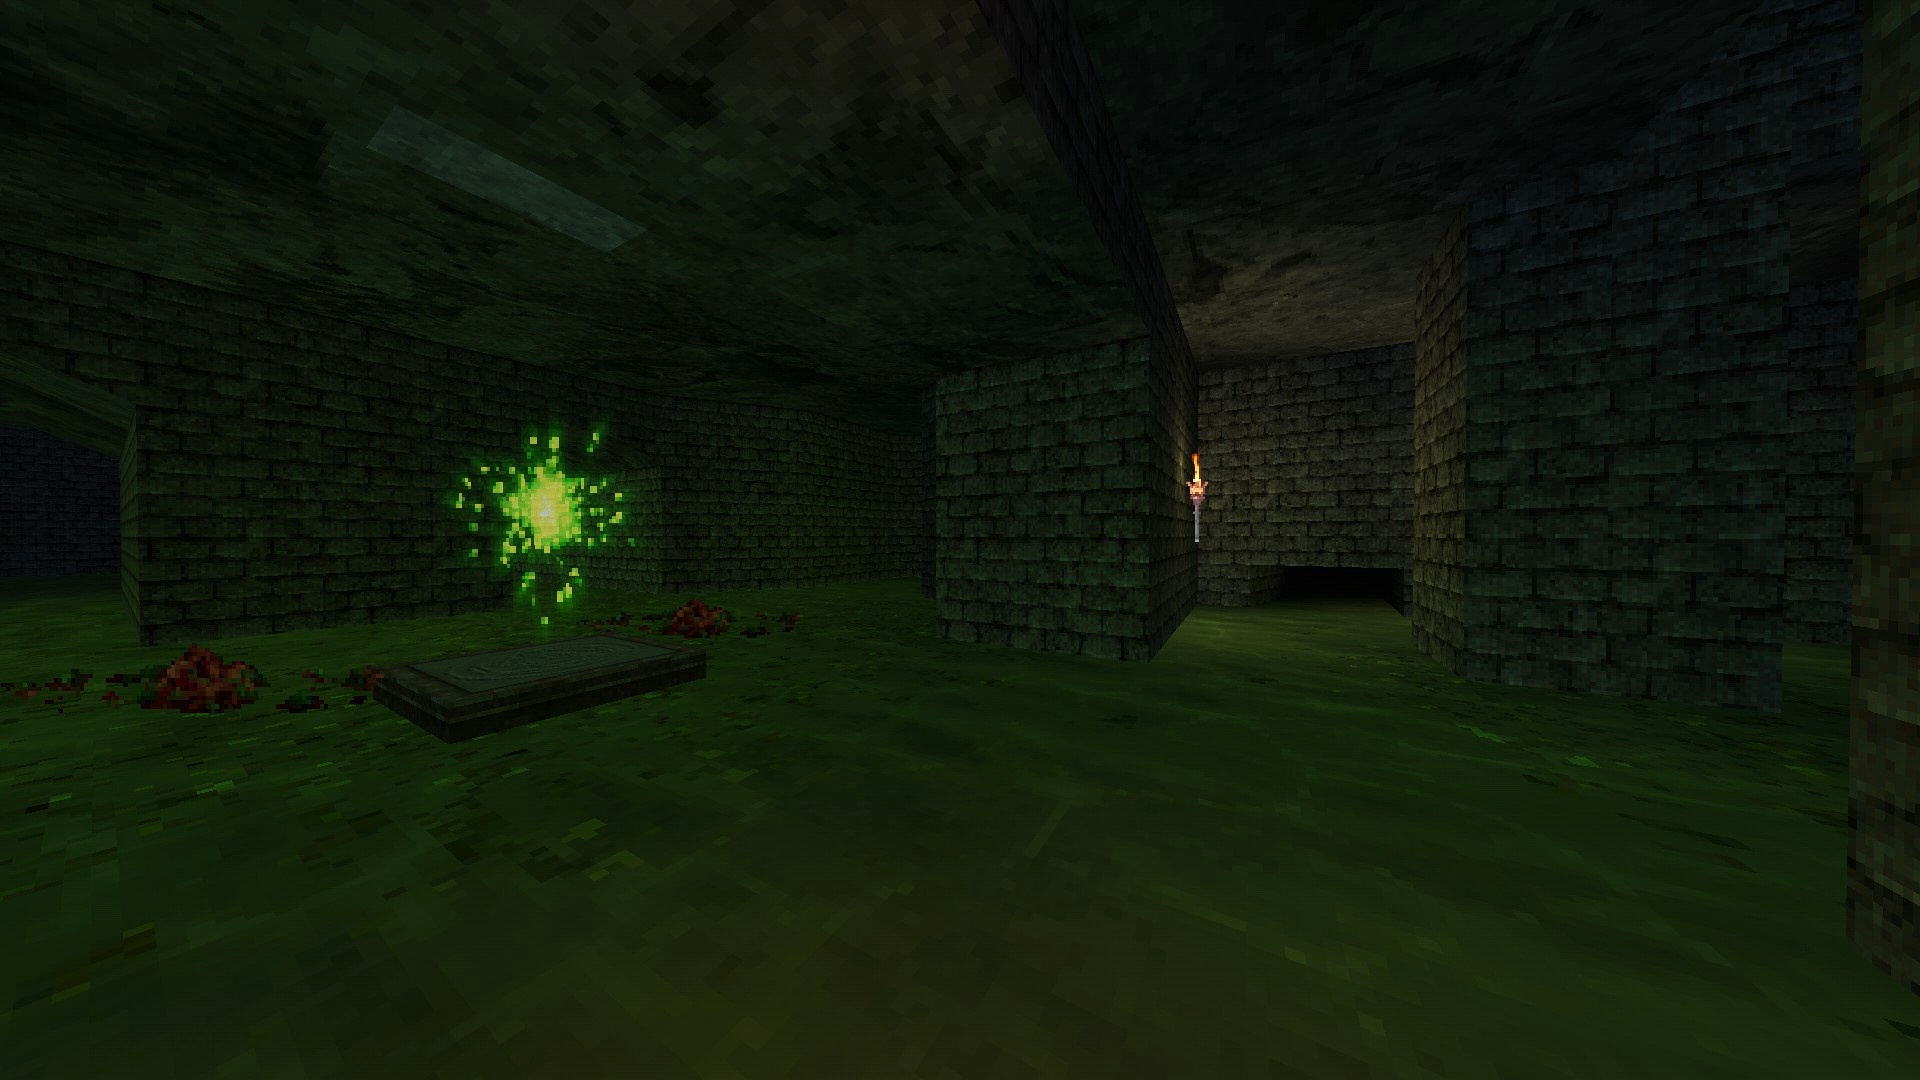
M09: 묘지
This map contains only a single secret.
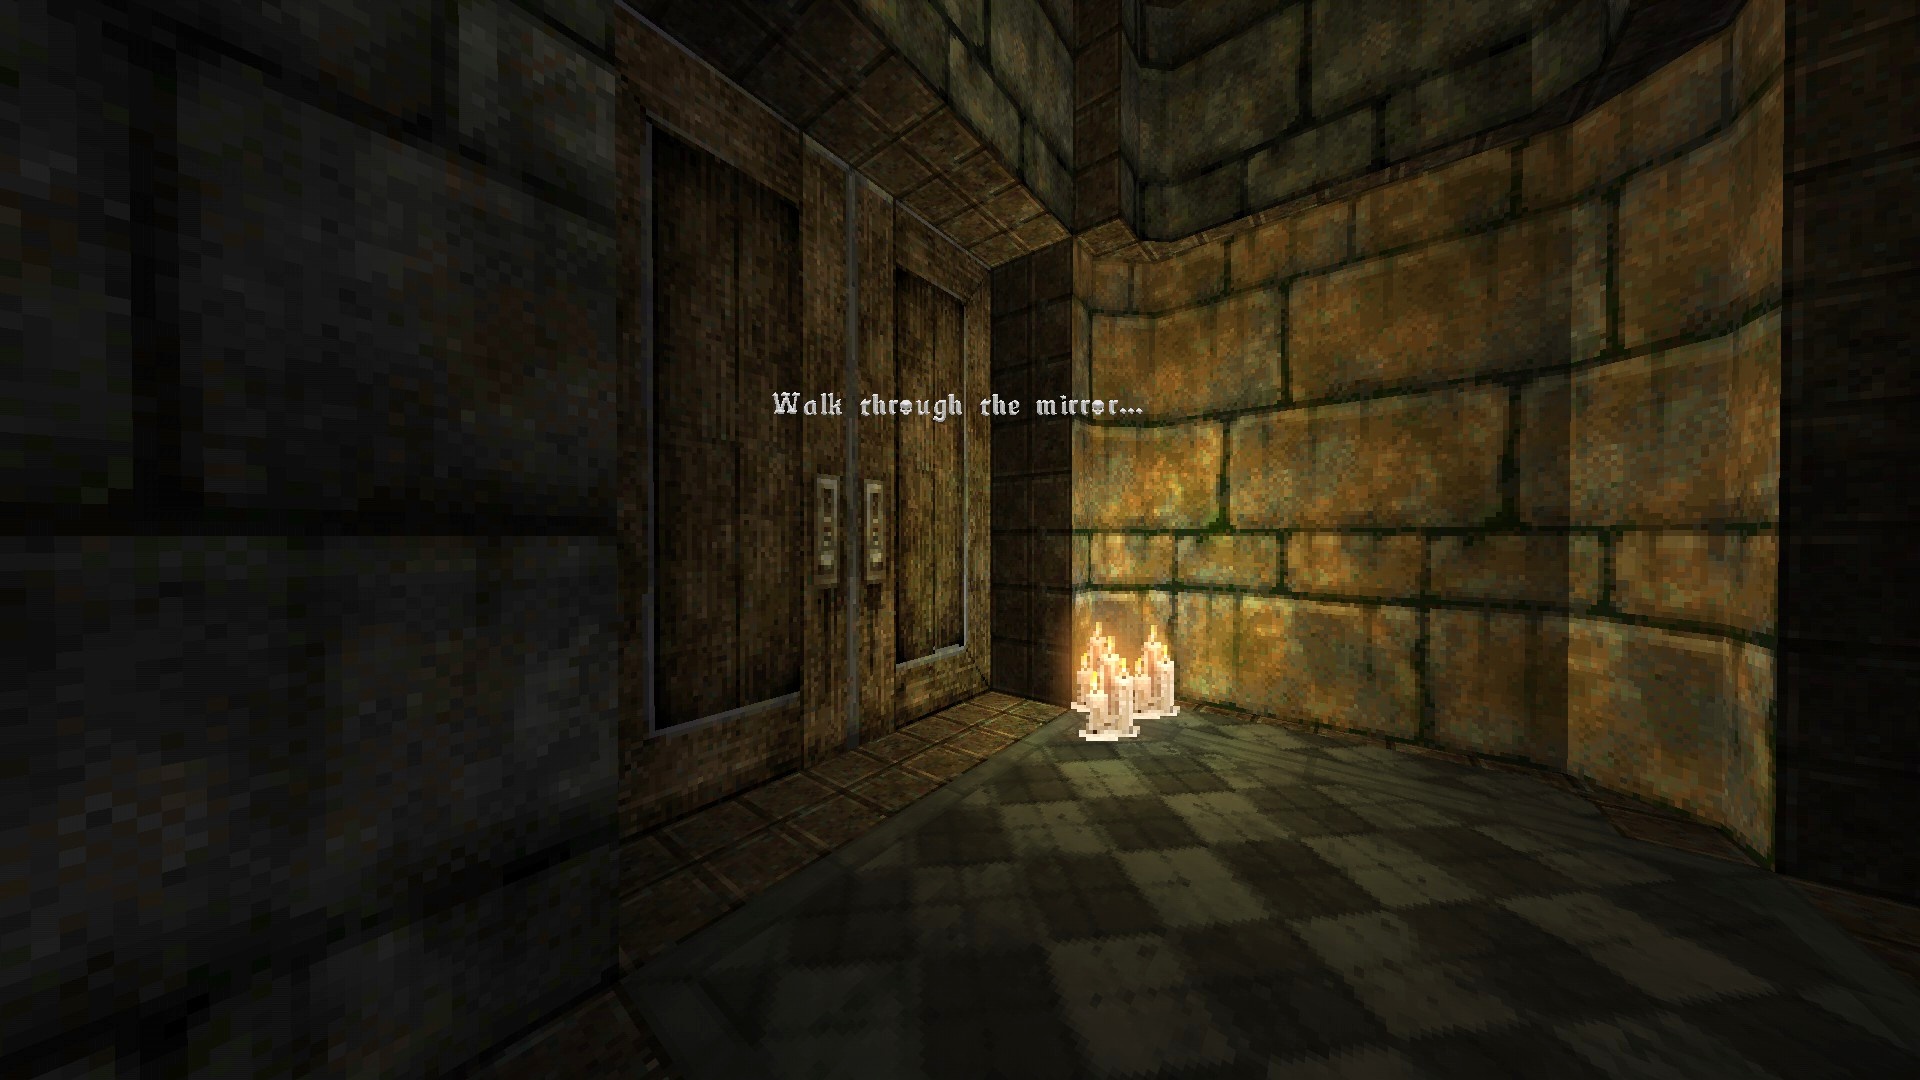
1/1 – On your way out after picking up the Skull Key, take the left path once you come across a set of identical stairs on both sides. Notice the door that returns the message ‘Walk through the mirror’ as you continue upwards. As soon as you step outside, look for an opening on the other side of the valley. Make your way across and go through the opening to find yourself back in the hall at the end of the stairs (따라서, ‘the mirror’). Return to the door from before to find it open.
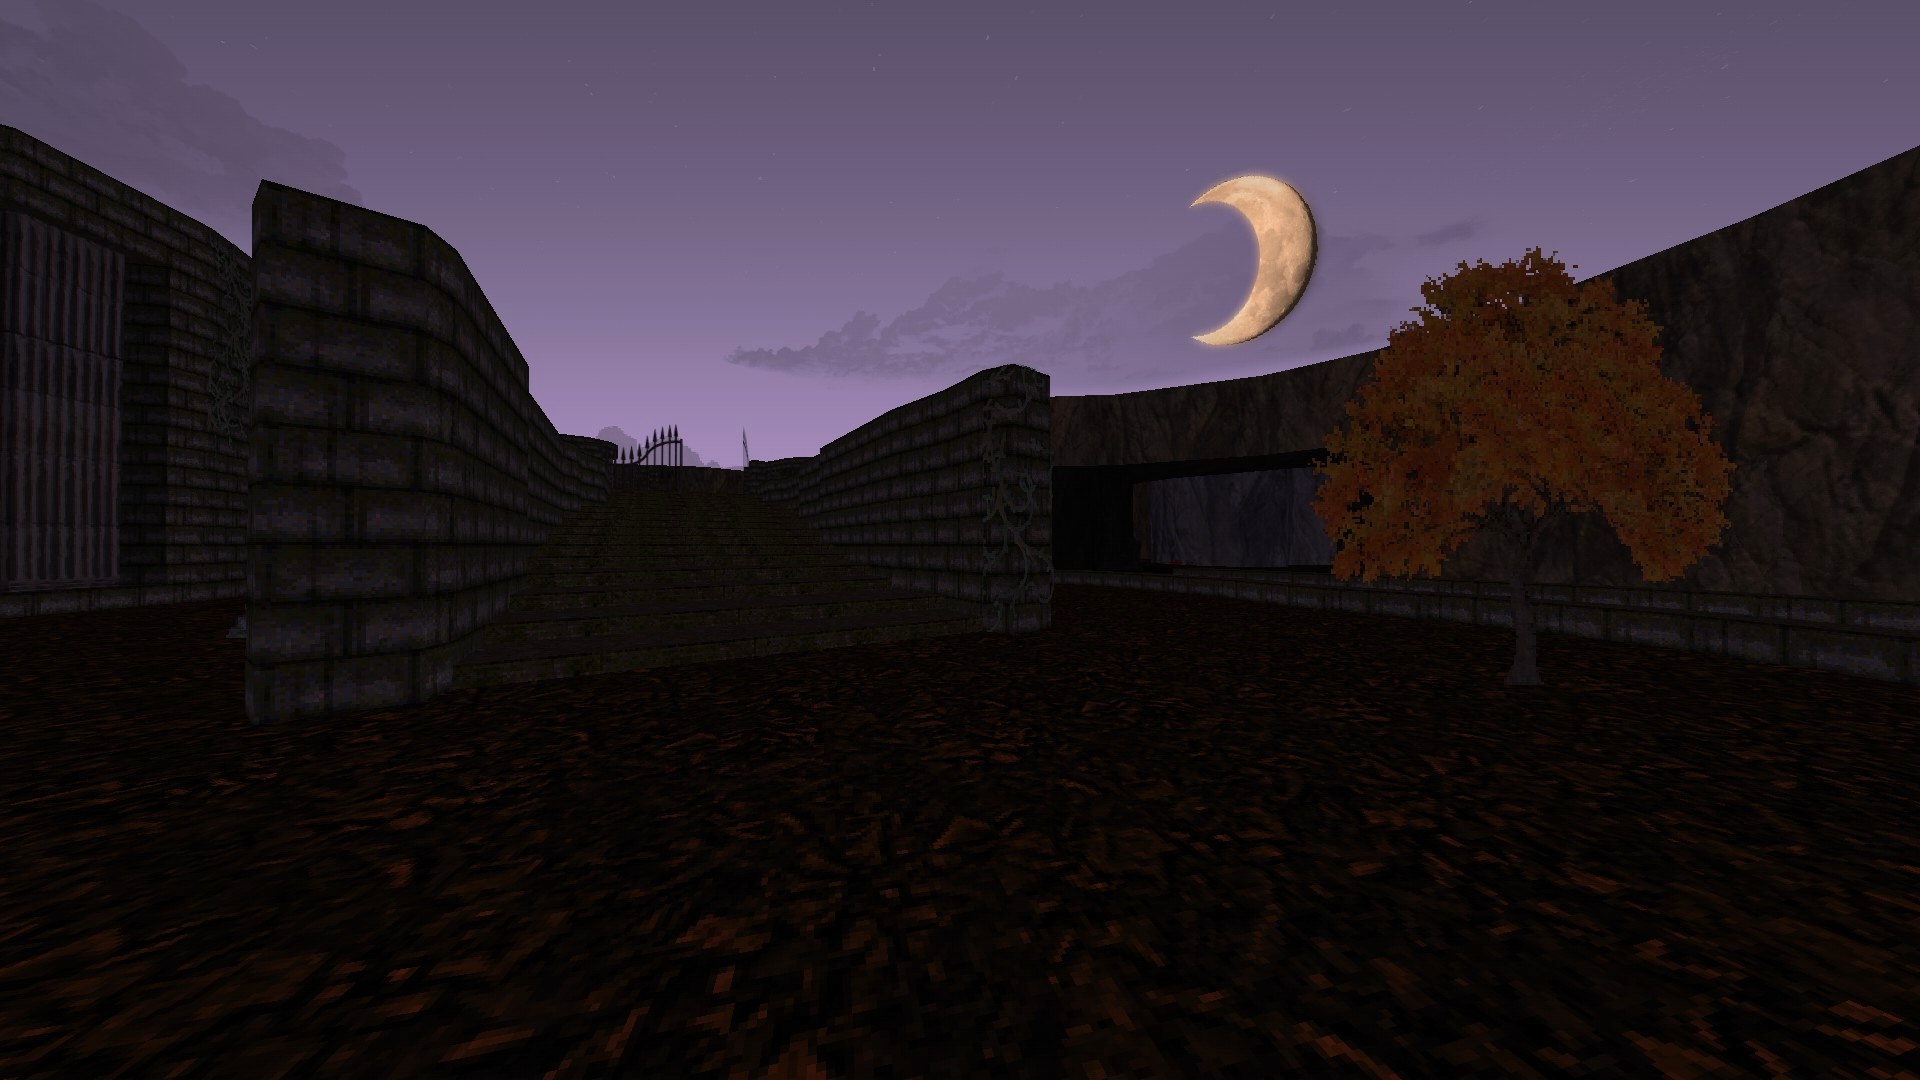
M10: City of Despair
This map contains only a single secret.
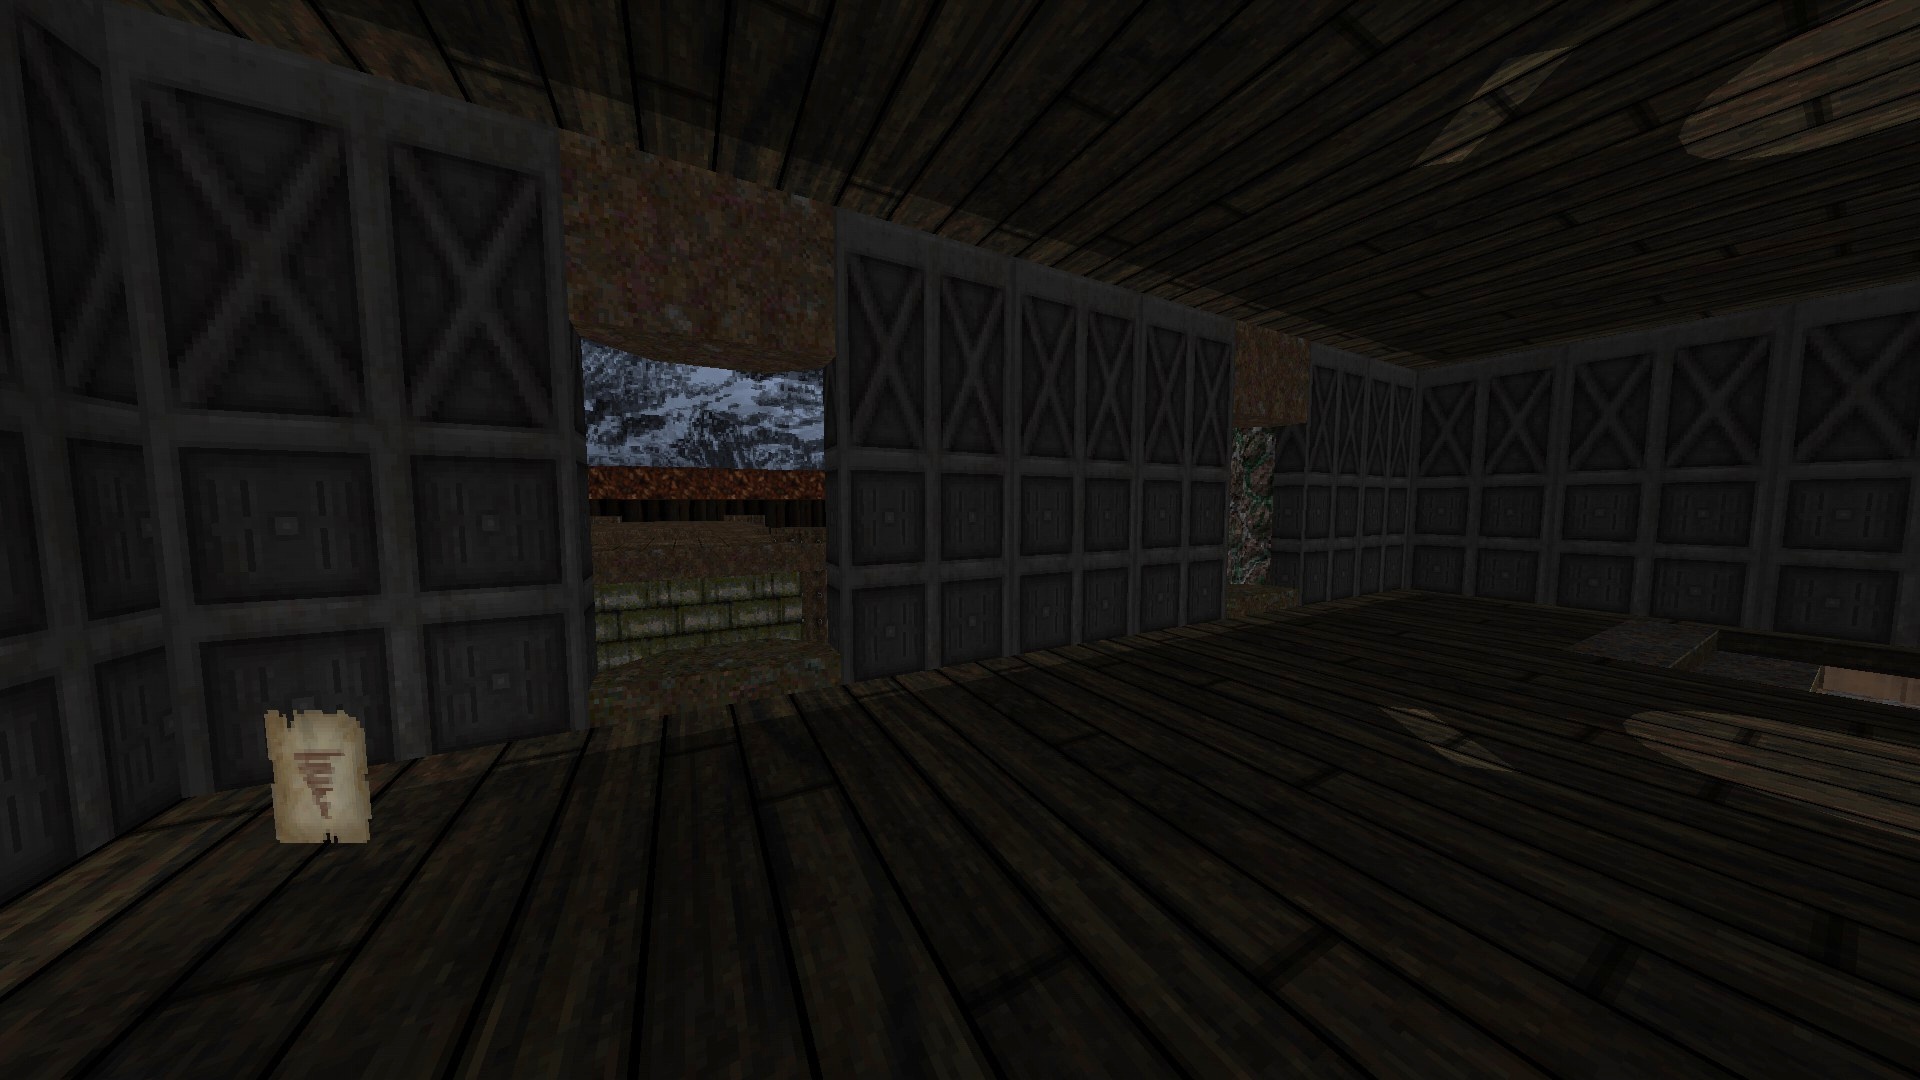

1/1 – Get inside the two-storied building at the other end of the city and make your way to the second floor. Jump across from one of the windows to the roof of the adjacent building to reach the items found within.
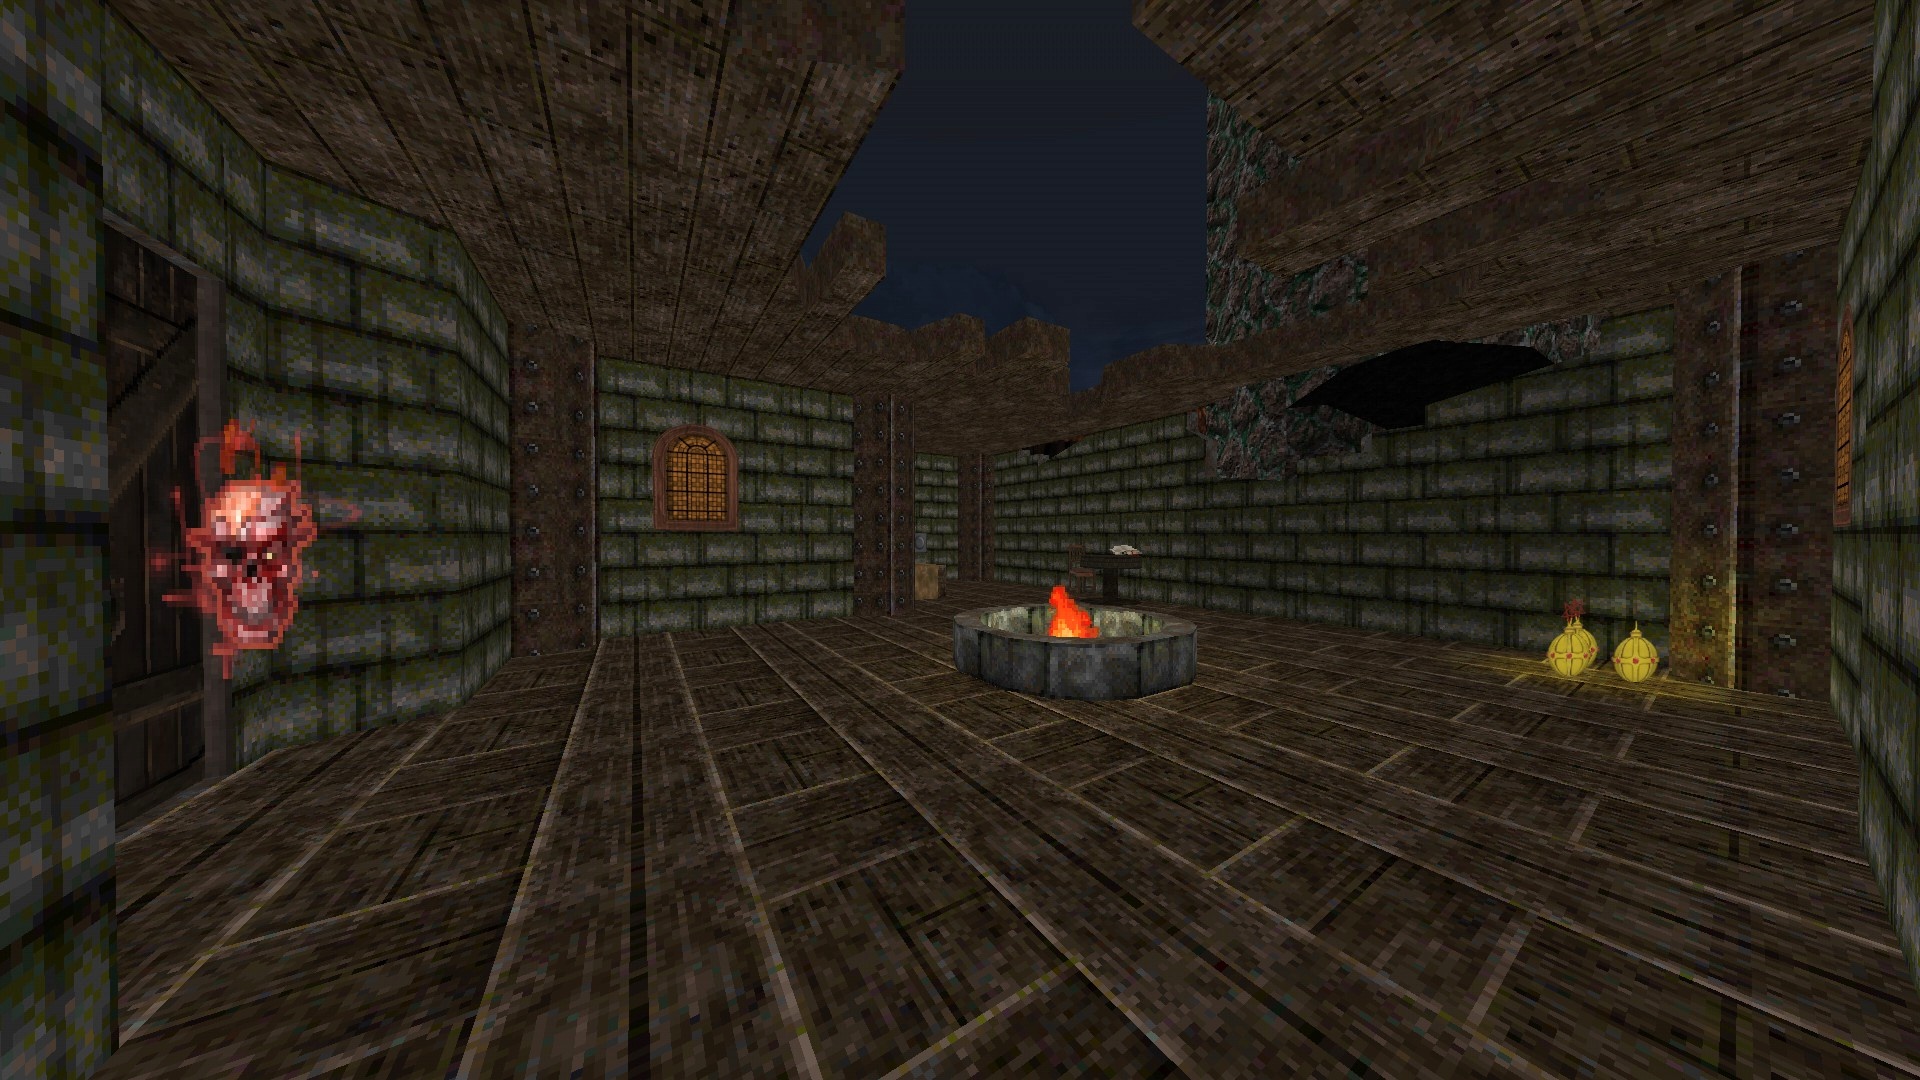
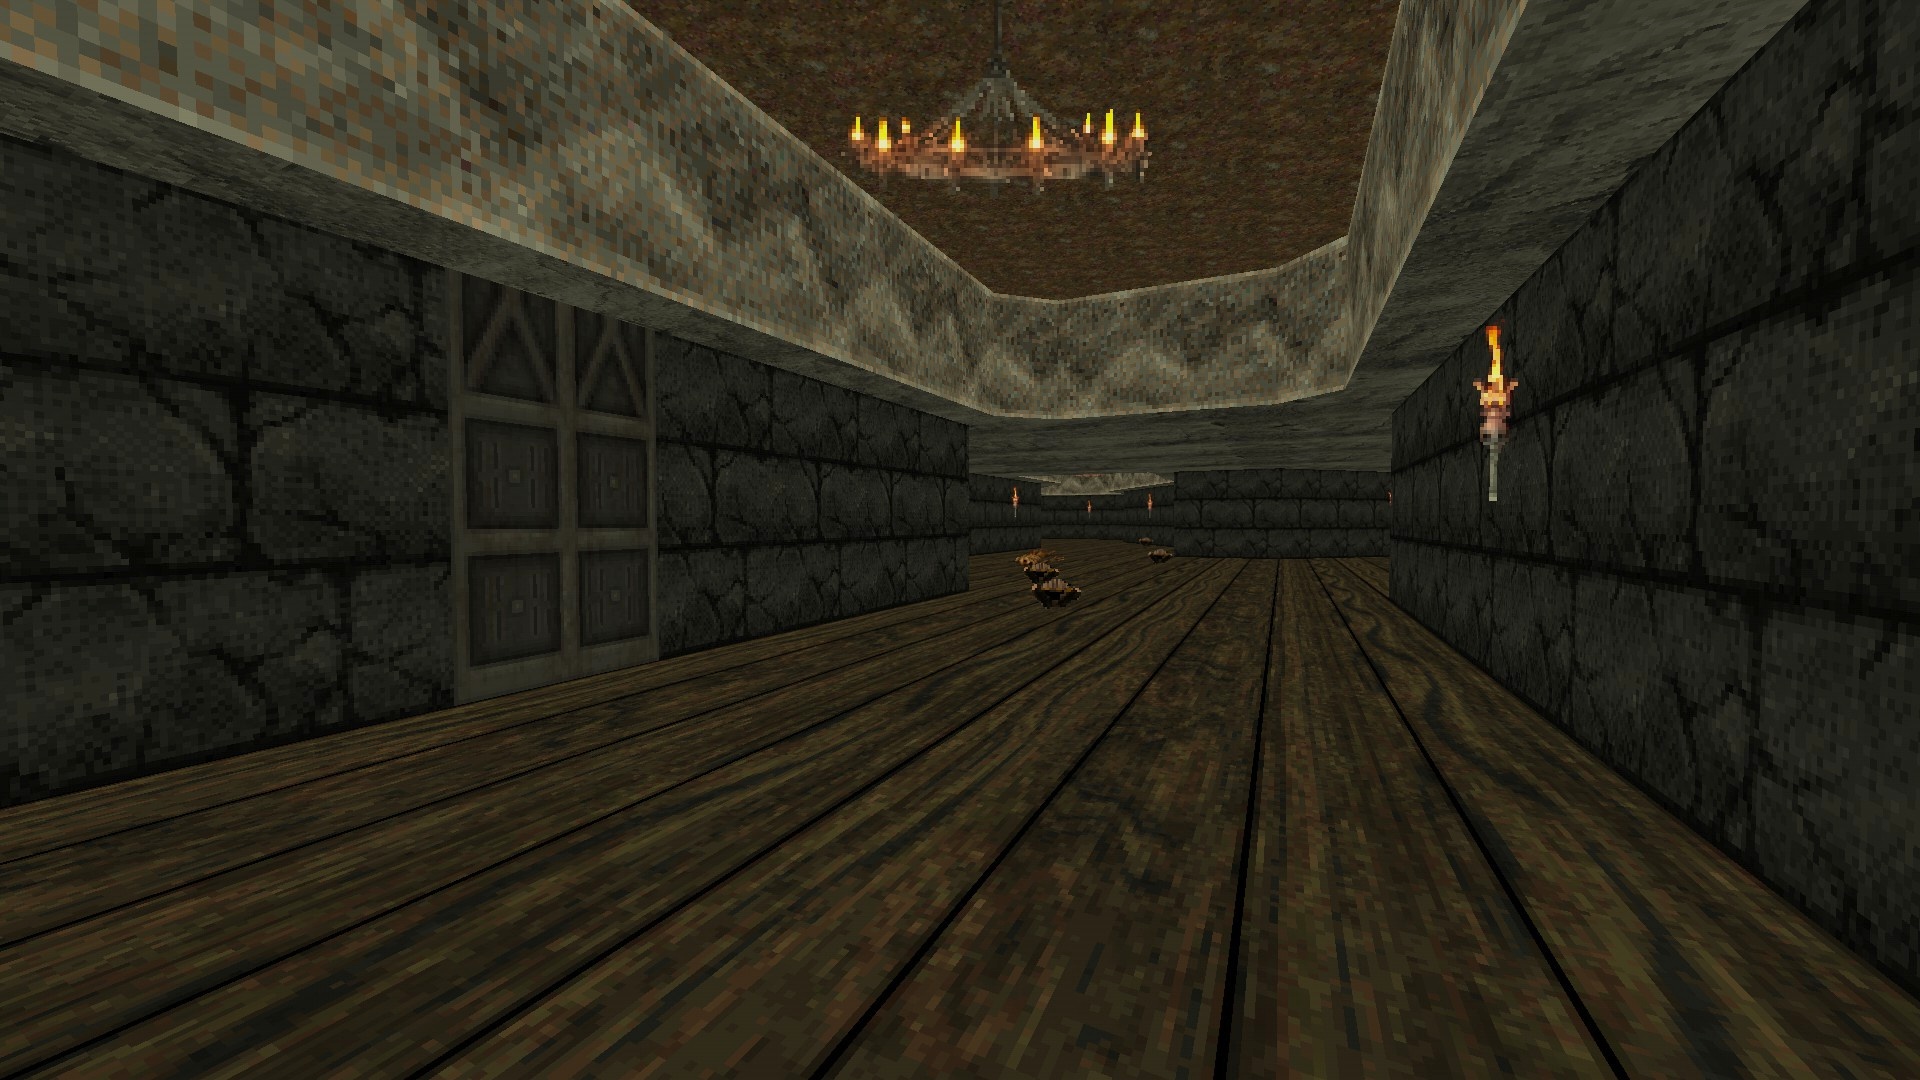
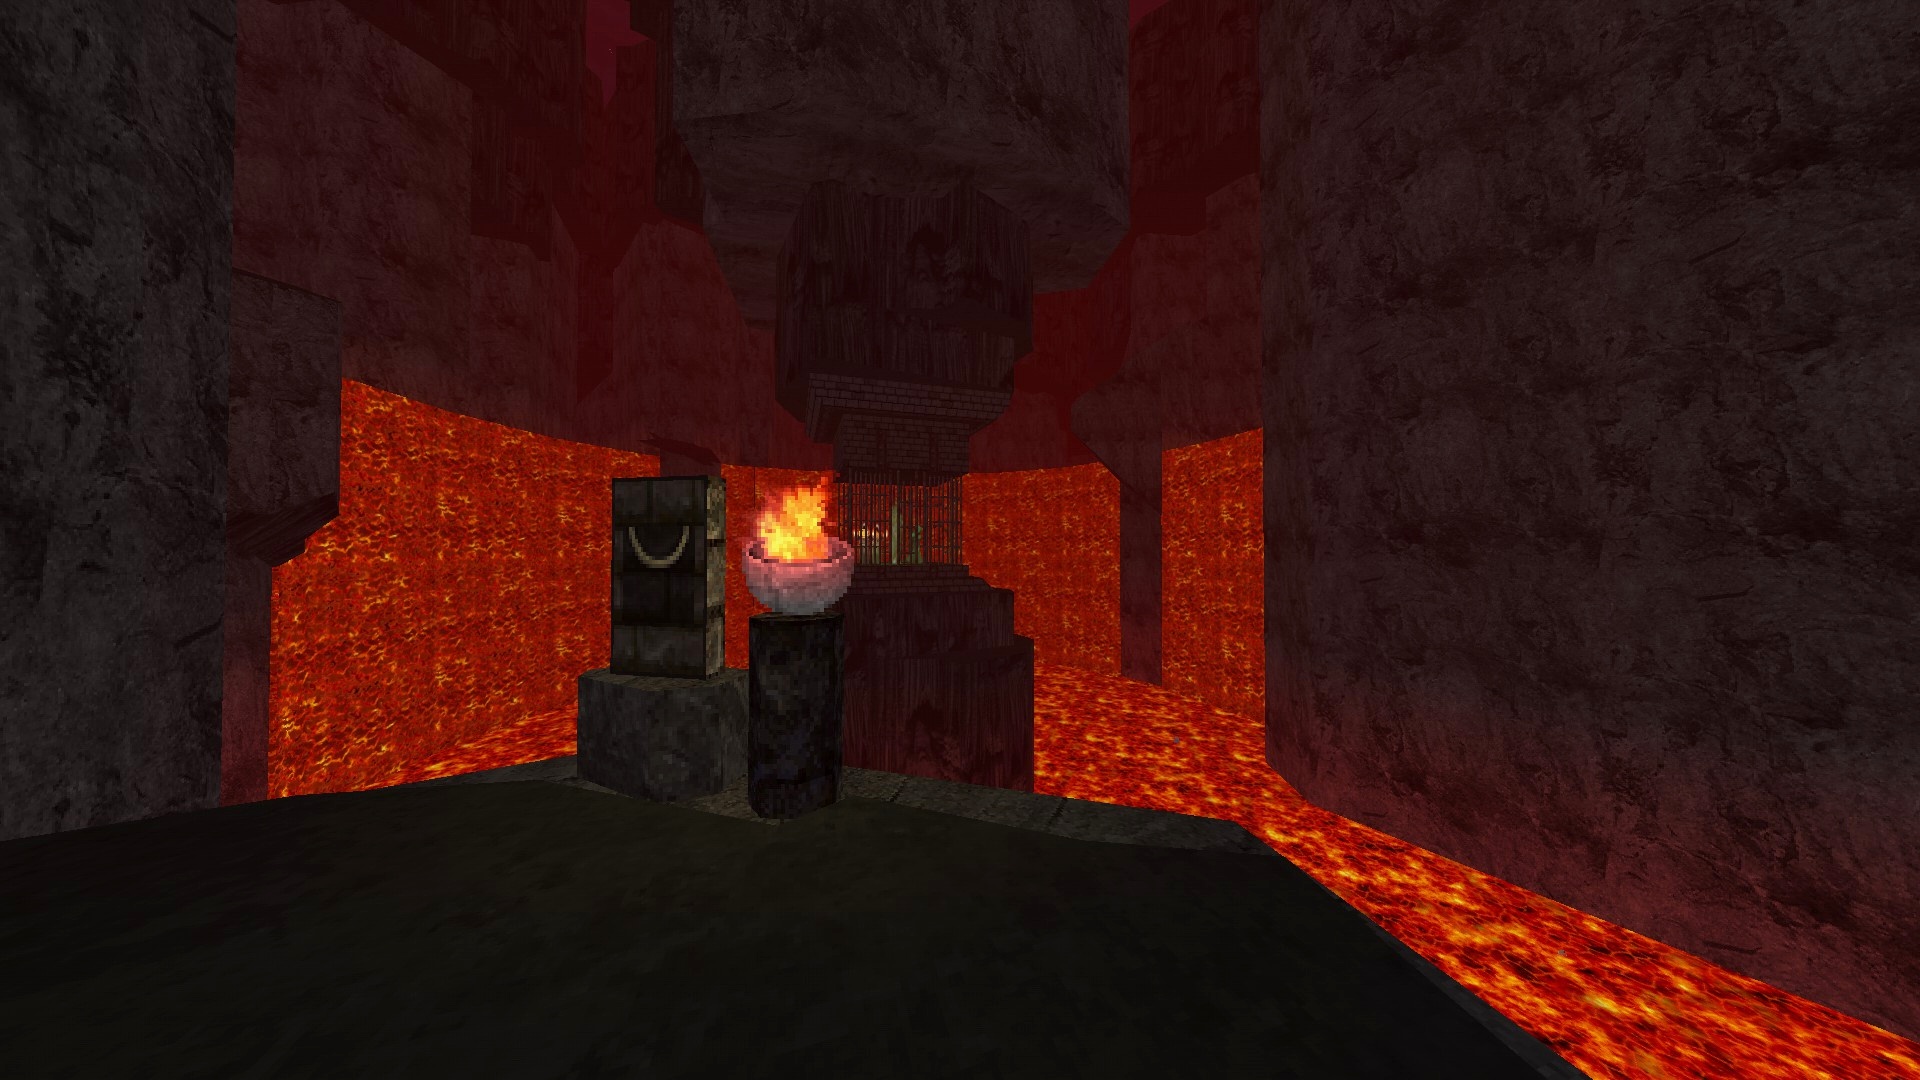
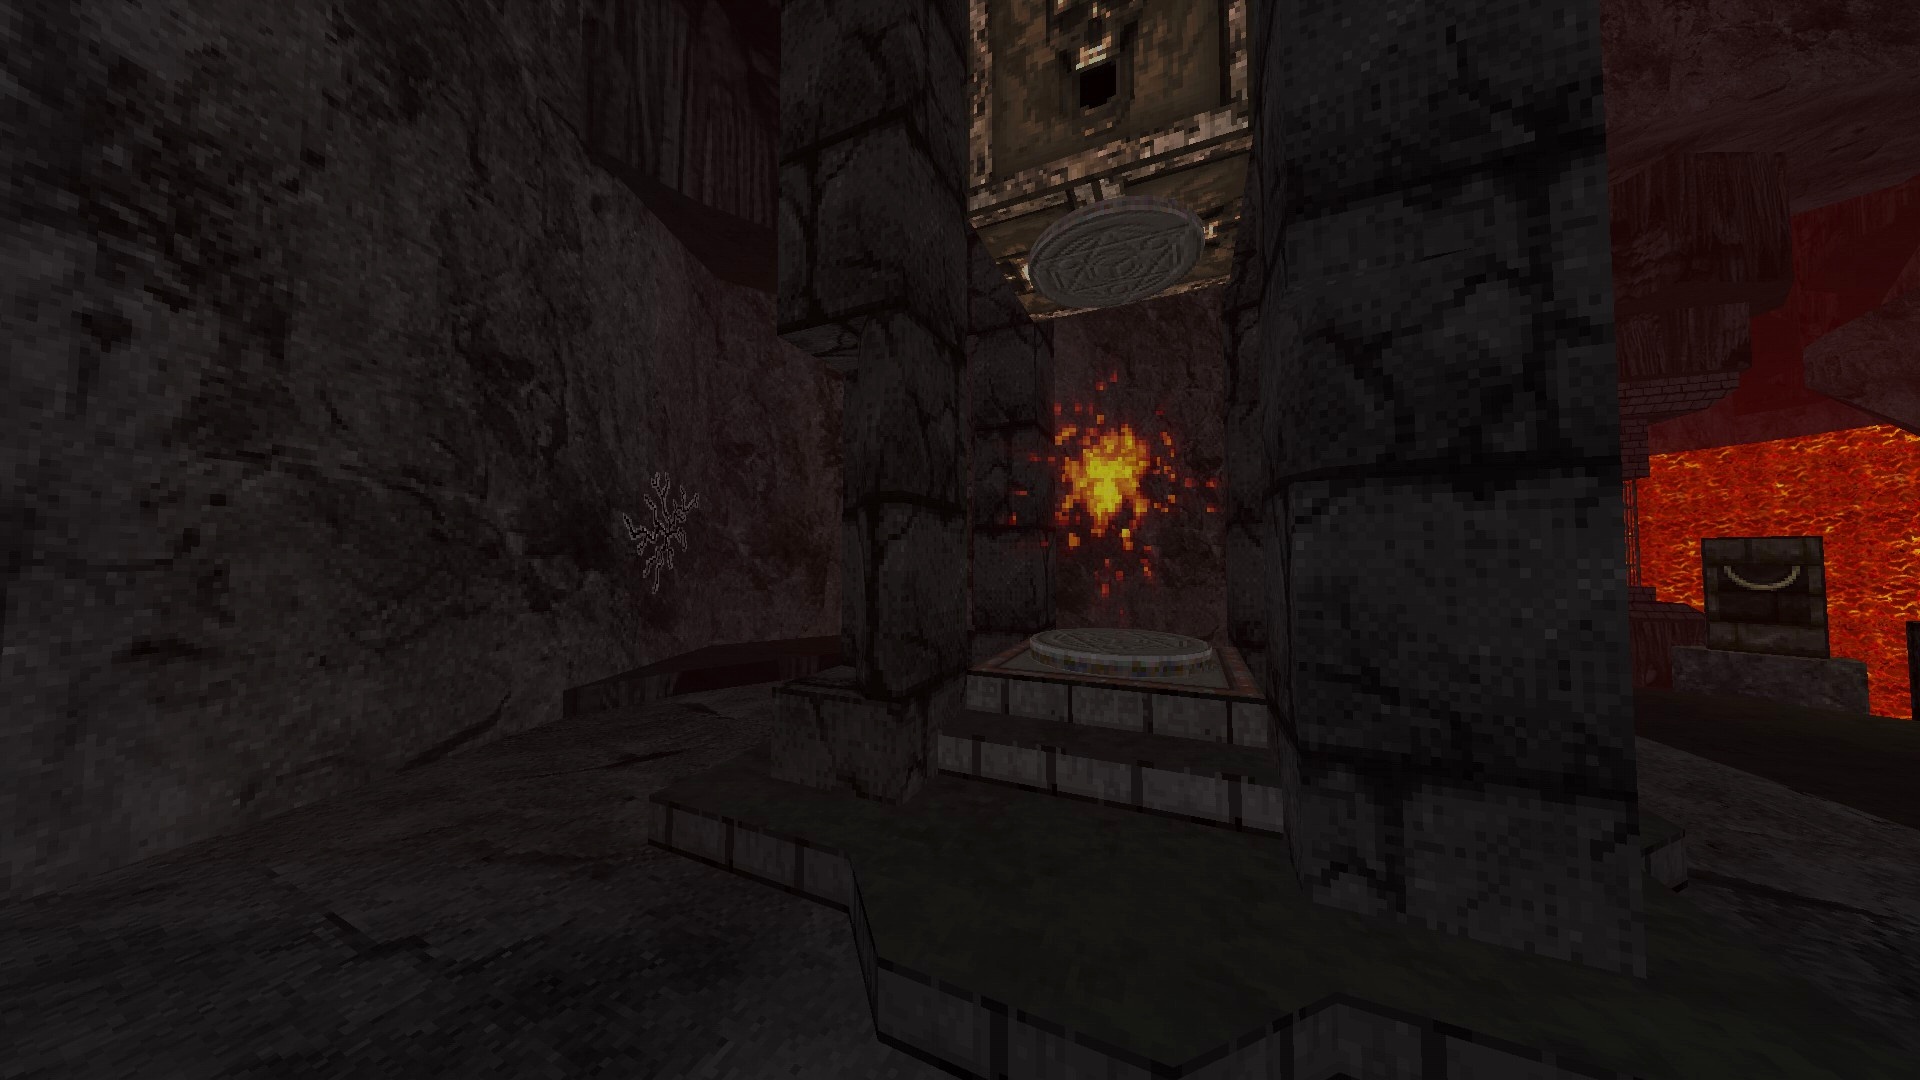
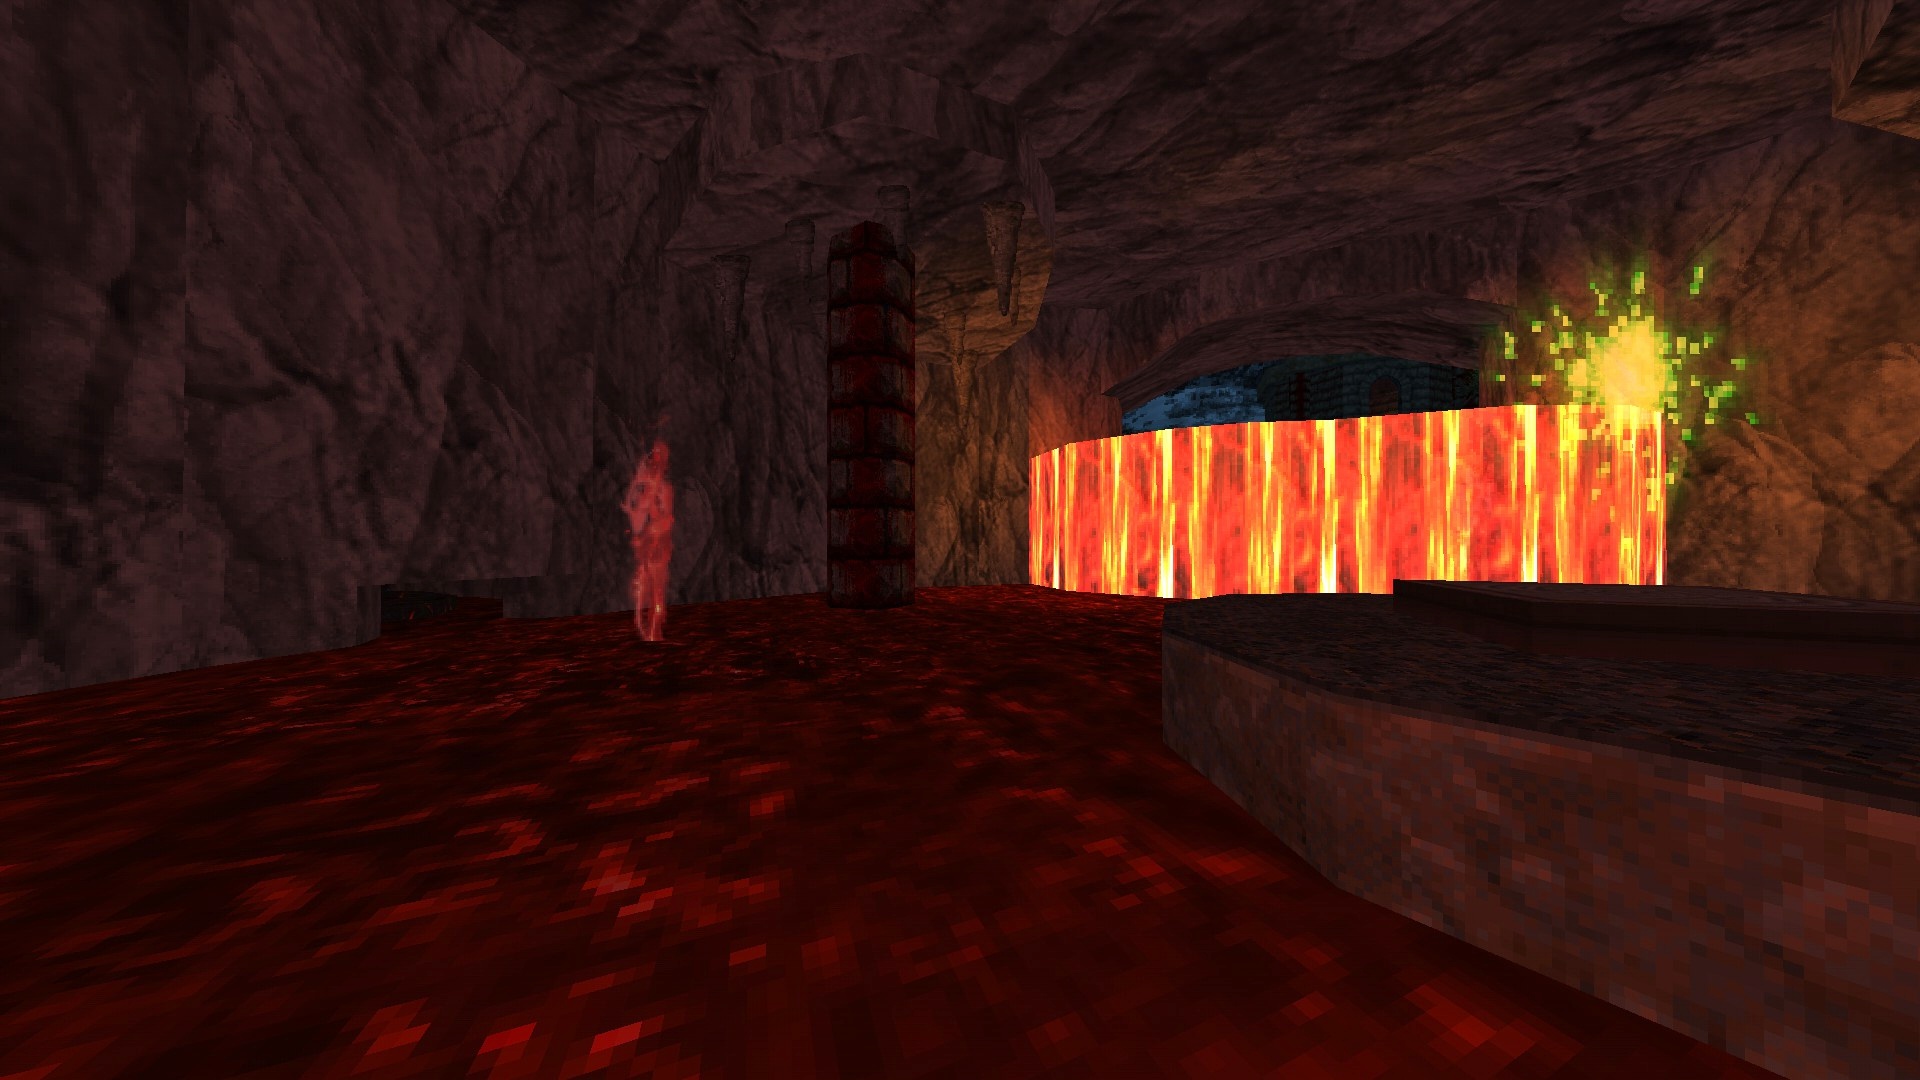
M11: Church in Hell
This map contains 2 기미.

1/2 – After dealing with the initial attack, turn around and follow the ledge around the building that houses the portal to reach a hidden item.
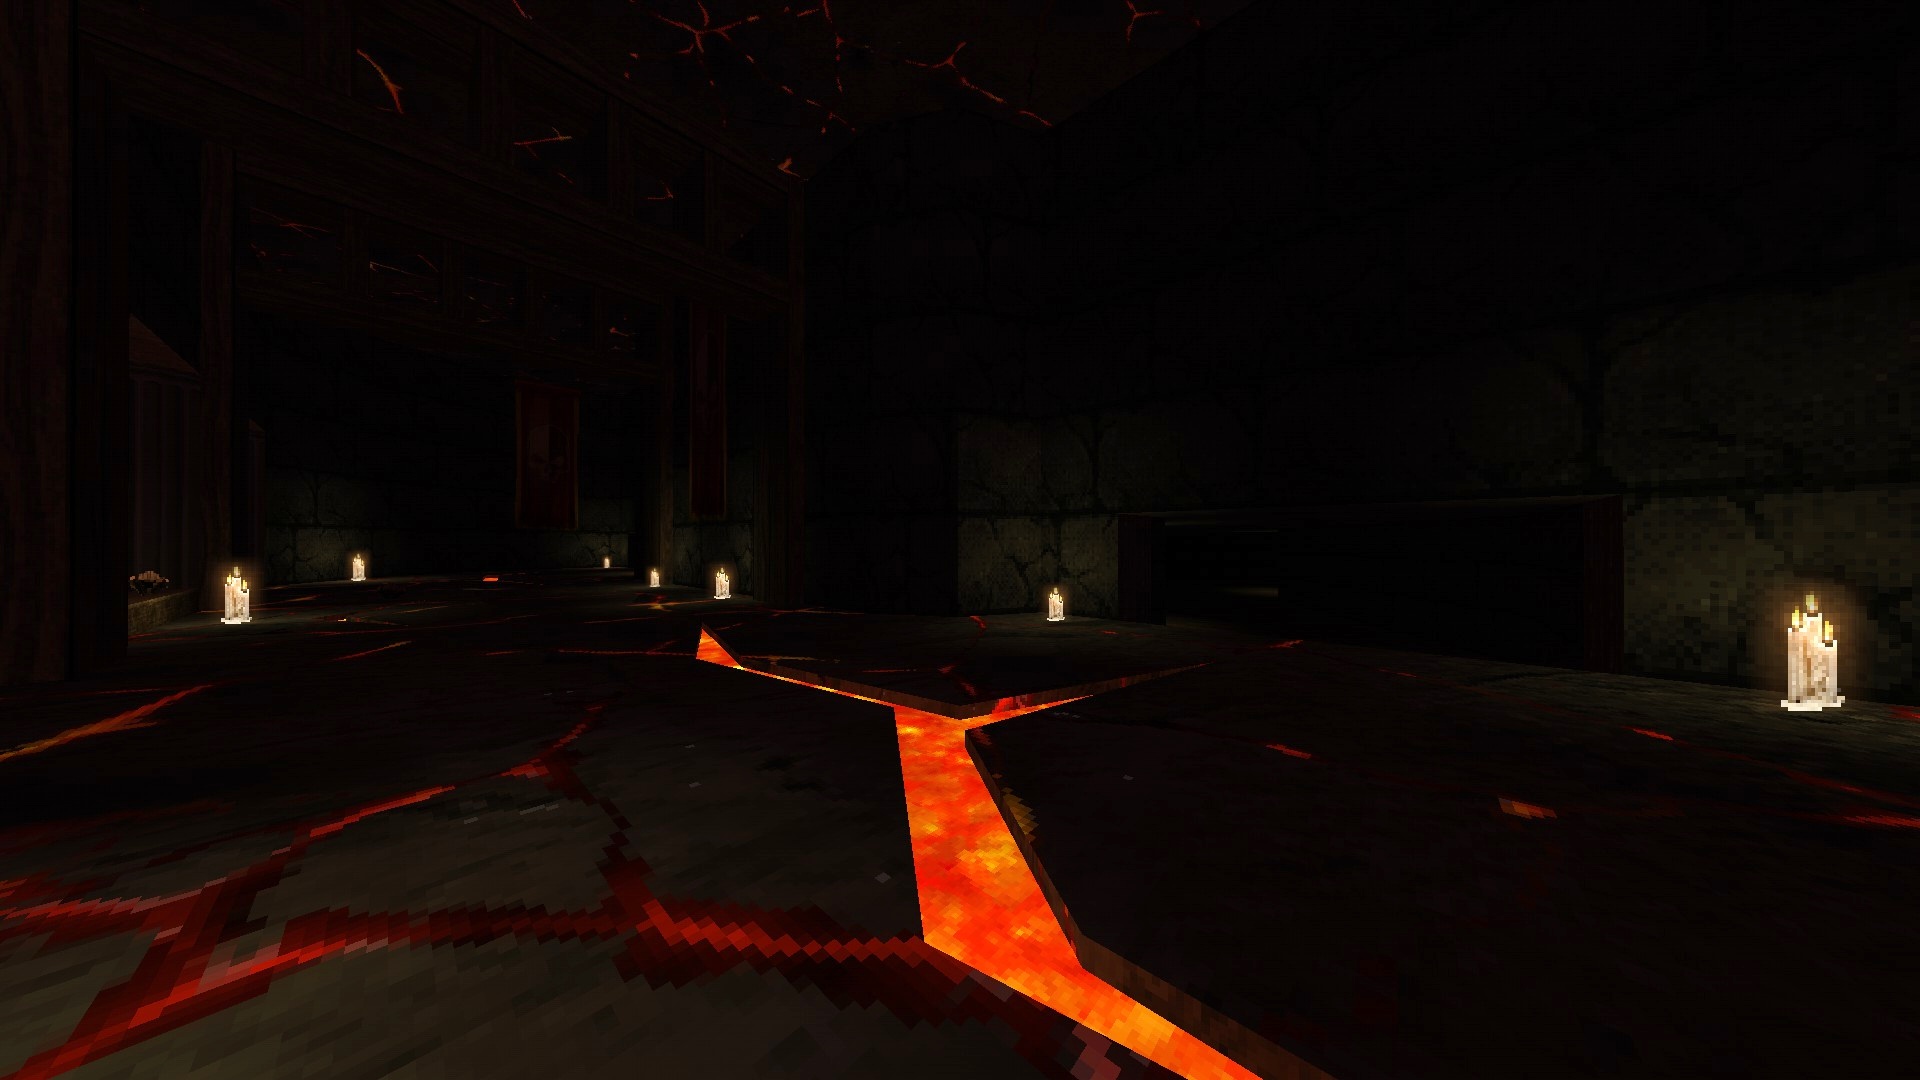
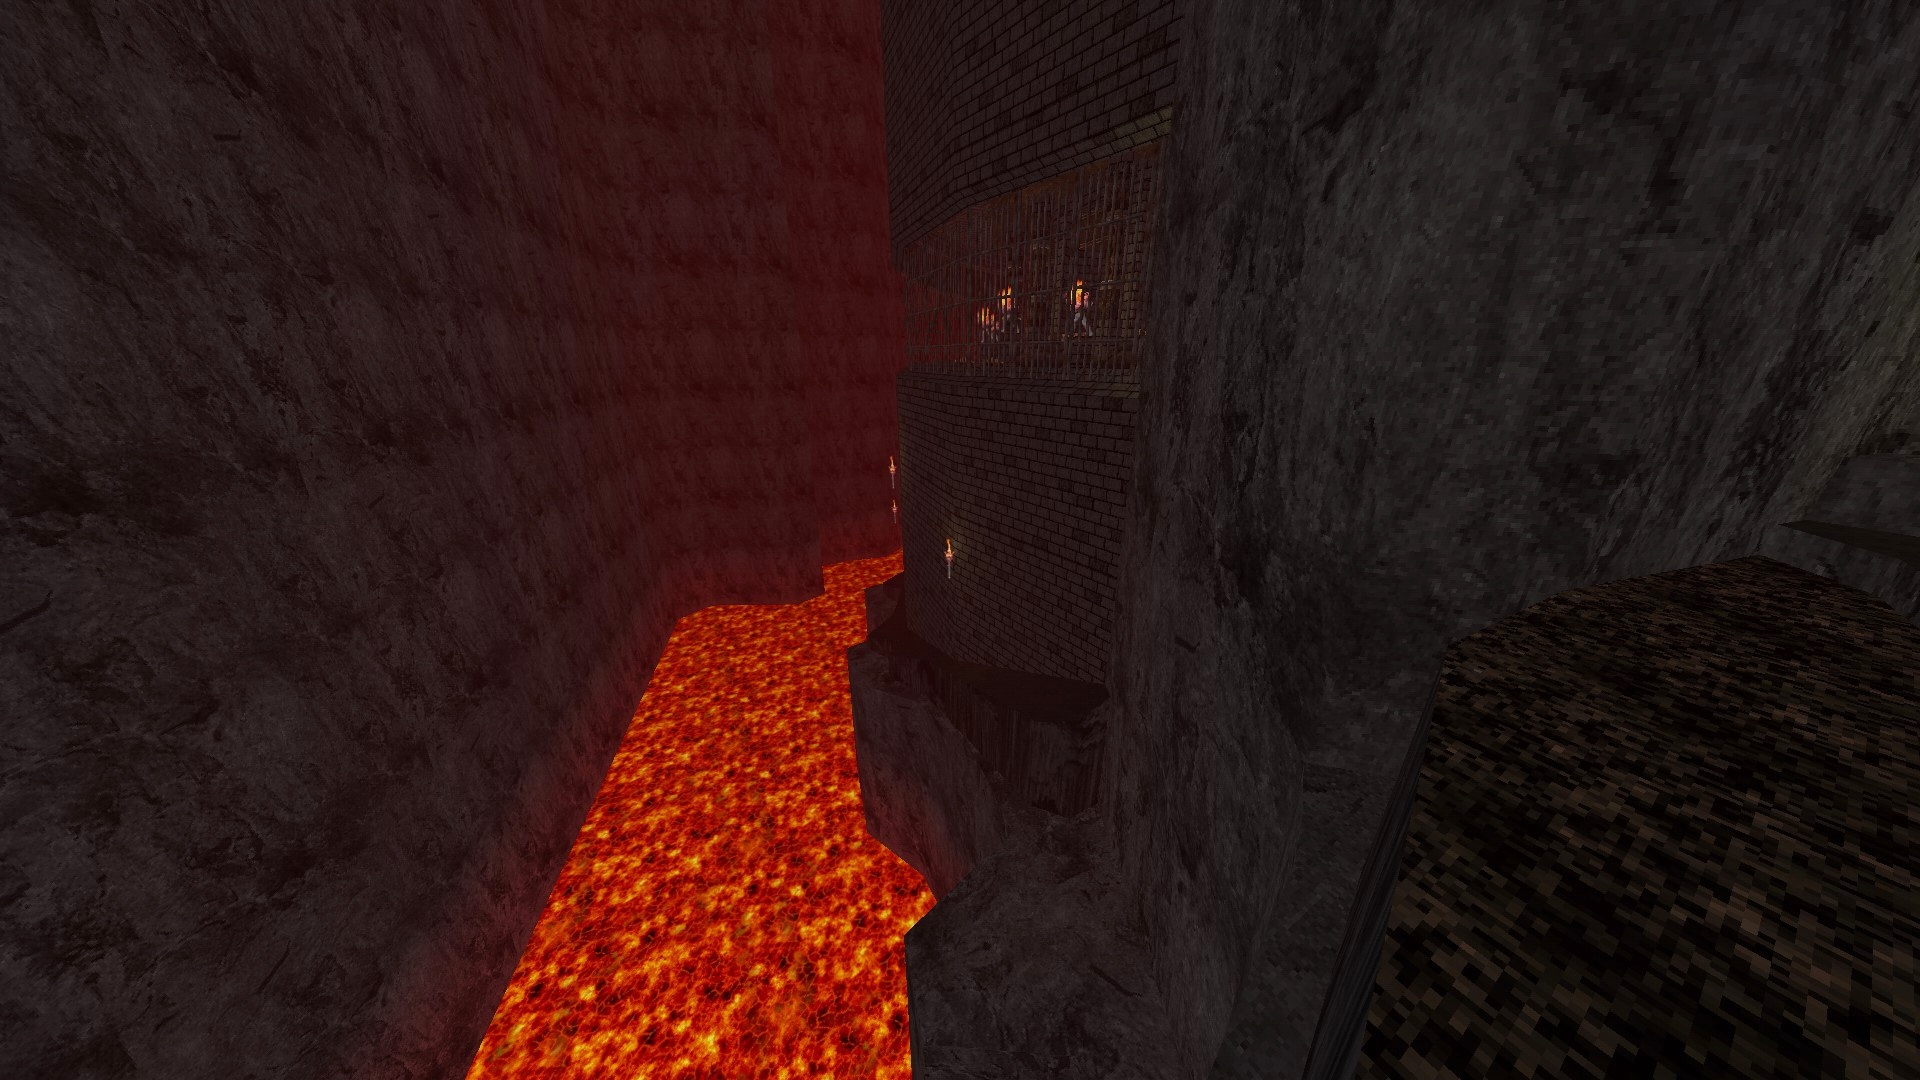
2/2 – As you go through the darkened lava halls, look for a wall panel hidden in darkness and use it to reveal a side room. A torch comes in handy here.
M12: The Ice Cave
This map contains 2 기미.
1/2 – In the room with the Fire door, use the pillar with the misaligned texture to reveal a hidden item.
2/2 – (Swamp Serpent) In the central pit of the acid caves, look for an opening that you can fit through next to the teleporter and get inside to reach another hidden item.
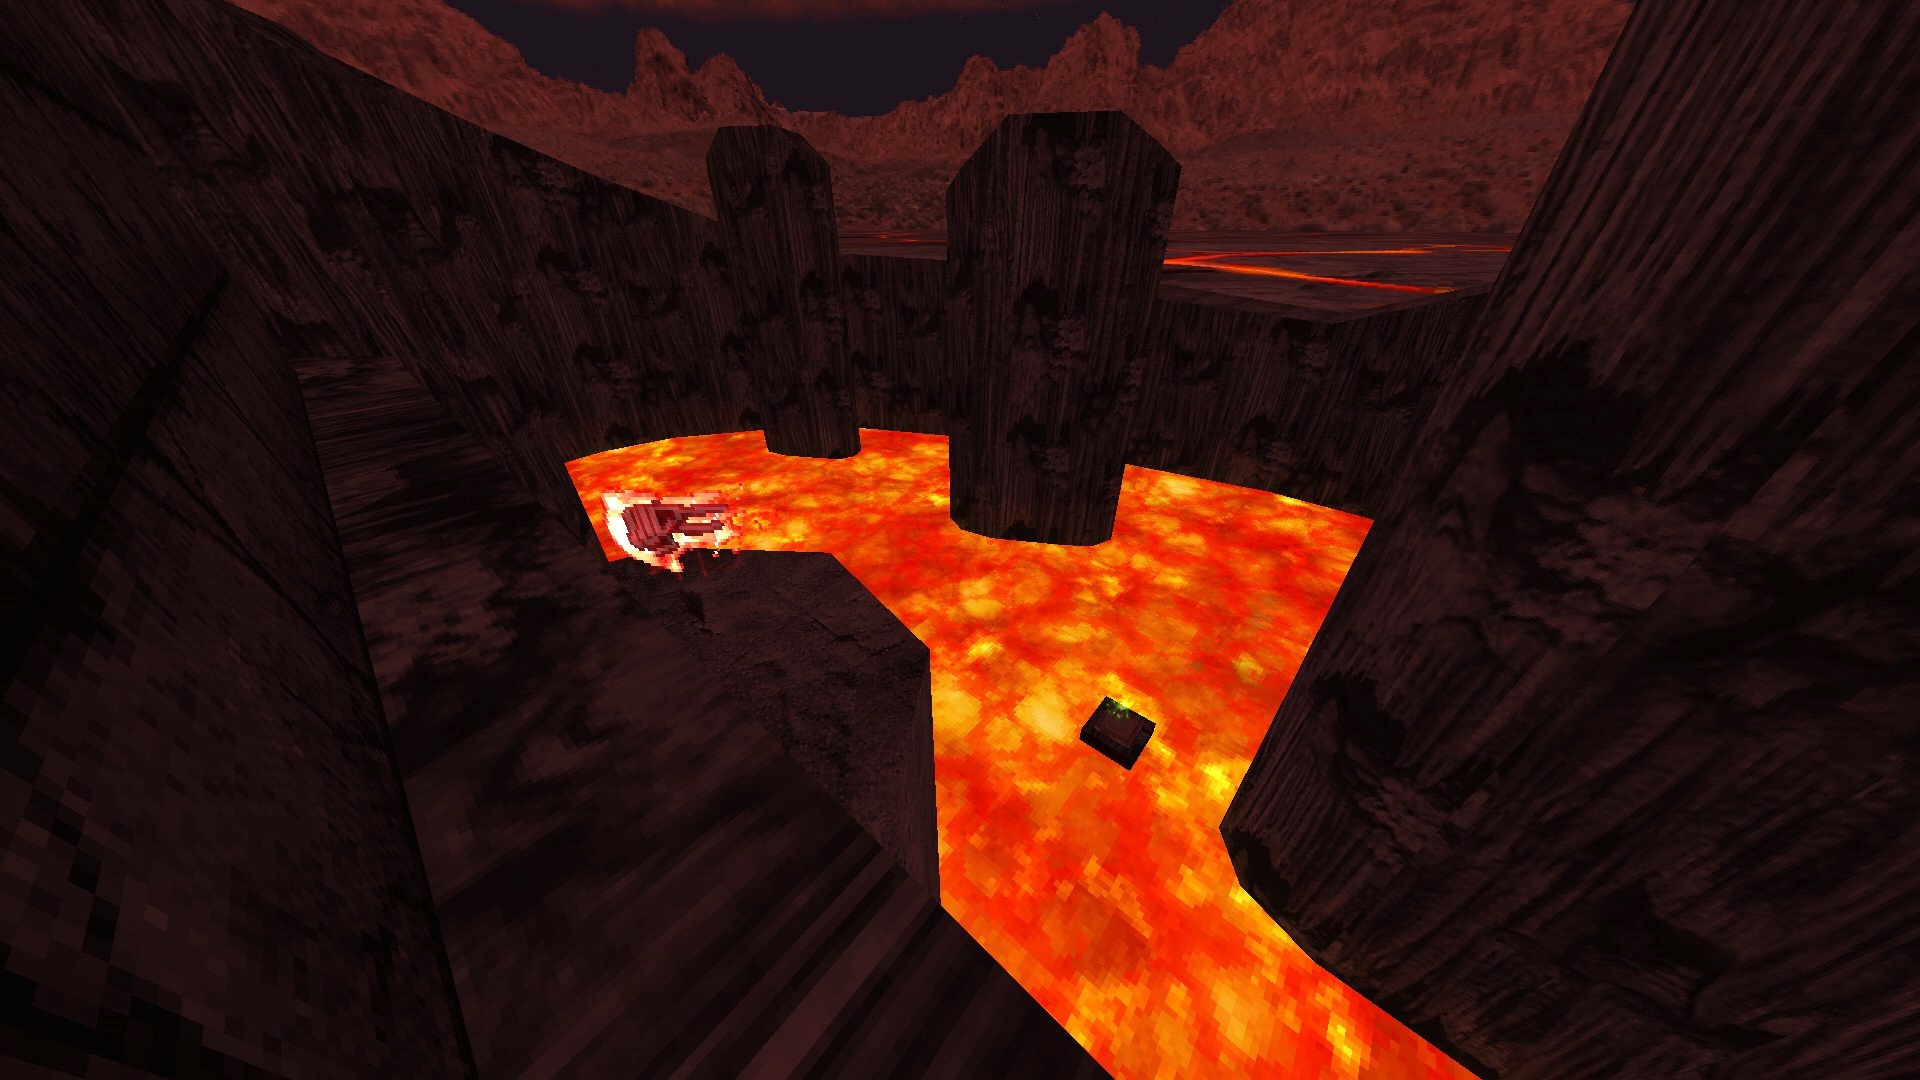
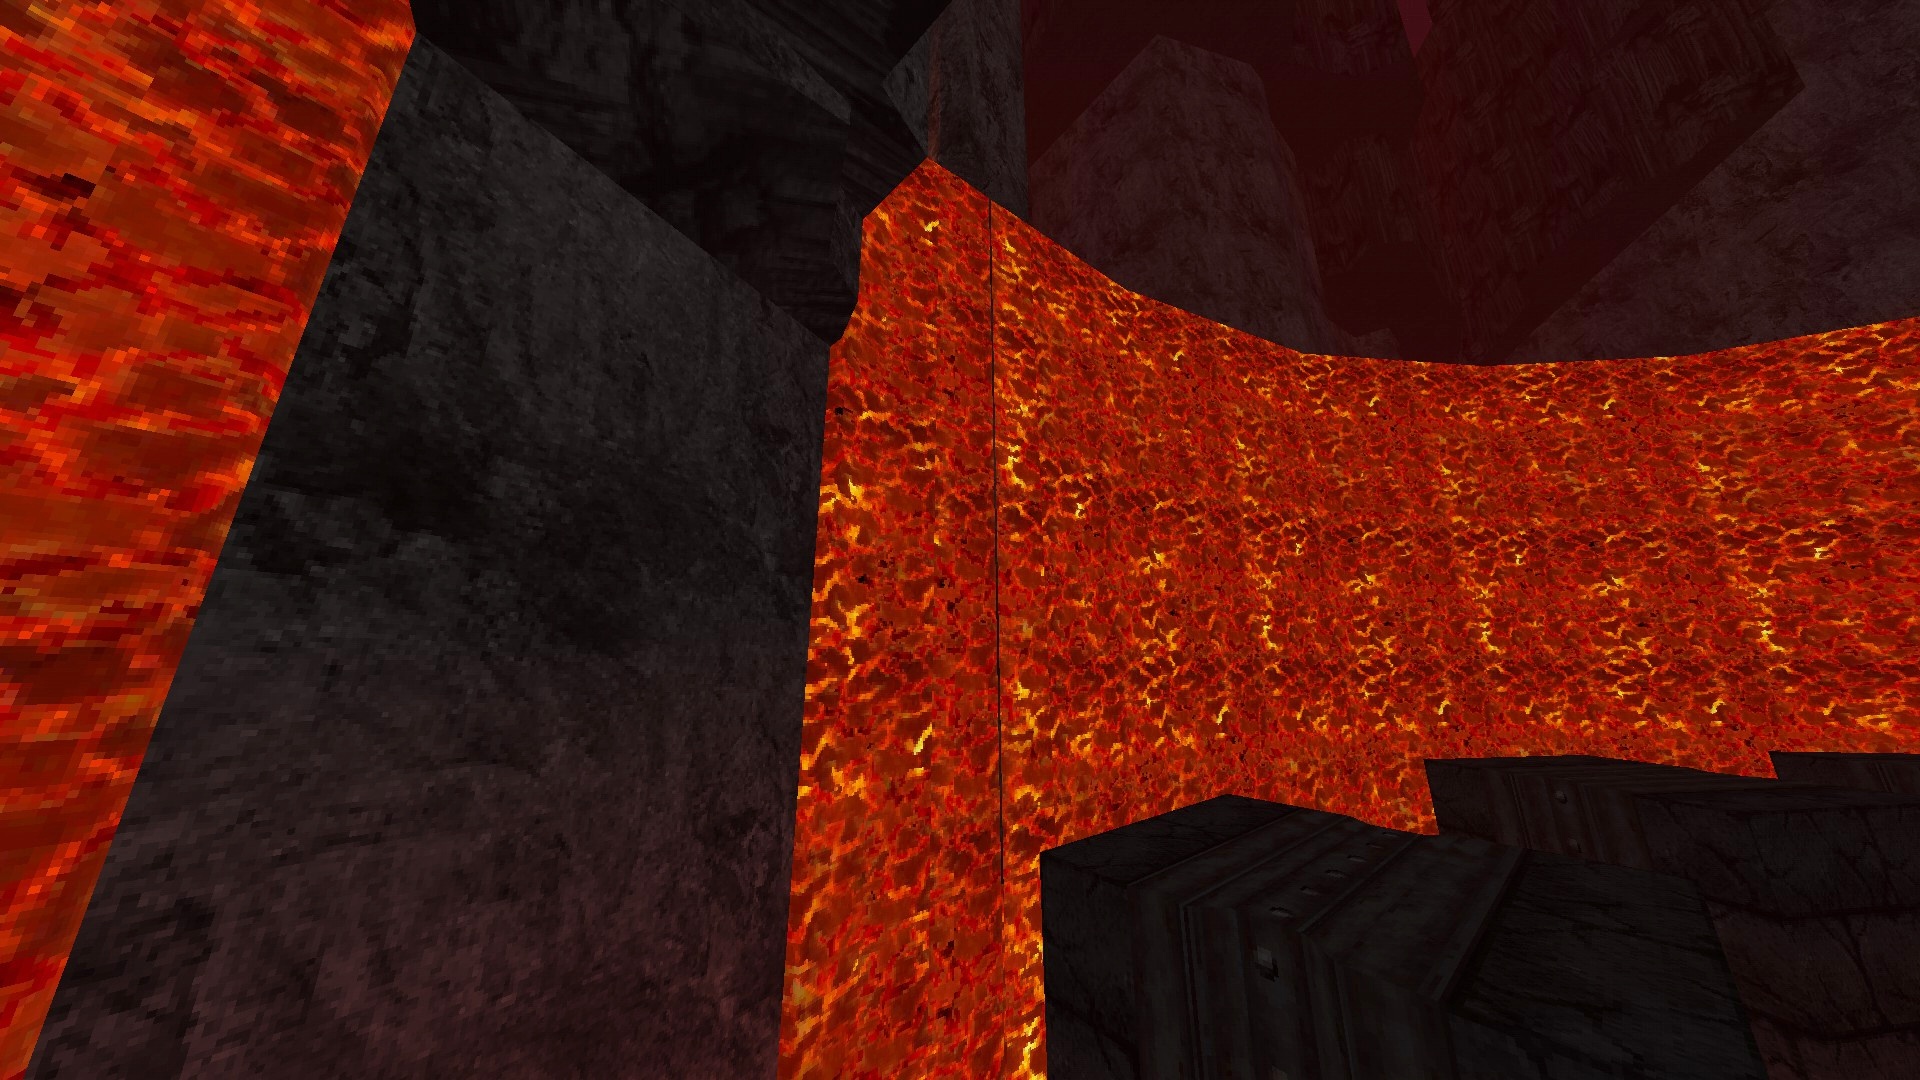
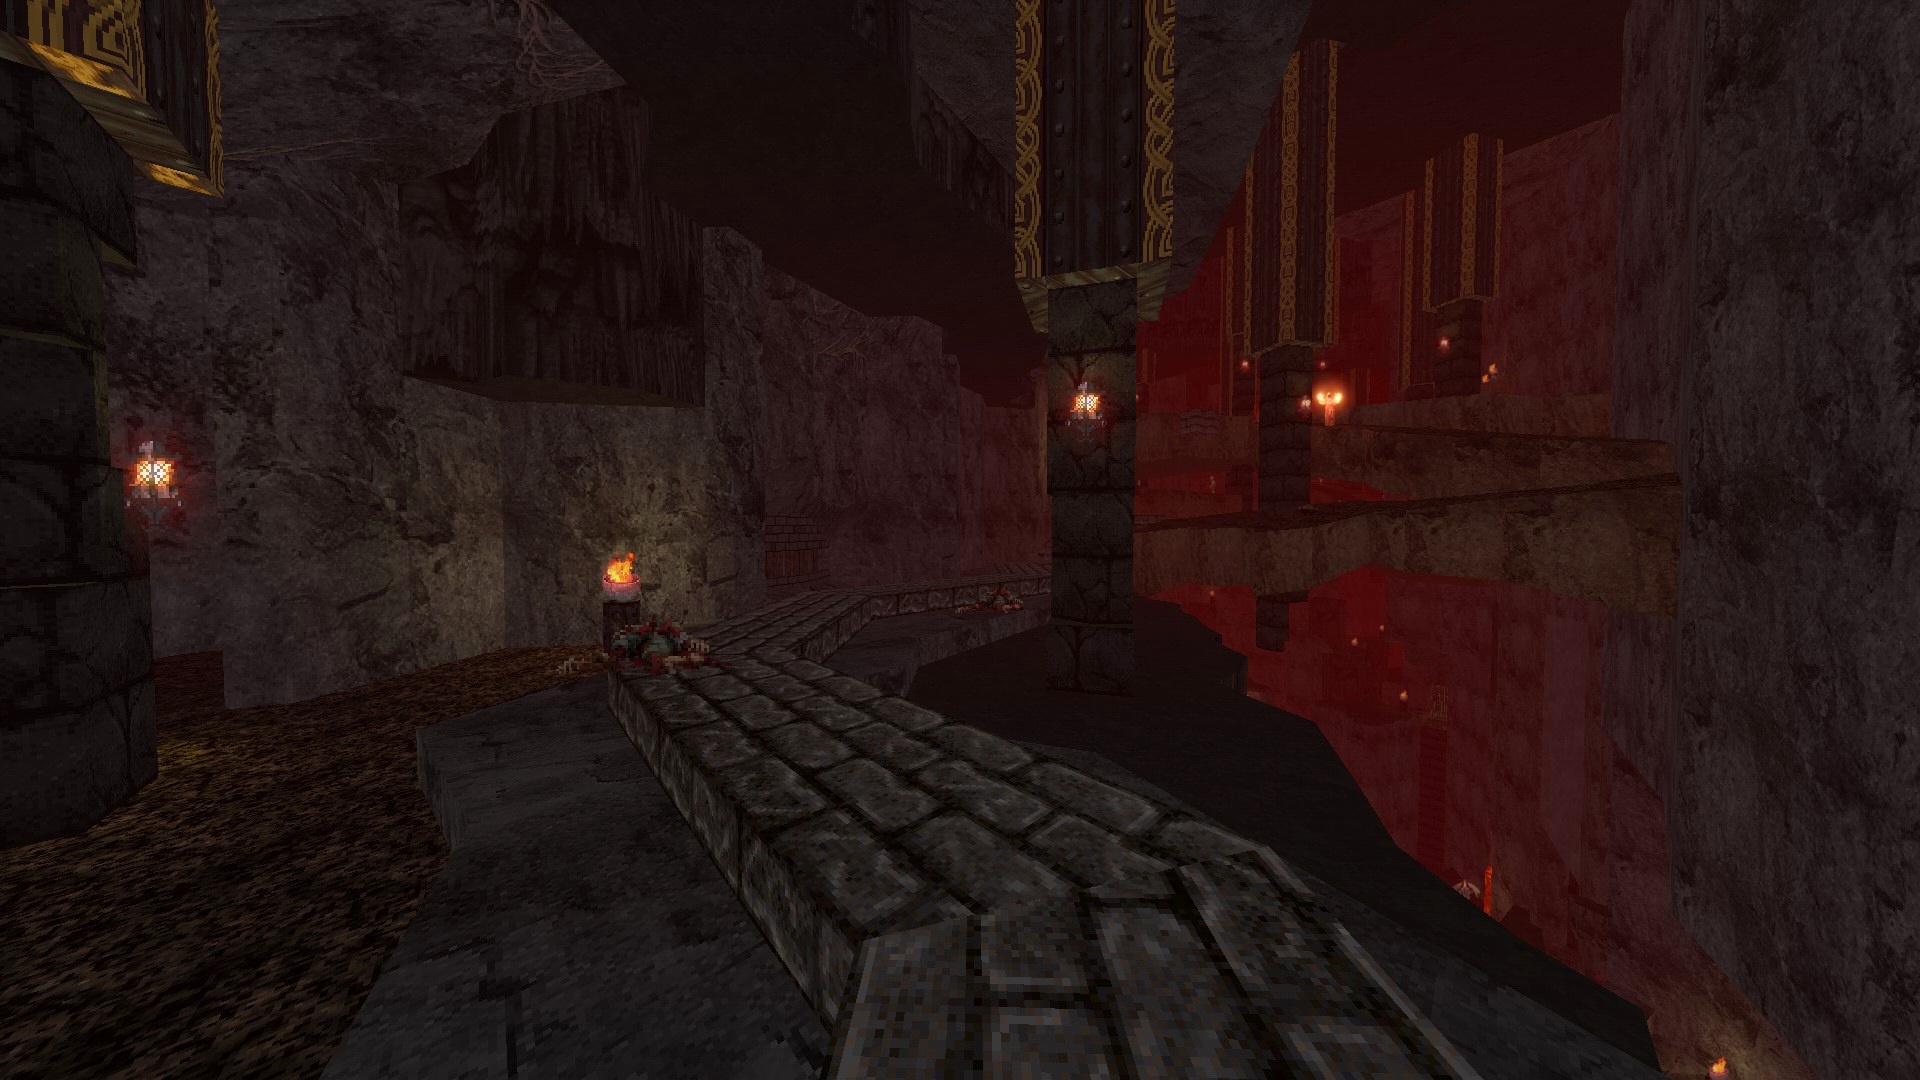
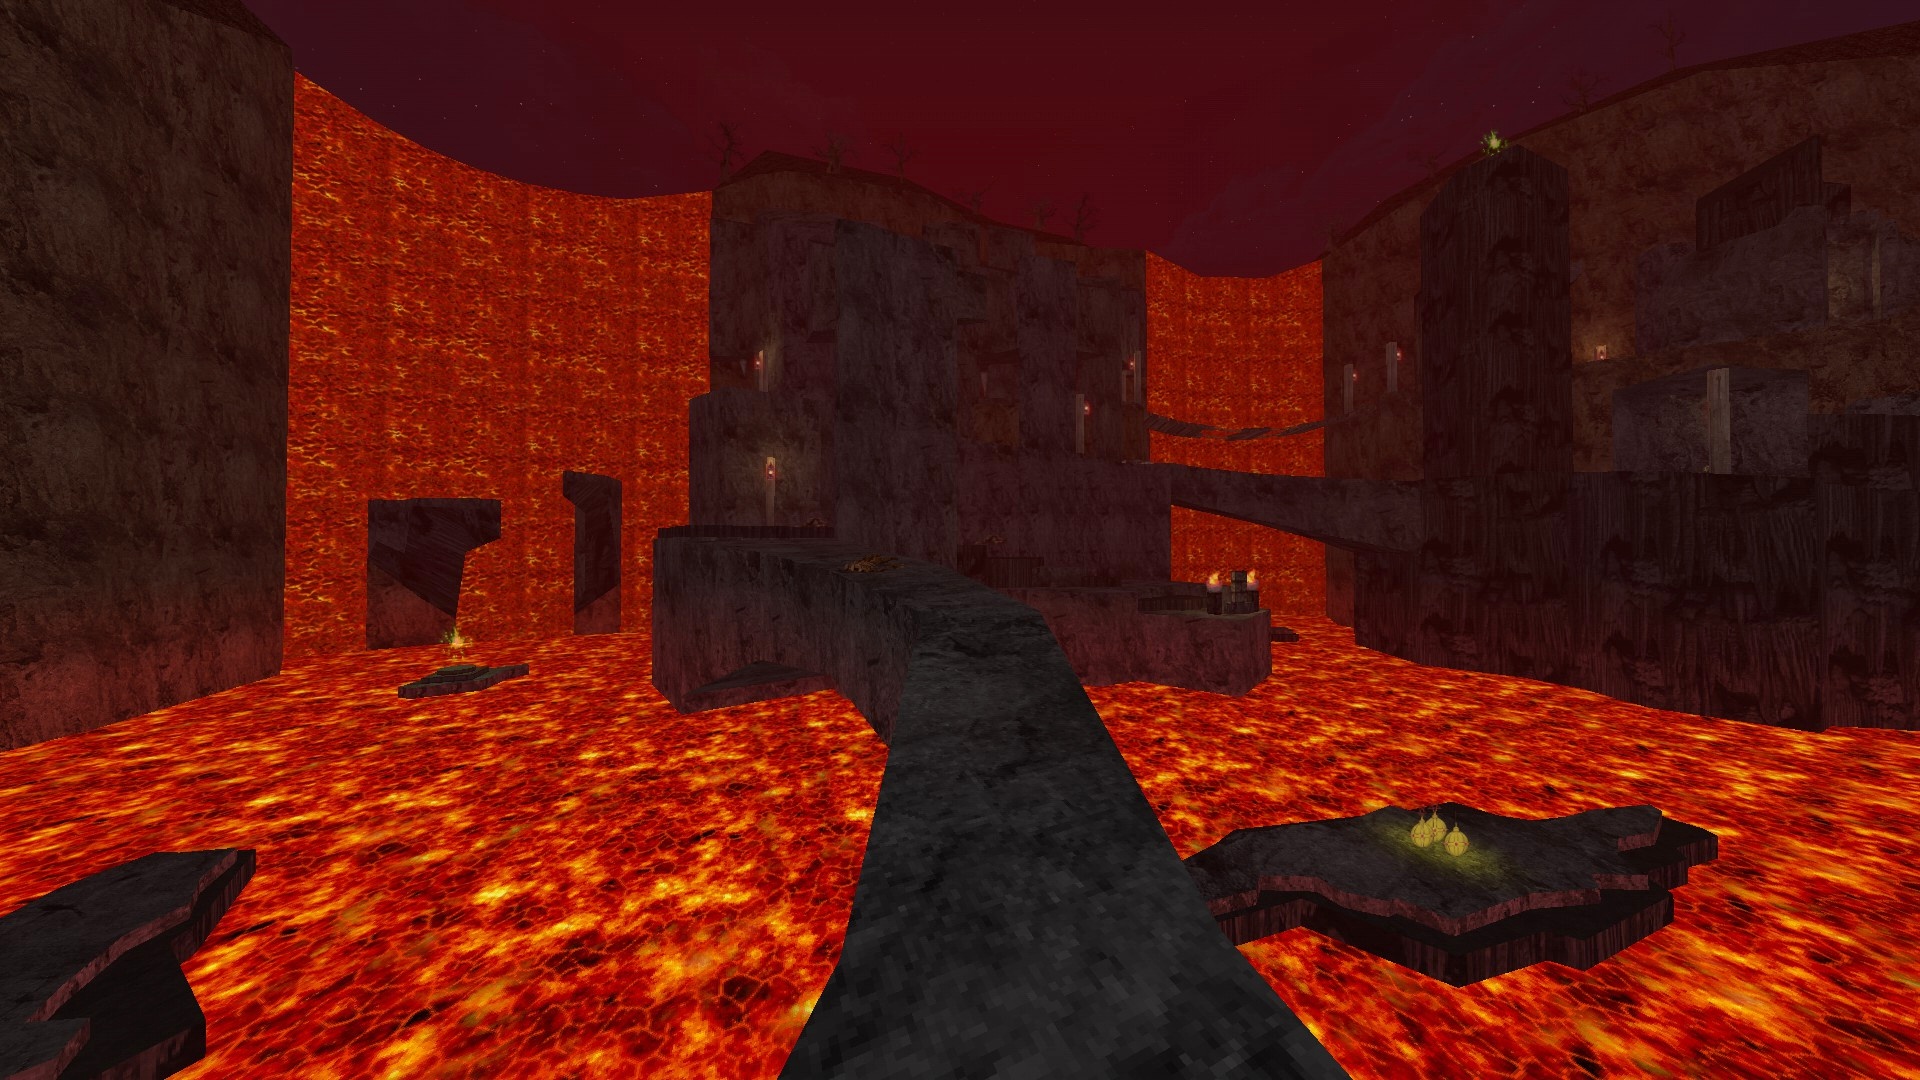
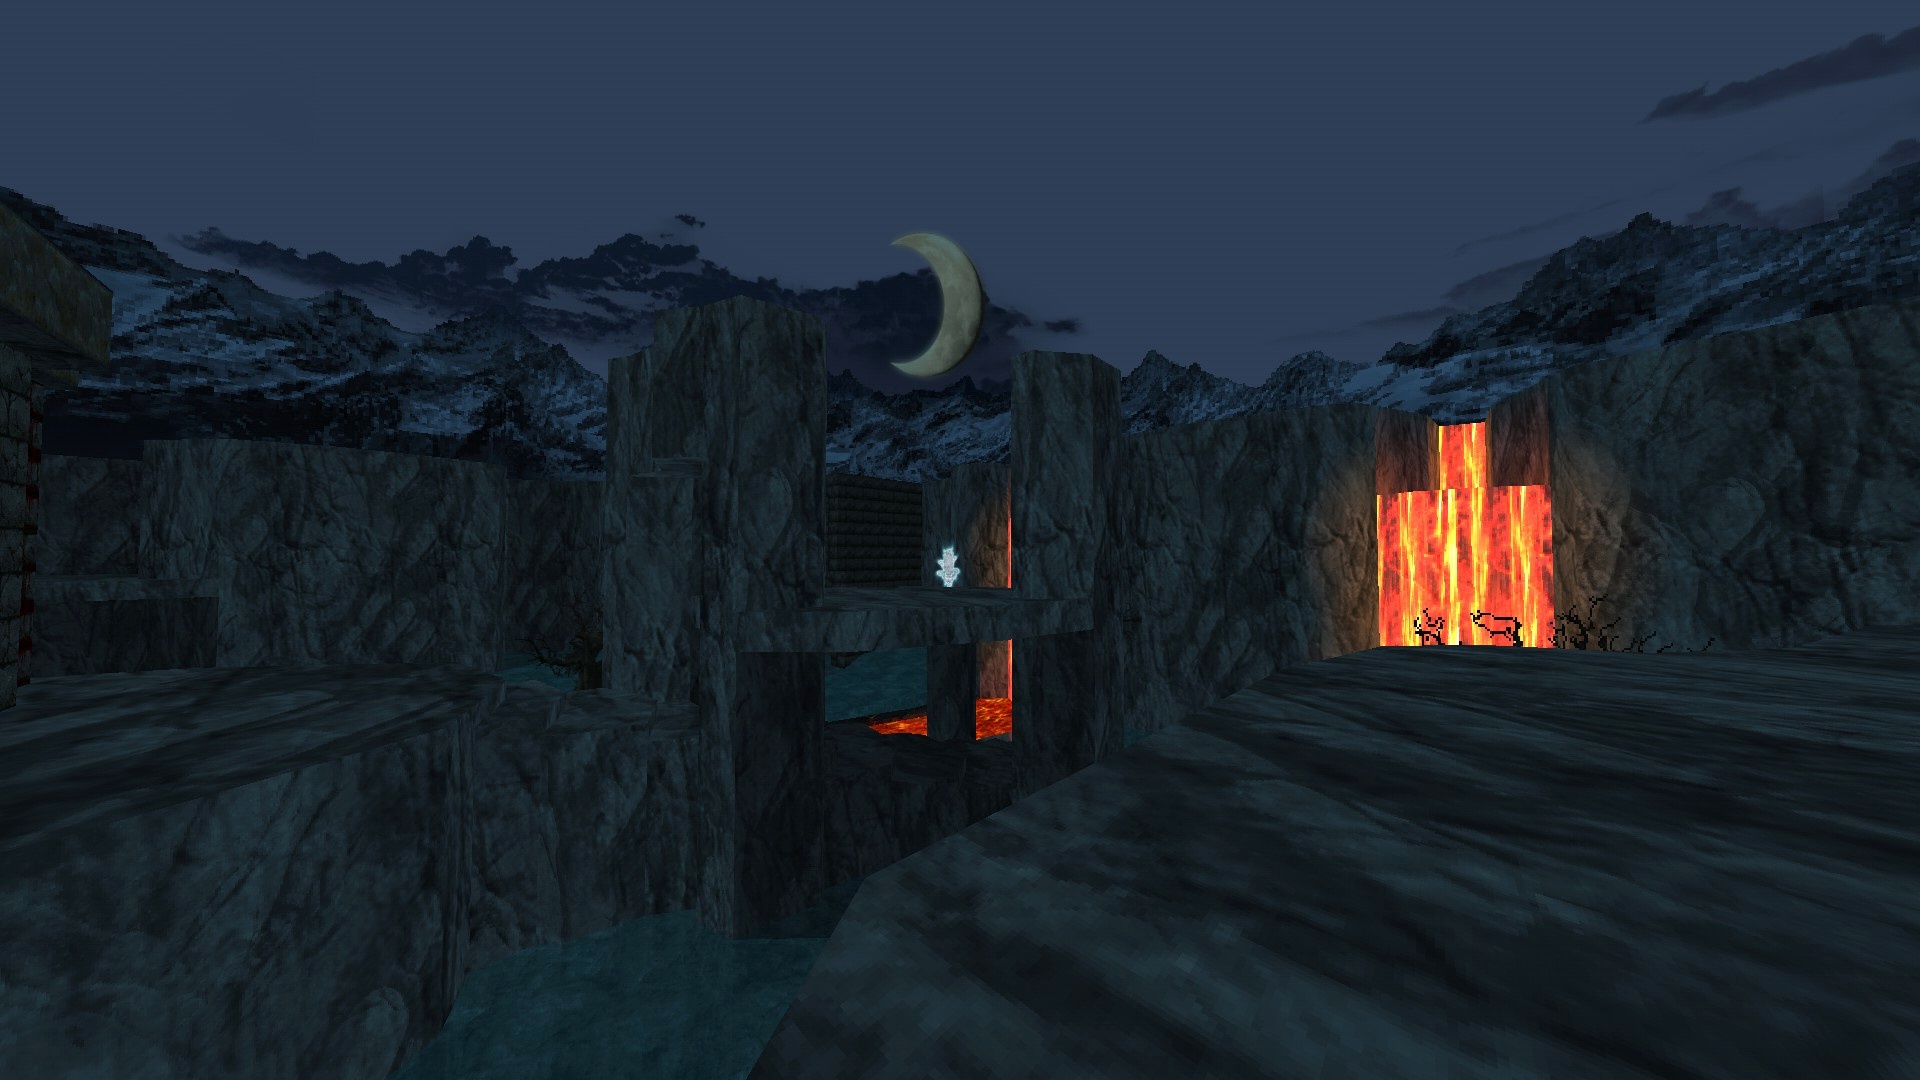
M13: The Earthen Depths
This map contains 7 기미.
1/7 – (Stone Breaker) In the large cavern where you activate the moving platforms, destroy the cracked part of the wall next to the teleporter to reach an otherwise barred item.
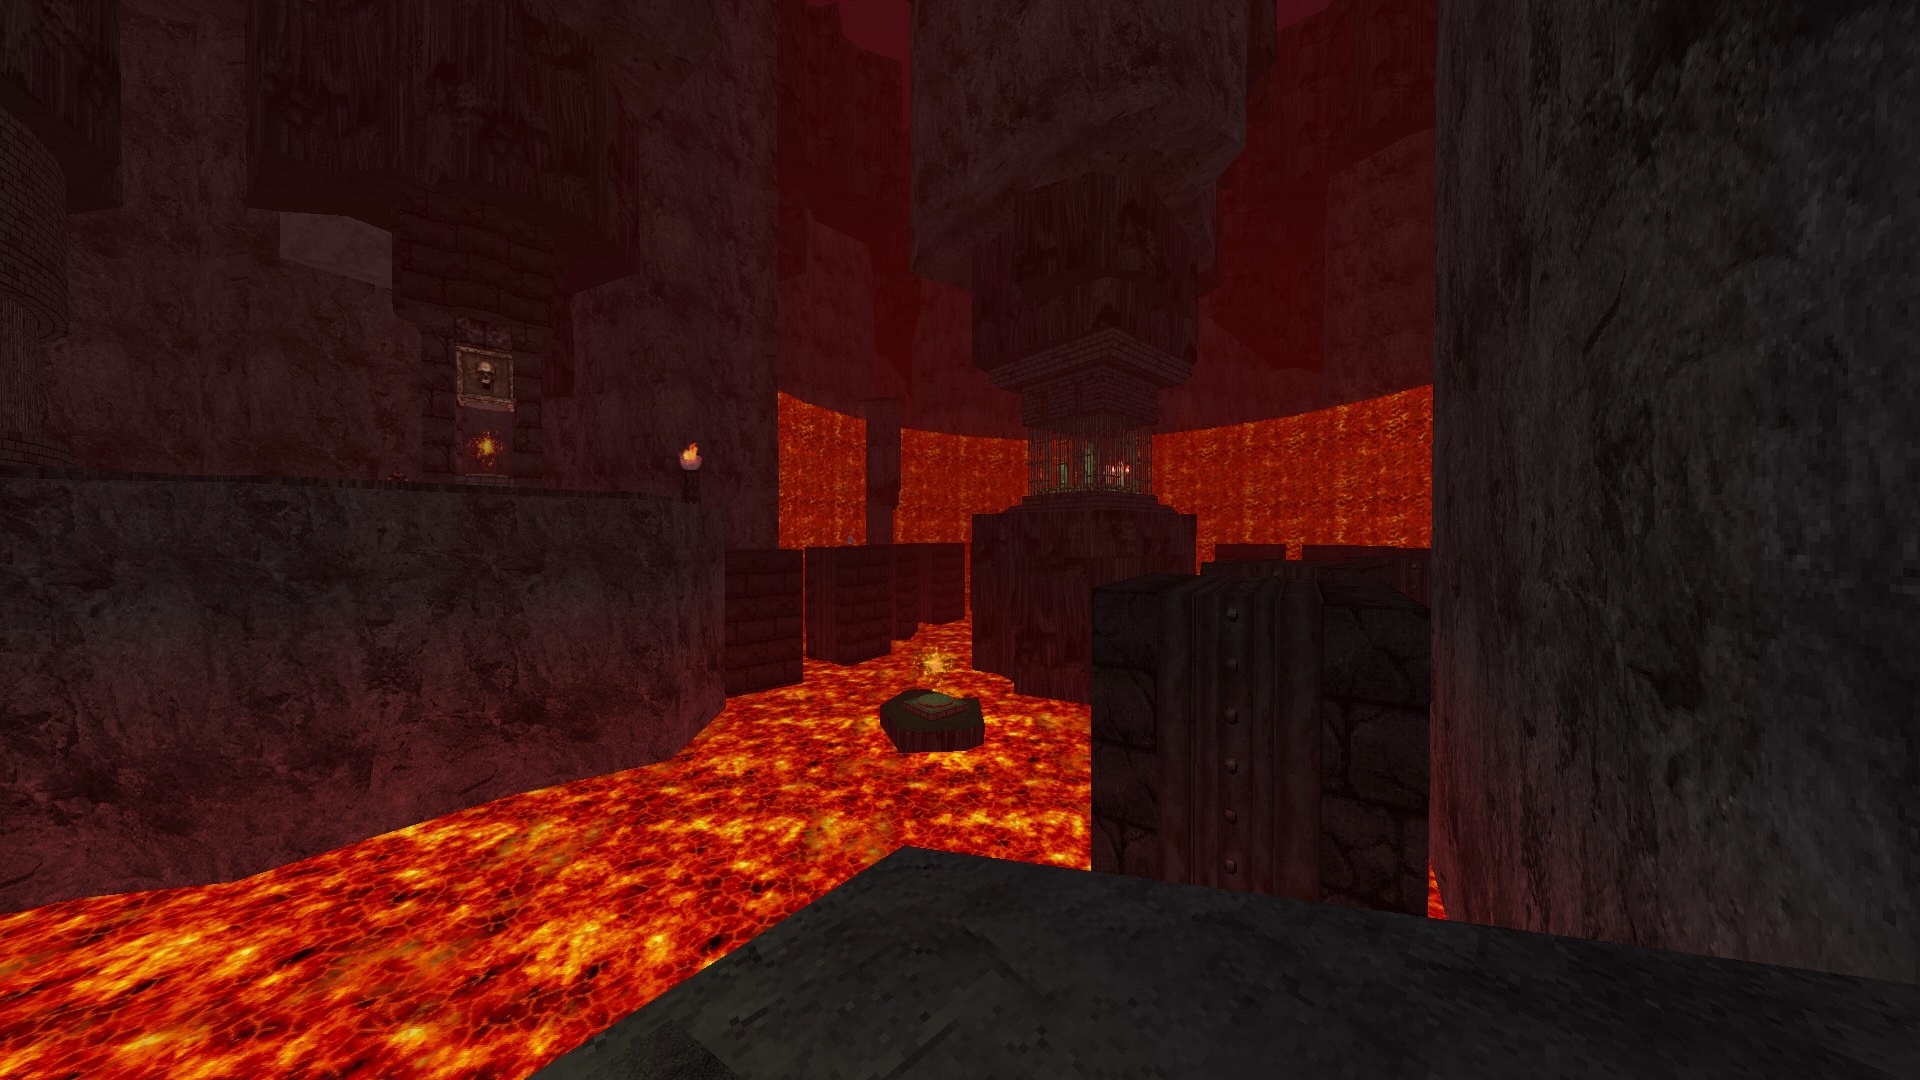
2/7 – Still in the cavern, make your way to the other side by way of the platforms and pull the switch to stop them. Jump your way back to the eighth platform from where you are standing. A slight split can be seen in the lava, which marks the invisible wall. Jump through the lava to find a hidden area.
3/7 – (Stone Breaker) A little after you move upwards via a rather unusual elevator, look for another crack on the rocks to your left. Destroy it to find a hidden item.

4/7 – (Stone Breaker) As soon as you get out of the trap ridden corridor, turn around and drop down to the ledge below and follow it to reach another hidden item.
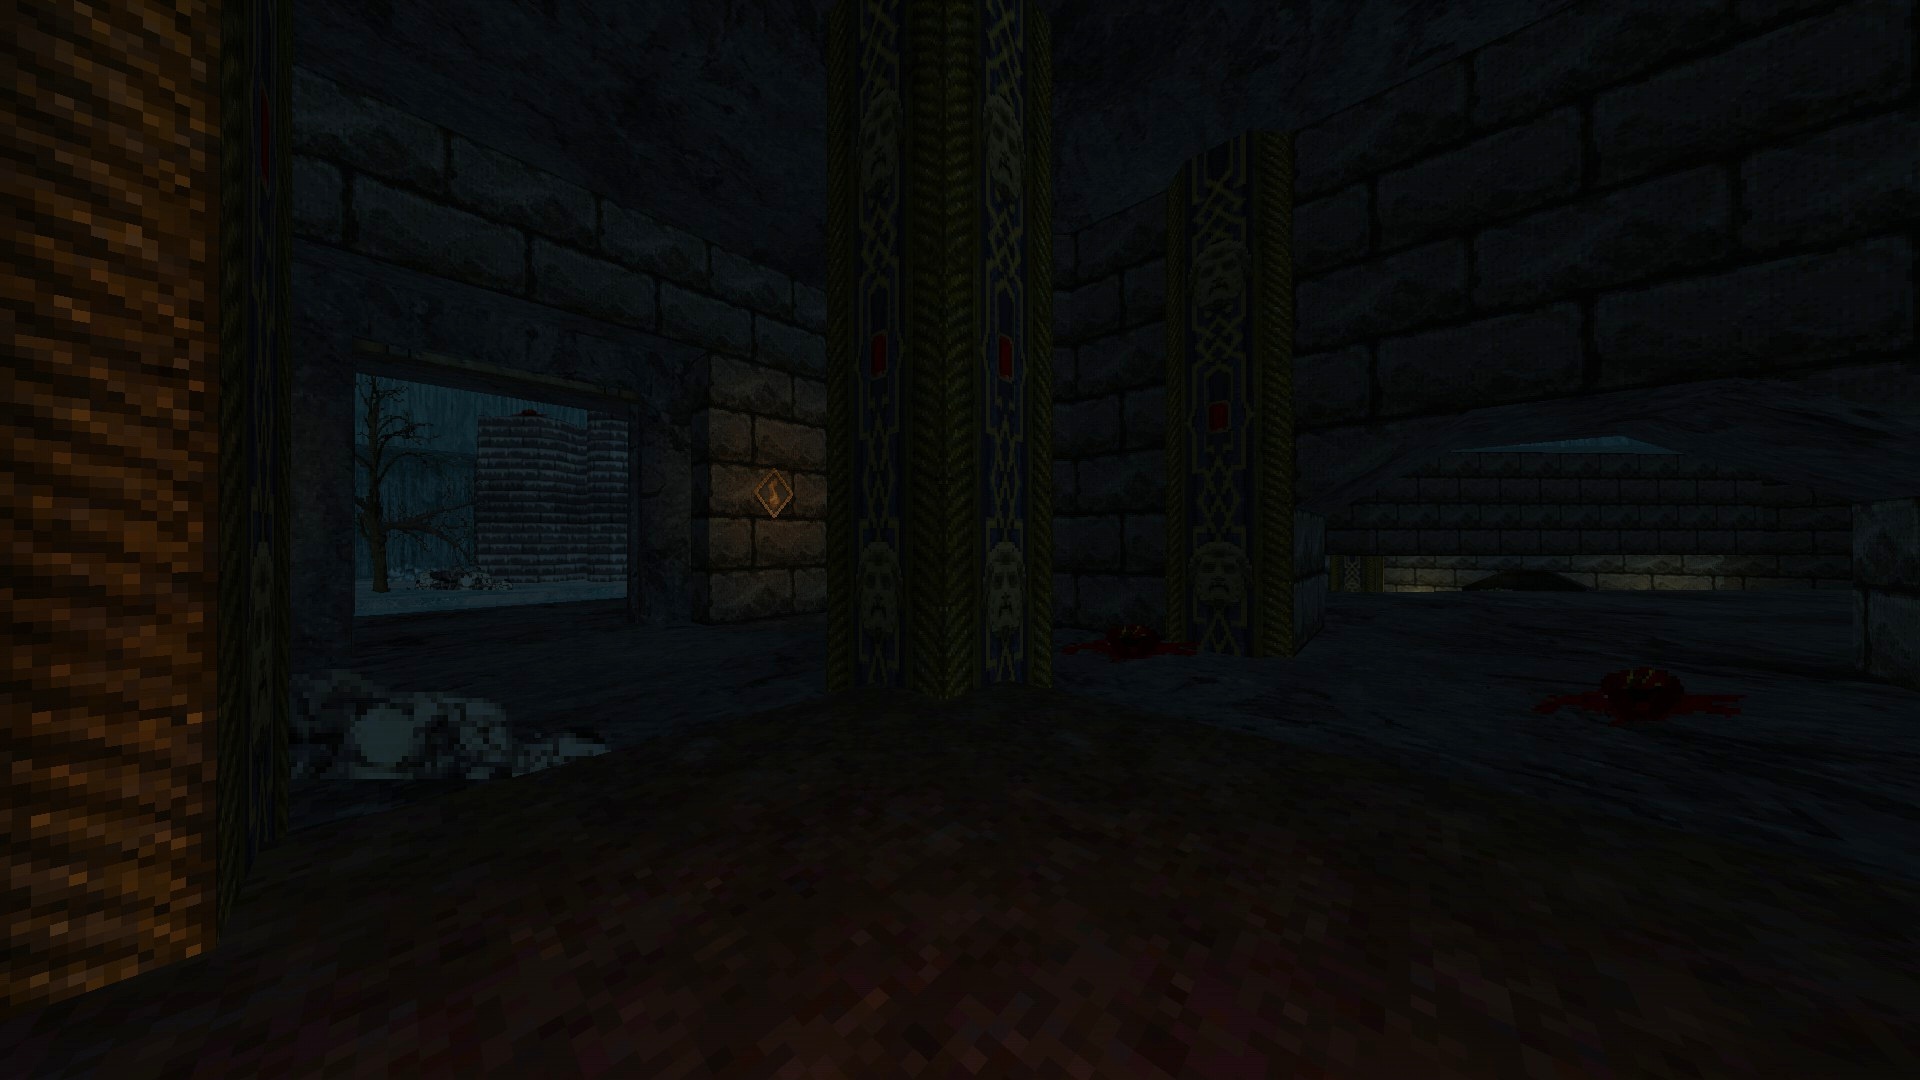
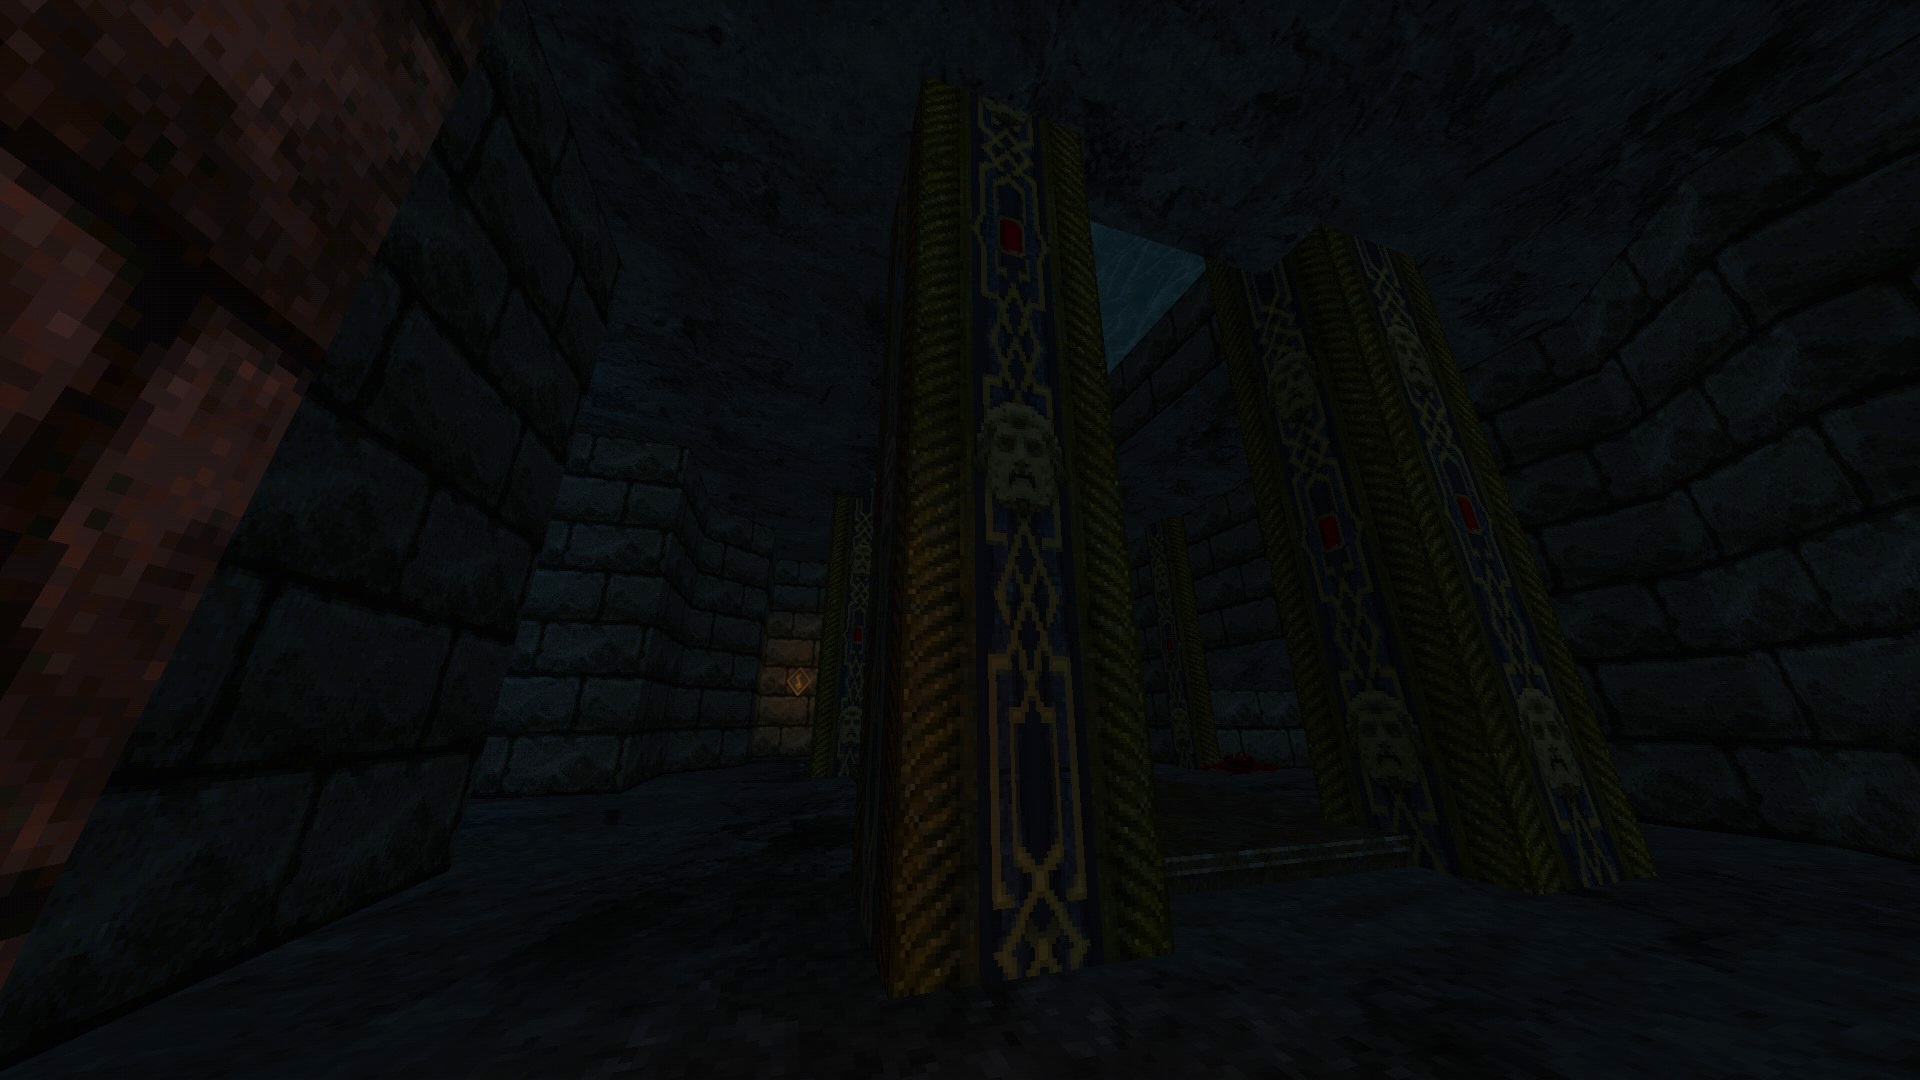
5/7 – (Swamp Serpent) Once you reach the topmost part of the cavern with rather elaborate pillars, look for an opening you can fit through to your left to reach the item that can be seen through the bars.
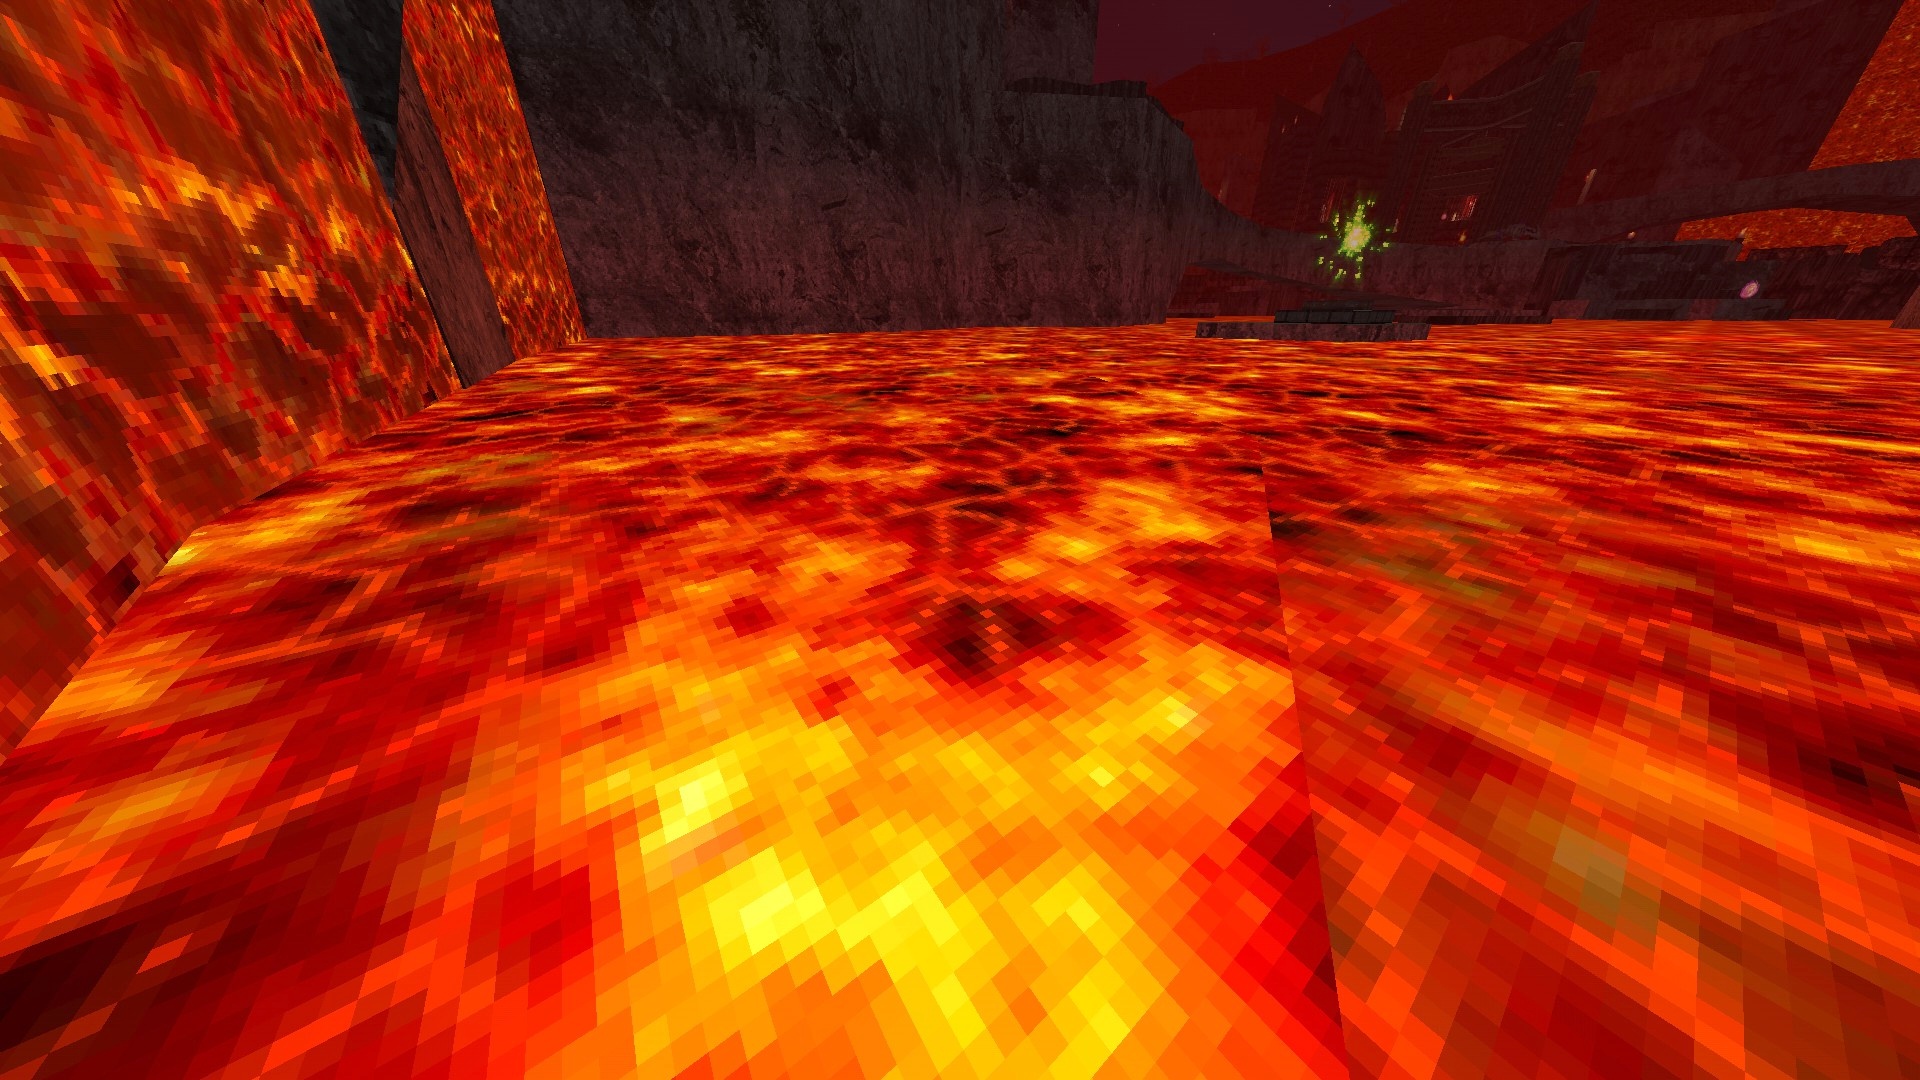
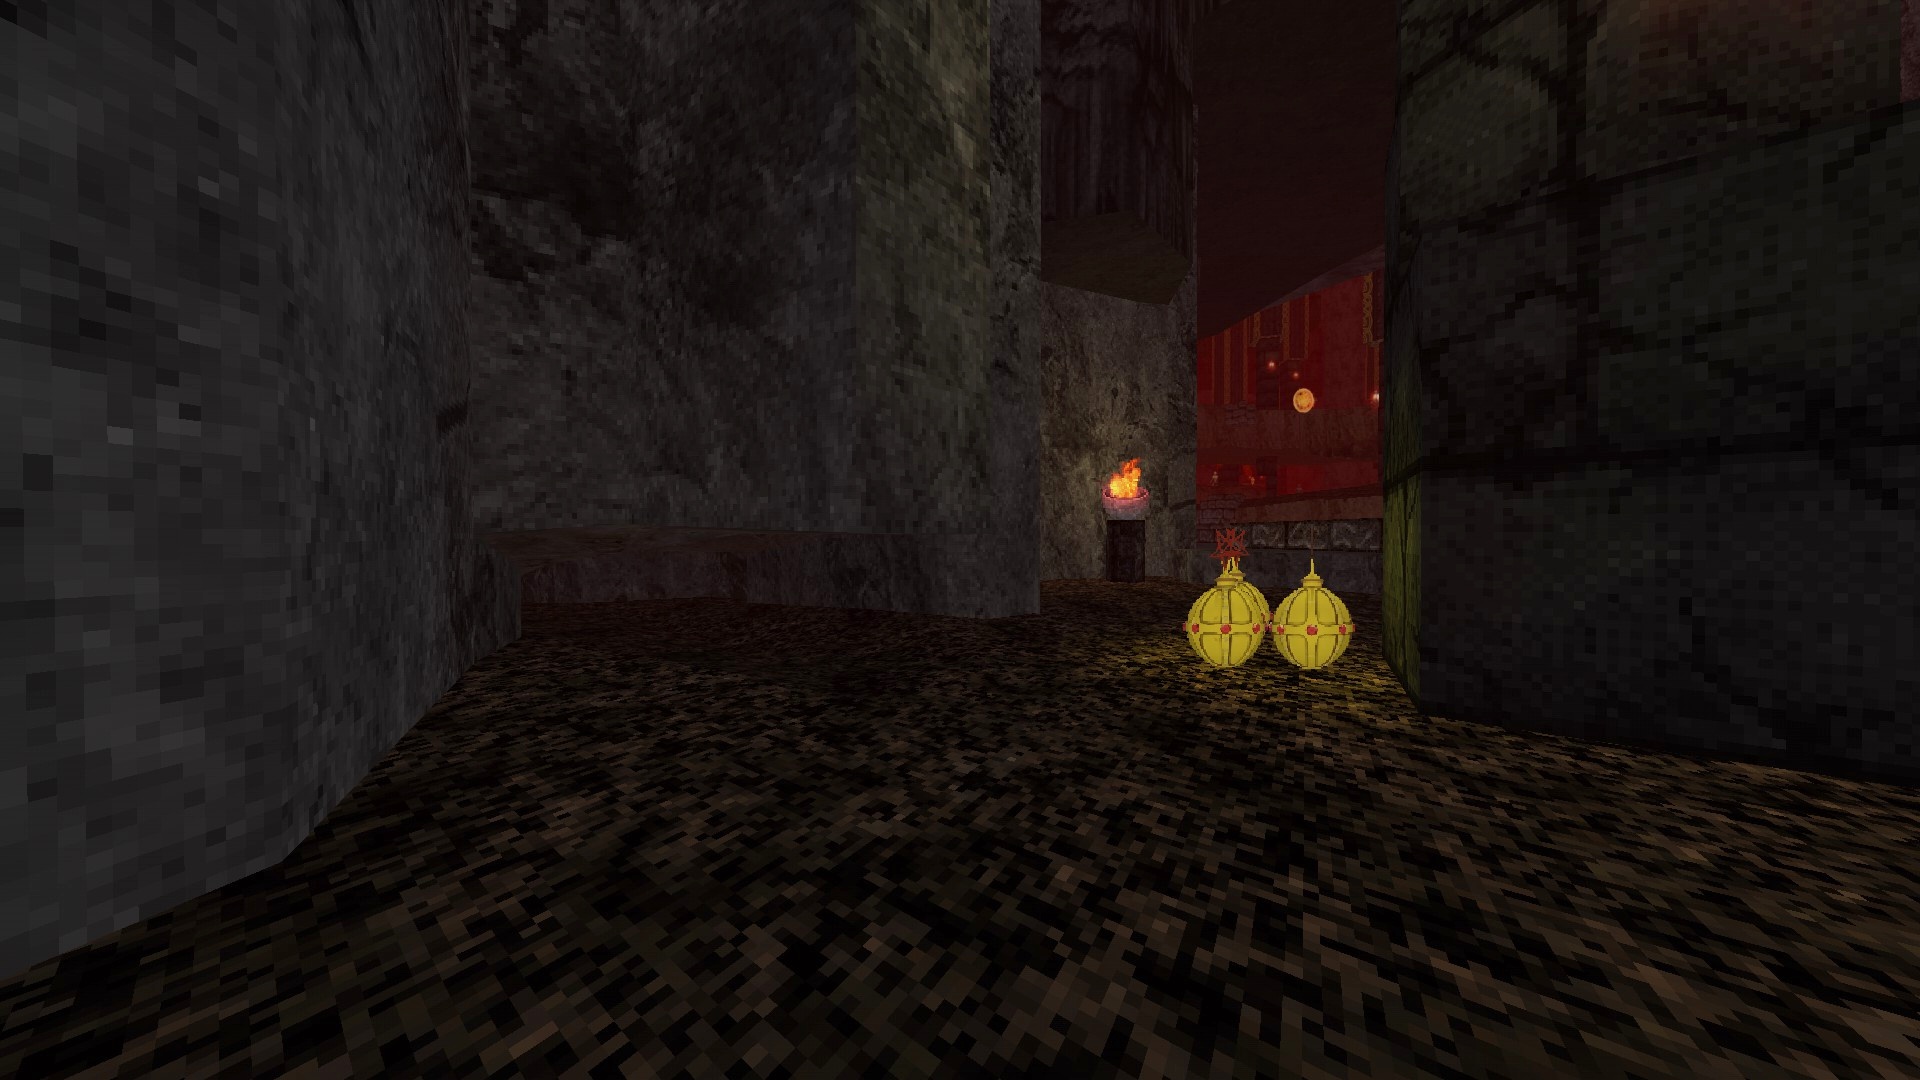
6/7 – (Hell Burner) Before pulling the switch required for progression in the final arena, walk over the lava to reach the two pillars behind the teleporter to the left. Once underneath them, dive into the lava to find two more hidden items.
7/7 – Following on from the previous secret, look for a teleporter on a higher ledge overlooking the arena. Utilize the broken parts around the other teleporter nearby as stepping stones and make your way to the one in question to find yourself in a side area.
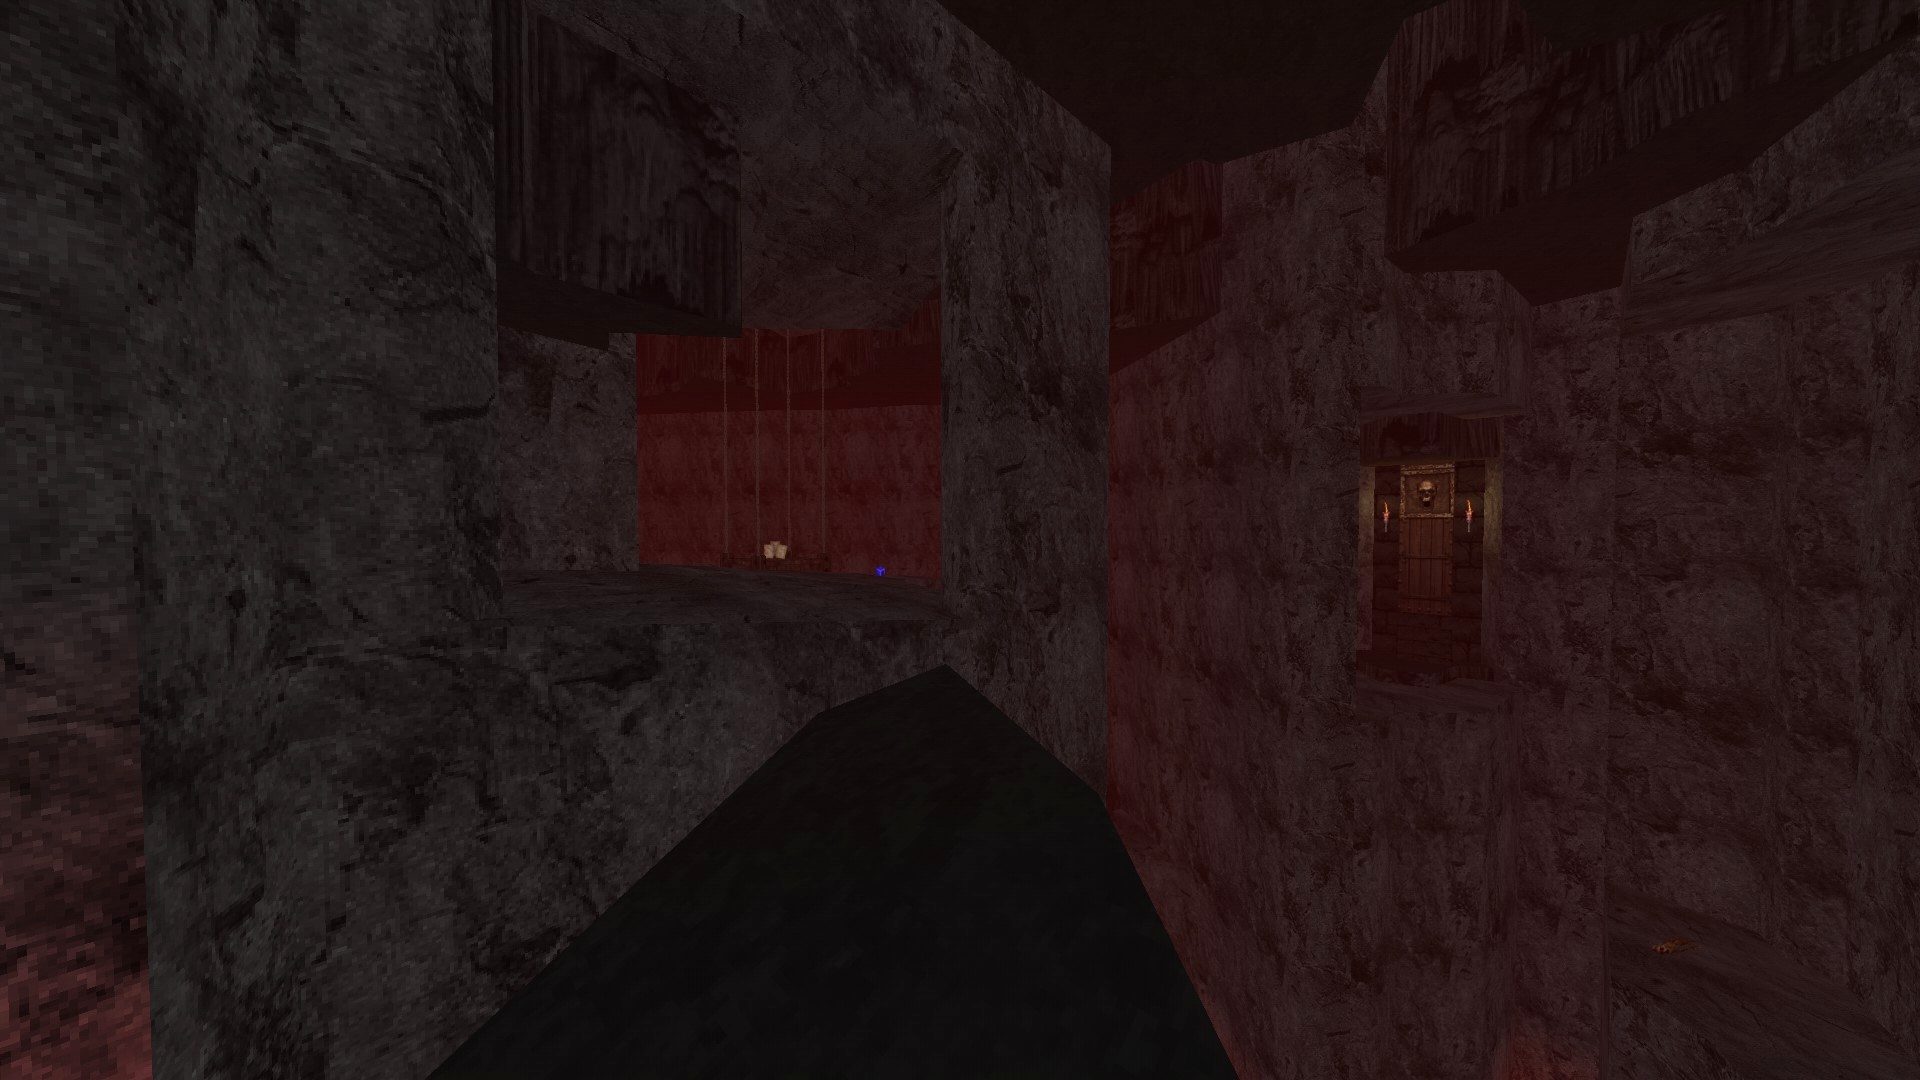
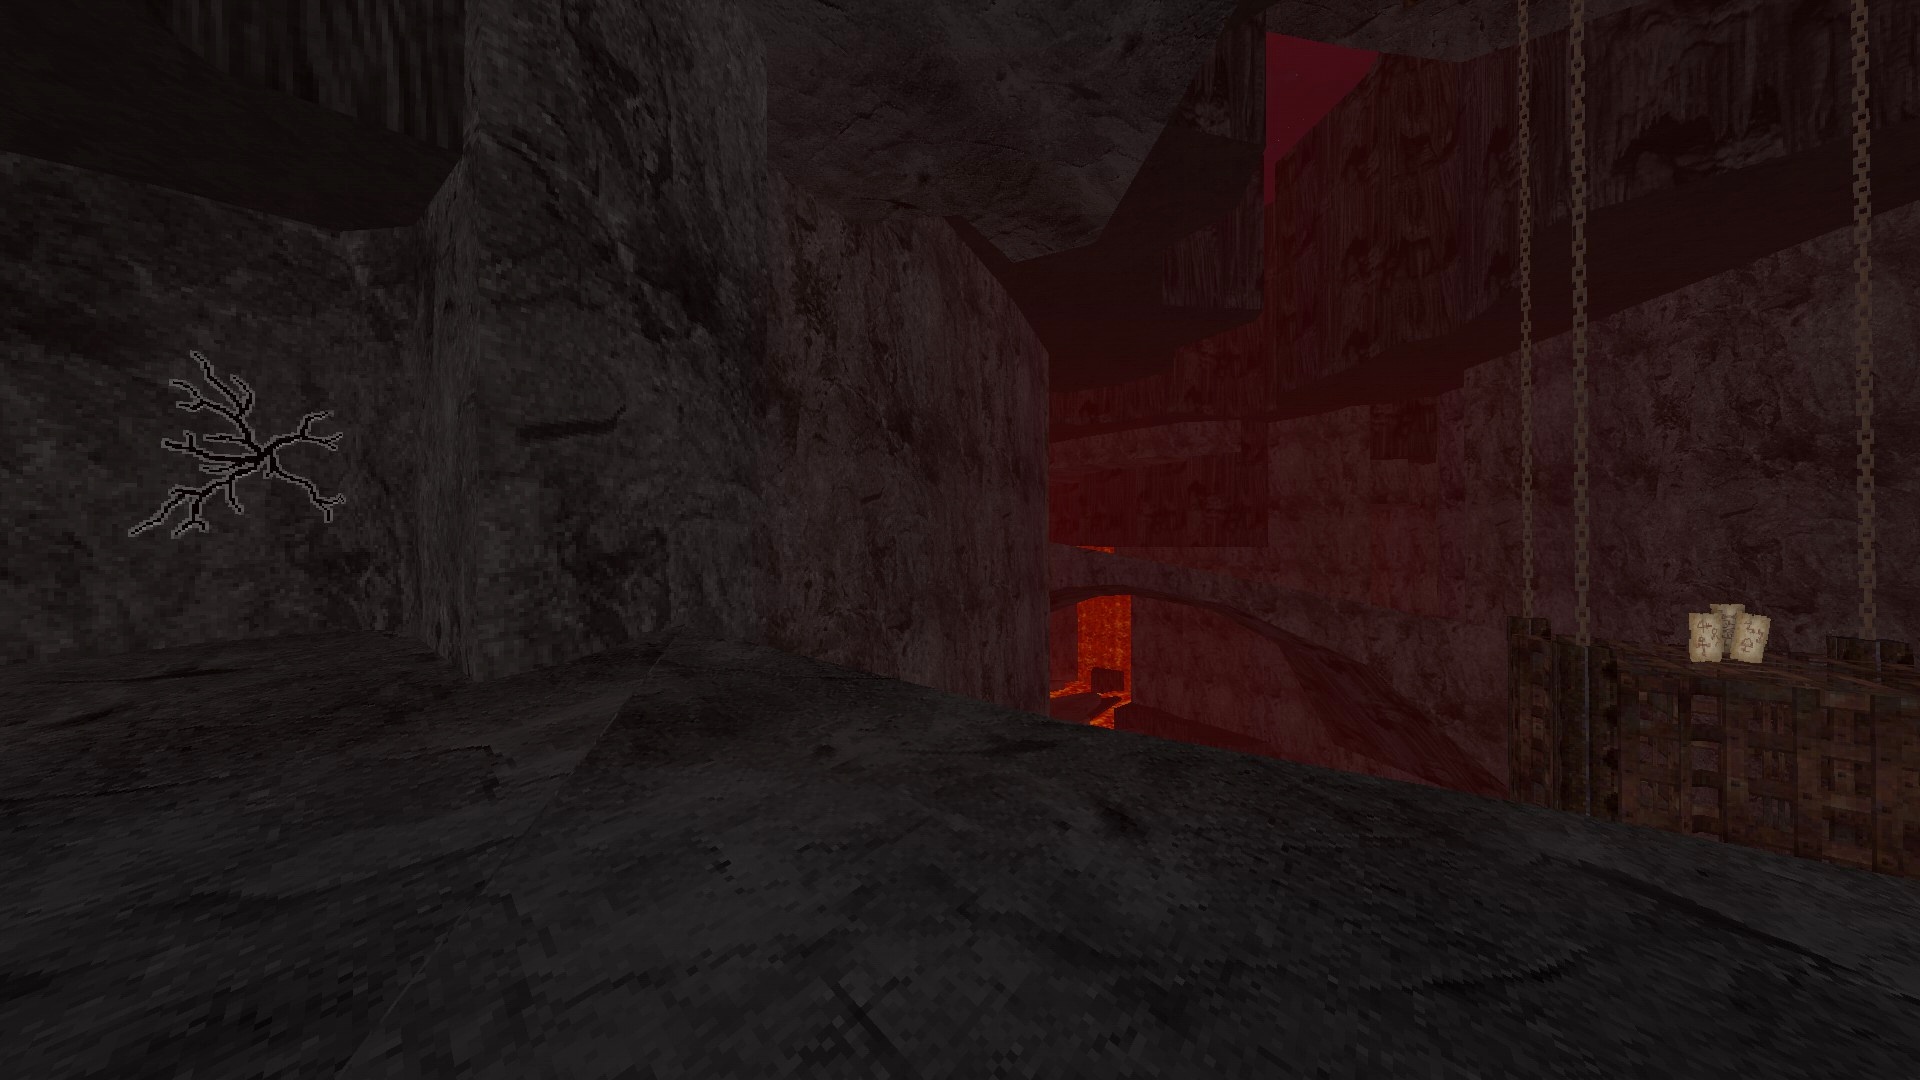
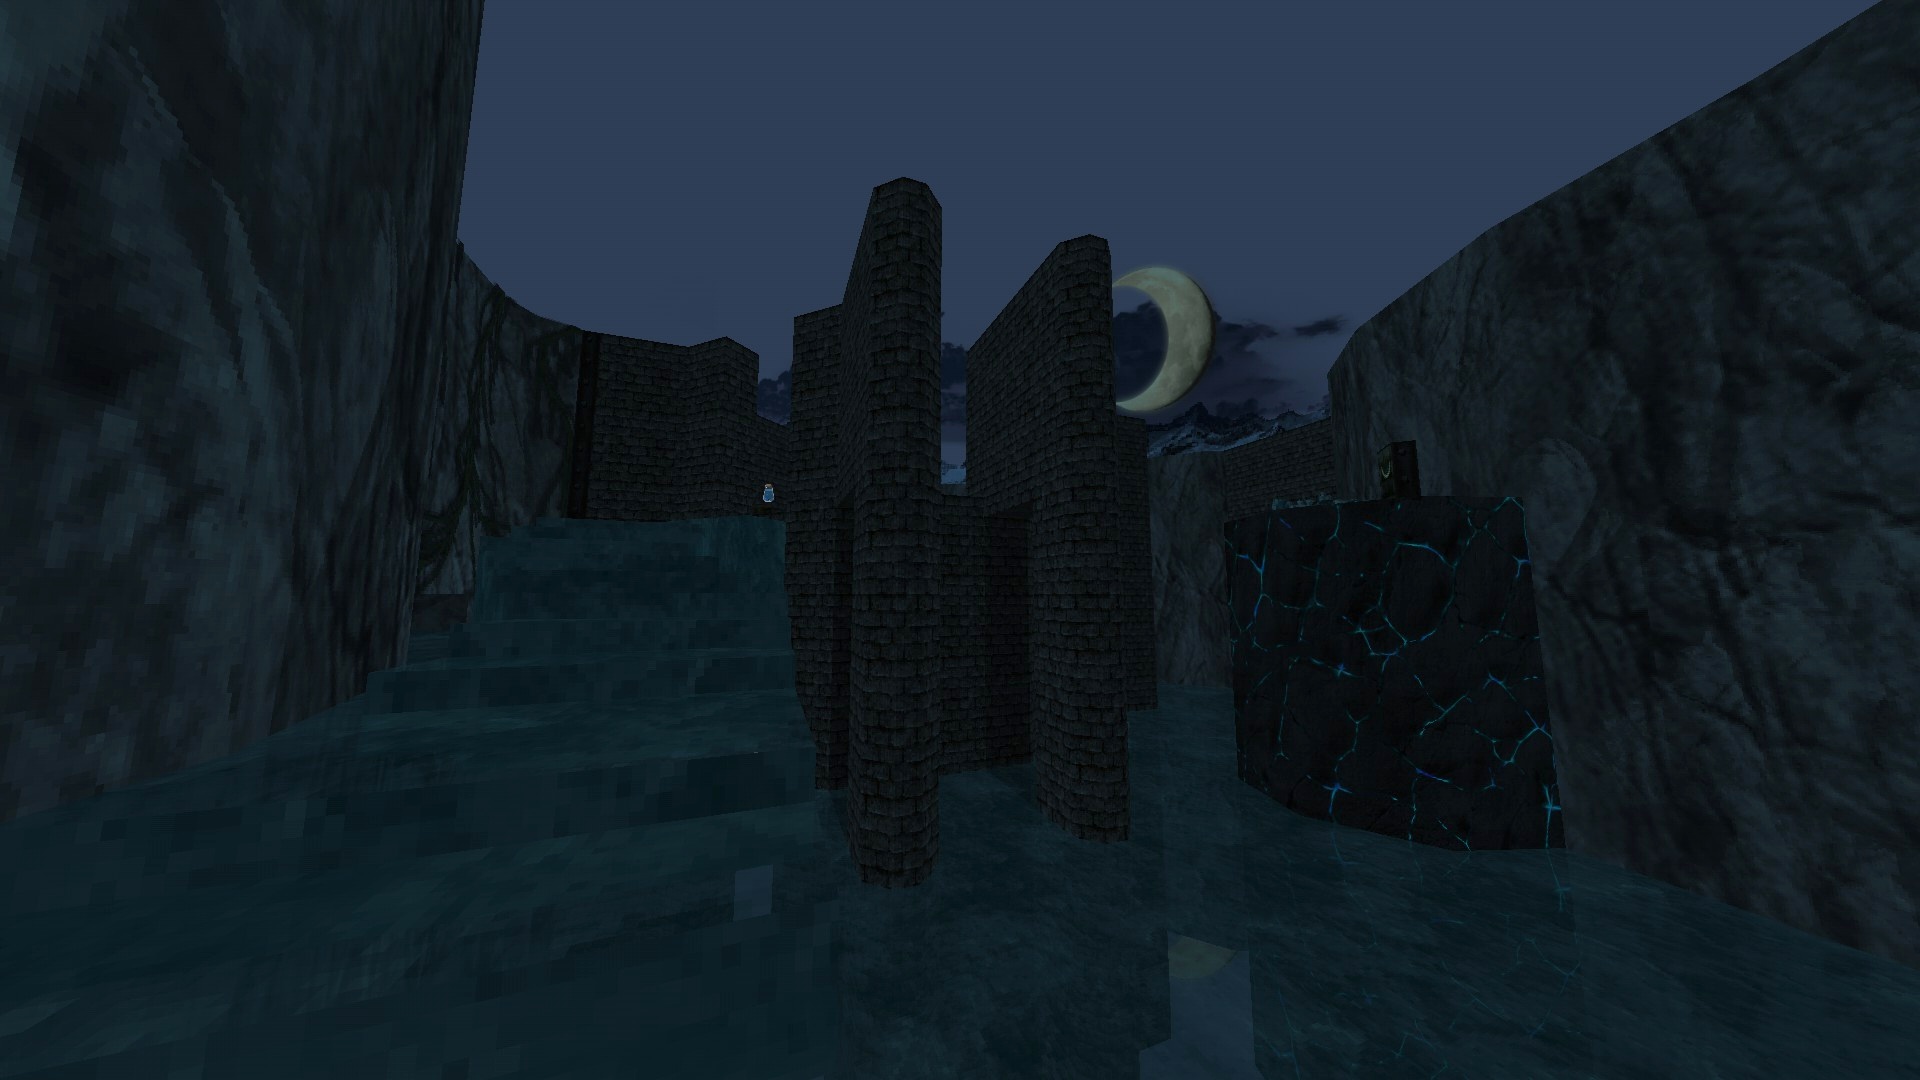
M14: The Frozen Fortress
This map contains 3 기미.
1/3 – (Swamp Serpent) Make your way to the end of the lava river in the initial area and drop down into the cavern. Fit through the opening to reach a hidden item.
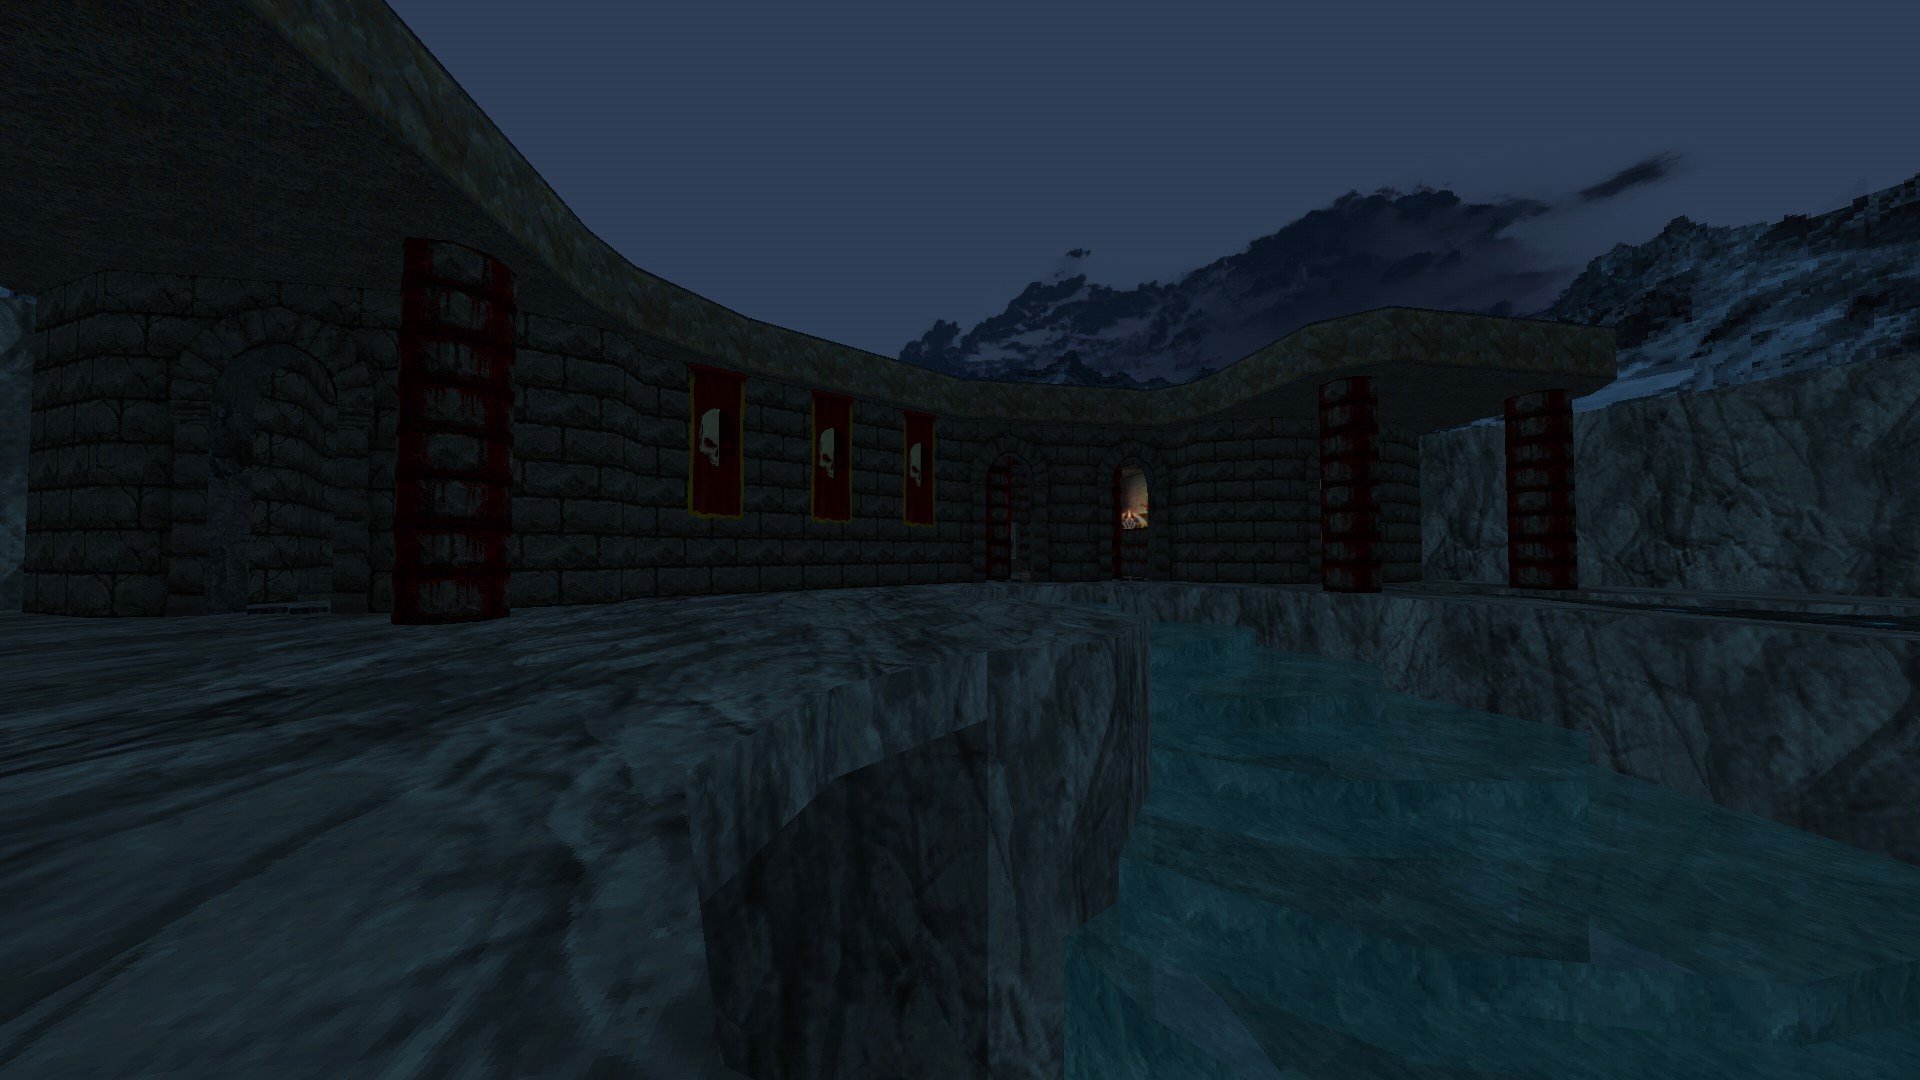
2/3 – After ascending the stairs that leads to the stronghold, turn around and make a running strafe jump to reach the item lying out in the open on the ledge.
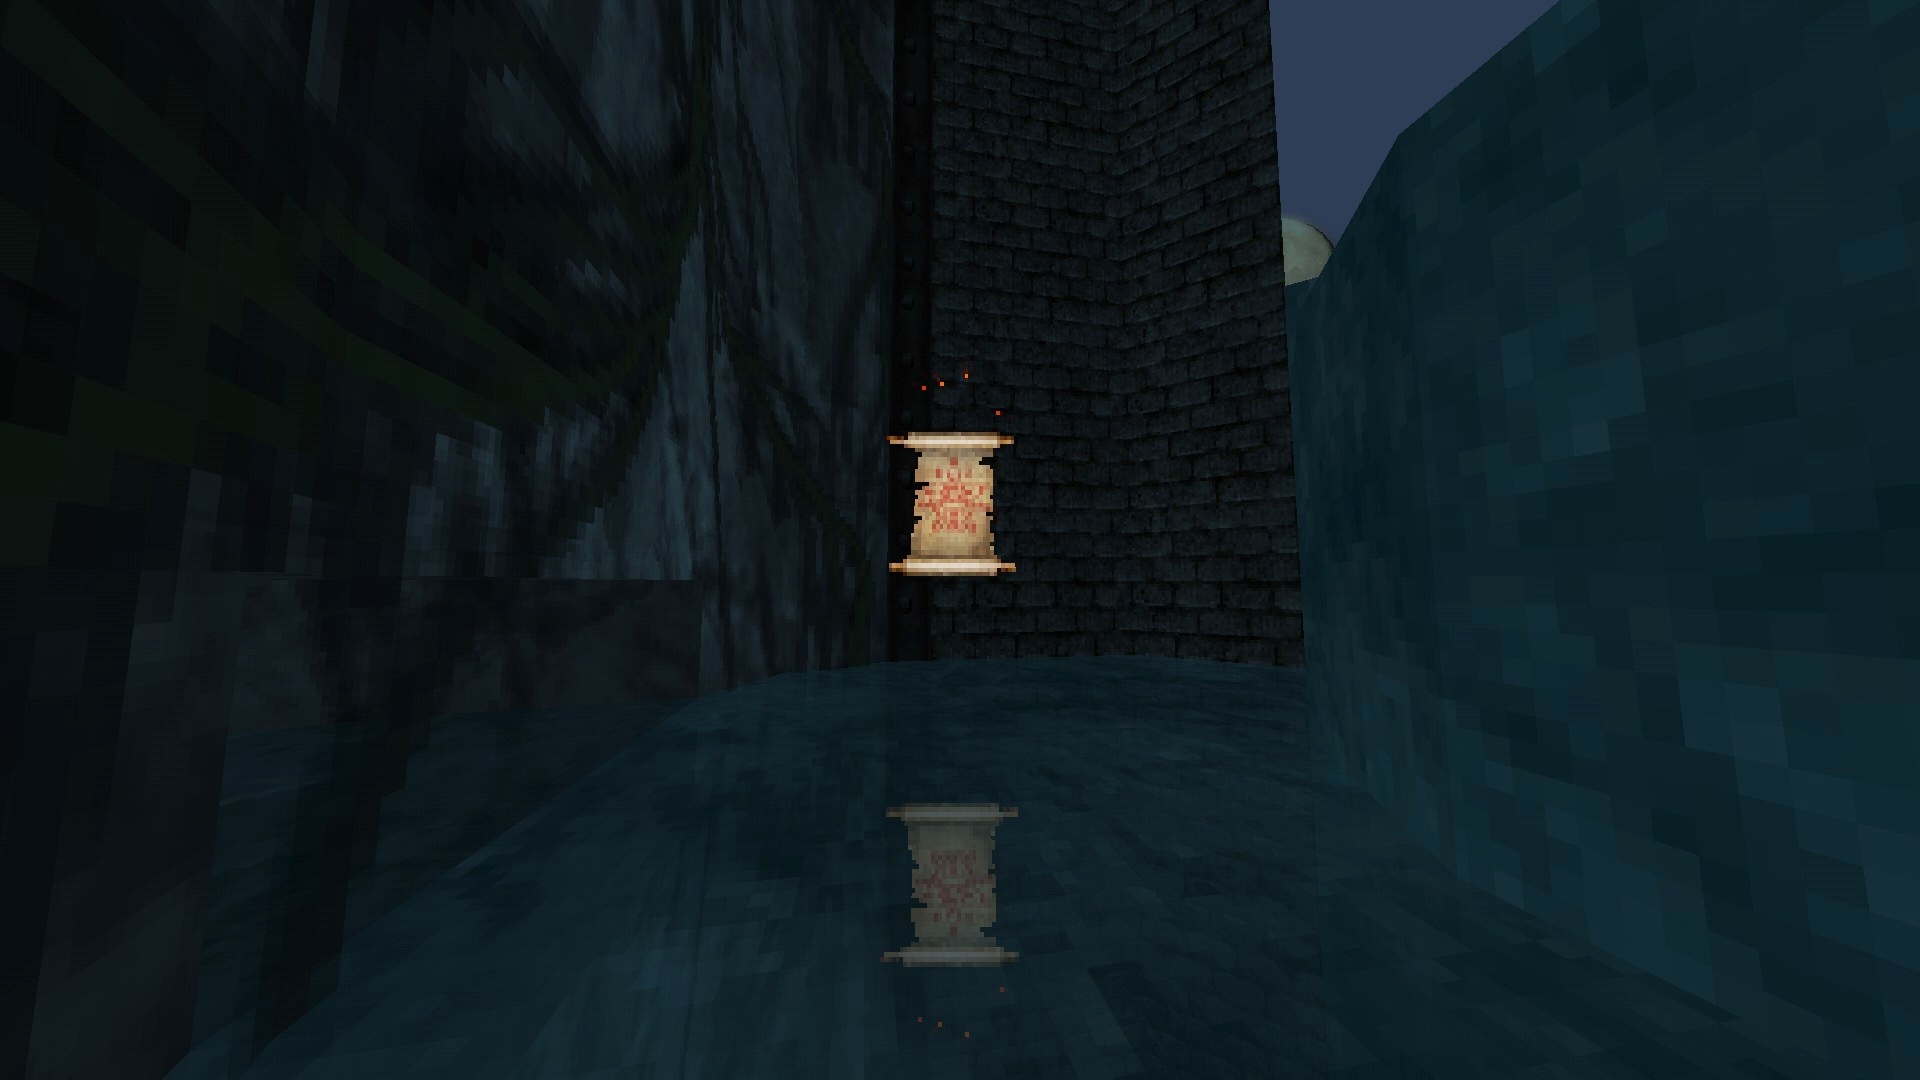
3/3 – (Swamp Serpent) As you ascend the icy stairs that leads to the tower at the back of the stronghold, drop down to the ledge to your left where the map scroll is and fit through the opening to find yet another hidden item.
이것이 오늘 우리가 공유하는 모든 것입니다. Hands of Necromancy 가이드. 이 가이드는 원래 작성자가 작성하고 작성했습니다. erc. 이 가이드를 업데이트하지 못한 경우, 다음을 수행하여 최신 업데이트를 찾을 수 있습니다. 링크.