Custom categories? Labels? Spawn icons? Here are some tips and tricks for those who want to get more use out of the spawn menu.
Creating our Custom Spawn List
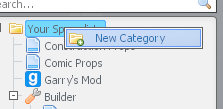
Go to the top of your spawn list until you see a folder named “Your Spawnlists”. Right-click the text and select “New Category” from the menu.
You need to give it some special info to make it more unique.
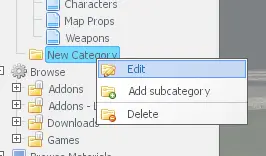
Look down until you find the new spawn list folder titled “New Category.” Right-click the text, 그리고 클릭 “편집하다”. You will notice that you can also create yet another category, a subcategory, in this existing category (and also remove the category), but for the sake of this tutorial you will just edit the one you have.
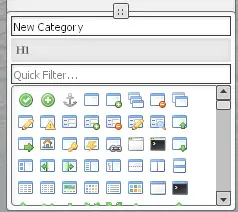
This is the area where you can edit the spawn list’s name and icon. It appears at the very bottom, 너는 그것을 놓칠 수 없다.
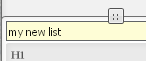
You will name the new spawn list something simple. Click in the text entry and type “my new list”, 그리고 Enter를 누르세요. This will name it accordingly.
다음, you’ll give it a nice icon. I think I’d like it to be a key, but the list has quite the number of icons and I’m not sure eyeballing for it would be the best course of action.
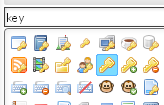
In the icon search text field, 유형 “열쇠” to bring up all the icons with “열쇠” in their name. You specifically want the key icon highlighted in blue, so click this icon to set it.
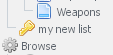
And now you have a new finished category that you are ready to populate with things.
Adding Header Text

In the panel you just looked at, you’ll see a lone icon sitting between the category name and icon search fields. This is how you will add labels to your category to categorize your spawn icons even further that you will eventually add.
To add a label, hover the mouse over the icon, then click and drag to the empty gray area (make sure the spawn category is selected first)
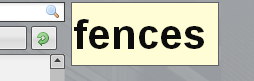
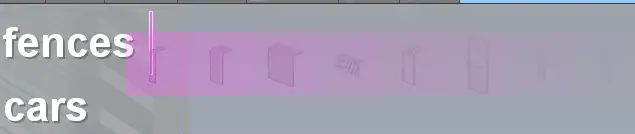
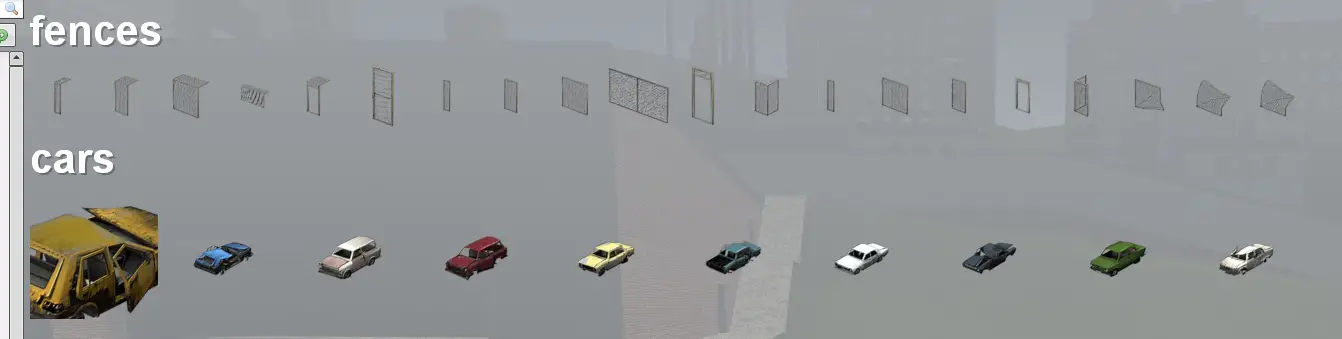
You should see some text called “Label”. Double-click on it to edit, 유형 “fences”, then press Enter to complete.
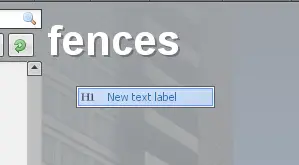
Having to click and drag may not be something you want to repeatedly do. Another way to add a label quickly is to simply right-click anywhere in the empty list, 그리고 클릭 “New text label”.
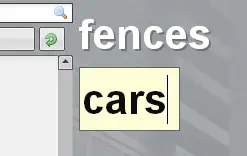
Simply do the same procedure as the previous step, but for this label, you will name it “cars.”
Populating our Spawn List
We will start by adding some fences to our new spawn list.
Go to the top left and search for “interior_fence” in the text entry field, 그런 다음 Enter를 누릅니다.

It may take some time. Once the fences have loaded in, go ahead and hold your left-mouse button anywhere in the main area and click-drag to create a lasso selection, then select all of the fences pictured above. Make sure not to accidentally select the label.
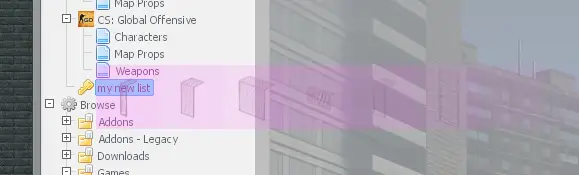
지금, click-drag your selection carefully to your spawn category you made earlier. Eventually it should open the category for you automatically.
You want to make sure that the glowing bar is right next to the “fences” 상표. This will ensure that the selection we have is placed right below it. Go ahead and drop it down there.
그래서, now you have fences that you can pull from the spawn menu quite easily.
The final thing to add are cars, for the cars label you added earlier. 지금, using the search bar is good and all, but maybe you want to search from a specific game you have mounted to Garry’s Mod. Since Half-Life 2 is by default a game available for Garry’s Mod, you will search there for the content that you need.
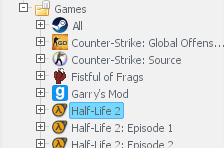
Look on the left until you see a folder called “계략”. If the folder is collapsed (닫은), then go ahead and open it. You should see some games. Yours can look drastically different from mine depending on what games you have mounted, but go ahead and select “Half-Life 2” from this directory.
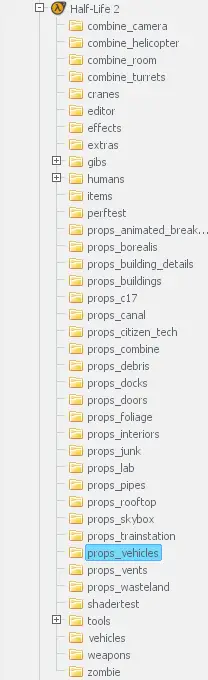
Head down to “props_vehicles”, and click it to open.

그래서, you have some car-related icons here that you can choose from. There is some stuff in here that doesn’t look like it would be a car, rather maybe a component of it, and there’s also some duplicate cars that might not be wanted. Drag-select won’t do here. What you will instead do is select multiple spawn icons one-by-one. You can accomplish this by holding the Shift key, then individually clicking each icon. What you click should match the picture above starting after the first wheel and almost before the axle.
Like you did last time, drag it to the proper label in your spawn category.
Customizing Spawn Icons
때때로, you’ll run into a problem where the spawn icons can look too small on your PC display. This is especially an issue for those that play beyond the standard 1080 윤곽. To somewhat combat this, you can resize your icons to better fit your viewing needs.
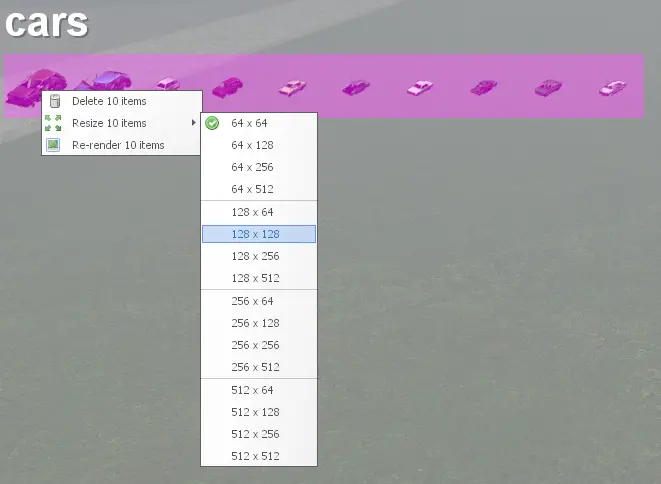
첫 번째, select all the cars you just placed, assuming they aren’t still selected. 그 다음에, right-click to show a menu. There’s some different options to pick from. Mouse over “크기를 조정하십시오 10 항목”, 어디 10 can be any number of selected things. 딸깍 하는 소리 “128 x 128” and they will resize to much larger icons than before. Speaking of options, “Re-Render” is only useful when you have icons that may or may not look outdated or incorrect. This will simply loop through all your icons and attempt to fix any issues.
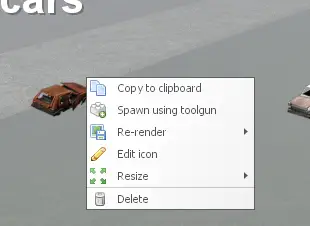
To continue this tutorial, you will right-click the first red car. This will bring up a bunch of options. Let me go through each one that I haven’t covered.
- Copy to clipboard – Useful if you’re coding and need to fetch a path to a model, this works on just about everything in the spawn menu and not just props
- Spawn using toolgun – Alternative way of spawning an entity, also the only real use for the Creator Tool
- Edit icon – Lets you further change the way the spawn icon is displayed, more on that shortly
- Delete – Removes the icon, this will push everything down to fill the gap
Go ahead and click “Edit icon” to see what you’re able to do.
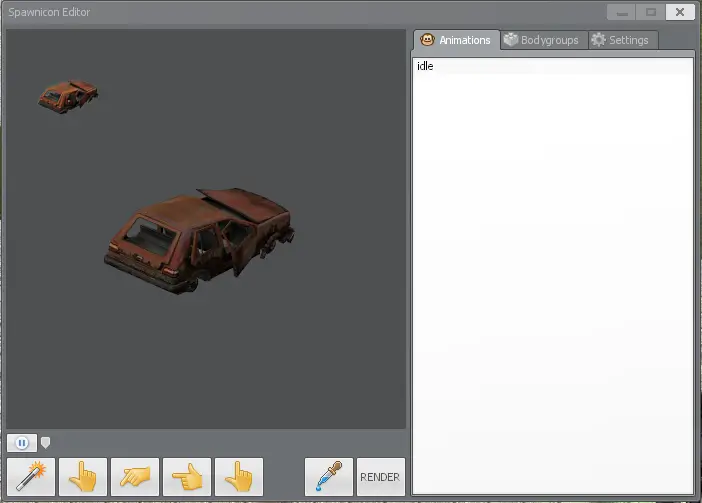
When you choose this option, you are greeted by this window. You will immediately notice the tabs and some buttons on the bottom. I will cover all of those right now:
- 애니메이션 – Displays a list of defined animations. Click on one to play the animation on this entity. 지금, depending on the entity, there could be many types of animations to choose from. The vast majority of entities in GMod, 하지만, will have only the “게으른” animation to pick from. This basically does nothing on its own, and all entities in Source are required to have this one animation defined, even if no animations are wanted. Just keep this in mind when you see more options for certain entities in-game
- Bodygroups – You can think of these as extra models that this entity can have, for example a gun holster or a hat on a player model. Use this to toggle between each of them if any are available.
- Other Settings – Mostly reserved for debugging things. You can also control the angles of the display icon this way, and you can substitute this behavior with dragging the icon with middle mouse button as well (or whatever may simulate the mouse3 bind)
As for the buttons below, these are simple presets for determining how the icon should show up. “Best Guess” 작동 할 수 있습니다, but can sometimes not account for the entire entity and may look too zoomed out.
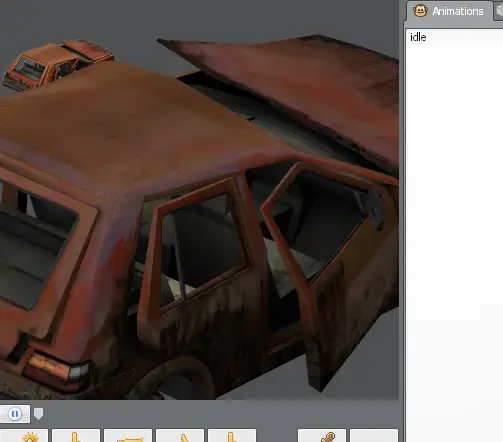
The current car icon we have is suitable, but I’m feeling a little daring today and want this to be zoomed in much further, so to do this, simply mouse over the icon and mousewheel up to zoom the camera toward the vehicle. I think this looks fantastic already.
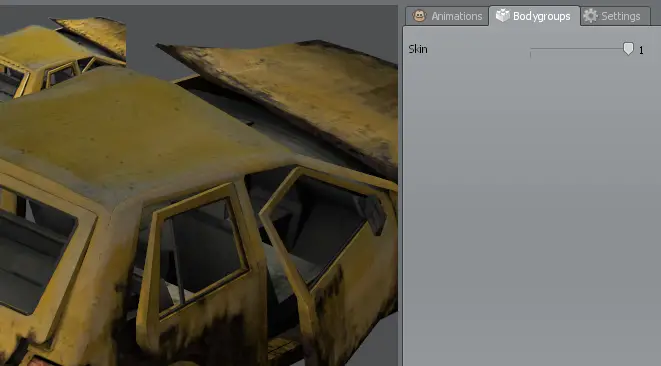
The red is starting to get boring. Luckily this car has another bodygroup (a skin in fact) that gives it a yellow paint job. 로 이동 “Bodygroups” tab and move the slider from 0 에게 1.
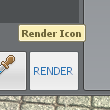
마지막으로, you are done and are ready to apply your changes. 딸깍 하는 소리 “Render” on the bottom of the window. Your changes should show up when you view the spawn menu now.
The spawn menu is coming together quite nicely. 하지만, there is one thing left to do before anything else. 예, that’s right: 그것은
saving your changes.
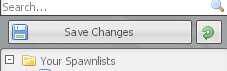
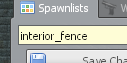
You can find this at the top left of your spawn menu, below the search field. 딸깍 하는 소리 “Save Changes” to save your spawn category you created. The little green button next to it is to undo any changes you made. If you don’t like the example spawn list, you can undo using that.
Closing Comments
지금까지, you have learned how to…
- Create a spawn category
- Edit categories to add names and search category icons to apply
- Add and edit labels for spawn categories
- Use the search to lookup model paths
- Search directly through your mounted games for a model
- Use group-select and multi-select for icons, and to drag + drop icons
- Resize icons, change the icons appearance, and choose bodygroups for icons
And that does it for this tutorial. If you have any further questions about the guide, feel free to let me know.