
This will be a general overview of the game’s mechanics as well as a showcase of different strategies to make your playthroughs more efficient.
소개
Dome keeper is a roguelike survival game that puts you in charge of defending your very own dome against the relentless assault of alien monsters. It is a game of strategy, resource management and speed, which is the main reason why I’ve decided to put together this guide in hopes of aiding new and experienced players alike.
This guide will compile the game’s mechanics and information into a
single, organized space, as well as providing some of the strategies I’ve found to be most efficient during my runs. I hope you find this guide helpful towards your improvement as a Dome Keeper!
Gamemodes & Difficulties
This gamemode’s objective is to
find and retrieve에이
relic hidden deep within the alien world. It is usually between the 3rd and 4th
“생물군계”, which are each signified by a change in the
색상 그리고
hardness of the rocks you dig. Retrieving the relic requires activation of
“버튼”connected to the main case. The specific amount of buttons ranges from 2-4, and seems to vary according to the map size you’ve chosen at the beginning of your run.
Gamemode spoilers: Once you’ve retrieved the relic, bringing it back to your dome will trigger a “final battle” which can only result in your victory and thus the end of your successful run.
~ 안에
prestige mode, you score points based on
how manyresources you can send back to your home planet before you either leave the planet safely or your dome is destroyed. There are two factors affecting how many points you gain at the end of your run:
- Prestige score: Sending iron and water back to your home planet increases your base prestige score gain per wave survived. The amount of resources you need to send in order to gain more base prestige score increases as you send more resources.
- Prestige multiplier: As the name indicates, the prestige multiplier multiplies your prestige score. This can be gained by either sending cobalt back to your planet or ending the run by returning safely. Both of these can be selected in your computer terminal.
The game’s difficulty setting, which you can only select before starting a run, affects the amount and types of enemies you will face across the incoming waves. At higher difficulty levels, 당신은 찾을 것입니다
tougher enemiessooner and see yourself facing
more of them. 현재, there are four difficulty levels in the game:
- 정상
- 딱딱한
- Brutal
- You asked for it
The Keeper

지금까지, 그만큼
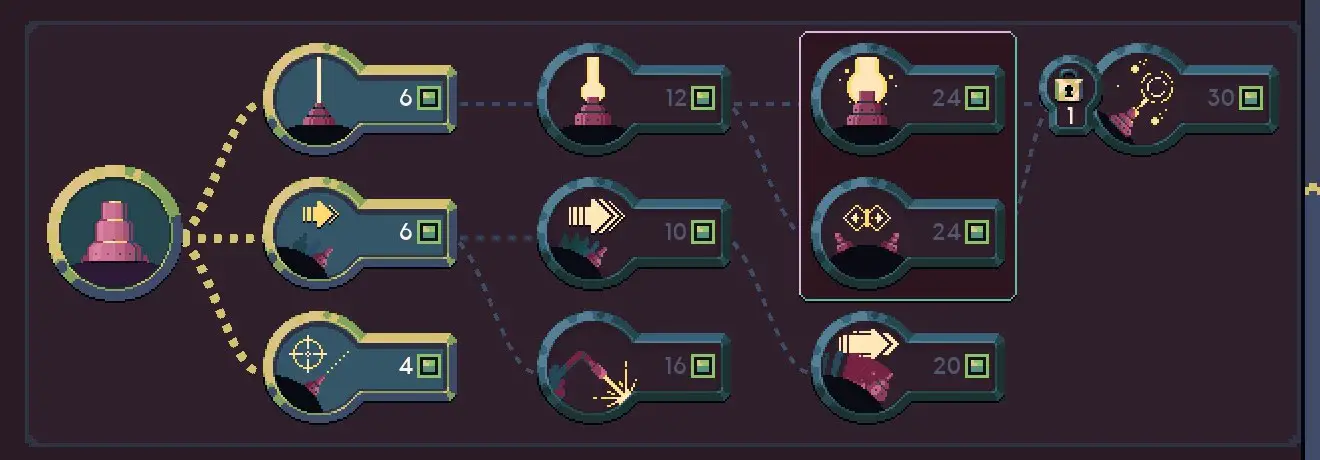
오직 keeper in the game is the engineer. The engineer can fly, drill and carry resources back and forth. Each of the engineer’s upgrade branches is focused on one of these three abilities. While progressing through your run, it is important not to fall too far behind on upgrading any of these three branches since they are all
instrumentalto ensure your dome’s continued survival.
업그레이드:

???
The Dome
Your dome is the
single, most important thing in the game. Your primary objective is keeping it alive, since the destruction of the dome means game over. 그것은 말한다, it is also where all of your important things are kept, like your computer terminal, which allows the upgrading of everything you will ever need in this game. The gadgets you start with and gain over the course of your runs will also be found inside, all of which can be interacted with in some form.
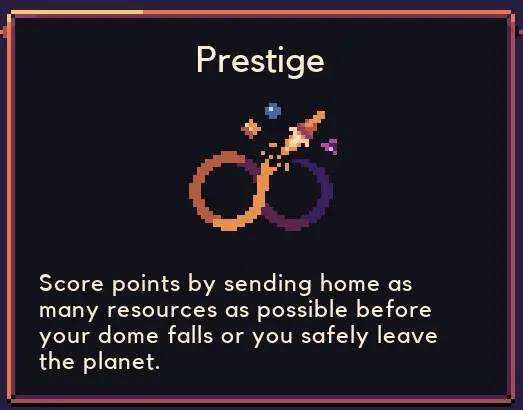
현재, there are two types of domes in the game, 그만큼
Laser Dome그리고
Sword Dome.
This is your good ol’ starting dome. It boasts a laser cannon that shoots a continuous stream of energy that damages and stuns your enemies. It is quite straightforwards and easy to use since all you need to do is slide the laser across your dome and point it towards the invading monsters. This makes it the primary (and only) choice for newcomers.
Dome Upgrades:These upgrades are the ones that pertain to the laser dome itself, like health upgrades and unlocking the wave countdown.
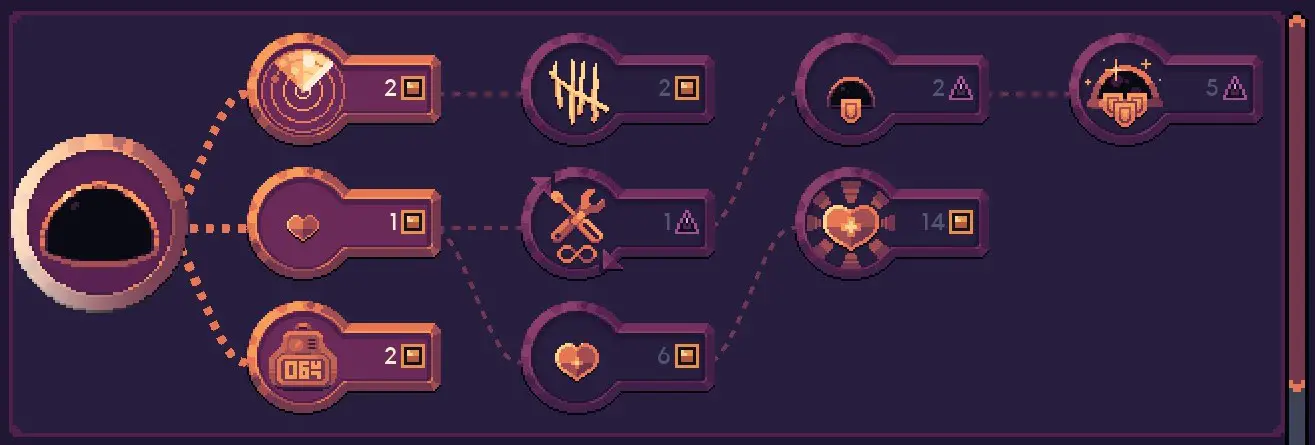
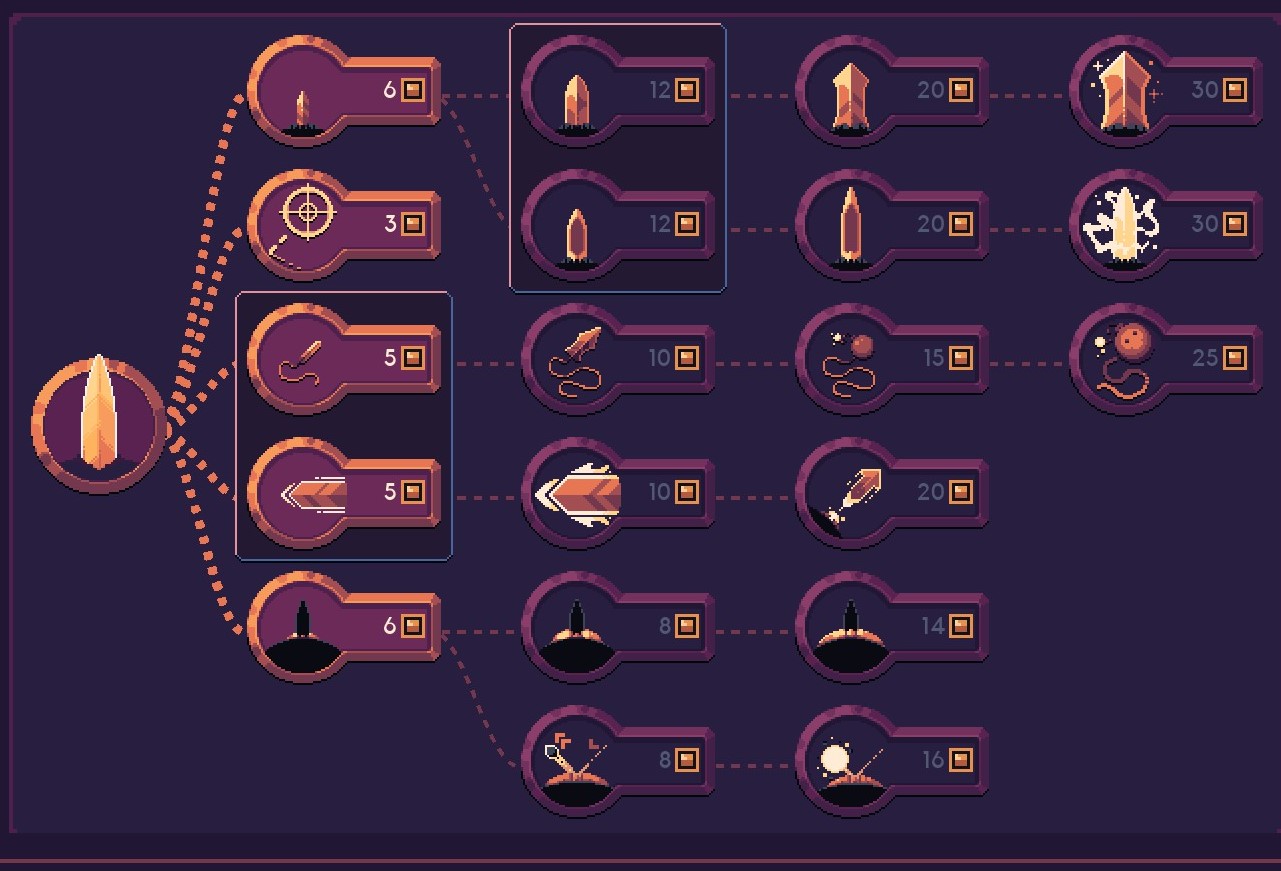
Weapon Upgrades:Here you’ll find the different upgrades you can give the laser to make it deadlier and faster.
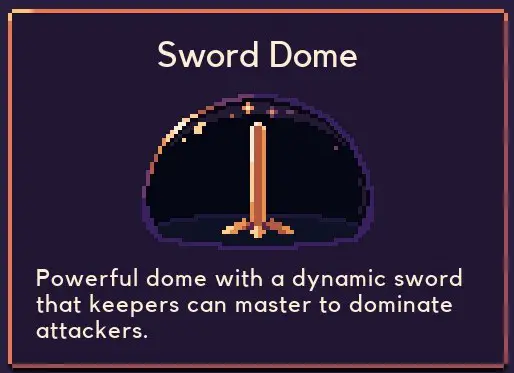
The sword dome is arguably the better equipped to deal with the enemy threats. 하지만, it may pose a challenge to those attempting to use it. It features a single sword that you can slide through the dome’s outer shell to slice through enemies. Said sword can also be launched towards enemies and subsecuently retracted back to the dome. It has the larger upgrade tree and can decimate incoming enemies if used properly.
Dome Upgrades:The sword dome’s general upgrades only differ with those of the laser in the damage reduction and repairing section.
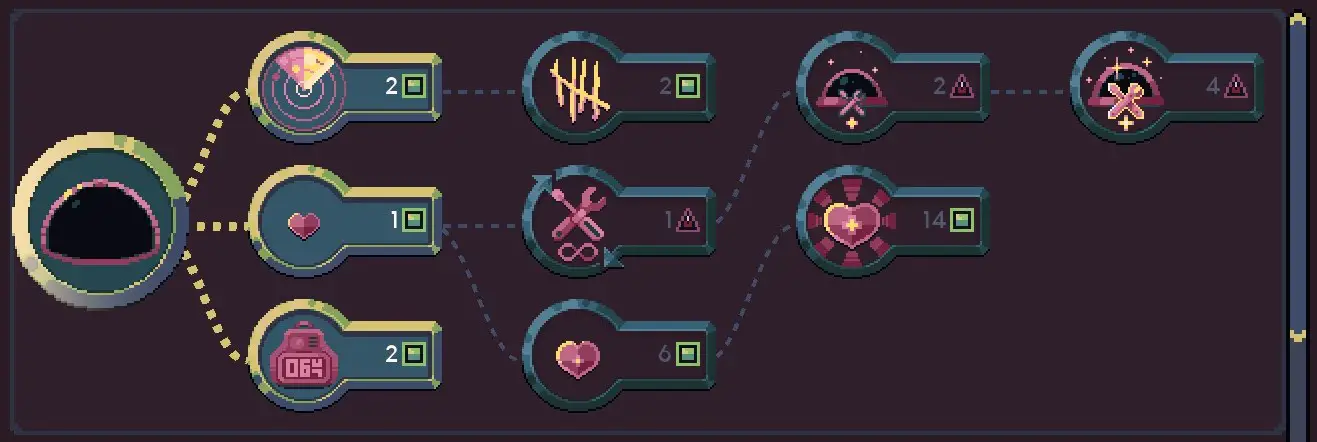
Weapon Upgrades:Compared to the laser dome’s weapon, the sword dome boasts many more upgrades, allowing for additional versatility and customization.
Primary Gadgets
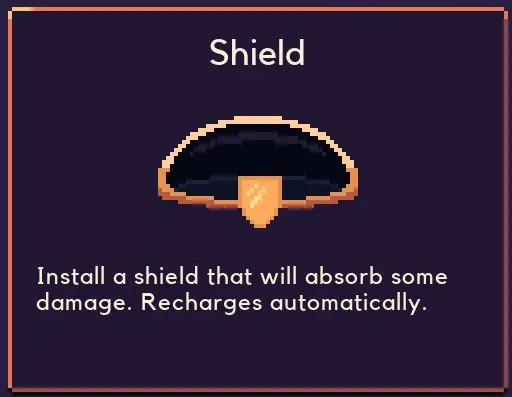
설명:The shield will be the first primary gadget you’ll unlock for your dome. It acts as a barrier that absorbs a certain amount of damage every wave. It can be
extremely usefulsince this means you can take a
couplehits every wave without incurring any damage to your dome itself, meaning you’ll also spend less cobalt repairing it. There’s also the option to overcharge it to increase its HP (and ability duration) while overcharged with the corresponding upgrades.
On the topic of its upgrades, there’s three upgrade paths for the shield’s battle ability:
- Electro Blast, which damages nearby enemies and stuns them as long as the ability is active.
- Invulnerability, which makes your dome invulnerable for a short period of time.
- 반사, which allows you to reflect incoming projectiles back at the enemy for a short duration.
Upgrade Tree:
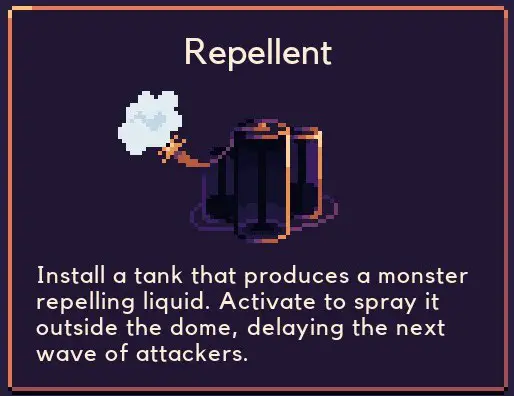
설명:The repellent is my
personal favorite on the bunch. It allows you to delay incoming waves by 0.2 사이클, a number which increases the more you upgrade it. Delaying waves means you can spend more time hunting for
자원 그리고
업그레이드 your dome instead of fighting enemies. Overcharging the gadget also means you’ll produce the repellent
더 빠르게 and delay waves even
더 길게.
The repellent also has two main upgrade paths for its battle ability:
- Withering, which focuses on reducing monster health and damaging them over time.
- Debilitate, which then splits off into either stagnation, which slows monsters down over a long period of time, or paralysis, which stuns monsters for a short duration.
Upgrade Tree: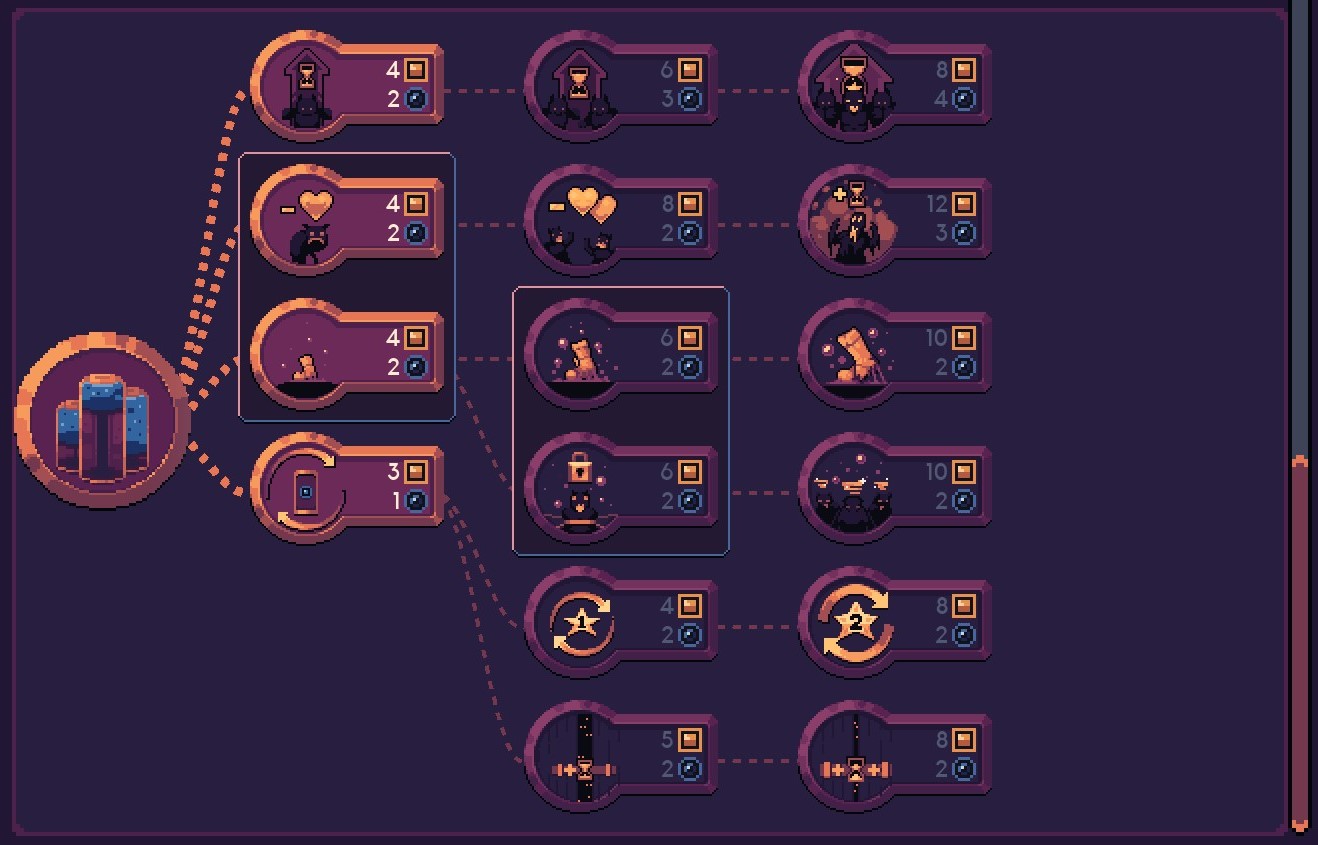
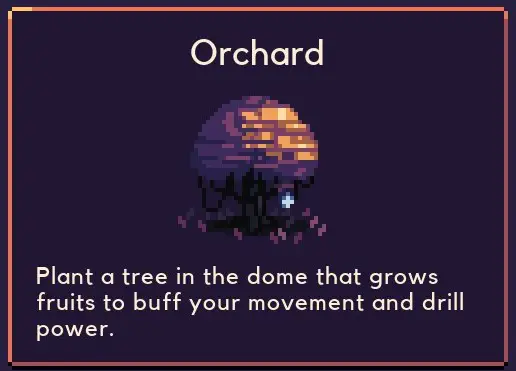
설명:The third and final gadget you unlock in the game is the Orchard. It looks similar to a tree and produces a
single fruit every cycle or so. Consuming said fruit will increase your
flying and mining speedfor a short period of time. Upgrading the orchard means your boost will be more powerful and last longer. If you’re looking to maximize the time you spend mining, this is a good choice.
Much like the repellent, the orchard has two choices for its battle ability:
- Snare Roots, which grows roots around your base that trap medium-sized monsters.
- Projectile Shield, which grows shield layers around your dome that defend it from projectiles
Upgrade Tree: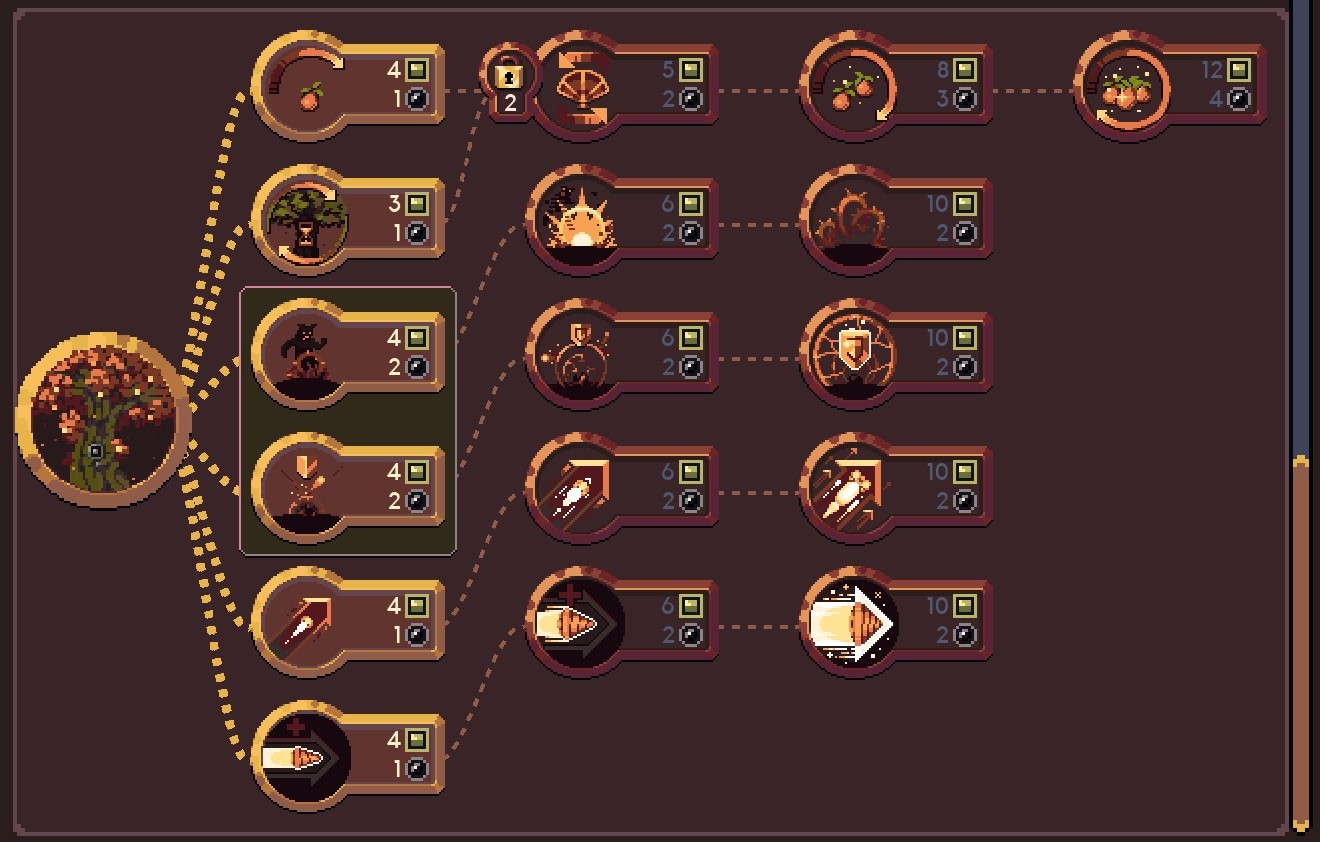
Secondary Gadgets
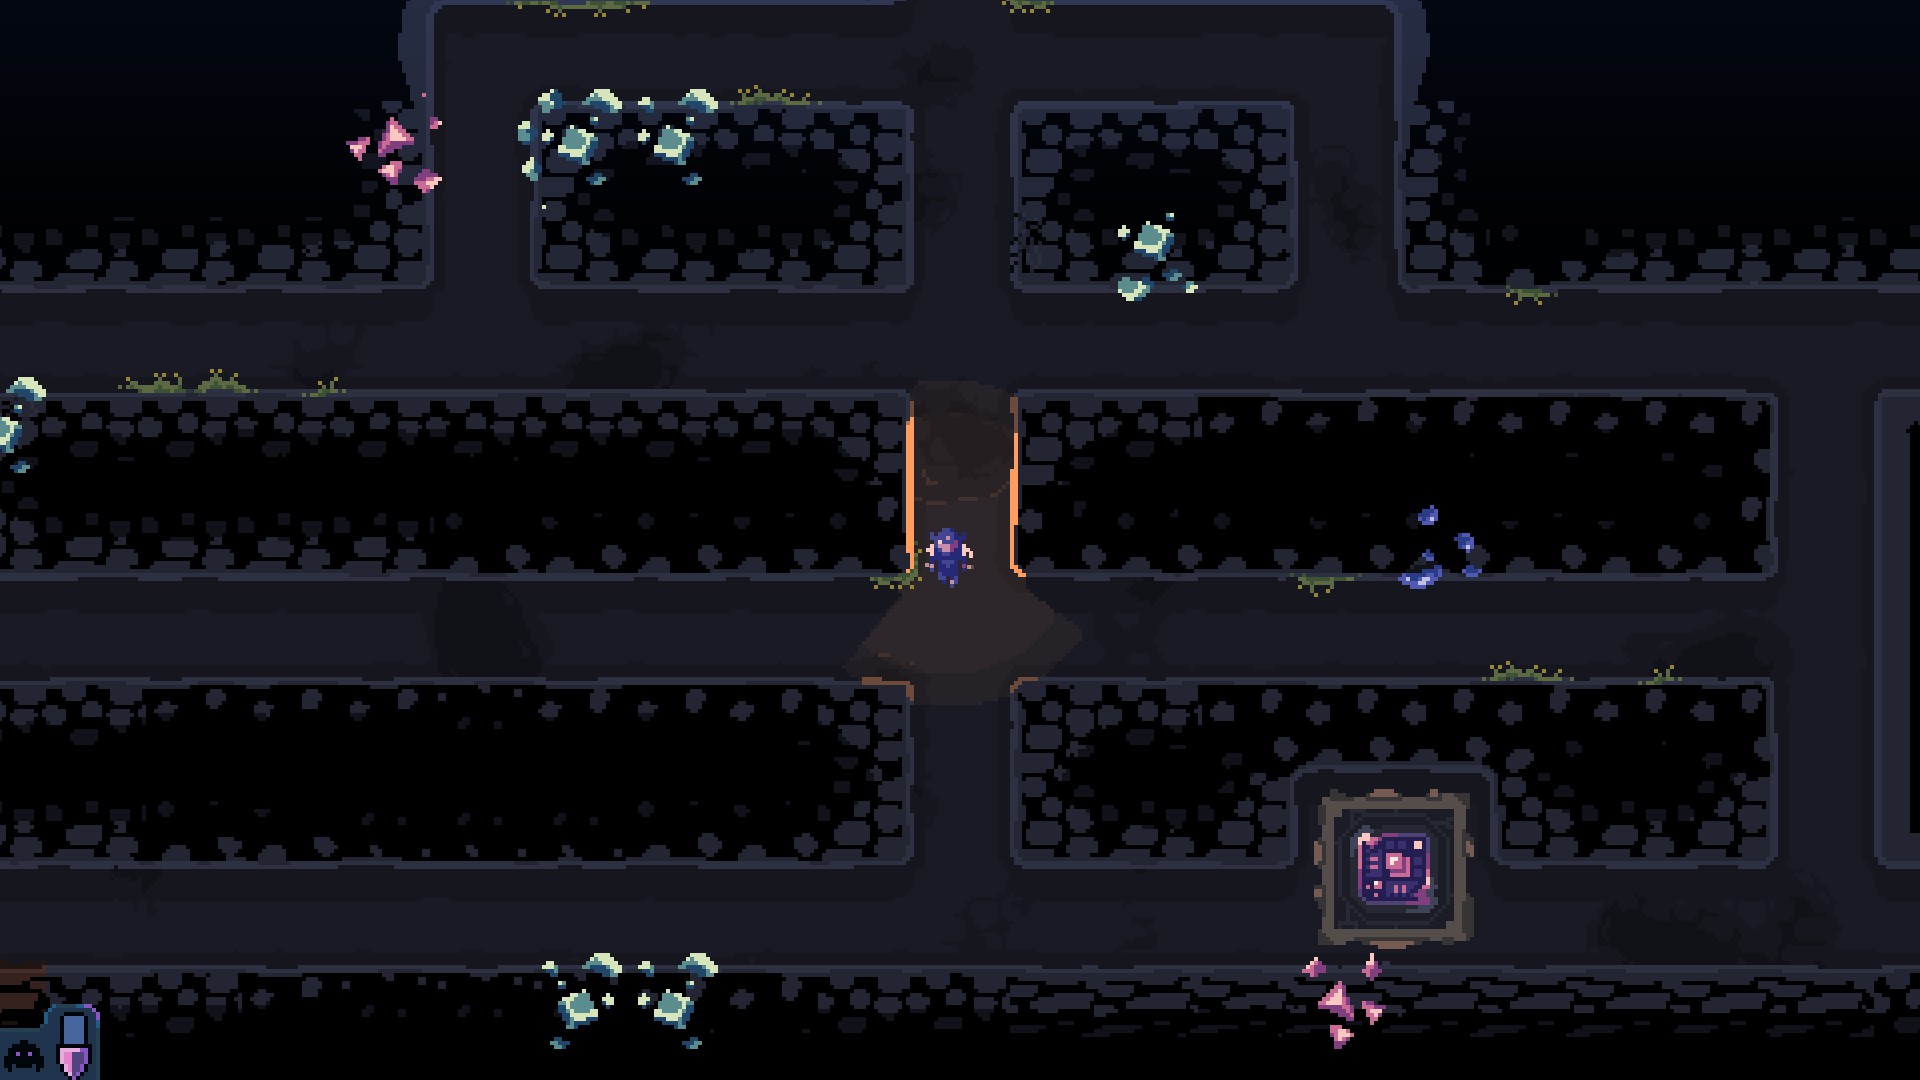
Secondary gadgets are those you do not select before beginning your run but instead are able to find throughout the course of said run. These can be found by…
잘, digging!As you explore underground, 당신은 찾을 것이다
strange rocksthat do not correspond with biomes or certain minerals. Once you break these groupings of strange rocks, you’ll find yourself one of these:
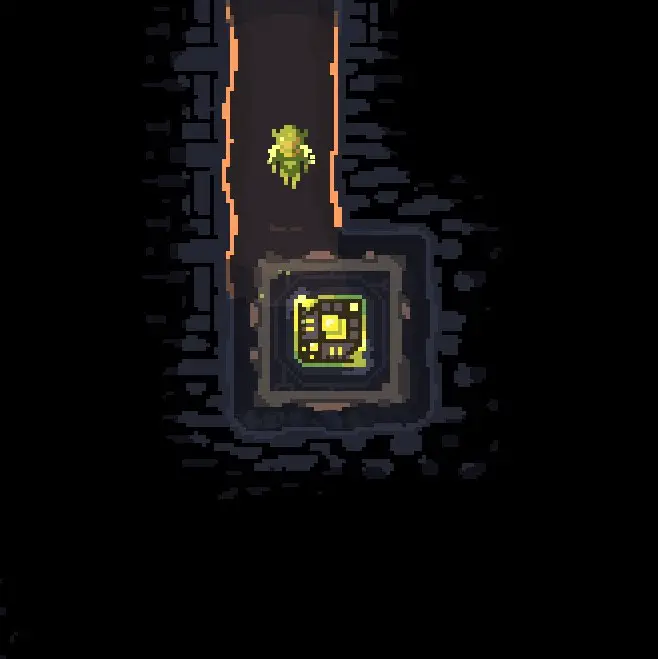
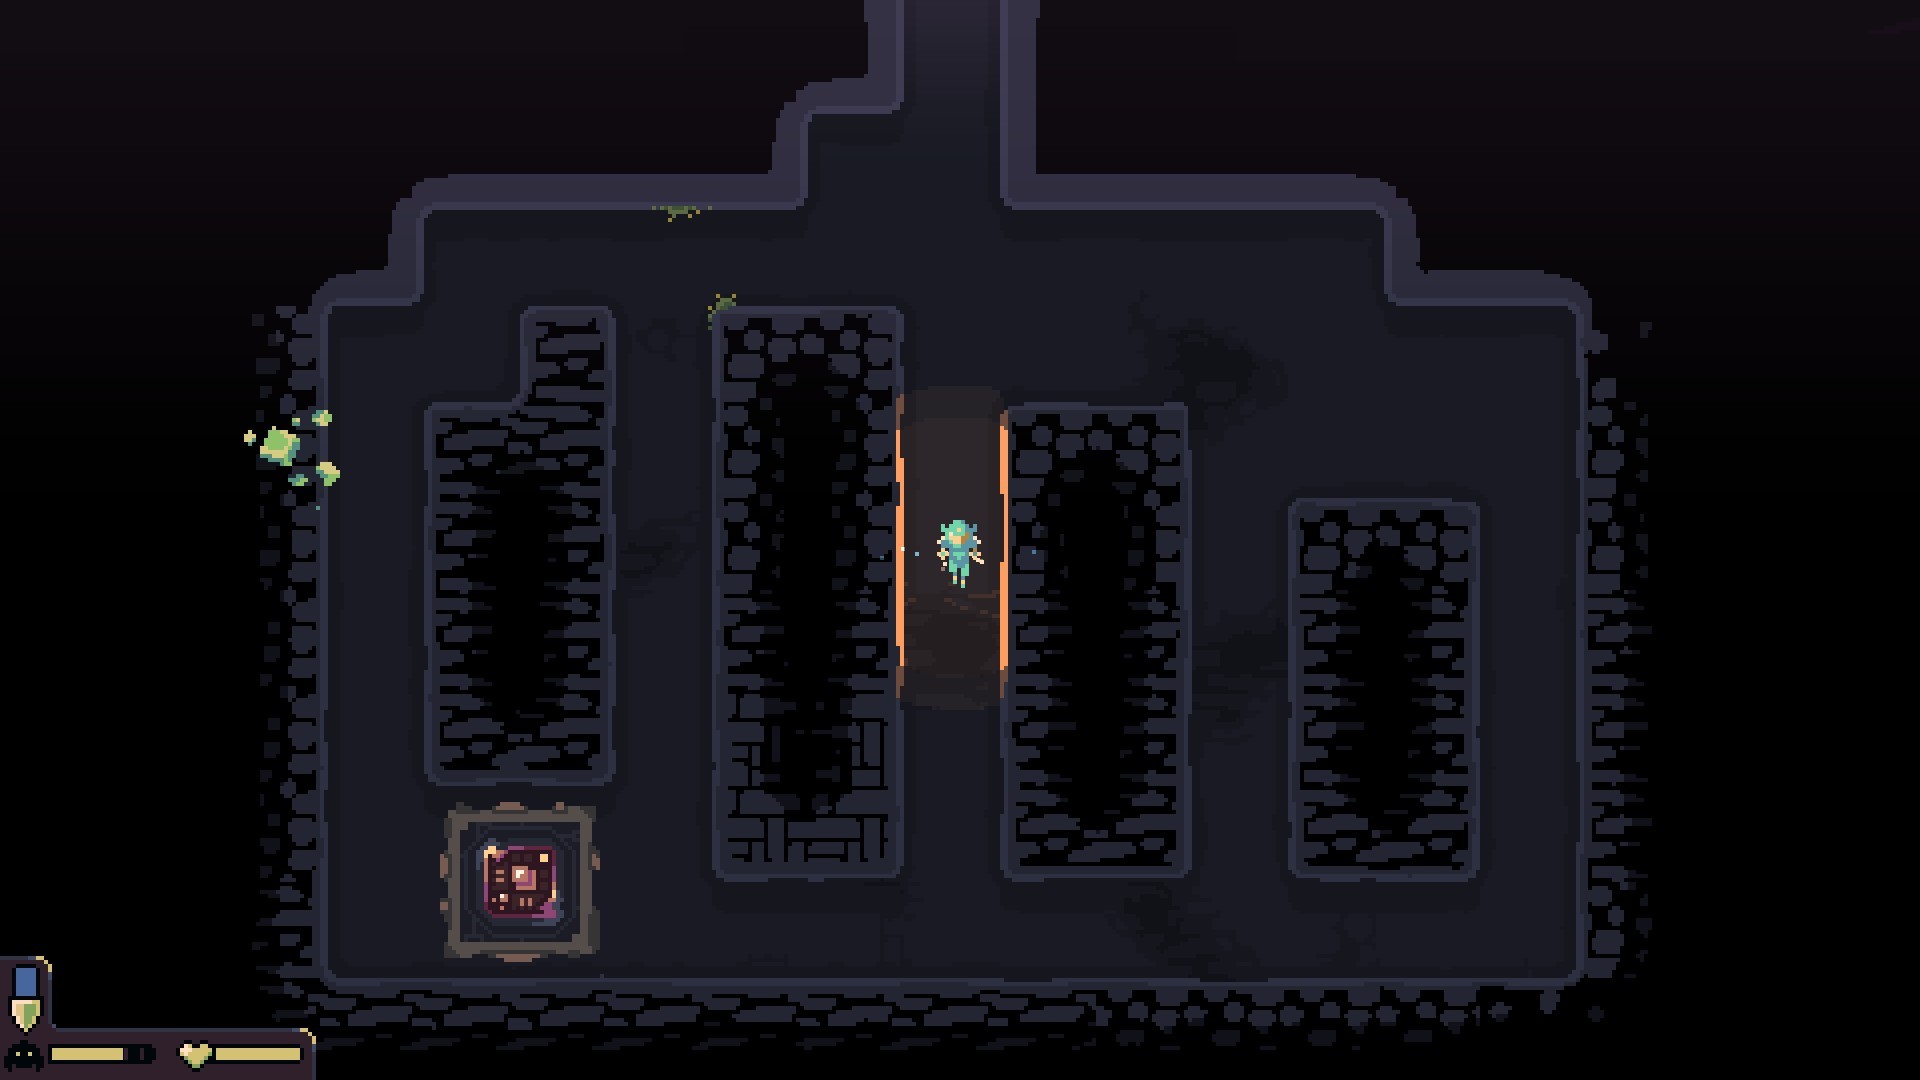
You’ll want to grab it and carry it all the way
back to your base, where you’ll be prompted to choose one of three options. The first two will be some combination of two of the secondary gadgets
아래에 나열된, while the third will always be scrapping the cube for 2 코발트.
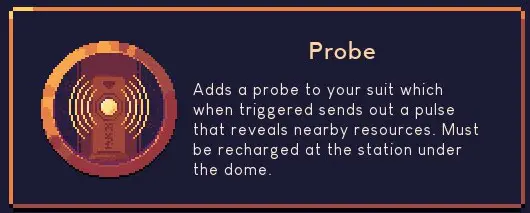
The probe is a fairly useful gadget, since it allows you to find resources directly instead of having to strip-mine large amounts of rock to find a single ore vein. 하지만, it is important to know that without the final upgrade, 당신은 필요합니다
go back to your dome to recharge그것, which can prove to be especially tedious during the later stages of your run.
업그레이드:

The lift is a very simple yet
effectivegadget. 그것 (partially) fulfills one of your roles for you, that being taking the resources you extract all the way back to your dome. As you dig further deep, this gadget becomes all the more useful, especially considering its secondary function:
Increasing your movement speedtowards your dome while inside the lift (once the proper upgrades are selected). This can cut down the time taken to go from your mines to your dome exponentially, and is a very important boost late-game.
업그레이드:

The stun laser acts as an automated turret that tracks enemies and stuns them for a few seconds before overheating. It can help stun enemies on one side while you deal with the ones on the opposite side, but it truly shines when used against
swarms of tiny enemies, dealing with entire waves with
tremendous 속도.
업그레이드: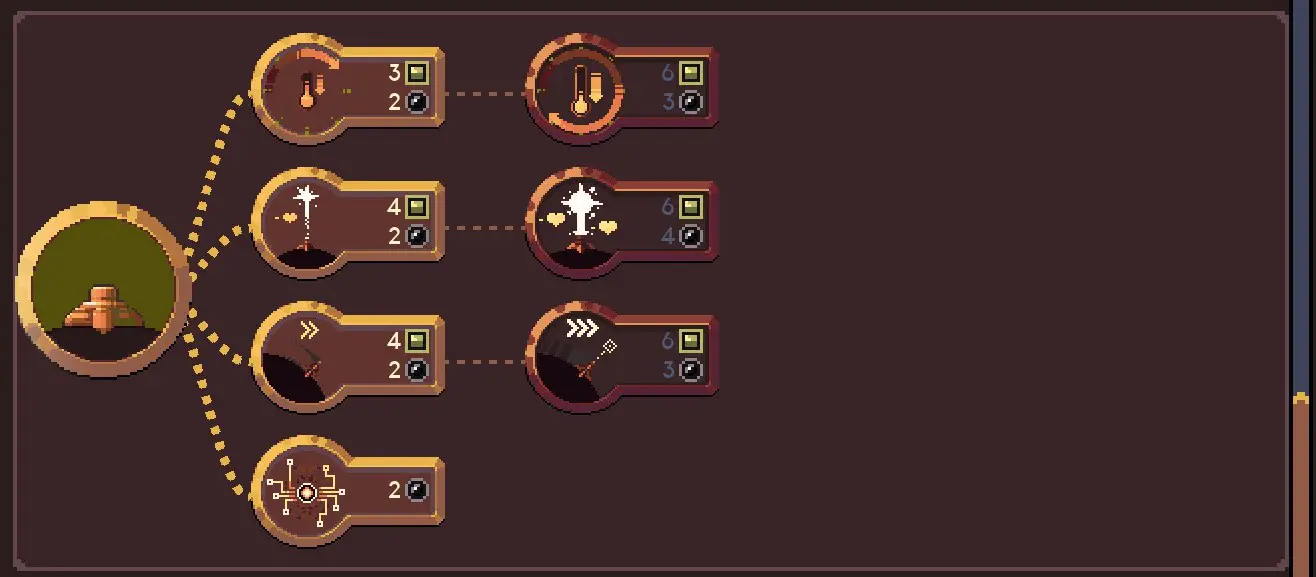

The resource converter is exactly what it sounds like. It’s a gadget that can convert
어느resource type into another over a certain number of cycles. Using upgrades, you can increase the amount of resources you need to convert to a different type. 또한, be sure to make good use of the
iron multiplication치받이, as it can be a nice passive boost to your iron economy.
업그레이드: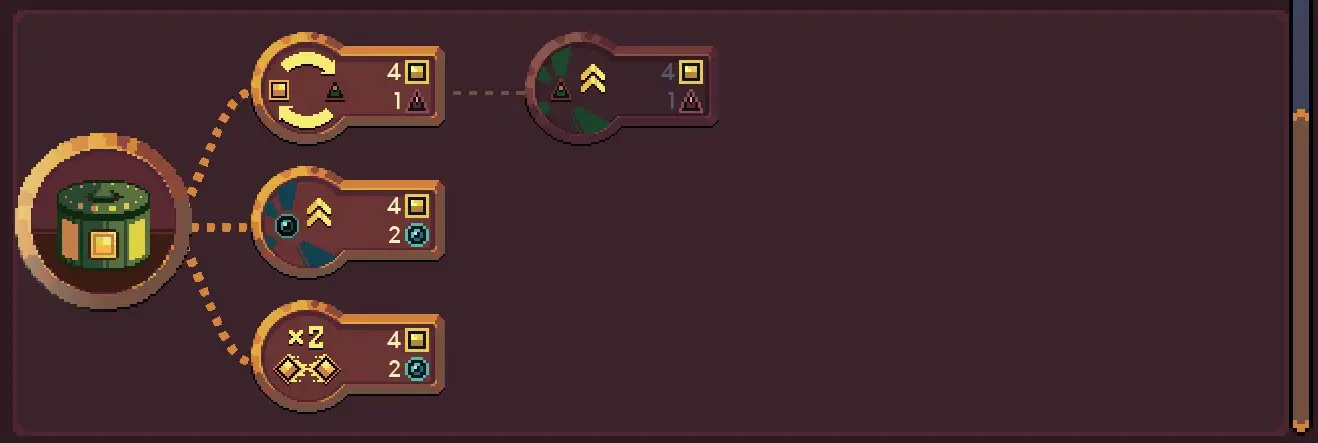

Drillbert is every keeper’s best friend and probably the best company to keep while mining in the depths of an alien world. This is because, as his name indicates, Drillbert is specialized in
잘…drilling!Through upgrades, you can boost his drilling speed and uptime and even gain access to his identical cousin, Drilliam! On a side note though, it might not be the most efficent of gadgets to keep as he does tend to
sleep on the jobquite a bunch.
업그레이드: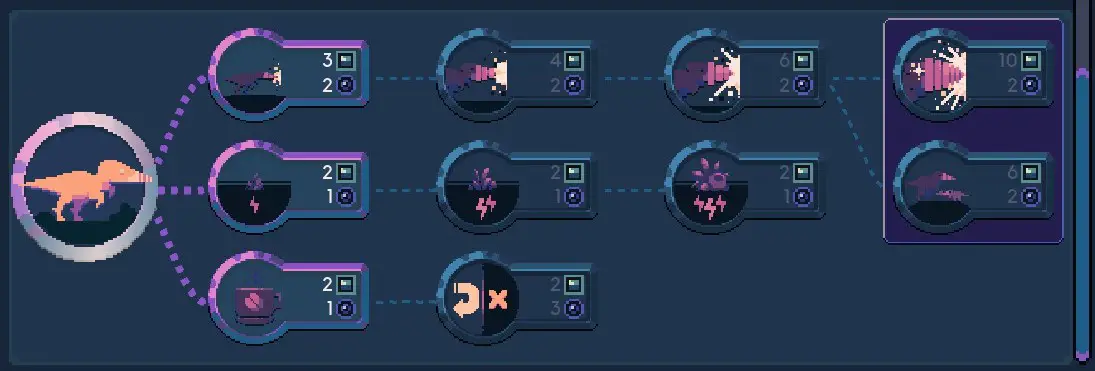

The teleporter is an extremely useful gadget to have, as it can help you cut down the time it takes for you to move between your dome and the mines. 하지만, it performs best once you invest in a few upgrades that allow you to also teleport resources through it. Its main advantage over the lift is that the teleporter itself
can be moveddepending on where you’re currently conducting your mining operations.
업그레이드:
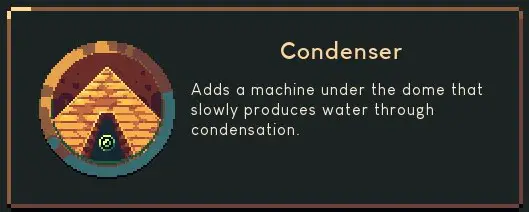
The condenser is a relatively small pyramid capable of producing small amounts of water over a little more than a cycle. Its upgrades can speed up this process exponentially or even automate it. Make sure to be on the lookout for whats arguably its most important upgrade, which allows it to
permanently overchargeyour primary gadget without wasting any water.
업그레이드:
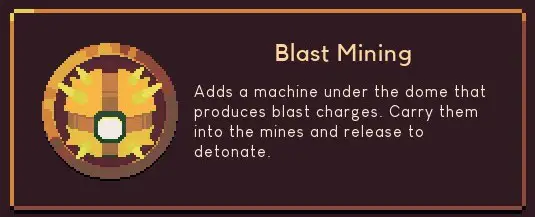
Last but not least is the Blast Mining gadget. It’s a small platform that produces mining charges periodically which you can use to blast holes in your mine. Without upgrades, it’s fairly useless, since it only explodes in a
circular pattern, which is far from being an ideal mining strategy. With upgrades, like the sticky charge and the tunneling it becomes
somewhat better. Keep in mind though it’s probably not going to be better than your
trusty ol’ 송곳.업그레이드: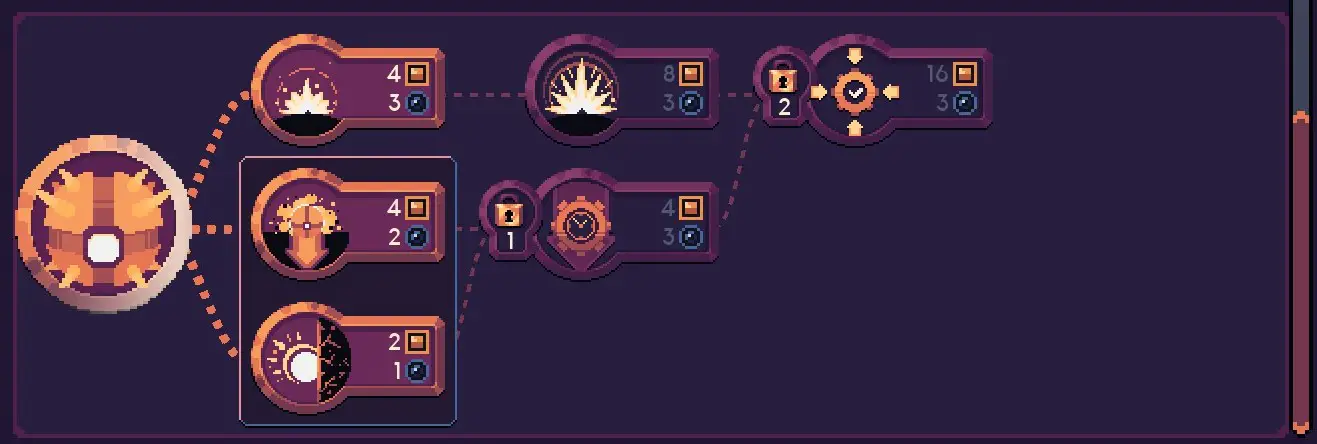
General Strategy & 팁
그래서, now that you understand how the game works and its various features, we can now start talking about the various
different strategiesyou can employ to start winning your runs, even on the harder difficulties. These range from your upgrade priorities, to the best gadgets and even to how you move your keeper around.
하지만, even if there are certain things that are more optimal than others,
don’t let this hold you back from enjoying the gameand playing how you like! If you enjoy using something or doing something a certain way, then do it,
regardless of it being optimal or not.
When playing dome keeper,
especially at higher difficulties, your strategy will focus around a single concept:
능률. What you want to do to ensure you win a run is simple, make your time as efficient as possible. This can be summarized in a three key ideas:
- Maximize the time you spend getting resources for your dome,
- Minimize the time you need to either carry resources around or move between your mine and the dome.
- Maximize the value you get out of the resources you spend on upgrades.
These three main ideas are the core concepts that will guide all the different tips and strategies I will provide you in this guide.
To make sure you’re being as efficient as possible, you’ll want to develop your mine in one of these two patterns:
- Horizontal Pattern:
- Vertical Pattern:
This type of mining is what’s called
“strip mining”, which effectively allows you to maximize the amount of ores you find while minimizing the time mining for them. The difference between these patterns is almost negligible as they’re almost exactly the same. 하지만, I’ve found it much easier to move around while using the vertical pattern. This is because the game’s map extends
vertically, not horizontally, meaning you spend less time changing directions and moving between tunnels when compared to mining horizontally. Even if that’s the case for me, try both of these and see which one better suits your playstyle!
While your combat will mainly depend on your different gadget and dome choices, there are some main tips I’d like to throw down to help you minimize the damage your dome takes.
가장 먼저,
don’t fall behindon your weapon’s upgrades! It can be easy to forget upgrading your main weapon and instead favor other upgrades focused on resource gathering; the number one thing that’ll help you survive more is having your laser or sword pack a lot more of a punch. In terms of actual combat though, you’ll obviously want to focus on the enemies with the
highest damage outputsthat can drain your dome’s health. And speaking about priority targets, if you’re rocking the melee damage reduction upgrade, your most logical choice will be to prioritize killing flying enemies, as those will be the ones doing the most damage to your dome. 또한, make sure you aren’t moving your weapon to the other side of the dome after every kill, as you’ll want to choose a
single sideto tackle every 10 seconds or so.
In my personal experience, I haven’t found any of the two domes to hold a substantial edge over the other. 하지만, there are some strong differences i will highlight to help you determine which is the best choice for your runs:
Laser Dome:
- Very simple and straightforward.
- Capable of taking down flying enemies with ease.
- Melee damage reduction upgrades that help counter ground enemies.
- Packs a big punch when properly upgraded.
Sword Dome:
- Large upgrade tree with lots of choices.
- Shreds through melee enemies.
- Relatively complicated long-range attack that can kill multiple enemies.
지금까지, there’s only three choices for primary gadgets: the repellent, the shield and the orchard. I’ll cut to the chase and state that, 내 생각에는, a properly used repellent is the
absolute best toolyou can have at your disposal and thus the best choice for primary gadget. It delays incoming waves,
maximizing your time undergroundand can be upgraded and overcharged to substantially increase the amount of time you delay enemy waves by and how frequently you can produce it. This has proven to be
substantially betterthan both the shield’s buffer hp and the orchard’s boosts. Quite frankly, it also allows you to spend more time underground, 어느, 나에게, is the more enjoyable part of the game.
In terms of combat abilities though, I do see the shield as being
약간superior, since the invulnerability upgrade can be very strong for avoiding a horde of powerful threats. 그것은 말한다, I rarely find combat abilities worth investing into, and generally just choose to further the upgrades on my main weapon whenever I’m finding myself struggling against enemy waves.
As seen in one of this guide’s previous sections, there’s a lot of secondary gadgets currently in the game. You’ve already been provided a rough description on what each of them does, 하지만, we haven’t gone all too deep on their functionality and usage. But that’s what this section is for: I’ll divide the gadgets into different tiers, ranging from most useful to least useful, with explanations on their ranking.
S등급:
- 승강기: This is undoubtedly the best gadget currently in the game. The ability to just leave your resources at the bottom of the map and have them be automatically collected while also getting an upwards speed boost while inside the lift is absolutely amazing. It’ll help you stay focused on the right tasks and optimize your time further.
A등급:
- 텔레포터: With the right upgrades and good placement, the teleporter can be very useful. You’ll be able to pop in and out of your mines extremely quick and do some resource transport with it. Neat and simple.
- Condenser: Without upgrades, this is a low B tier gadget. 하지만, if you get the overcharge upgrade and pair it up with say, a repellent, you can have it be permanently overcharged and delaying incoming enemy waves by a lot, earning it its spot in A tier.
- Resource Converter: Quite frankly, the only reason this is here is because the iron multiplication can be a very nice passive boost to your income that has saved me one too many times when in clutch situations.
B등급:
- Stun Laser: Despite not occupying the same slot as other gadgets, the stun laser is still a mediocre pick at best. It can only really take down hordes of tiny enemies and can maybe help you stun a medium creature in the earlier stages of a run.
- 조사: If you’re strip mining, this is an absolute waste of a slot as you’ll never leave an area unexplored while strip mining. It can be useful if you’re in a pinch and need to find resources quick, but they’re resources you’ll still get in the near future.
C등급:
- Blast Mining: There’s not much need to explain this. You’ve already got a very useful drill on your hands. There’s no need for mining charges that need multiple upgrades to become mildly relevant.
- Drillbert: Much like blast mining, Drillbert is not only redundant with your own drill but also scales quite poorly as you go deeper, and you need to manage him, waking him up and choosing his mining locations. Admittedly though, he is a cute fella.
Planned Content & 변경 내역
여기, I’ll be laying down all the different changes made to the guide since its publication and the different things I plan on adding onto it in the future.
Feel free to suggest any ideas!
- Detailed list of the effects of each upgrade. (I require feedback on how to implement this, feel free to DM)
- List of enemies.
- Expanding the “전략 & 팁” 부분.
- Listing all the different worlds and hidden map features. (Not sure I’ve been able to document/screenshot them all)
- 11/7/22 – Guide Published