
The grid tool says it can make a perfect grid. It has angles that are exactly 90 도. 하지만, is it truly perfect? Let’s figure out what’s the best way to make a grid.
소개
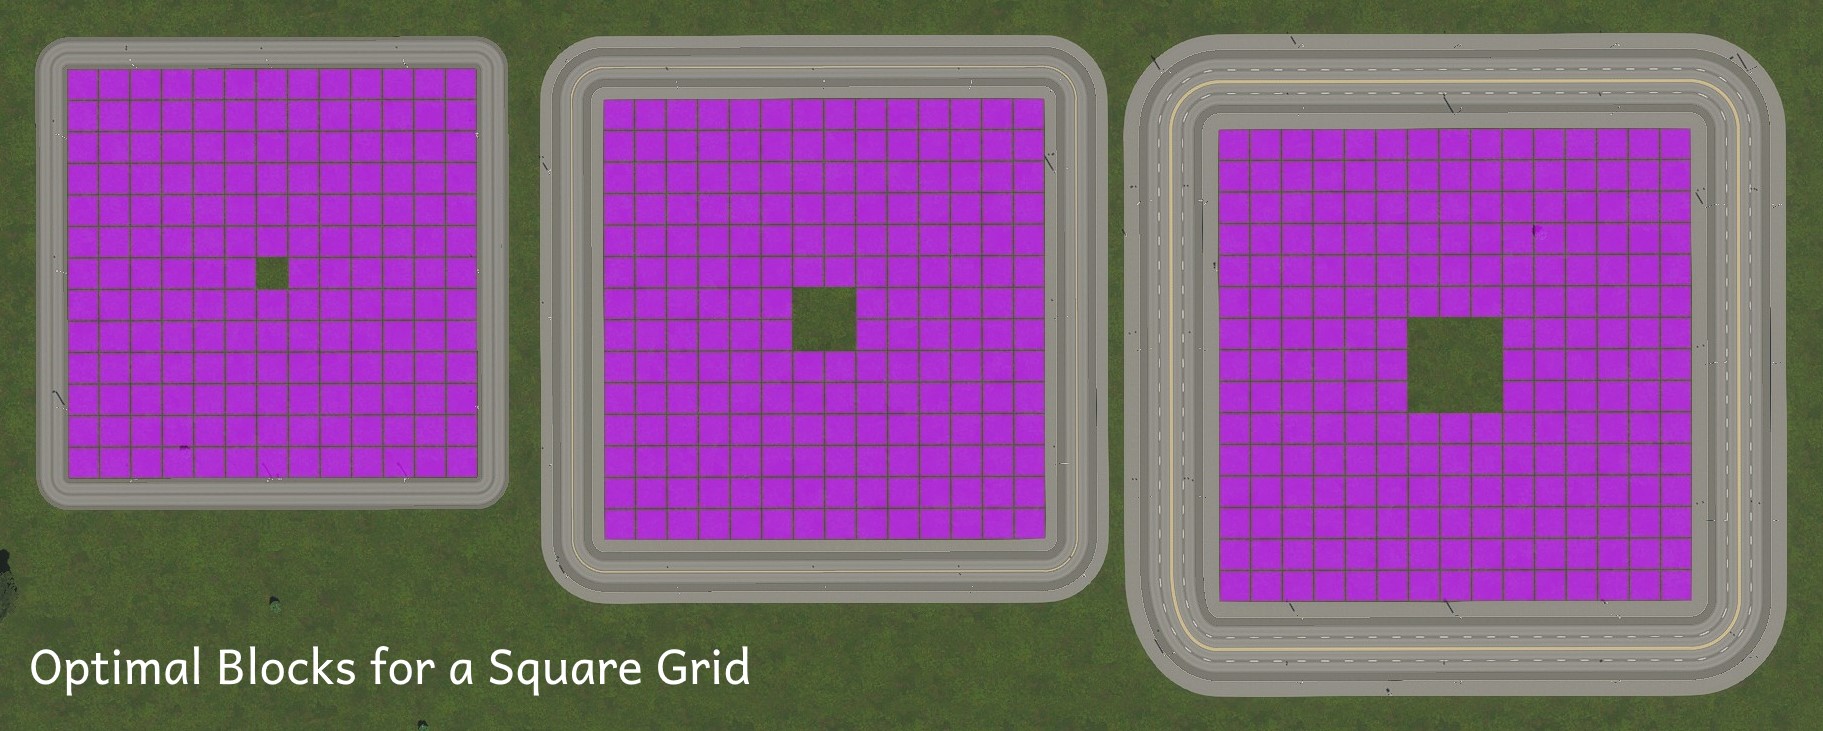
Which of these two square grids do you believe has more zoning cells?
Both grids cover the same area, with each side being 1008 meters long, which is about 100 hectares for each grid.

The grid on the left might seem like the obvious choice because it has exactly 12 zoning cell widths between the roads, which is the most you can fit without leaving a gap. It’s also a convenient length for drawing with the road tool since you can easily line up the zoning circles. 추가적으로, it happens to be the widest width you can achieve with the parallel road mode.
하지만, if we count them all, the grid on the right actually has more zoning cells, even though it has large holes in the middle of each block. The right grid is also more cost-effective to build and maintain because it has less roadway.
The left grid contains 12²×9² = 11,664 cells, while the right grid has (16² – 4²)×7² = 11,760 cells.
But can we do even better? Let’s calculate it! (Spoiler: 예, we can.)
Optimal Square Grids
첫 번째, let’s establish some variables:
- x represents the length of the road on one side of a block, as determined by the road tool.
- z stands for the length of zonable frontage.
- h represents the length of the side of the hole in the middle of the zoning.
- W denotes the width of the road being utilized.

Using these variables, the zonable area within each block can be calculated as the space inside the block (지²) minus the part that’s too far from the roads (시간²). Both of these are directly related to the block length because the frontage is the block size minus the road width (z = x – 여), and similarly, the hole size is the frontage minus how far the zoning extends (h = z – 2 × 6 x 8m = x – 여 – 96중).
The density, which we want to optimize, can be expressed as:
(지² – 시간²) / 엑스² = ((엑스 – 여)² – (엑스 – 여 – 96)²) / 엑스² = 192×(엑스 – 여 + 48) / 엑스²
To find the maximum density, we can use calculus. The maximum occurs where the derivative is zero:
0 = d/dx 192×(엑스 – 여 + 48중) / 엑스² 0 = (384여 – 192엑스 + 18432) / 엑스³ 0 = 384W – 192엑스 + 18432 x = 2W + 96중
Substituting this result into the previous formula for the hole size simplifies interestingly:
h = x – 여 – 96m h = 2W + 96중 – 여 – 96m h = (2여 – 여) + (96중 – 96중) h = W
다시 말해서, to create an optimal square grid, leave a hole in the middle that is the same size as the road you’re using.
지금, let’s see how this concept works for a narrow road.
| Block Size | Density | Road Needed |
|---|---|---|
| 112중 (14유) | ³⁶⁄₄₉ ≈ 73.5% | ²⁸⁄₉ ≈ 3.11 m/cell |
| 128중 (16유) | ¾ = 75% | ⁸⁄₃ ≈ 2.67 m/cell |
| 144중 (18유) | ²⁰⁄₂₇ ≈ 74.1% | ¹²⁄₅ = 2.40 m/cell |
With 16m roads, by employing the optimal square grid, you can achieve approximately 2% more zoning cells in the same area and save about 14% on road costs, both upfront and in maintenance, compared to the square grid without the hole in the middle.
요약하면:
- 112m for tiny (8중) roads like the gravel road
- 128m for small (16중) roads like the two-lane road
- 144m for medium (24중) roads like the four-lane road
- 160m for large (32중) roads like the six-lane road
But in reality, you might not want to zone on the medium or large roads.
결론
I’m glad you came to have a look at my guide! It’s great to hear that people enjoyed the one I wrote for the first game, and when the new one came out with a different zoning depth, I knew it was time to update it.
Please let me know in the comments what else you’d like to see. I’m excited to explore rectangular grids, other patterns like herringbone layouts, and see how the new alleys work in practice. 바라건대, that will lead to more sections here once I create a few more cities.
이것이 오늘 우리가 공유하는 모든 것입니다. 도시: 스카이라인 II 가이드. 이 가이드는 원래 작성자가 작성하고 작성했습니다. me22ca. 이 가이드를 업데이트하지 못한 경우, 다음을 수행하여 최신 업데이트를 찾을 수 있습니다. 링크.
C’est super ! Beau calcul ! MErci !