

- 제목: 의자 시뮬레이터 – 쉽고 빠르게 코인을 얻는 방법
- 출시일:
- 개발자:
- 발행자:
Information about Chair Simulator – How to Get Coins Easily and Quickly is still incomplete. 이것을 사용하여 게임의 세부 정보를 입력할 수 있도록 도와주세요. 문의 양식.
Most price ranges give you the same number of coins. But there are a few chairs where you get more for your money!
How to use the “PAIN-IN-THE-4SS-O-METER”
있다 3 levels in the O-METER: “정상”, “uncomfy” 그리고 “at death’s door!”.
To get most of the coins you have to stay in the normal range. This is where you get the most amount and only there does the multiplier come into effect. 예를 들어, if you are level 2 you will receive 2x coins. But only in the normal range!
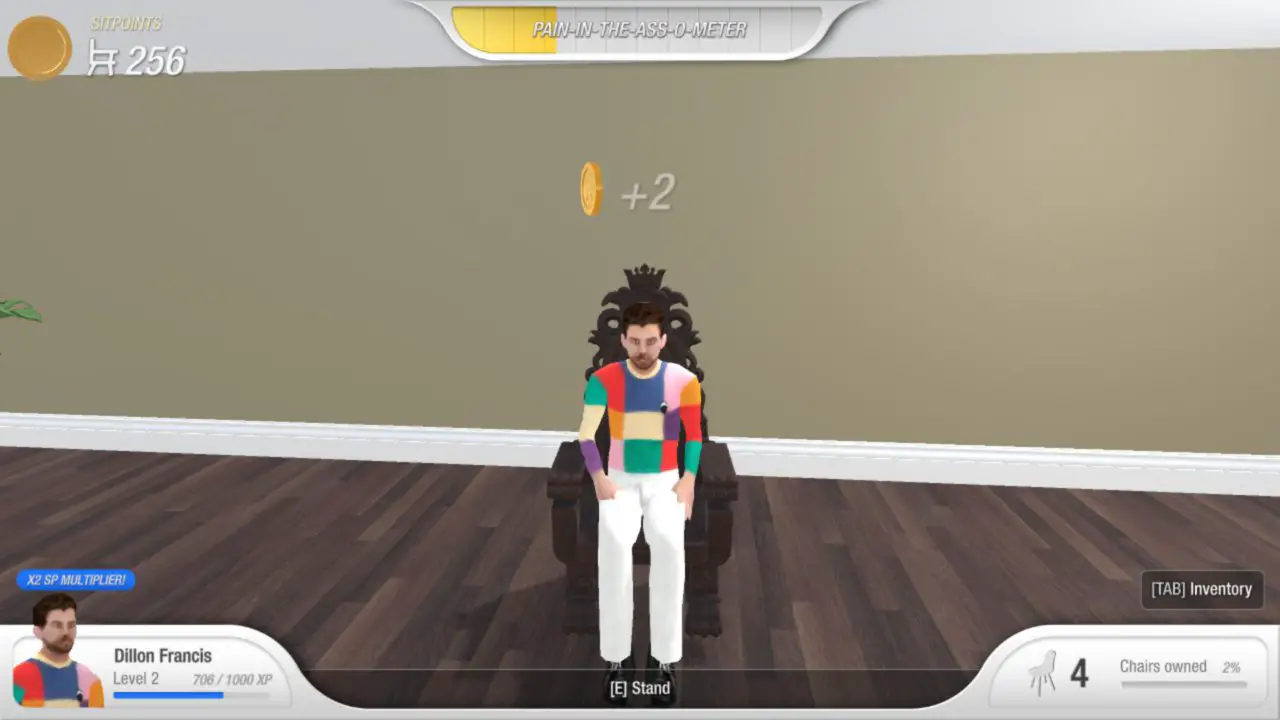
에서 “uncomfy!” Area you only get 1 coin and your multiplier is no longer effective. So there is no point in sitting any further. Stand up and sit down again when the O-METER is empty.

If you are in the “at death’s door!” Area then you should get up quickly! Here you lose coins and when the O-METER is full you die.

That’s how the O-METER works.
The chairs where you get more coins for the same price
There are different price ranges for chairs. And each price range has a number of coins that are generated per minute. 예: All chairs that cost 200 generate 50 coins per minute. But there are 2 exceptions:
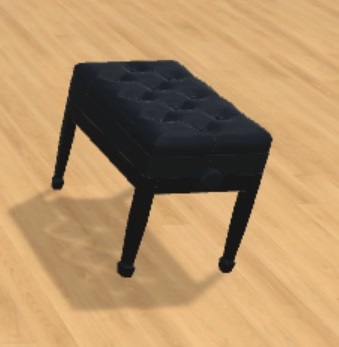
First is with the Piano Bench (costs 200) 당신은 얻는다 62 coins instead of the usual 50. Get this chair first!
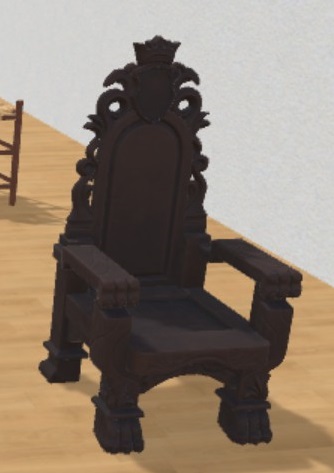
The second is with the throne (costs 450) 당신은 얻는다 87 coins instead of the usual 75. You should get this next!
It is also worth noting that for the 50 SP range the Deck Chair has the highest yield of 75 SP/M, but is bugged and will kill you instantly.
이것이 오늘 이 가이드에서 공유하는 모든 것입니다.. 이 가이드는 원래 작성자가 작성하고 작성했습니다. Leonardo Gabriel. 이 가이드를 업데이트하지 못한 경우, 다음을 수행하여 최신 업데이트를 찾을 수 있습니다. 링크.