

A basic guide for the most common system mechanics found in the game meant to help players being able to quickly look up info along the way. This explains things a little more detailed than the tutorials found ingame.
This guide may update from time to time to add more information people request and when the game is updated.
Battle System: 기초
⠀
Makes the selected party member do a regular attack against a single enemy. Restores 10 TP.
Makes the selected party member execute a skill they learned and set in the main menu.
Using skills costs TP. The cost amount per skill is displayed right next to the skill type and name in yellow.
⠀


⠀
Makes the selected party member use / consume an item from the party’재고.
⠀
Makes the selected party member defend. Reduces incoming physical and magical damage until their next turn by 50%. Applied on top of Overdrive modifiers. Moves the overdrive cursor backwards.
⠀
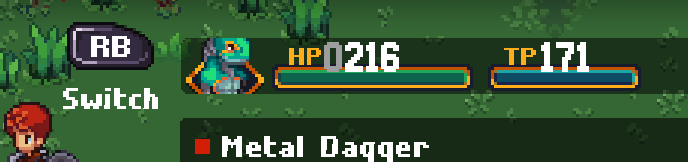
Switches the selected party member with the one in the back row. The switched in member can then use all of their available options except switching out again. Moves the overdrive cursor backwards.
You can only switch members that are in the same row. Which member is in which row is changeable in the main menu under “Formation” and switchable members are indicated with a chain icon between them. 전투에서, the formation is displayed in the Party Info section on the bottom right of the screen.
Unconscious party members cannot switch. The switched out party member retains all of their buffs and debuffs and durations are paused until they are switched in again.
⠀
To switch, press the button during a party member’s turn. A summary of the member to be switched in shows up. Press the button again to confirm the switch.
⠀

Exits the battle and returns the party to the map outside of the enemy’s range. The encounter is reset, 이는 의미합니다:
- Enemy formation resets regardless of which or how many enemies were defeated
- Enemies fully recover
- Drops received during the fight are lost
Some battles are not escapable.
⠀

Executes the selected party member’s Ultra Move. The details of the Ultra Move are different for each party member. Depletes the entire Ultra Move bar.
All actions except Switch and Escape immediately increase the Ultra Move bar slightly upon use.
⠀

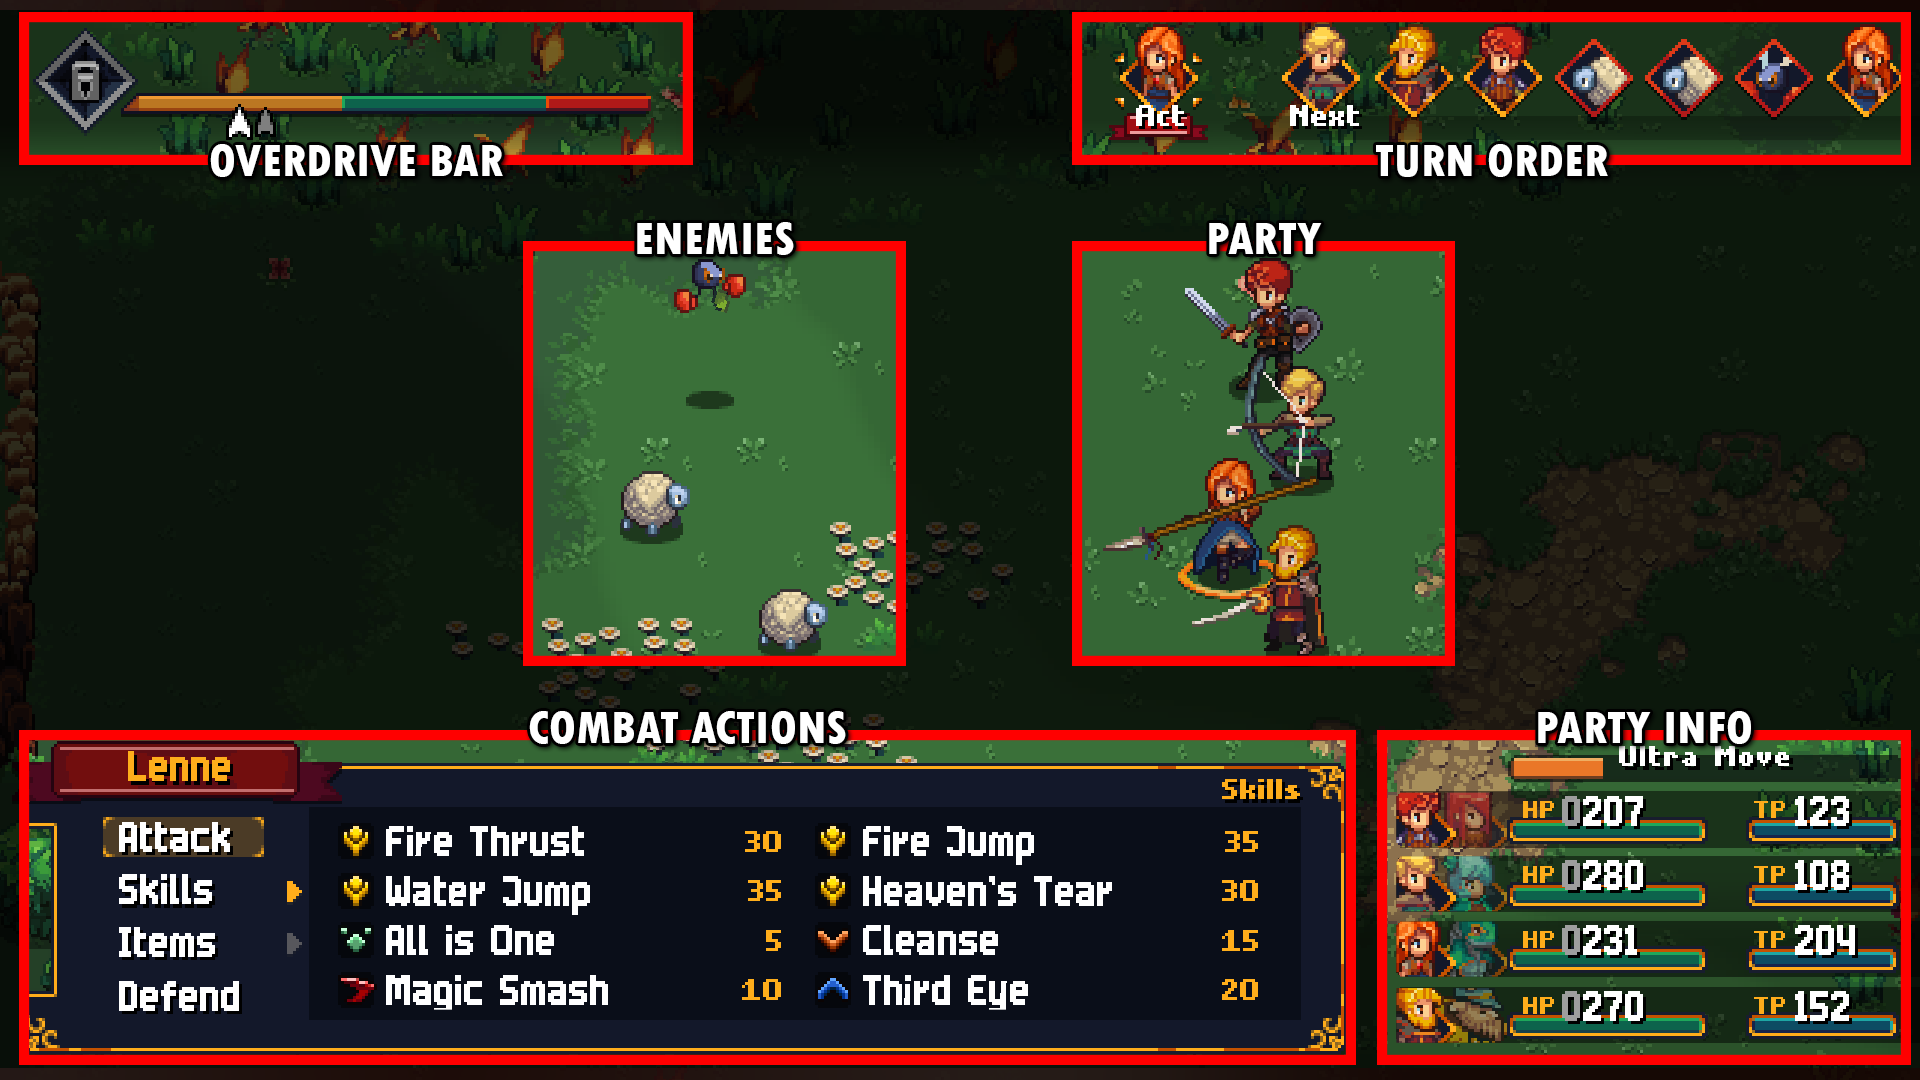
Turn order indicates the order of the party members and enemies in battle from left to right. The currently acting party member or enemy is displayed on the leftmost and highlighted with a banner labeled “행동”. The party member or enemy who acts after that is labeled by “다음”. The following party members or enemies are taking turns in order from left to right.
⠀
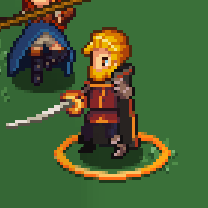
The party member who is currently acting is highlighted with a yellow ring around their battle sprite and their name is displayed above the action menu.
⠀
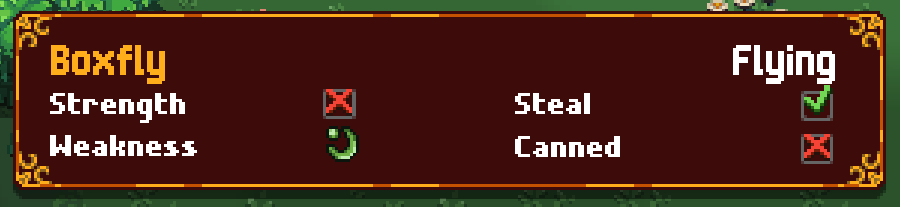
When targeting an enemy during battle after selecting an action, their status containing useful information gets displayed.
A red X indicates that the enemy is not affected by any action influenced or influencing that enemy property.
⠀
추가적으로, the currently targeted enemy has their name and HP bar displayed above them.

Battle System: 오버 드라이브

⠀
The Overdrive bar controls the flow of the battle. The bar consists of the title “OVERDRIVE” 또는 “OVERHEAT”, an icon on the left and a bar separated into minimum 3 segments with different colors.
Within that bar, the player moves forward or backwards during the battle, depending on their actions, indicated by a white arrow.
A battle always starts in the Neutral (노란색) zone.
The bar is separated into three segments.
중립적 (노란색)
- All party members deal and receive 100% 손상
- All skills cost the 100% the amount of TP
오버 드라이브 (녹색)
- All party members deal 125% and receive 85% 손상
- All skills cost 50% the amount of TP
Overheat (빨간색)
- All party members deal 100% and receive 125% 손상
- All skills cost 100% the amount of TP
The player ideally wants to stay in the green Overdrive zone as much as possible.
When a party member or enemy attacks or uses a skill, the player’s cursor on the Overdrive bar moves to the right. Specific actions move the cursor to the left.
⠀
⠀
Before confirming an action, a second smaller arrow will show up on the Overdrive bar previewing the position the cursor will be in when confirming it.
- 공격
- 기술
- Enemy action
- Defend
- 스위치
- Ultra Move
- 약간의 기술
- Some items
- Skills with the corresponding Overdrive icon type
⠀
When entering Overdrive or Overheat, an indicator will show on the center of the screen with a sound informing the player.
⠀


⠀
⠀
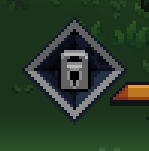
Once leaving the Neutral zone, the icon left to the Overdrive bar changes from a grey lock to a display of a skill type with a number.
⠀

⠀
During a party member’s turn, any skill matching its skill type with the type displayed in the Overdrive bar will be displayed in yellow.
⠀

⠀
When using a matching skill type, the player’s cursor on the Overdrive bar moves backwards a large amount.
⠀
⠀
⠀
The number on the icon indicates how many player turns this Overdrive skill type icon will be displayed. When reaching 0, the type changes to a random other type.
⠀
⠀
Using a matching skill also immediately changes the icon to a different type, unless the skill used this way moves the player cursor into the Neutral zone.
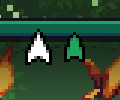
Battle System: Sky Armor Battles

⠀
Sky Armor battles behave like regular battles, with some differences regarding the Overdrive system.
⠀
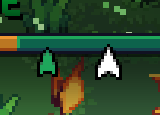
There is no Overdrive Zone, only Neutral and two Overheat zones to the left and right end.
The player starts in the middle of the Neutral Zone. The skill type icon is always locked.

⠀
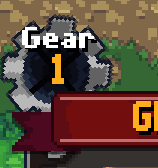
Above the Combat Actions menu there is a spinning cogwheel and a number labeled “기어”.
The battle always starts with all party members in Gear 1.
⠀
Once per turn, a party member can switch gears.
Switching order is always Gear 1 → 기어 2 → 기어 0 → 기어 1
⠀
- All party members deal and receive 100% 손상
- All skills cost 100% the amount of TP
- All party member actions except Items and Defend move the
player cursor on the Overdrive bar forward - Defend moves the cursor backwards
⠀
⠀
⠀
⠀

- All party members deal and receive 125% 손상
- All skills cost 125% the amount of TP
- All party member actions except Items and Defend move the
player cursor on the Overdrive bar backwards - Defend moves the cursor forward
⠀
⠀
⠀
⠀

- All party members deal and receive 100% 손상
- No skills are available
- Every party member action recovers 60TP for each attack,
defend and item use. - No party member actions move the player cursor on the
Overdrive bar in either direction
⠀
⠀

캐릭터

⠀
In Chained Echoes, a traditional Character Menu does not exist.
Information about party members is displayed where that specific information is relevant.
⠀

⠀
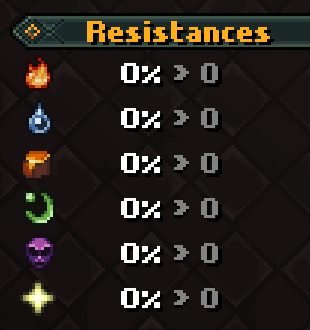
Each resistance affects the incoming damage the party member receives from attacks of that element. Positive values decrease the incoming damage, negative values increase it.

불

물

지구

바람

어둠

빛
⠀
SP:Skill Points available for this party member

GS:Grimoire Shards available for this party member
⠀
The total amount of acquired Grimoire Shards are displayed under the Stats section of the main menu. This is equal to the total level of your party member’s total level, considering you made use of all GS for each one.
기술 & 진행
⠀
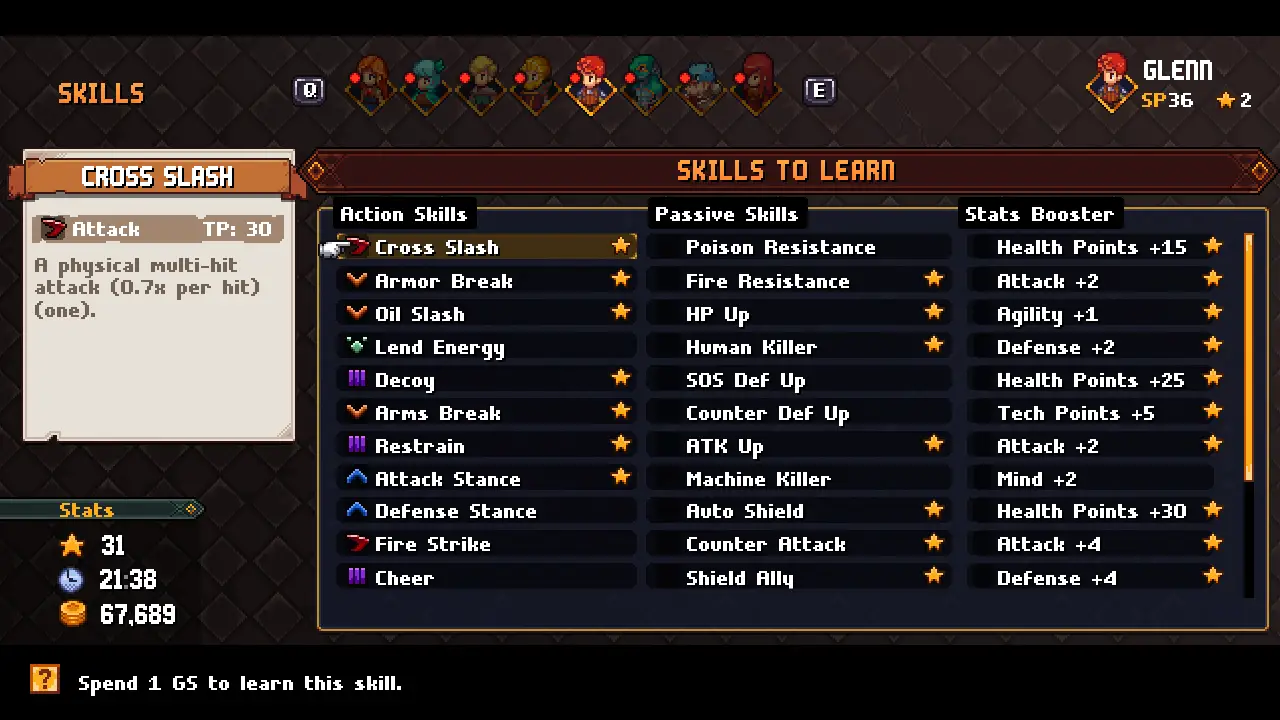
Acquiring a Grimoire Shard (GS) allows all party members to make use of it. Each GS grants an additional skill for you to unlock in the “Learn Skills” 메뉴.
⠀
These skills are usable in battle and cost TP to execute. These skills are mostly unique to the respective character and have to be equipped.
⠀
These influence battles by providing character-specific effects but do not consume TP and don’t need to be activated by the player, but like action skills have to be equipped.
⠀
These are bonus stat increases you may choose instead of an action or passive skill and applied automatically upon unlocking them.
⠀
Unlocked skills or stat boosters are marked with a star.
⠀
Each action and passive skill’s effects are separated into three levels. Upon unlocking a skill it starts at level 1. 시간이 지남에 따라, the levels gradually increase in level and become stronger or get reduced TP cost or both.
⠀
When in the Set Skills menu, you can spend a party member’s acquired SP to increase a skill’s level by pressing the assigned
레벨 업단추. A skill is MAX level upon reaching level 3 and marked with a star.
⠀
Unlike Character Skills, class skills can only be equipped in the separate panel labeled “Class ACTION/PASSIVE Skills”, but regular skills can be assigned to class skill slots.
Once maxing a class skill, it can be equipped in a character skill slot as well.
장비
Each party member can use a specific type of weapon unique to them. Weapons grant flat stat boosts to the party member’s attributes.
The weapon categories are:
- 검
- 스피어스
- 이물
- Rapiers
- 총포
- 부적
- Gunspears
- Katanas
- Great Swords
- 너클
- Anchors
- 카드
⠀
Each party member can use specific armors. 대개, a character can wear armor from multiple categories. Armors grant flat stat boosts to the party member’s attributes.
The armor categories are:
- 가벼운 갑옷
- 무거운 갑옷
- 옷
- Robes
⠀
Each party member can wear one accessory. Aside from stat boosts, each accessory additionally grants a passive skill that does not need to be equipped in the Set Skills menu.
⠀
Each party member can wear one class emblem. Aside from stat boosts, each class emblem also grants two additional active and passive skills which then can be equipped in the Set Skills menu.
⠀
⠀
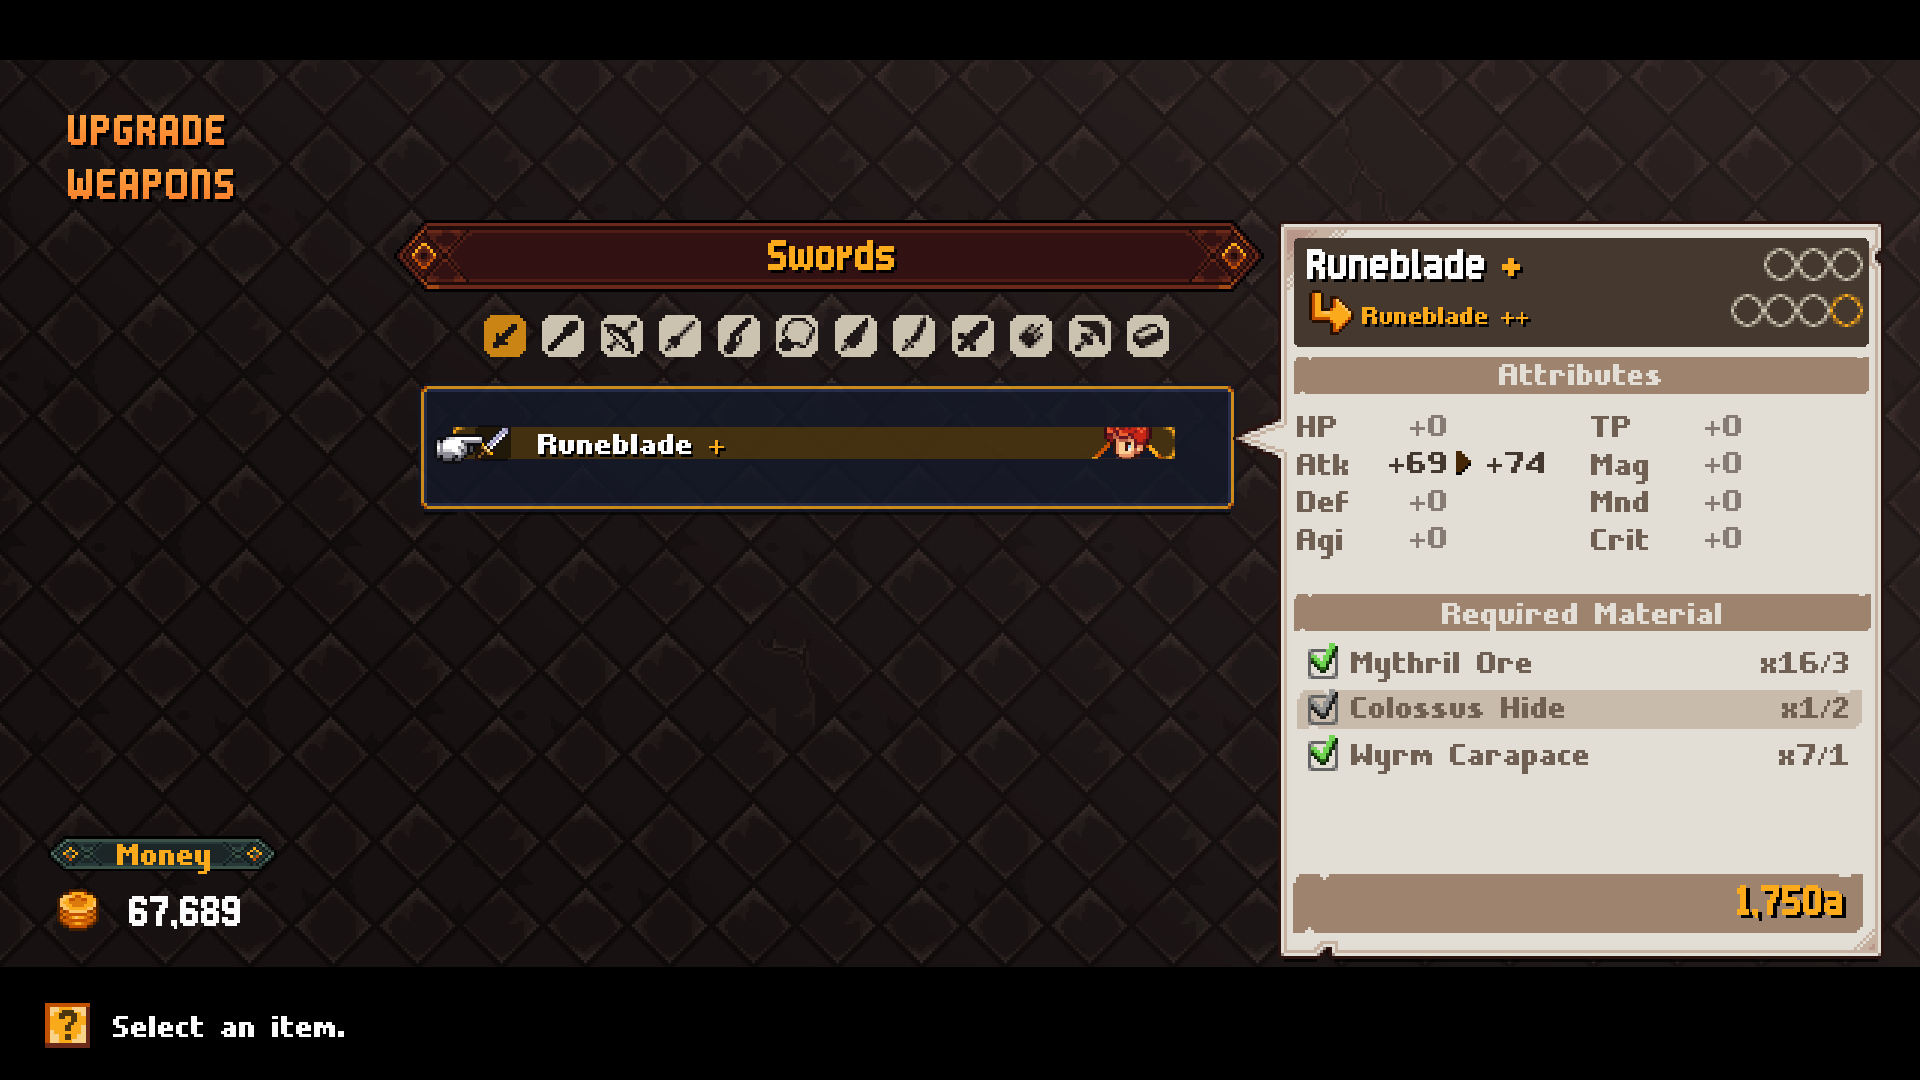
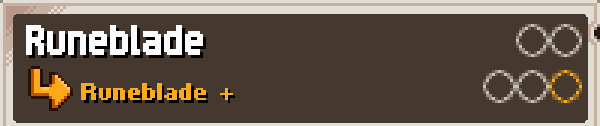
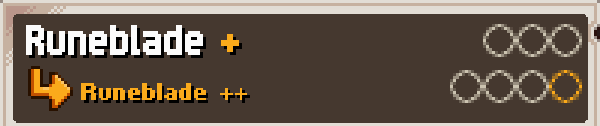
At an anvil, via the “방어구 업그레이드” 그리고 “Upgrade Equipment” 메뉴, you can enhance equipment to better versions. Each weapon and armor is enhanceable twice, indicated through a + 그리고 ++.
In order to enhance weapons or armor, you need to provide the resources listed under “Required Material” and the amount of money specified.
⠀
Additionally to flat stat increases, each weapon and armor upgrade also adds an additional crystal slot to it, allowing you to put larger or more crystals into them.
⠀
크리스탈
⠀
Crystals enhance weapon and armor abilities by providing additional passive skills to the party member using equipment with crystals in it. They can be very powerful and easily turn the outcome of a battle when set up right beforehand.
⠀
Crystals come in 4 종류:
⠀
⠀
Crystals come in 2 변형: Natural and artificial.
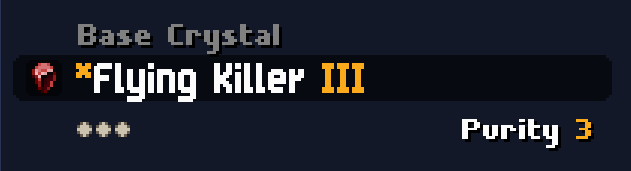
Artificial crystals are marked with an asterisk (*) in front of the crystal’s name.
When fusing crystals, the resulting crystal will always be artificial. Artificial crystals cannot be used as fuse crystals, only base crystals.
⠀
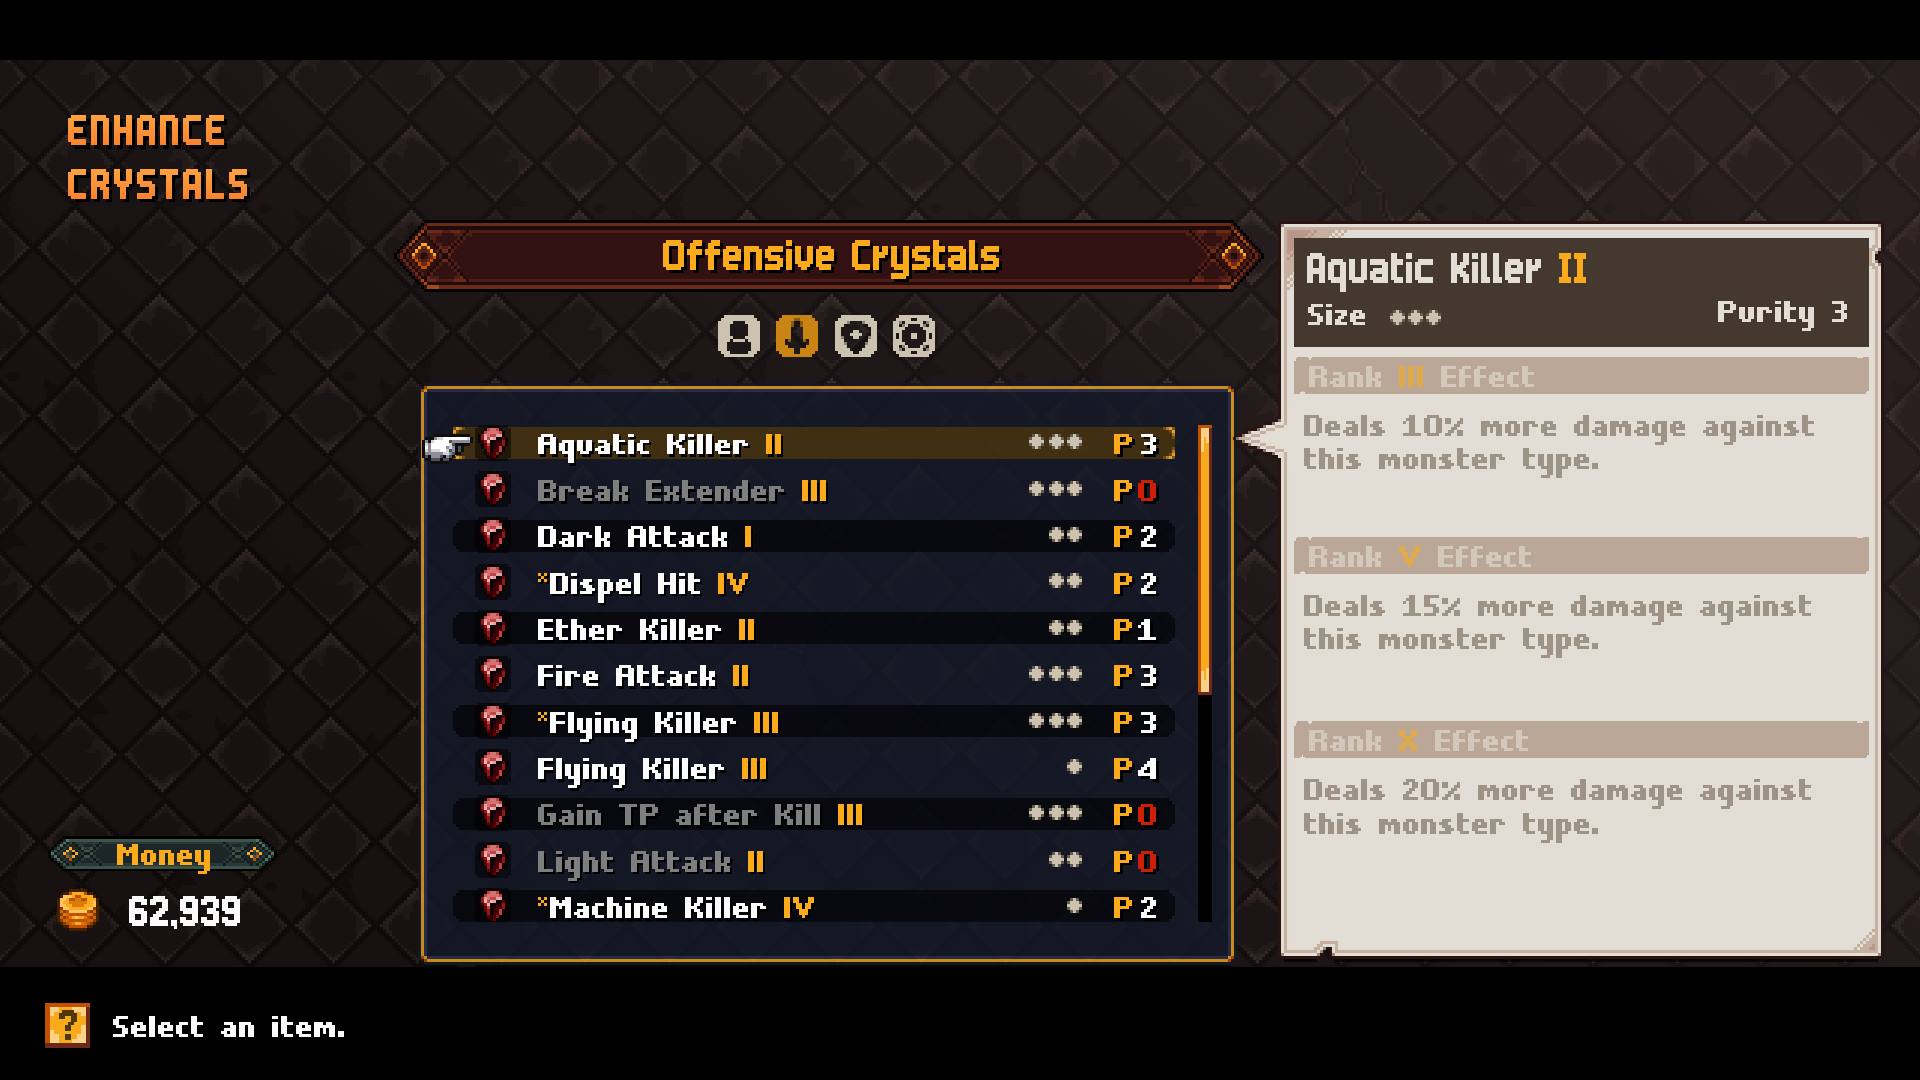
Each crystal comes with a random purity level (피) to it. The higher the purity, the better crystals you can fuse with them.
⠀
The crystal’s rank is shown through roman numerals next to its name. It ranges from I to X, with X being the maximum rank a crystal can have, regardless of purity or size.
A crystal’s passive skill becomes stronger with higher rank, 전체적으로 3 levels per skill. The required ranks for each level are:
III:기술 수준 1
다섯:기술 수준 2
엑스:기술 수준 3
⠀
Each crystal comes in a random size between 1 그리고 3, indicated by small circles representing the amount of slots a crystal needs in an equipment piece.
The smaller the size and the higher the purity the better the crystal is for slotting and fusing.
Fusing Crystals
⠀
You can combine / fuse crystals with the same passive skill on them.
⠀
When combining a crystal you choose a base crystal and a fuse crystal with purity (피) ~ 위에 0 for either and confirm the fusion.
⠀
Only pure crystals can be used as fuse crystals. Artificial crystals (marked with an asterisk (*) in front of the name) can only be used as base crystals.
⠀
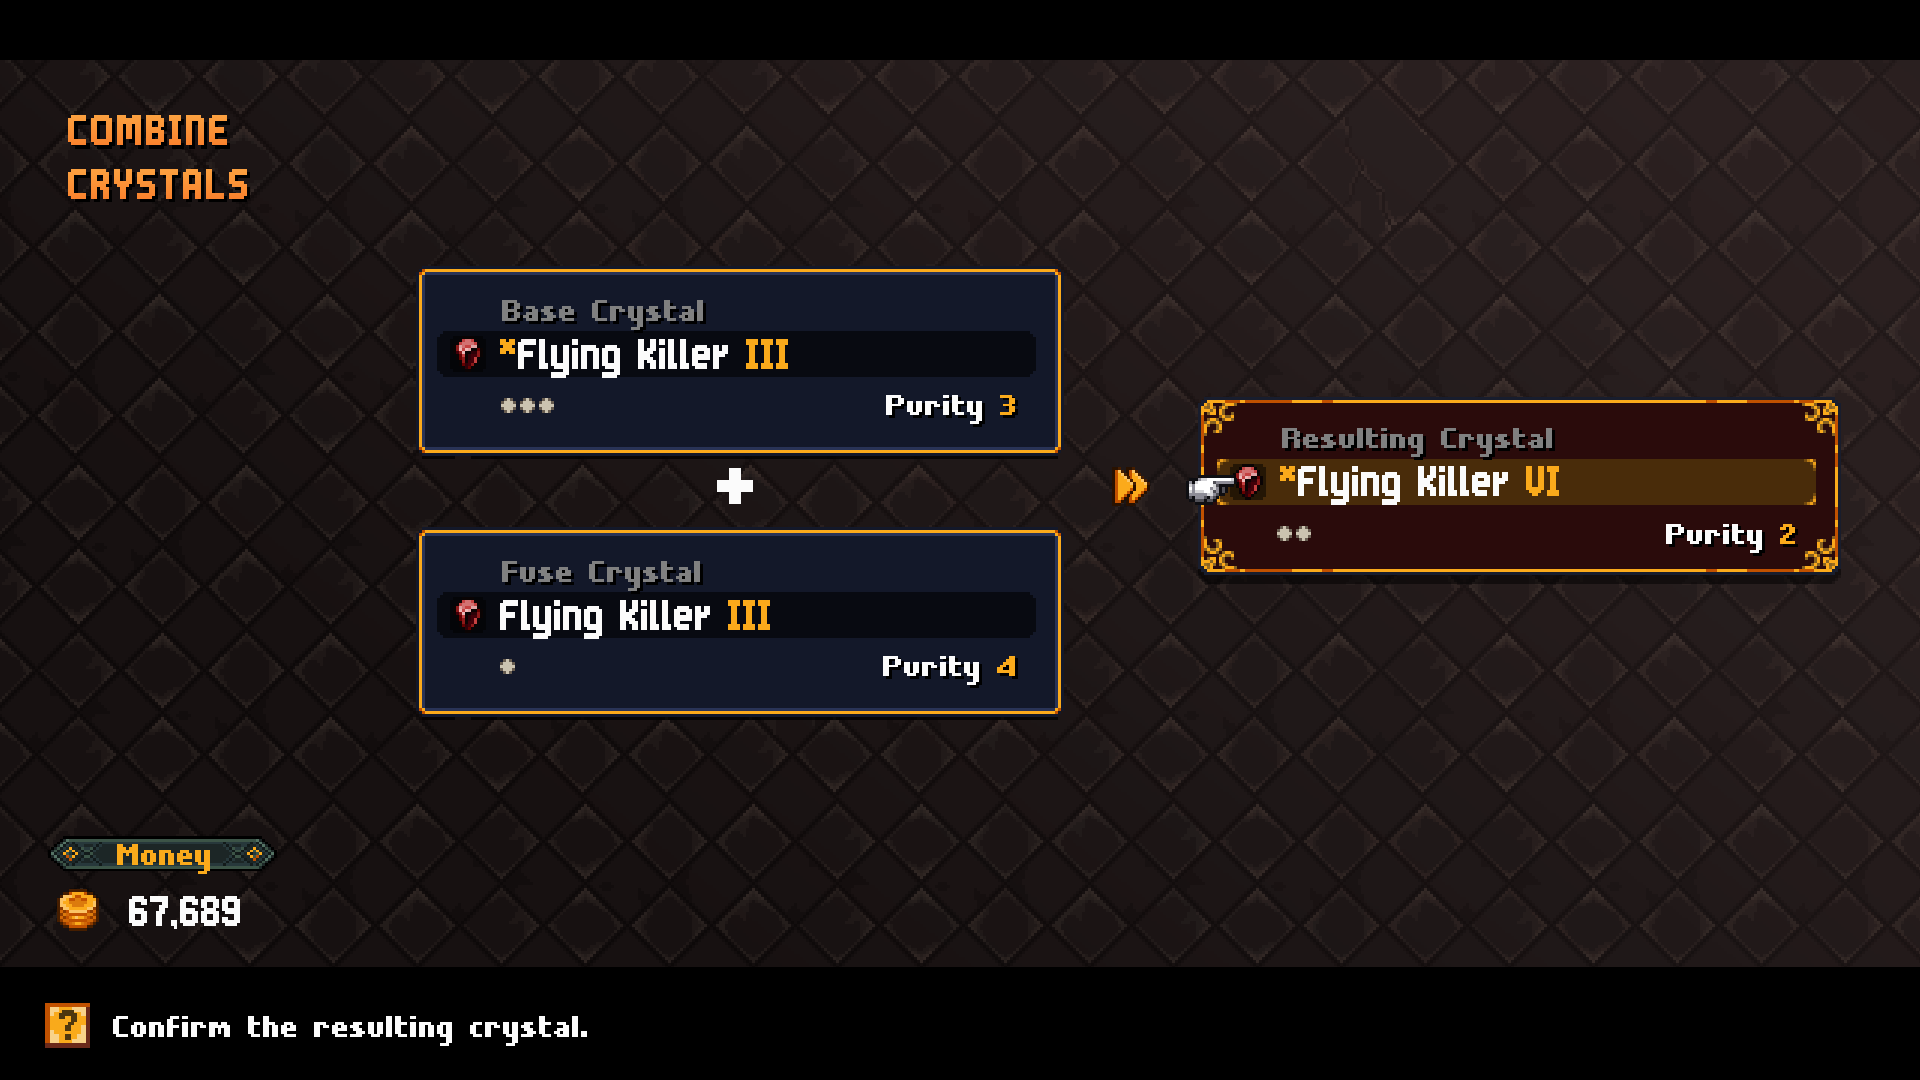
After fusing two crystals, the resulting crystal:
- Will have the purity of the base crystal minus 1 (예를 들어. P3 -> P2) regardless of the fuse crystal’s purity.
- Will have the sum of both crystal’s rank (예를 들어. III + IV = VII)
- Will be the average size of both crystal’s size (예를 들어. * + *** = **)
- Becomes an artificial crystal
⠀
Adding / Removing from Weapons / 갑옷
⠀
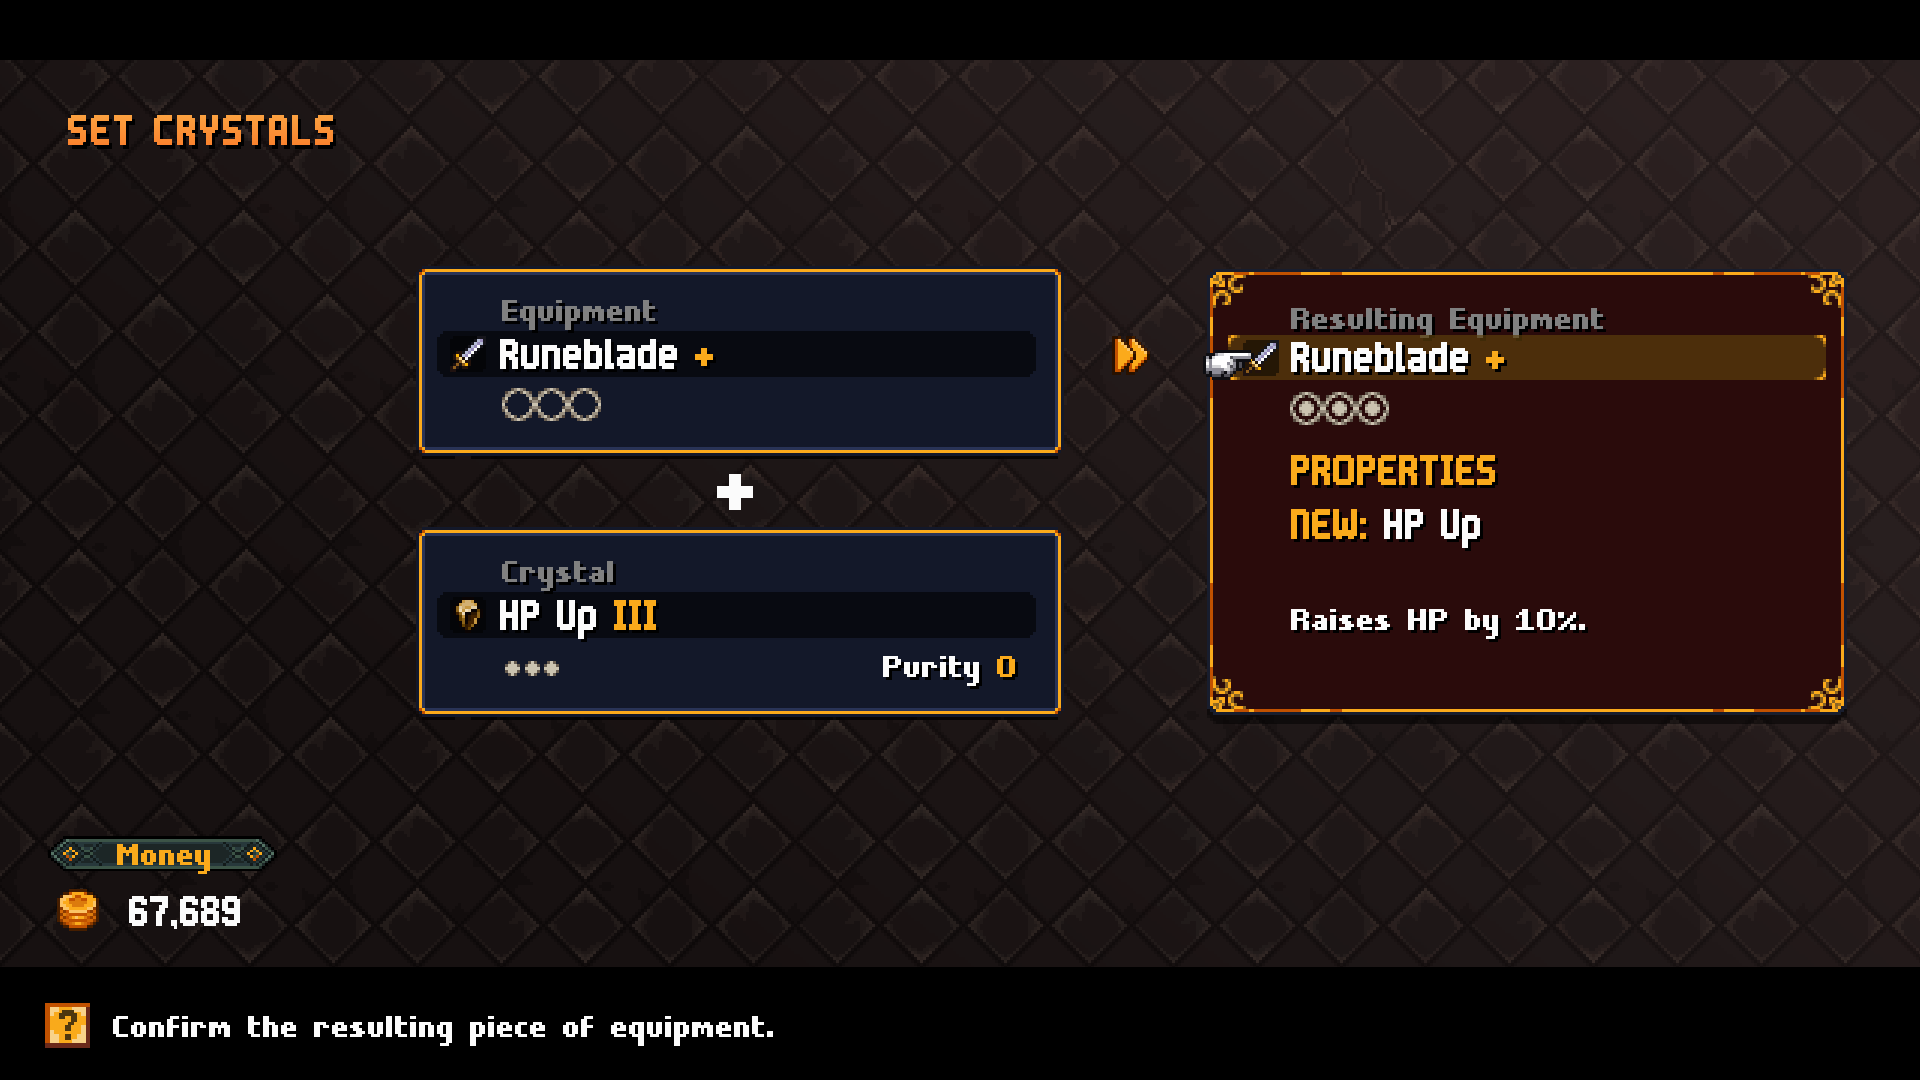
In order to add a crystal into a weapon or armor:
- The crystal needs to be rank III or higher
- The equipment needs to have the amount of crystal slots available / free for the crystal’s size to fit
You can set multiple crystals into the same piece of equipment as long as the above requirements are met.
⠀
When removing a crystal from a piece of equipment, the crystal:
- Will get a purity of 0 (P0)
- Will get a size of 3 (***)
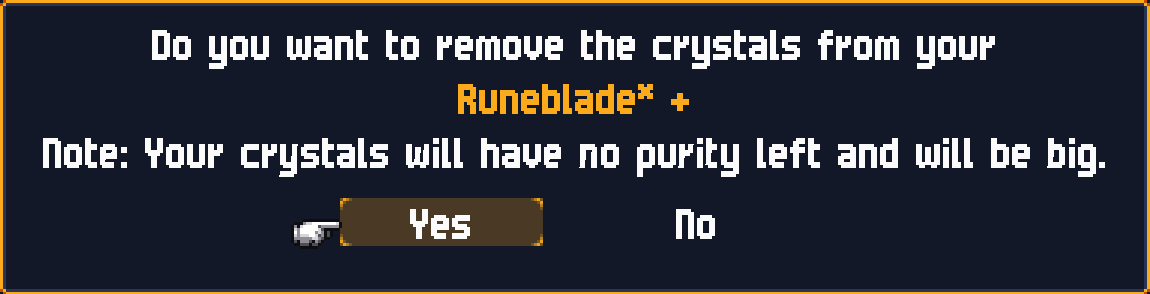
⠀
This means that once removed from equipment, artificial crystals can not be fused anymore and only set into other equipment again but now use up 3 crystal slots.
When removing a pure crystal from a weapon, it can not be used as a base crystal for fusing anymore, but as a fuse crystal.
거래

⠀
Deals are unlockable by selling loot at a vendor.
⠀
Specific combinations of loot unlock new deals. Once you sell one of the loot required for a deal, you will get a notification informing you that new deals are available.

⠀
A deal’s description tells you what you will get in return, more or less precise.
Each deal shows which required loot you already sold at a vendor and which you still need to sell to unlock the deal. 추가적으로, the amount of money you need to pay for the deal is listed.
⠀
Deals are shared between all vendors that offer deals. If you sell loot to one vendor, you can continue selling loot and buy the deal at a different vendor.
지도 & 빠른 여행
⠀
Use the map of your current location to get an overview. The map also displays fast travel crystals and exits as well as quest markers for your convenience.
⠀
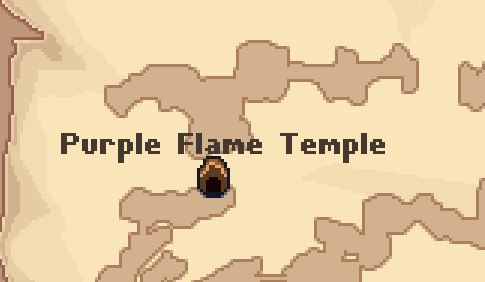
To display location info for exits on your map, toggle them using the “Show Location Info” 단추.
To display quest info for quest markers, toggle them pressing the button used to display location info again.
To hide all info, press the button again.
⠀

⠀
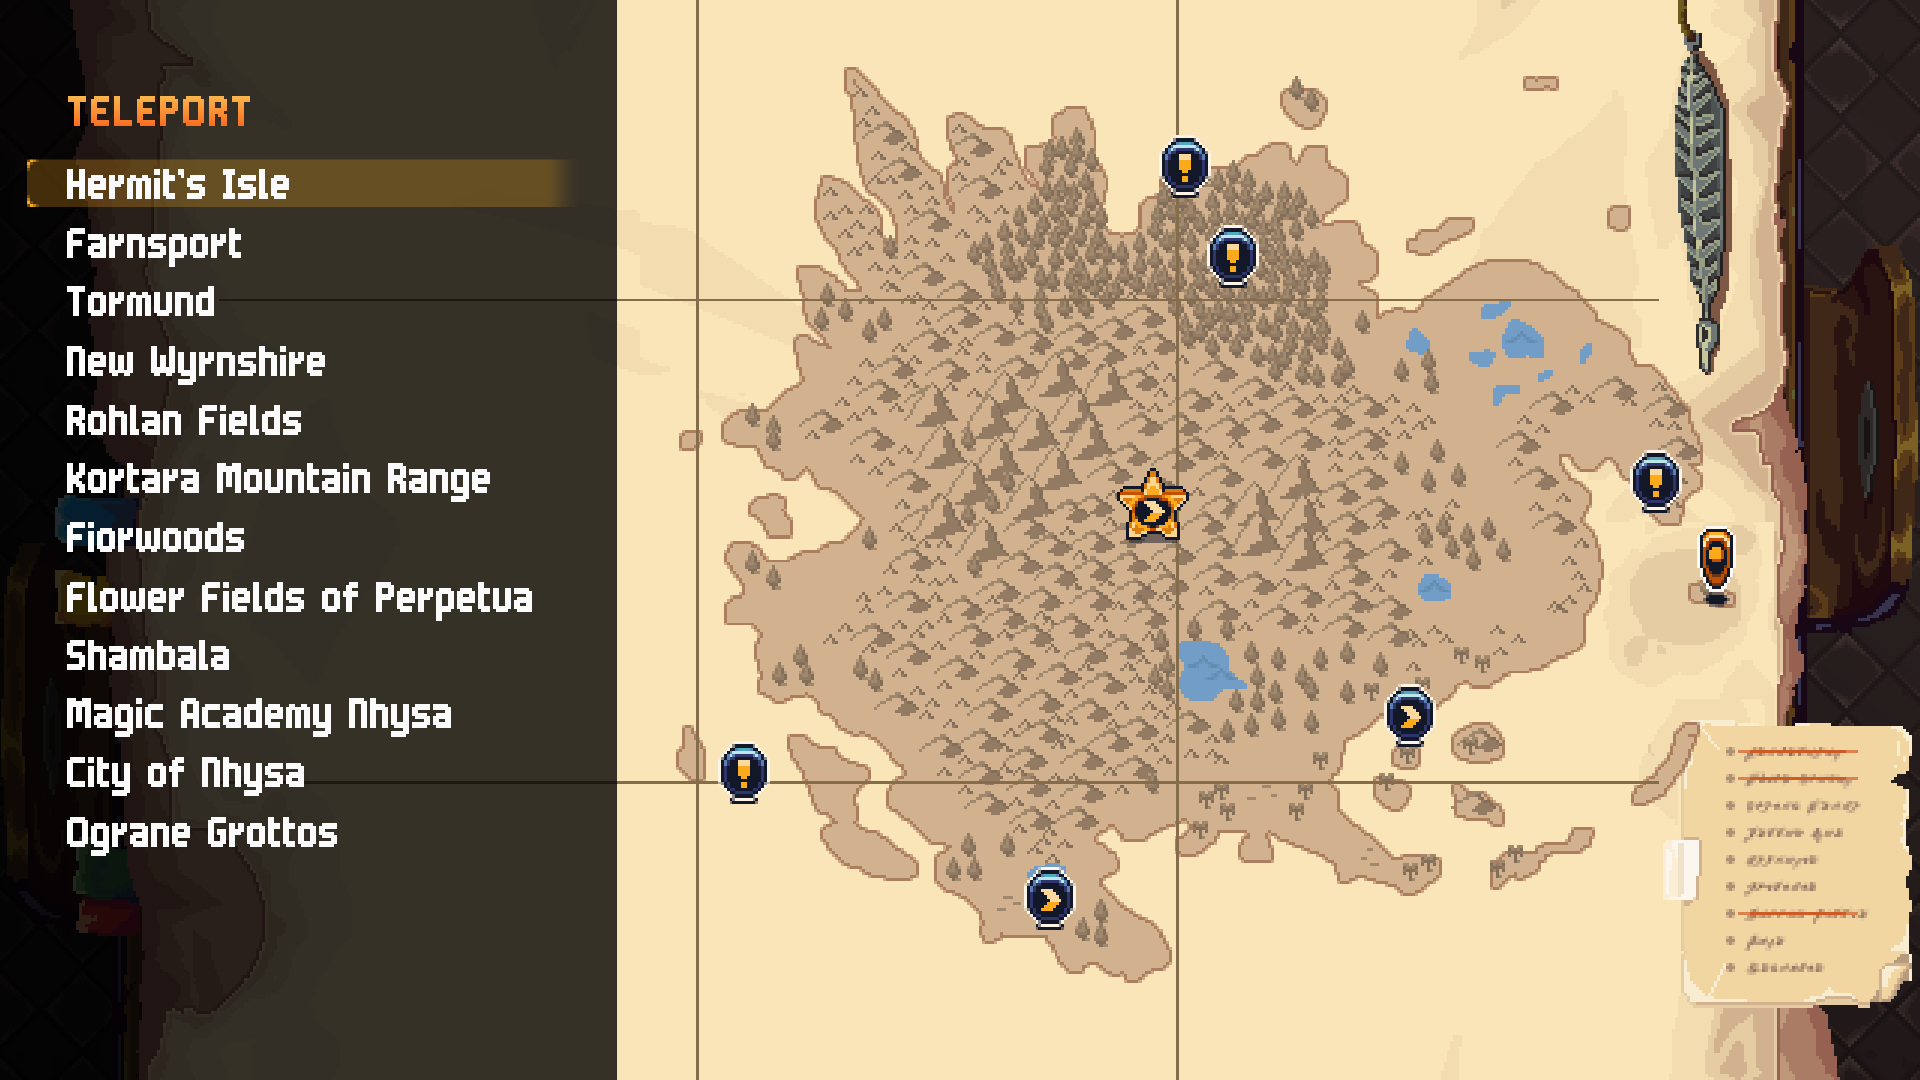
Fast traveling unlocks once you find a fast travel crystal.
To fast travel, open the map and then the fast travel menu to select your destination.
You can display quest info on the screen where you select a crystal to travel to.
⠀

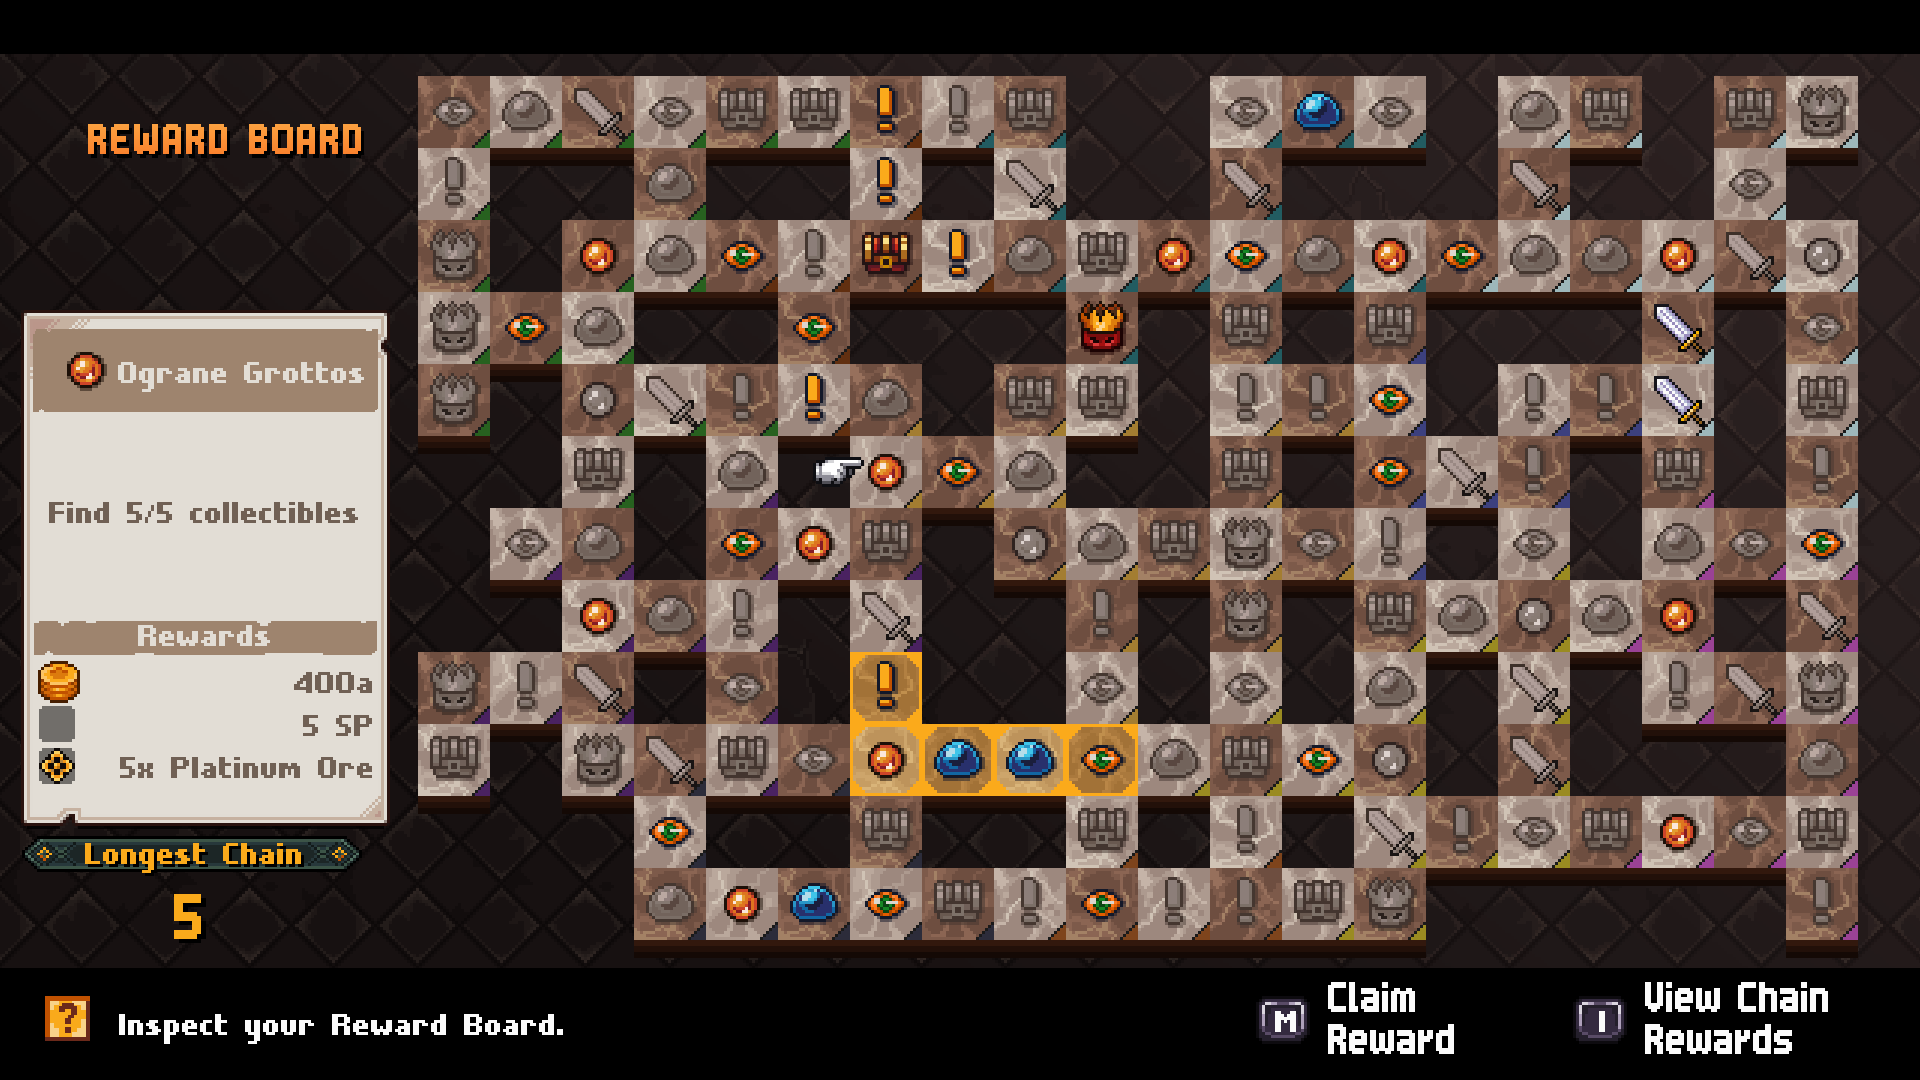
Reward Board
⠀
Instead of getting side quests through NPCs, Chained Echoes has a reward board accessible through the main menu under Journal -> Reward Board, alternatively by pressing L2 / LT / L key while running around.
⠀
The reward board displays common tasks found in RPGs and gives you rewards in return. When you enter a new area, the tasks for that area are unlocked on the reward board automatically.
⠀
A task shows you its location, what you need to do and the rewards you get for them.⠀
Once you finish a task, the respective task is marked with a red dot on the board.
You can then select it and claim the reward for it.
⠀
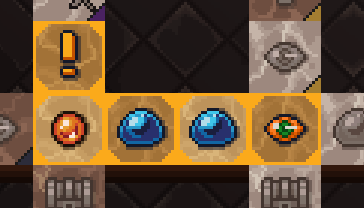
If at least two completed tasks are adjacent to each other horizontally and vertically, they will form a reward chain. The longest chain you currently have is displayed on the bottom left.
⠀

⠀
⠀
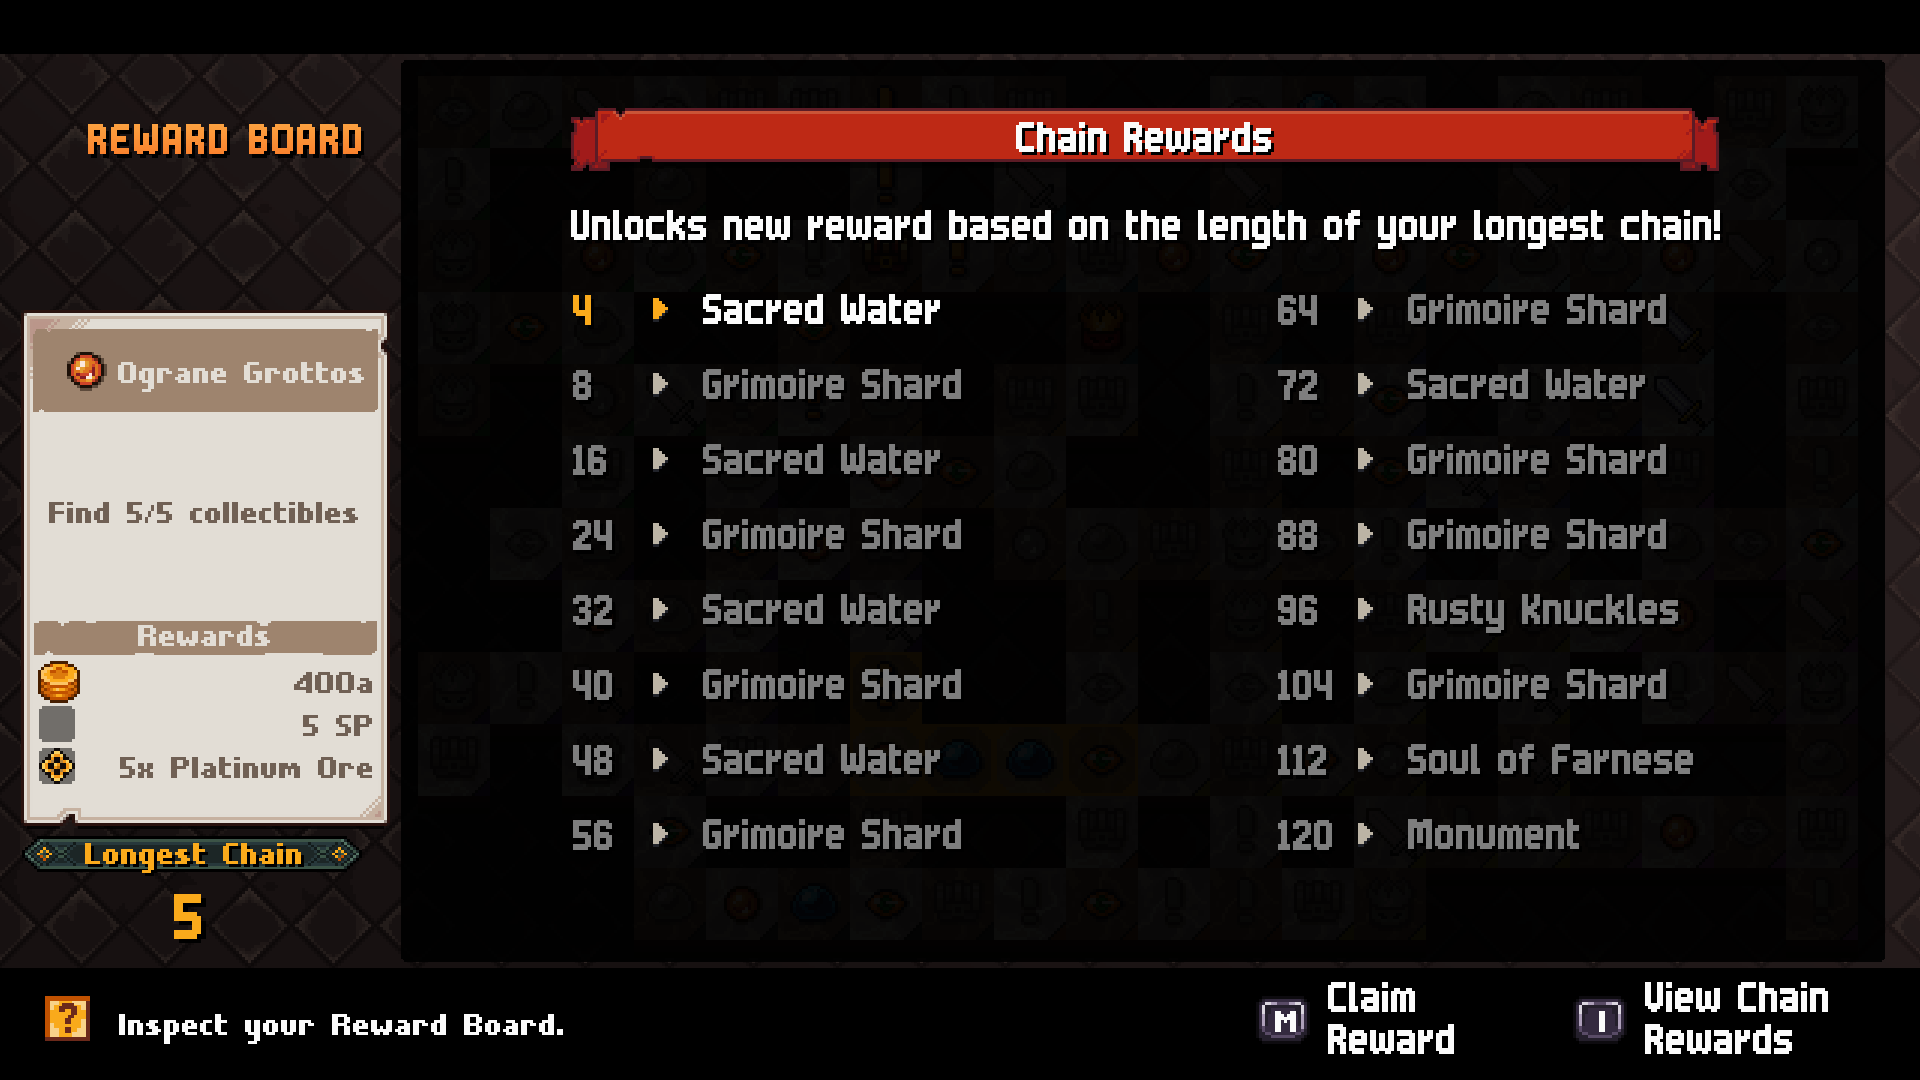
Additionally to the task rewards, you get rewarded for making your reward chain longer. You can access the Chain Rewards with the “View Chain Rewards” 단추.
FAQ
On your controller press [시작], on your keyboard press P. This will bring up the Pause menu and show all your currently mapped buttons and what each button does.
Enemies with these debuffs receive increased damage (“weakness” is triggered).
기름: Increases fire damage
Dry: Increases water damage
무거운: Increases earth damage
젖은: Increases wind damage
아니요.
You gain Skill Points (SP) from battles. SP is automatically applied to a party member’s equipped skils (“Set Skills” 메뉴) but also additionally added to their separate SP pool. You can then spend SP to level up skills in that menu to make them stronger. Don’t sit on 999SP! Spend them!
Each circle points at a hidden treasure’s location with an arrow. If there is more than 1 arrow on a circle, only one points into the right direction, the others are fake. There are at least two circles on a map. Find the spot where both circles directions cross and press the action button. A hidden treasure lies there and you’ll receive it.
아니요.
The first attack you do to a ghost grants them a buff that makes them immune to that type of attack. They can become immune to physical or magical damage, but not both.
In order to defeat them, attack them with one type of attack, then defeat them with the other type.
Continue the game, you will unlock ways to traverse maps differently and access new parts of the game this way.
In the part of the town, go to the very right of the map behind a house.
The wife is to the south of Basil at the lighthouse. The husband is outside of Farnsport, 남쪽으로, you exit Farnsport to the north, 머리 오른쪽, jump into the water and follow the river. He’ll be swimming there.
It’s this game’s aggro mechanic. The more damage a party member does to an enemy the more hate they have against the party member and the likeliness of the enemy attacking them is increased.
This option affects how often enemies use skills instead of regular attacks.
On your controller press [선택하다], on your keyboard press K. You will enter your airship. The Phyon Oasis is northeast of Farnsport, in the desert.
이것이 오늘 우리가 공유하는 모든 것입니다. 사슬 에코 가이드. 이 가이드는 원래 작성자가 작성하고 작성했습니다. abitofBaileys. 이 가이드를 업데이트하지 못한 경우, 다음을 수행하여 최신 업데이트를 찾을 수 있습니다. 링크.
Hallo. Erstmal das gute vorweg. Das Spiel ist der Knüller. Extrem schöne und detaillierte Spielwelt mit liebevollen Charakteren und tollen Geschichten. Einfach zum verlieben. Erinnert mich an früher. Das ist aber zugleich mein Problem, früher als Kind habe ich versucht bei allen spielen 100% zu erreichen. 25 Jahre später hat man einen Job , Familie sprich nicht mehr soviel Zeit zum spielen. Ich kam jetzt an mehreren Stellen nur extrem schwer voran und zurzeit hänge ich fest. Ich weiß das Kampfsystem ist mit das Herzstück dieses Spiels. Aber besteht vllt die Chance das es ein irgendwann mal einen Patch gibt der quasi einen storymodus einführt? Damit ältere Spieler wie ich einfach die Geschichte , Welt und die darin lebenden Charaktere ergründen und erforschen können ohne frustmomente zu haben bzw. nicht weiterzukommen und somit womöglich die Lust am Spiel zu verlieren.