

- 제목: 콜 오브 듀티: Black Ops III
- 출시일:
- 개발자:
- 발행자:
Call of Duty에 대한 정보: Black Ops III is still incomplete. 이것을 사용하여 게임의 세부 정보를 입력할 수 있도록 도와주세요. 문의 양식.
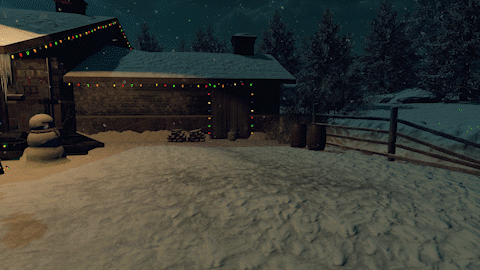
The steps to complete the custom map called Laponia in Call of Duty: Black Ops III. The Laponia custom map was created by Espinosa. You can get this map from this 링크.
단계 1: Turn on Power
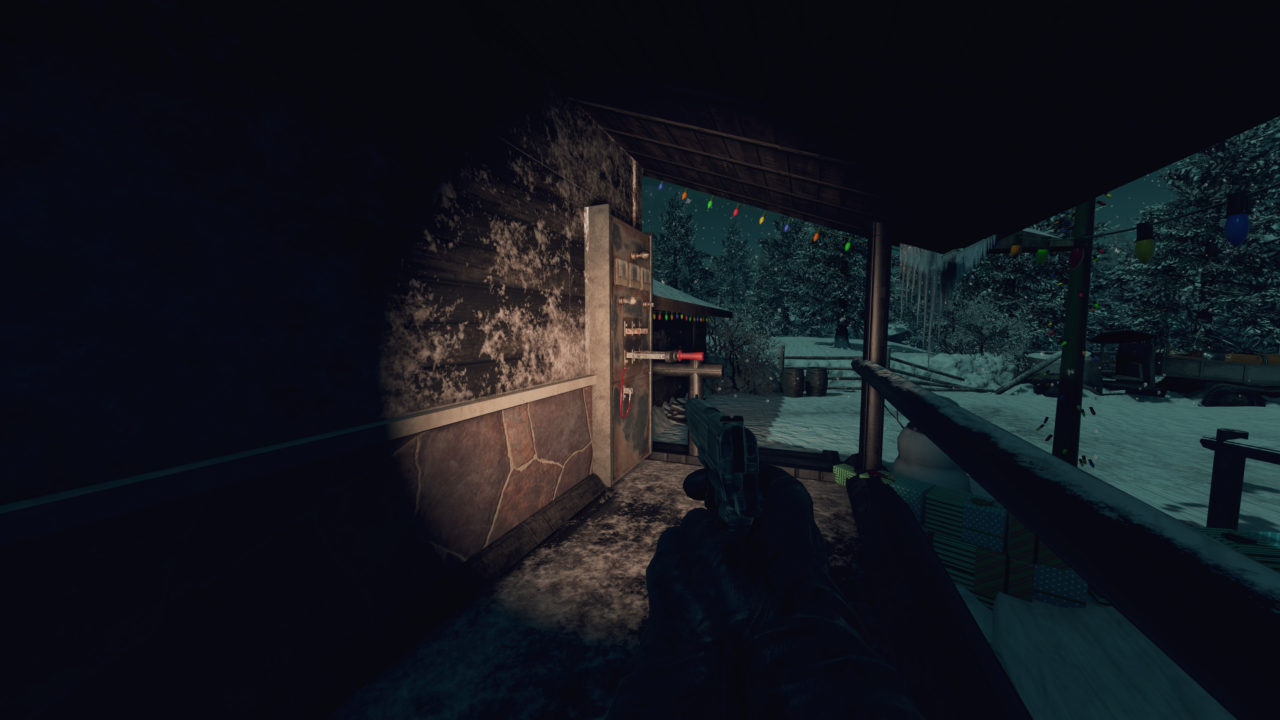
Power Switch Locations
Outside near stamin-up
Upstairs to the left of the tree
Panel Locations
To the right of the PM63 wallbuy (스폰 근처)
Outside next to electric cherry

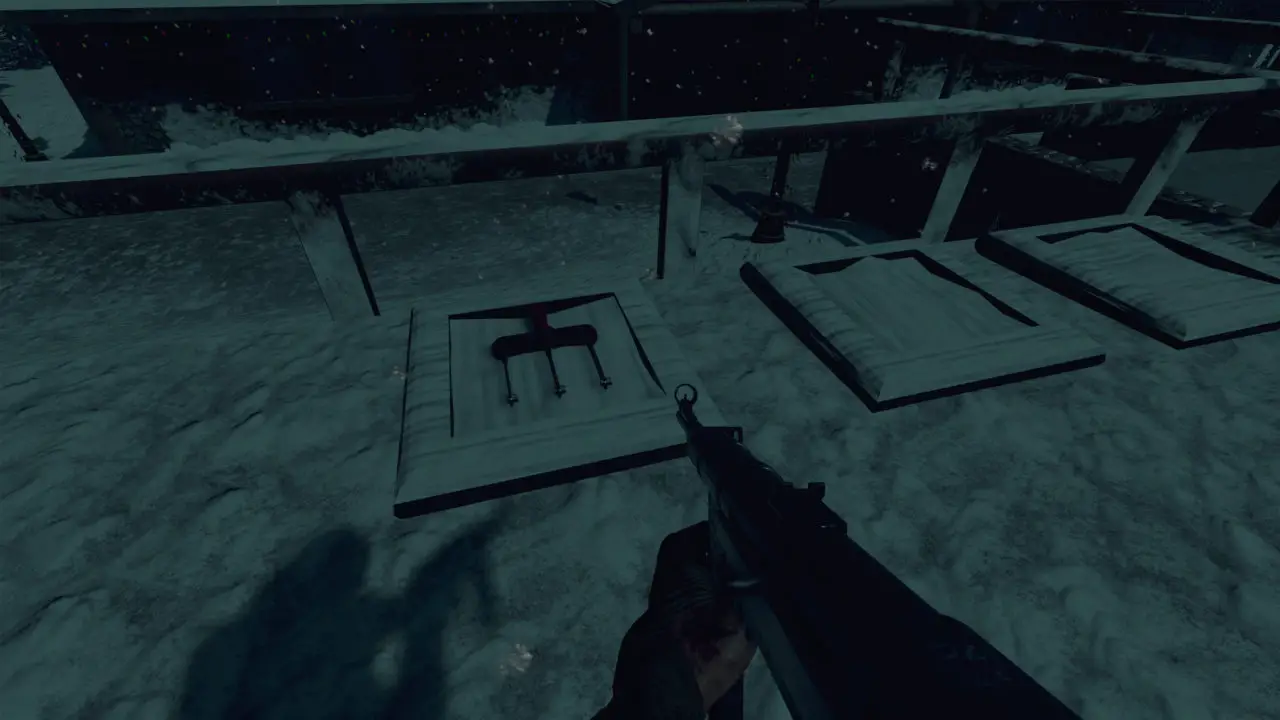
Build Power
In PM63 Wallbuy room
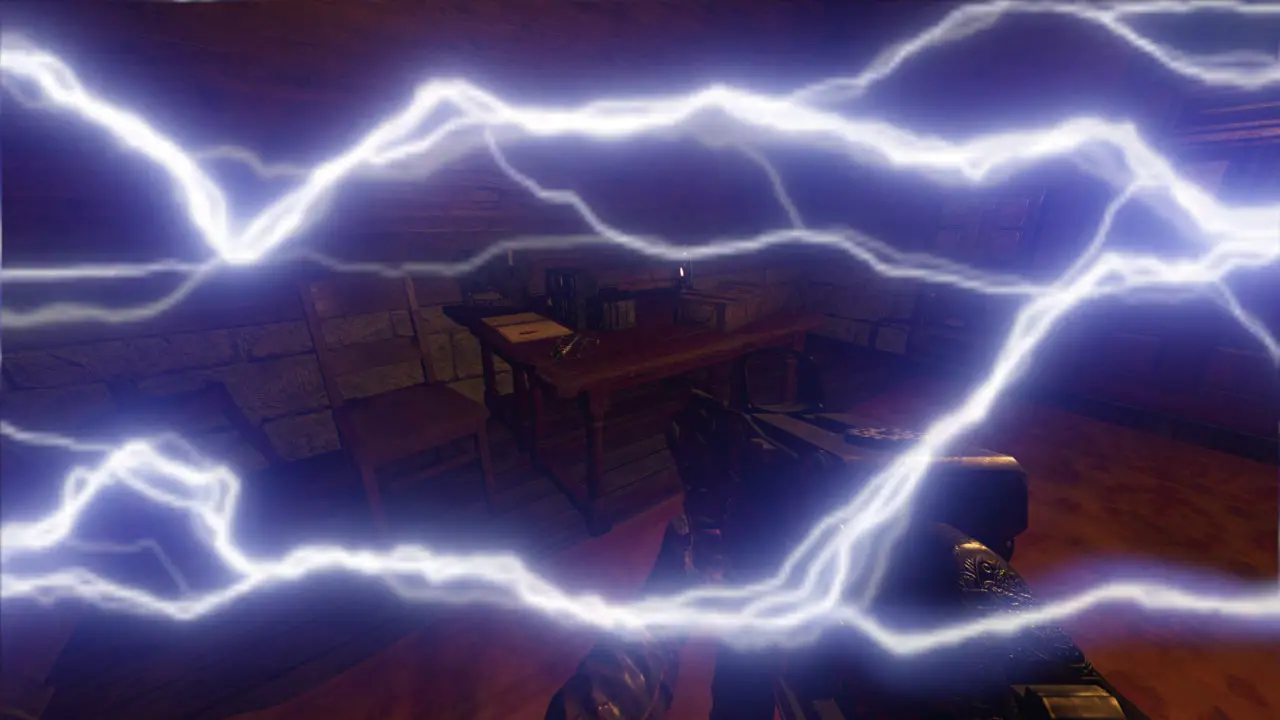
Turn Power On
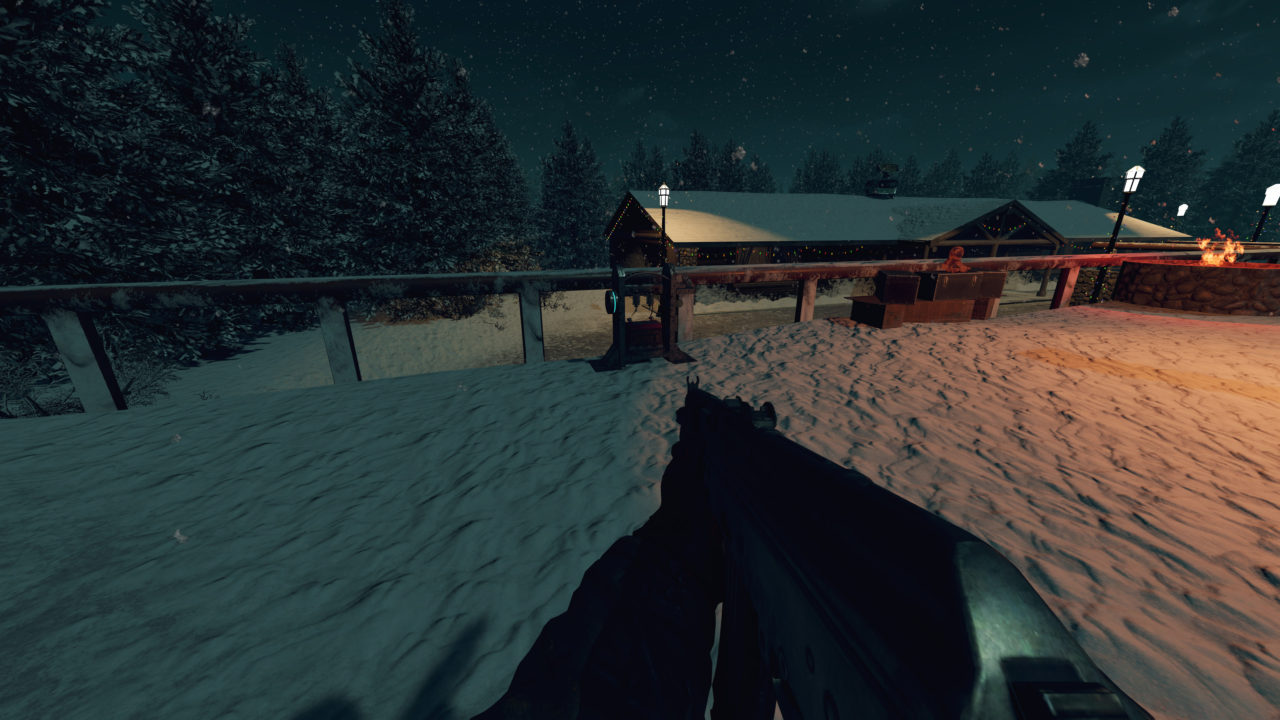
Go outside and to the left
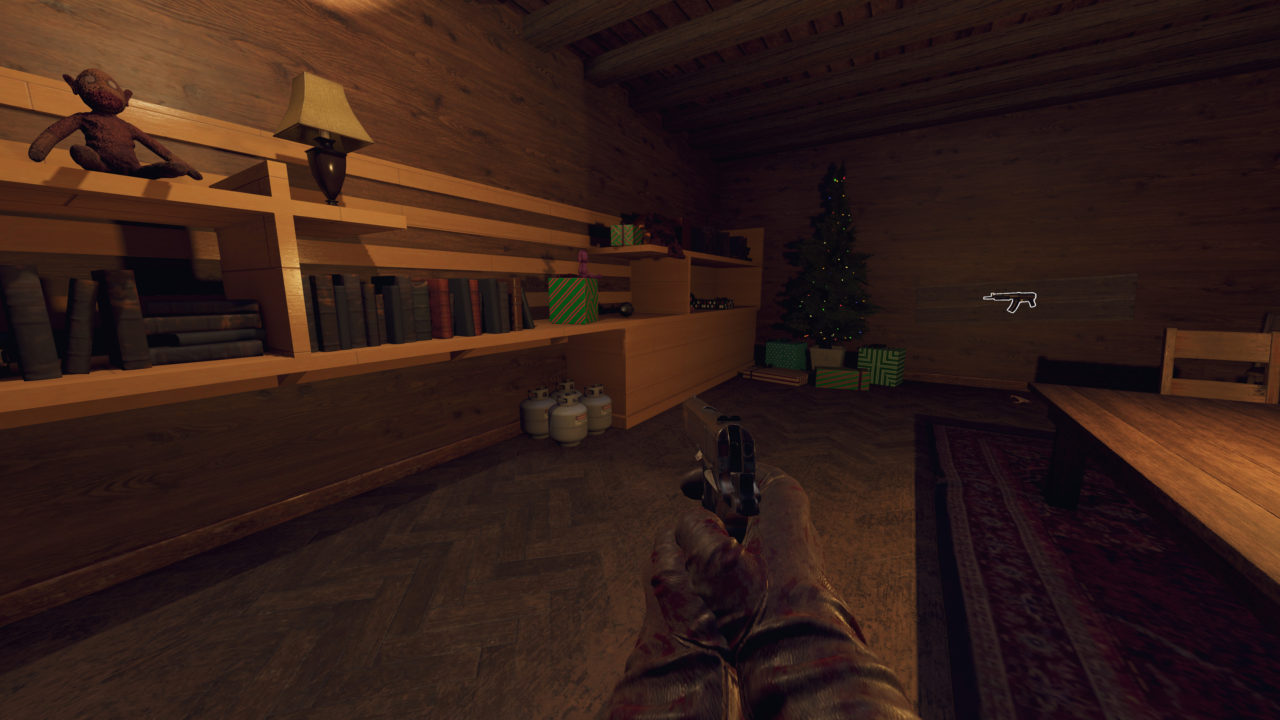
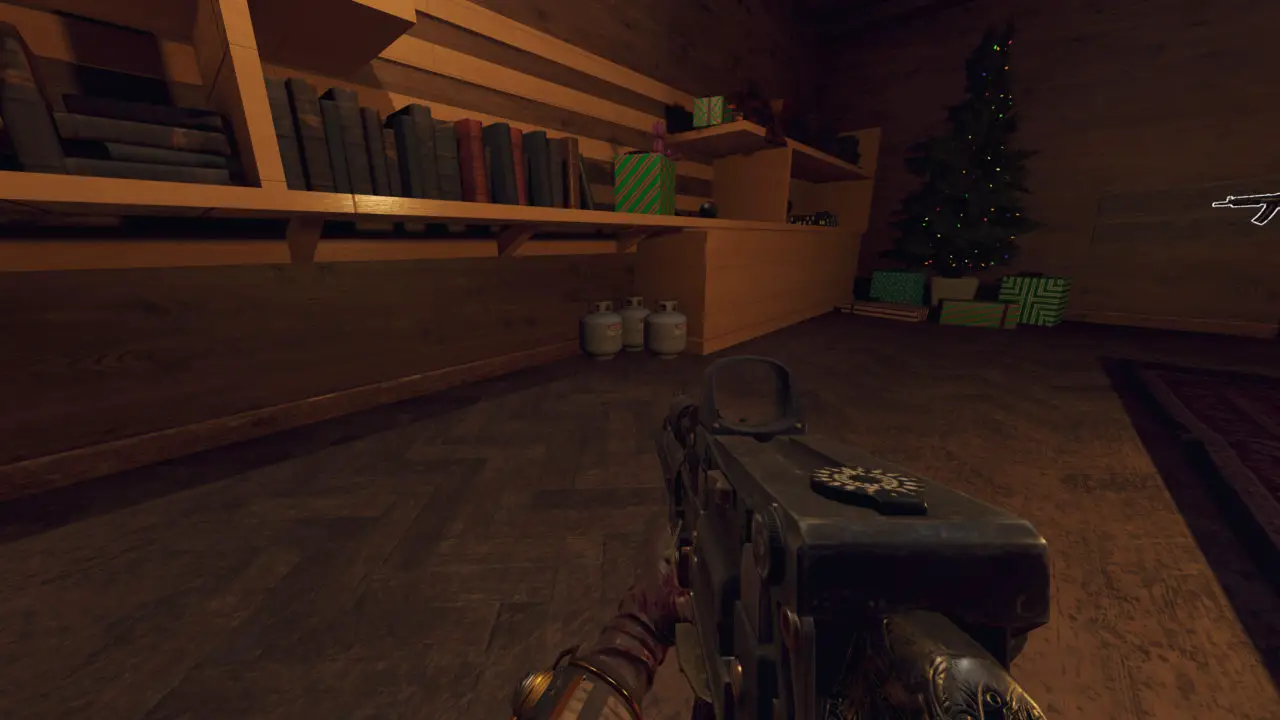
단계 2: Get the Propane Tank
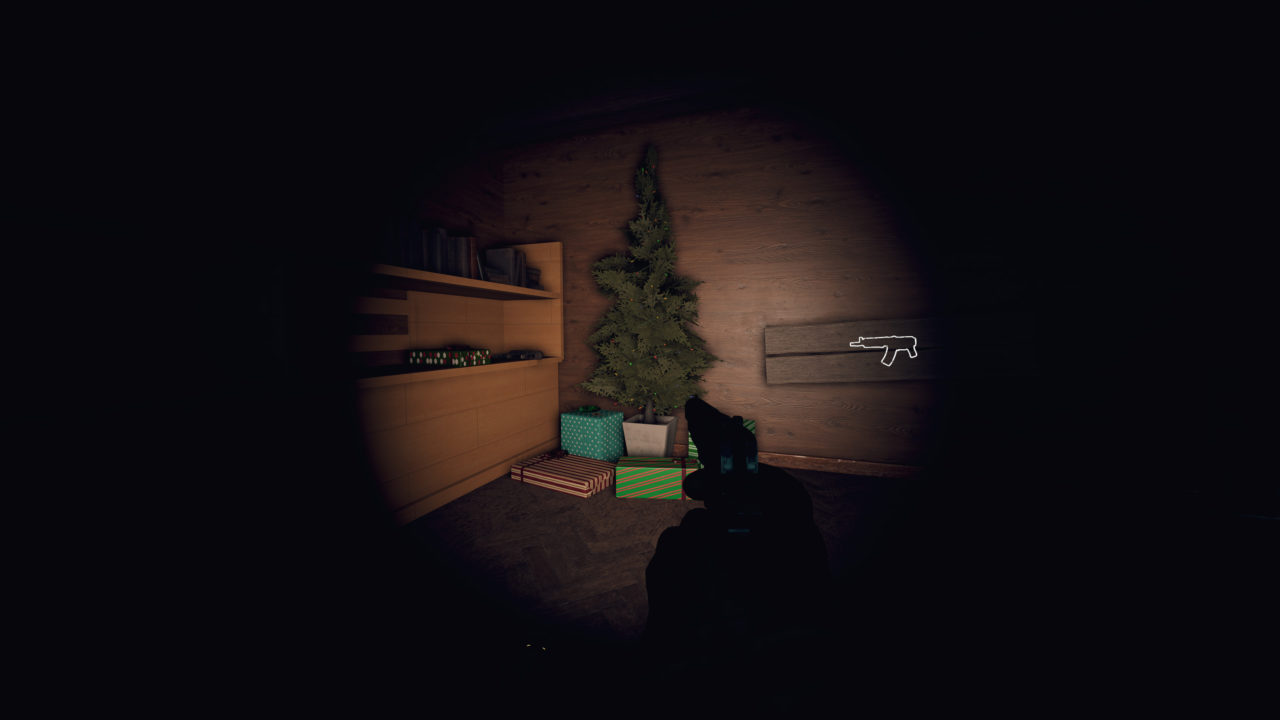
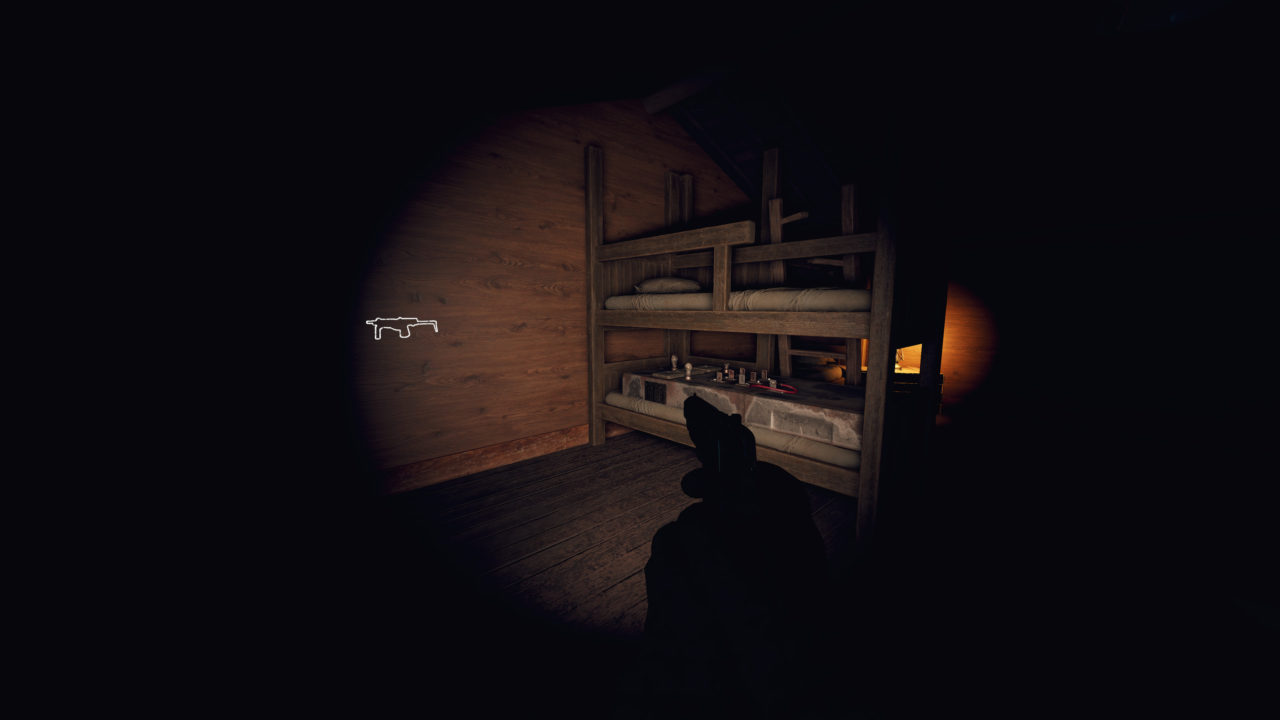
Go upstairs and look under the bookshelf
Easiest way to pick it up and to spam the interact key while prone looking at them. Once you pick one up the pile will look like this:
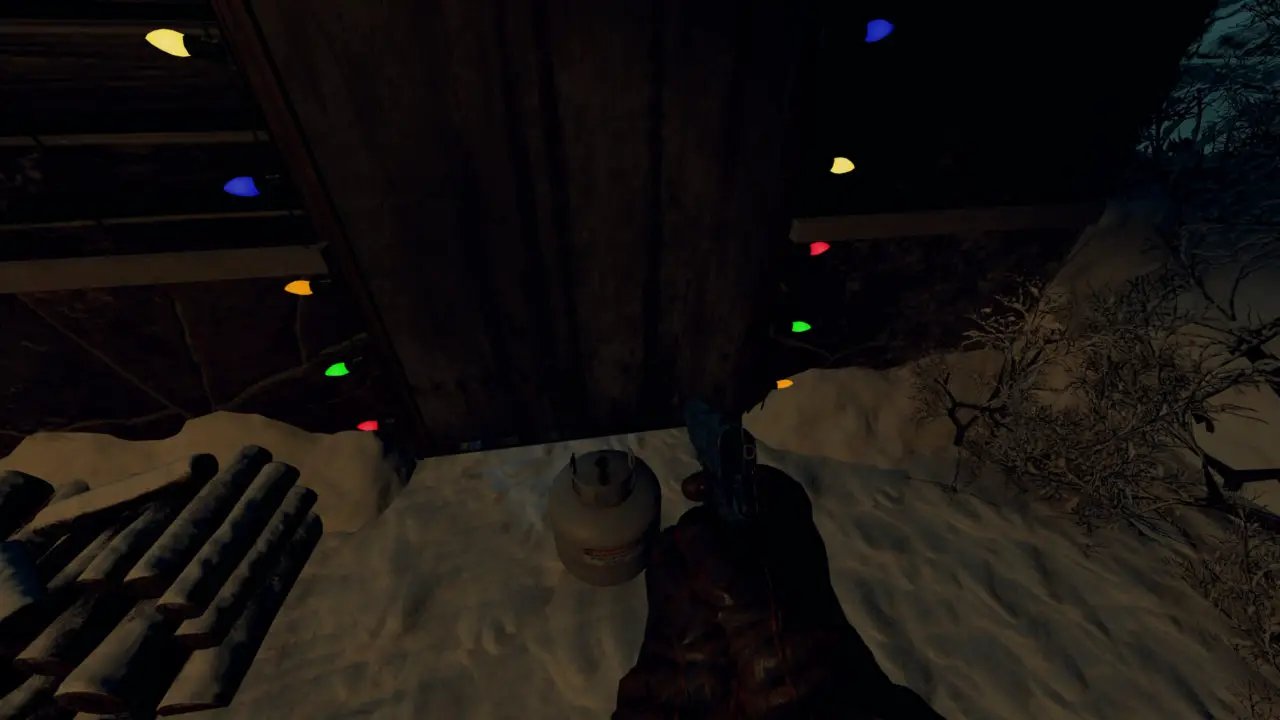
단계 3: Blow up the Door
Go outside to the left and you’ll find a door. You’ll see an interact text saying to place the propane tank
Get to a safe distance and shoot it
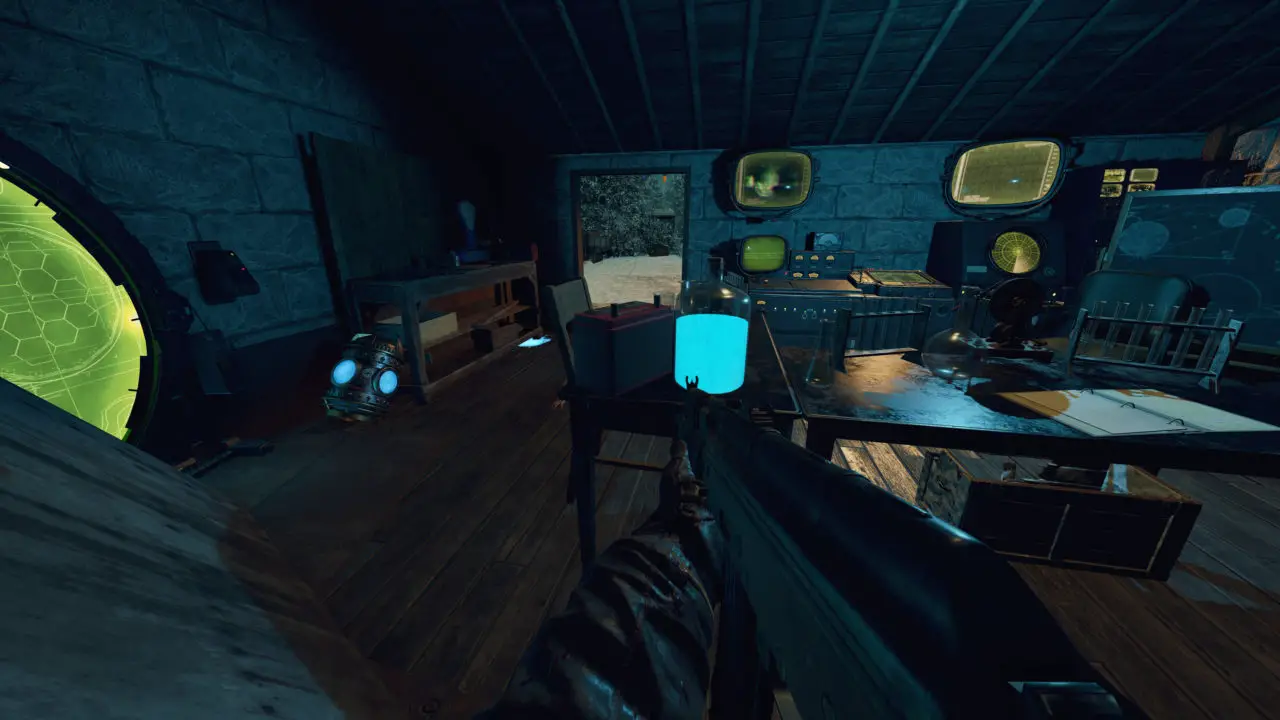
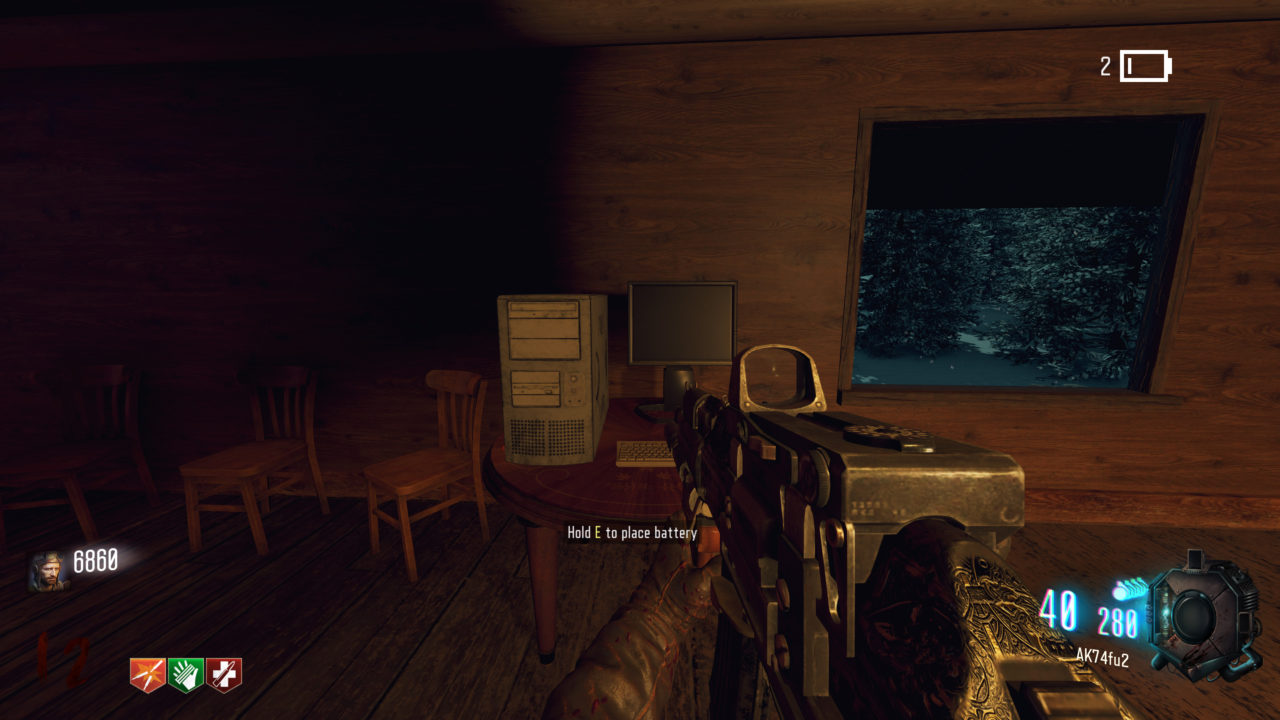
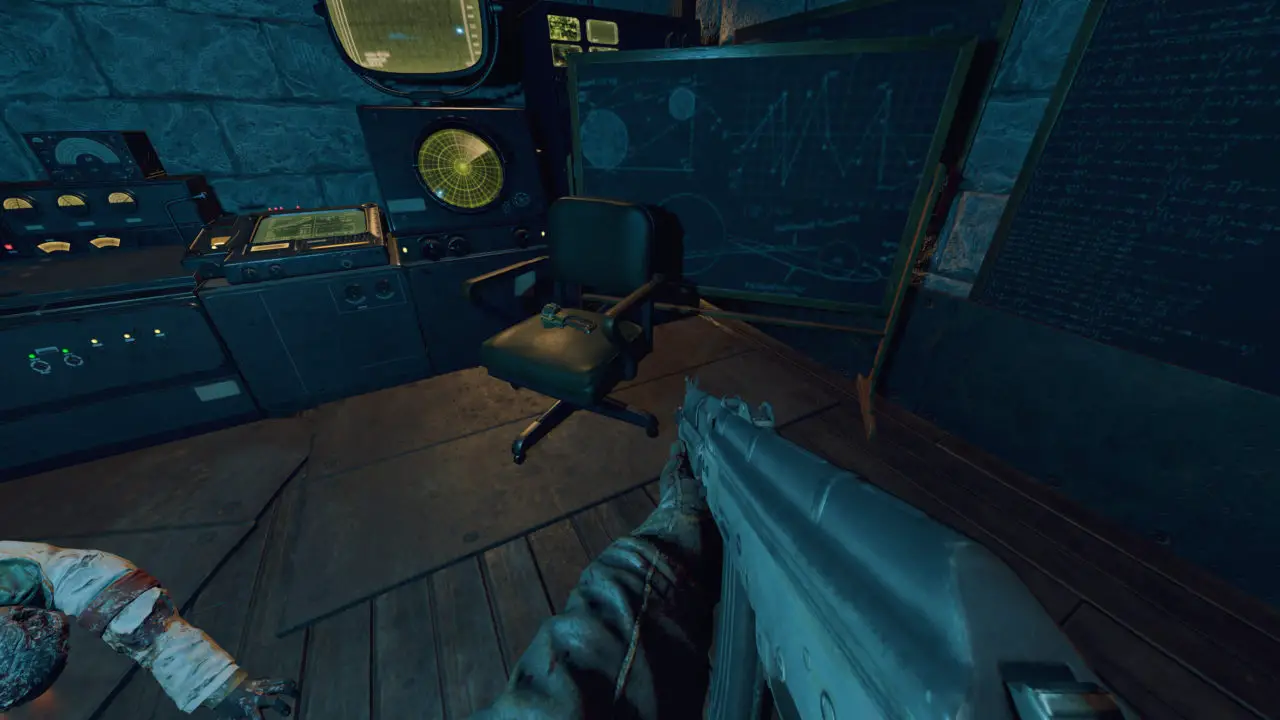
단계 4: Fill up the Battery
Go inside the lab and pick up the battery
Go back outside and place the battery and collect souls
Once enough souls have been collected, it will allow you to pick up the battery
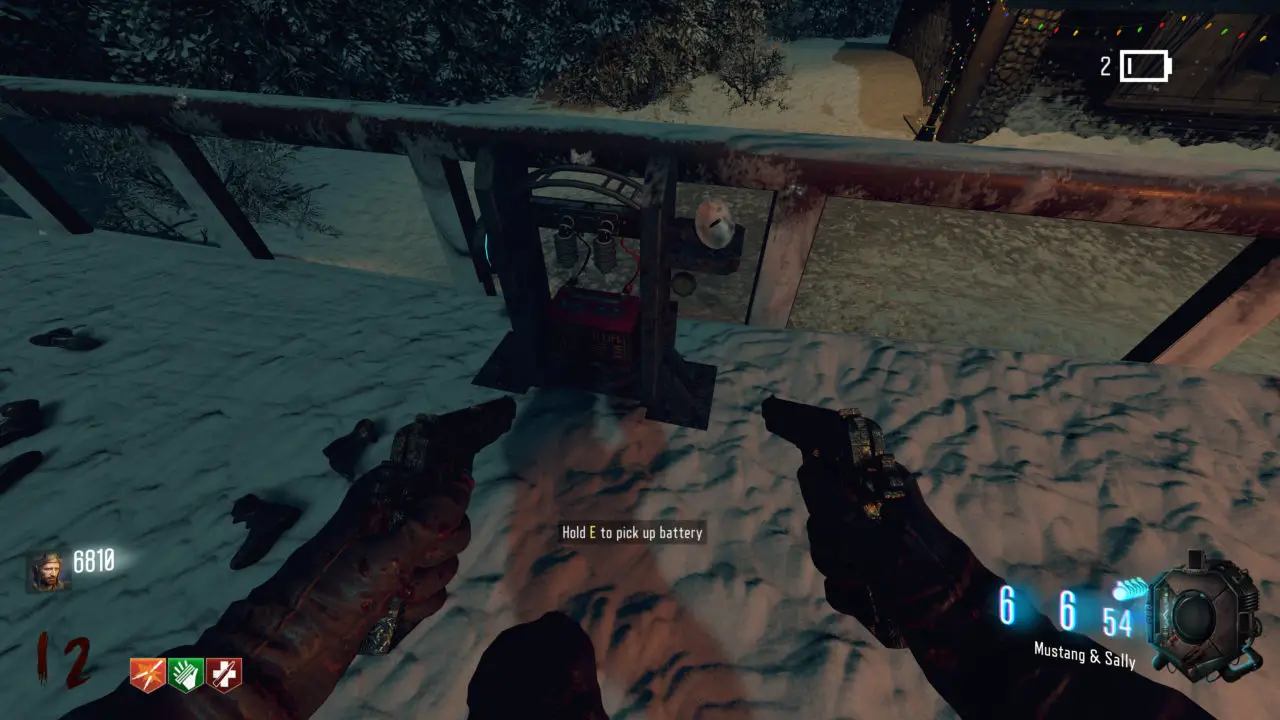
Go back to spawn and place the battery on the computer
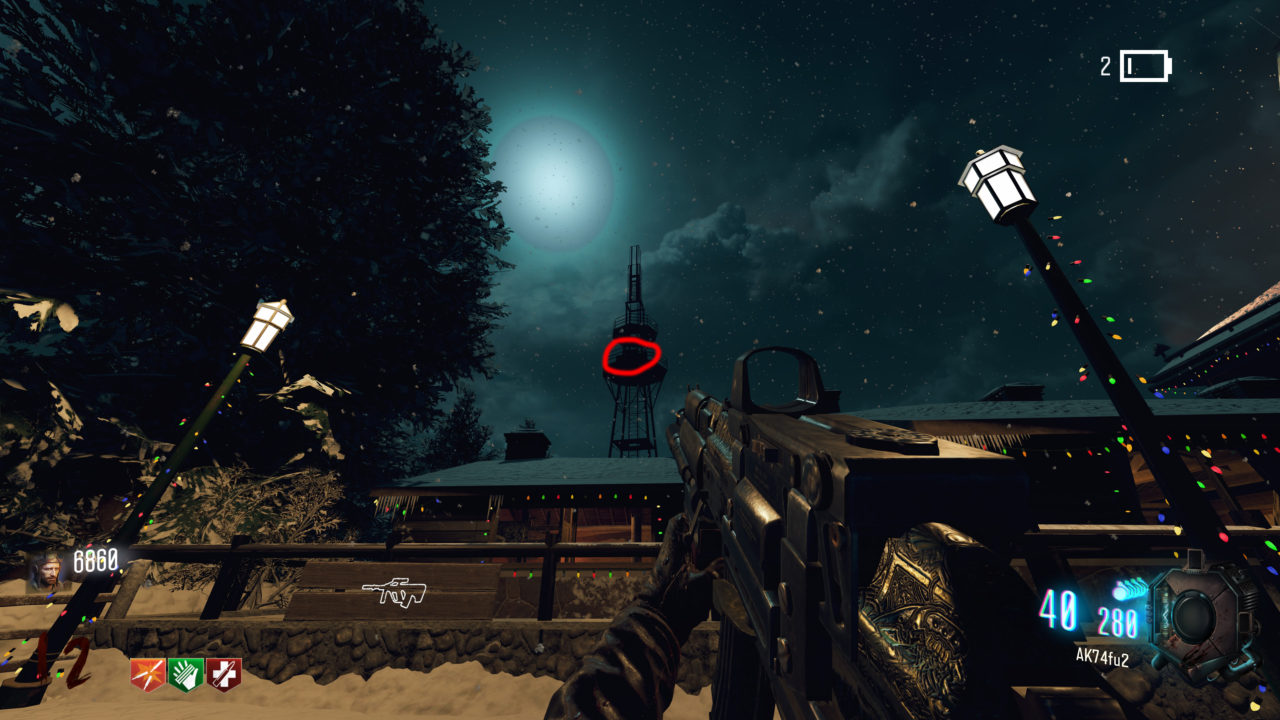
단계 5: Destroy the Jammer
Next you will need to destroy the jammer.
메모: YOU WILL NEED AN EXPLOSIVE WEAPON TO DO THIS STEP (Upgraded starting pistols is a good choice)
You will need to shoot this part of the radio tower with an explosive weapon (can take multiple shots)
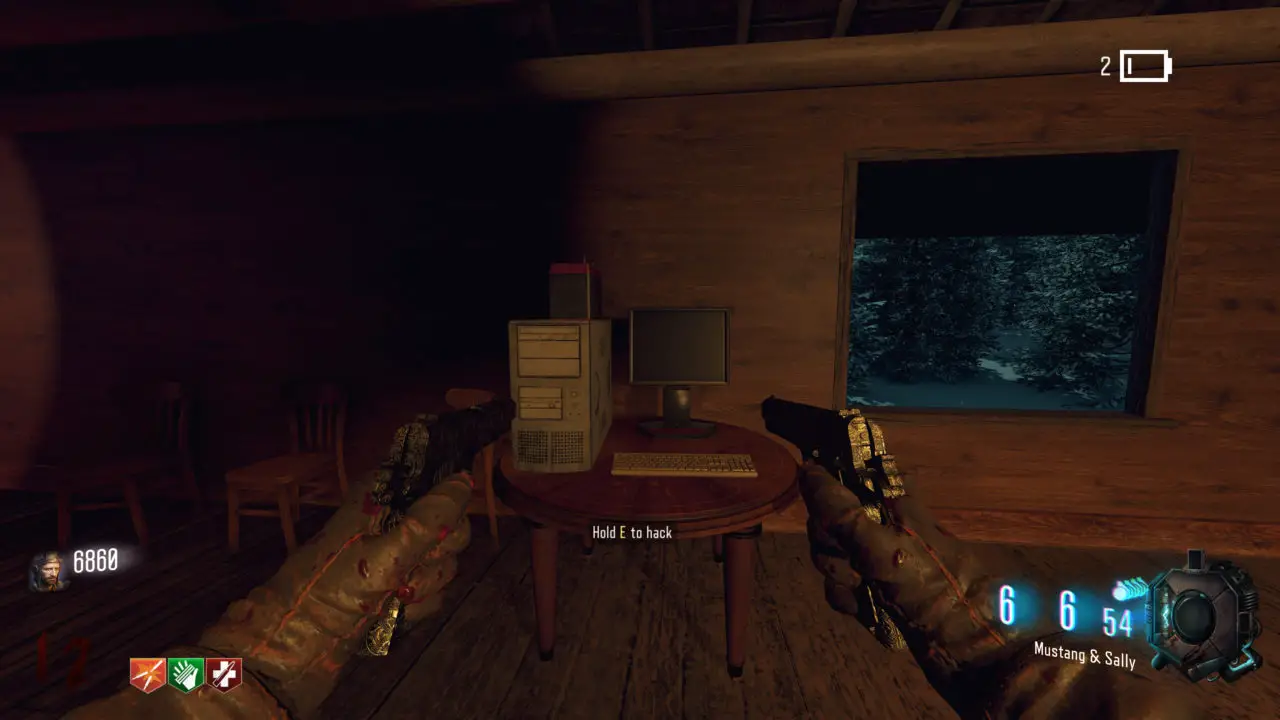
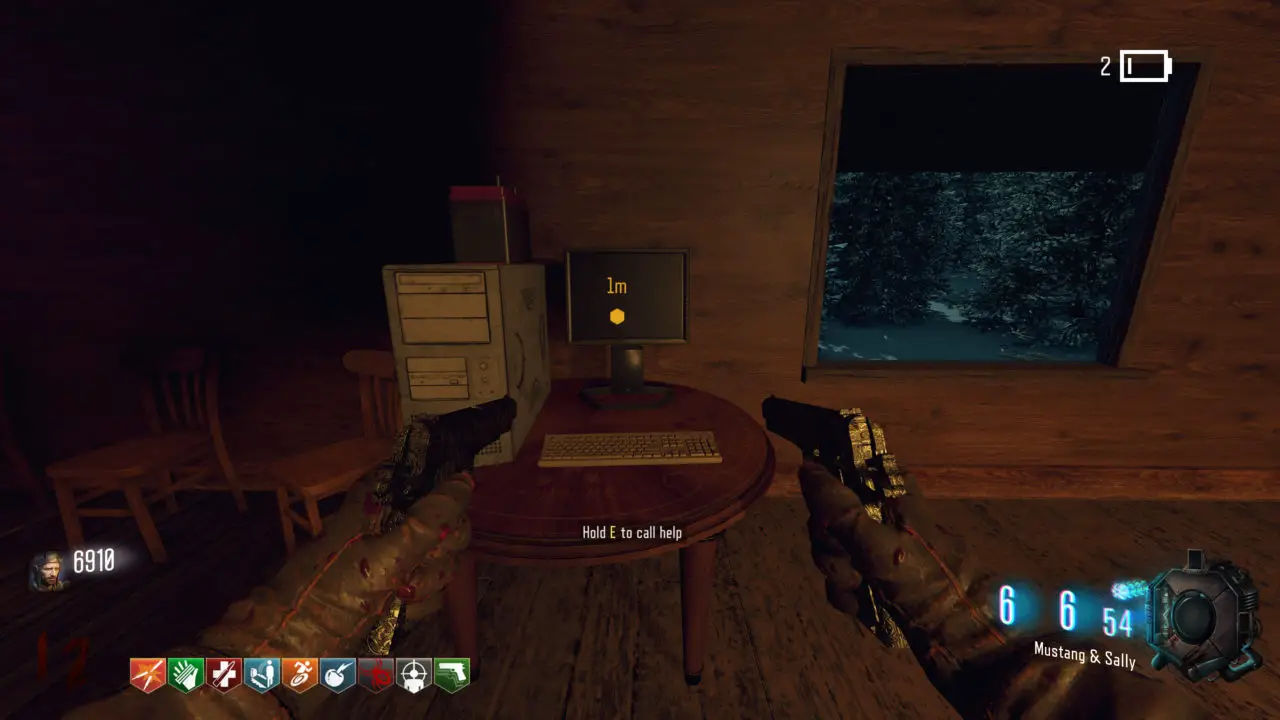
단계 6: Hack the Computer
Once the jammer is destroyed you will need to go back to the computer at spawn.
다음, you will need to hack it.
처음에는, this minigame can look complicated but all you need to do is look at the first numbers of the ip track it and move into position. The numbers move linearly to the left.
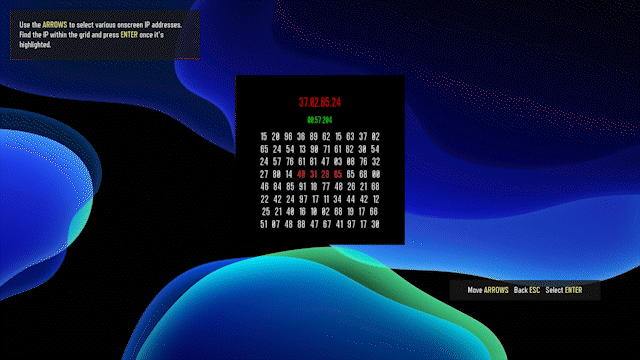
Successfully completing this step will grant you a Perkaholic
IF YOU FAIL THIS STEP YOU HAVE TO GO TO THE NEXT ROUND TO TRY AGAIN
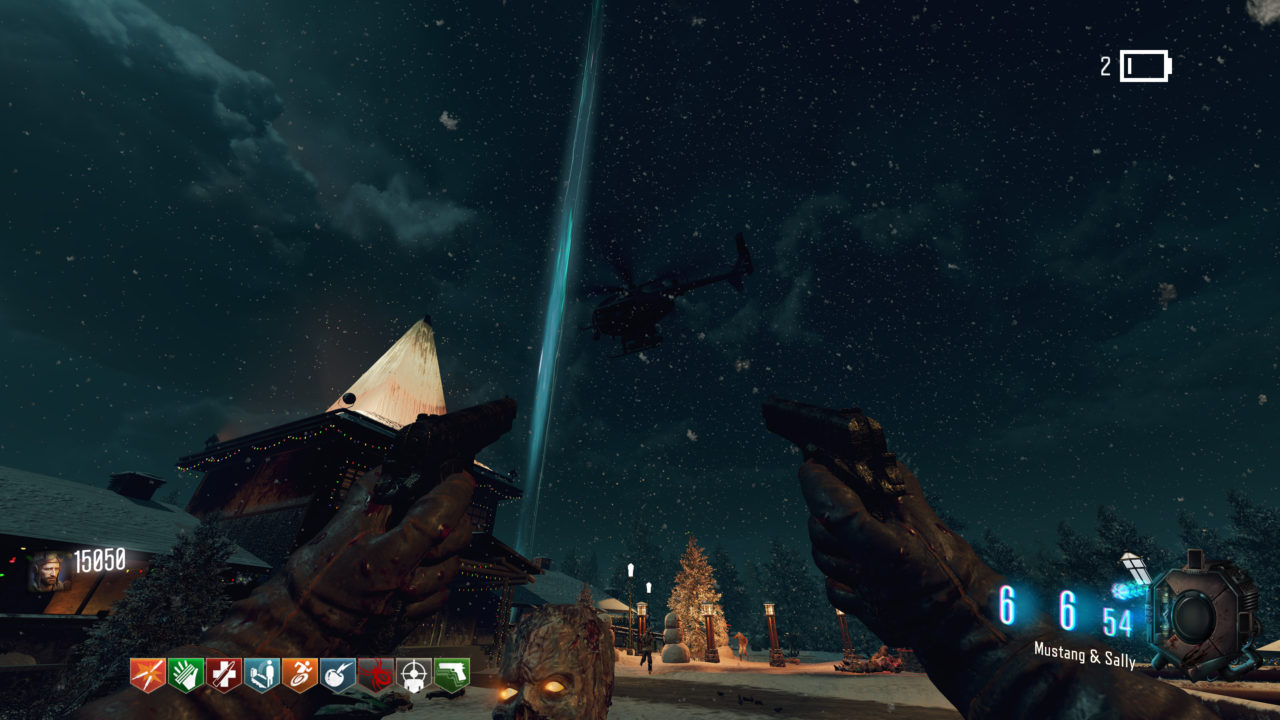
단계 7: Exfil
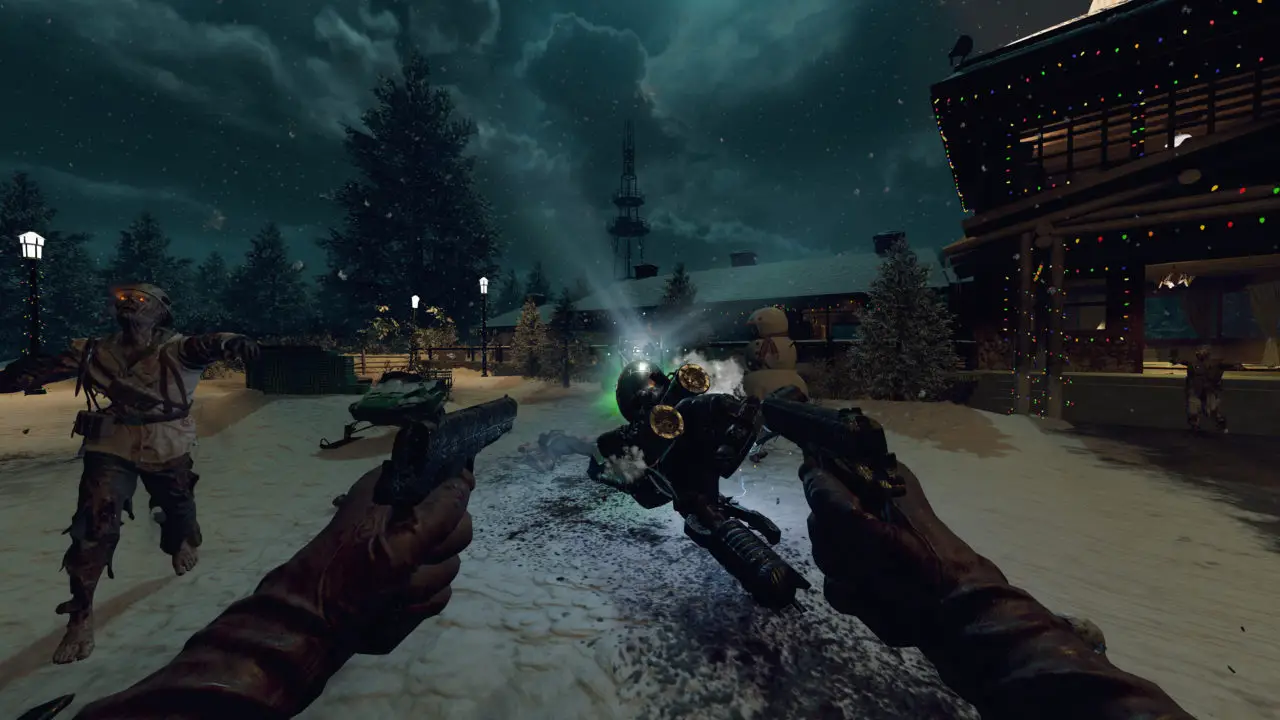
Once you finish hacking the computer, you can interact with it again to call for help. Doing so will start a survival sequence, just kill zombies and wait for the helicopter to arrive.
After some time a helicopter will arrive, wait for it to land, and get into it.
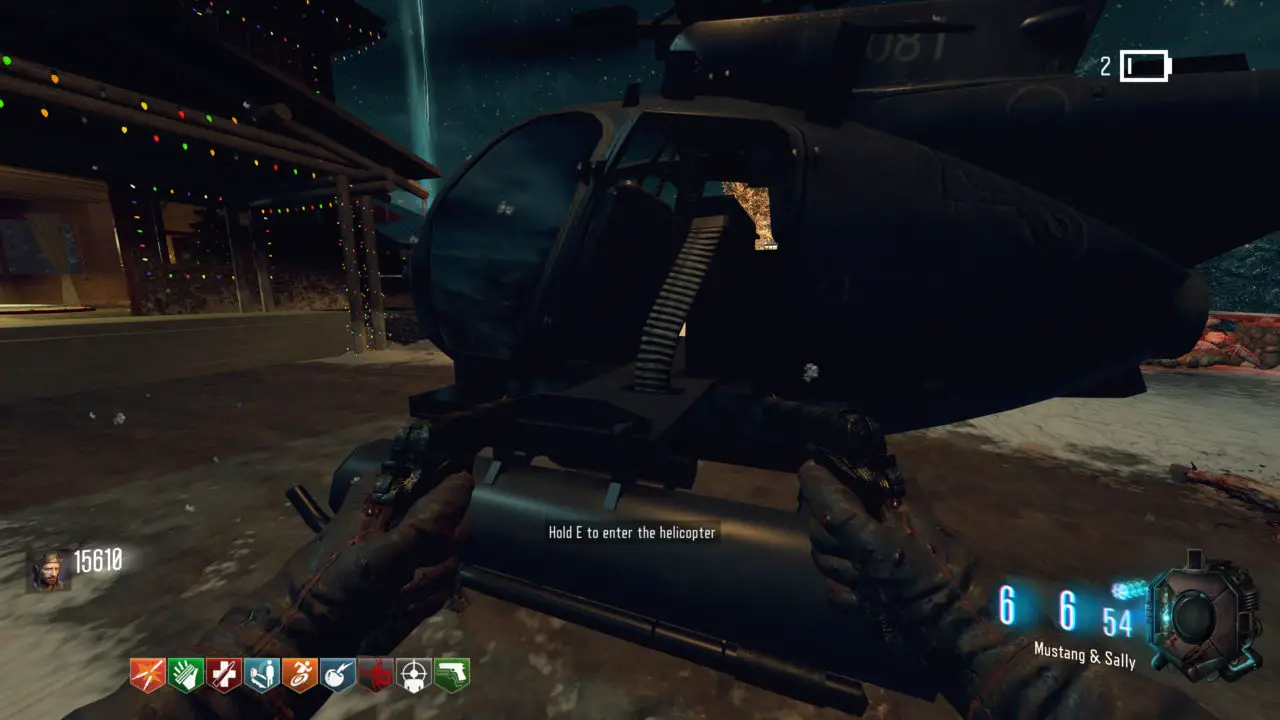
Congrats you’ve completed the map!
보너스: Ragnarok DG4
First part is obtained by killing your first Panzer (spawns round 8)
Second part is obtained by using the teleporter and getting a random room when teleporting back
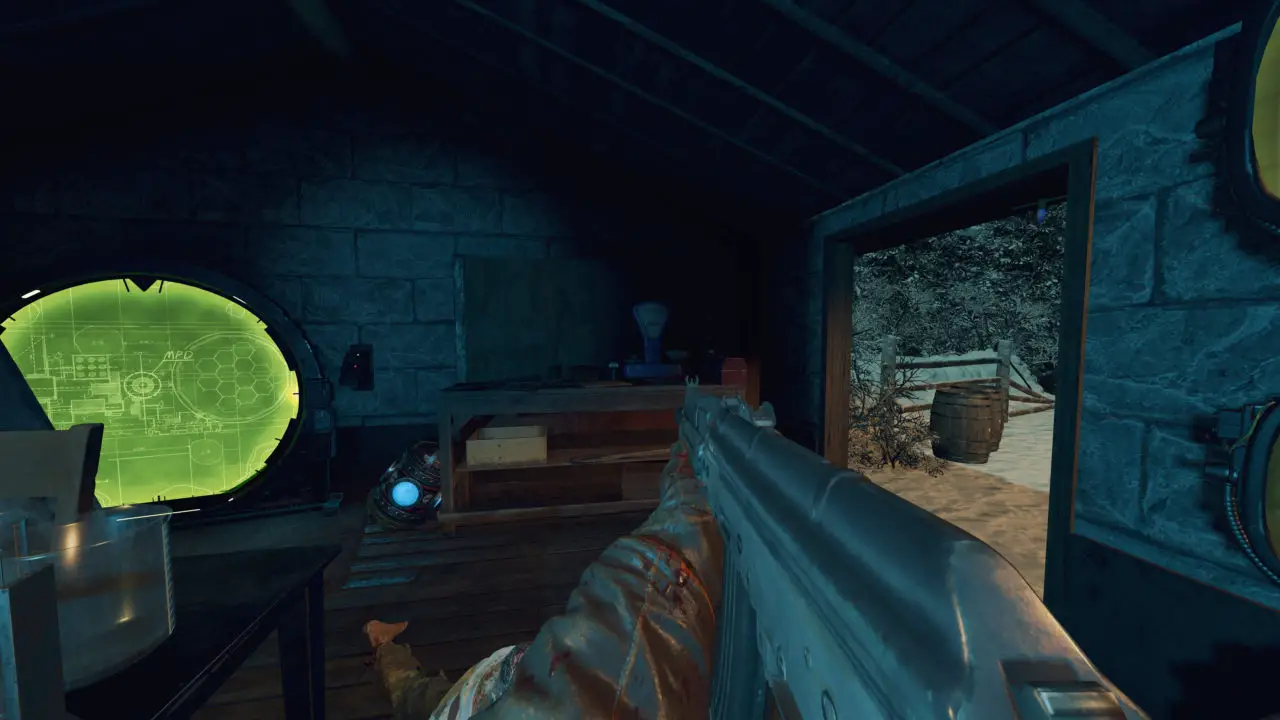
Third part is obtained by blowing up the door and opening the lab (부분 3)
Buildable Table is located in the lab (부분 3)
이것이 오늘 우리가 공유하는 모든 것입니다. 콜 오브 듀티: Black Ops III 가이드. 이 가이드는 원래 작성자가 작성하고 작성했습니다. Caofea. 이 가이드를 업데이트하지 못한 경우, 다음을 수행하여 최신 업데이트를 찾을 수 있습니다. 링크.