

- 제목: BioShock 2 리마스터링
- 출시일:
- 개발자:
- 발행자:
Information about BioShock 2 Remastered is still incomplete. 이것을 사용하여 게임의 세부 정보를 입력할 수 있도록 도와주세요. 문의 양식.
Location of all audio diaries within the Minerva’s Den DLC levels. 참고하세요, unlike the base game, there are no achievements for collecting them.
Minerva’s Den
There’s an early Mag Locked door you’ll have to return to once you have the plasmid for it. There is no backtracking between major areas in this DLC, so make sure you have everything before taking the elevator to Operations.
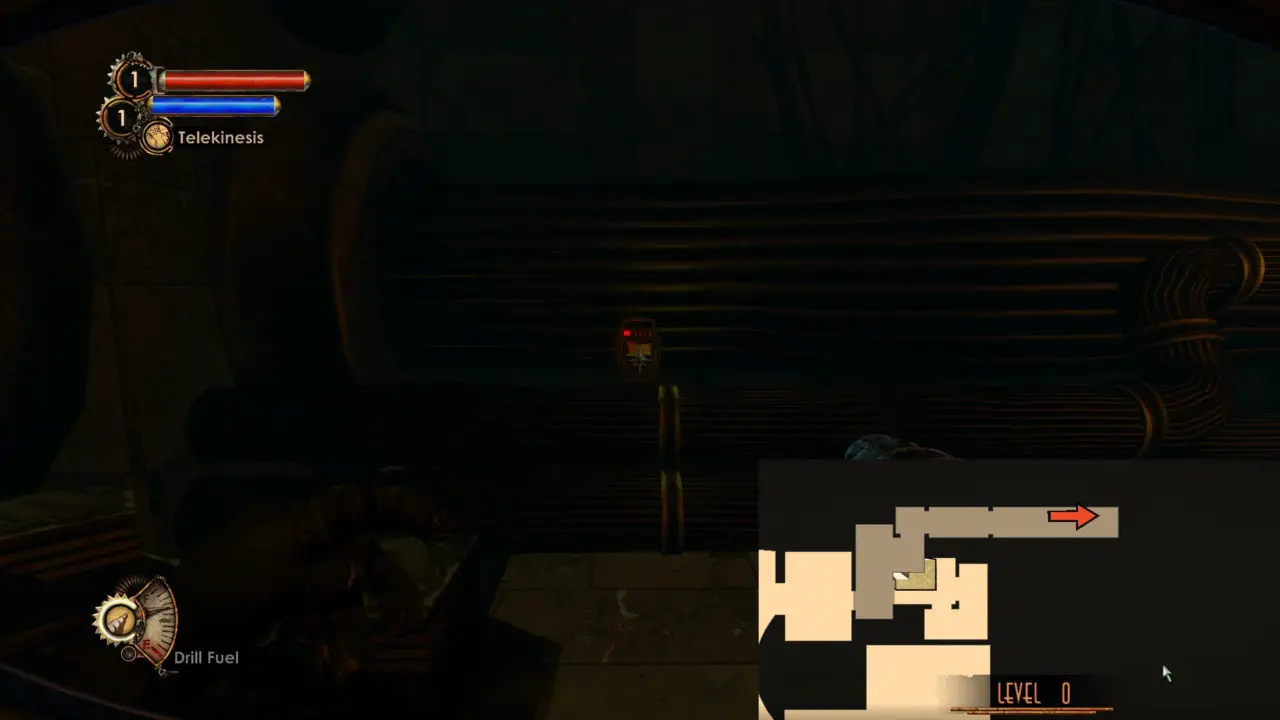
Your Link to the Chain
- Take a left after passing through the Airlock.
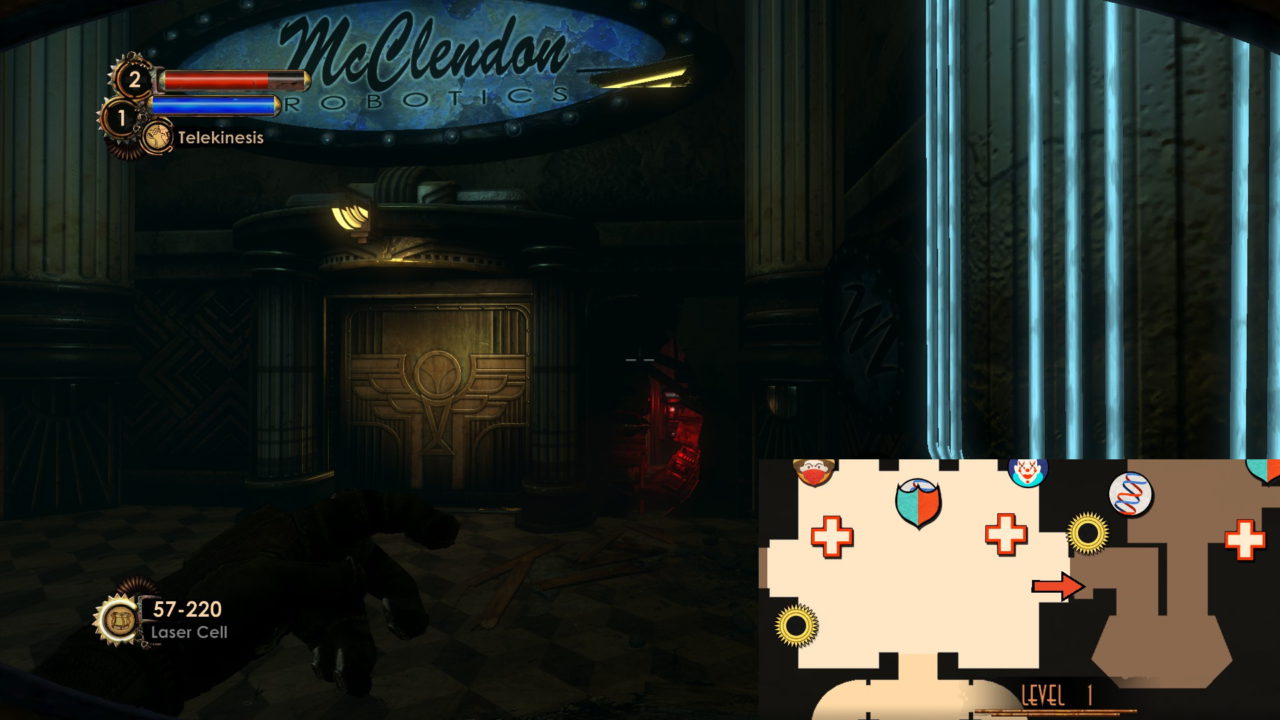
Thinker’s Potential
- Inside a hole beside the entrance to McClendon Robotics.
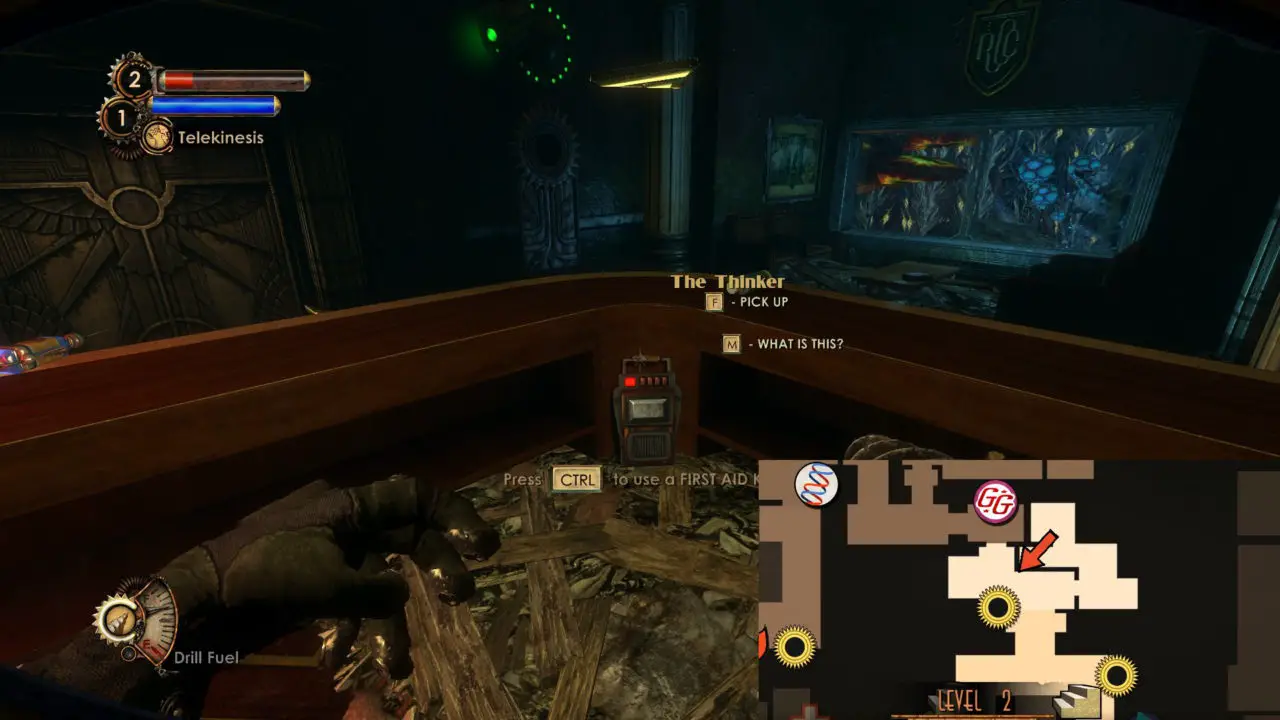
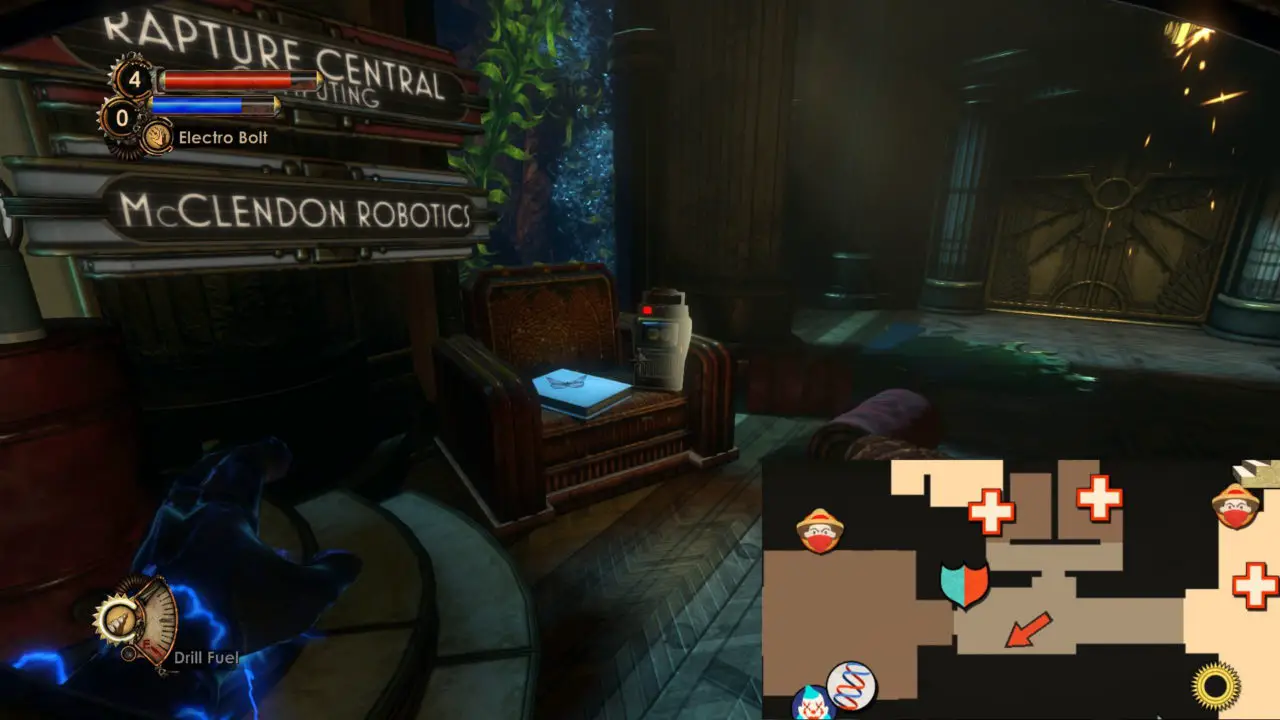
The Thinker
- Behind the Reception Desk through the entrance to Rapture Central Computing.
Reverting ADAM Sickness
- Bottom floor of the Corporate Offices, close to the stairs.

The Predictive Equation
- In the center of the Boardroom.

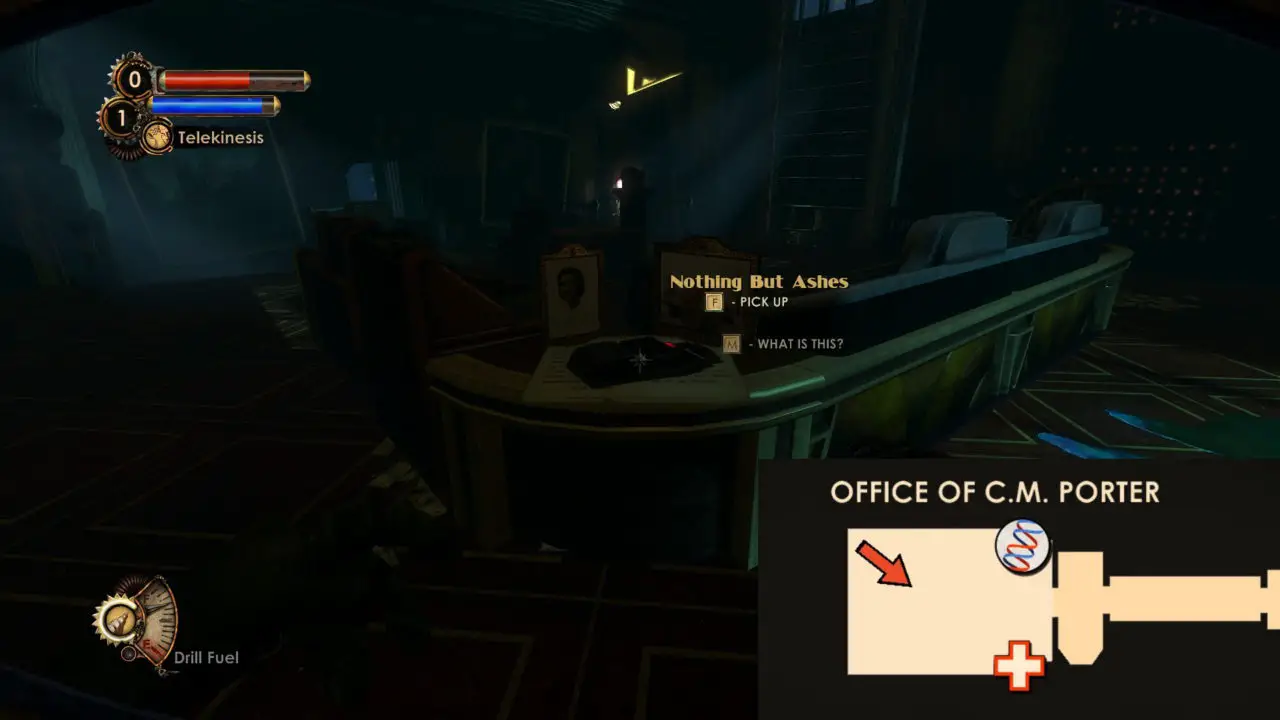
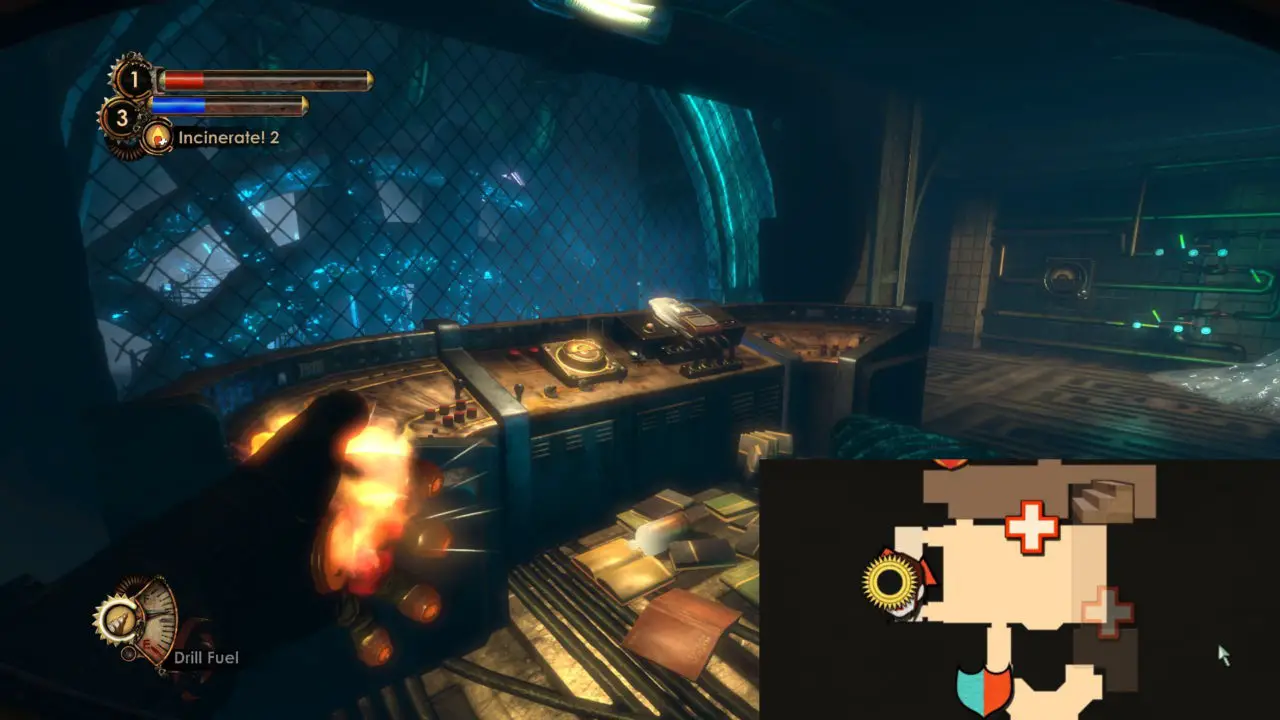
Nothing But Ashes
- On the corner of the desk in Porter’s Office.
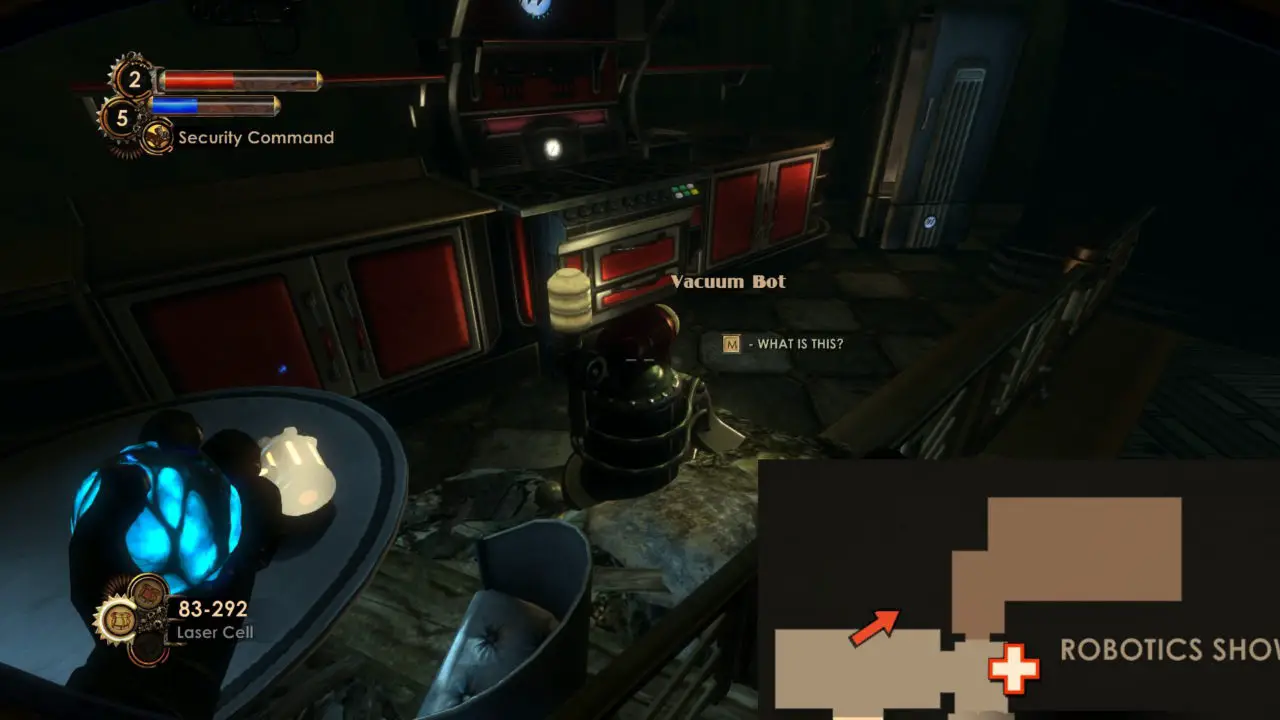
New Bot Models
- Inside the Vacuum Bot in McClendon Robotics’ Demonstration Area
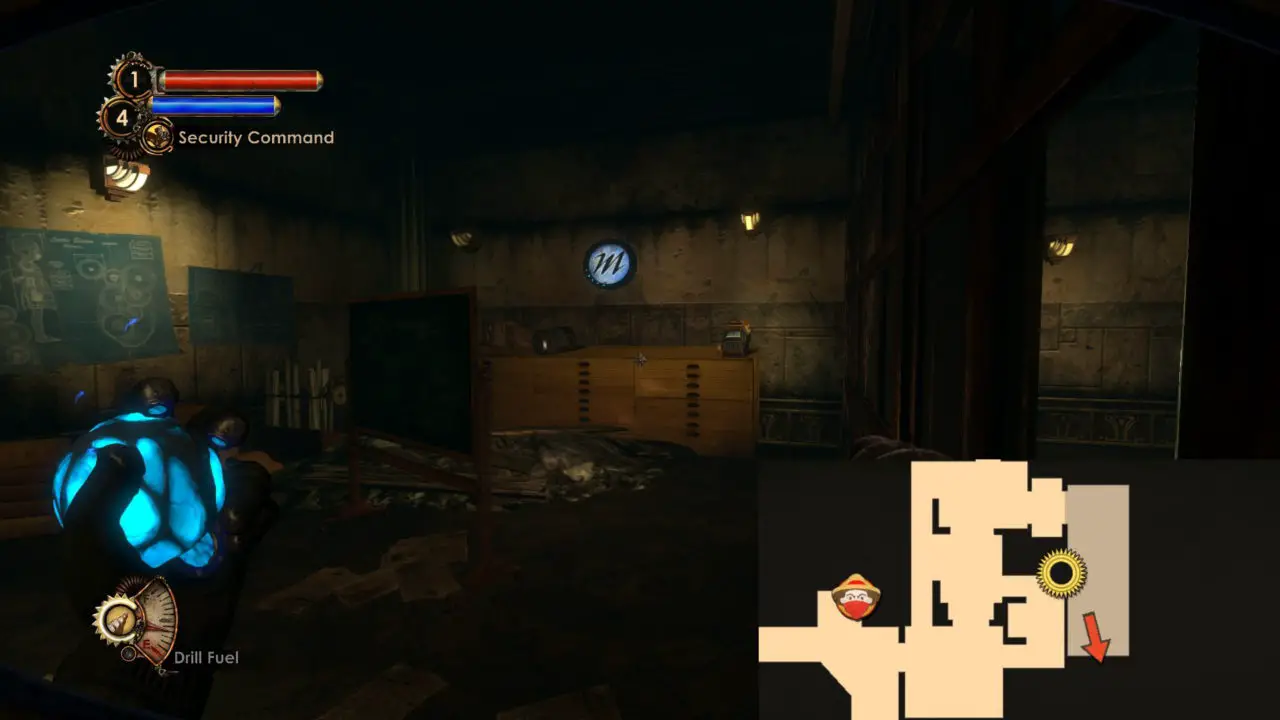
Somebody Else’s War
- Far east of System Designs. In the room with several blueprints.
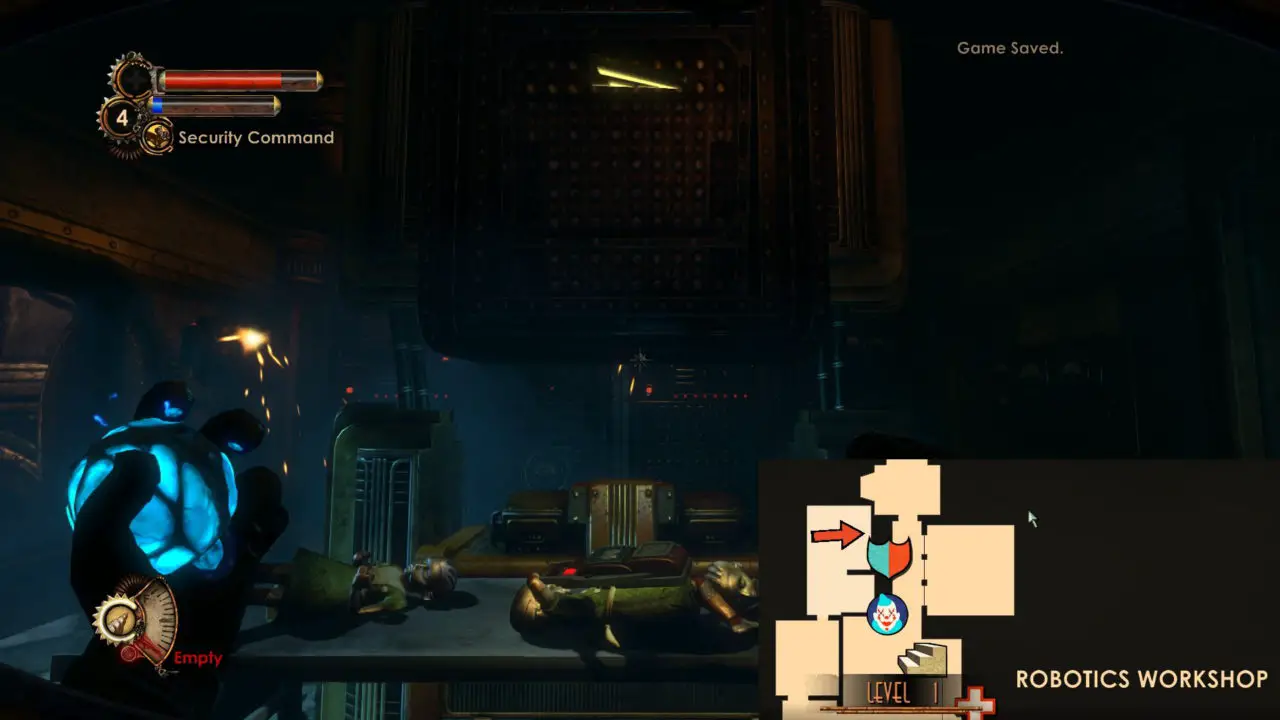
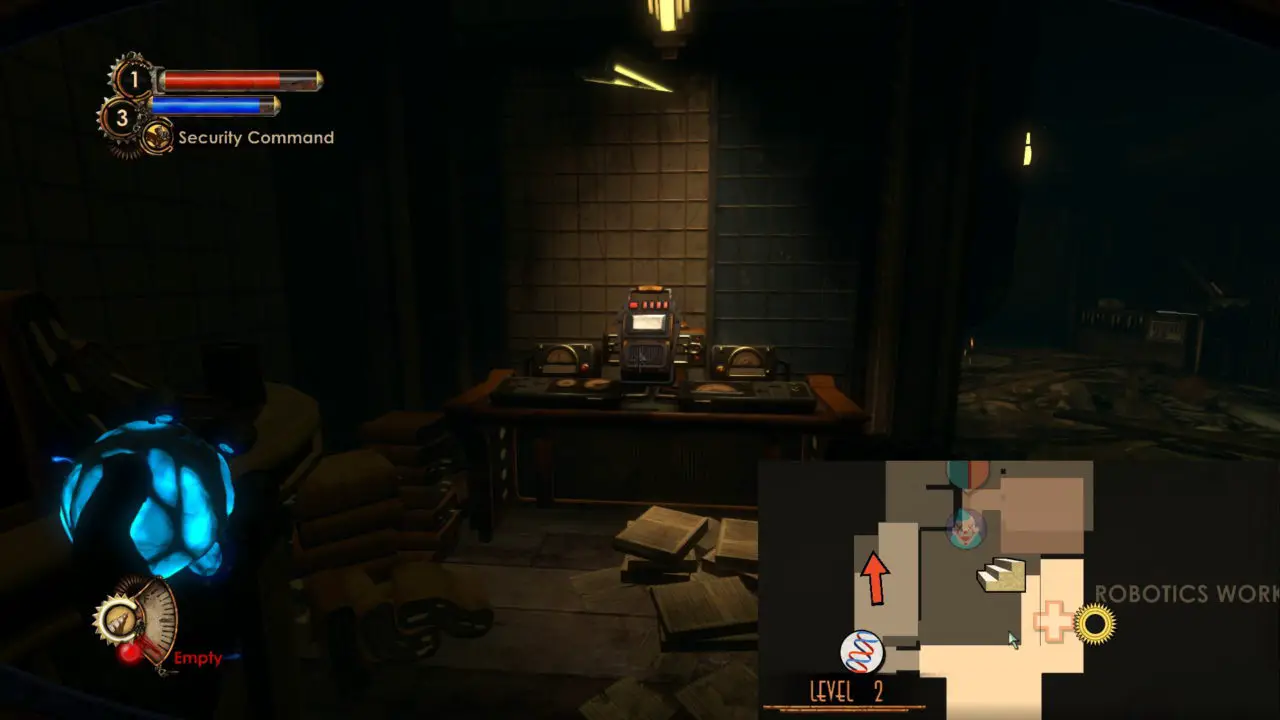
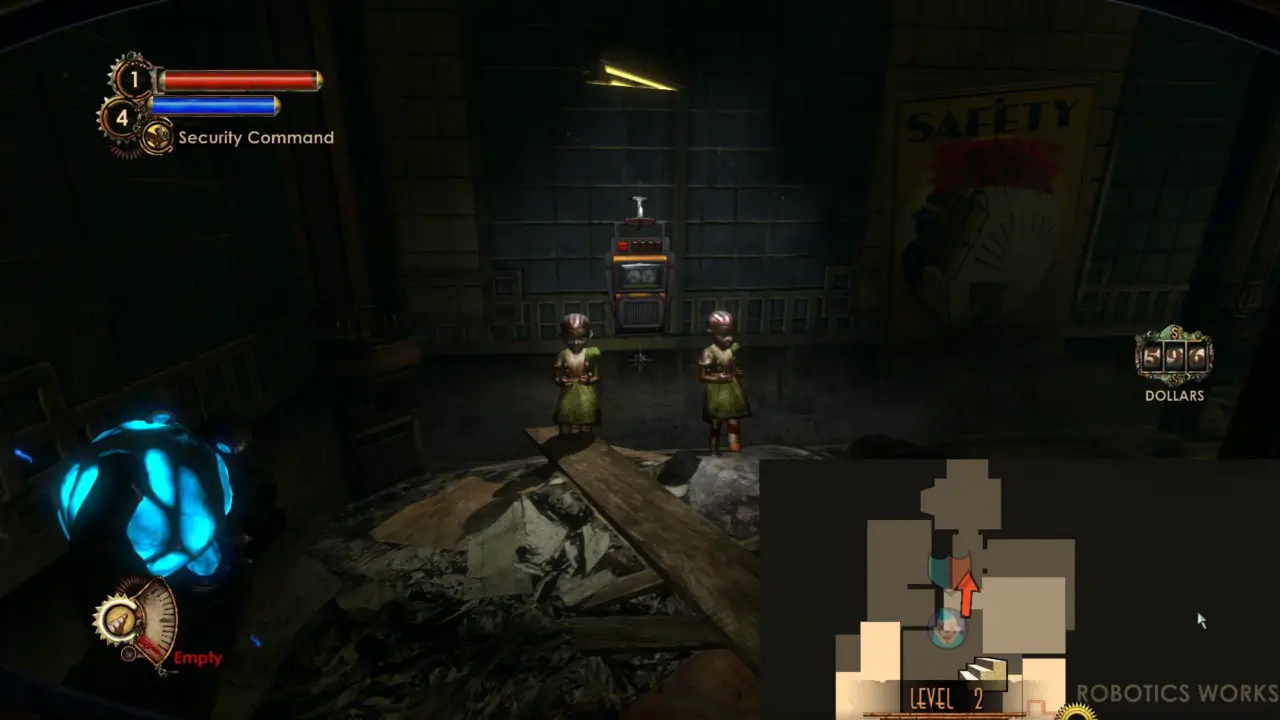
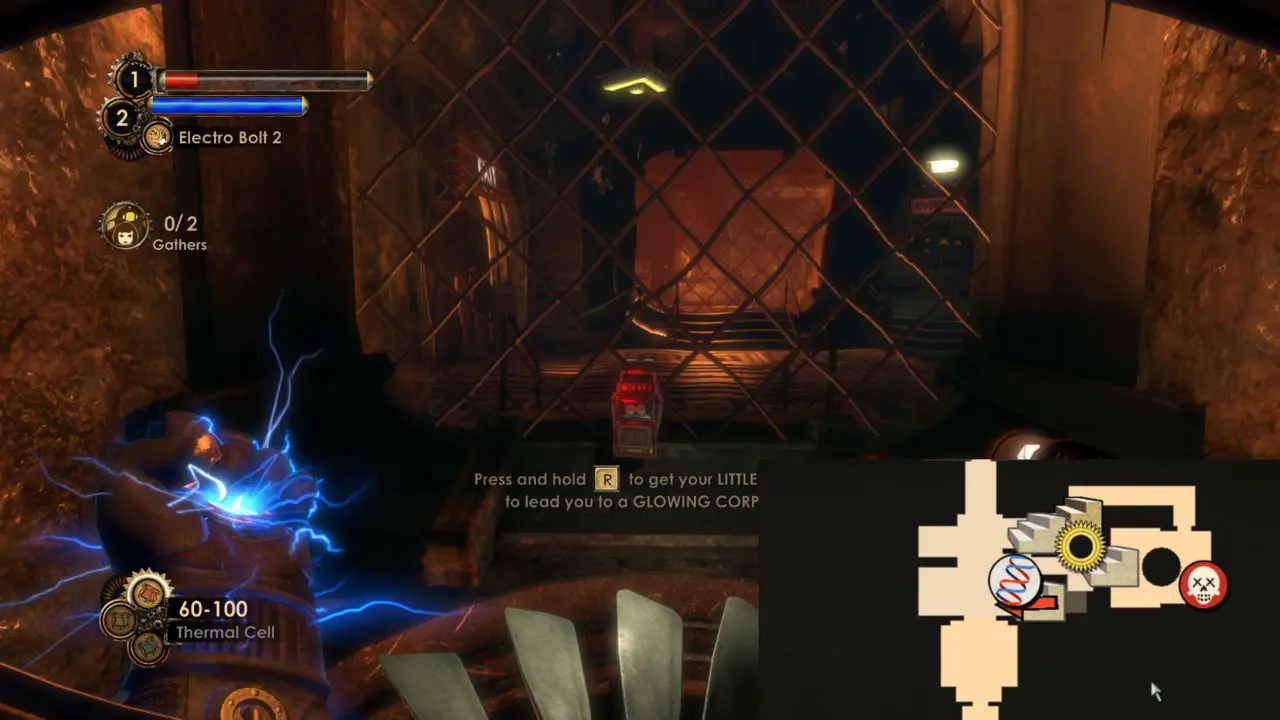
Robotic Little Sisters
- Enter the room at the far right corner of the Robotics Workshop. There’ll be a breakable vent at the end. The Diary is on a desk in the center.
The Turning Point
- Robotics Workshop second floor, near the Crane controls.
Thinker, Meet Pearl
- Interact with the Crane controls, then cross the now unobstructed beam along the second floor.
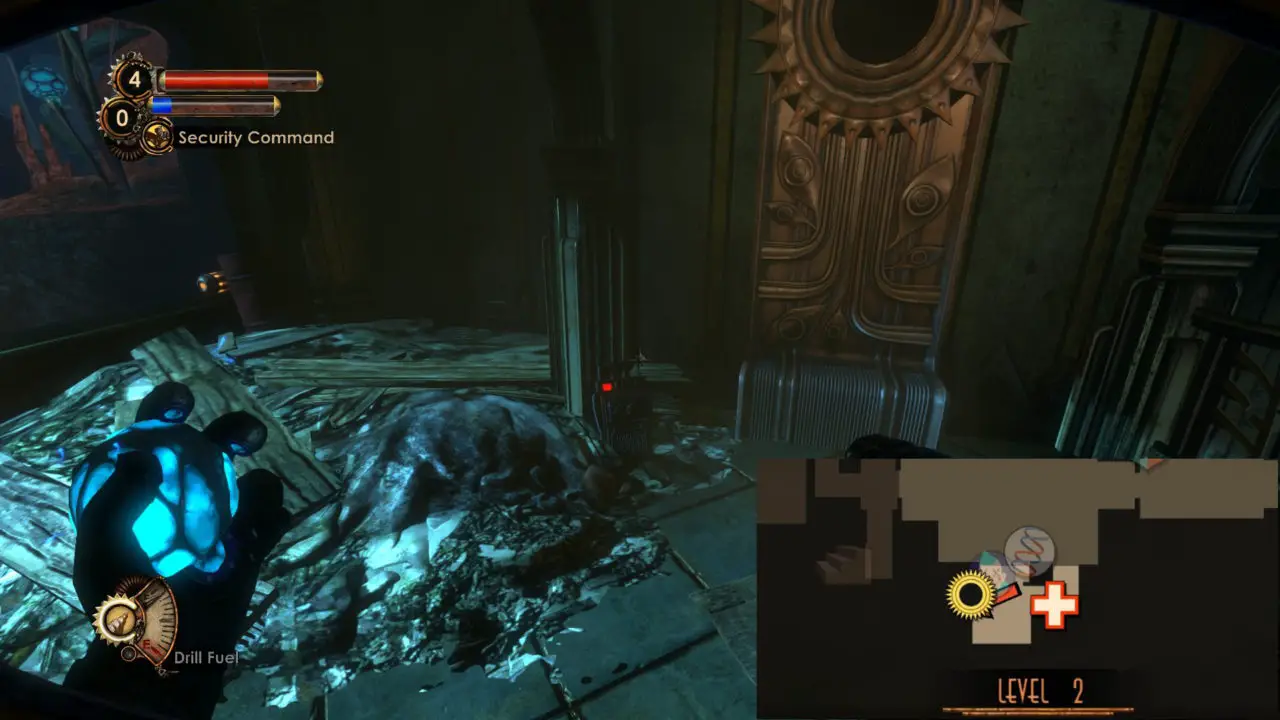
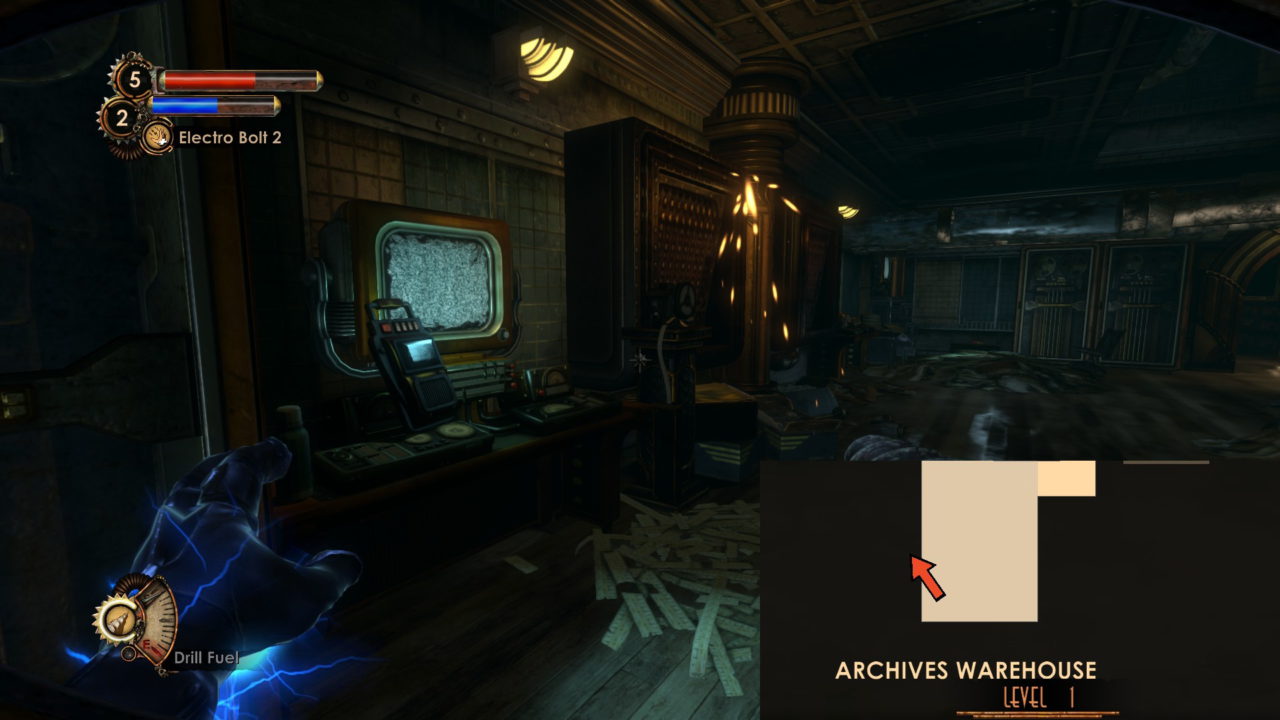
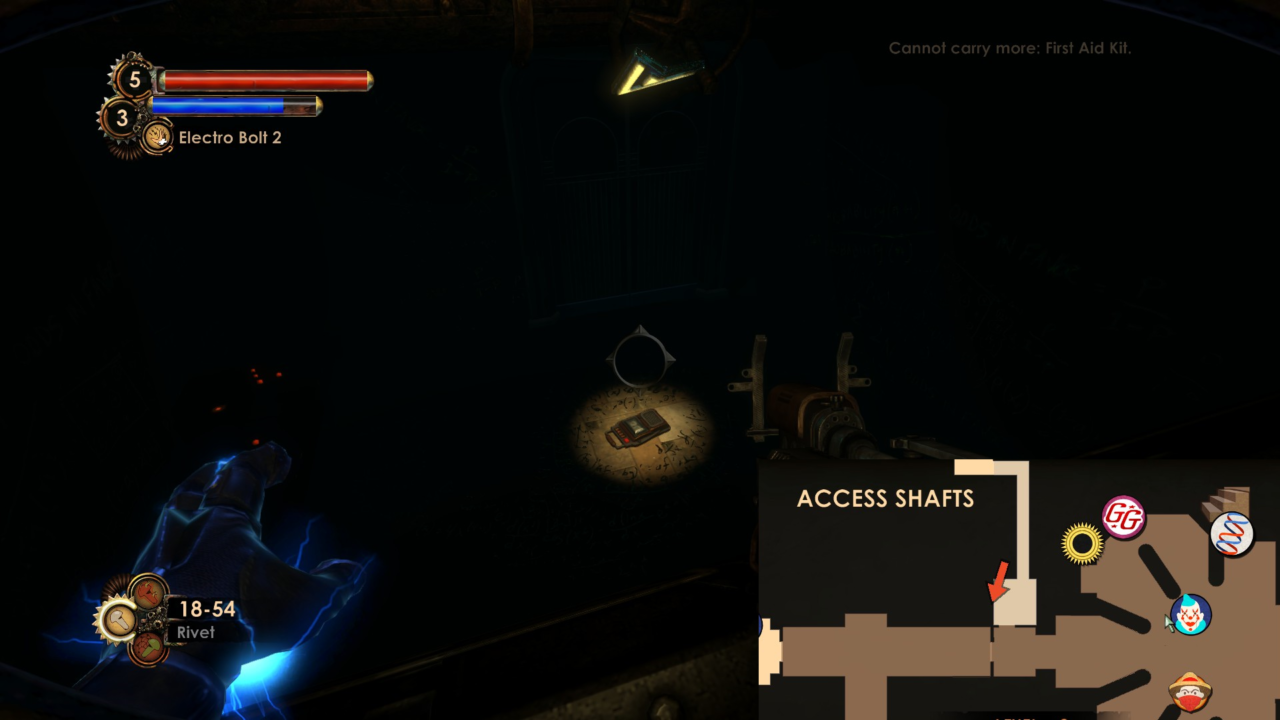
The Wager
- On a chair to your left as you approach Airtight Archives. Before the door you need Electro Bolt to open.
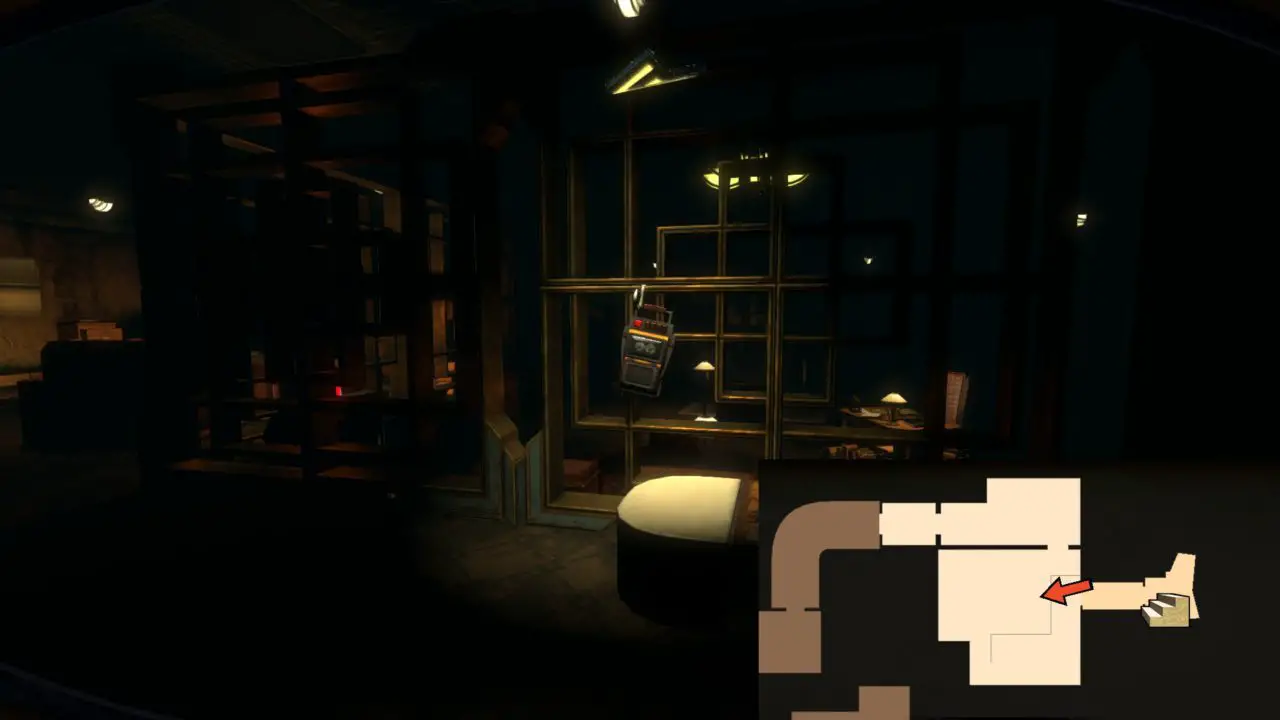
Prying Eyes
- Lobby of Airtight Archives, beside the vent at the top of the stairs.
A Possible Solution
- In the flooded basement, beside the hole you need to hack a Door panel through.
How to Get Ahead
- Back-Left of the Canister Retrieval Area.
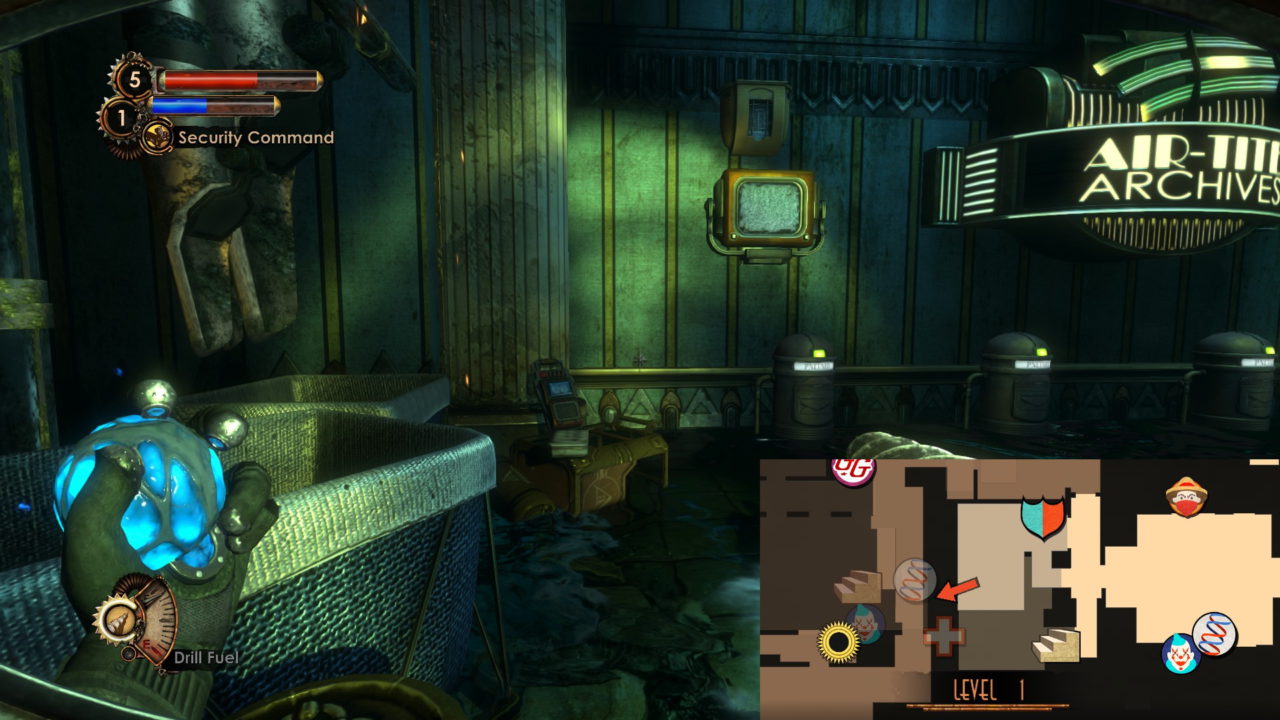
Thinker Impute 1
- Follow the stairs at the left of the Warehouse entrance.
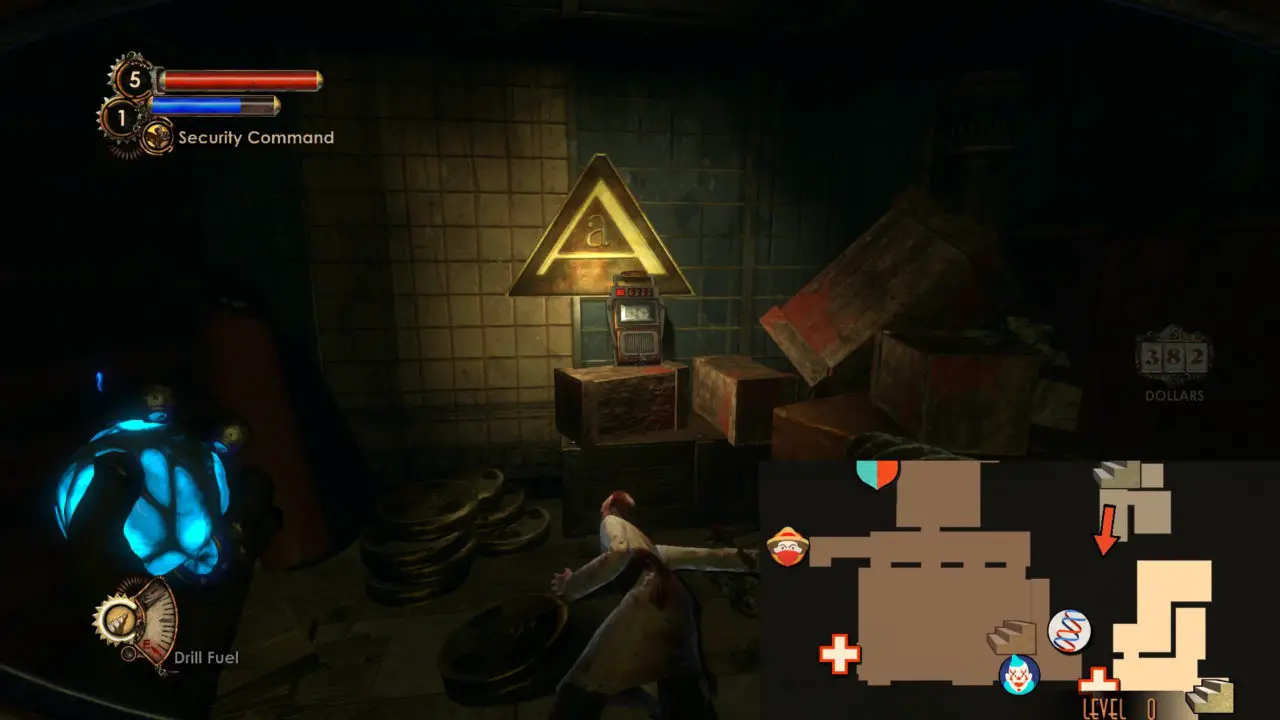
Subversives in the Archives
- Besides a screen in the South (according to the map) section of the Warehouse.
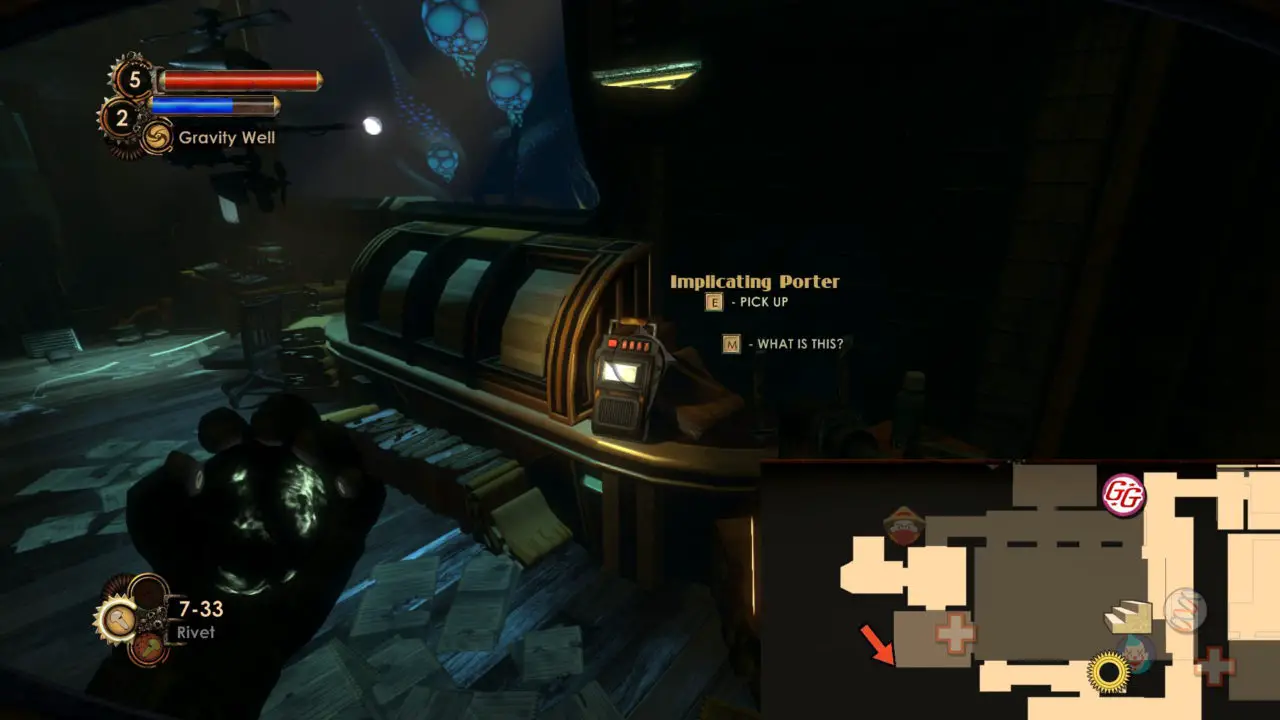
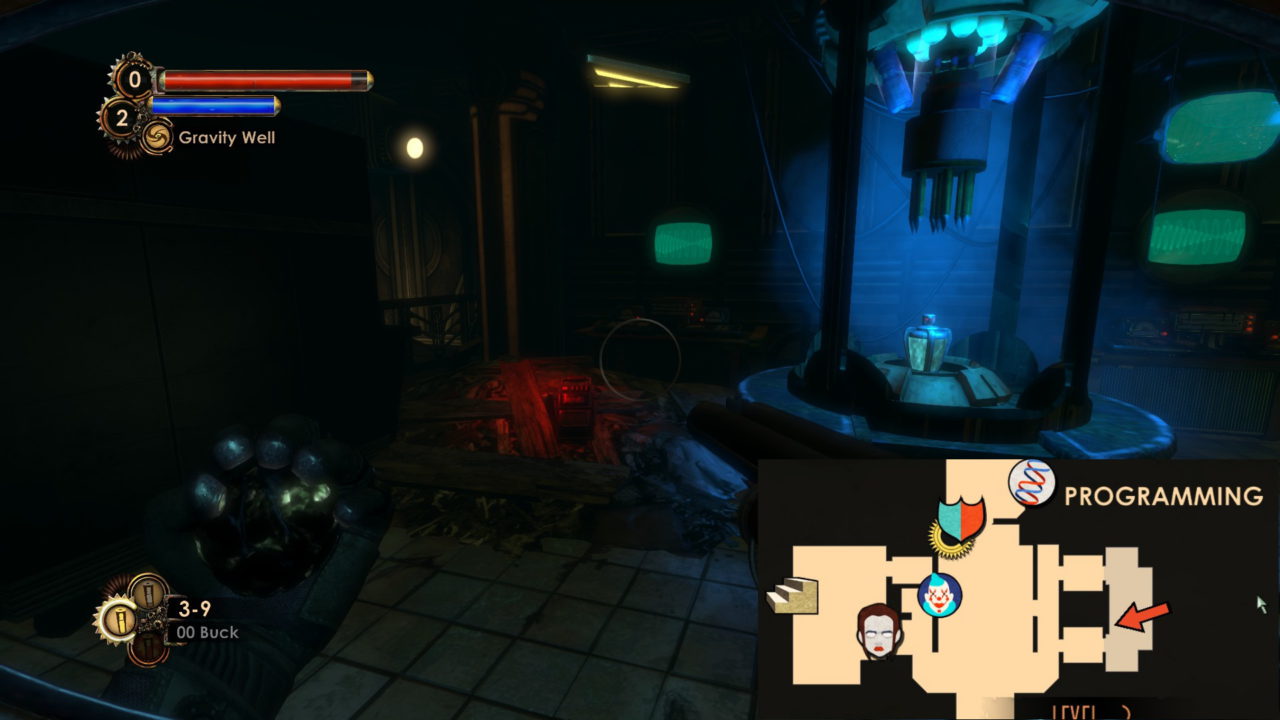
Implicating Porter
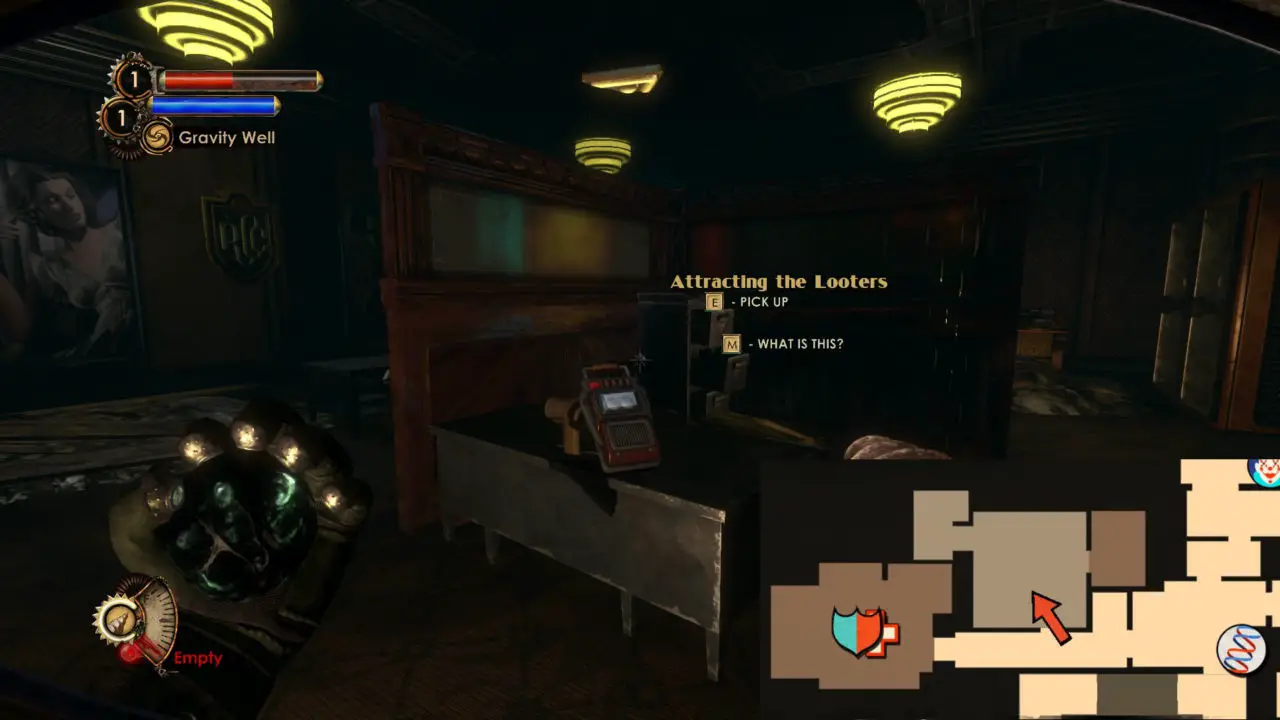
- Back of the room containing the Gravity Well Plasmid.
Attracting the Looters
- Back at Rapture Central Computing’s Corporate Offices, behind the Mag Locked door you can now open.
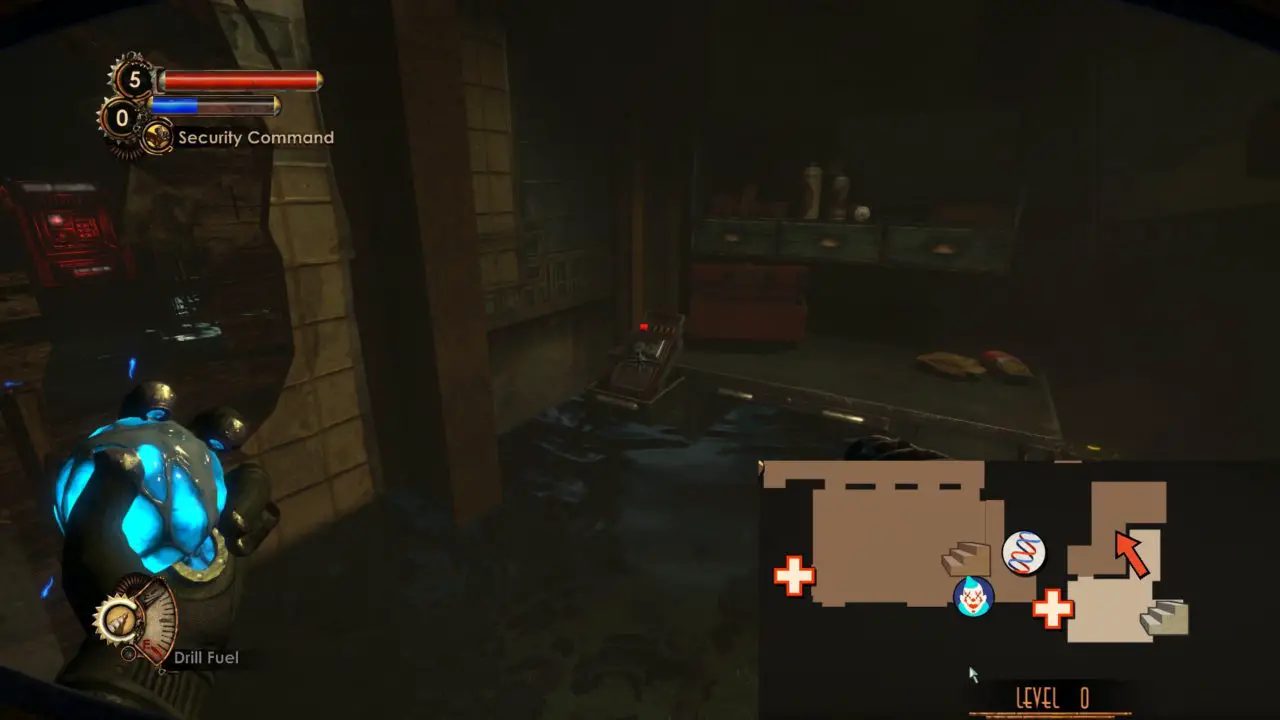
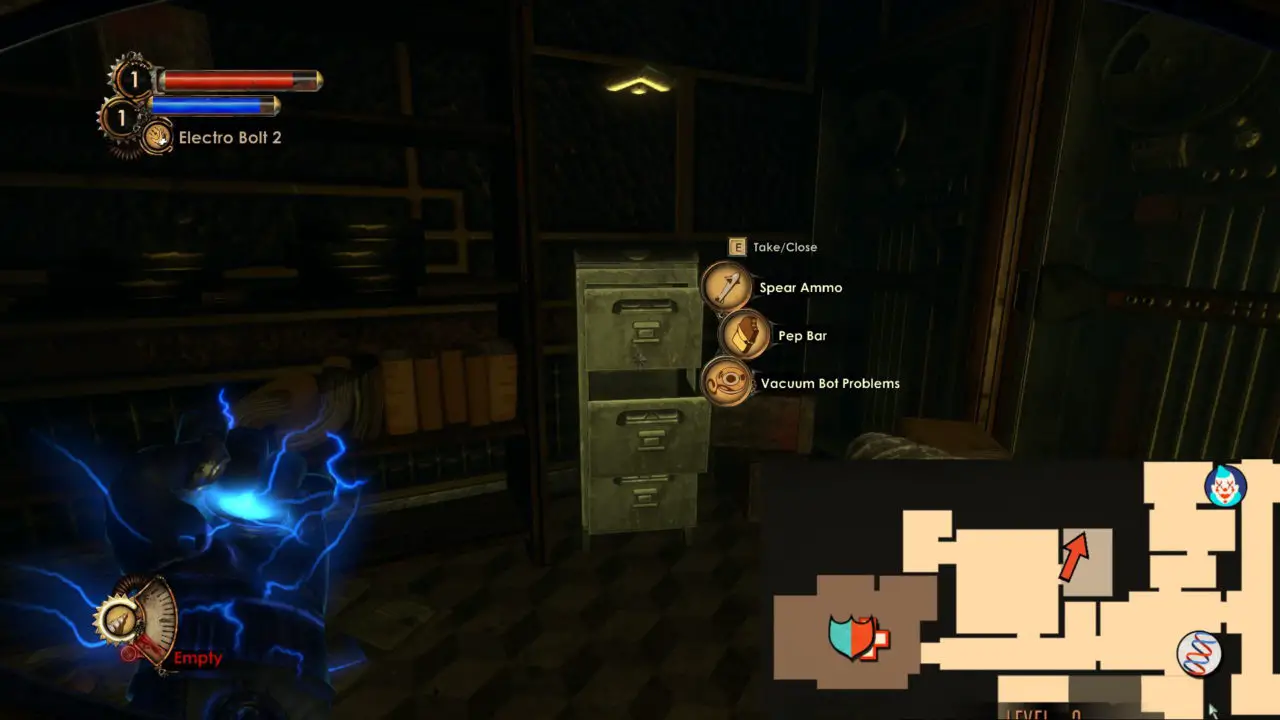
Vacuum Bot Problems
- Inside a Filing Cabinet, in a room to the right of the last Diary.
Operations
You require $327 to open a locked door to one of the audio diaries in this section. Make sure you keep enough on yourself to be ready for it. This area can be quite a drain on your resources, 특히 하드 모드에서. So loot every body you can and try not to spend too much at vending machines.
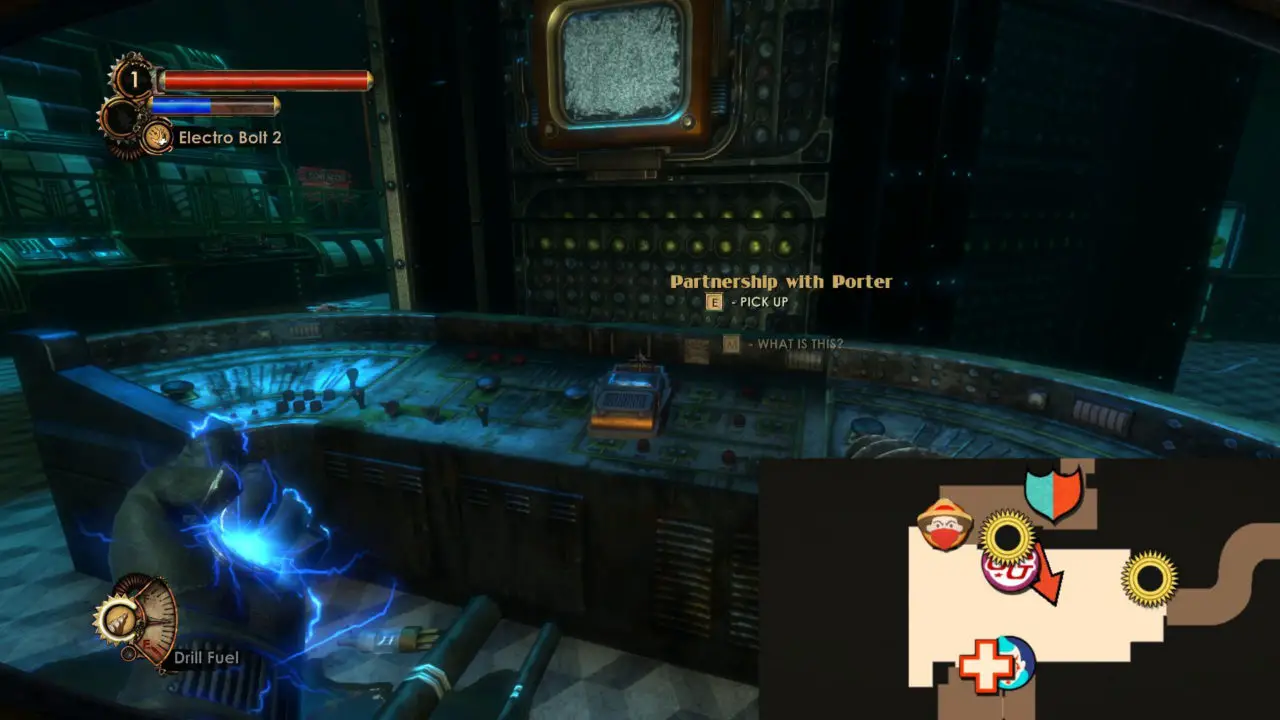
Partnership with Porter
- On top of the control console behind the Gather’s Garden.
The man and the Machine
- On the wall as you enter the Airlock area.

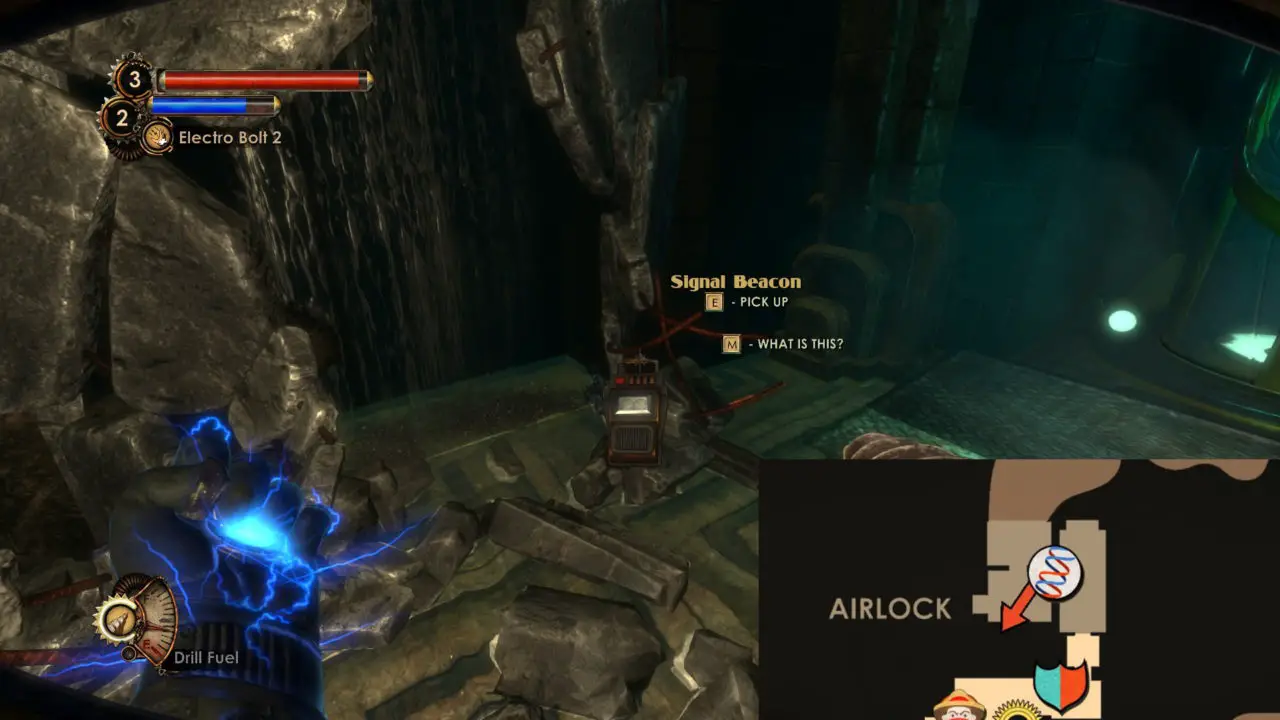
Signal Beacon
- Cracked wall beside the Vita Chamber.
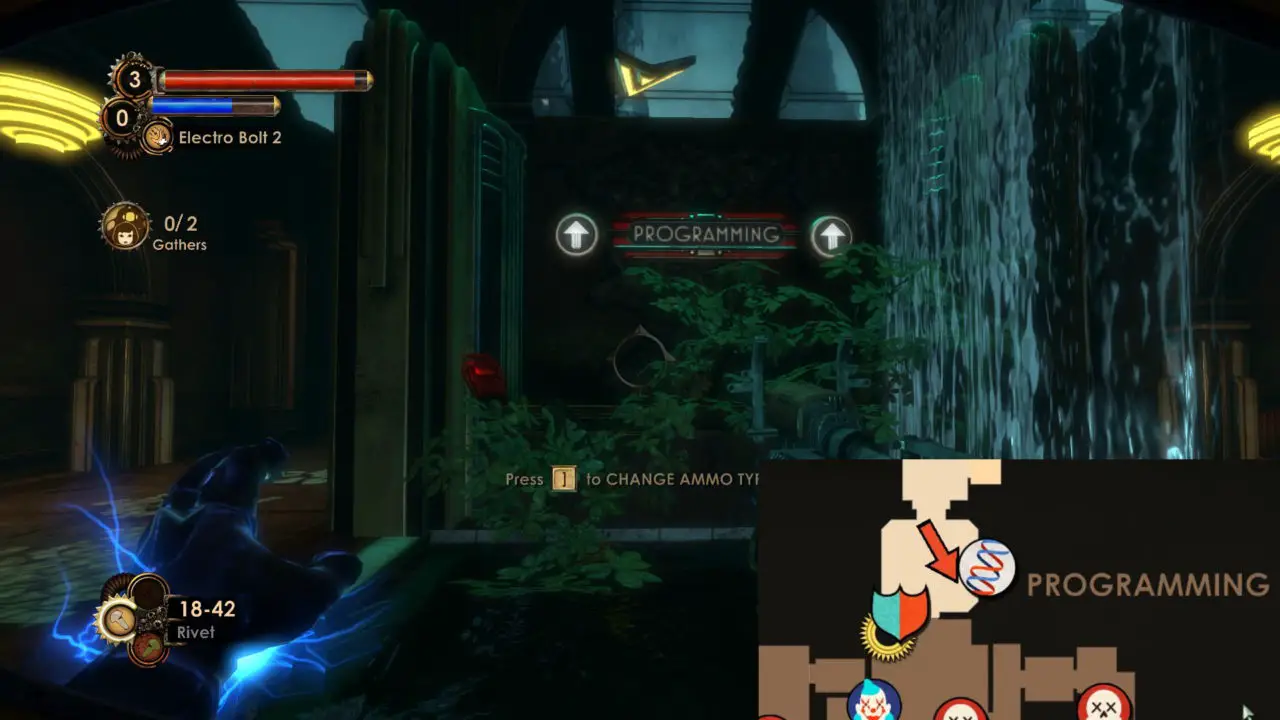
In Capable Hands
- Under the sign as you enter Programming.
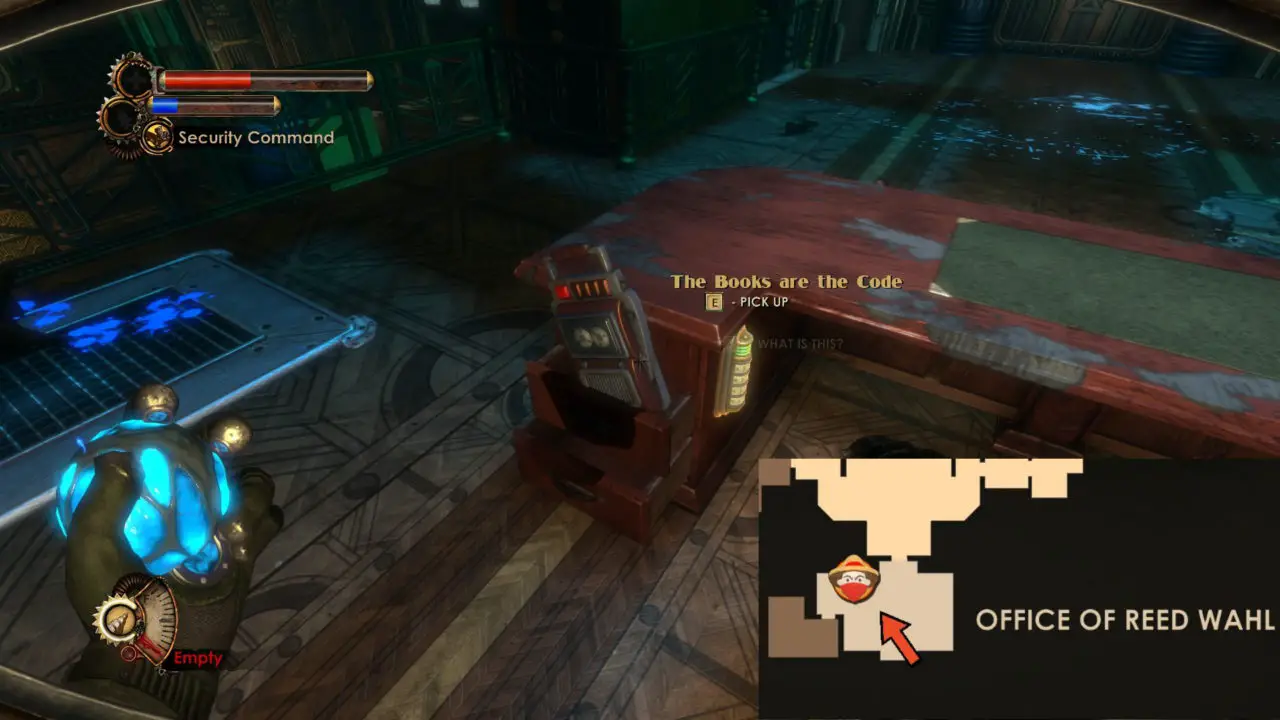
The Books are the Code
- Inside Wahl’s desk.
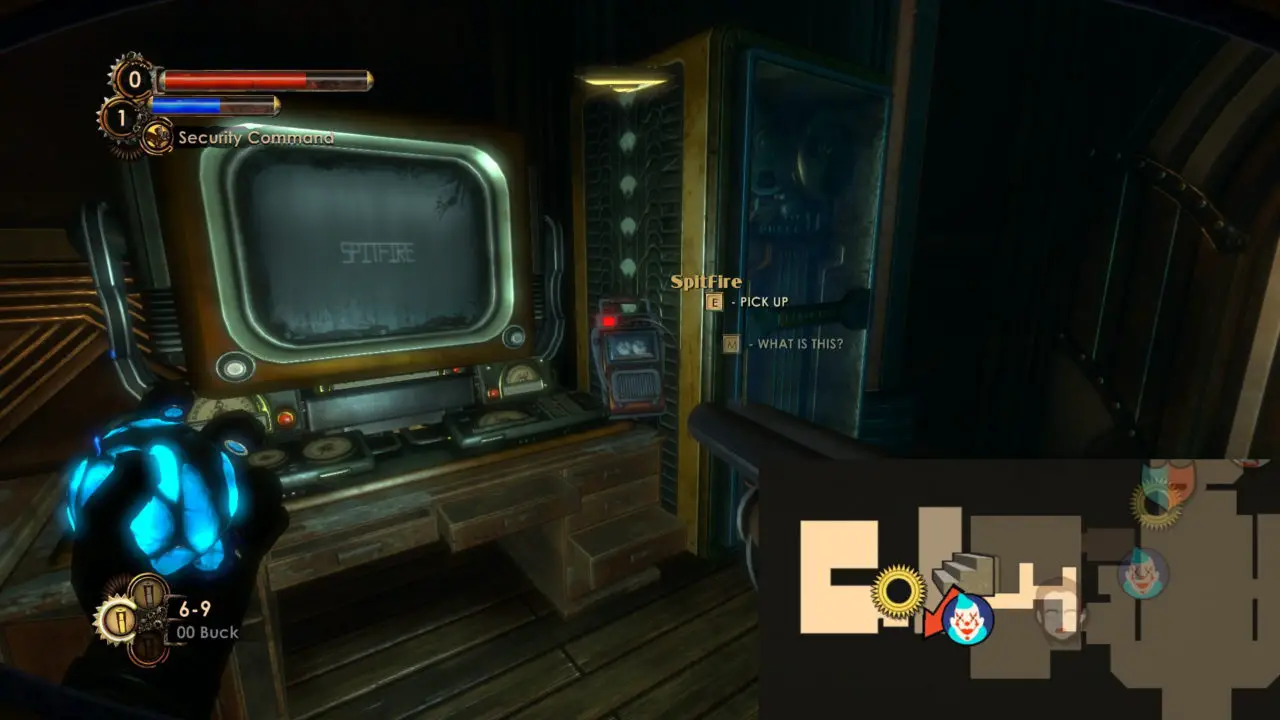
Spitfire
- Turn right after entering Programming. Sits beside the Spitfire game on the higher floor.
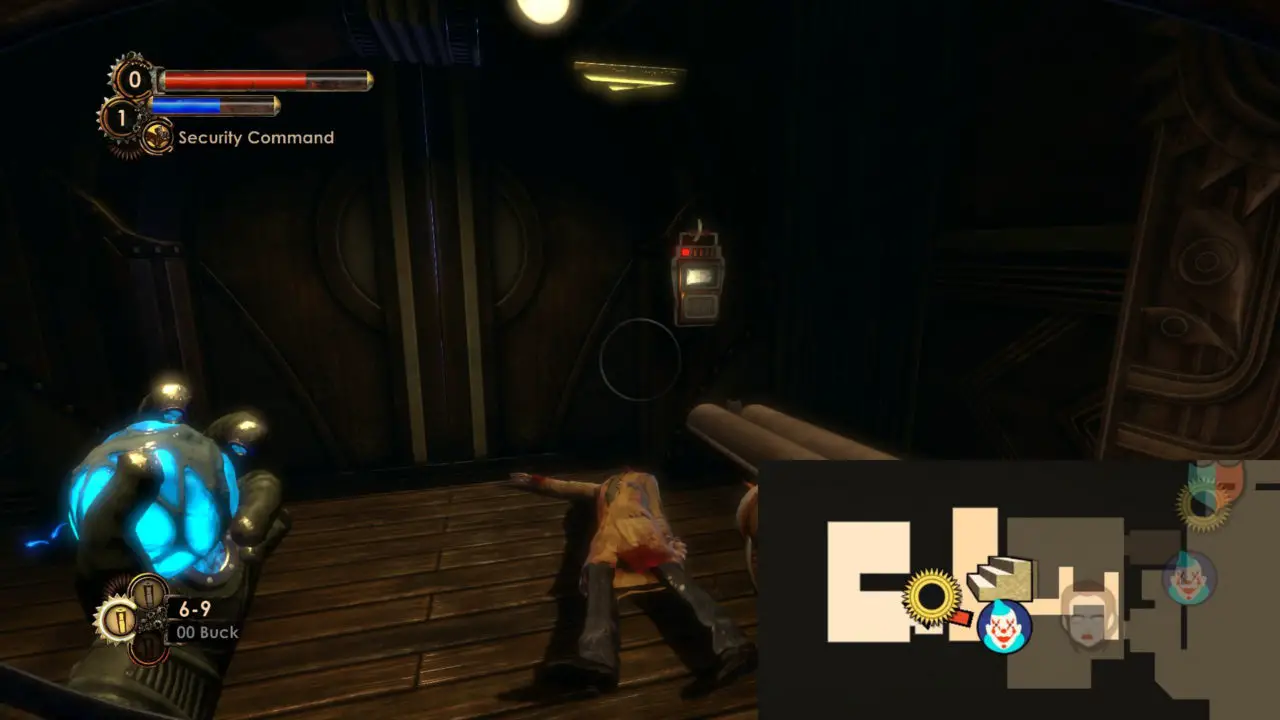
Milk Money
- Through the door to the right of the Spitfire game.
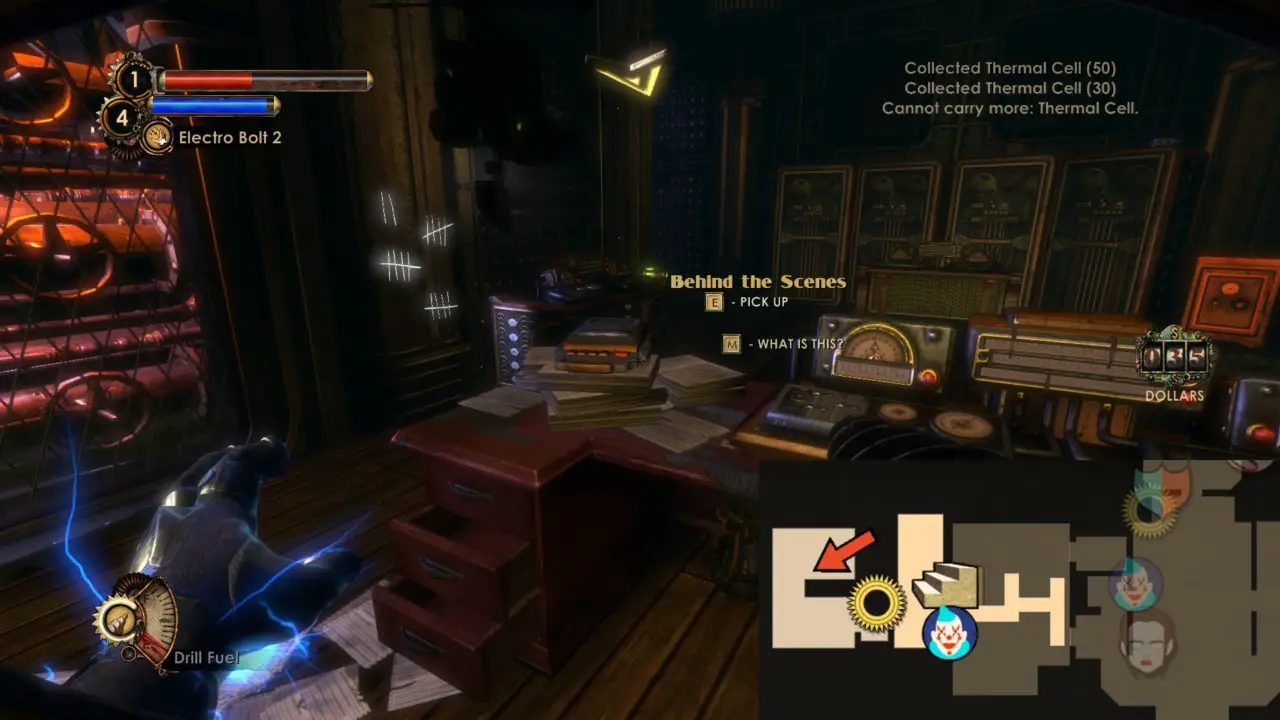
Behind the Scenes
- Next the locked door with the last Audio Diary. Requires you to buy the key from the vending machine in the same room as the Spitfire game.
How we Met
- Turn left after entering Programming. Beside the Hardy Machines tonic.
Wheels Within Wheels
- On the path to Core Access, jump off the right side and find an elevator. The audio diary is between the pillars.

Porter’s Legacy
- On the console as you enter Climate Control.
Pearl Alone
- Inside one of the chambers in the second room of Climate Control. Take the doorway on the right and the stairs leading down to get inside it.
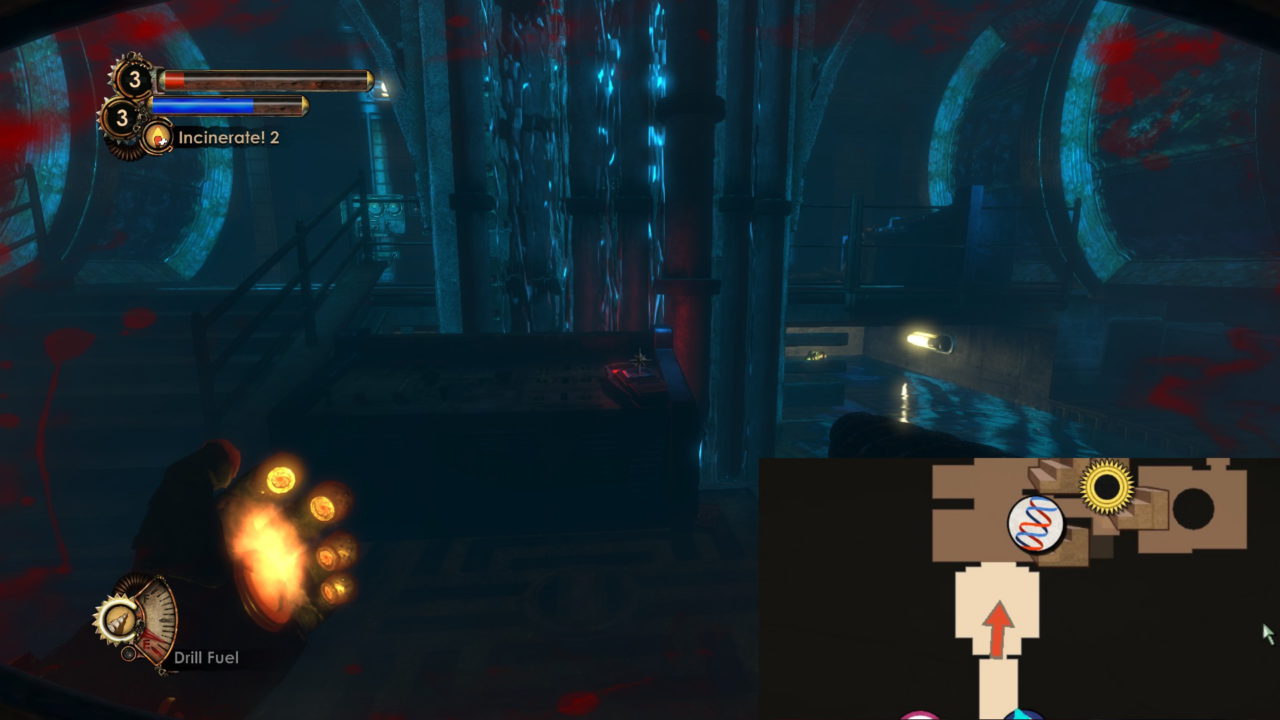
Detonating the Tunnel
- Inside the control room at the left side of the Turbine.
The Thinker
Impossible to miss these.
Rapture Departure Protocol
- Required to progress.
진주
- Immediately in front of you when you exit the elevator to Porter’s Residence.
이것이 오늘 우리가 공유하는 모든 것입니다. BioShock 2 리마스터링 가이드. 이 가이드는 원래 작성자가 작성하고 작성했습니다. Jackson. 이 가이드를 업데이트하지 못한 경우, 다음을 수행하여 최신 업데이트를 찾을 수 있습니다. 링크.