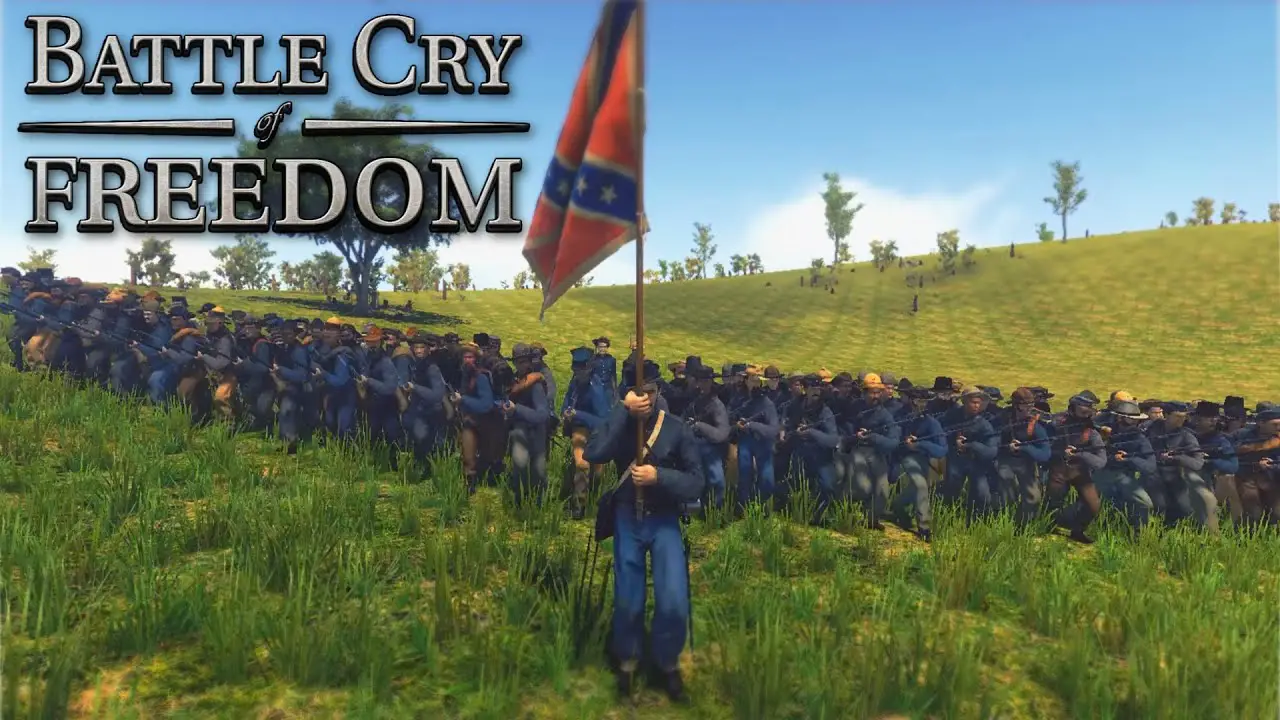
- 제목: 자유의 전투 외침
- 출시일:
- 개발자:
- 발행자:
Information about Battle Cry of Freedom is still incomplete. 이것을 사용하여 게임의 세부 정보를 입력할 수 있도록 도와주세요. 문의 양식.
In the wake of the game, there will be many excited newcomers who want to get their hands on the big cannon and make the Rebel/Yankee turn into a pink mist. 하지만, the cannons in these games are more akin to the cannons in War of rights in loading, aiming, fusing, and shooting. I have been able to gather just enough data from a few key marks cannons that should help you explode your case round or shell right on top of the enemy.
기본 사항 (Loading and Crew)
Okay so, this is for people who know literally nothing about the way these Civil War era cannons work, but that’s okay. For right now just read this, it will be only a few minutes read.
When you pick your side, make sure that you click on the words “CHANGE TROOP” and in the top left of the units, you should see “INFANTRY, ARTILLERY, SPECIALISTS” click on the artillery tab. Click on the only artillery unit in the tab, then select a section, and finally MOST IMPORTANTLY, click on Cannoneers 1, 2, 3, or Cannoneers 5, 6. This will make you an Artilleryman, you should spawn in only with a sword and your fists.
In just about every game mode you play, (besides siege) there should be a cart or set of carts at your spawn. Run up to one and press F on it, it’s okay if it says that you are out of Cannon points, your team accumulates these points over time. What you want to do is select a cannon between 20-30 전철기. I highly recommend for new players that they use the “12pdr Howitzer” (아니다 THE MOUNTAIN HOWITZER) or 10pdr Parrot gun (By the Union it is referred to as the 3in Parrot.)
When you get the carriage simply walk up to the Caisson wheels (The Ammo crate, not the gun itself.) Press F on the wheels and you should start rolling. It is recommended you get a buddy to help you roll the gun faster. When moving the gun, if there is a fence in the way you can press F on the ammo crate and double click on the “Felling Axe” which should be more than enough to knock down a pesky fence or tree in your sightline. Once you are finished with the Felling axe if you wish to, you can press f on the ammo crate and in the middle of the crate menu you can click on the axe icon then the phrase “RETURN ITEM” and it will put the axe back in the box for safe keeping.
When looking for a location, look for elevated ground, ridgelines, or a spot that gives you a good sight line of the objective you want to shell. DO NOT PUT YOUR GUN ON A DOWNWARD SLOPE. 9/10 times your elevation won’t be enough to hit anyone. Always try to place it on flat, elevated ground or on a slight upward slope. You can get a pioneer to dig you a mound if necessary.
Once you found the spot you are looking for, it is recommended to turn the gun with the caisson first before you unlimber (it just makes positioning both a little easier.) When you have the gun facing towards your target, look at the long tail of the gun and press F when you see the prompt “Unlimber.” Make sure you wheel the Ammo crate back a few meters because it has a tendency to overwrite the prompt when you want to aim.
Your rammer and worm is on the side of the cannon, they look like two big sticks on top of each other, walk to the front of the gun and they should glow when you look at them. Press F to access the tool menu and double click the Sponge and Rammer to get your tool.
Go over to your Caisson (Ammo Crate) and press F on it. In Howitzers you will have a Spherical Round, Case, and Canister. And Parrot guns, Napoleons, and Field guns will have a Bolt round.
The Spherical Round is like a typical High Explosive round, it needs to explode right on top of the enemy position to do some major damage.
Case is more of an Airbusting-shrapnel round but the shrapnel is subject to flying too far forward so it is recommended to shoot slightly above your target’s cover or at your target when aiming it.
Cannister is your go to, self defense in the event that your gun is getting pushed, and should be saved for the occasion where your gun is in close proximity to the enemy. Cannister has severe drop so when the enemy is visible aim just a tad bit over their head.
볼트 is less utilized but more effective at clearing obstacles, gunning down tightly packed enemy groups in a pinch, and for ranging your sight. Pretty much if you are looking at an enemy defensive position, don’t be afraid to load the round and sling it at a the enemy you will be surprised by the damage it does.
When you first load the round you will be required to ram it down, as per usual. Make sure you also go to the rear of the gun and prime it before aiming. When you go to aim you need to look at the green stick hanging off the back of your cannon, (the trail spike), and once you are on it (you should be moving the gun with your crosshair visible.) Press B to aim down Sight.
When you first fire the gun, make sure that you Sponge the barrel, even on a low percent of misfire it can still be fatal. Then simply repeat the steps of first loading the gun.
축하해요, you now know how to operate the cannon.
Ranging and Fuses
So this is where stuff gets shady.
Essentially when you are aiming down sights on the cannon, you can adjust the sight aperature’s range (in inches) by press E and Q. You can refer to the “Artillery Table” in your Ammo Crate (Caisson) menu for the information but on most guns I prefer to leave it at 0 inches for 100 yards, 1/3rd of an Inch for 150-200 yards, 그리고 1/2 an Inch for 220-300 yards. The sight isn’t so important, and your first shots are gonna be trial and error pretty much.
You can adjust fuses by clicking once on a round type in the ammo crate menu, then in the middle of the menu there should be a slider that will read “1” in a small white box. Do not bother using the slider, just type the numbers in manually. The fuses are measured in seconds but you better get used to milliseconds, because in most cases they are what you are going to be using. If you are trying to nail a target at 200 yards with a 1 second fuse on a case round, your just wasting ammo. It is more likely you need to be shooting .55 또는 .6 seconds depending on the gun you are using and it’s muzzle velocity.
Fuses are very important to get right, they determine if you are gonna hit the enemy or not. There is a general rule of thumb when it comes to case round and time-able Shells. A Case round needs to explode .8 에게 .12 seconds before a Shell round to hit the same target, and Vice versa. If you are on a howitzer, nailing hits with a case round at .45 seconds than you need to be shooting a .58 seconds or .6 seconds Spherical Shell.
Perhaps the best places to be introduced to these concepts are on Siege maps or King of the Hill river crossing. It is highly recommended you try to play these game modes in any capacity.
메모, these do not apply to Mortars, the Coehorn is an entirely different beast to tackle.
이것이 오늘 우리가 공유하는 모든 것입니다. 자유의 전투 외침 가이드. 이 가이드는 원래 작성자가 작성하고 작성했습니다. SonofArditi. 이 가이드를 업데이트하지 못한 경우, 다음을 수행하여 최신 업데이트를 찾을 수 있습니다. 링크.