A guide for users of the Article 5 submarine. Covers the basics of the systems on the sub, as well as specifics for each role. Also includes lore and basic stats.
기본 사항
This is a guide for use of 기사 5 submarine.
가격: 25,000 mk
수업: 수송
층: 3
Recommended Crew Size: 5 – 9
Recommended Crew Experience: Experienced
Born from a collaboration among multiple members of the Europa Coalition, the Article 5 was developed from scratch as a modern alternative to replace the aging R-29 fleet. Though it shares some aspects with the R-29, it features larger cargo capacity, twin torpedo tubes, depth charge support, an escape pod, and better medical facilities. 하지만, it was not without some drawbacks, such as greater susceptibility to fire and flooding, and only a single electrical discharge coil.
특징
This section covers features of the submarine that 모두 crew members should know about.
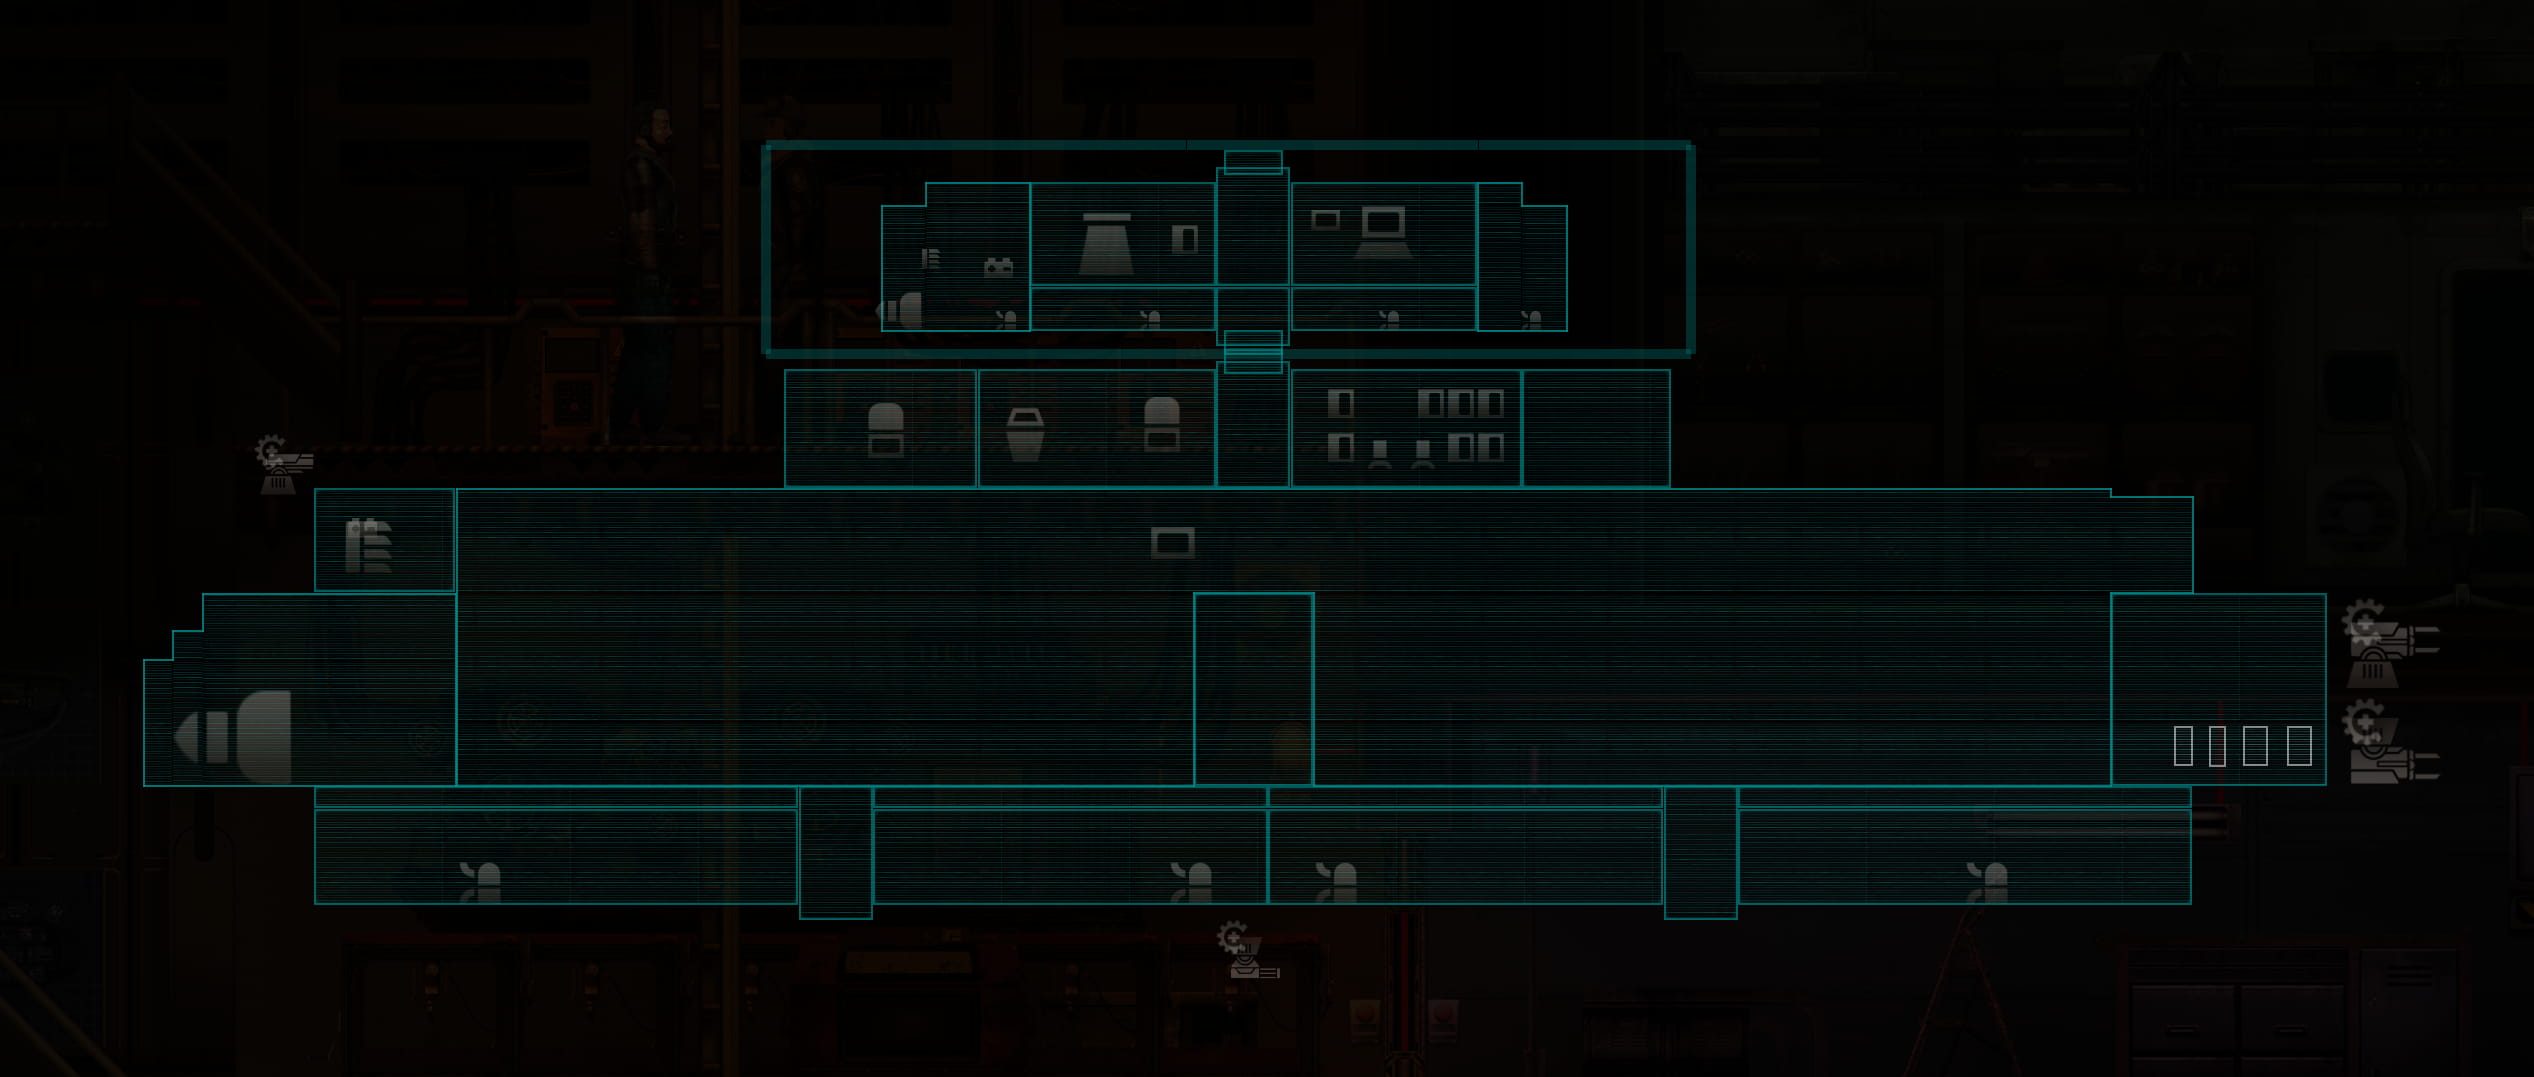
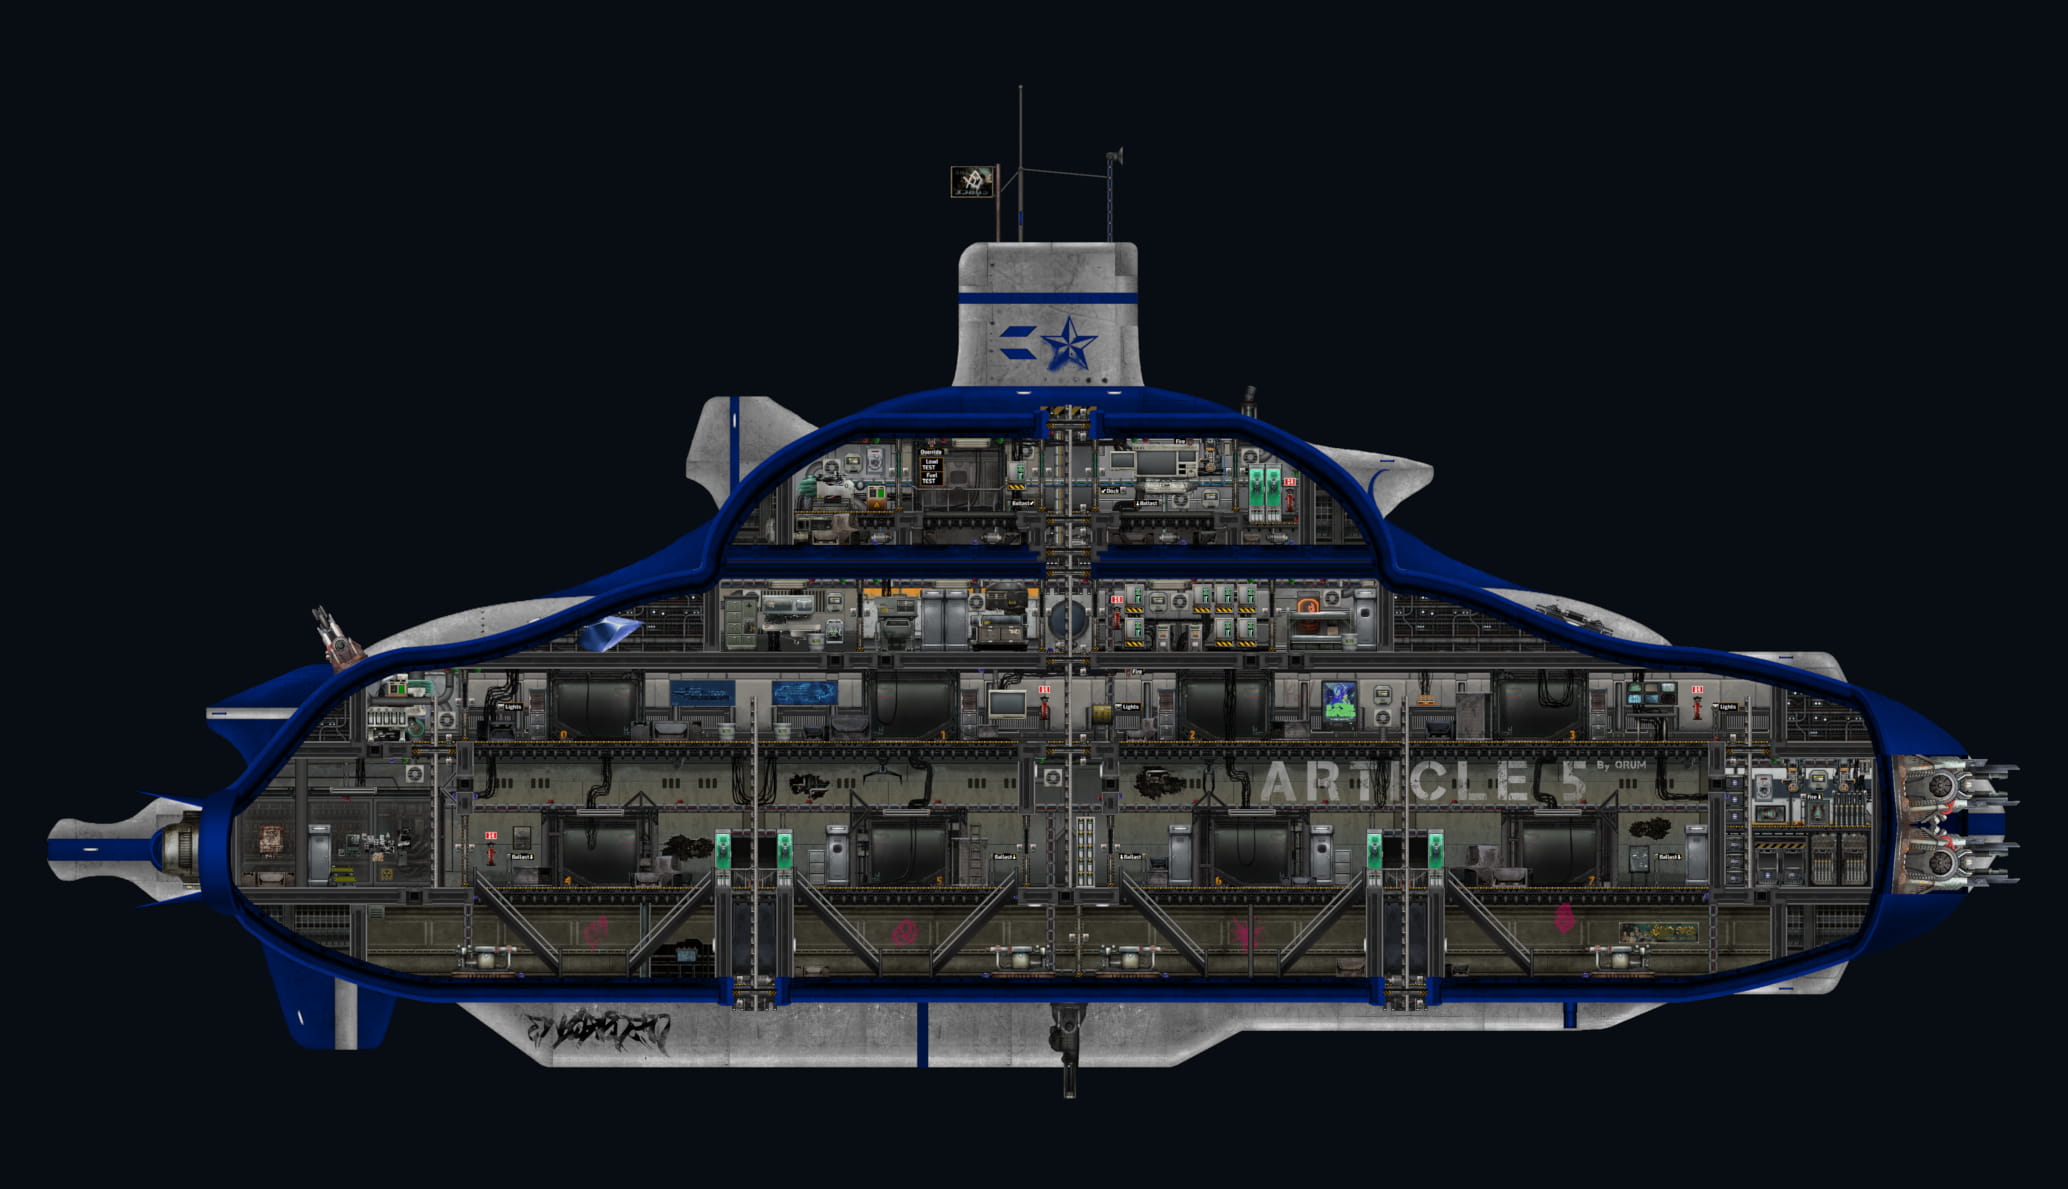
Perhaps the single most prominent, unique feature of this sub is that most of it is detachable. The top, or ‘core’ of the sub (enclosed in the thick rectangle in the image above), functions as a lifeboat when it cuts loose the lower, bulkier portion. To detach, just hit the “독” button on the bridge:
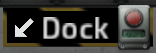
This will seal the passage between the two parts and then undock. (The upper dock functions as it does on vanilla subs, and is controllable from the nav terminal.) Be sure to have all your crew on the lifeboat first or they will likely be trapped in the lower hull!
If you hit this button by accident, you’ll need to maneuver the two hulls close together and hit the button again, and the passage will reopen when successfully docked. 또한, note that the lower, or ‘drone’ portion of the sub, has no power when it is not connected to the upper lifeboat, and cannot function as a remotely controlled drone as is typical with vanilla submarines.
When you abandon the drone portion, you’ll lose everything in it. This means crew left behind will likely die, and as all crate storage is located in that area, you’ll likely fail all cargo transport missions. Do not abandon the lower section lightly; only consider it in extreme circumstances such as being well below crush depth.
One last thing you should remember when abandoning ship: 모두 of the weapons and defenses (총포, depth charges, and EDC) are located on the drone. Once you sever the connection, your only defense against enemies is speed, so get to a station quickly! You can repurchase the drone portion once you’ve docked at an active station.
Fires are dangerous on every sub, and this is no exception. 하지만, fires in the cargo hold, with its massive volume of air, are especially deadly. If you are not already equipped to fight a fire in the cargo hold the moment it starts, or you’re not next to it when it starts, I recommend you don’t even bother trying unless you want to leave a charred corpse for your crew.
대신에, get out of the cargo hold entirely, and seal all entrances to the room you’re in. The sub has an automatic fire suppression system that starves the fire of oxygen. This means the O2 generator will not turn on and O2 bottles will not refill in their holders while a fire is present. Ducts to the room will close, and the doors/hatches will also close when the fire is initially detected (but can still be opened/closed manually after it has started). Let the fire burn itself out and then take care of any repairs after.
마지막으로, keep in mind the oxygen generator will deliberately not keep the sub at 100% oxygen all the time; this is done for both electrical efficiency as well as to mitigate the impact if a fire does break out.
Role-Specific Guidance
The sections below cover specifics for each role on the sub. 그렇습니다
~ 아니다cover basics that you might encounter on vanilla subs (예를 들어. “How to use an EDC effectively”); only things that are specific to this sub.
선장
The captain role on this sub is
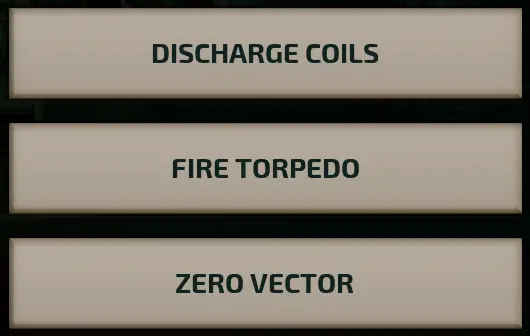
by farthe most demanding; only very experienced captains should even attempt it. Success or failure depends almost entirely on your piloting and decision making skills. There are a couple options on the navigation terminal that will probably seem unfamiliar.
Torpedoes on this sub are implemented in the form of two railguns that are fixed to fire forward (오른쪽). They’re mounted on the right of the lower portion of the sub, just in front of the gunnery compartment. To ‘aim’ the torpedo tubes (즉. railguns) you’ll have to move the entire sub, as they simply won’t rotate.
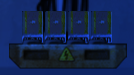
Each firing of a torpedo will alternate between the two railguns. The lights on the lower-right section of the nav terminal indicate which railgun (top or bottom) will fire when the next torpedo is launched.
(These lights are not working in 0.21.6.0 ~ 때문에 a bug[github.com])Two torpedoes can be fired in a rapid burst in this manner, but then you’ll have to wait as each are reloaded.
The next loader that will be used to fire that ‘torpedo’ is also indicated by a light above where the shells appear in the loader. These loaders alternate just like the torpedo ‘tube’ used to launch the ‘torpedo’.
This just sets the manual vector for steering the sub back to the center (즉. neutral buoyancy and no forward or backward thrust). 와 달리 “포지션 유지” autopilot, this allows the sub to drift with its existing momentum, and will not fight any currents you might encounter. It’s quite useful if you need to suddenly go quiet to sneak past a threat.
Depth charges can only be launched from the button in the gunnery compartment. Communicate with your crew to use them effectively.
The periscope on the bridge is normally only illuminated while you look through it, so to be stealthy I recommend not looking through it at all. 대안으로, if you want to lock the light ‘on’ even if you’re not looking through it, click the ‘fire’ 단추 (typically left mouse button) while looking through it. An indicator will glow red on the periscope to show that it’s locked on. (This indicator is bugged in 0.21.6.0)
The NBL is different depending on if the ‘drone’ is attached or not. 하지만, this is accounted for with circuitry. What is not accounted for is if a ballast tank is ‘disabled’ (즉. purged), typically by your crew when fighting ballast flora. See the ‘Security’ section for more details about purging ballast tanks to fight ballast flora.
가능하다면, enable hold position to account for the new NBL with a disabled ballast tank (또는 두 개). If you need to run and can’t hold position, aim your vector down somewhat in order to go straight. If too many ballast tanks are disabled, you may find the sub unable to descend or even maintain its current depth.
엔지니어
Engineer is a mostly vanilla experience (except you shouldn’t have to rewire a ton of stuff), with a few things you should know.
The sub has a built-in reactor controller. I suggest you leave “Automatic Control” 끄다, and let it do its job. You’ll also probably notice an ‘Override’ button on the reactor. Normally this should be left as red (즉. 끄다), which will shut down the reactor (a ‘soft’ 일시 휴업) when the sub is docked. This allows fuel to be conserved when docked at a powered outpost by leeching off the outpost’s reactor.

하지만, you may want to turn it on in a couple circumstances. The most obvious is when you are docked with an abandoned outpost, where the override will keep the reactor on and provide power to the abandoned outpost via the docking port (as well as powering the sub itself). The other situation you may want to leave it on is when you are trying to create depleted fuel rods, for ammo. 그냥 기억해, while you can change the switch at any time, it will only have an effect when the sub is docked.
The oxygen generator will switch itself on and off depending on demand. It will try to keep air quality at 60% 또는 더 나은. For more efficient use of electricity, open doors between rooms to keep the air circulating. While this won’t hurt things if there is a fire (doors/hatches to the room with the fire will auto-close when the fire starts), it can make it easier for the sub to flood if there’s a breech, and the crew more vulnerable should external threats become internal threats.
Each O2 generator is attached to a battery that automatically adjusts is own charge rate as necessary. This should smooth out the power spikes that would otherwise be caused by turning the O2 generator on and off rapidly.
The cargo hold’s substantial size means the lights there draw a fair amount of power. Each of 3 switches will toggle all of the cargo hold’s lights on and off. Leave them on if you want to see or make depleted fuel rods, or off to conserve electricity.

If you’re used to charging docks on vanilla subs that constantly draw 200W of power, 두려워하지 마라. This one only takes a fraction (10% or 20W) of that.
보안
Other than the large cargo hold to defend, it’s a mostly vanilla experience with a few tweaks.
The lights for the controllable guns will only be on when you are looking through the periscope. If your captain requests stealth, get off the periscopes so that the lights don’t draw aggro.
The ‘torpedo’ loaders (actually railguns) have a light which indicates which will fire next; use this if you need specific shell ordering. Note that the loader used alternates with each shot. 예를 들어, the left loader here holds the ‘torpedo’/shell that will fire next:
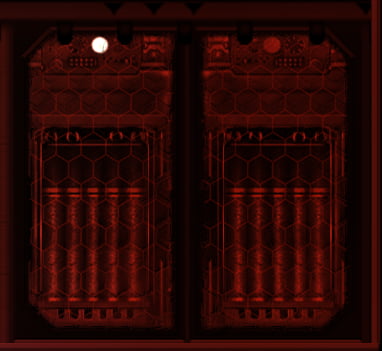
Depth charges can only be launched from the gunnery compartment switch, so you’ll need to communicate with the captain to figure out when to drop one. The depth charge mounted vertically and immediately below the ‘Fire’ switch will be launched when the button is pressed. The other depth charge (왼쪽으로) is for storage only, and will need to manually be loaded into the other spot to be launched.

각각의 6 ballast tanks (2 in the ‘core’/lifeboat sub, 4 in the ‘drone’/cargo area) has a switch that allows the tank to be purged of water. A green light indicates the ballast tank is functioning normally, while red means it’s configured to empty itself. The arrow indicates which tank is controlled by the switch.
Once the water is emptied out, the pump will automatically be shut off, so that the ballast flora cannot pump water in to protect itself. If water continues to enter the ballast tank (예를 들어. though a leak), the pump may never shut off entirely, so prioritize repairing leaks. 하지만, while the tank is empty, the NBL (Neutral Ballast Level) will be incorrect, and the sub may have difficulty descending. Be sure to communicate with your captain when disabling a tank.
If too many ballast tanks are disabled simultaneously, the sub may be entirely unable to descend at all and may even rise uncontrollably, so remember to re-enable them once the threat is taken care of.