
Good day to all fighters! 이 가이드에서는, I will show you how to create your own server in Arma Reforger
Creating a server
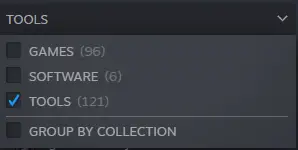
1. 가장 먼저, you need to log in to Steam and go to your game library. 비슷하게, you need to find Arma Reforge in your game library and go to the TOOLS section.
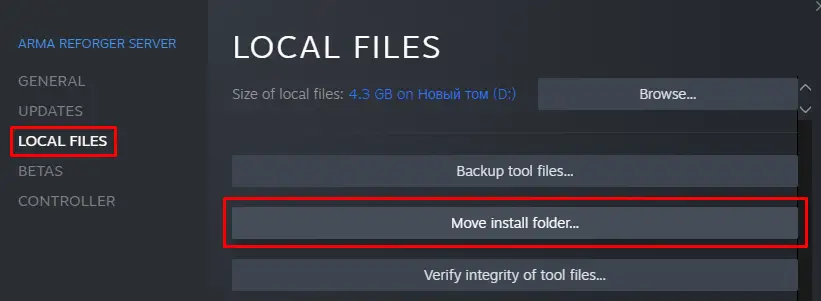
2. Then you need to double-click Arma Reforger Server to install. After installing the Arma Reforger server, you should right-click on it. Then you need to go to “관리하다” 그리고 클릭 “View local files”. This will take you to the local server files.
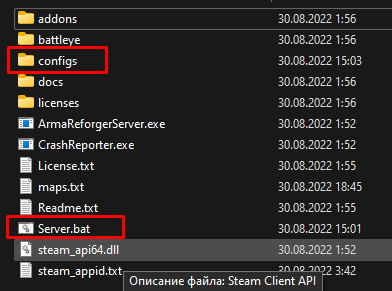
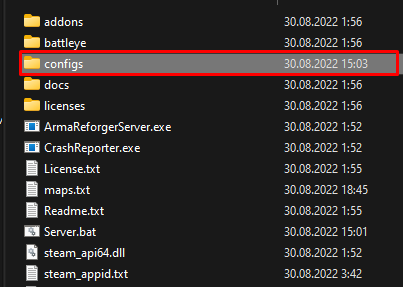
3. In the local server folder, you should create a new folder and name it “configs”. Then you need to create a new file, change the extension с.txt on.bat and call it Server.bat. 비슷하게, you need to go to Folder Options and enable hidden files as well as file extensions if the file is not displayed.
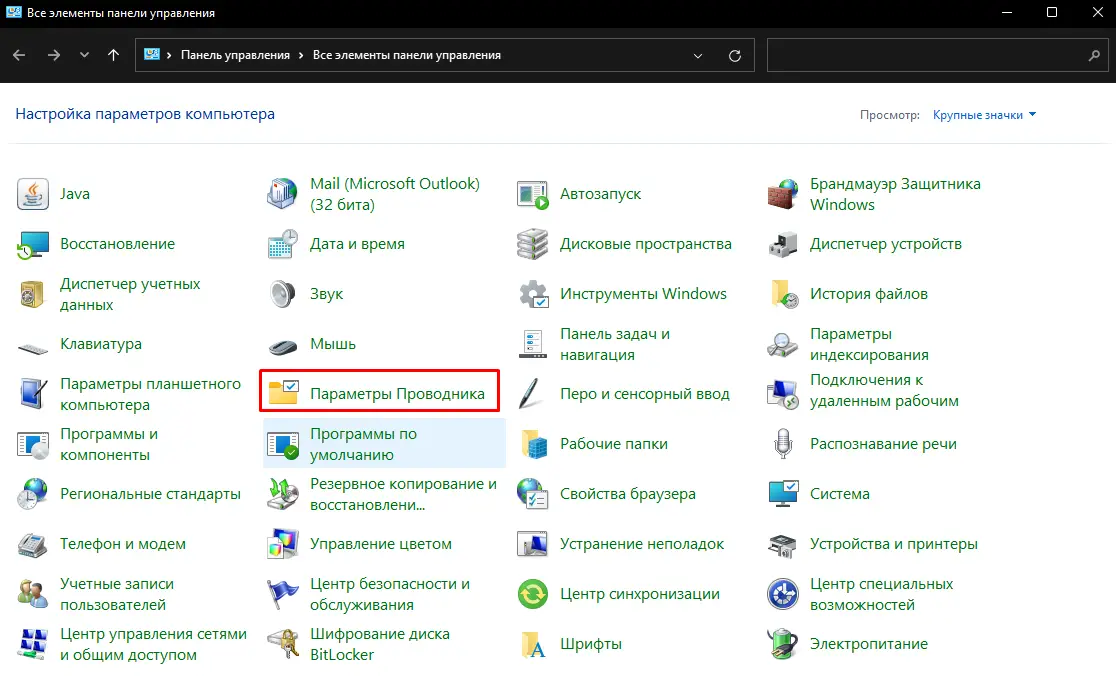
Here’s a little more detail on how I use a translator for you and I’m not from America myself. So that’s it! if you don’t see the hidden files, you need to open the control panel, 선택하다 “explorer parameters”
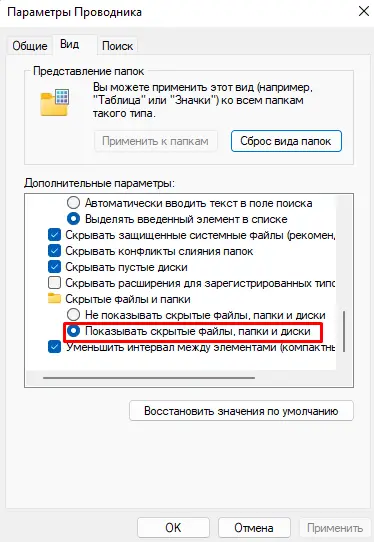
다음, you need to go to the “view” tab and scroll down
you need to put this item and click “accept”
4. Now you need to edit the bat file in notepad. 비슷하게, you should insert the following line — ArmaReforgerServer.exe -config “.configsconfig.json” -profile ArmaReforgerServer. Then press Ctrl+S to save it and close it.
ArmaReforgerServer.exe -config «.configsconfig.json» -profile ArmaReforgerServer

5. Now you need to go to the configs folder and right-click. 비슷하게, you should select a new one and create a text document. You should rename this file as config.json. 이후, you need to open it in Notepad and paste this:
"dedicatedServerId": "f94c9924-3476-480d-8170-31478a9bccbc",

"지역": "EU",

"gameHostBindAddress": "",

"gameHostBindPort": 2001,

"gameHostRegisterBindAddress": "",

"gameHostRegisterPort": 2001,

"adminPassword": "",

"게임": {

"이름": "Name server ",

"비밀번호": "",

"scenarioId": "{ECC61978EDCC2B5A}Missions/23_Campaign.conf",

"playerCountLimit": 64,

"autoJoinable": 거짓,

"visible": 진실,

"supportedGameClientTypes": [

"PLATFORM_PC"

],

"gameProperties": {

"serverMaxViewDistance": 2500,

"serverMinGrassDistance": 50,

"networkViewDistance": 1000,

"disableThirdPerson": 거짓,

"fastValidation": 진실,

"battlEye": 진실,

"missionHeader": {

"m_iPlayerCount": 40,

"m_eEditableGameFlags": 6,

"m_eDefaultGameFlags": 6,

"other": "가치"

}

},

"개조": [

]

},

"a2sQueryEnabled": 진실,

"steamQueryPort": 17777

}
5. You can also change your region, administrator, and server name in the config.json file. 비슷하게, you should add the script ID :
: --------------------------------------------------

: Official scenarios (3 항목)

: --------------------------------------------------

: {90F086877C27B6F6}Missions/99_Tutorial.conf (지도 시간)

: {ECC61978EDCC2B5A}Missions/23_Campaign.conf (Conflict)

: {59AD59368755F41A}Missions/21_GM_Eden.conf (Game Master - Everon)

: --------------------------------------------------

: Workshop scenarios (8 항목)

: --------------------------------------------------

: {6EA2E454519E5869}Missions/CAH_Military_Base.conf

: {7C491B1FCC0FF0E1}Missions/CAH_LeMoule.conf

: {F1A1BEA67132113E}Missions/CAH_Castle.conf

: {589945FB9FA7B97D}Missions/CAH_Concrete_Plant.conf

: {2B4183DF23E88249}Missions/CAH_Morton.conf

: {3F2E005F43DBD2F8}Missions/CAH_Briars_Coast.conf

: {9405201CBD22A30C}Missions/CAH_Factory.conf

: {1CD06B409C6FAE56}Missions/CAH_Forest.conf

: --------------------------------------------------
6. now you can run the Server.bat file. 비슷하게, your server is now running and you can join it in a multiplayer game. After starting the server, you need to redirect ports and allow ports through the Windows Defender Firewall. The ports are located at this 링크.
the same thing you need to repeat here:

I am very sorry that the photos with the text are in Russian, I hope you will understand or will be guided by the screenshots!
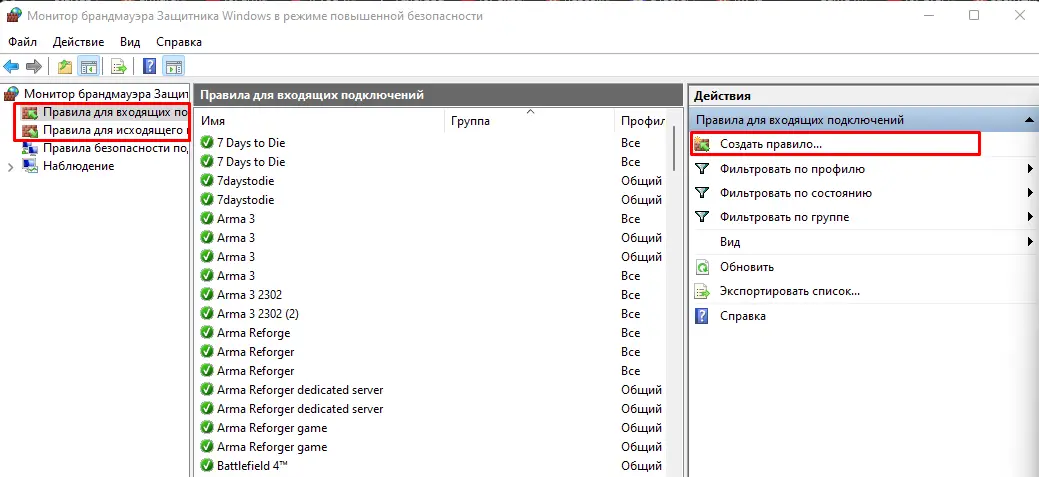
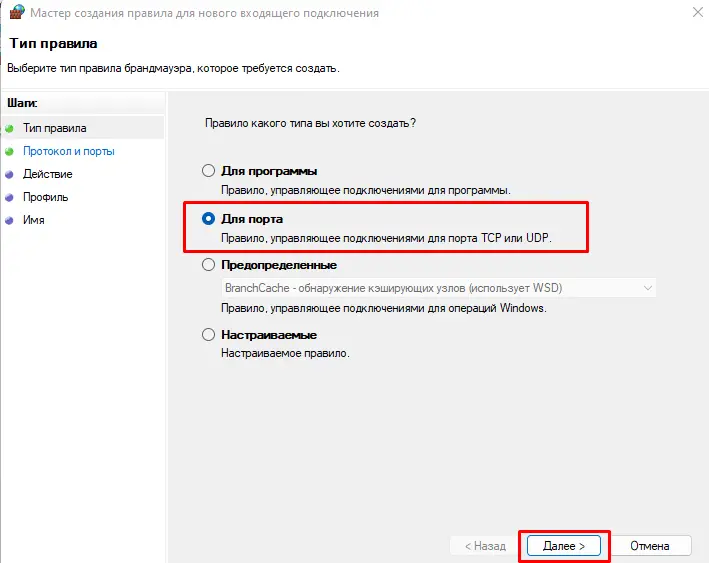
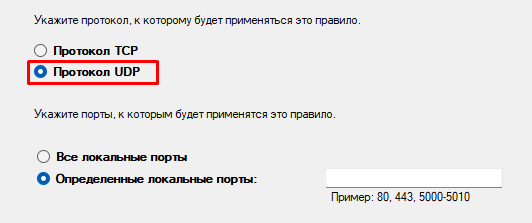
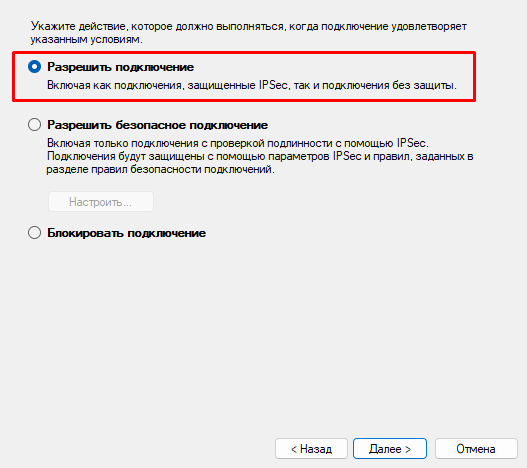
8. Then you need to enter the firewall in the search and open the Windows Defender Firewall. In the firewall settings, you should go to the incoming rules and click on the new rules. Now you need to click “Ports” 그리고 선택 “UDP”. Now you can enter the port number as well as the QueryPort number from the config.json file,이후, allow the connection and name it. 비슷하게, you should follow the same steps for outgoing rules in Windows Defender.
9. 마지막으로, you can now run the server.bat file to keep your server running.
I really hope that this guide helped you with your idea of creating a server! sorry again for the Russian language in the screenshots, I hope you will understand, good luck to all fighters!