- タイトル: The Multi-Medium
- 発売日:
- 開発者:
- 出版社:
Information about The Multi-Medium is still incomplete. これを使用してゲームの詳細を記入するのにご協力ください。 お問い合わせフォーム.
A guide for all the artifact, security camera and dandelion locations. Level select is available if you missed any. The rest of the achievements are for completing the game.
Graphite Tutorial Level
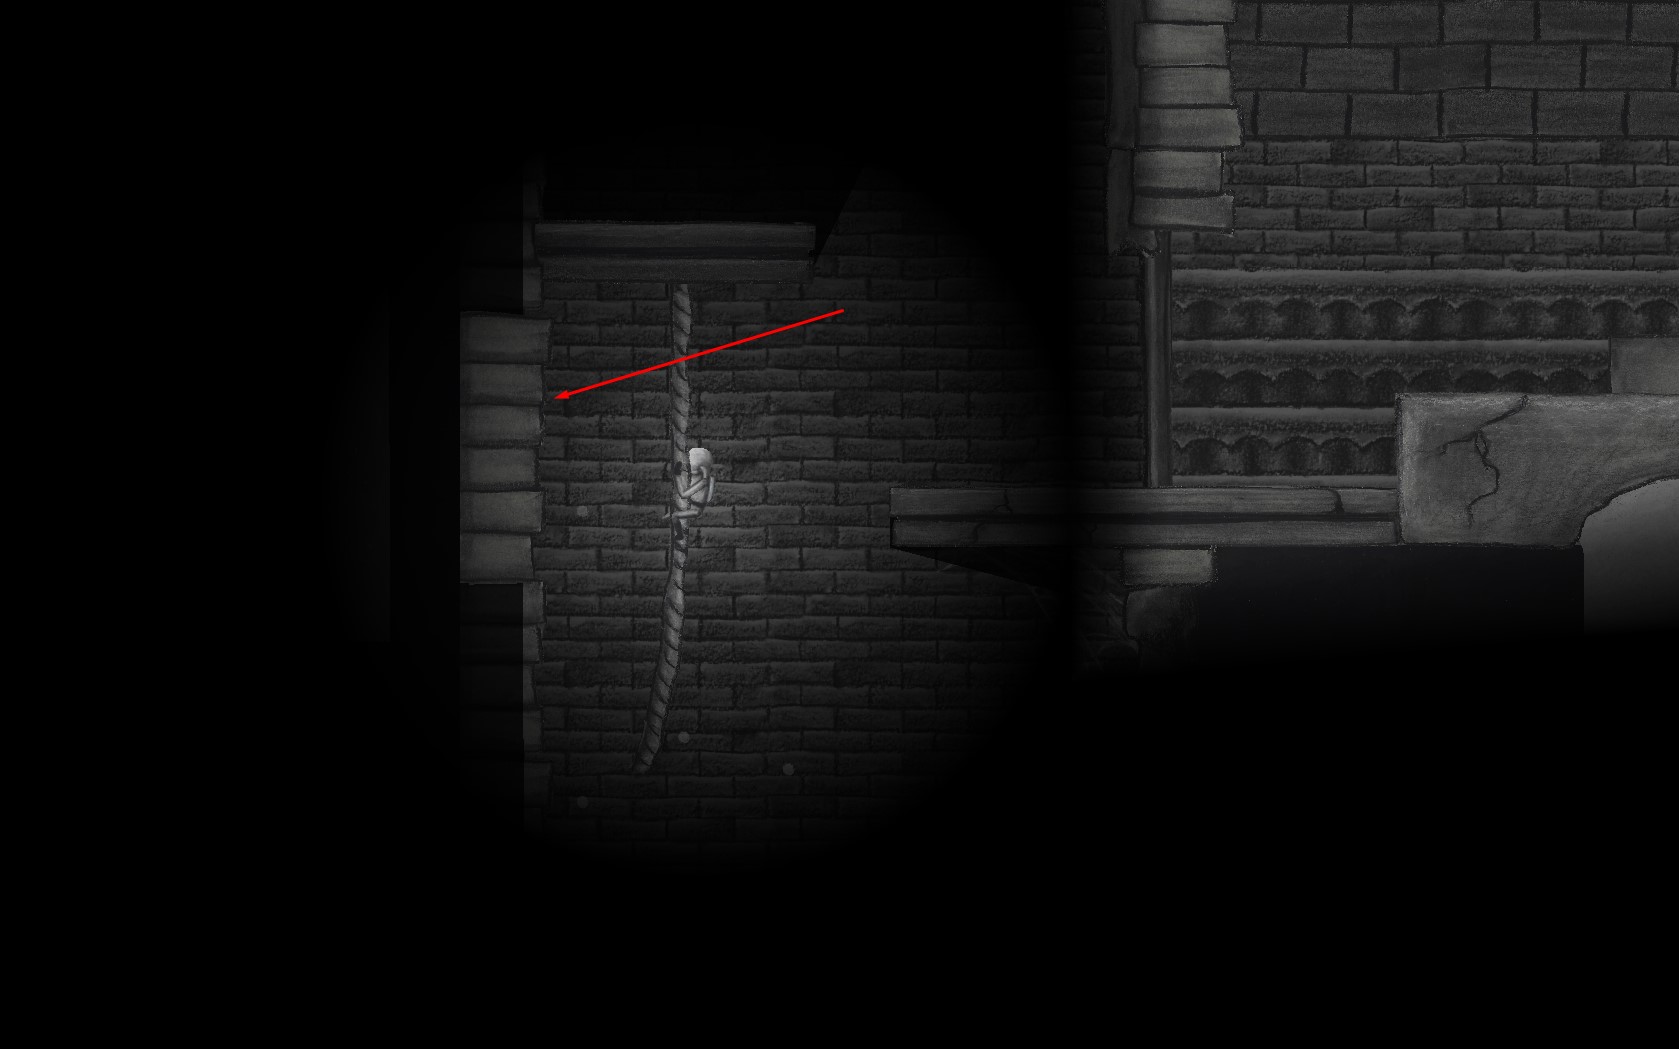
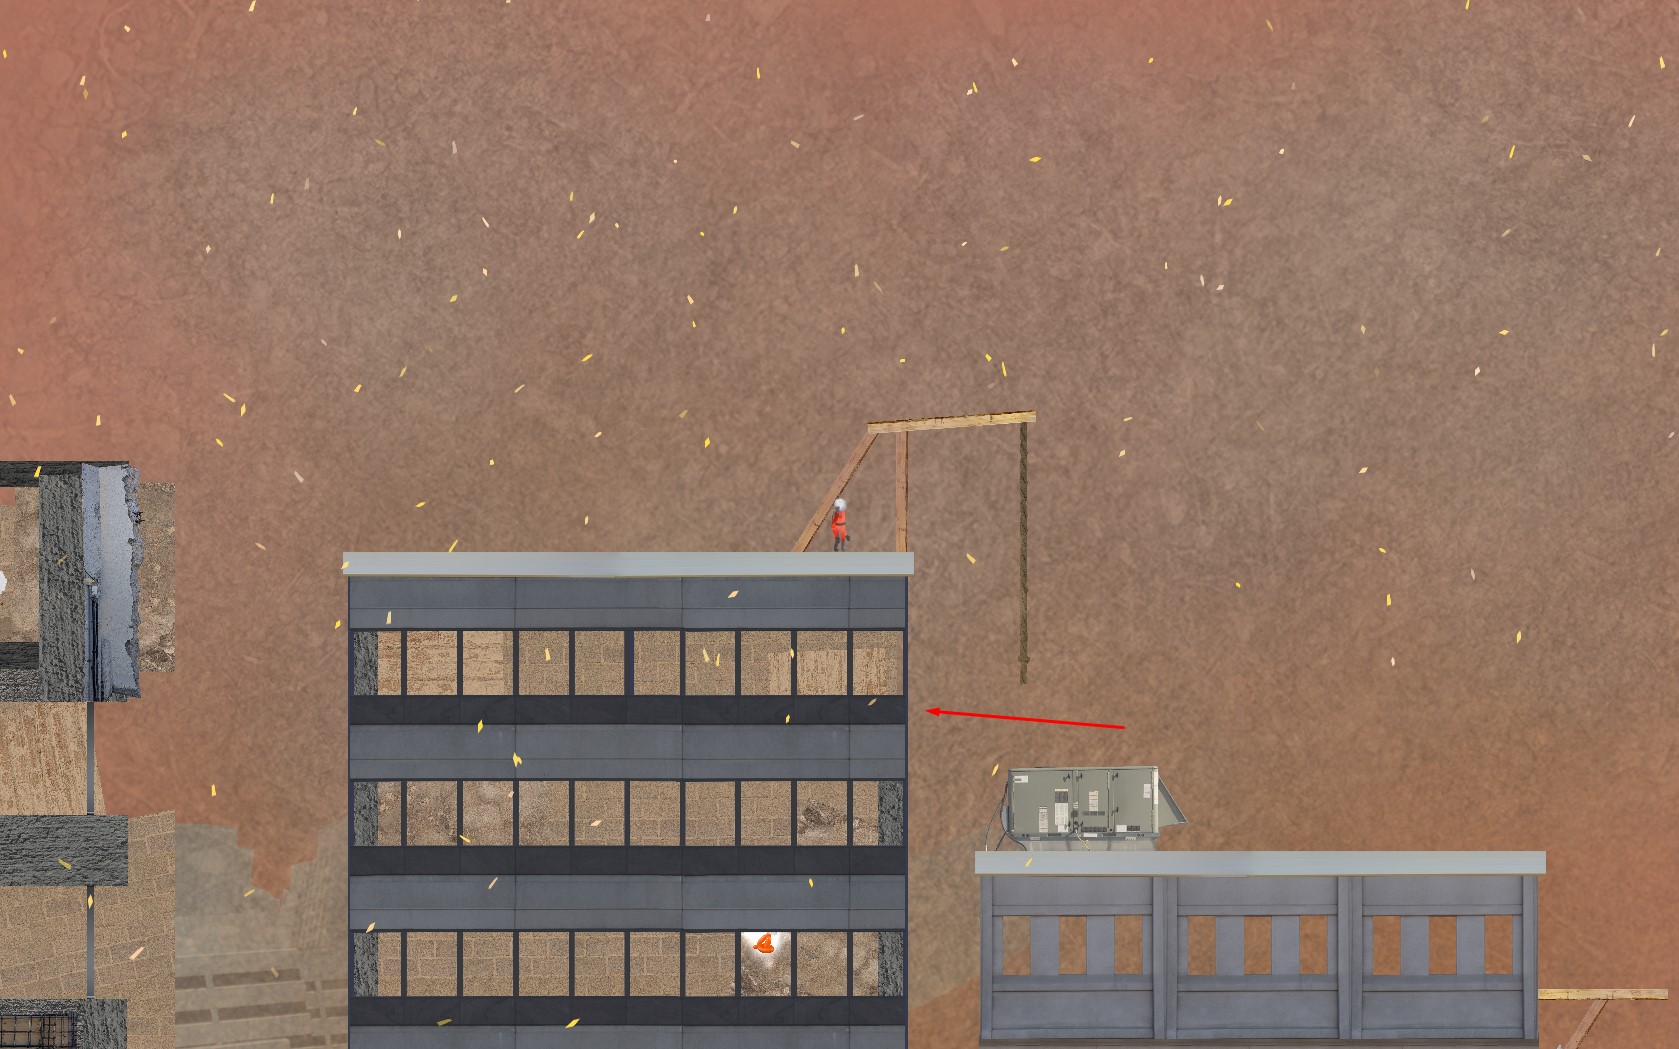
Climb up the rope to get Cursed Medallion.
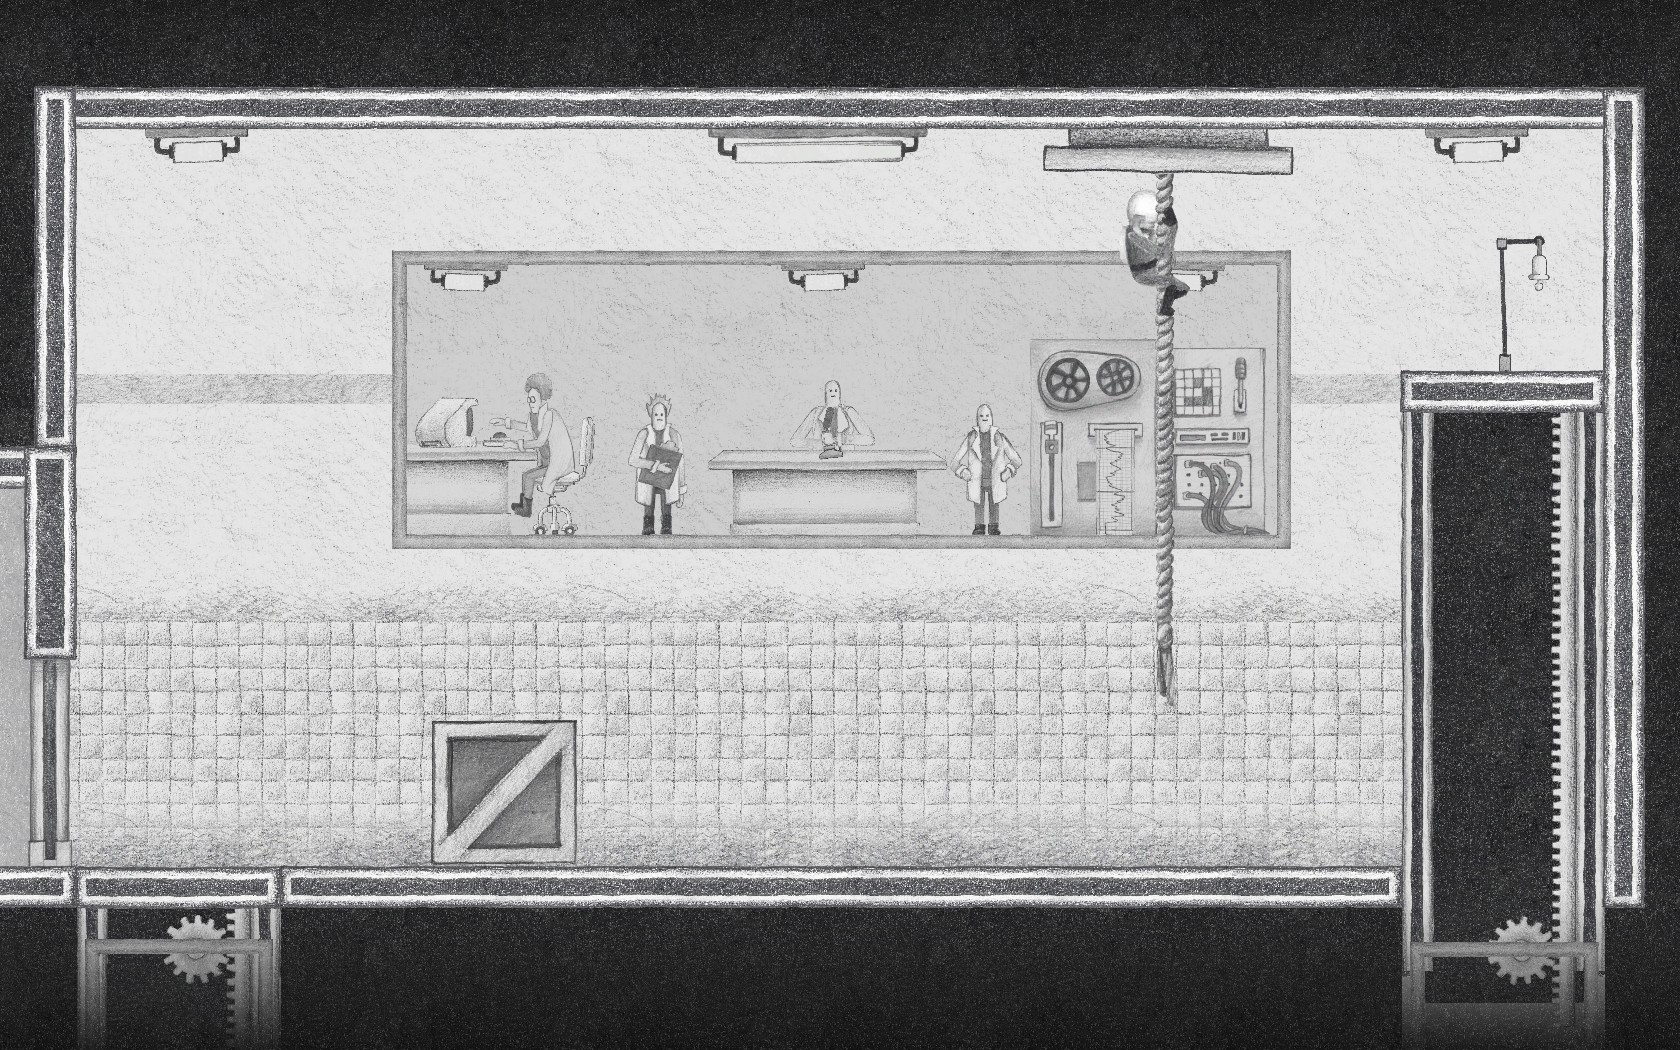
Push the tutorial box in the elevator and bring it with you to reach the hole in the ceiling to get Lab photograph.

Find All the Artifacts in the Graphite Level
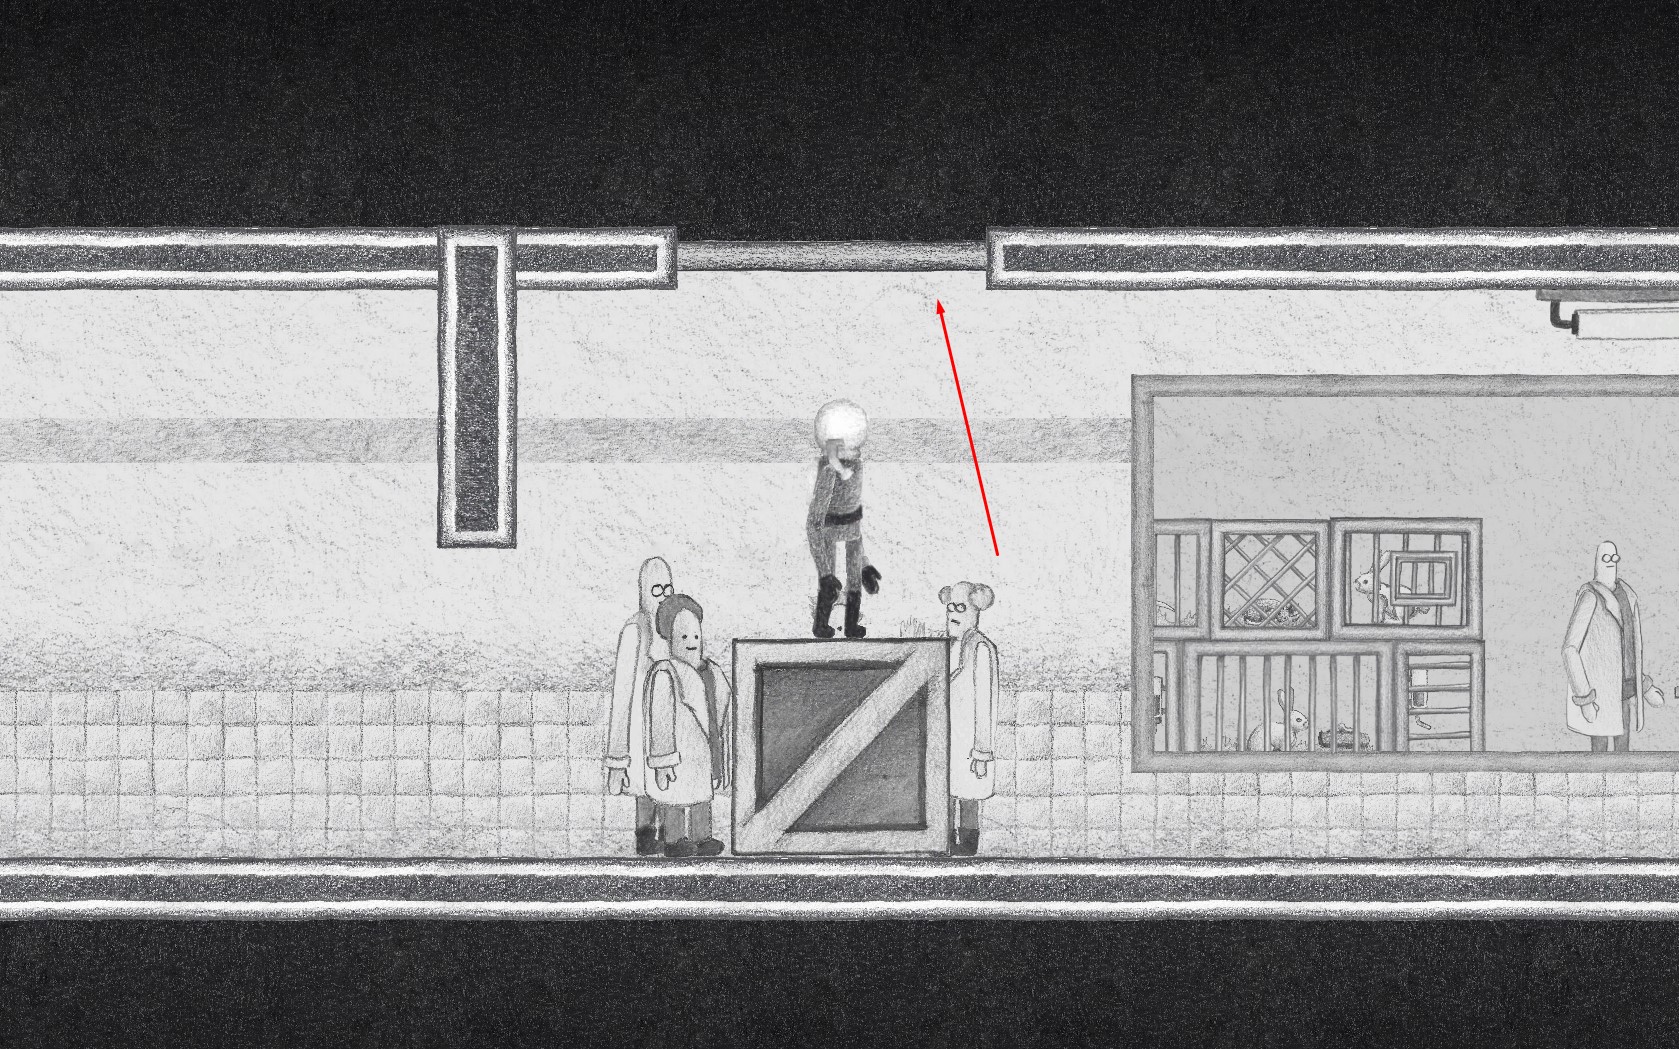
Colored Pencil Level
Jump left in the hidden wall to get Decayed Isopod.
Jump left in the hidden wall to get Strange Medallion.
Jump right in the hidden wall, then use the shooting plant to open the way so you can drag the jumping block to get Glowing Egg.

Find All the Artifacts in the Colored Pencil Level
Charcoal Level
Before solving the puzzle to go forward, jump up to the ceiling on the right to get Eldritch Medallion.
At the rotating light, jump right in the hidden wall to get Hand Sculpture.
After the first stealth section, at the limited light part, jump left to get Moth Specimen.

Archeologist
Find All the Artifacts in the Charcoal Level
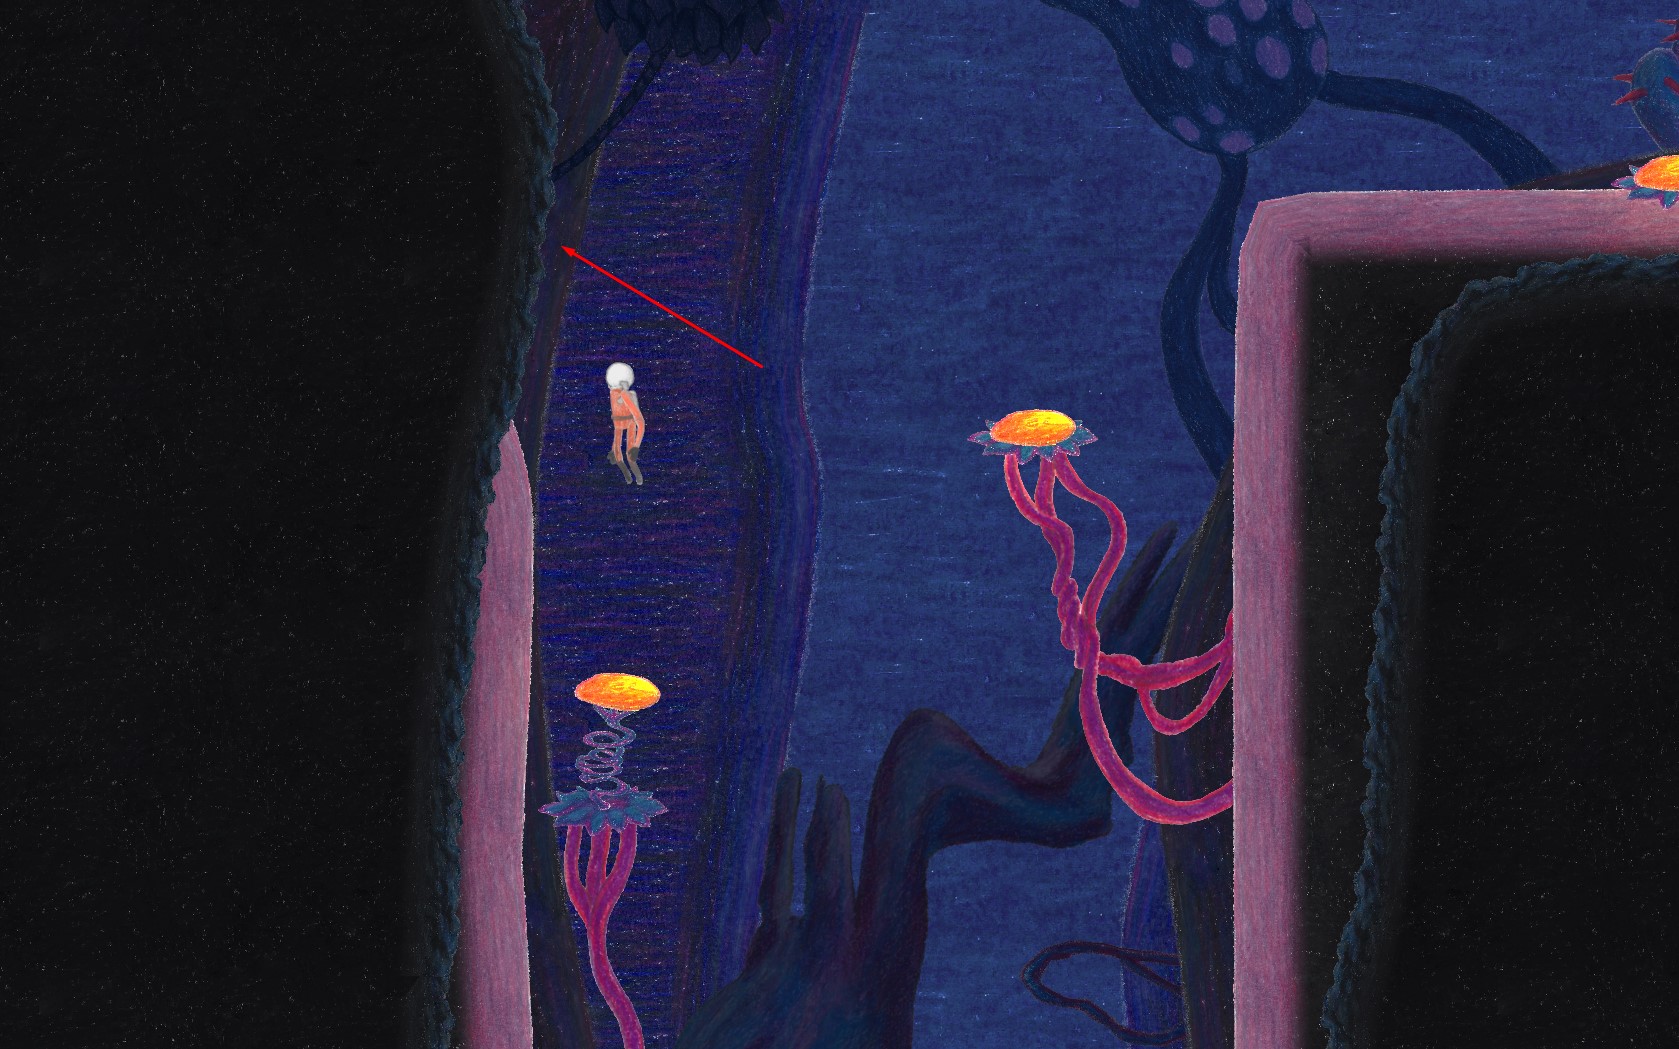
Watercolor Level
Swim up above the bubbles to get Ancient Medallion.

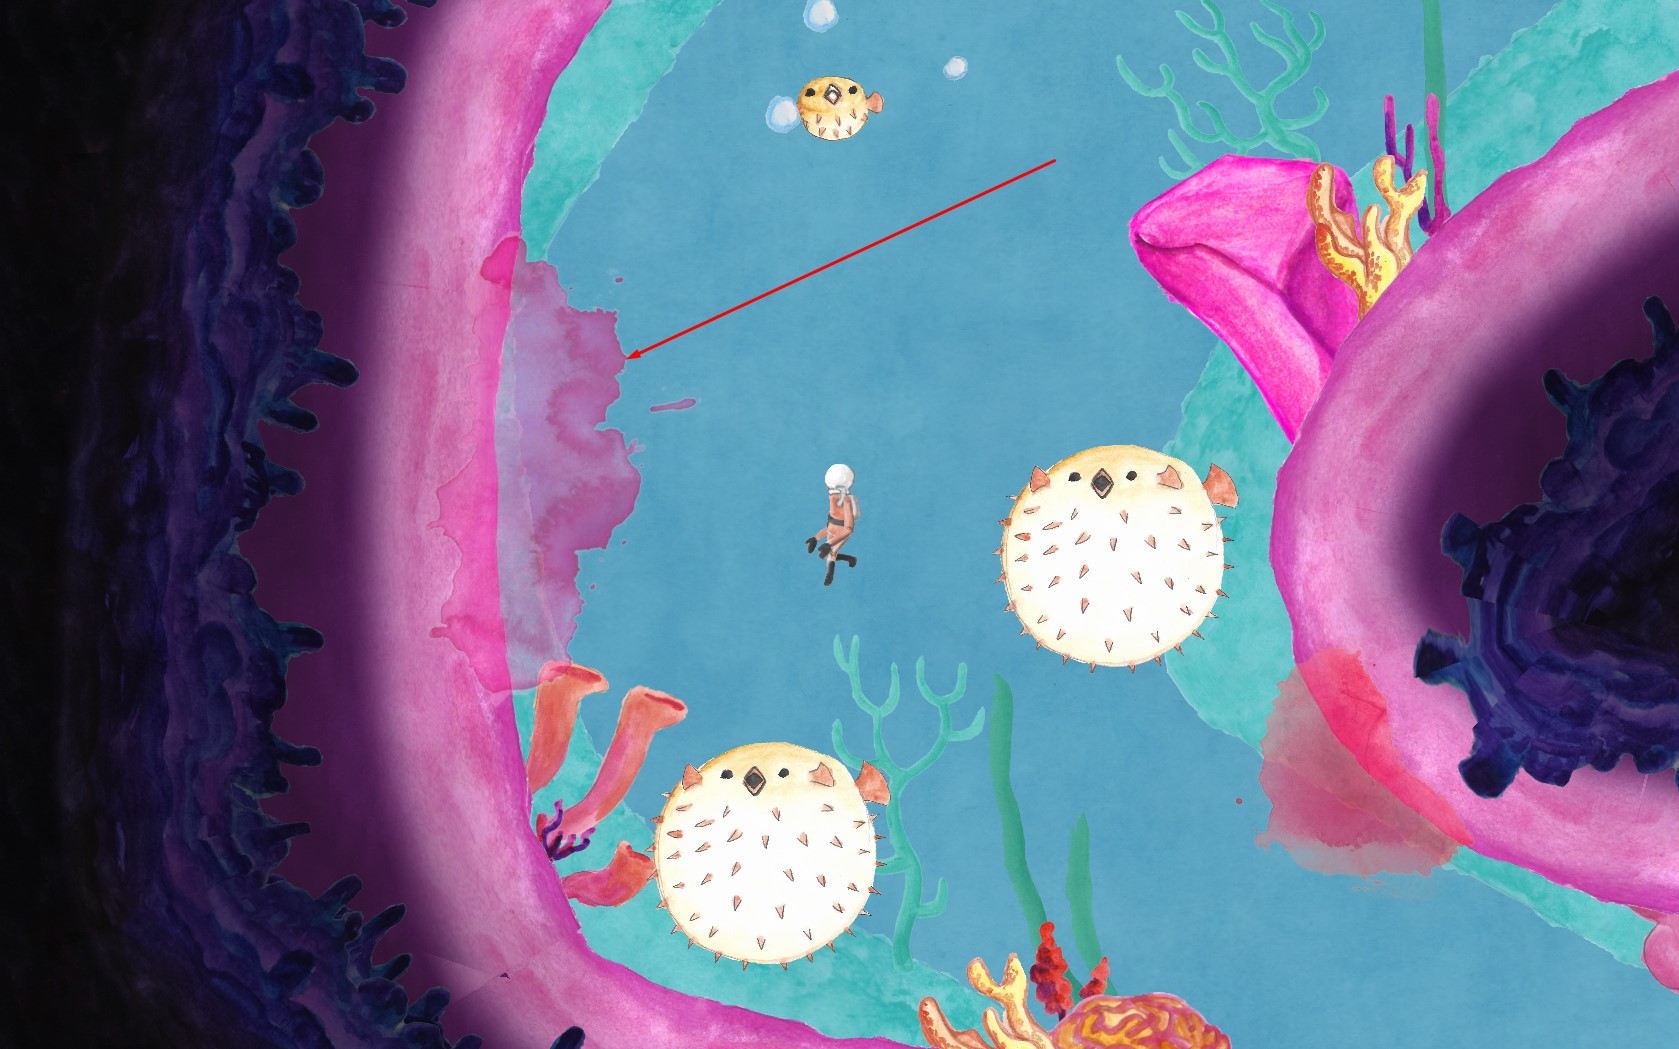
Swim left at the second pair of blowfishes to get Ancient Mosaic.
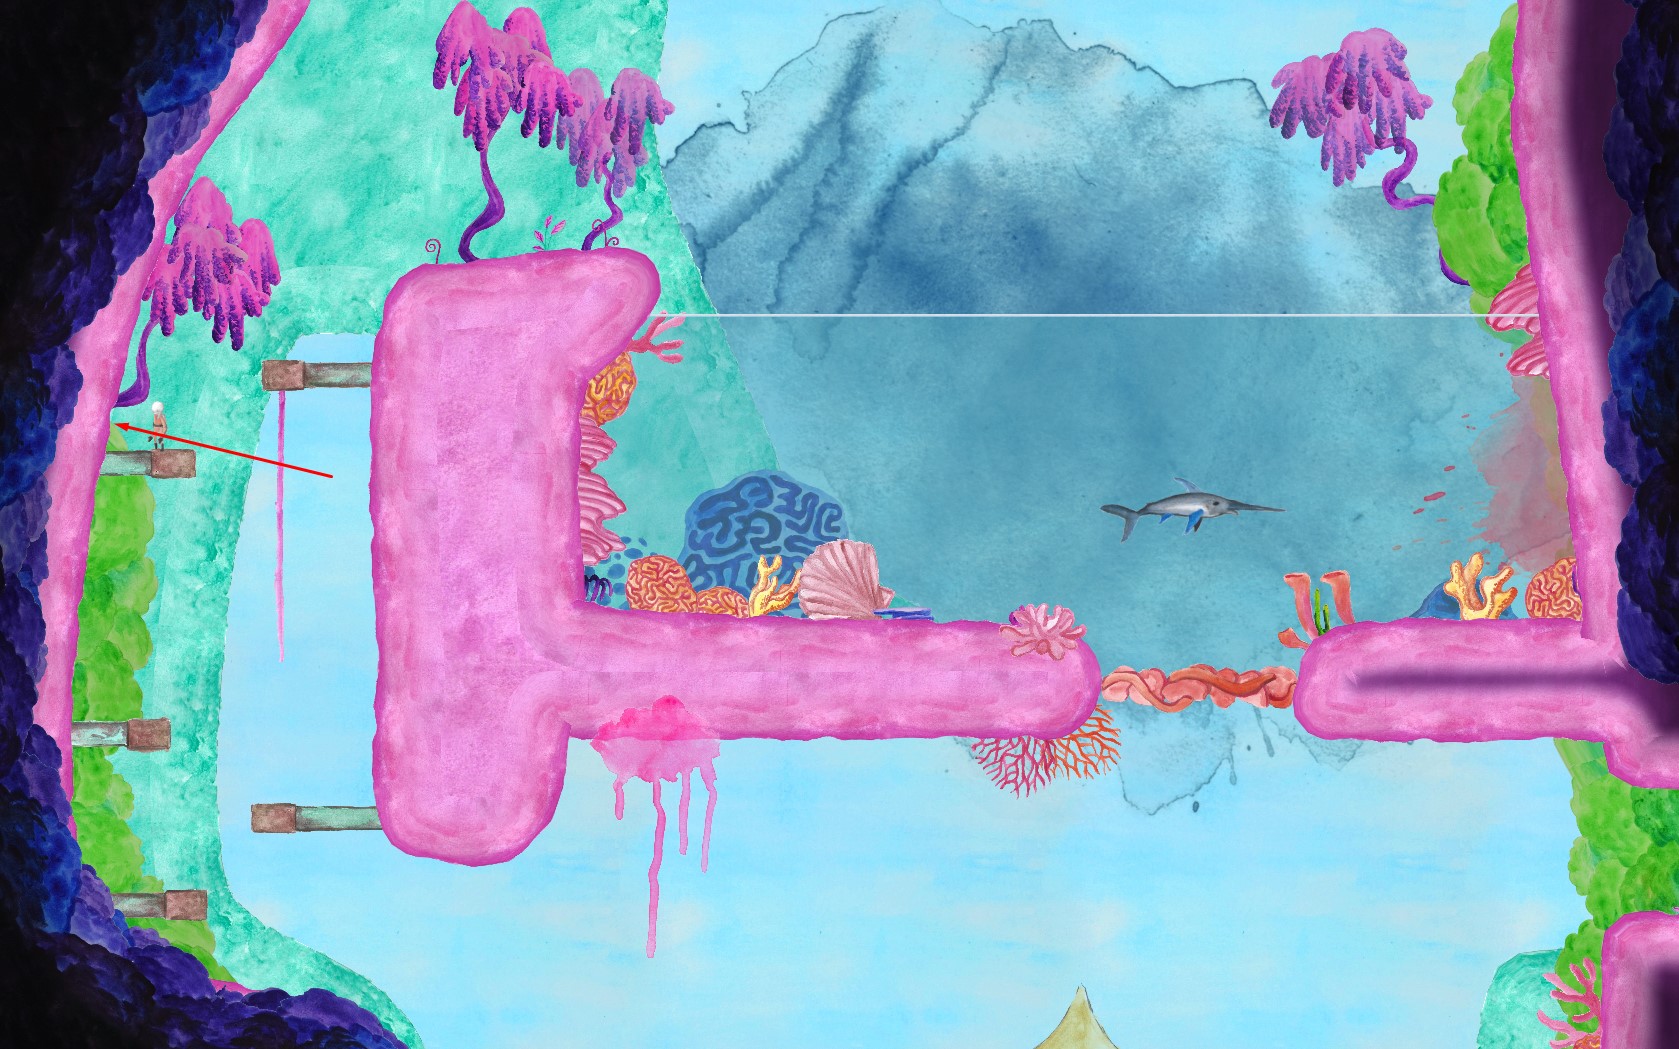
Go left in the hidden wall to get Claw Shield.

Marine Biologist
Find All the Artifacts in the Watercolor Level
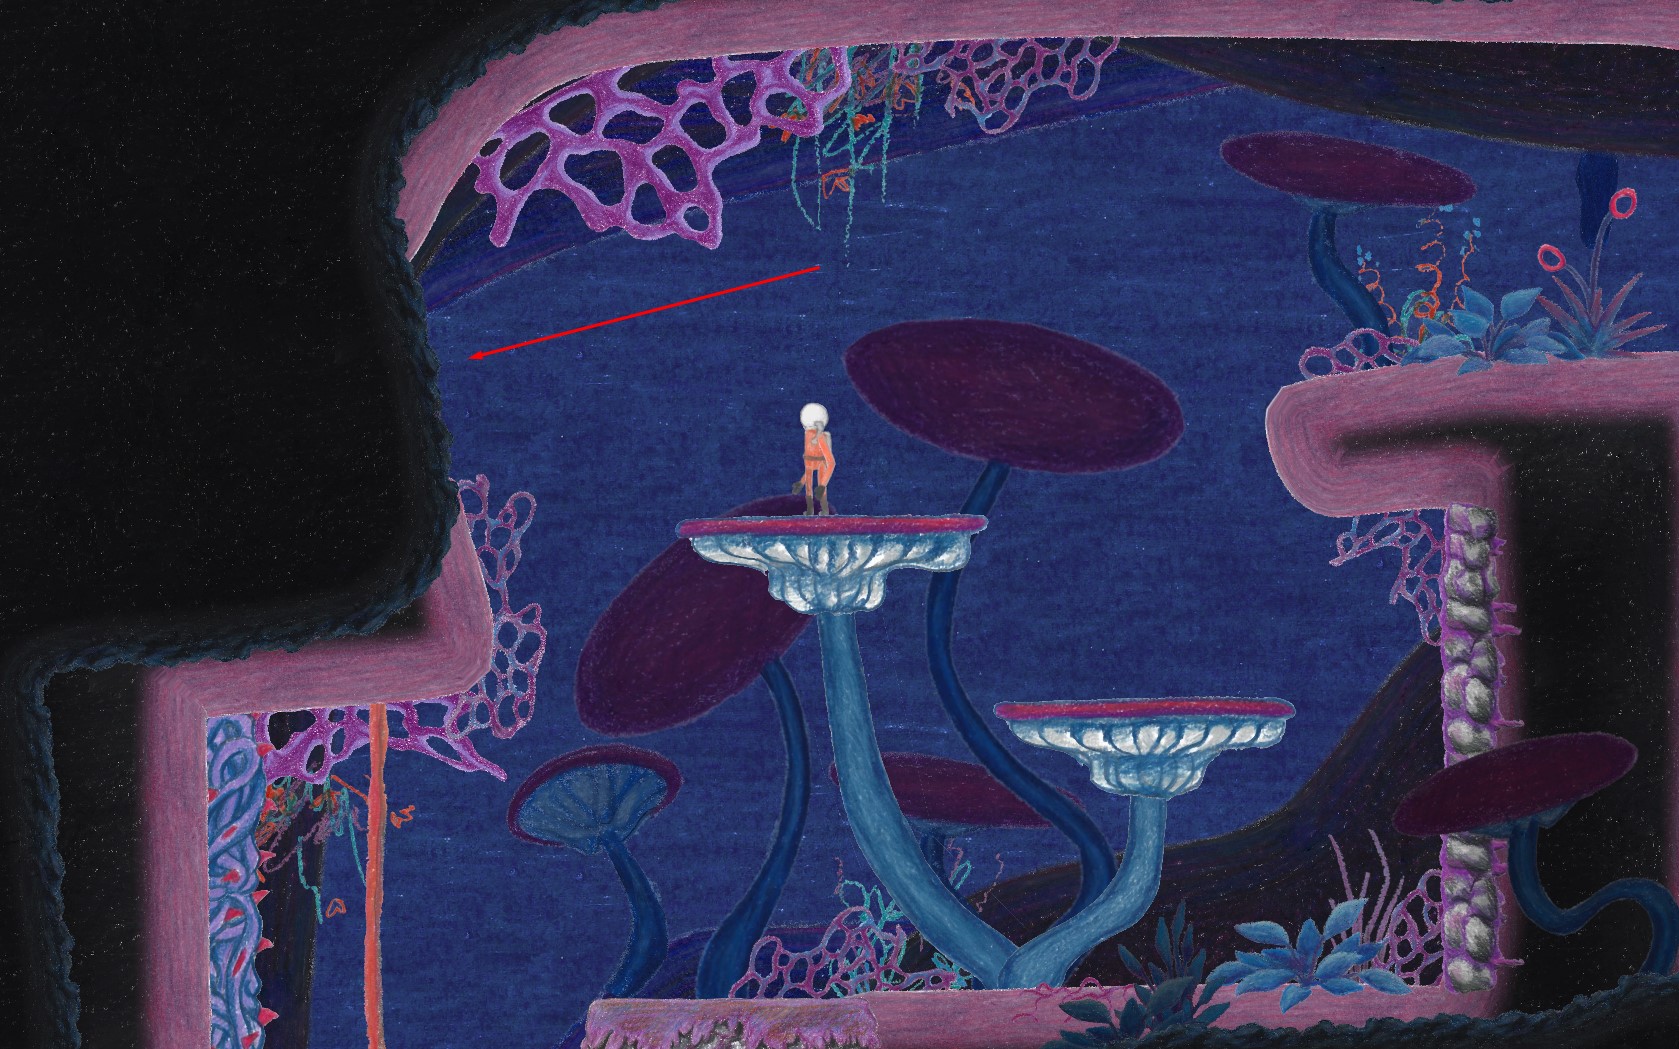
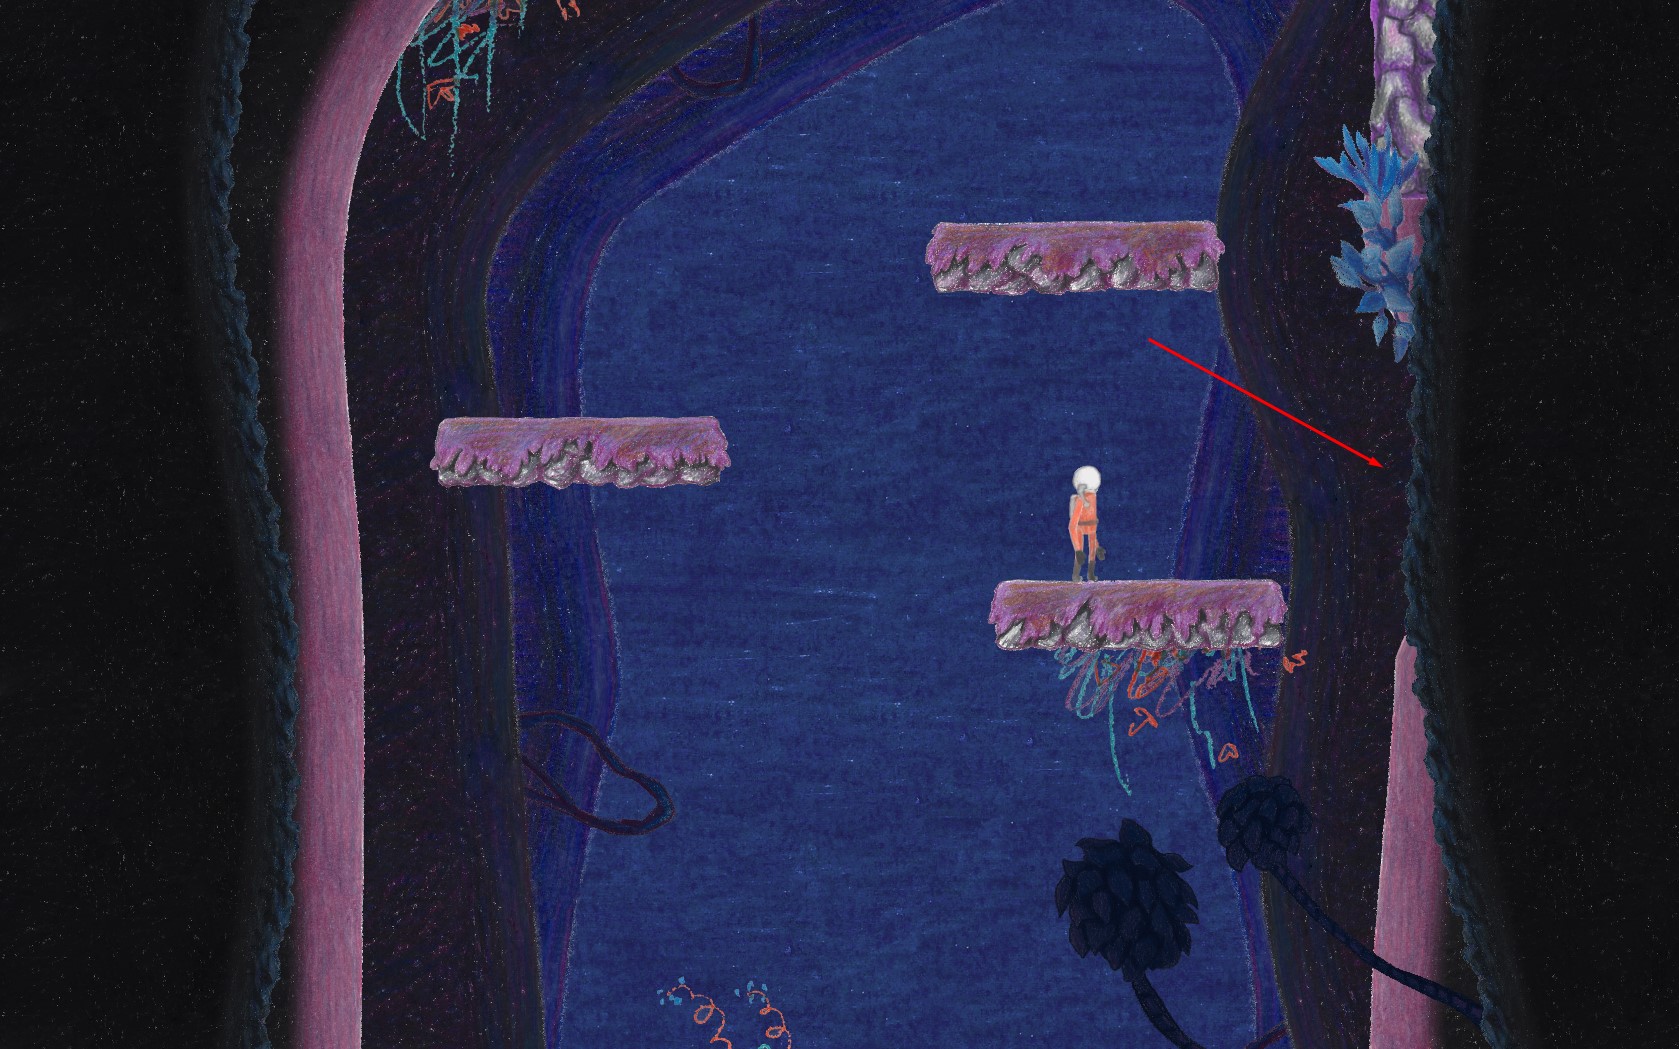
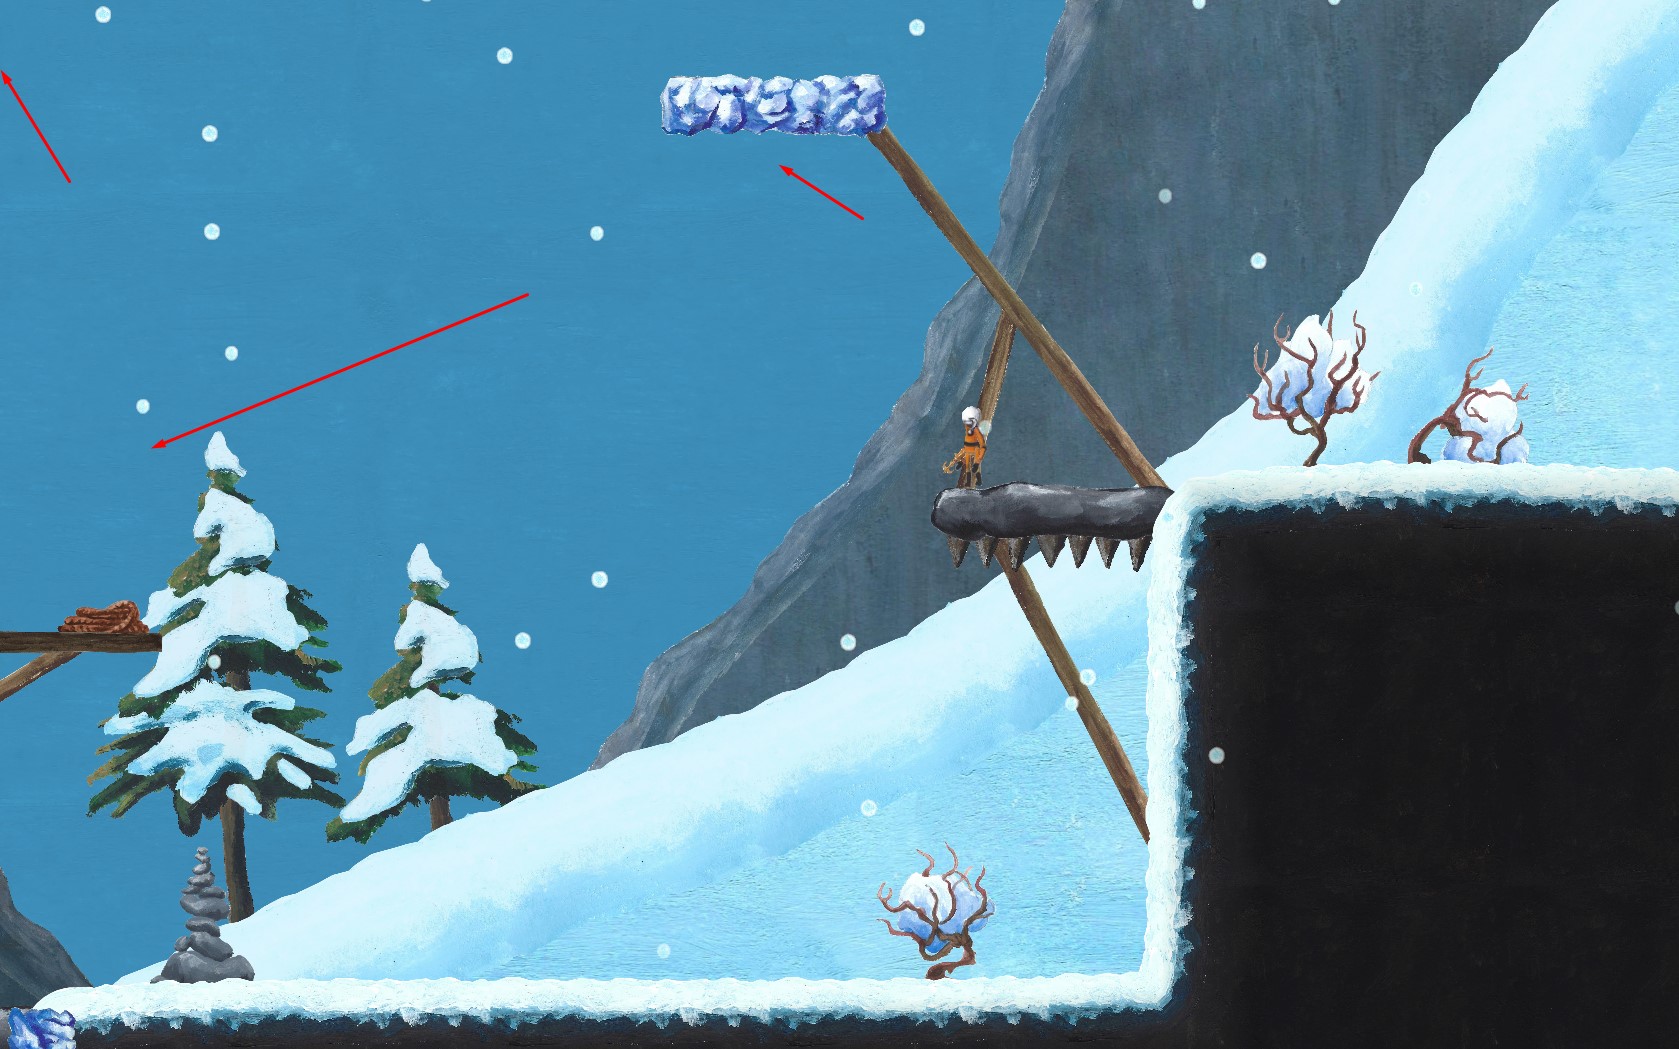
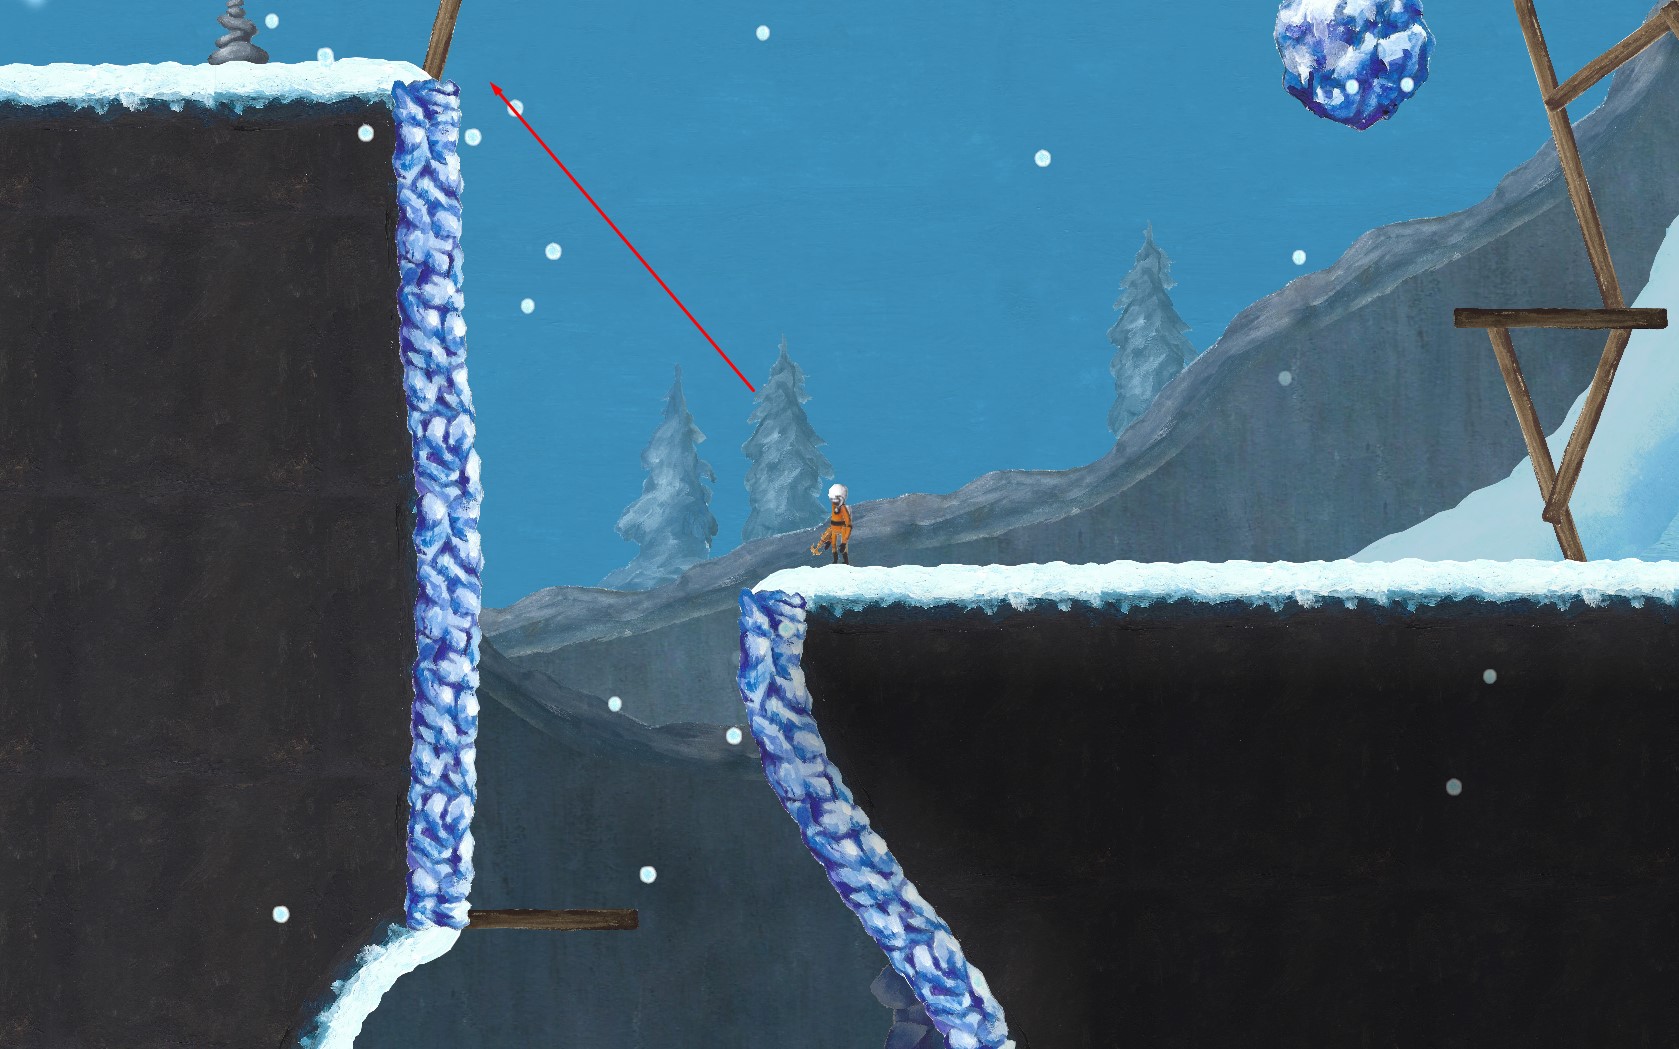
Acrylic Level
Drop down instead of jumping on the moving platform to get Entrancing Medallion.
After solving the puzzle with the 4 rotating platforms, instead of going forward, drop down to the left to get Tinkerer’s Goggles.
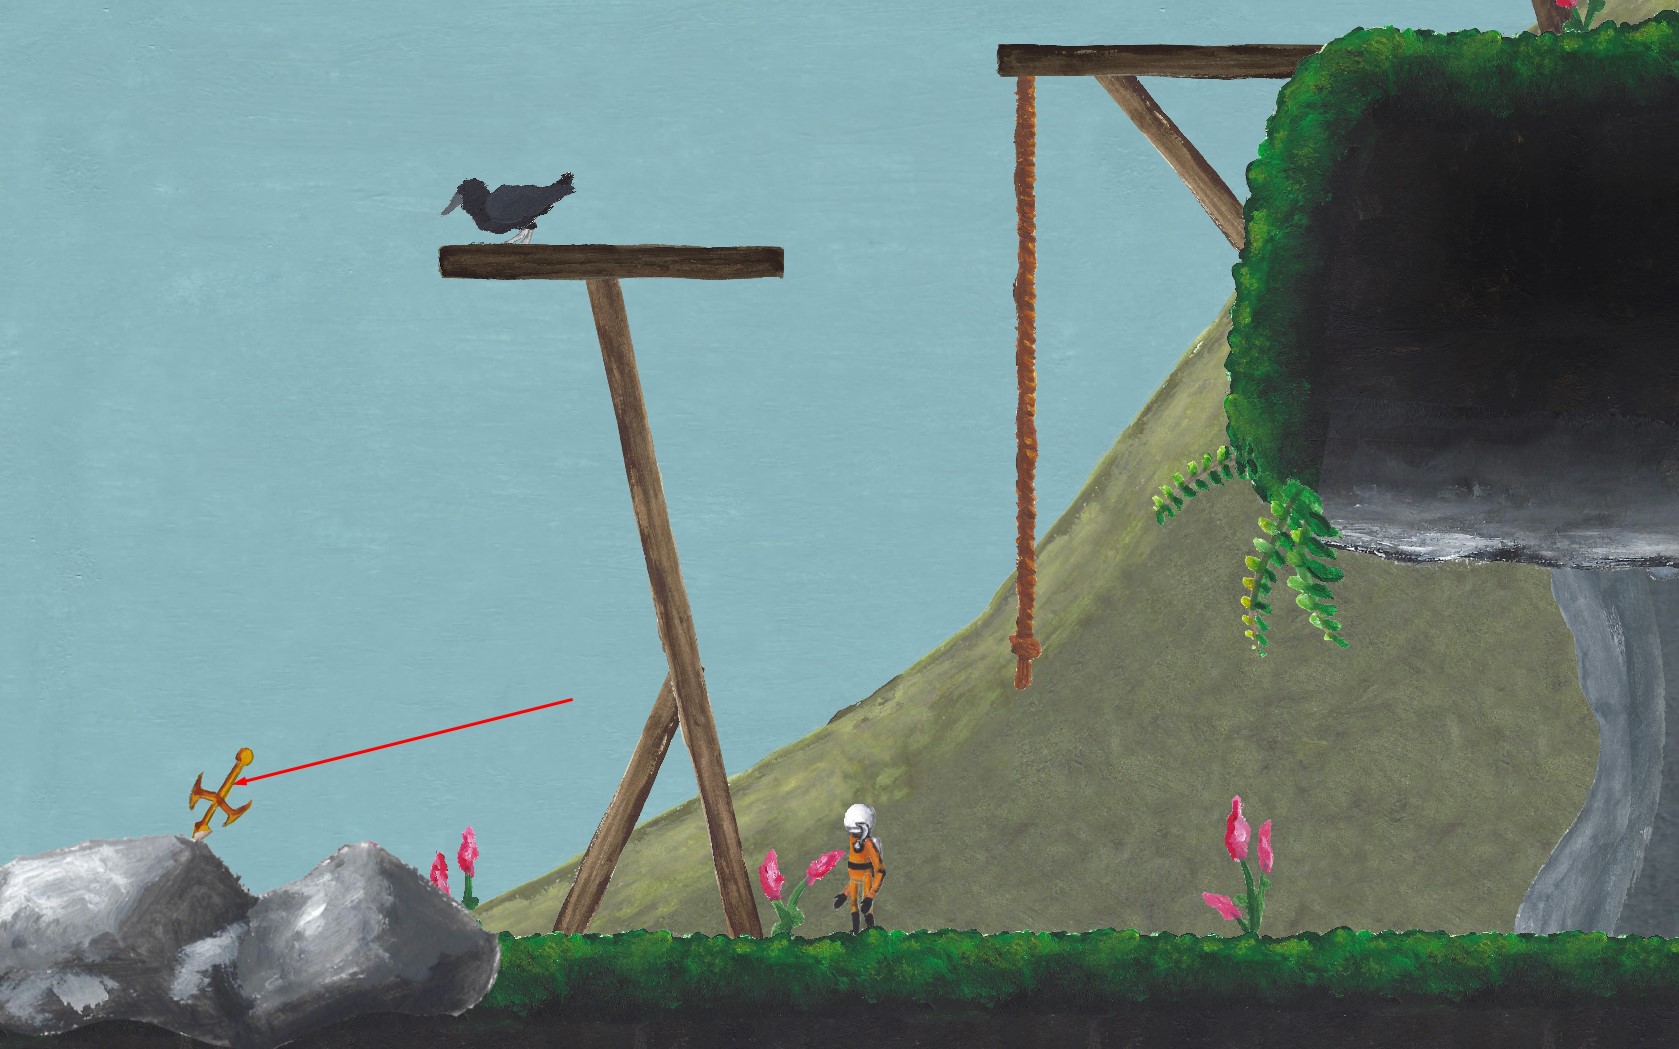
Use your grappling hook to swing to the left and up to get Tuft of Icy Fur.
During the Yeti boss fight, use your grappling hook to reach the area up on the left to get Monk’s Journal.

Astrologist
Find All the Artifacts in the Acrylic Level
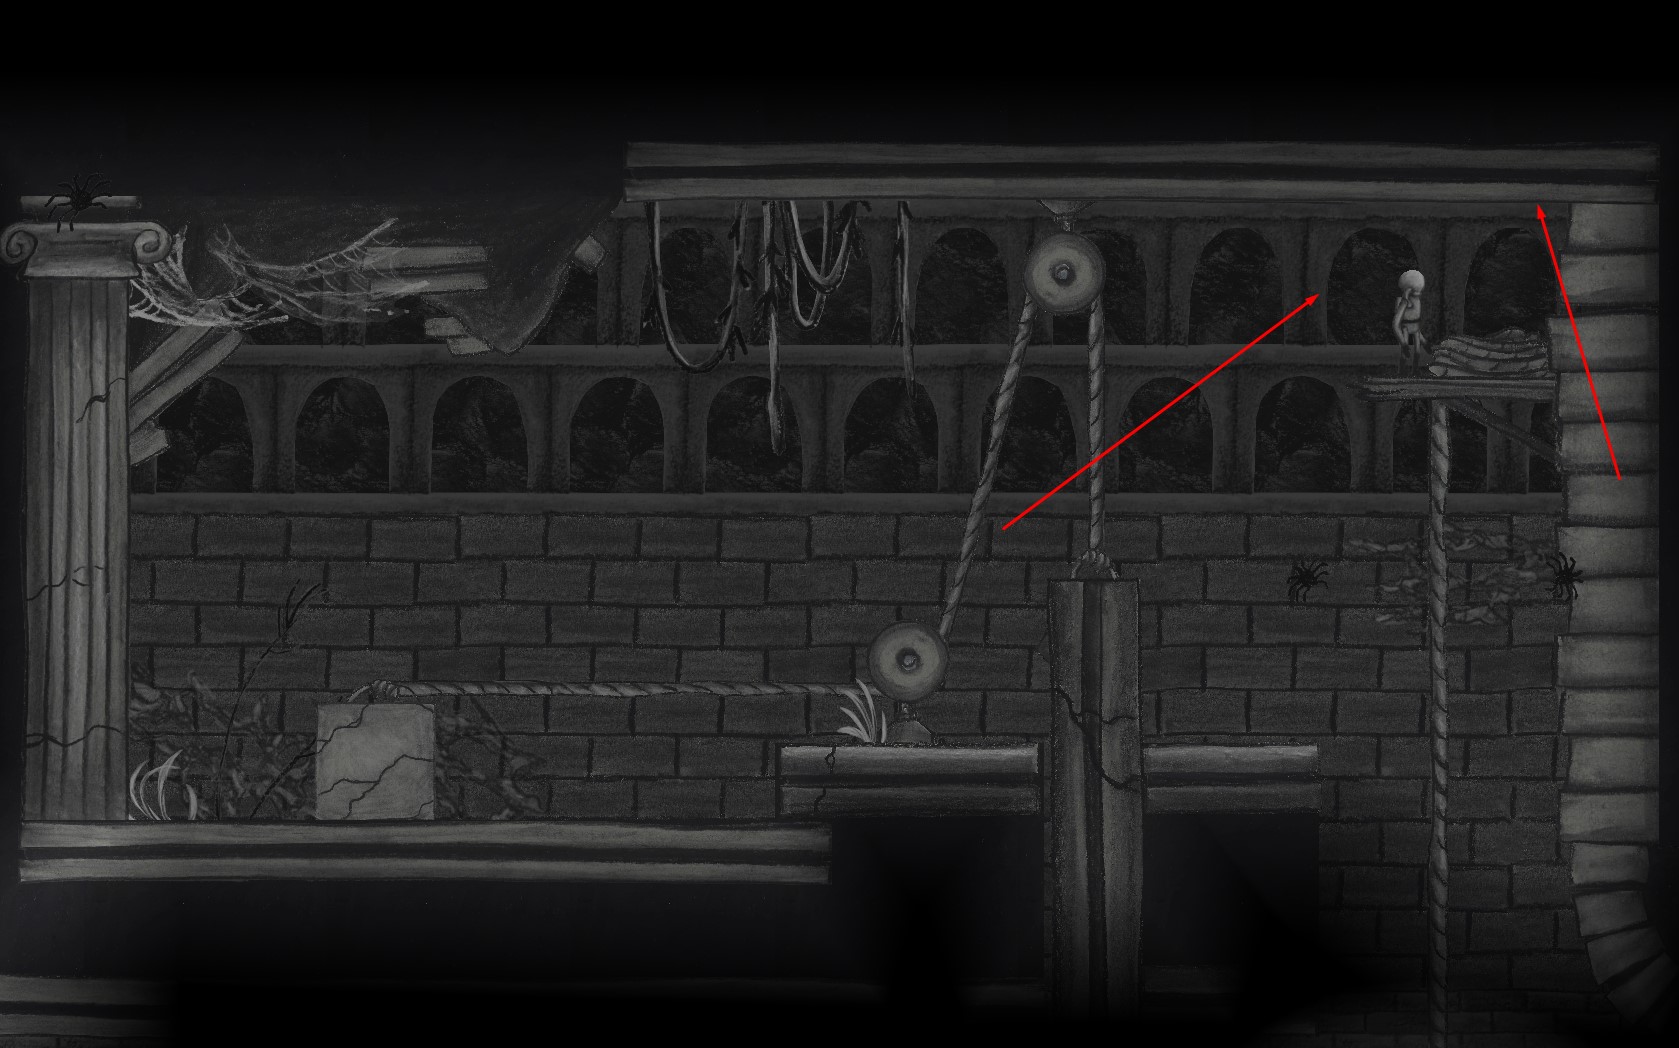
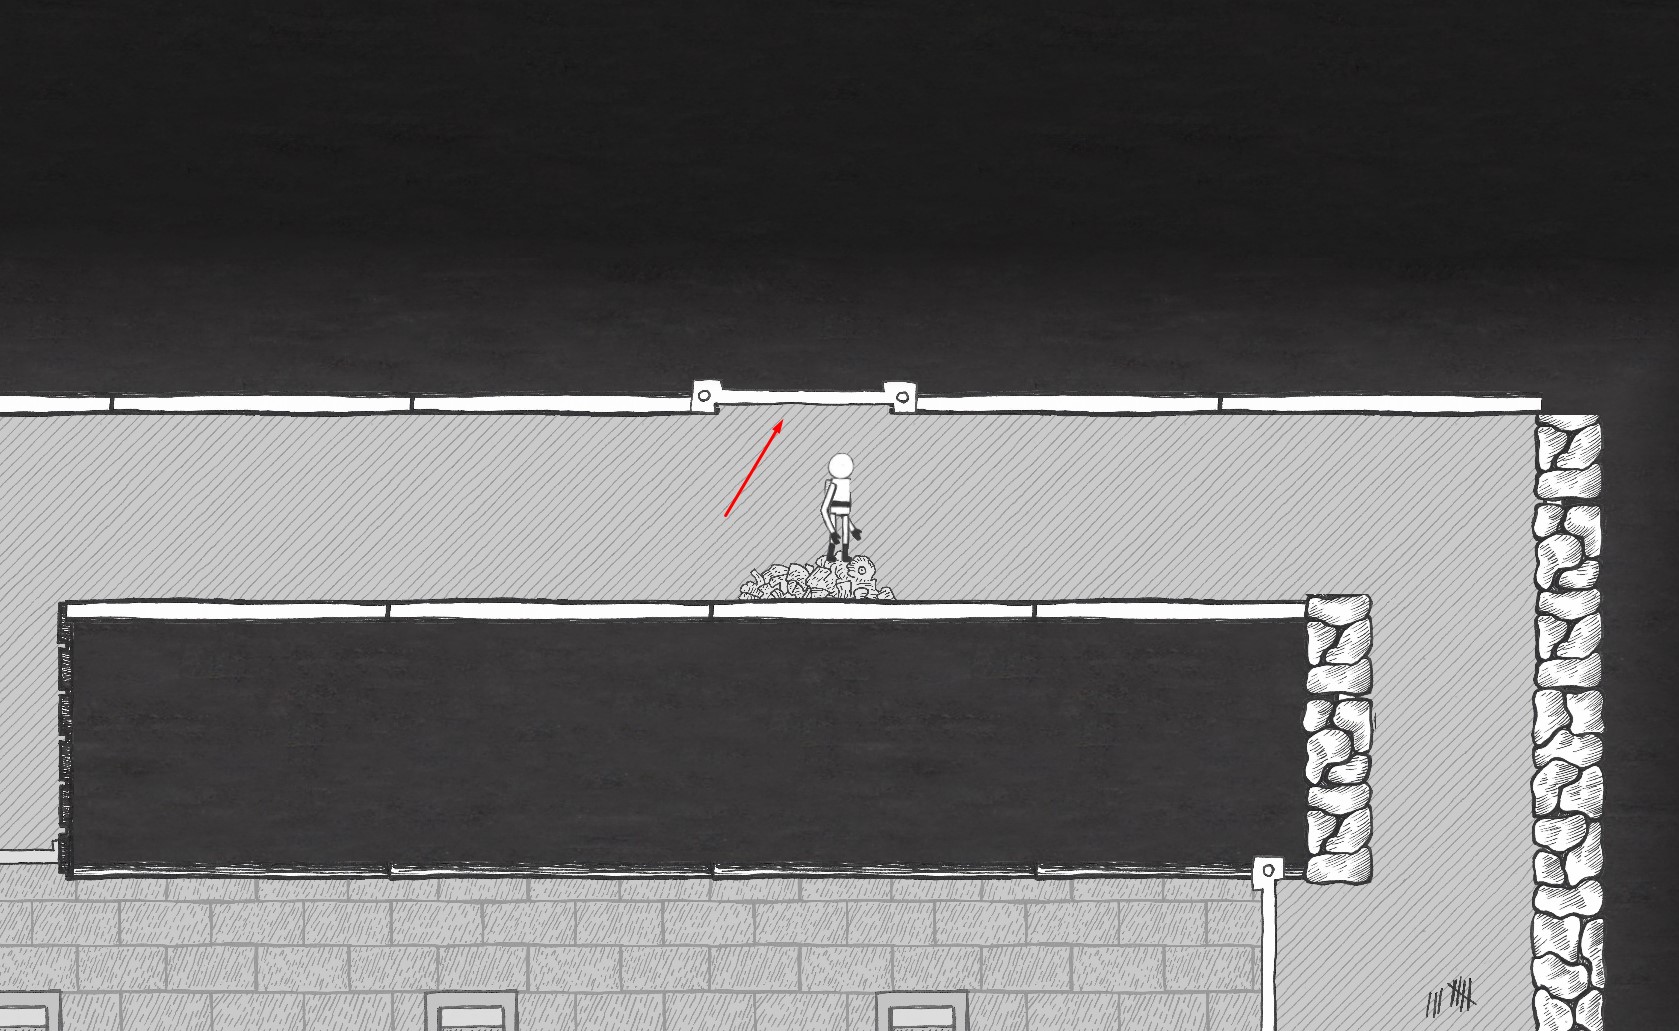
Pen & Ink Level
At the scene where you push the cage to free the square, use the wall to jump up and to the right, jump on the bones to the hole in the ceiling to get Educational Toy.
After you throw the square to open the door, throw him at the first security camera.
After you throw the square to open the second door, be careful not to rush too far ahead and fall down, throw him at the second security camera.
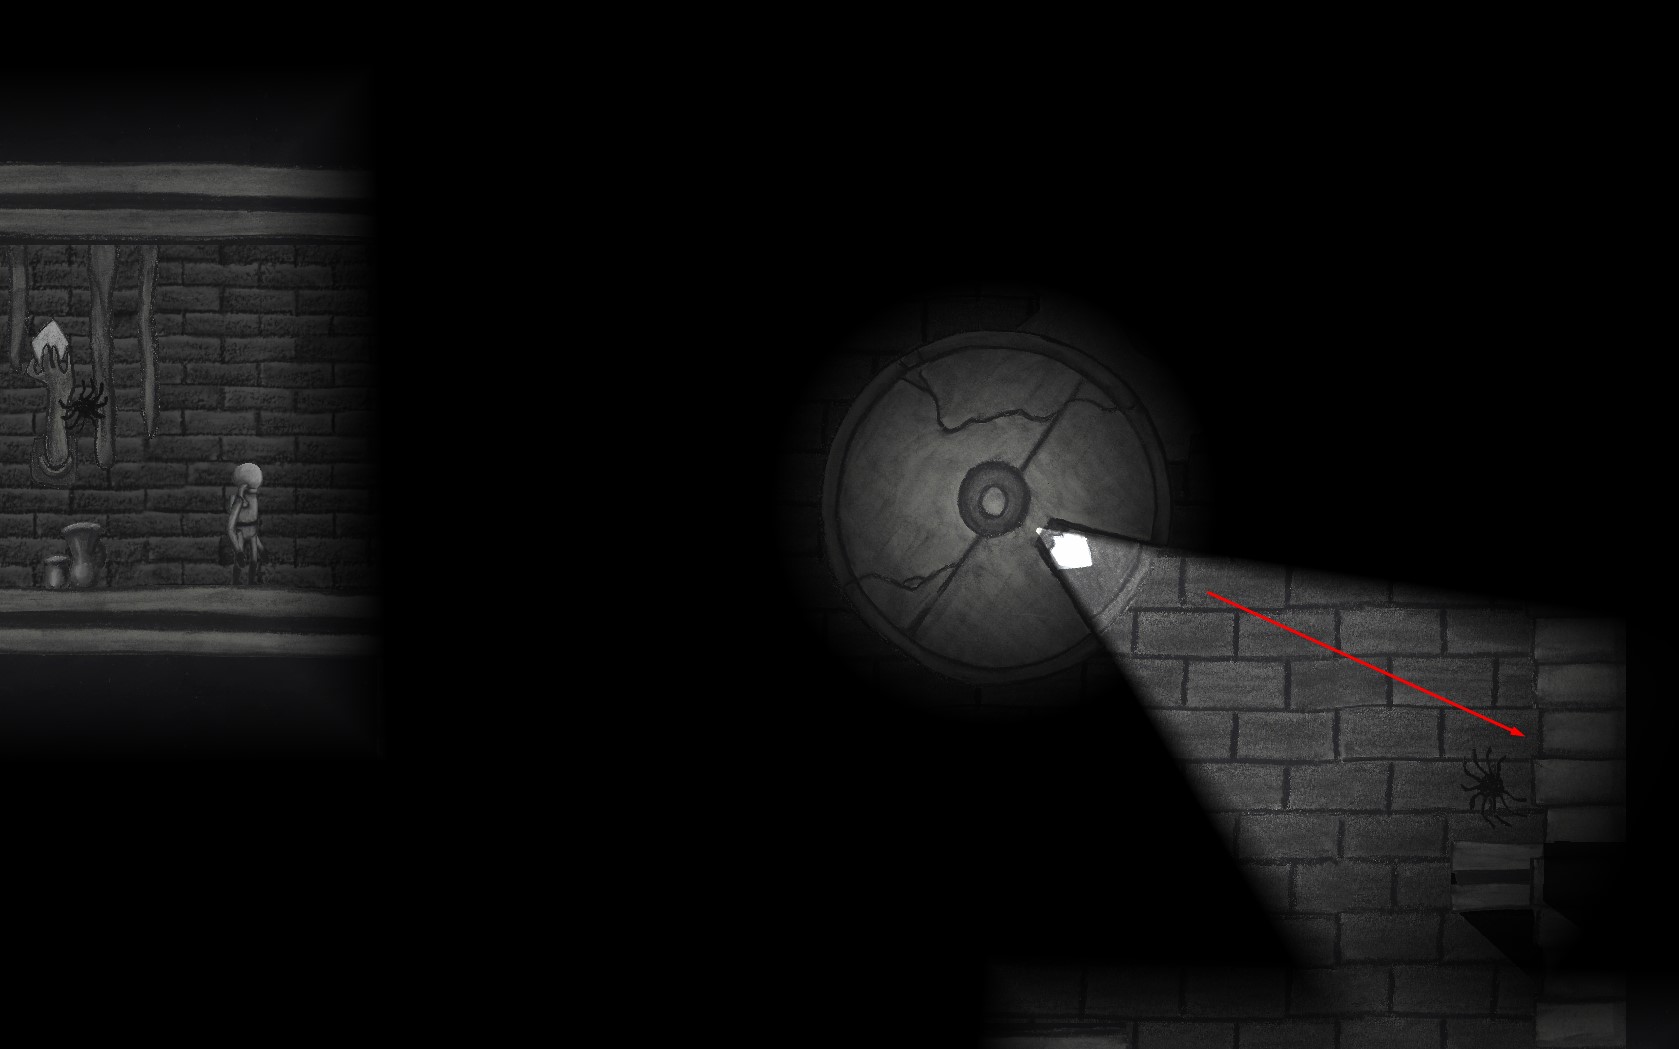
At the first fight with the circle, throw the square at the third security camera.
In the next scene with another circle fight, throw the square at the fourth security camera.
When you are pushing the cage, jump right in the hidden wall to get Triangle Skull.
At the scene where you find the third square, throw the square at the fifth security camera.
At the fight with the 3 円, throw the square at the sixth security camera.
At the same fight with the 3 円, go left of the lever in the hidden wall to get Ominous Medallion.

After unlocking the door by throwing the 3 正方形, throw the square at the seventh security camera.
After unlocking the door using the weight trigger, throw the square at the eighth and last security camera.

Always Watching Destroy Every Security Camera in the Pen & Ink Level
After the tennis playing circles, jump right in the hidden wall to get Circle Propaganda.

Sociologist
Find All the Artifacts in the Pen & Ink Level
Oil Pastel Level
Using the zip line blows out 2 dandelions. Jump to blow out the next 2 dandelions. Jump to blow out 2 more dandelions before reaching the box below. After finding the grasshopper, jump to blow out 1 dandelion. After solving a puzzle, jump to blow out 1 dandelion. After solving the next 2 パズル, jump to blow out the last dandelion.

Make a Wish Blow Out Every Dandelion in the Oil Pastel Level
When solving the beetle seesaw puzzle, jump in the hidden wall to get Red Feather.
After leaving the beetle, at the area with the ropes, jump below to the right to activate the lever to drop the box down. After talking to the frog, don’t go in the newly opened left path, 下に行く, then right to use the box to jump to the right to get Familiar Painting.
When you find the bee, fly straight up to get Eerie Medallion.

After solving a few puzzles with the spider, crawl on the ceiling to find an opening in the hidden wall to get Spider’s Collar.

Entomologist
Find All the Artifacts in the Oil Pastel Level
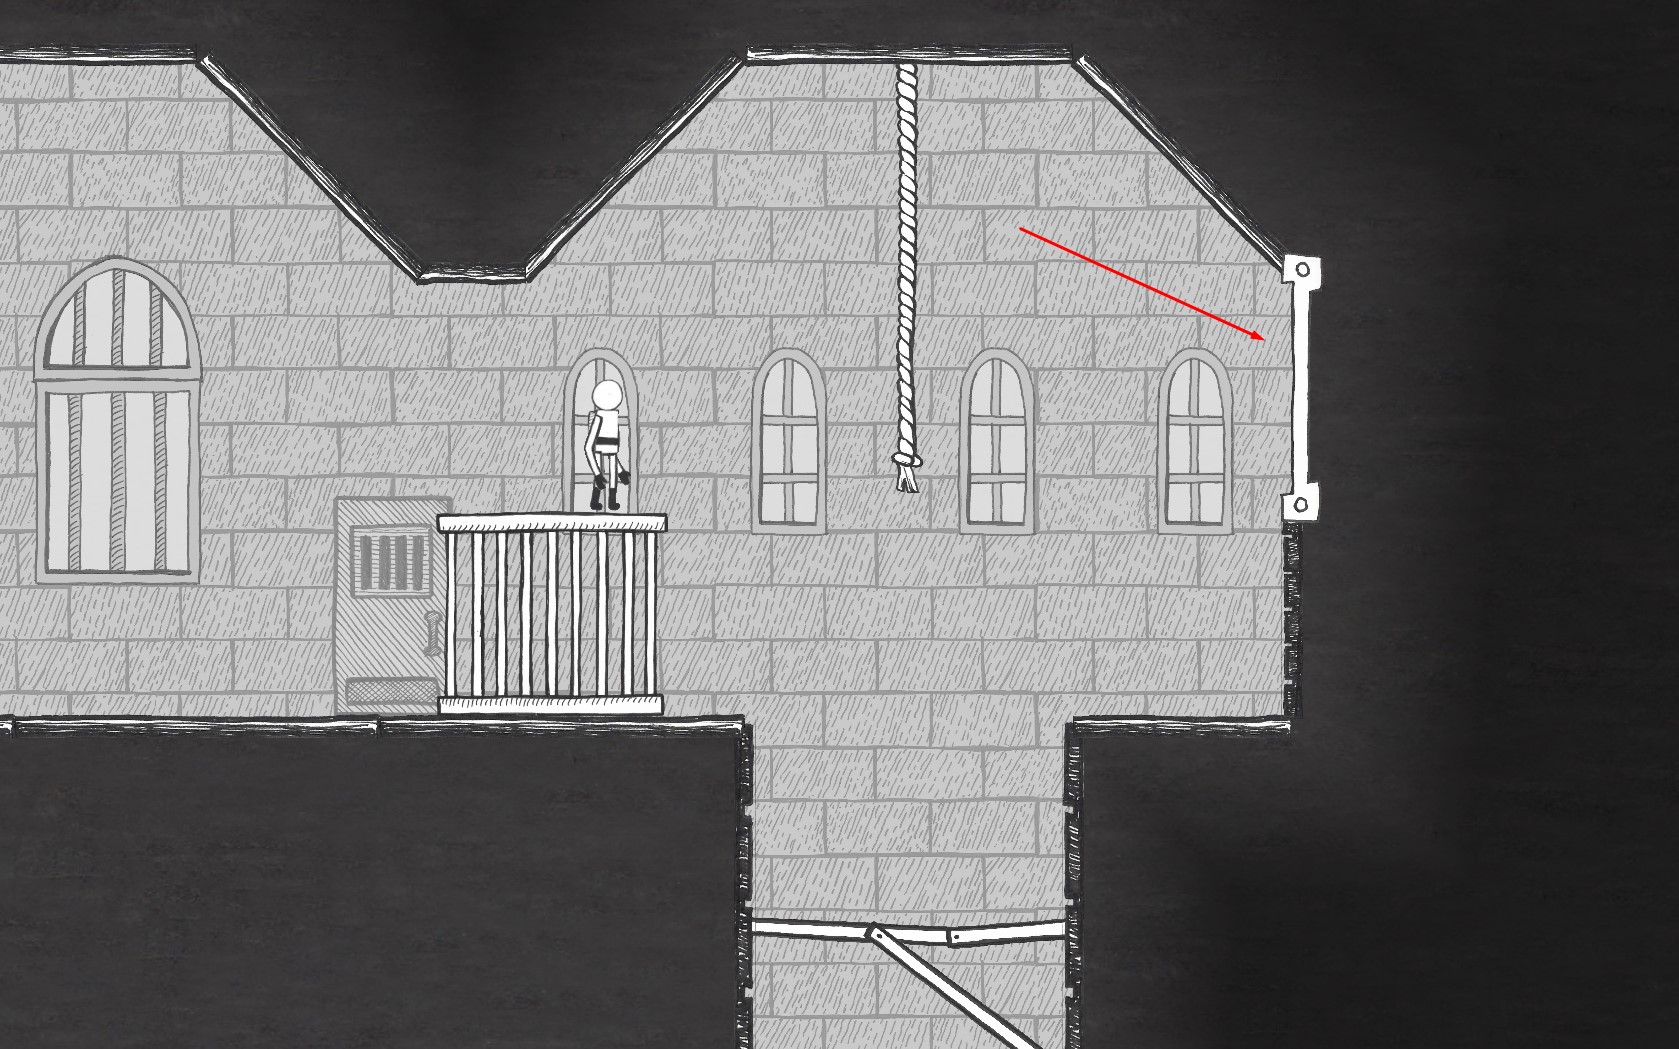
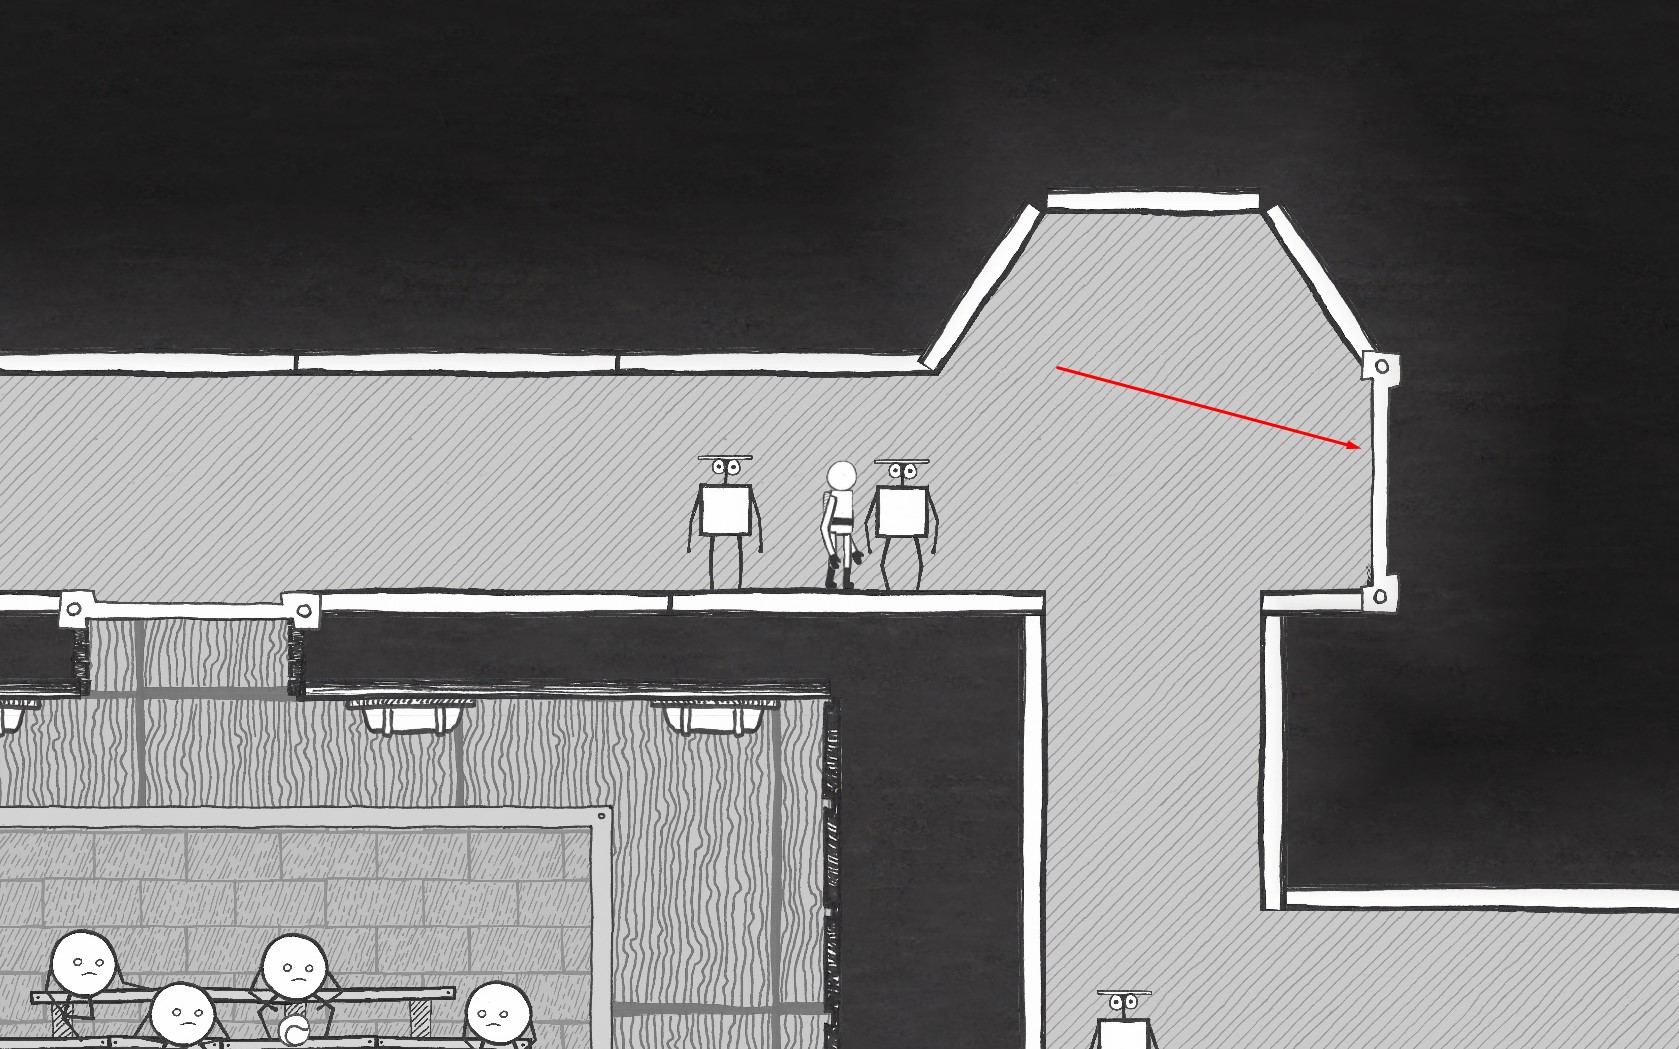
Collage Level
レベルの開始時, go left to get Distorted Graph.
After jumping on the balconies, when using the elevator, hold left to find a hidden wall and get Haunting Medallion.
When the portals open and you find the first box, push it first to the left, to reach the platform and get Meteorite Chunk.
After solving the big puzzle with portals, jump left in the hidden wall to get Corrupted Rabbit.

Meteorologist
Find All the Artifacts in the Collage Level
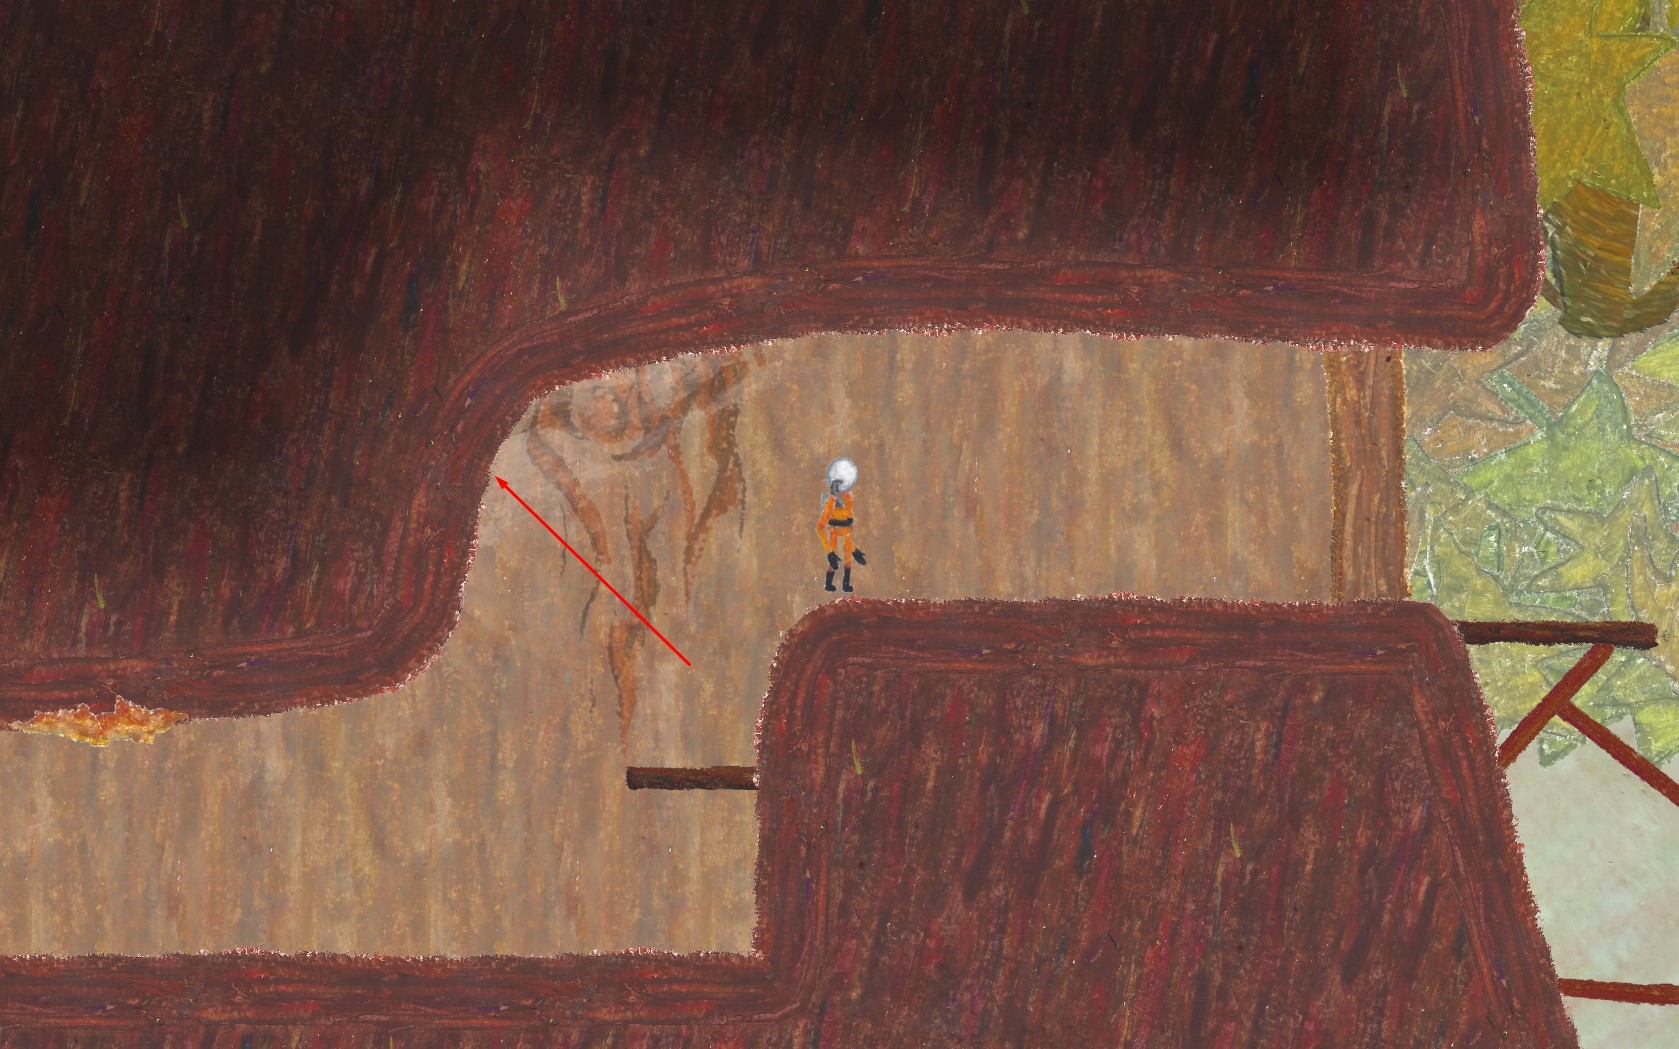
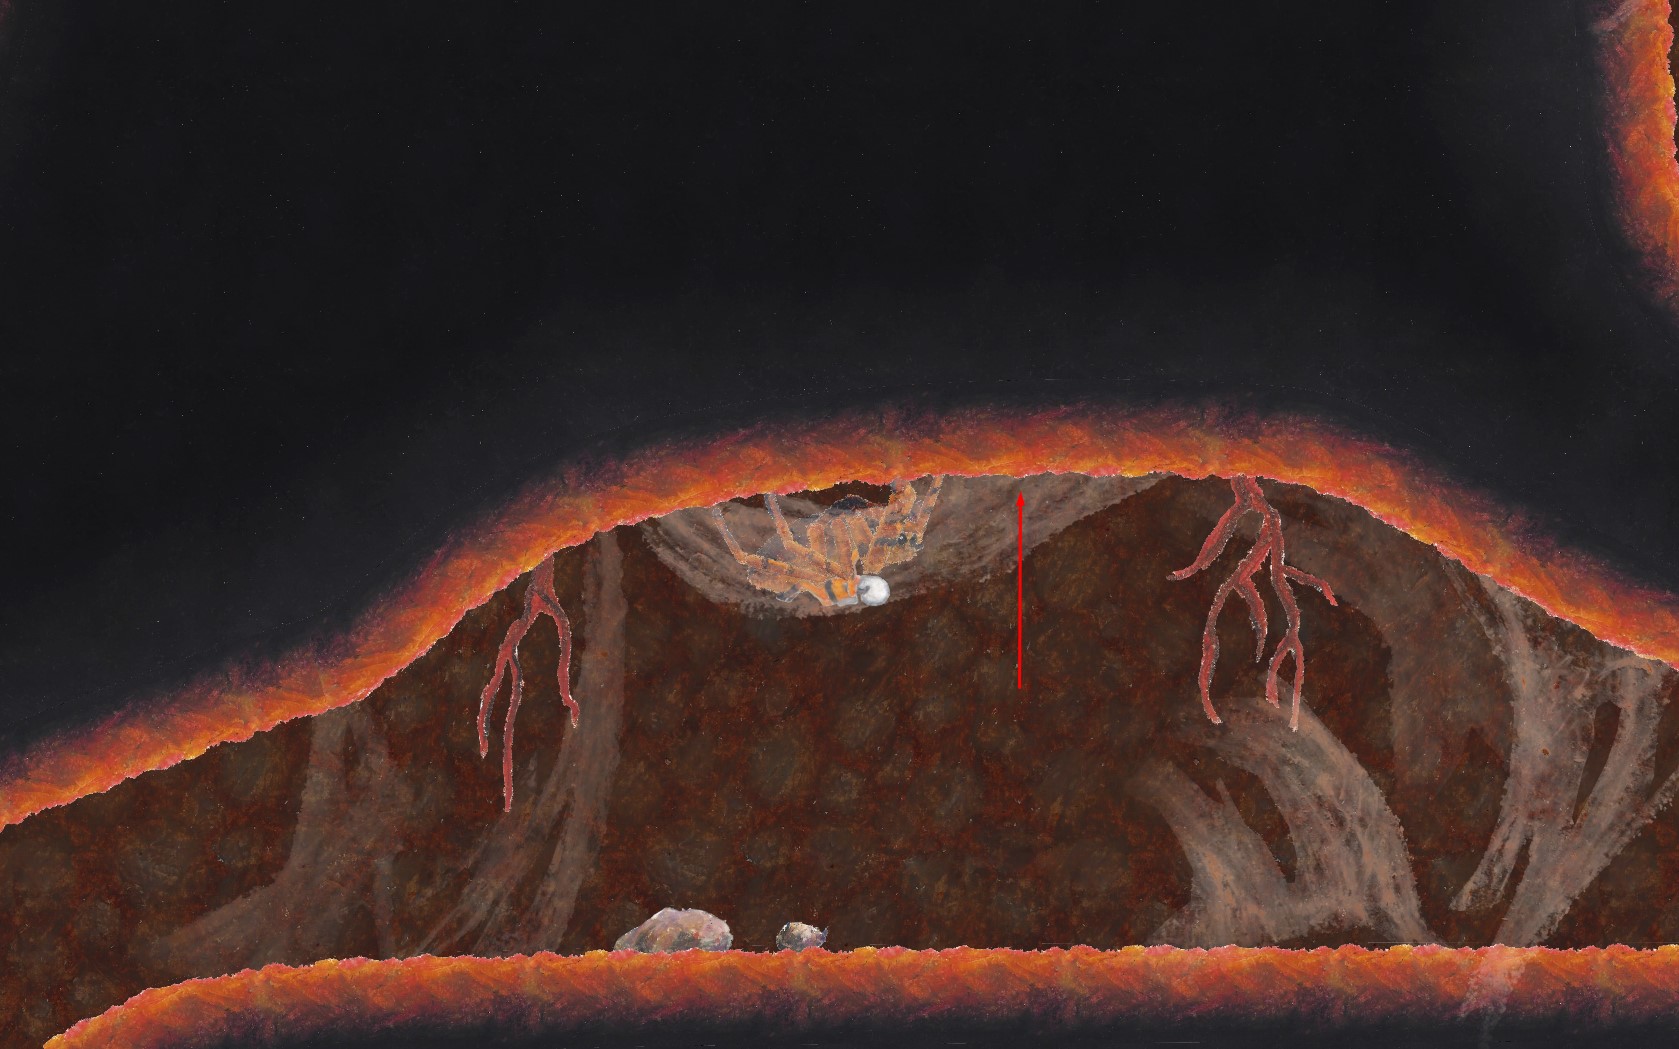
Gouache Level
レベルの開始時, go left to get Sinister Medallion.
Jump between the spikes to get Abstract Hand.

Psychologist
Find All the Artifacts in the Gouache Level
エンディング
After passing all the exhibits, enter room 101 右側に (this door only opened on the second play of the level for me) and keep walking right to get the 9 giant red rats and to get The Blessing of the Nine.

The Multi-Medium Discover Every Artifact
これが今日私たちがこの目的で共有するすべてです The Multi-Medium ガイド. このガイドは元々、次の者によって作成および執筆されました。 FrozenShiver. このガイドを更新できなかった場合, これに従って最新のアップデートを見つけることができます リンク.