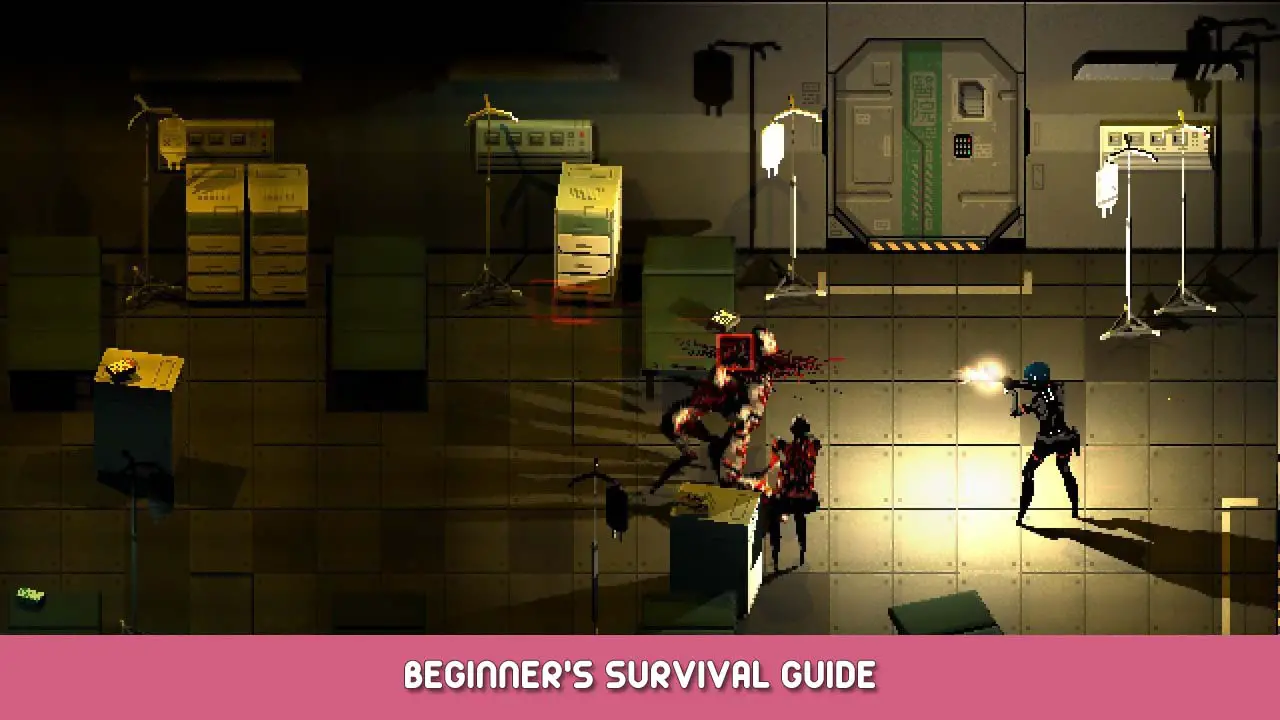
Advice for surviving SIGNALIS, the boss fights and every ending.
危険
I will be adding more to this guide over time, so dont worry if it seems a bit short right now. Feel free to suggest ideas as well and I will add you to the tips.
Spoiler-Free Tips
Throughout the entire game you will only have six inventory slots, so it’s important to manage this properly. From my experience and hearing from others I find that the best way to manage your inventory is the following:
- 1 Slot for a weapon
- 1 Slot for ammo
- 1 Slot for a utility item (気絶させる, 懐中電灯, 等)
- 1 Slot for healing items
- 2 Slots for Key Items (I suggest taking these right to storage until you know they are needed)
This layout for the inventory is balanced for having everything you need and having enough space to have key items on you without needing to juggle many items around storage.
Ammo management can be incredibly rough given you only have six inventory slots for the game. My general rule is that if I’m in a wide area then I can probably dodge most enemies taking little to no hits, saving ammo for tough fights and tight areas you need to shoot your way through.
Burning bodies is best reserved for passageways you will be going back and forth an area a lot, typically when trying to gather a lot of items. This is the best way to manage burning bodies as there is no point wasting uses on a room you probably won’t go back into.
I find it best to try and map out what is and is not accessible each time you enter a new room running by the doors will give you a popup of if it can be entered, is locked by a key or is inaccessible. This can be useful for saving time as I have gone back to rooms where I did not check doors just to find they are inaccessible.
ネタバレ警告!
Dealing with Bosses
WILL BE ADDED LATER
FOCUSING ON BOSS FIGHTS AND SPECIFIC ENDINGS
- Suggested Items:
- 1 Slot dedicated to Healing Items, preferably what you have the most of.
- 1 Slot for the Pistol
- 1 Slot for the SMG
- 1 Slot for SMG Ammo (Pistol is fine if you don’t have enough SMG Ammo)
- 2 Empty slots for Spears
I do not suggest using Tank Controls for this fight but it is up to preference.
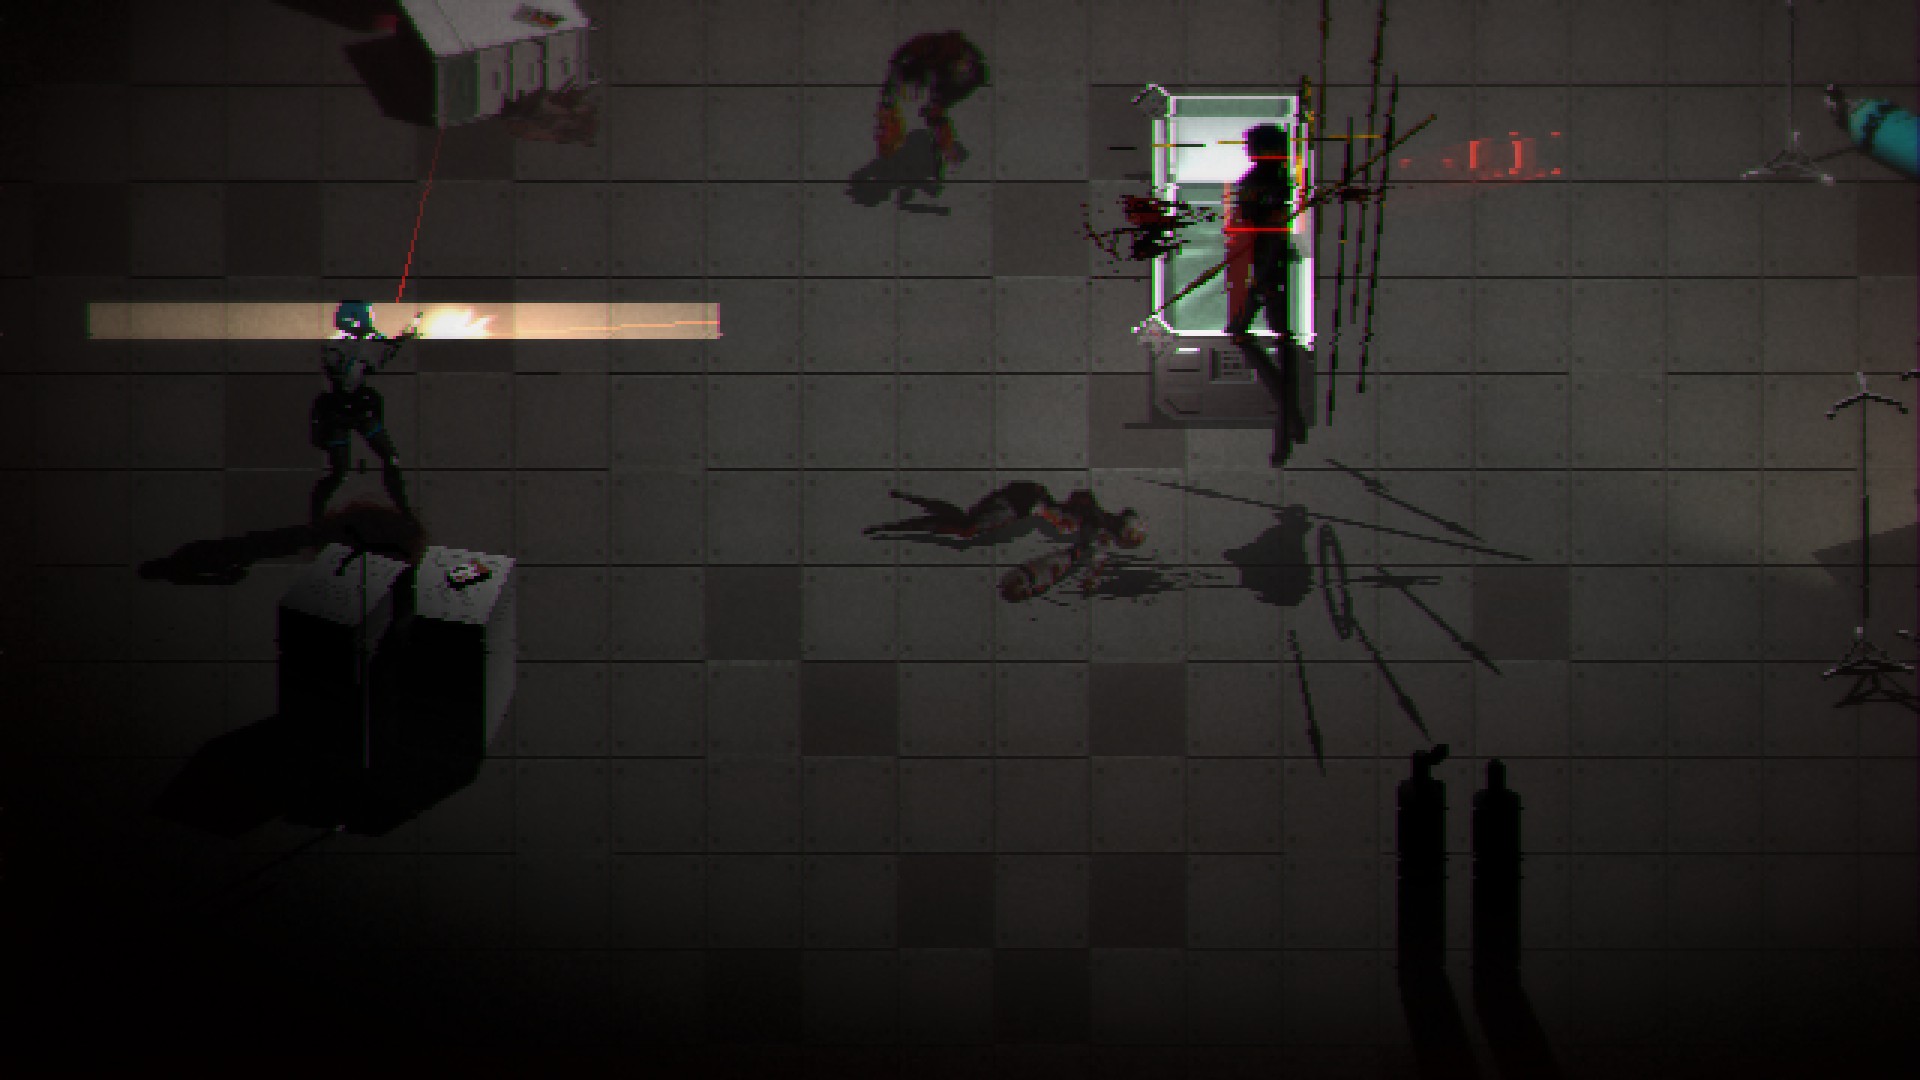
My general strategy is to focus fire on Falke in the early part of the fight with SMG Fire, they should quickly fall to the ground. Once this happens pick and Spears to fill your inventory, run up to Falke and interacting should stab them with a Spear.
Each time Falke is stabbed with a Spear the area you are in will change, which will bring enemies and items. Take any ammo for your weapons if you need it and my general strategy for dealing with the normal enemies is to just make distance and focus all fire onto Falke.
Falke also has their own attacks but these are relatively simple to dodge and there should be a healing item around if you ever take damage from these. The main concerns with Falke’s attacks is dodging them while also making sure not to get hit by any roaming enemies. If the roaming enemies do start to become a problem then it might be best to shoot a few down if you have the ammo to spare.
As the fight progresses Falke will gain shields, first three shields but six shields towards the end. These can be frustrating to deal with while avoiding taking damage but make sure to take it slow as your cursor tells you if you shot will hit if the square is clear. Once Falke has been stabbed with enough Spears the fight will end and you will progress towards your ending.
エンディング
Give thoughts and share theories about the endings, this section of the guide wouldn’t be here without that thread.
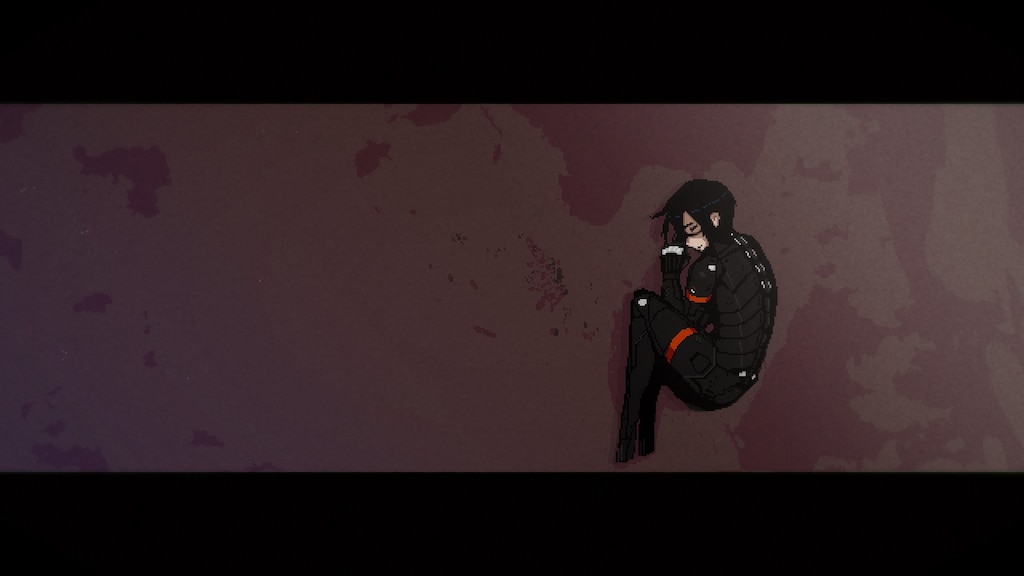
要件: なしFake Anti-Climatic ending where Elster appears to die after escaping the fleshy hell area through the tablet door. The game can be continued by selecting
始めるon the menu.
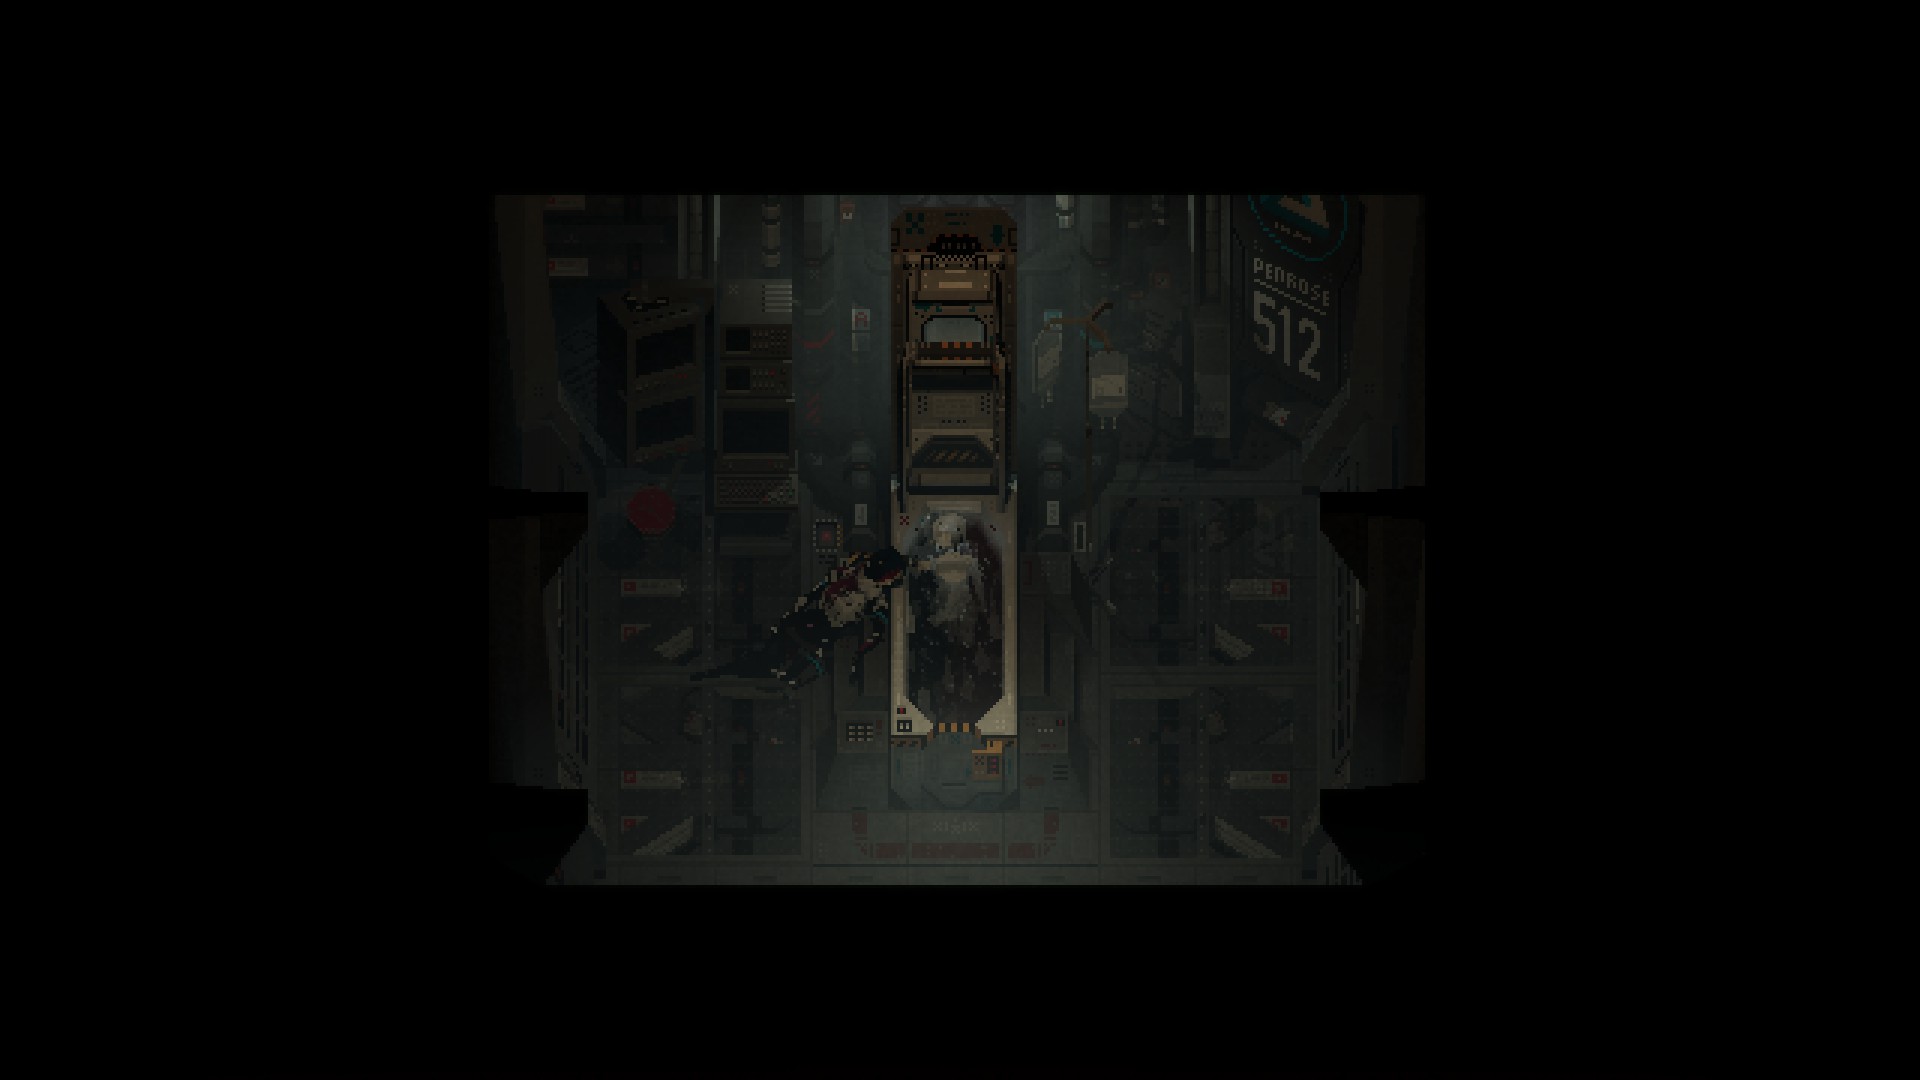
要件: 未知This seems to be the most common ending. Elster returns to the ship to find Ariane(Alina?), a corpse resembling Elster at the start of the game can be found in the mess hall. Upon finding Ariane she does not remember Elster, despite this Elster lies next to her as Ariane reaches out her hand. The two together one last time before death.
要件: 未知
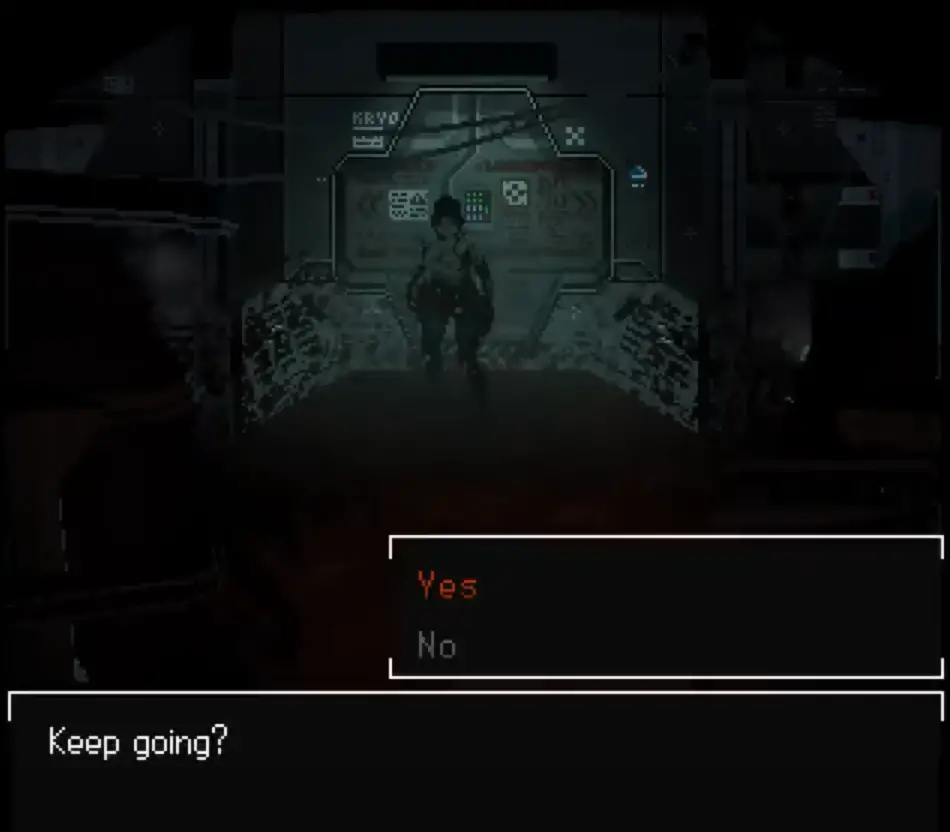
要件: 未知This seems to be the worst possible ending. When Elster returns to the ship, they can explore like usual. Interacting with the Mess Hall corpse makes Elster mention that they did not keep their promise. Entering the Cryo-Room instead results in Elster leaving the ship instead, there is no reveal of Ariane in the Cryo-Pod. As Elster leaves there are some flashing sentences about failing to keep the promise before Elster collapses. It is safe to assume Elster dies here, Ariane will also die in the Cryo-Pod eventually.