The last battle against the big boss in Resident Evil 3 on the super tough Inferno mode was seriously one of the trickiest gaming ordeals I’ve ever tackled. But here’s the good news: it’s not as luck-based as it might seem. このガイドでは, I’m going to break down some tips that made a world of difference for me during this epic showdown. プラス, I’ll help you understand the typical attack patterns that Nemesis, the bad guy, tends to use.
Inventory Before the Fight
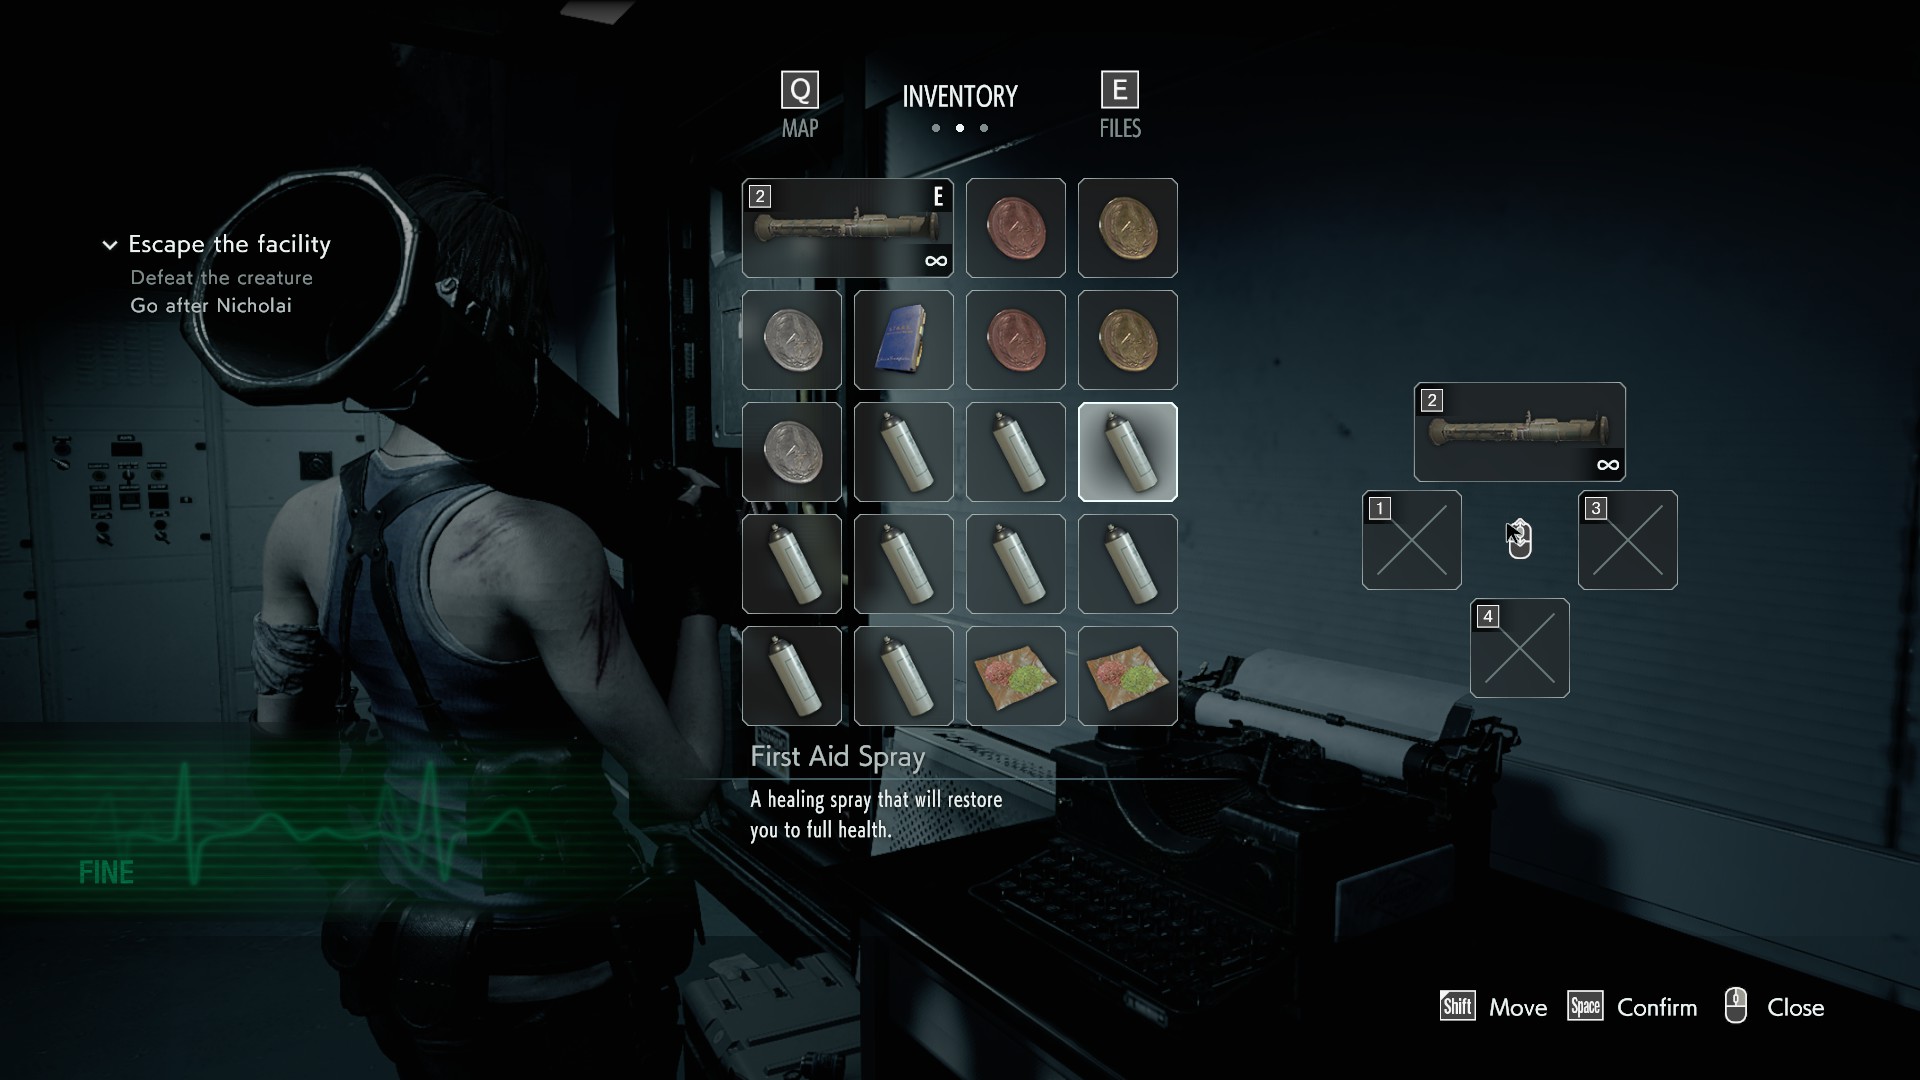
Before facing the tough final boss in Resident Evil 3 on Inferno mode, I made sure to use all the bonus items available to me. これらには以下が含まれます:
- An infinite rocket launcher
- Various coins (assault, 防衛, recovery, 2x each)
- The S.T.A.R.S. マニュアル
- Both bonus hip pouches I also filled my inventory with healing items I collected during my game. While it’s possible to beat the boss with just a handgun, I recommend using everything you have to gain an advantage.
基本的なヒントとコツ
ヒント #1: Stay in the Middle: 始めるには, you wanna stand kind of in the middle, not too close to the gun compartment, but not too far either, unless Nemesis does his first attack super early. Being in the middle gives you more space to watch what Nemesis is doing, so you can guess his next move and have more time to react. I’d say don’t hug the compartment too tight because sometimes Jill’s body might block your view.
ヒント #2: Slow Motion Mode: 今, here’s a cool trick. If you dodge perfectly and then start aiming right away, it’s like you’re in slow motion. This makes it way easier to aim your shots, which is super handy.
ヒント #3: Roll with the Random Stuff: 最後に, sometimes weird things happen, like Nemesis shooting acid or roaring and messing up your plans. Don’t let that get you down. Just keep your cool and stay focused.
今, let’s talk about the actual fight.
- 段階 1: This is the first part when you open the compartment and shoot Nemesis for the first time. You’ll need to turn on 3 power sources to beat him. Every phase, I do the same thing: shoot the bulbs on the left first, then the ones in the middle, and finally the ones on the right. 段階 1 is kinda easy because Nemesis usually does the same attacks, so it’s easy to figure out. I save the bulbs on the right for last because the first power source you gotta activate is the one on the far right.
- 段階 2: Once you’ve turned on the first power source, 段階 2 始まります. I’ll explain more in a bit, でも今のところ, shoot the left bulbs, then the middle ones, then the right ones, and activate the last power source on your right.
- 段階 3: 段階 3 is pretty much like Phase 2. If you got Phase 2 下, あなたは黄金色です. After you shoot all the bulbs, activate the last power source on your left and dash back to the gun compartment. When Nemesis falls down, you’ve basically won the fight. 簡単にピーシー!
Nemesis Attack Patterns
Nemesis, the big bad boss, has different moves he uses when you’re fighting him. To beat him, you gotta know how to handle these moves. Here’s what I’ve seen during my run:
攻撃 1: Nemesis slams his fists into the ground, getting closer to you. This usually starts Phase 1. The trick here is simple: stay at the back and stick close to the gun compartment. That’s the only time you want to hang out there. Doing this will keep you safe, and you can shoot his bulbs without getting clobbered.
攻撃 2: Nemesis raises one hand and smacks you from above. On Inferno mode, he can do this up to 8 回. 悲しいことに, the only way to deal with it is to dodge. This is his go-to move in the fight and can be pretty pesky. In Phases 2-3, he gets random with the number of hits, so you gotta be quick and watch for his hand going up to time your dodges.
攻撃 3: Nemesis swipes either from the right or the left. He does this when you’re too close to a wall. 同相 2, he usually starts with this move, especially if you just powered up the first source on the right. His pattern here is right, 左, 右. You can’t block this one; you gotta dodge it three times.
攻撃 4: Nemesis raises both hands high and smacks you from above. I didn’t see this one often, so it seems kinda rare. But don’t sweat it too much. This attack takes a while to wind up, so you’ll spot it coming a mile away. When it happens, just dodge, and you’ll be A-okay.
攻撃 5: Nemesis uses his hands like a plow and grinds them against the ground twice. This one’s weird because I only saw it once, but the solution is still dodging.
Now that we’ve covered the attacks, let’s break down each phase and what to do to conquer them.
段階 1
Let’s talk Phase 1, where the action begins right after you shoot Nemesis for the first time. カットシーン後, step back towards the gun compartment but don’t hug it just yet. 今, watch Nemesis closely. この時点で, he can do one of two attacks: 攻撃 1 or Attack 2 (攻撃 1 is more common).
攻撃 1: If he starts pounding the ground with his fists, that’s the jackpot. Move a few steps back and get cozy with the gun compartment. Nemesis won’t touch you. While he’s slamming the ground, aim your rocket at the bulbs on your left. When he finishes his slam and reveals the bulbs, blast ’em. That’s one-third of Phase 1 終わり! If you’re speedy, you can try hitting the middle bulbs too, but get ready to dodge Attack 2 shortly after.
攻撃 2: If Nemesis kicks off Phase 1 with this move (you’ll see him raise his hand), you’ll have less reaction time. It might be tough to dodge perfectly at first, but practice makes perfect. Here’s a sneaky thing about Attack 2 in this phase – he often does more than one slam. Don’t go wild on the dodge button. After his first slam, he raises his hand again and slows down. If you spam dodge, he’ll hit you with that slower slam and possibly combo you. Not fun! それで, wait for the right moment to dodge the first hit, then wait again for the slow slam. その後, you can start dodging freely. The slow slam can actually help you recover if you miss the first dodge.
Summing up Phase 1:
- First Nemesis attack – if it’s Attack 1, aim at left bulbs and fire. Maybe middle too if you’re quick. Get ready to dodge Attack 2. If it’s Attack 2, dodge first, then destroy left bulbs.
- After left bulbs, hang in the middle. He’ll do Attack 2 また, with one normal slam, one slow slam, and a couple more normal slams. それから, hit the middle bulbs. If they’re gone because of Attack 1, move right and blast the last bulbs. When Nemesis drops, rush to the far-right power source and activate it.
- Nemesis will do Attack 2 a third time. Same drill. その後, move right, destroy any remaining bulbs, and activate the power source. Bravo! You’ve completed Phase 1, now onto Phase 2.
段階 2
段階 2 is tougher than Phase 1. It’s not just about remembering; it’s about reacting quickly. In this stage, our hero can use all their attacks, but Attack 2 is the one we see most. When Nemesis gets up as we’re activating the first power source, time is short. We can either stick to the wall and prepare to dodge three swiping attacks or try to get to the middle of the room near Nemesis. でも気をつけてください, this might trigger Attack 5, which is tricky to dodge. しかし, it could also trigger Attack 1, which is easier to counter. そのように, we can eliminate two sets of bulbs quickly. This phase is quite unpredictable, so buckle up for some surprises.
Here’s where things differ from Phase 1. Assuming Nemesis starts with Attack 3, after the swiping attacks, we can’t start blasting his bulbs right away. すぐ, he’ll pull off Attack 2. This phase introduces a new twist I like to call “delayed slams.” Instead of lowering his hand slowly, Nemesis keeps it up for a moment and then slams it down without warning. Tricky to dodge, 右? But here’s the silver lining: after a delayed slam, Nemesis finally takes a breather, giving us a chance to heal if he landed a hit. It’s also the perfect moment to use the slow-motion trick since we know when Nemesis stops attacking.
After his first two attacks, take aim at his bulbs. Don’t rush; wait for his next move (which could be anything, so stay on your toes), then repeat the process. When Nemesis topples to the ground again, head to the last power source on your right to kick off the final phase. Keep an eye on Nemesis’ アニメーション, watch out for those delayed slams, and with some practice, you’ll conquer this phase like a champ!
段階 3
今, we’ve reached the final phase, and it’s pretty similar to the one before it. The attacks are a bit of a mixed bag, so expect the unexpected. Nemesis throws a combination of his moves, but if you stick to the middle, the main concern is Attack 2 (the others are simpler to dodge, and Attack 1 practically hands you a bulb for free). Keep an eye out for both slowed and delayed slams.
Here’s the twist: as you rush to the gun compartment after activating the last power source on the left, Nemesis might start attacking again. ほとんどの場合、, he’ll only hit you once, and you’ll have no trouble reaching the gun to finish the fight. 集中し続けてください, and you’re on your way to victory!