
Are you ready to become an elite Helldiver in Helldivers 2? This guide has got your back! ここ, you’ll discover a treasure trove of tips and tricks to boost your survival skills, amp up your looting game, and ascend to new heights of awesomeness in the unforgiving world of ヘルダイバー 2.
序章
Since not all players enjoy reading, you can also check and watch this video for a more detailed guide about this topic. All credits go to Gaming Existence on YouTube.
ステルス
Using stealth while moving around can help you avoid fights altogether. It might not be the flashiest approach, but if you run out of ammo, you won’t last long as a Helldiver.
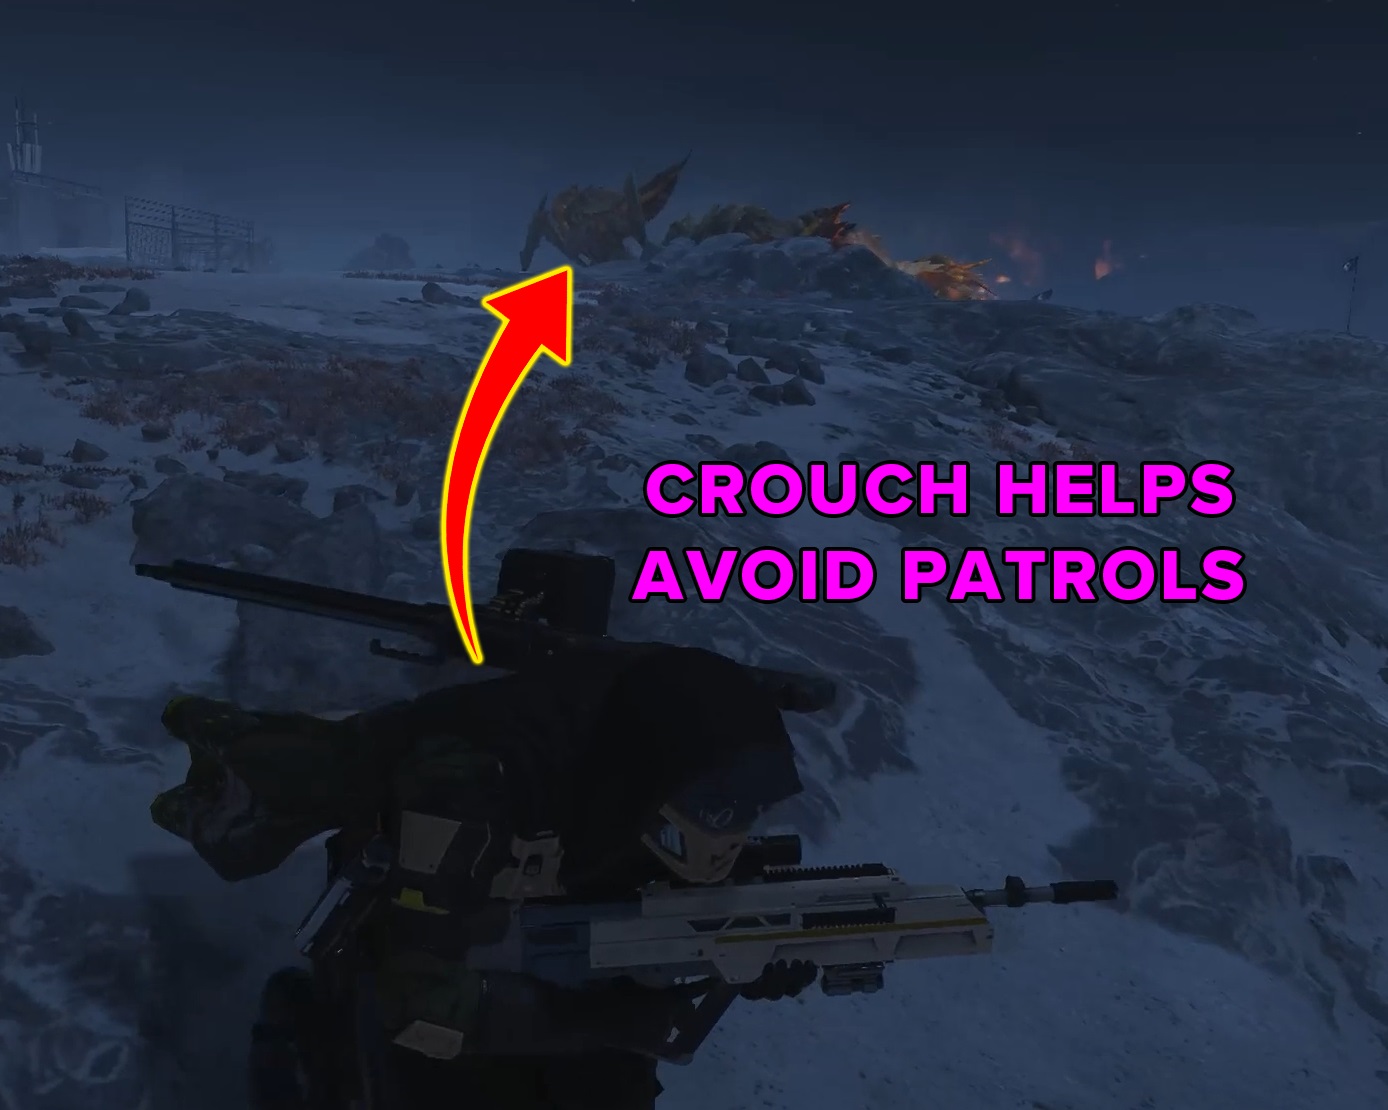
覚えて, stealth is a valuable tactic to remember. Certain armor options can enhance your stealth abilities, although you can still utilize stealth with any armor type. Some armors provide a significant boost in this regard.

By employing stealth, you can evade encountering formidable foes entirely, conserving your ammo and valuable time.
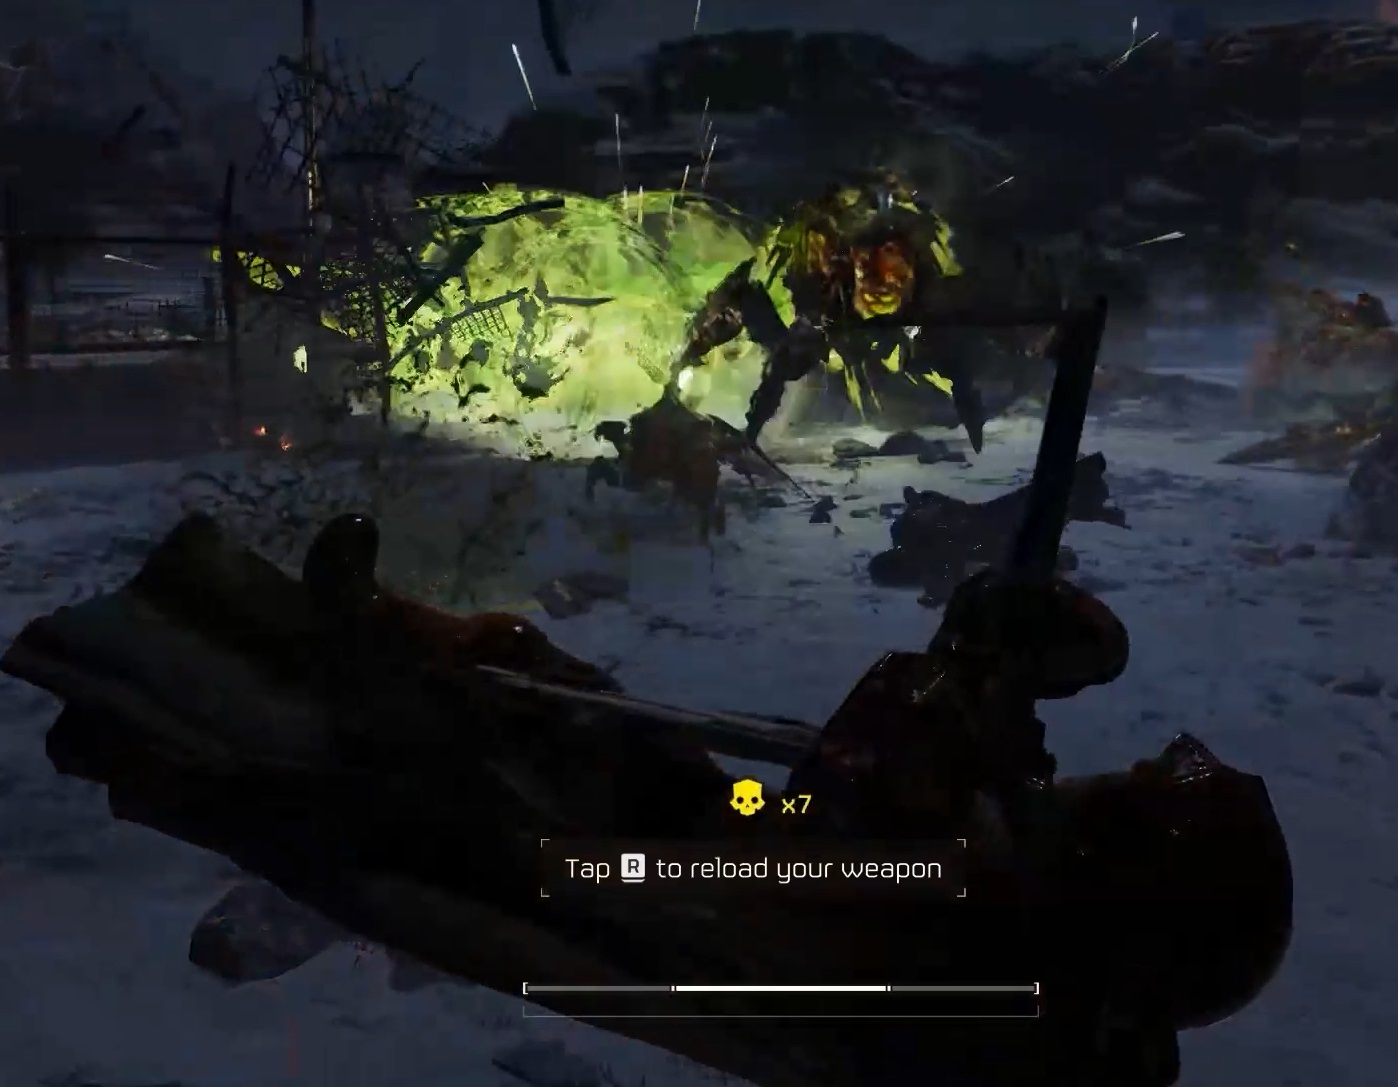
Bug Breeches
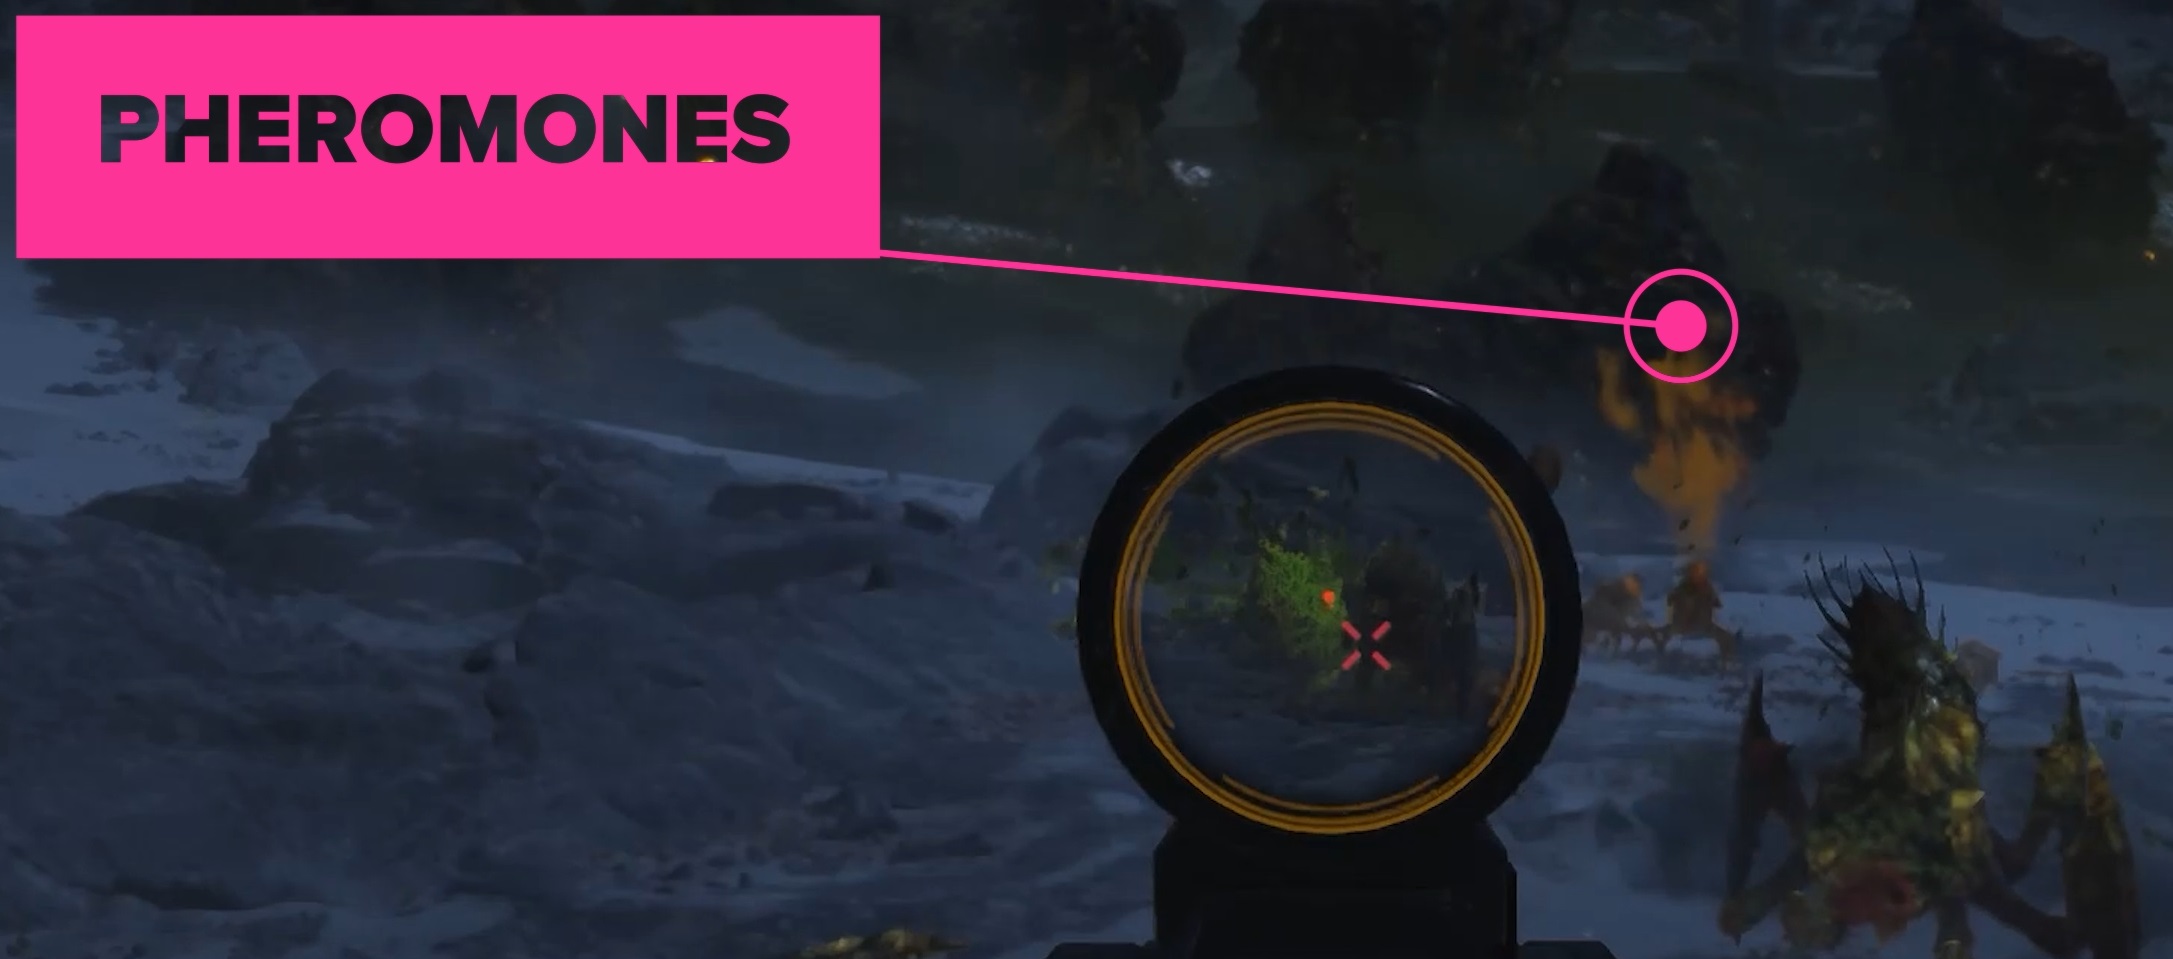
When you come across enemies, particularly patrols, they might release pheromones into the air, causing a bug breach nearby.
Unlike typical bug holes, you can’t seal these breaches with grenades or airstrikes.
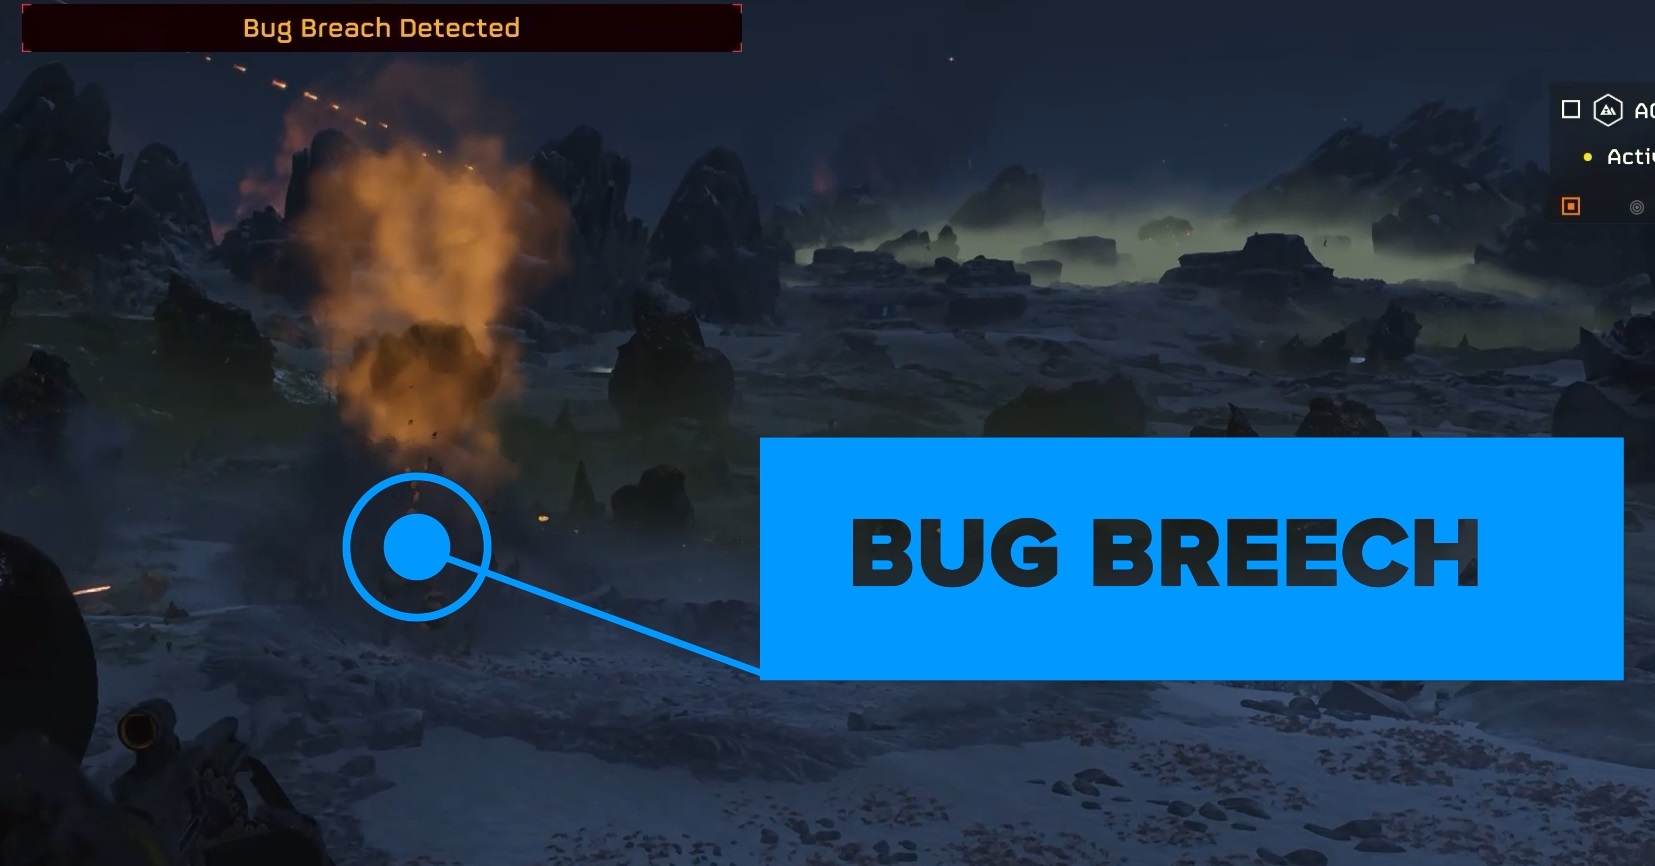
その代わり, waves of enemies will continue pouring out over time. You can either stay and confront these waves until the breach collapses on its own or opt to flee, conserving your ammo.
Choosing to retreat, especially if there are no objectives or loot nearby, might be the prudent, if not heroic, オプション. The longer you spend battling bug breaches, the less time you’ll have to search for samples or complete your objectives.
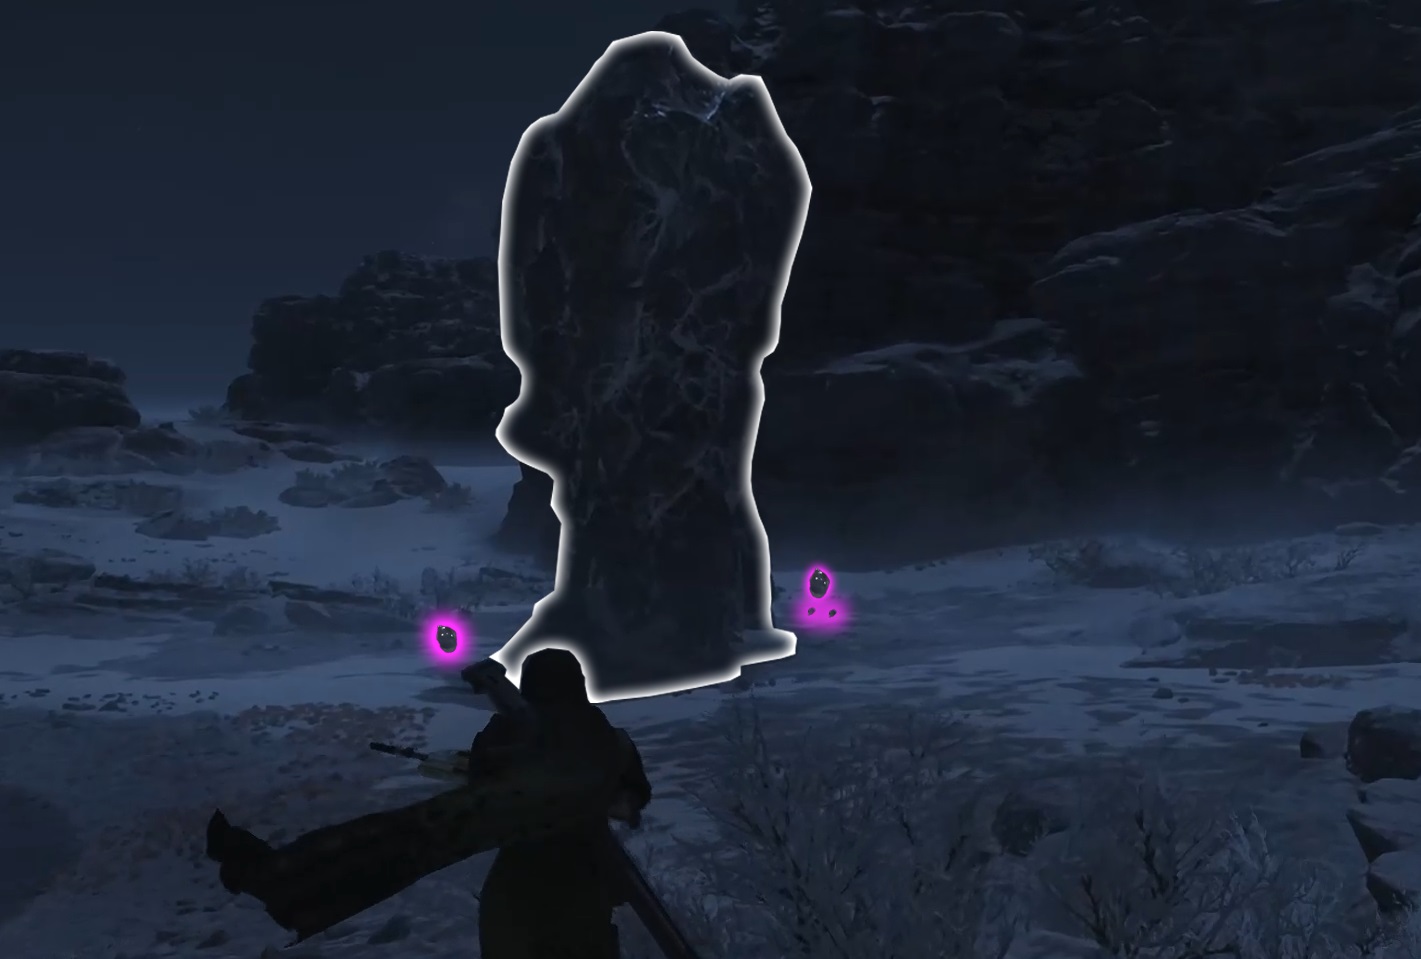
Super Samples (Pink Samples)
Pink Super Samples are the rarest and are crucial for more potent ship upgrades. They are exclusively found in assignments with a difficulty level of 7 以上. These samples consistently appear near a particular rock, regardless of the planet or biome you’re on. Scanning from a high vantage point can help you locate this rock, ensuring you don’t miss out on any Super Samples.
Movement and Escaping
Having a high movement speed can create more distance between you and the bugs, especially when you need to reload. When fleeing, remember to glance backward to monitor the enemies or the battlefield.
さらに, you can fire your one-handed weapons backward while retreating, keeping the bugs at bay and allowing you time to reload your primary or support weapon. A swift movement speed enables you to cover more ground quickly, which is advantageous when searching for samples.
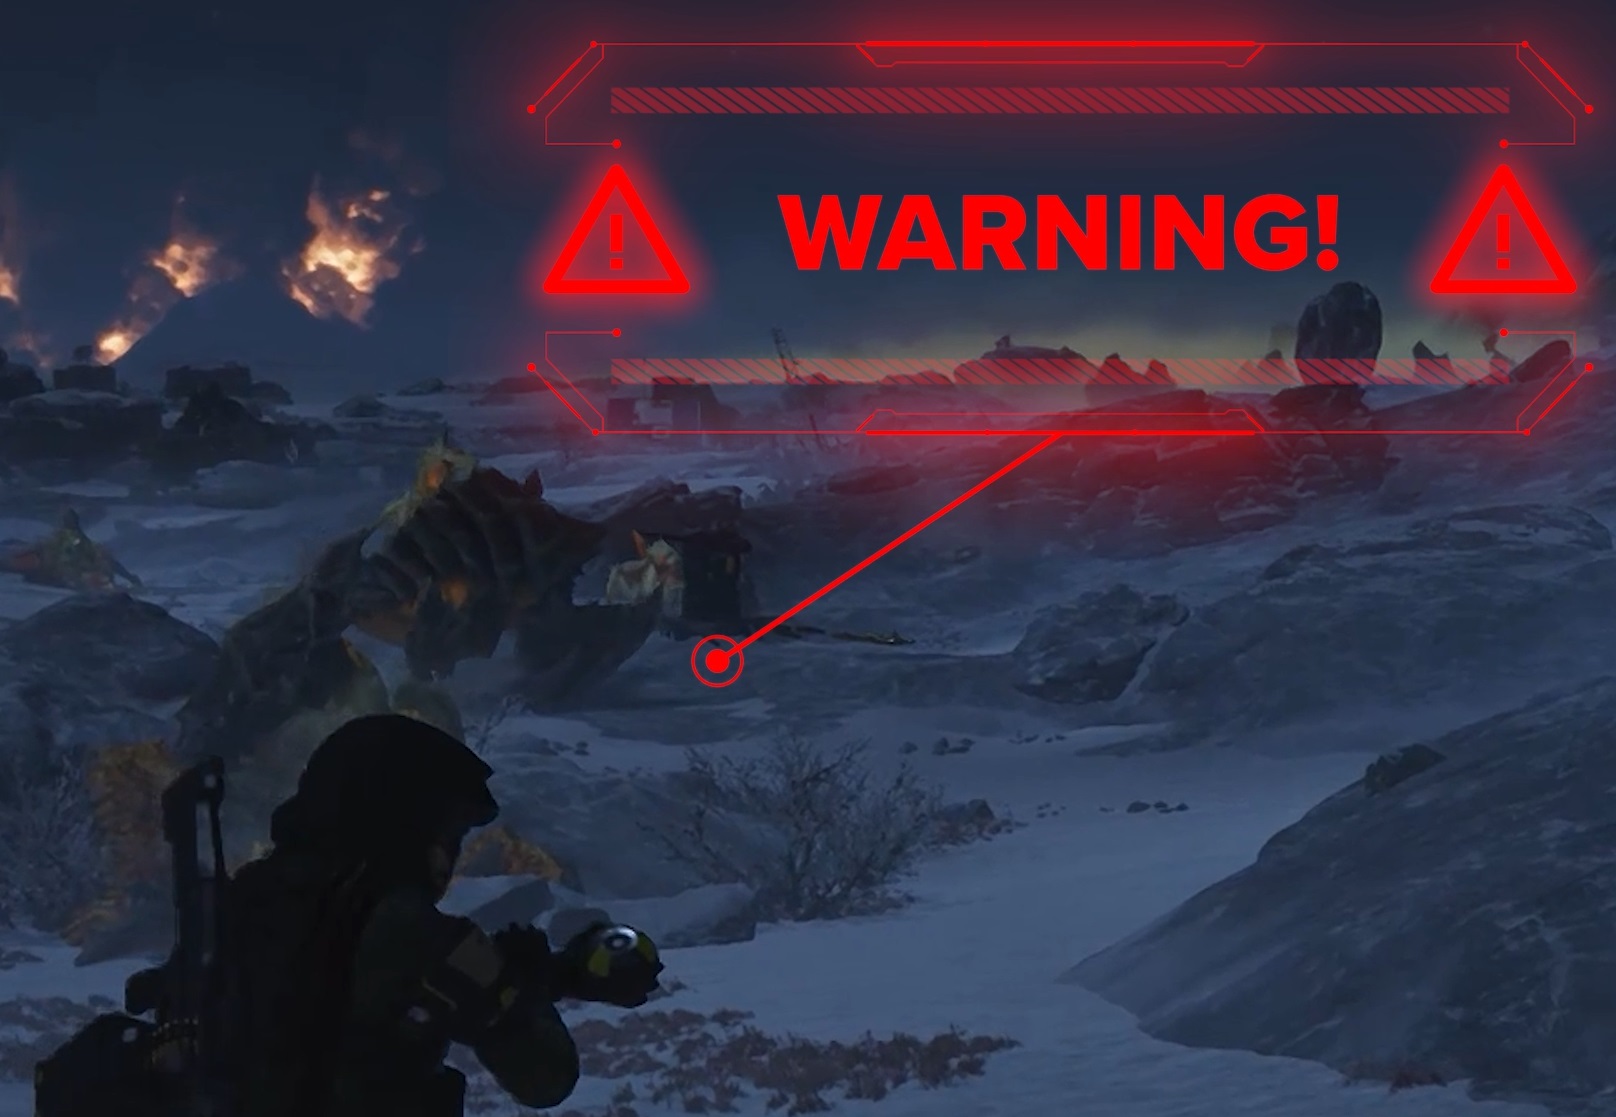
興味のあるスポット
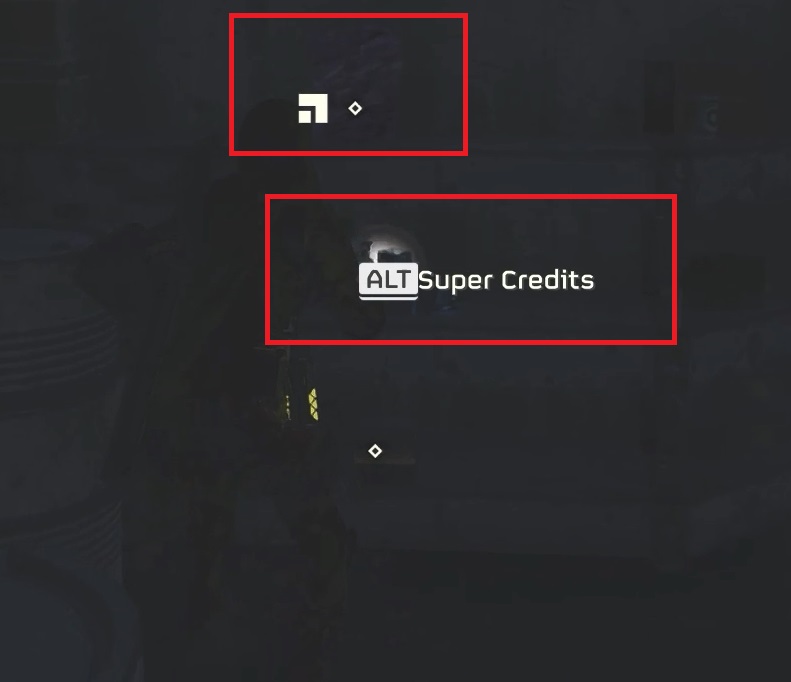
In the areas you’re exploring, keep an eye out for flashing beacons. Checking out these spots is worth your time. They offer medals, which can help you with your Warbonds, as well as samples, しかし最も重要なことは, they may contain Super Credits.
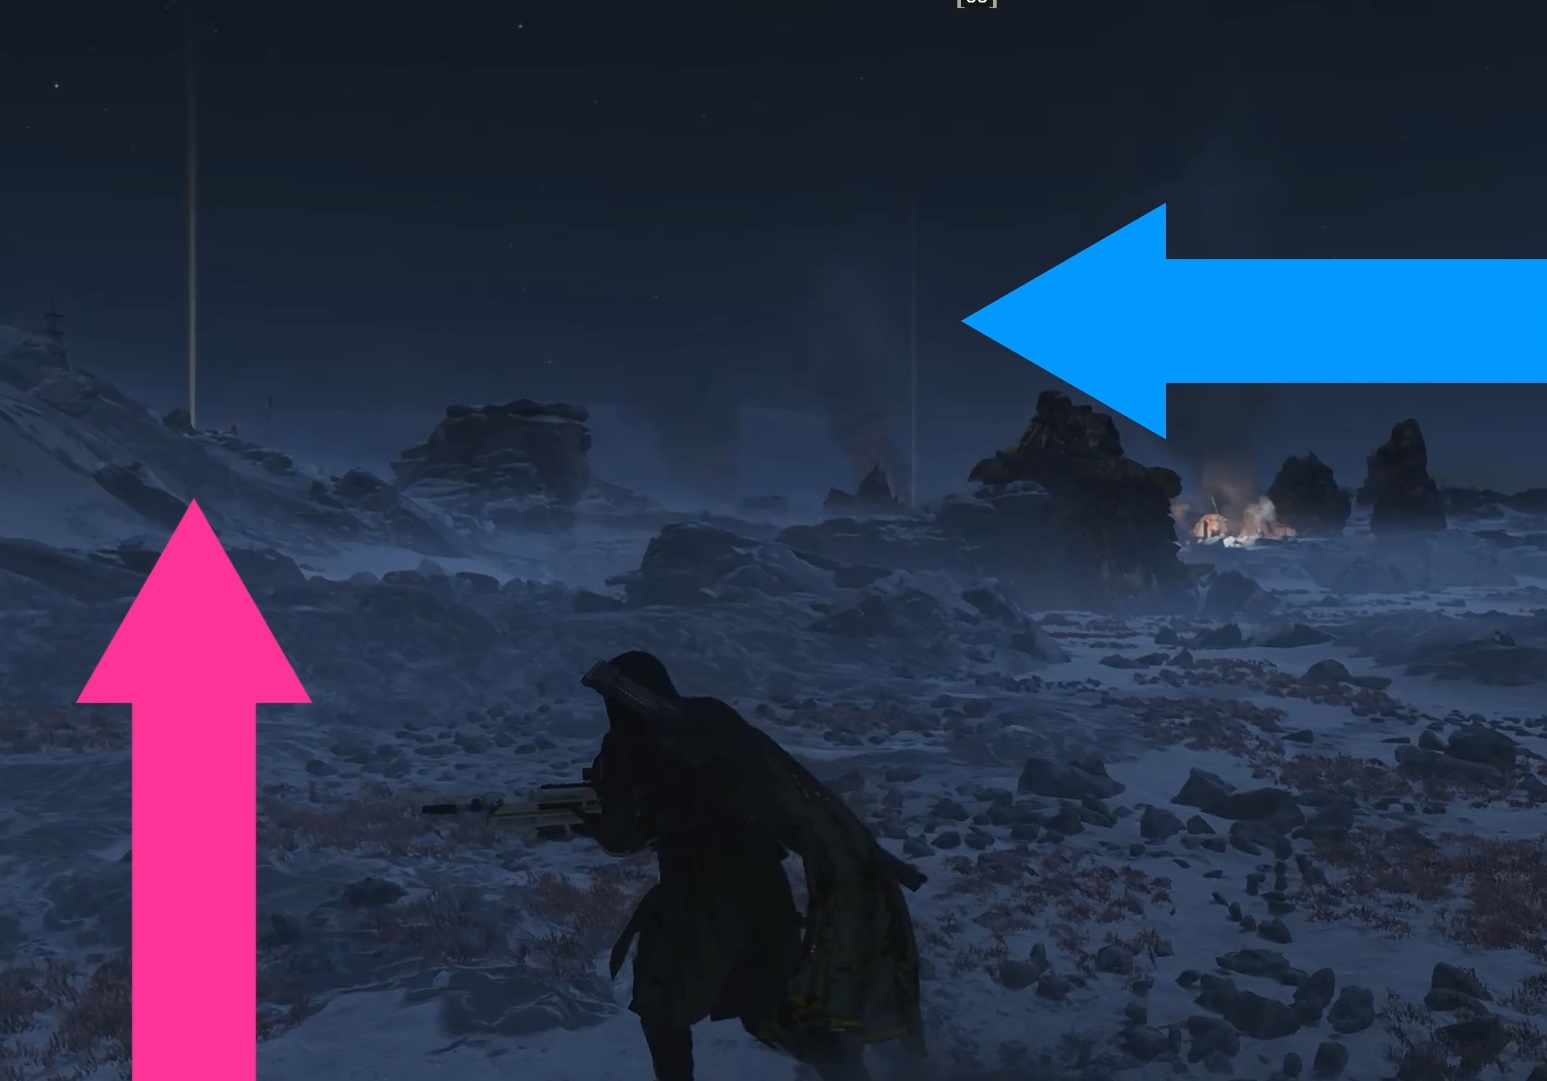
Super Credits are valuable in-game currency that can be used to purchase items from the Superstore or improve your Season Pass. 良いニュースは, you can earn them without spending real money.
You might stumble upon Super Credits behind doors that require teamwork to open. Always try to spot them and inform your team, as there might be valuable rewards waiting.
Some underground support caches require explosives to open and may also contain Super Credits.
さらに, outposts with scattered buildings often provide resupplies for your ammo, 手榴弾, and Stims, making them ideal spots to restock while scavenging for valuables.
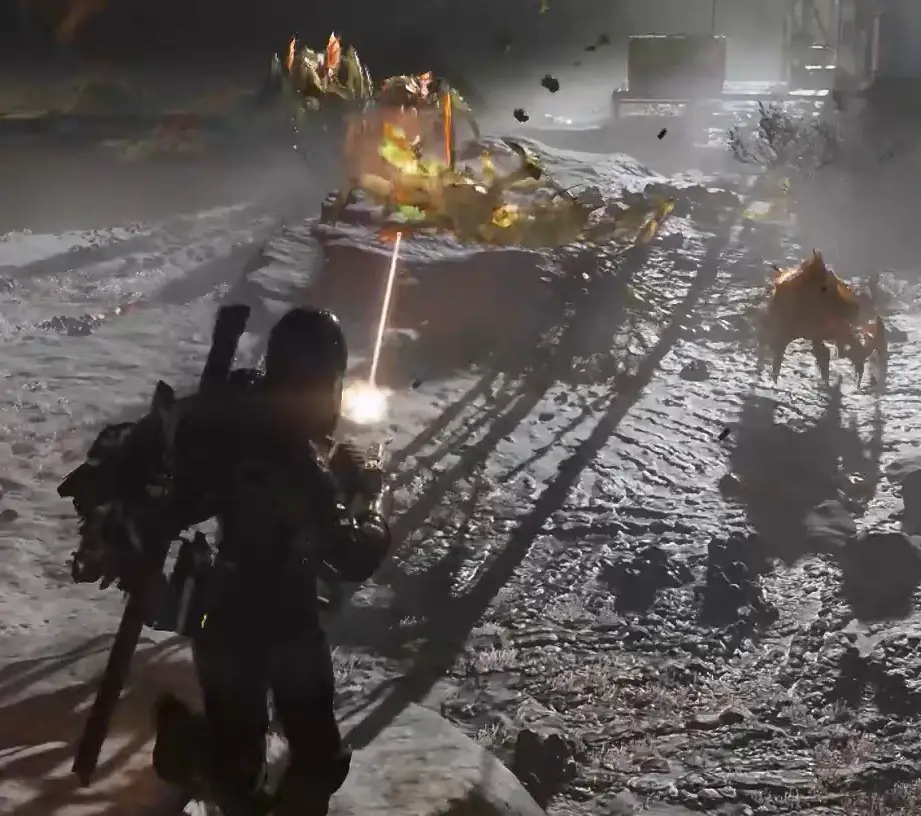
Armored Enemies
As you tackle tougher missions and pursue Super Samples, you’ll encounter more armored foes.
Failing to handle these enemies efficiently during objectives or evacuations can lead to overwhelming numbers and mission failure.
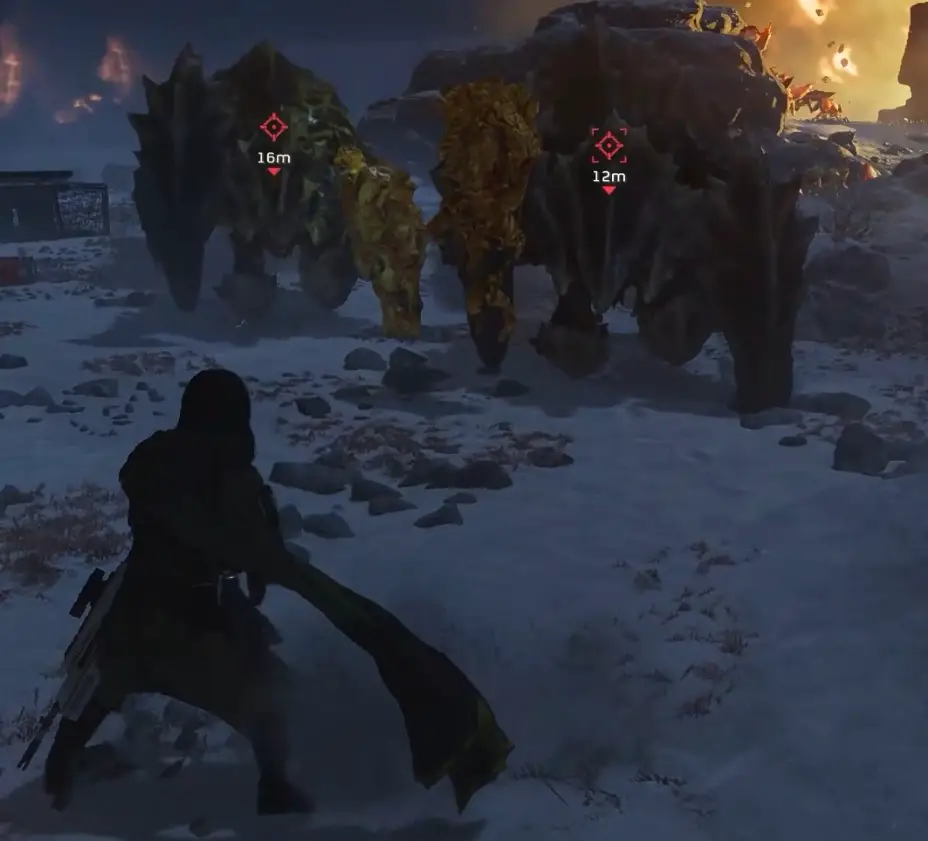
Tagging heavily armored enemies is crucial. This alerts your team to their presence and can aid in eliminating the threat.
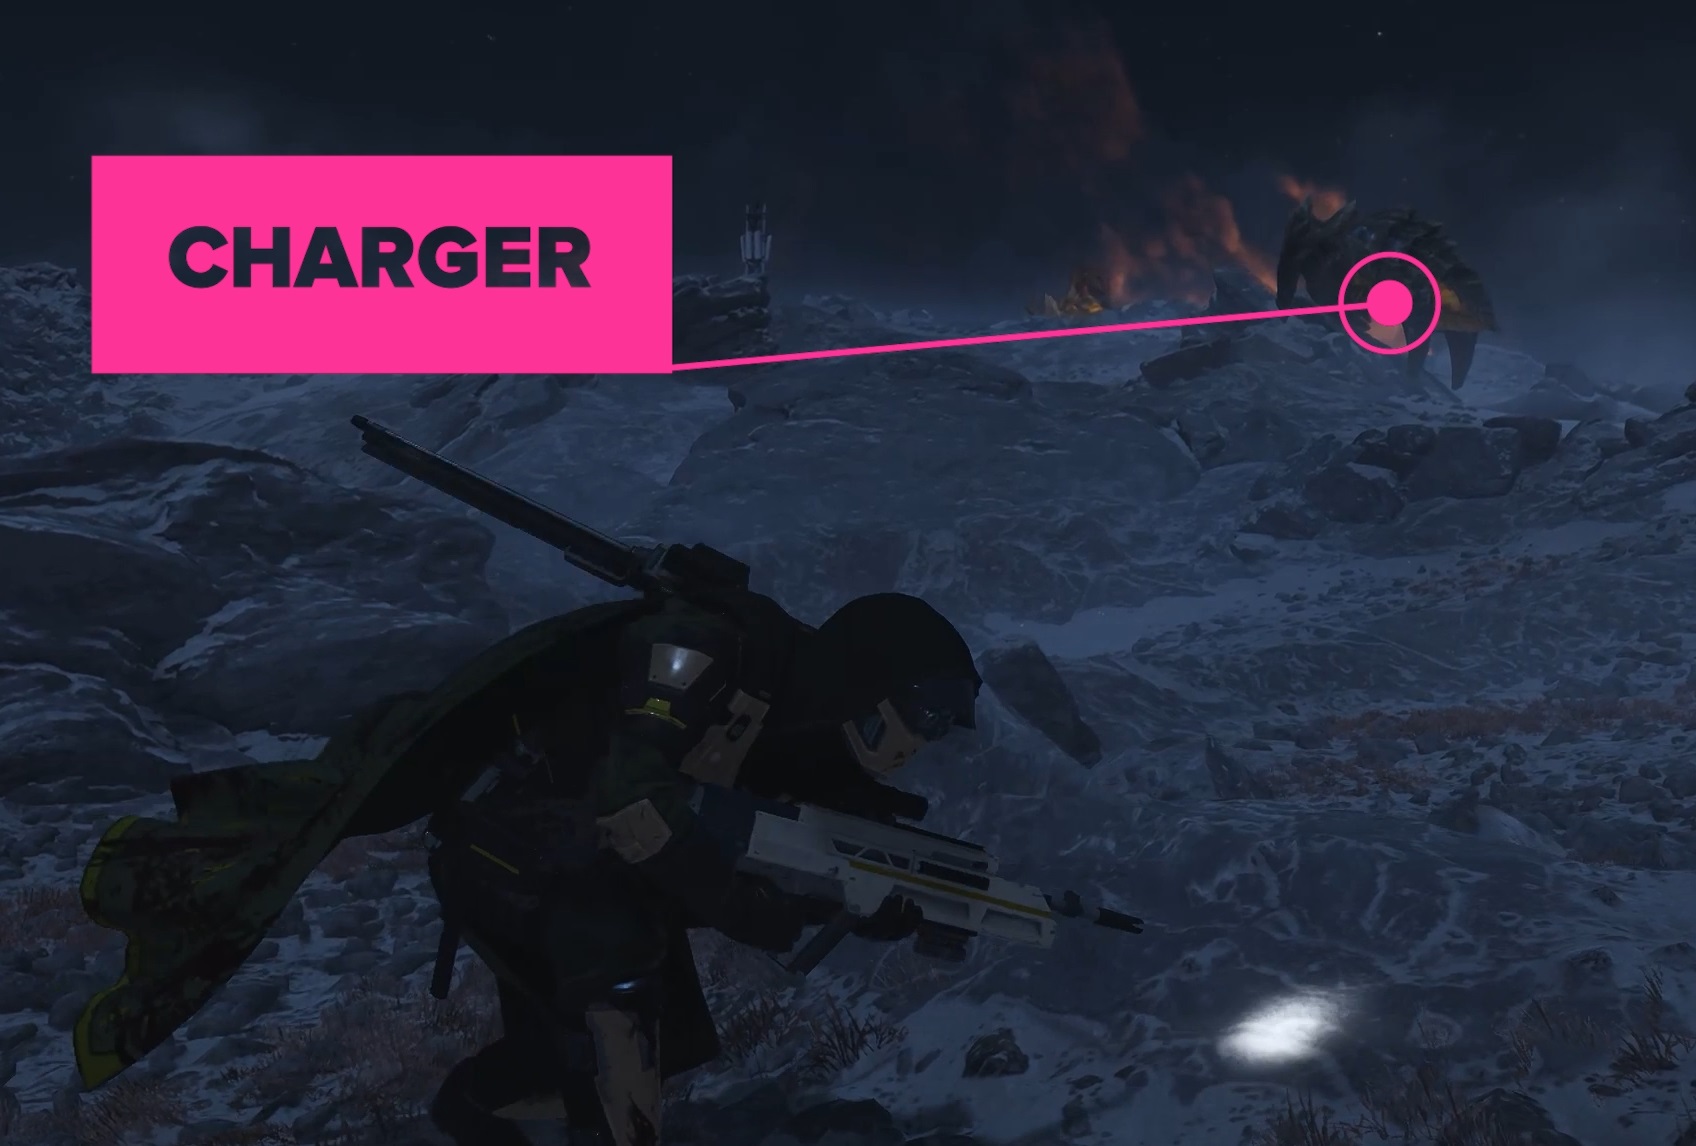
Leaving a teammate to face a Charger alone can waste time and attract more enemies, jeopardizing the mission.
While it’s challenging, you can evade Chargers by luring them into solid obstacles, slowing them down and buying you time to attack or escape.
早い段階で, the Expendable Anti-Tank support weapon is highly effective against armored enemies due to its short cooldown. Just remember to retrieve it after firing both rockets.
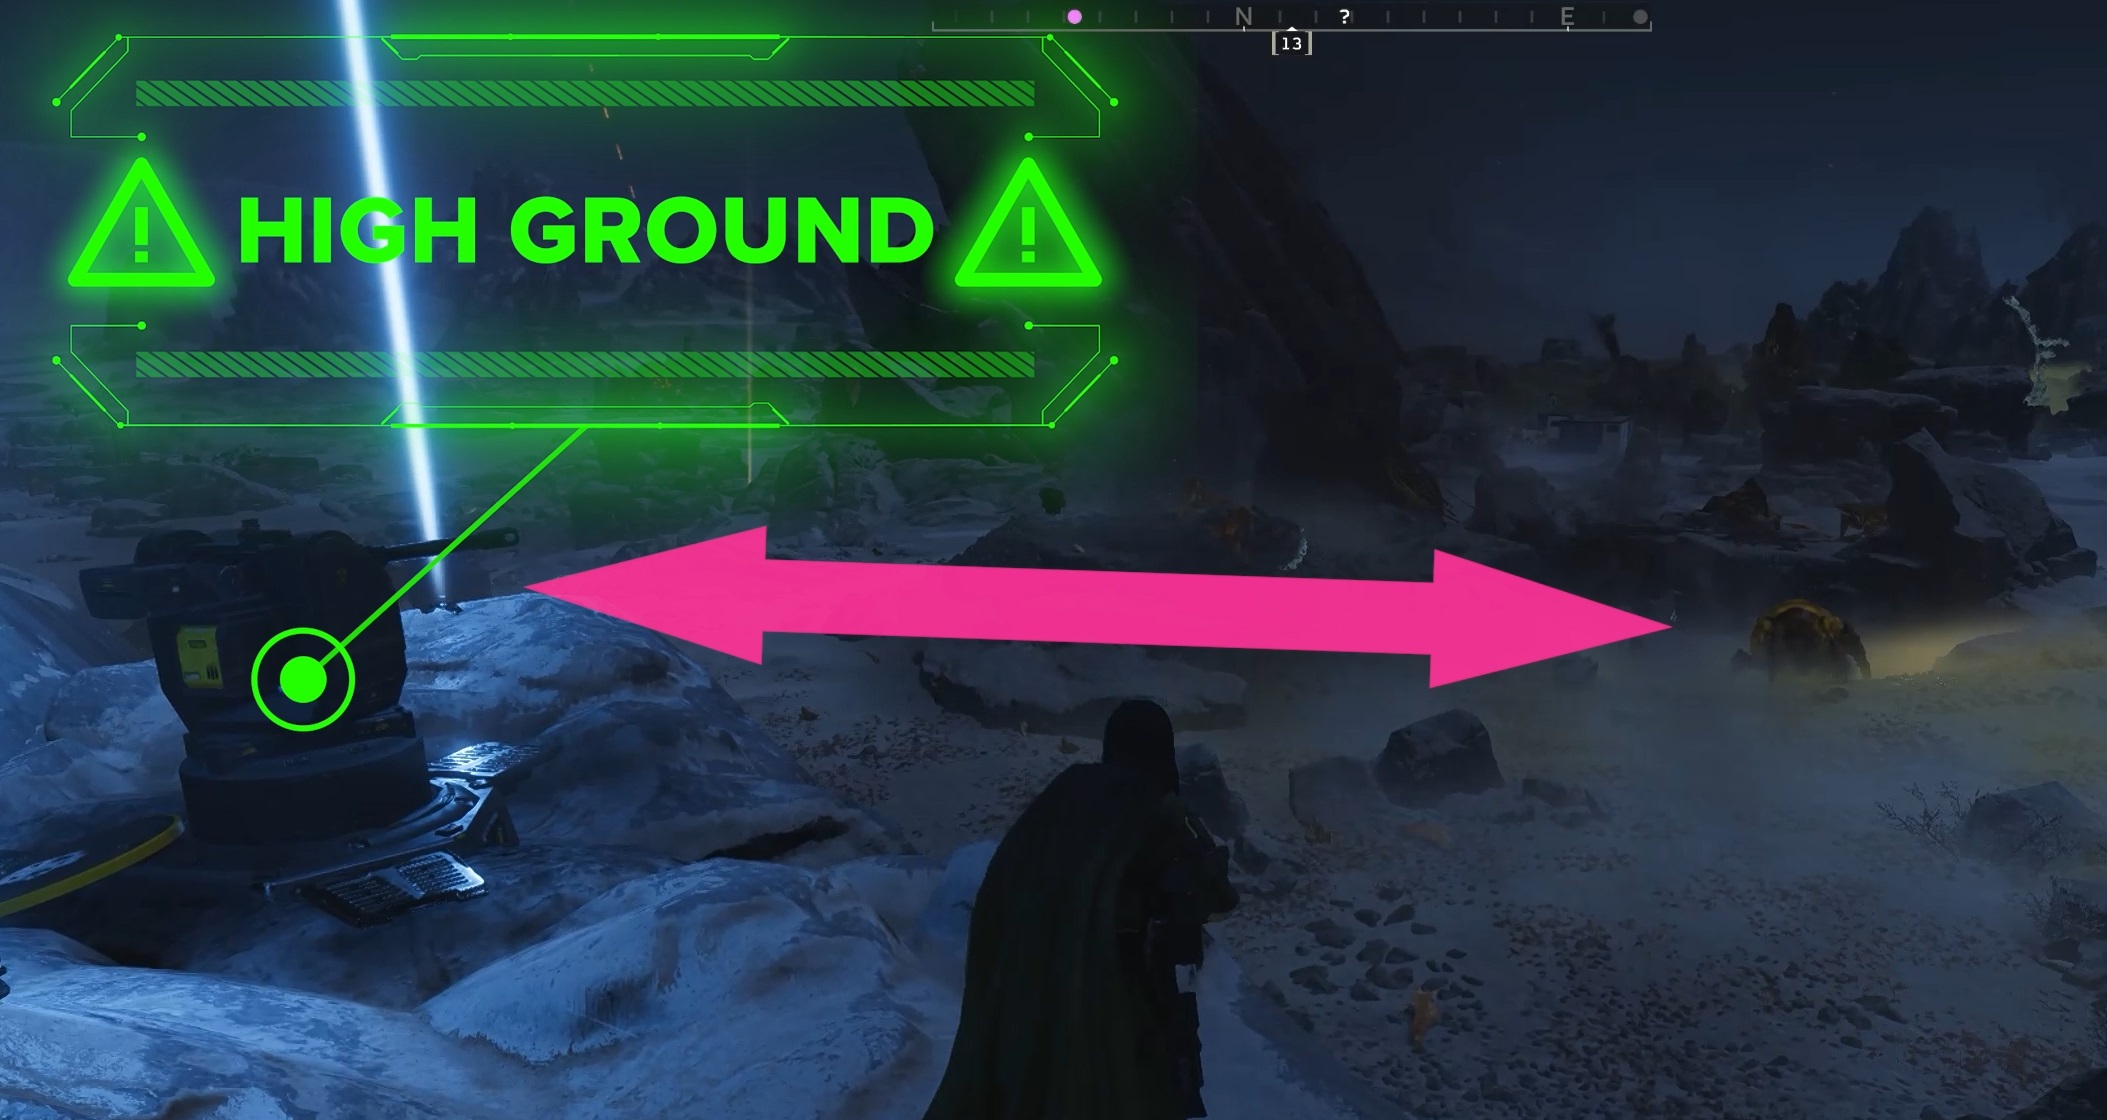
タレット
Starting out as a Helldiver, using turrets can be both enjoyable and rewarding. しかし, as missions become more challenging, the effectiveness of turrets becomes crucial.
The machine gun and gatling turrets are quite capable on their own, but they require strategic placement. Unlike the Auto-Cannon or rocket turret, they’re more vulnerable to enemy attacks if poorly positioned.
Positioning turrets at elevated locations with distance from enemies enhances their survival chances and provides better firing angles, minimizing the risk of friendly fire incidents.
When deploying a turret stratagem, holding it before deployment may increase its chances of sticking to the surface, although success can still be unpredictable.
時々, you’ll need to actively defend your turret to prolong its lifespan. Going prone near the turret reduces the risk of accidental self-inflicted damage.
ダイビング
Mastering the skill of diving is essential for survival in the Helldiver universe. It allows you to evade enemy attacks while maintaining offensive capabilities.
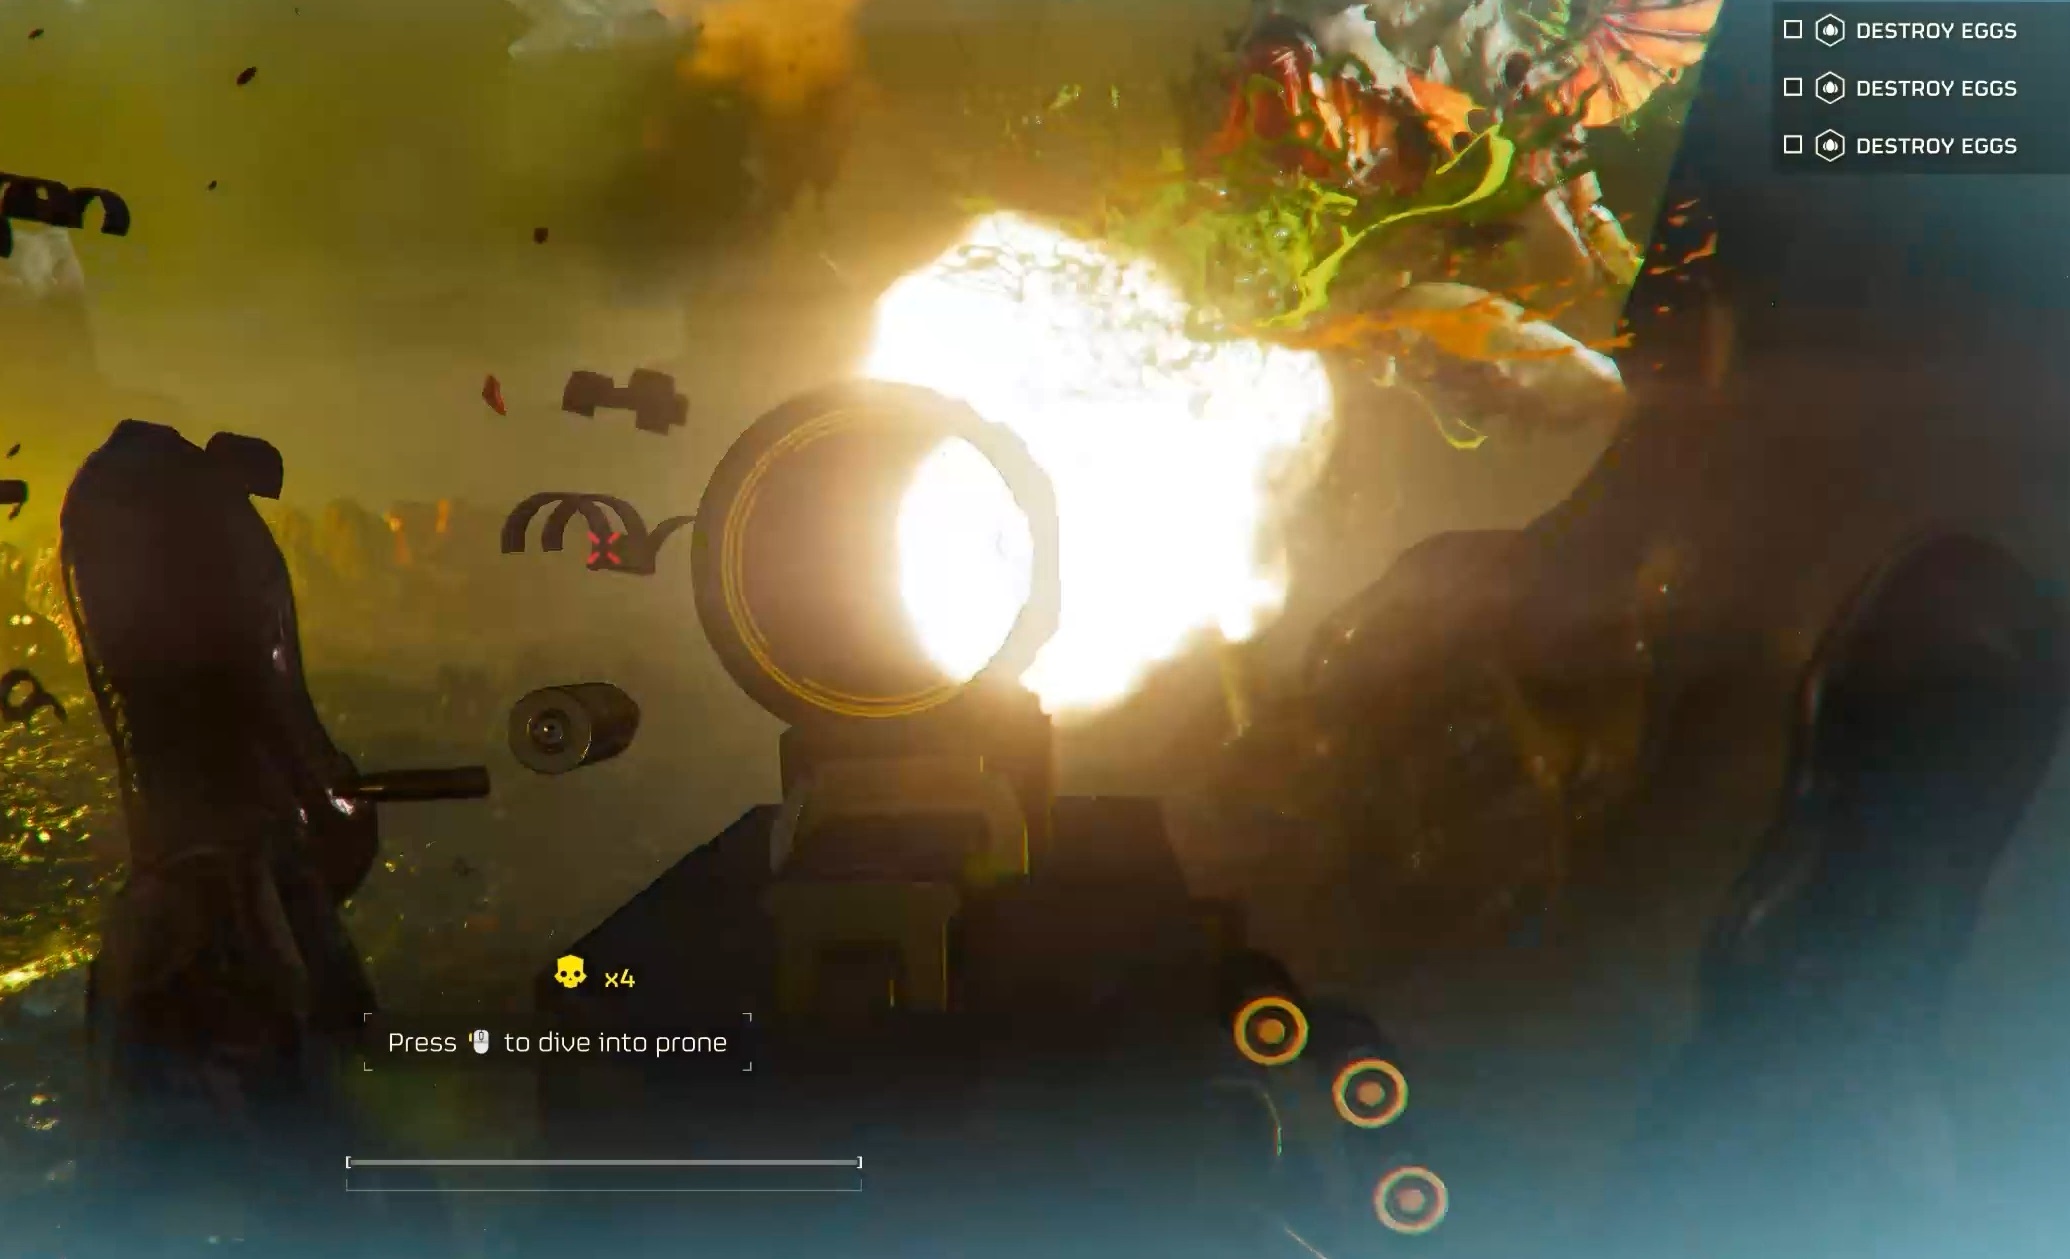
Diving out of the way of bile attacks while shooting at enemies is a useful tactic. さらに, continuously diving backward while shooting can help you deal with relentless enemy advances.
Keep in mind that diving puts you in a prone position. When facing swarms of smaller enemies, sprinting away might be a more prudent choice.
さらに, you can perform actions like throwing grenades or calling in stratagems while diving, providing additional opportunities to stay alive and call for reinforcements.
Impact Grenade
Lots of Helldivers, 私自身も含めて, really like the Impact Grenade. Instead of worrying about timing the fuse, you just toss it and let it do its thing!
It’s super effective against those spitting bugs since it can take out one or more of them with just one throw.
Just be a bit careful when closing bug holes – aim for the center to avoid wasting grenades.
When you’re swarmed, the Impact Grenade can be a lifesaver, giving you instant support. It’s especially handy when you’re facing a charging Stalker with an empty mag – having an Impact Grenade can save the day.
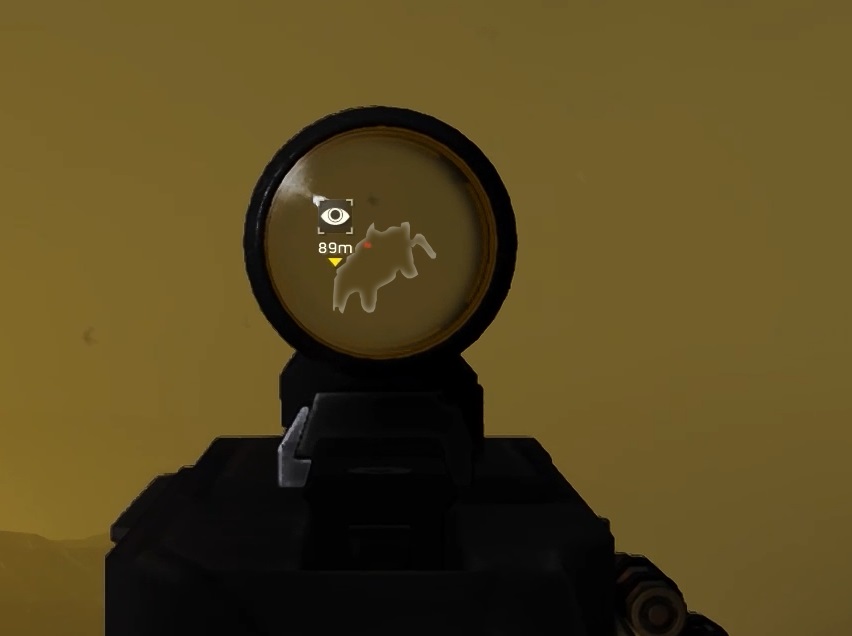
ストーカー
Stalkers are a major threat and can mess up your day fast if you don’t deal with them. They’re one of the deadliest creatures out there. When you spot them, try to mark the area and unleash firepower on them quickly.
If you’re in an area with Stalkers, you need to watch your teammates’ backs even more than usual. If there are no objectives nearby, running away from the area as fast as possible is a valid strategy.
For the daring Helldiver, I suggest locating the Stalker Lair and taking care of the problem once and for all. This is especially crucial if there’s an objective nearby that needs completing.
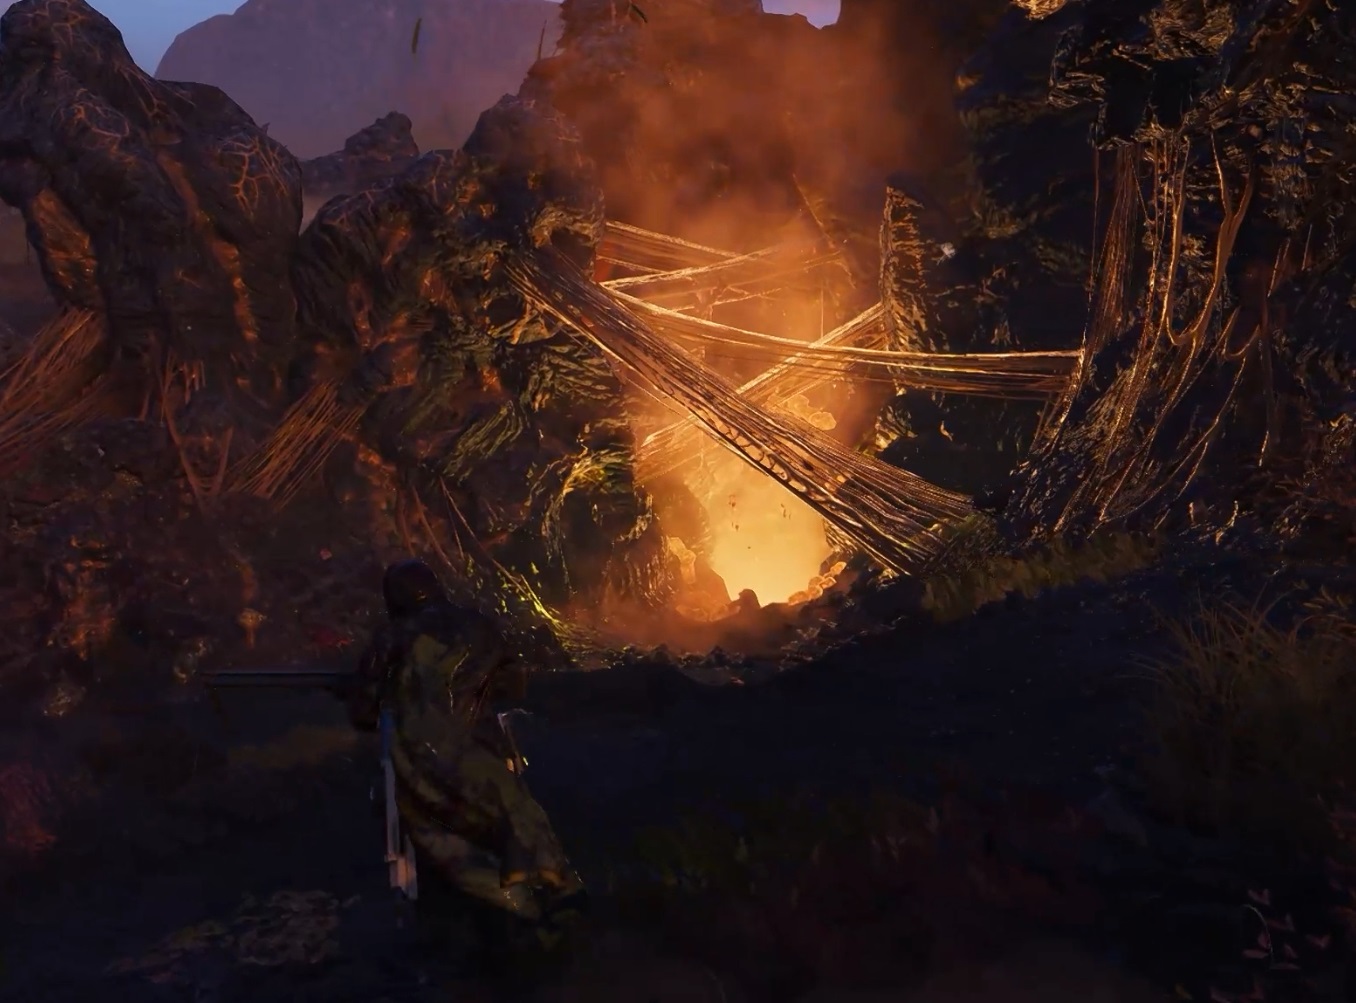
Getting rid of the Stalker Lair will make your life much easier. When Stalkers start scattering your team and everyone runs in different directions, Helldivers start dropping like flies, and your reinforcements dwindle fast.
補強
When a Helldiver bites the dust, it might feel like the right move to immediately bring in reinforcements. But that could spell trouble for your team.
Check the map first to see where your teammates are. If you’re split into groups and someone on the other side dies, calling in reinforcements could leave them without support, making them less effective.
A Helldiver without their support weapon isn’t much good, so try to avoid that situation if you can. If someone dies nearby and it’s safe, bring them back near where they fell so they can grab their gear quickly.
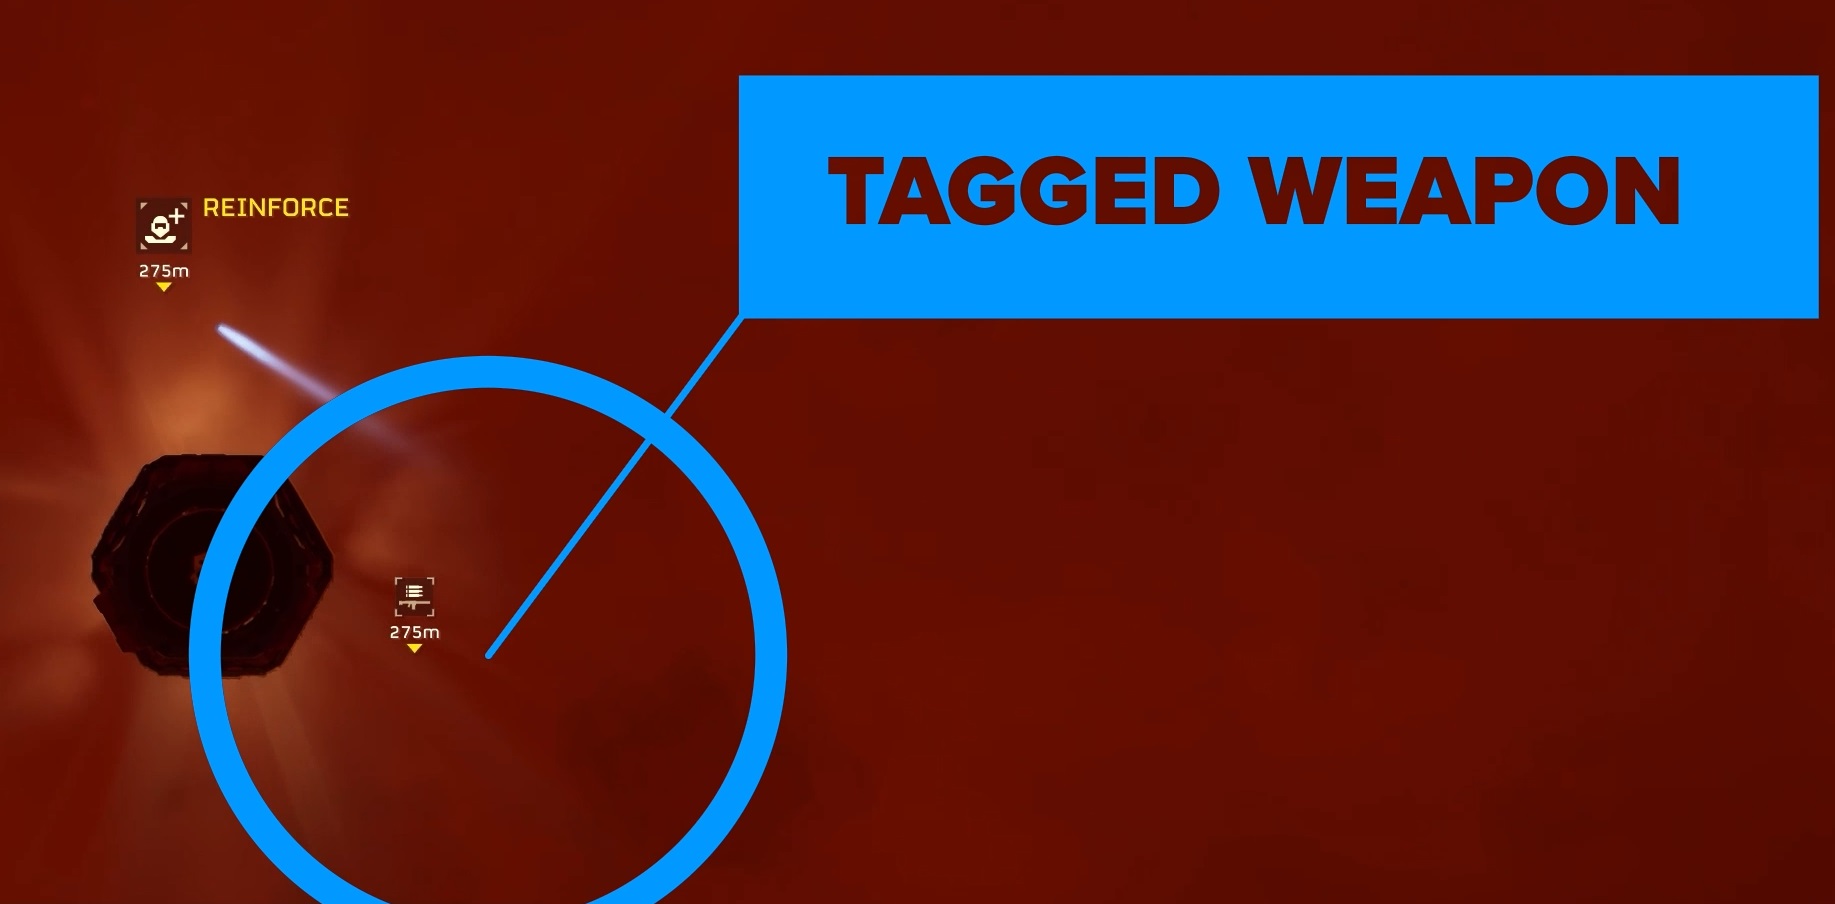
さらに良い, tag their weapon to make it easier to find and get back into the fight ASAP. This can be a game-changer, especially in heated battles with enemies swarming around.
If you’re the one being brought back, use the map to locate your gear or any dropped samples. And when you land in the thick of combat, start shooting at the enemies right away, especially Chargers.
But be cautious about dropping in on Bile Titans – they’re tough to take down, and a freshly reinforced Helldiver won’t last long against one!
抽出
Clearing out nearby bug nests before extraction can make your escape a lot smoother and less stressful. If you’ve got the time, it’s worth doing.
This can make the extraction a breeze, with little to do except hop in the dropship and fly off, without worrying about leaving any samples behind.
Always check the map before calling for extraction to give everyone a chance to get there and avoid leaving anyone behind with the bugs.
そして覚えておいてください, the dropship won’t wait forever – once someone boards, it’s on a countdown to leave. Make sure everyone’s on board or you might end up leaving someone behind, especially if they’re carrying most of the samples.
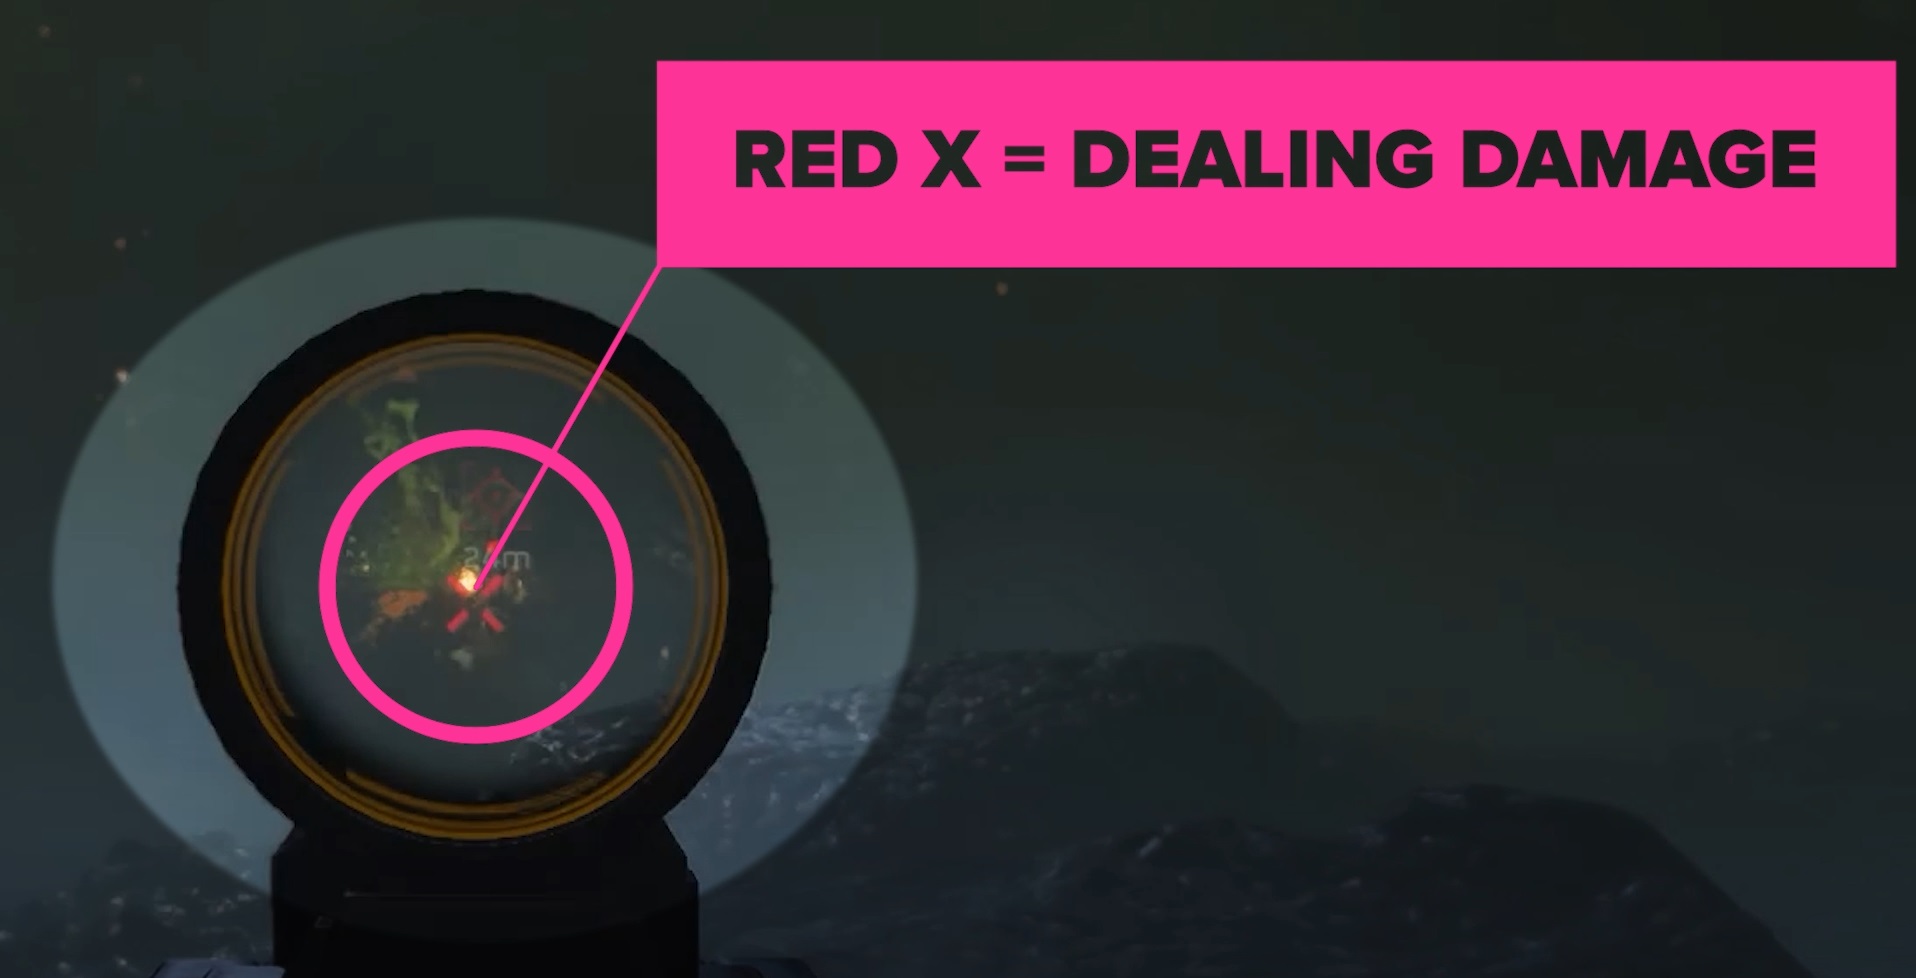
Hit Markers
Hit markers are visual indicators displayed on your crosshair while shooting in-game. If you spot a red X or cross, it signals that you’re successfully hitting the enemy and causing damage. This feature is particularly useful when shooting without a clear line of sight; if you see the red X, keep firing away!
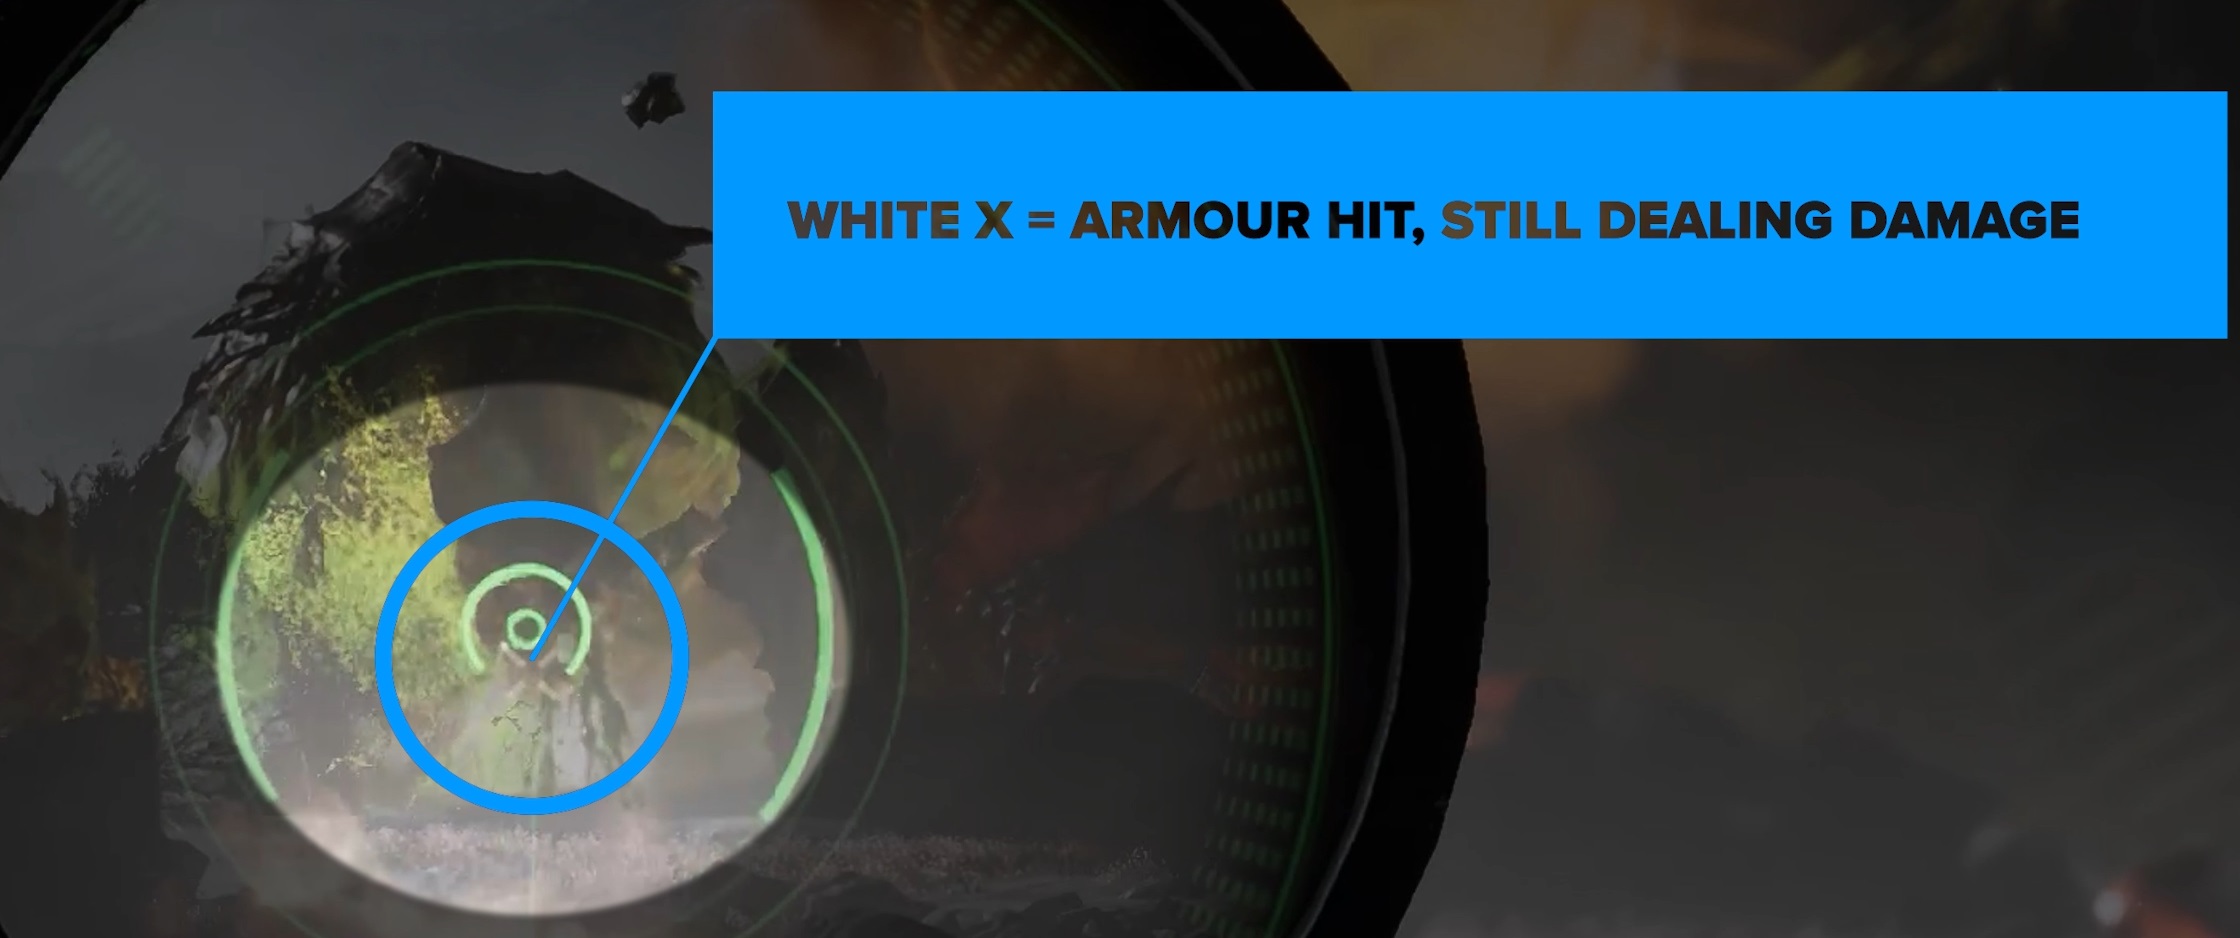
一方で, a white X denotes hits on the enemy’s armor, resulting in damage despite the armor’s protection. Weapons with higher armor penetration, especially above light levels, tend to produce these white X marks more frequently.
しかし, encountering an icon indicating hits on the enemy’s armor without causing any damage or having shots deflect off it implies the need for adjusting your aim. This suggests targeting weaker areas of the enemy to ensure effective damage output.
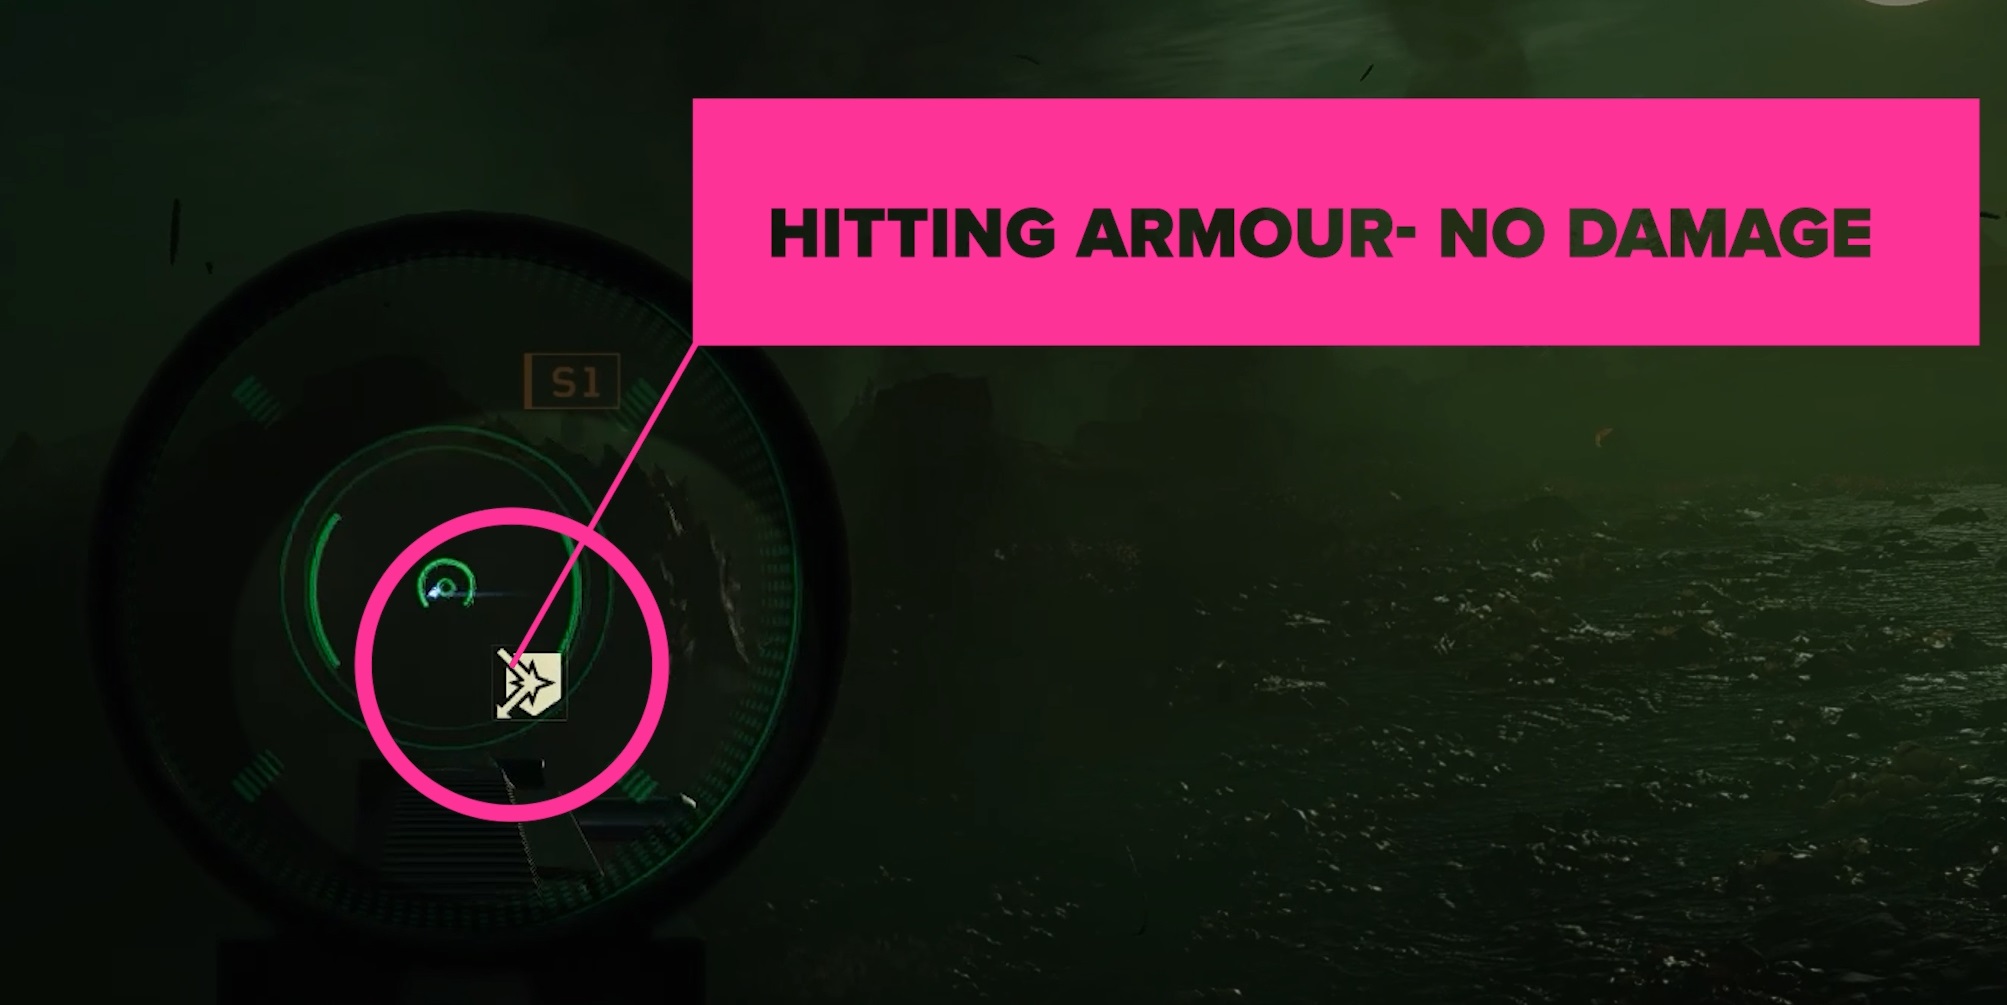
Expect to encounter this situation more frequently with weapons possessing only light armor penetration or when engaging heavily armored adversaries. Adjusting your strategy accordingly can enhance your combat effectiveness in such scenarios.
ボーナスヒント
Fighting in narrow passages or choke points can be super useful, even when the baddies are up close. Whether you’re hiding behind a big rock or herding foes between buildings, it’ll make taking them out way easier.
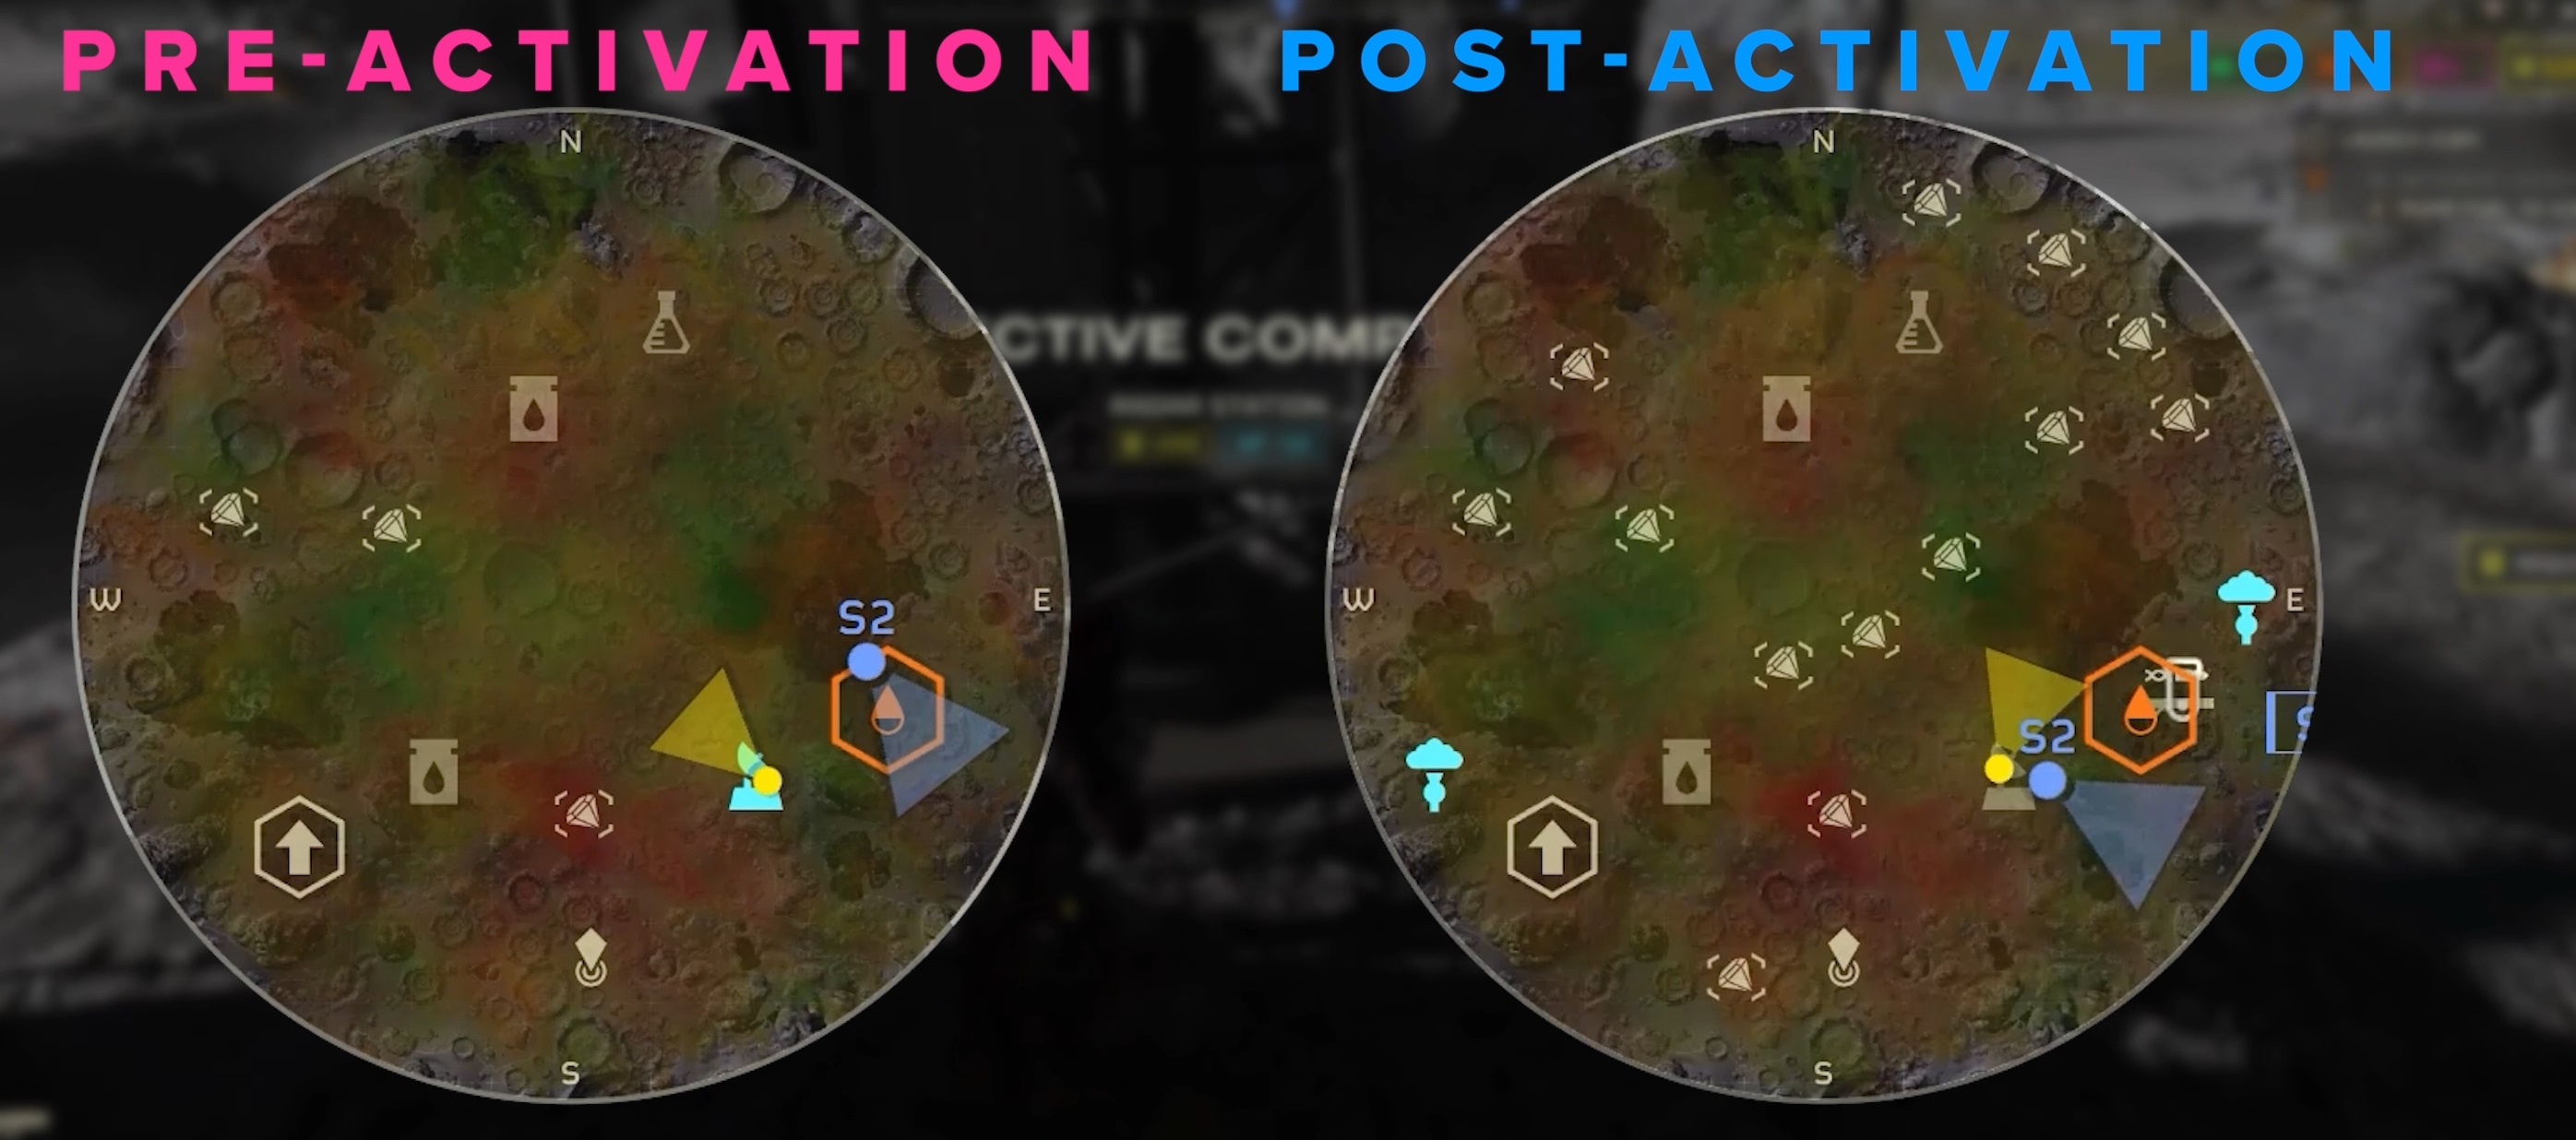
Radar stations are like your best buds for scouting out cool spots to explore. If you spot one, especially at the start of your mission, it’s smart to flick that switch and get it going.
Once it’s up and running, the radar will show you all the cool stuff on the map, making it way quicker to find those sweet spots and grab more Samples and Super Credits.
Menu Options
Here are some tips for navigating the in-game menus to improve your gameplay experience.
Turning off Motion Blur and Screen Shake can help reduce distractions while playing.
Make sure to familiarize yourself with the weapon wheel button, as it allows you to adjust your weapon’s functionality during gameplay.
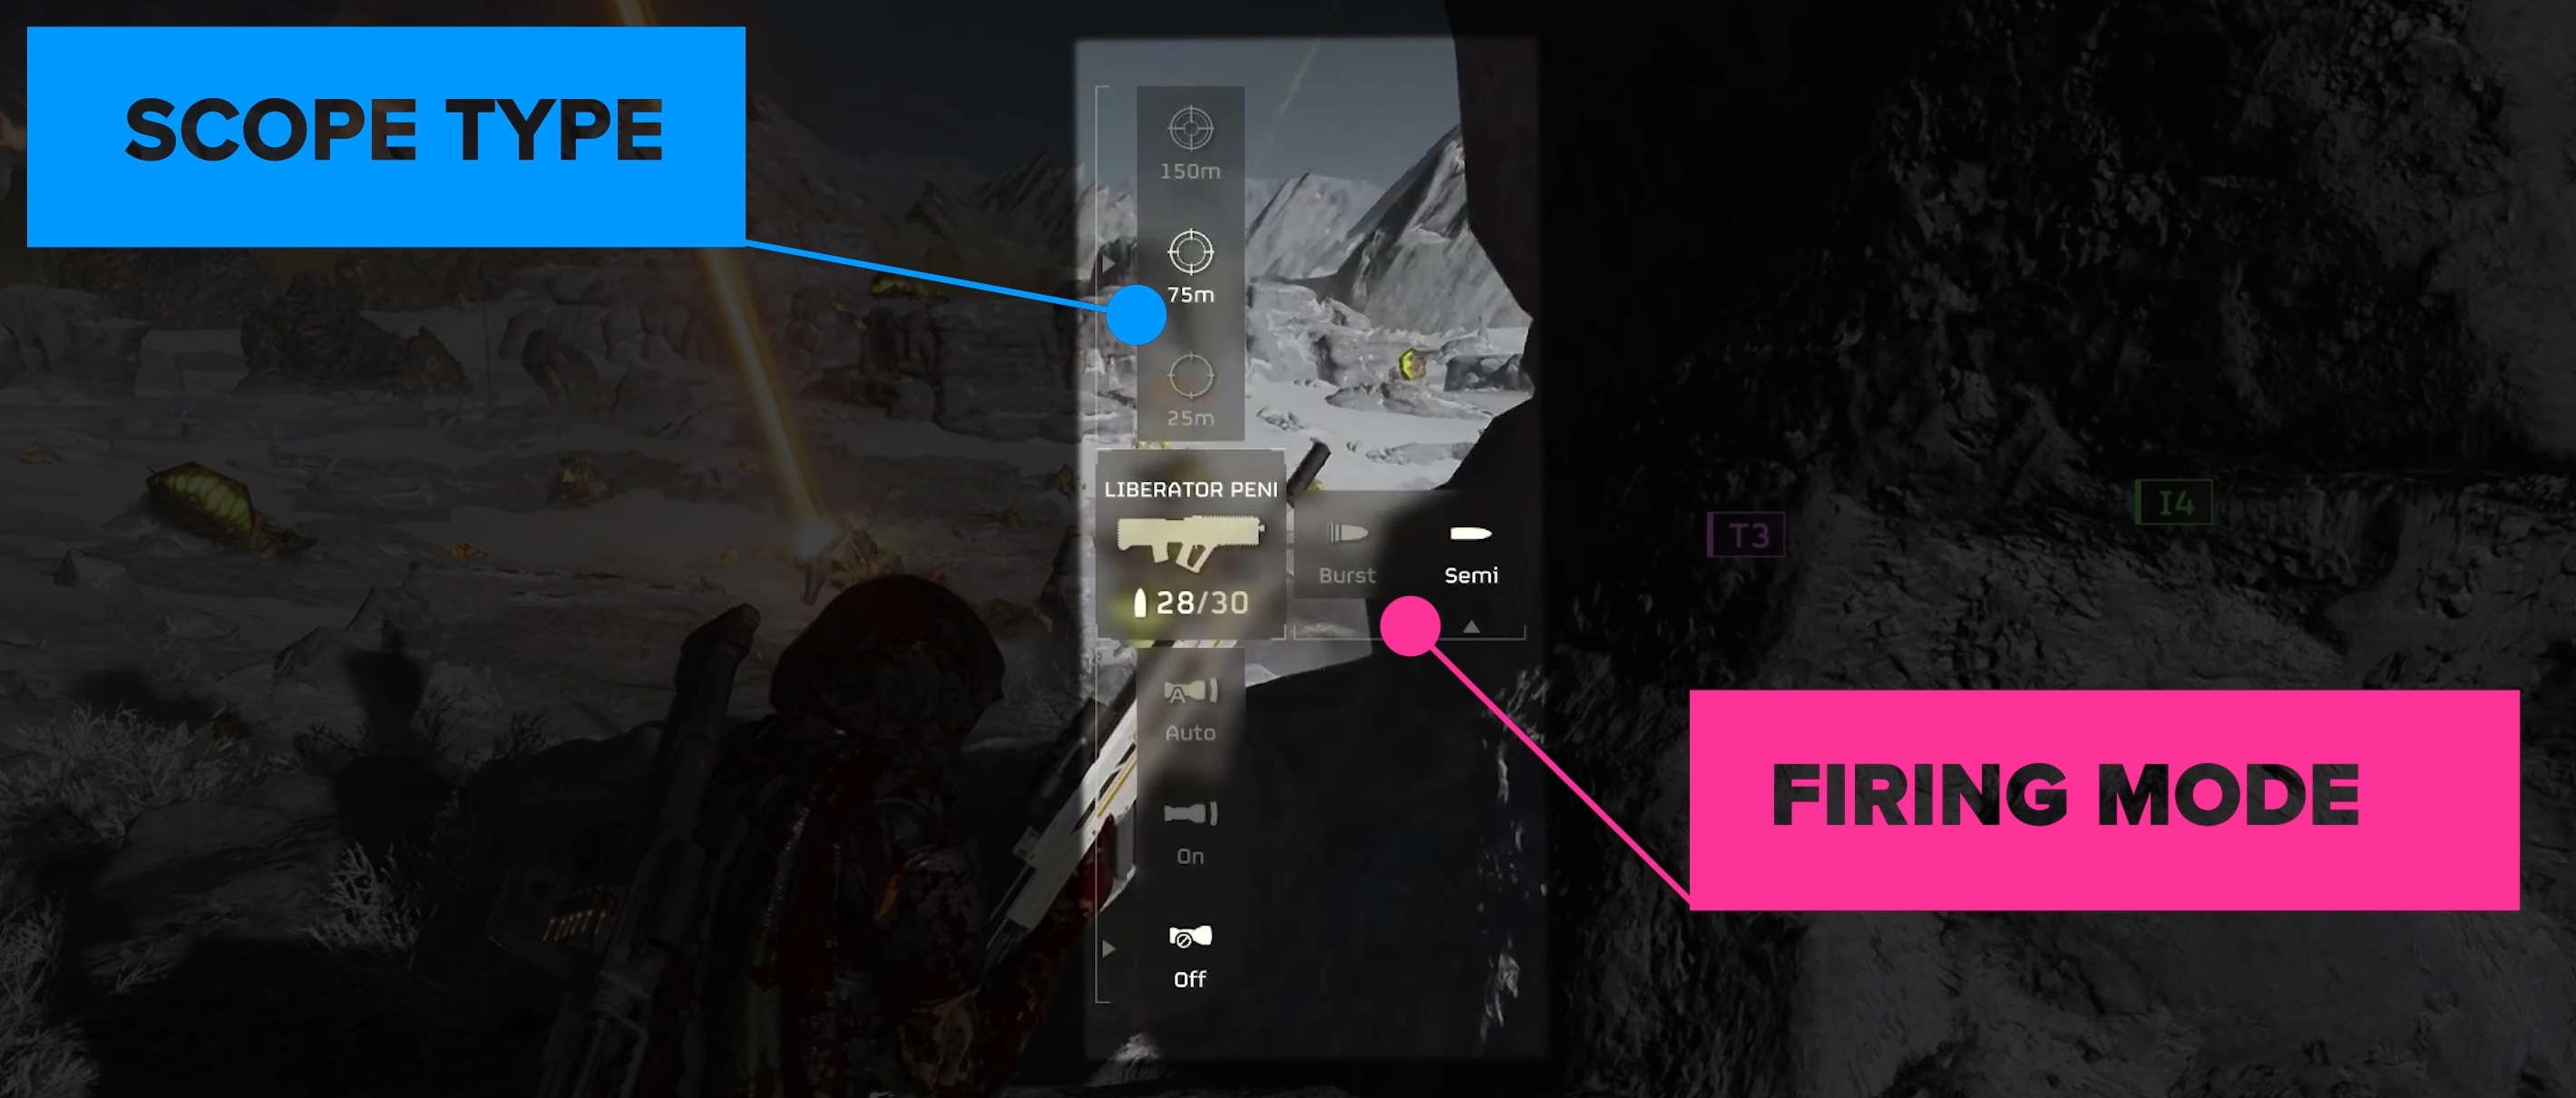
The weapon wheel enables you to modify features like scope distances and firing modes (semi-automatic or fully-automatic) for different weapons.
Experiment with these settings each time you acquire a new weapon to find what suits your playstyle best.